

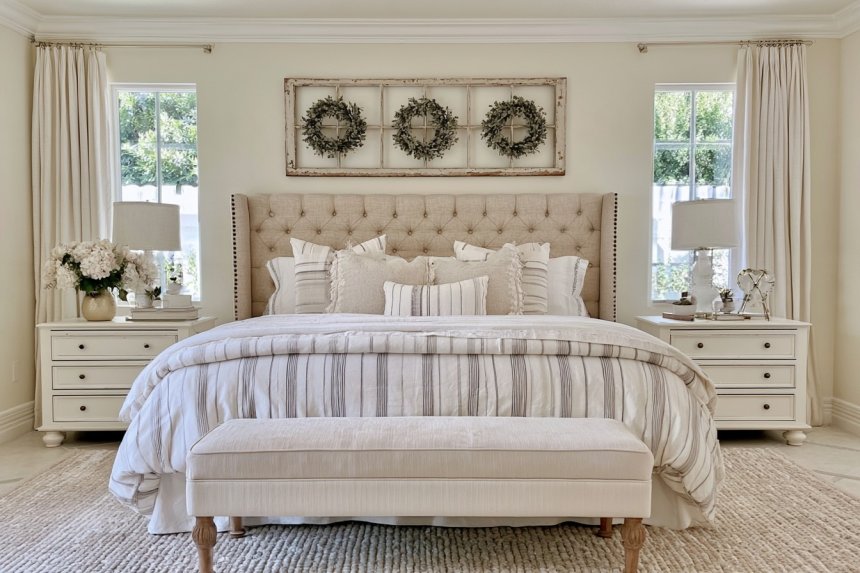
Let a farmhouse bedroom grow around useful furniture: a dresser, bedside shelves or a comfortable window seat. Seventeen examples show how timber, checks and muted color can support those everyday roles.
Draw the bed at its full outside size, then mark every nearby drawer and door open. Choose one project that solves a daily need, such as linen storage, a dressing bench or a bedside ledge. Let the farmhouse character come from that useful piece, with timber, checks or painted texture around it. Inspect old furniture and coatings before refinishing.
Table of Contents
- A Reclaimed Wood Feature Behind the Bed
- 1. Frame the Bed with a Weathered Wood Panel
- 2. Pair Beadboard with Arched Bedside Storage
- 3. Soften an Iron Bed with Small Checked Pillows
- 4. Let Ceiling Beams Carry the Rustic Detail
- 5. Make a Painted Dresser the Collected Feature
- 6. Place a Storage Bench Beneath the Window
- 7. Borrow Barn Door Shapes for a Framed Bed Wall
- 8. Use a Peg Rail as a Quiet Horizontal Detail
- 9. Layer Checks with Plain Bedding and a Woven Throw
- 10. Add a Spindle Bench for Dressing and Daily Use
- 11. Give Spare Linens a Cabinet with Textured Doors
- 12. Use Shutters to Add Vertical Texture Beside the Bed
- 13. Ground the Bed with a Larger Scale Checked Rug
- 14. Set a Brick Feature Between Quiet White Walls
- 15. Keep a Picture Ledge Light and Selective
- 16. Tuck an Open Writing Desk Beside the Window
- 17. Connect Sage, Cream, and Warm Wood Tones
A Reclaimed Wood Feature Behind the Bed
A reclaimed look does not need old timber. This Old House’s rustic headboard with Tom Silva and Kevin O’Connor fixes stained, kiln dried poplar boards to a plywood base for a weathered finish. That gives the variation of old boards without the nails, insects or damp that salvaged wood can bring.
For the first bedroom below, start with the bed width and the position of its lamps or sockets. Lay the board colors out dry before fastening them, and plan the whole backing and mounting rather than attaching decorative strips loosely above pillows. The source figures are for its headboard example, excluding the bed, lighting and room furnishings.
1. Frame the Bed with a Weathered Wood Panel
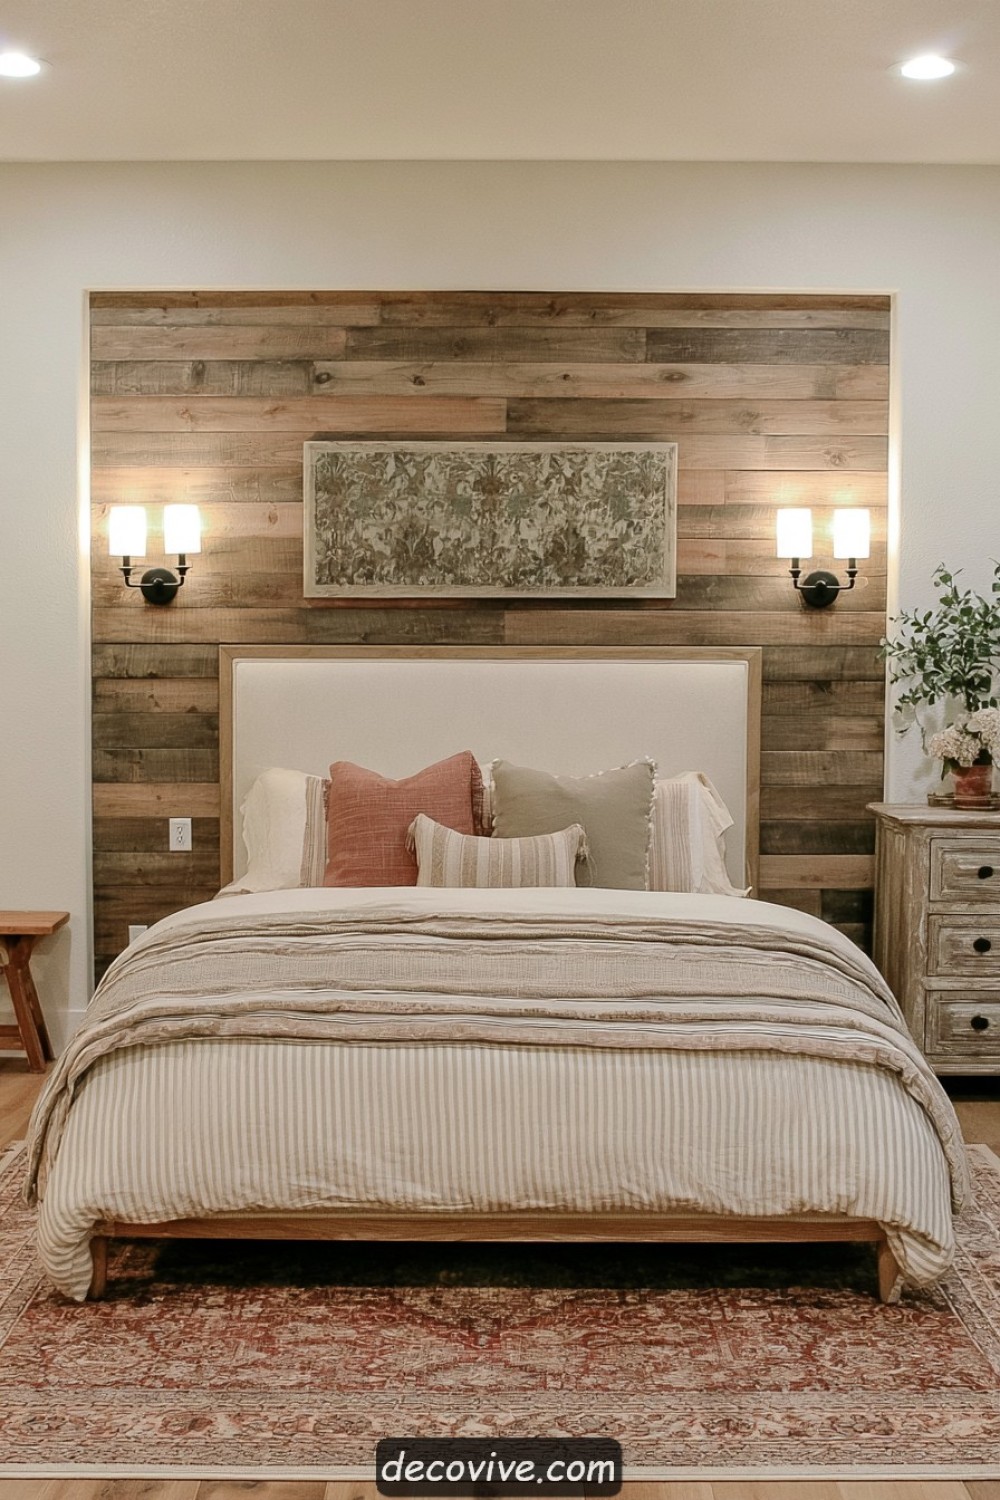
Horizontal boards form a defined rectangle behind the upholstered bed, with wall lights at either side. Lay the brown tones out on the floor first, spreading dark boards rather than grouping them into an accidental stripe. Size the panel around the headboard and lighting positions. Keeping the texture within one rectangle makes this a manageable feature instead of a whole room cladding project.
2. Pair Beadboard with Arched Bedside Storage
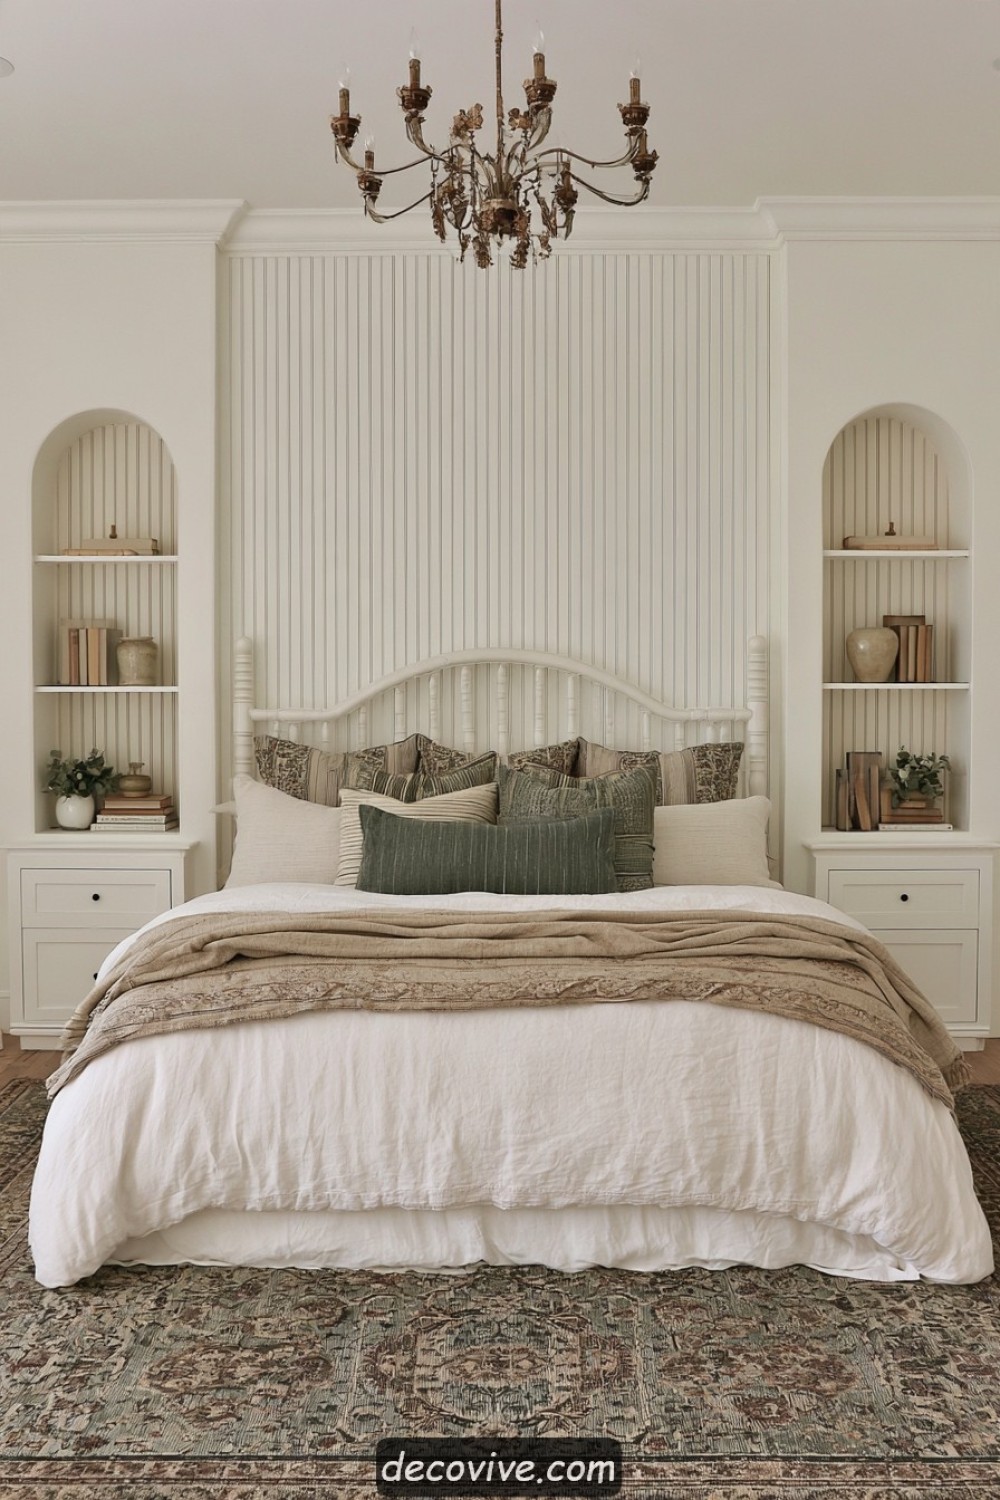
The arched shelves and drawers give each side of the bed its own storage while vertical beadboard links them. Measure a book, glasses case and the items normally used at night before setting the lower shelf height. Keep those objects reachable from bed, leaving the upper arches for a few lighter display pieces. Drawers should open without catching the bedding.
3. Soften an Iron Bed with Small Checked Pillows
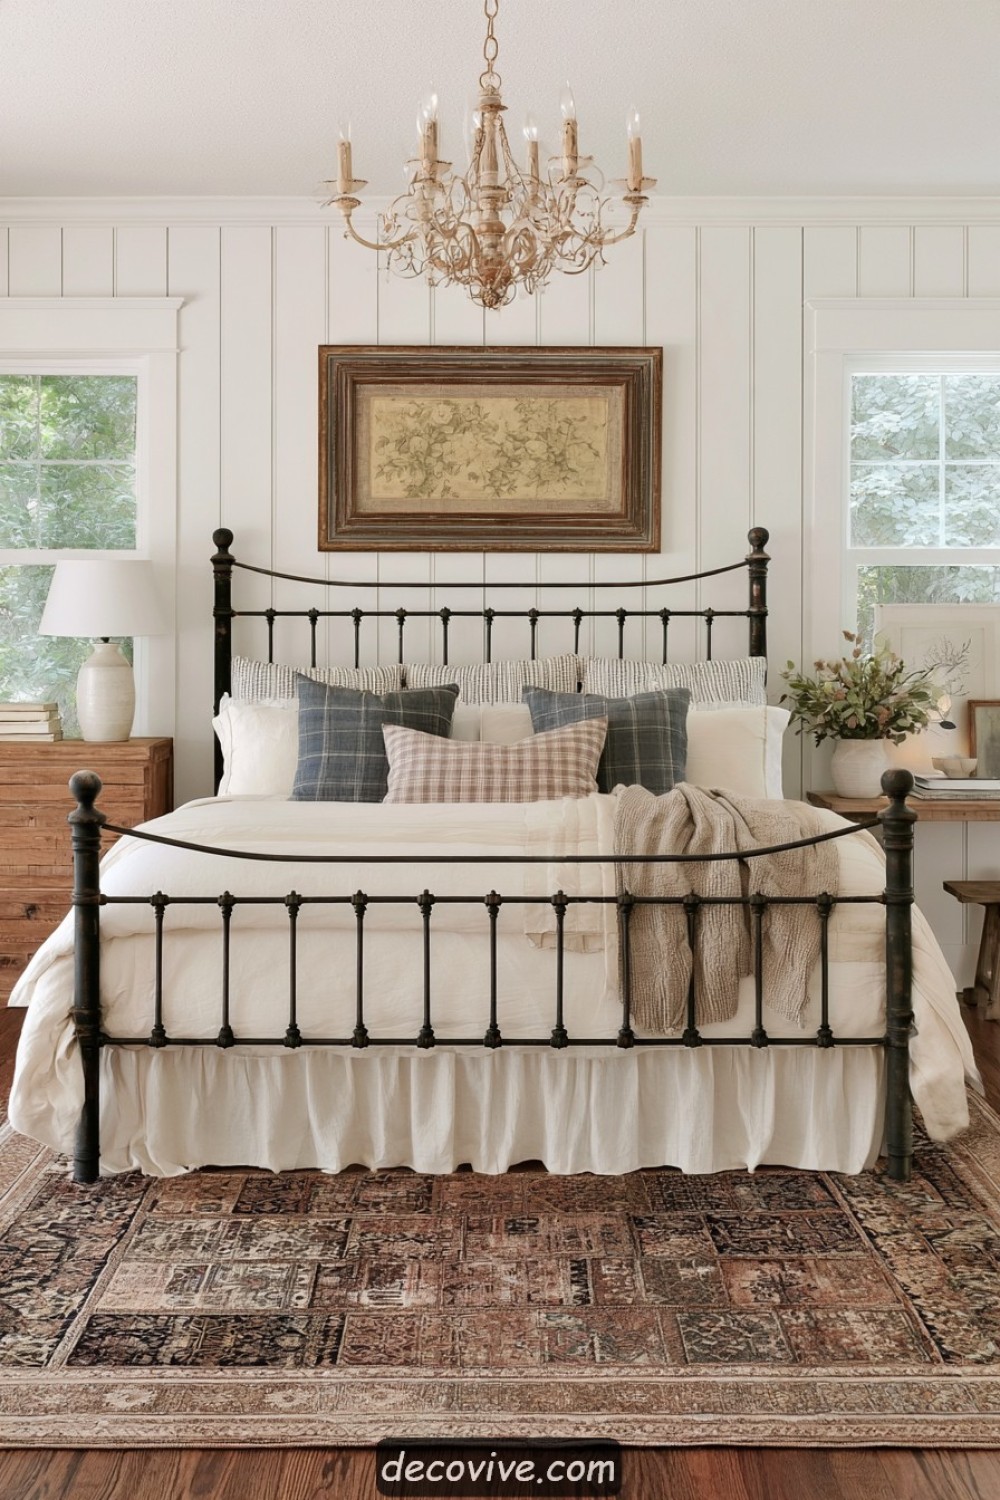
A slender iron frame gives checked pillows a clear outline. Verify an older bed’s joints, hardware and mattress support before use. Measure the frame’s opening rather than assuming it matches a current mattress size.
4. Let Ceiling Beams Carry the Rustic Detail
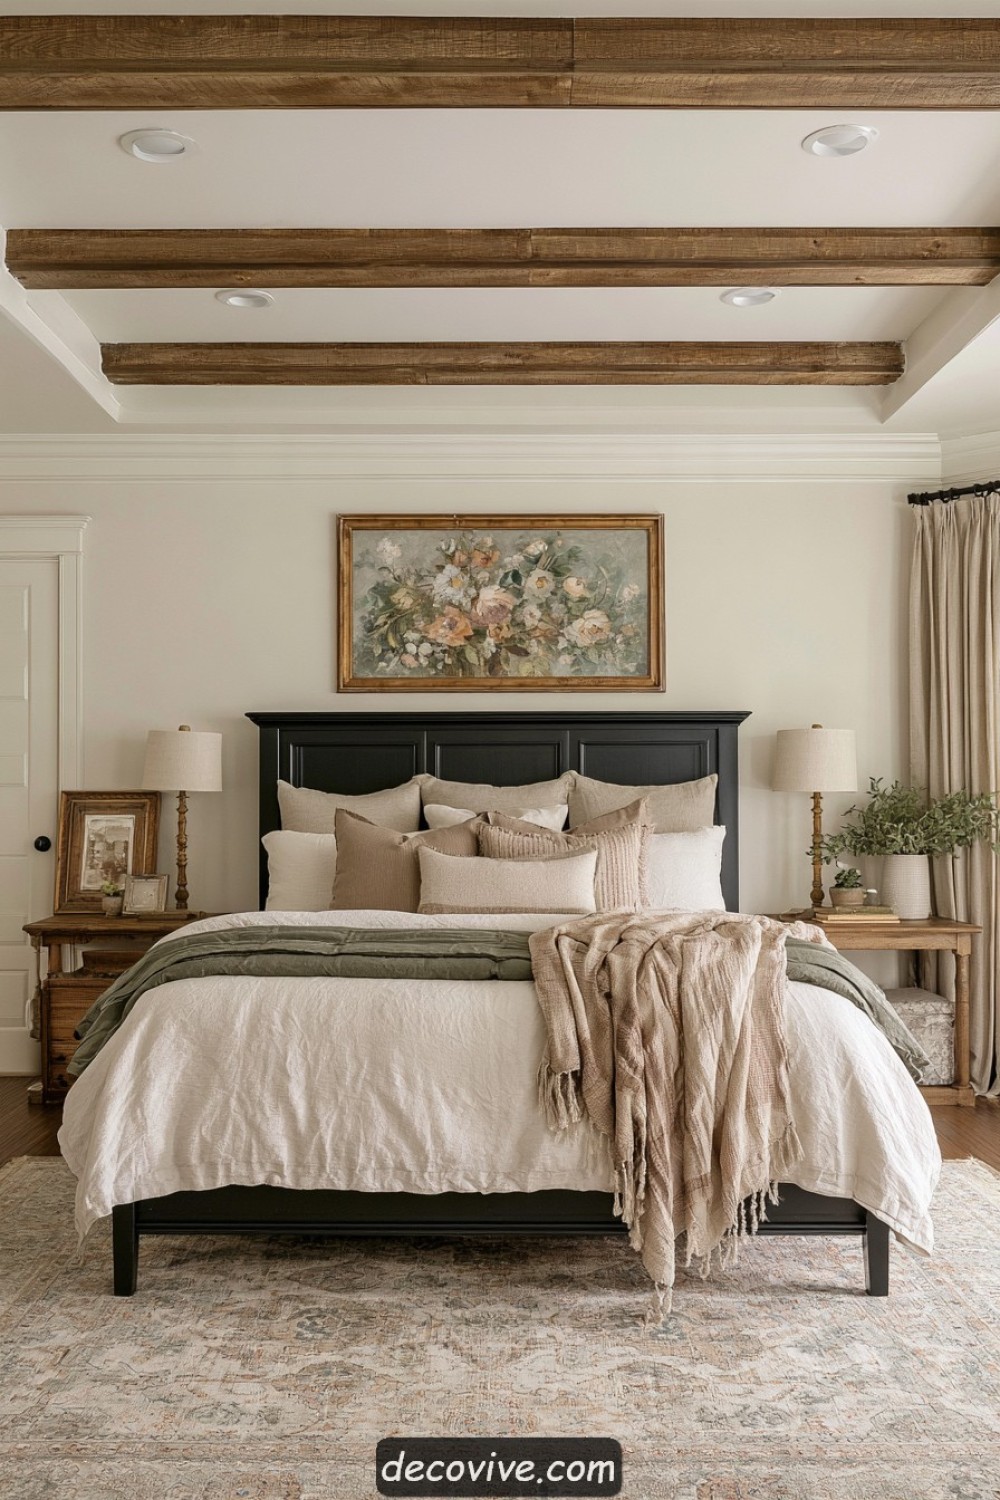
Timber beams supply the room’s strongest rustic detail above plain bedding. Relate them to bedside wood while keeping the ceiling pale. Have damaged or altered structural timber assessed before refinishing or changing its load.
5. Make a Painted Dresser the Collected Feature
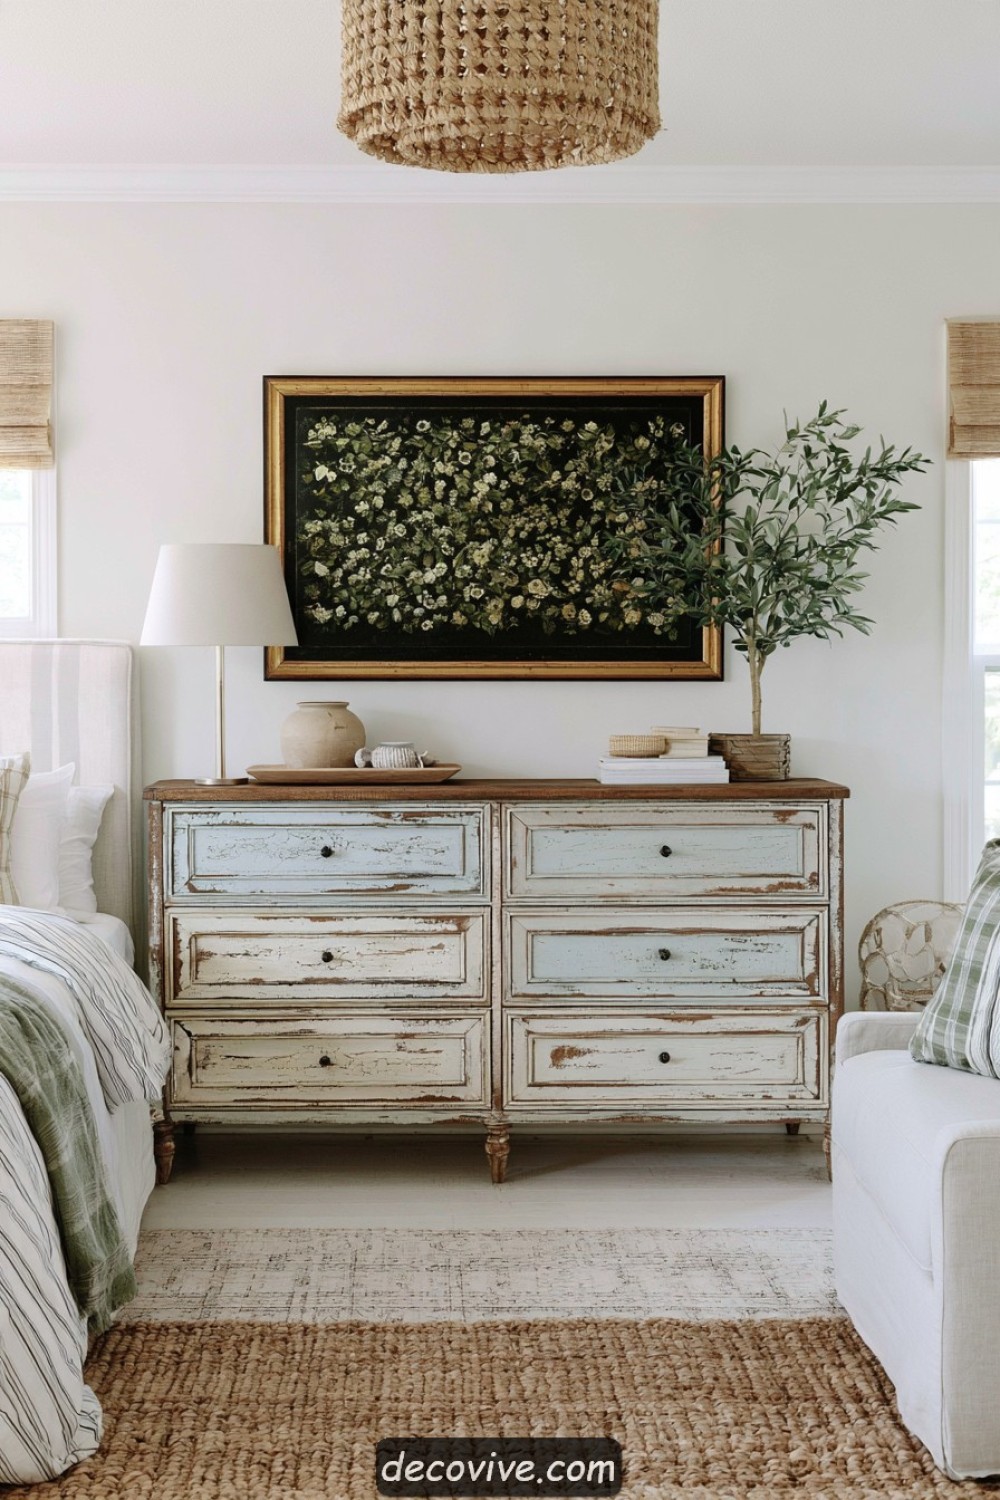
The blue and cream dresser adds gentle color beneath the floral picture. Open and close every drawer before buying a secondhand piece, checking runners, joints and clean interiors. Assess unknown old finishes before sanding; a controlled painted finish can supply an aged look without preserving loose paint. Secure the dresser against tipping before filling it.
6. Place a Storage Bench Beneath the Window
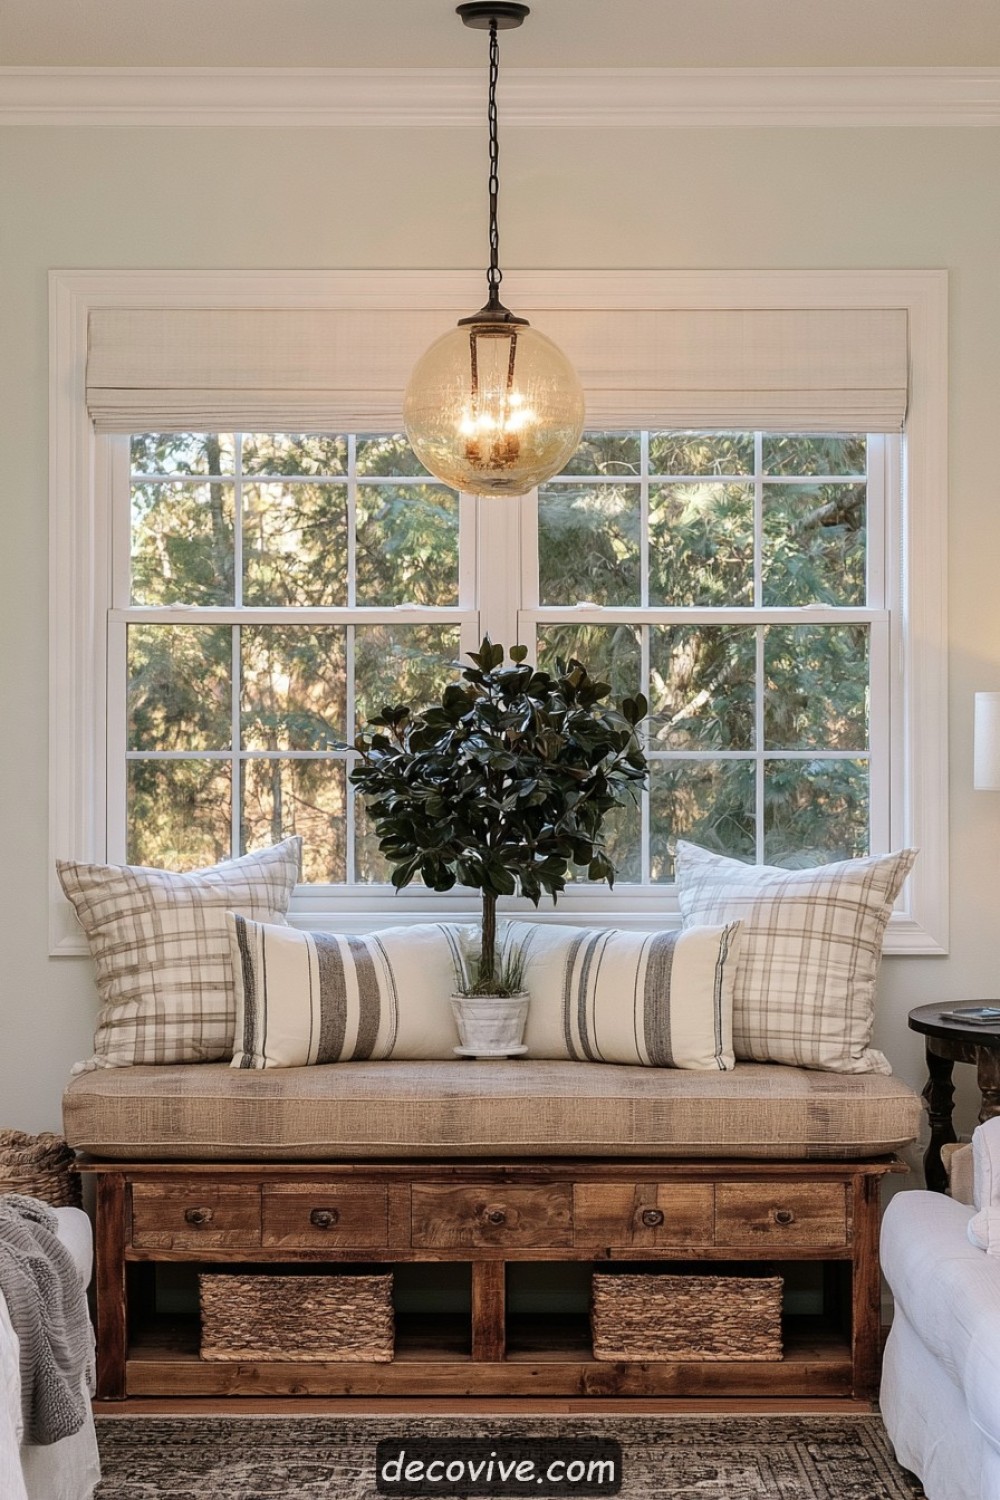
The wooden bench gives the window a place for sitting and spare textiles. Choose its finished height with the cushion included, then try the seat before deciding drawer positions. Use the open bays for baskets that pull out without scraping the rug. Leave the windowsill and any opening handles accessible behind the cushions.
7. Borrow Barn Door Shapes for a Framed Bed Wall
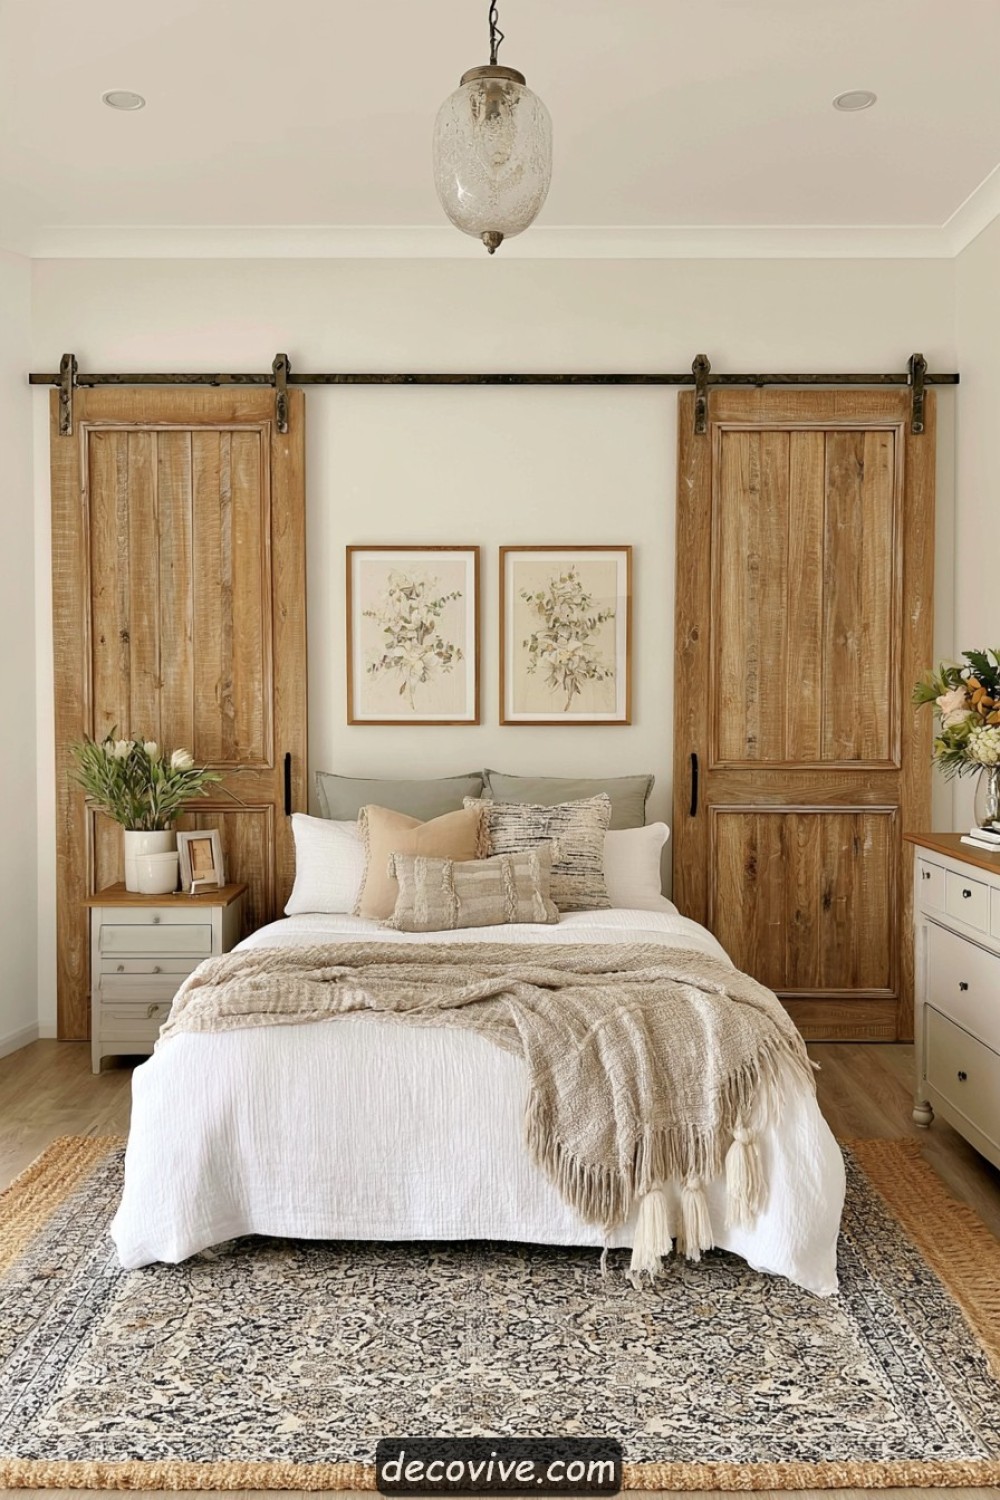
Barn door shaped panels frame the headboard beneath a dark rail. Decide whether they serve a real opening. Moving doors require a designed guided system and clear travel; fixed decorative panels need secure independent attachment.
8. Use a Peg Rail as a Quiet Horizontal Detail
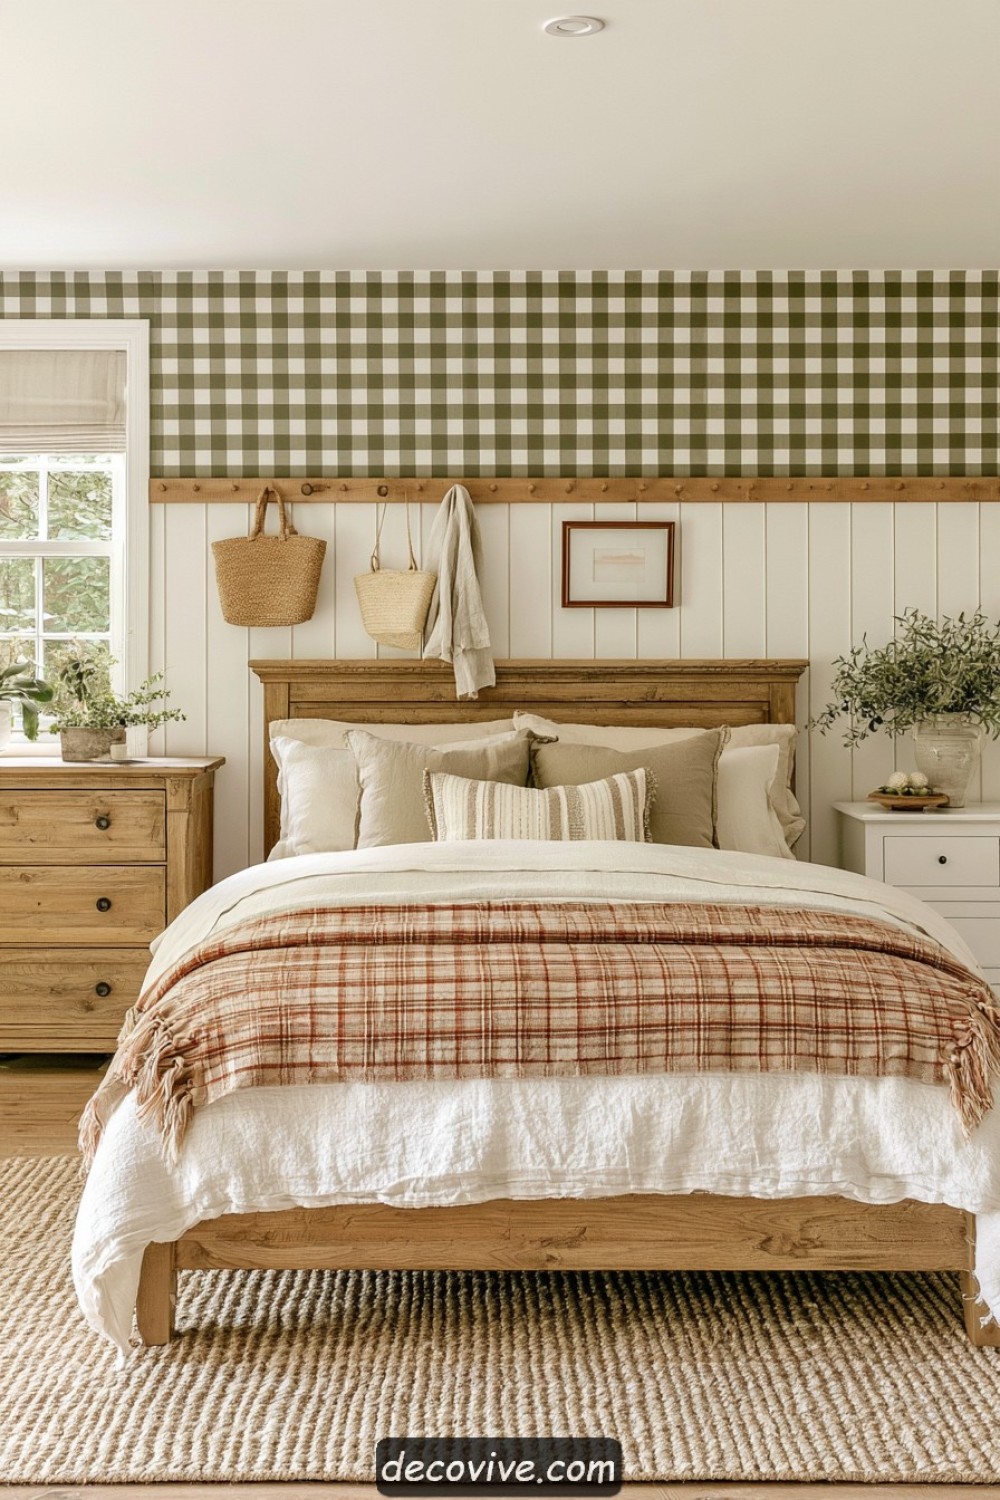
A timber peg rail divides checked upper wall and lower paneling. Put usable hanging storage on a reachable adjacent wall where possible. Keep the space immediately above pillows free of hanging items.
9. Layer Checks with Plain Bedding and a Woven Throw
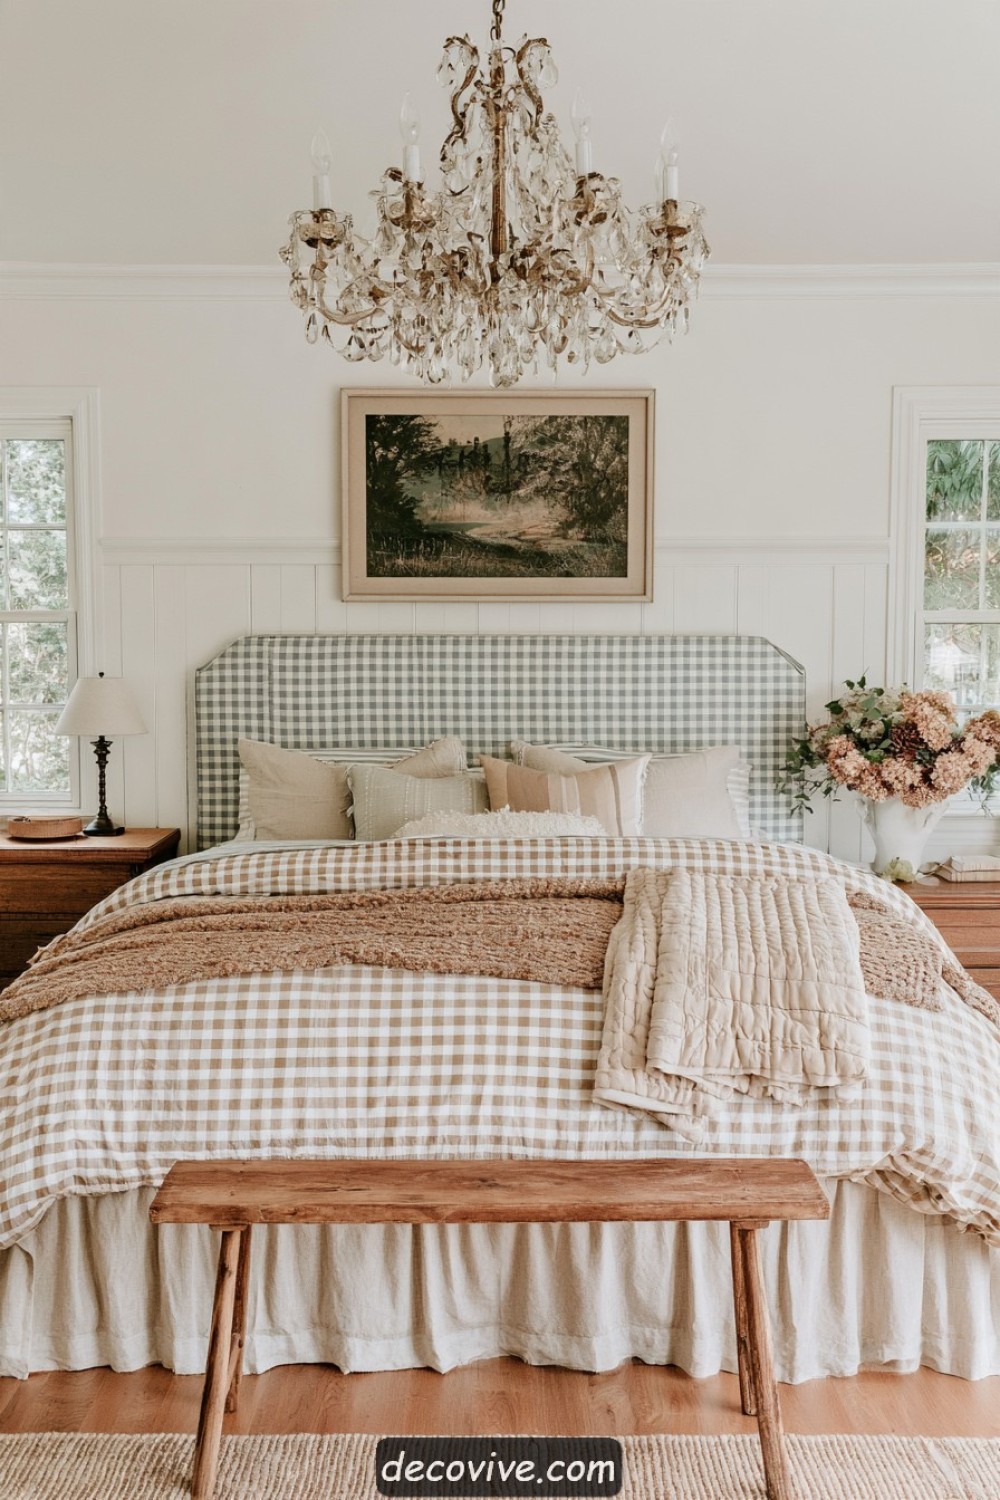
Small checks repeat across the headboard and bedding, relieved by plain pillows. Choose plain bedding in one color from the checks, and check that the layers can be washed at the same settings. Give decorative cushions a place to go at night.
10. Add a Spindle Bench for Dressing and Daily Use
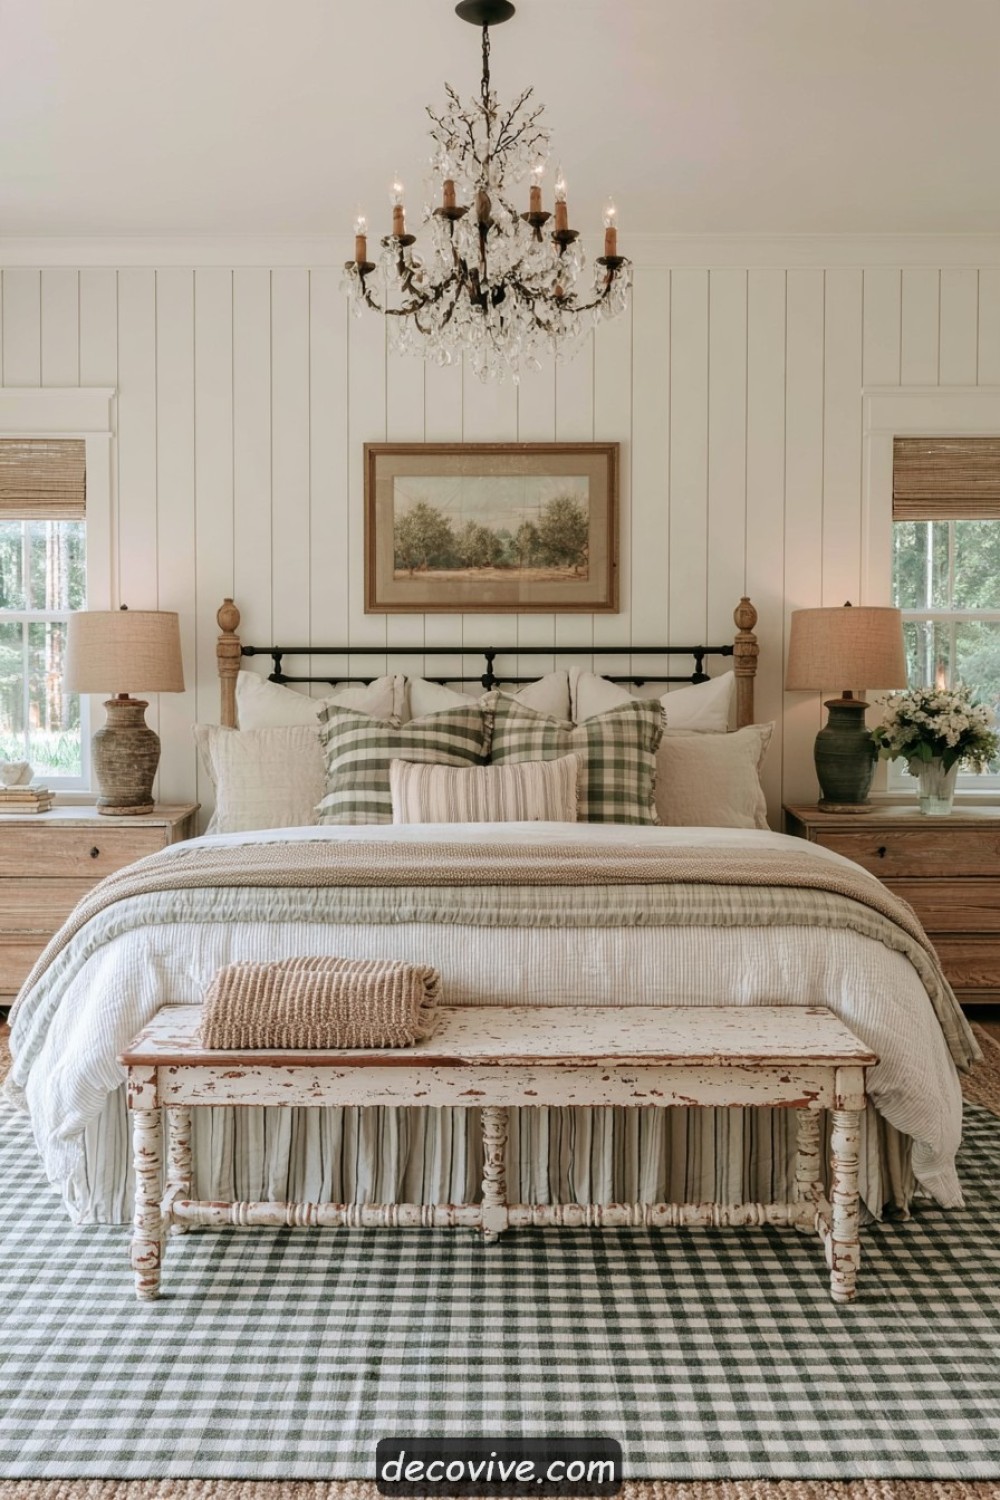
A spindle bench repeats the bed’s traditional lines. Measure circulation with nearby drawers open and choose a seating rated model if used for dressing. Its width should leave comfortable routes around both ends.
11. Give Spare Linens a Cabinet with Textured Doors
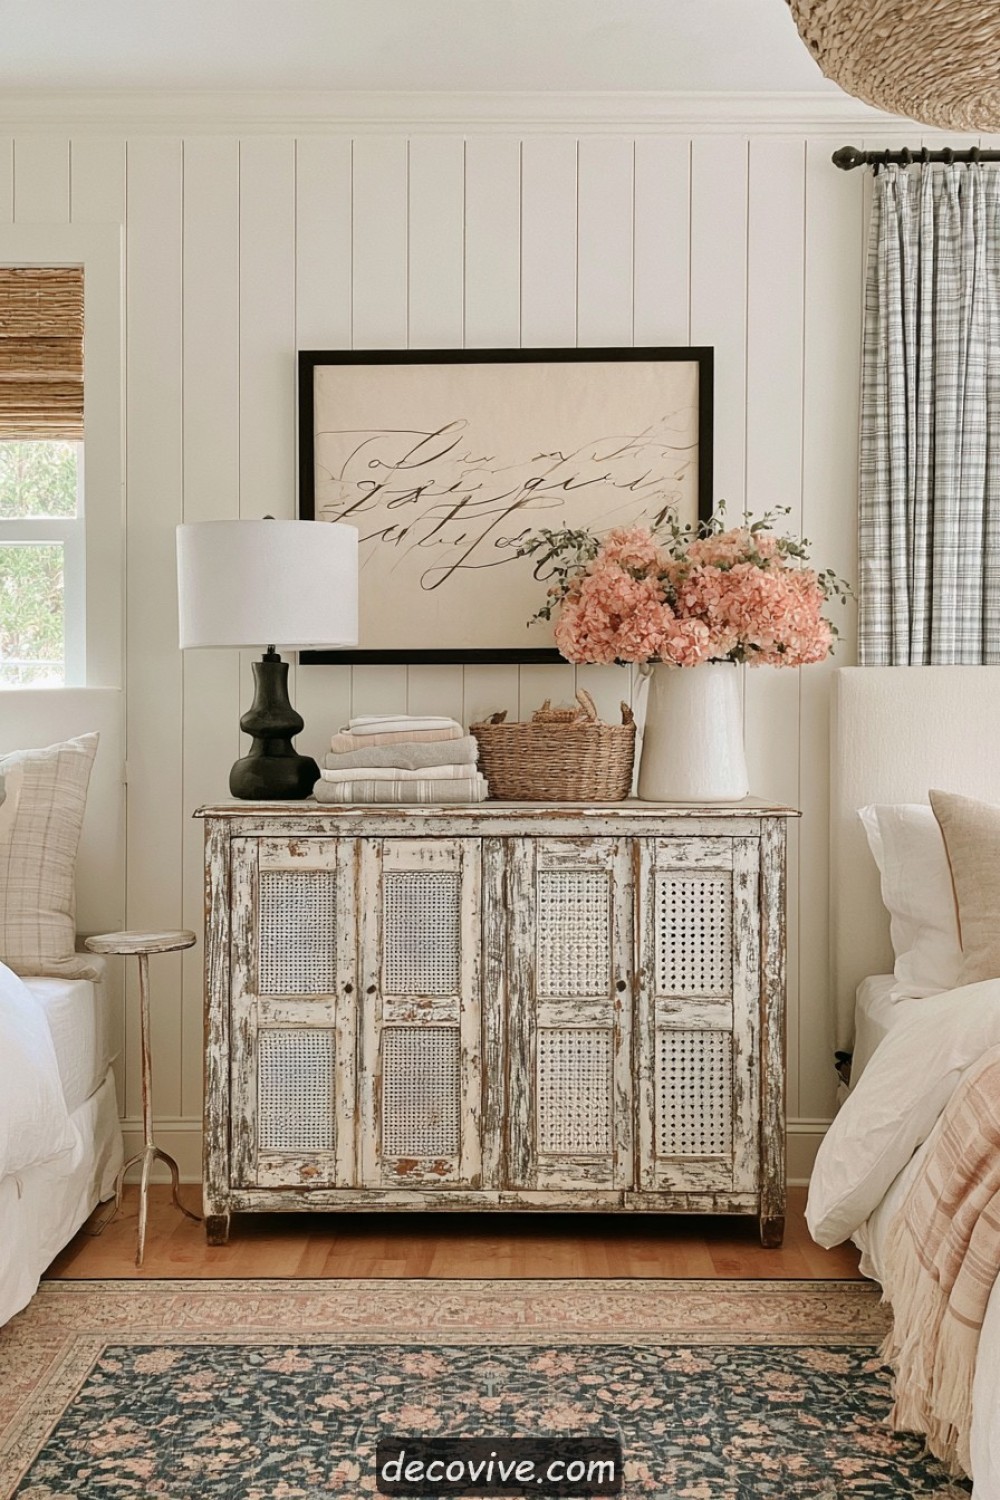
Textured doors give the low linen cabinet a collected character while hiding ordinary bedding. Measure folded sheets as a stack before setting shelf spacing, and smooth any rough interior edges that could snag them. Keep heavy or bulky items low. The top can hold one lamp or picture without becoming a second storage pile.
12. Use Shutters to Add Vertical Texture Beside the Bed
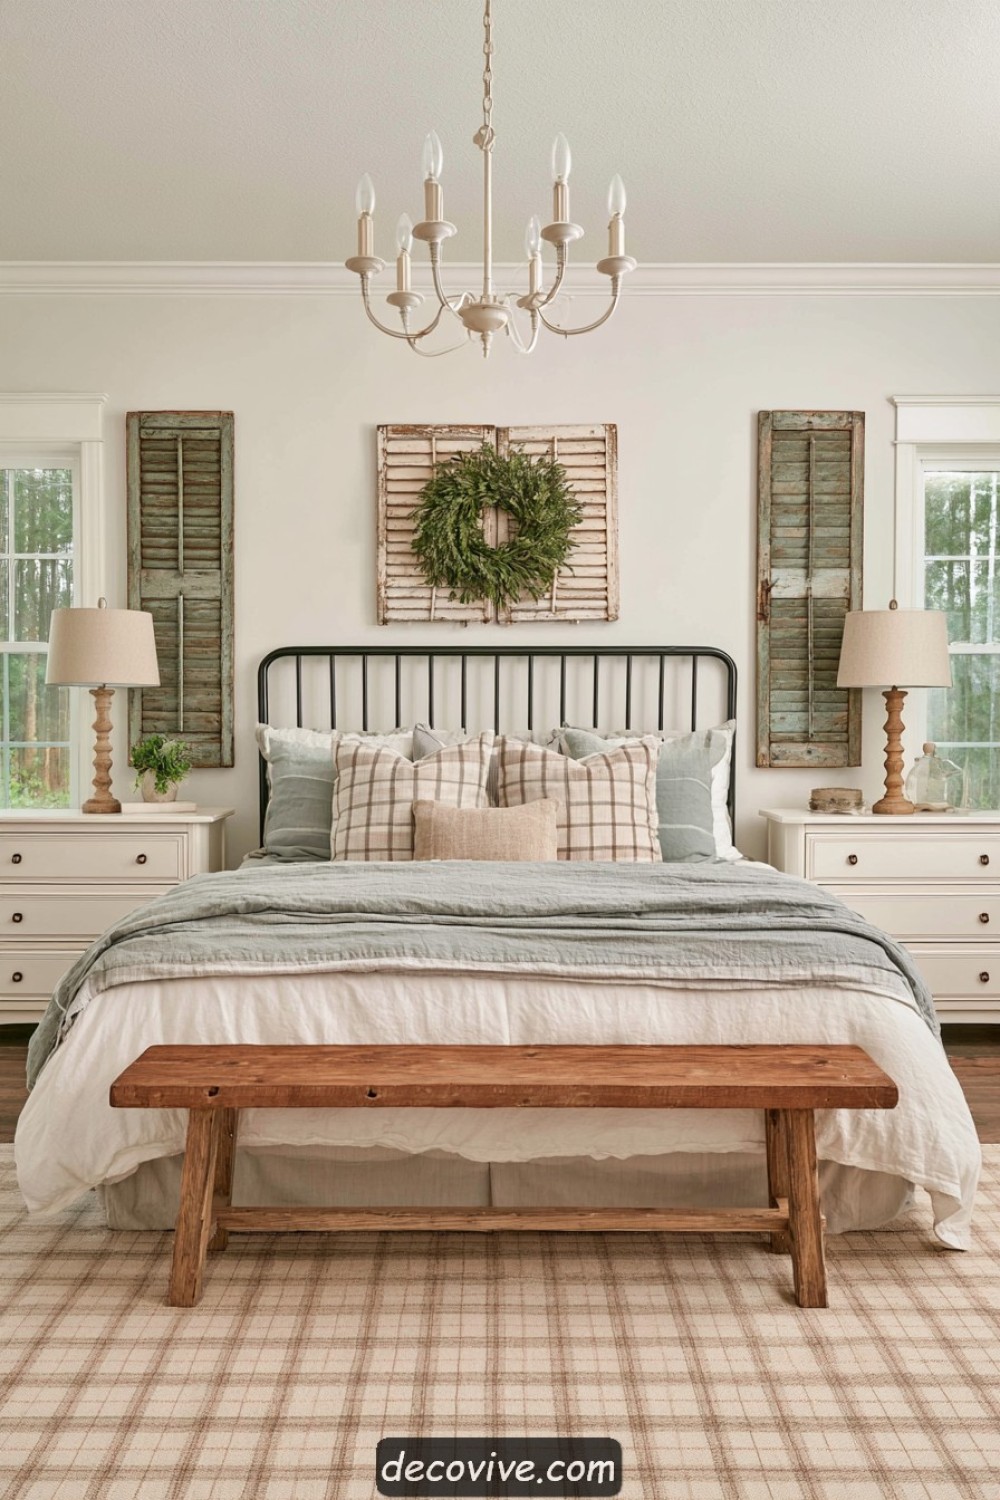
Narrow shutters flank the iron bed above the white bedside drawers. Treat them as fixed decorative panels, with their own wall fixings, rather than letting them lean behind furniture. Check salvaged slats and old coatings before refinishing. Repeating the weathered wood in the foot bench connects the vertical panels to the rest of the room.
13. Ground the Bed with a Larger Scale Checked Rug
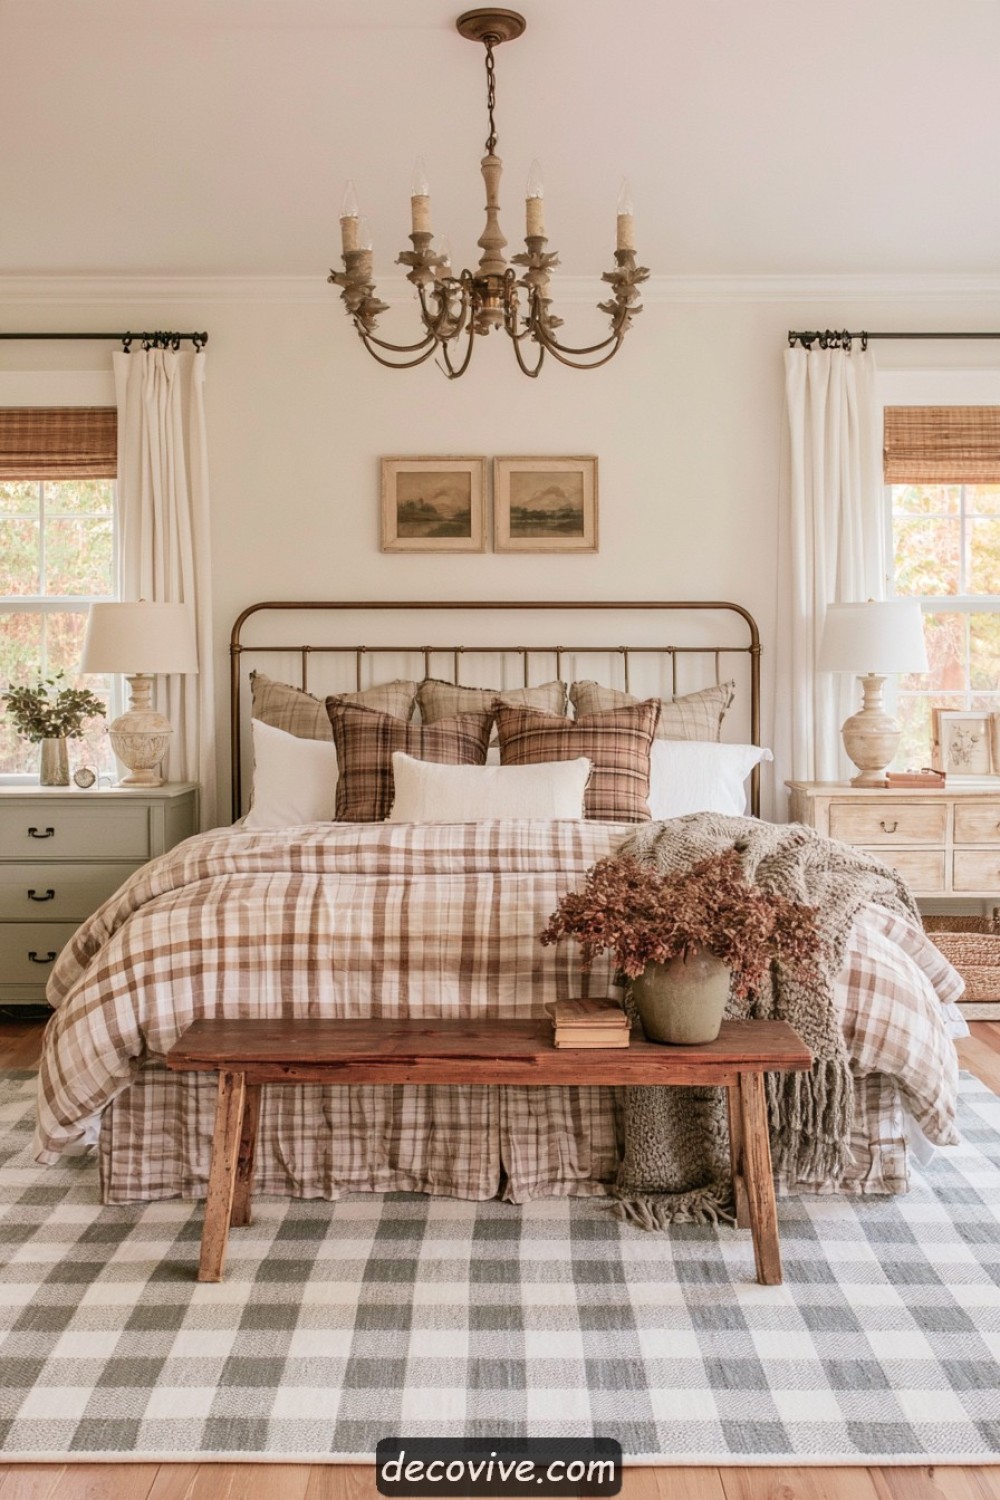
A large checked rug gives the smaller bedding patterns a separate scale. Tape out its footprint before buying, allowing a soft landing beside the bed. Check doors, bench feet and flat edges along walking routes.
14. Set a Brick Feature Between Quiet White Walls
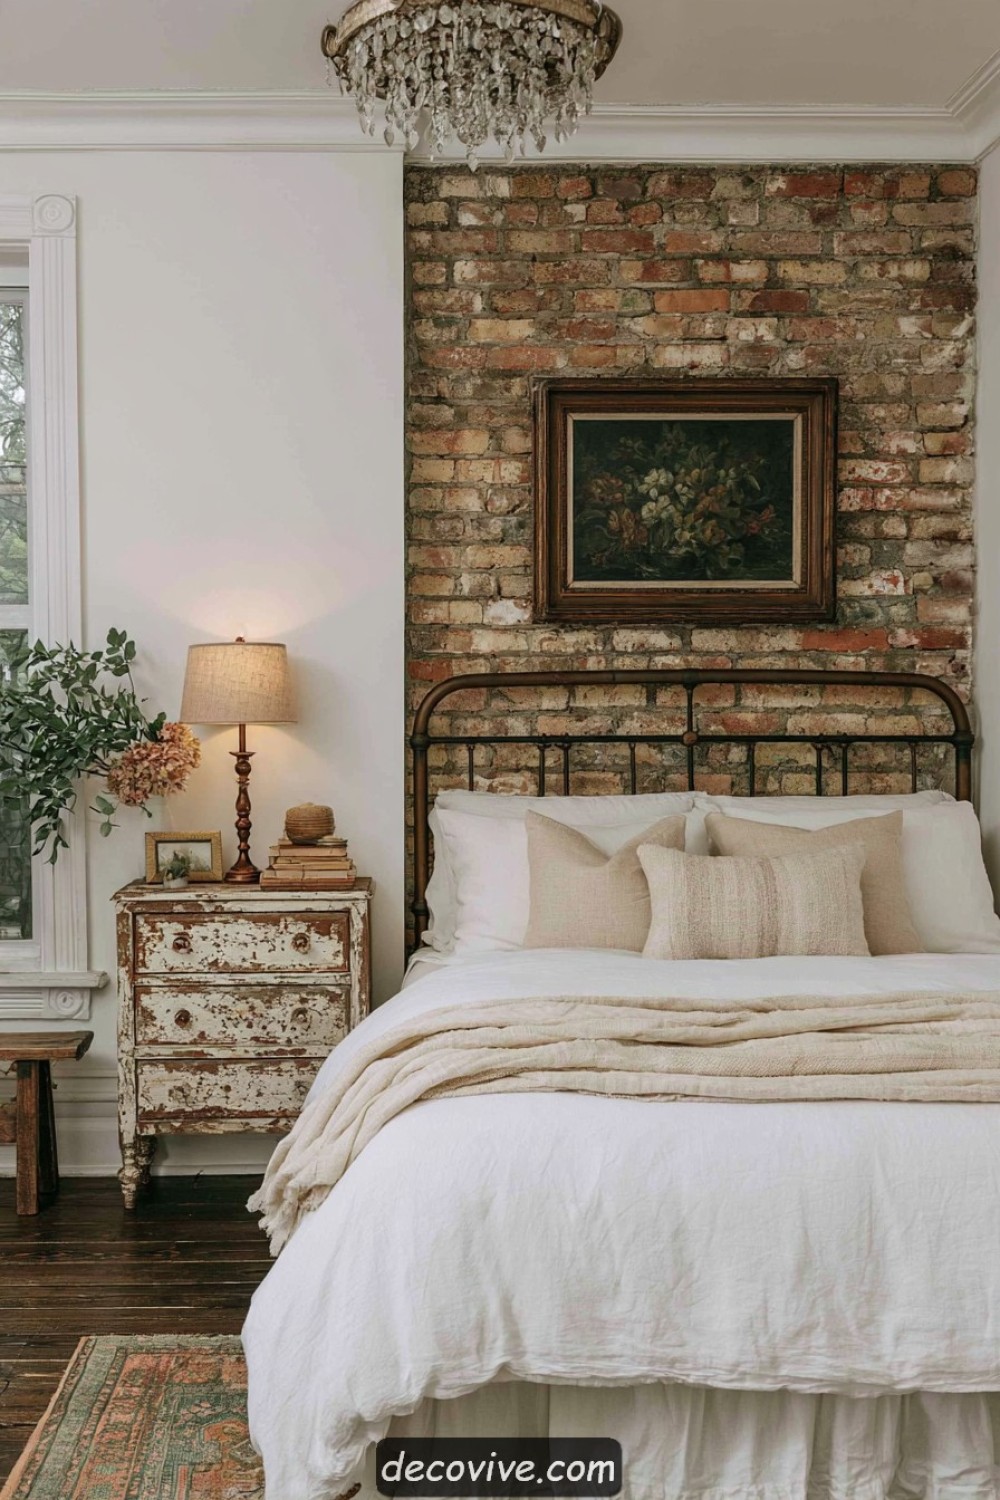
One brick section contrasts with pale walls and plain bedding. Assess mortar, dampness and hidden services before exposing existing masonry. A controlled feature area lets the brick texture remain visible without filling every wall.
15. Keep a Picture Ledge Light and Selective
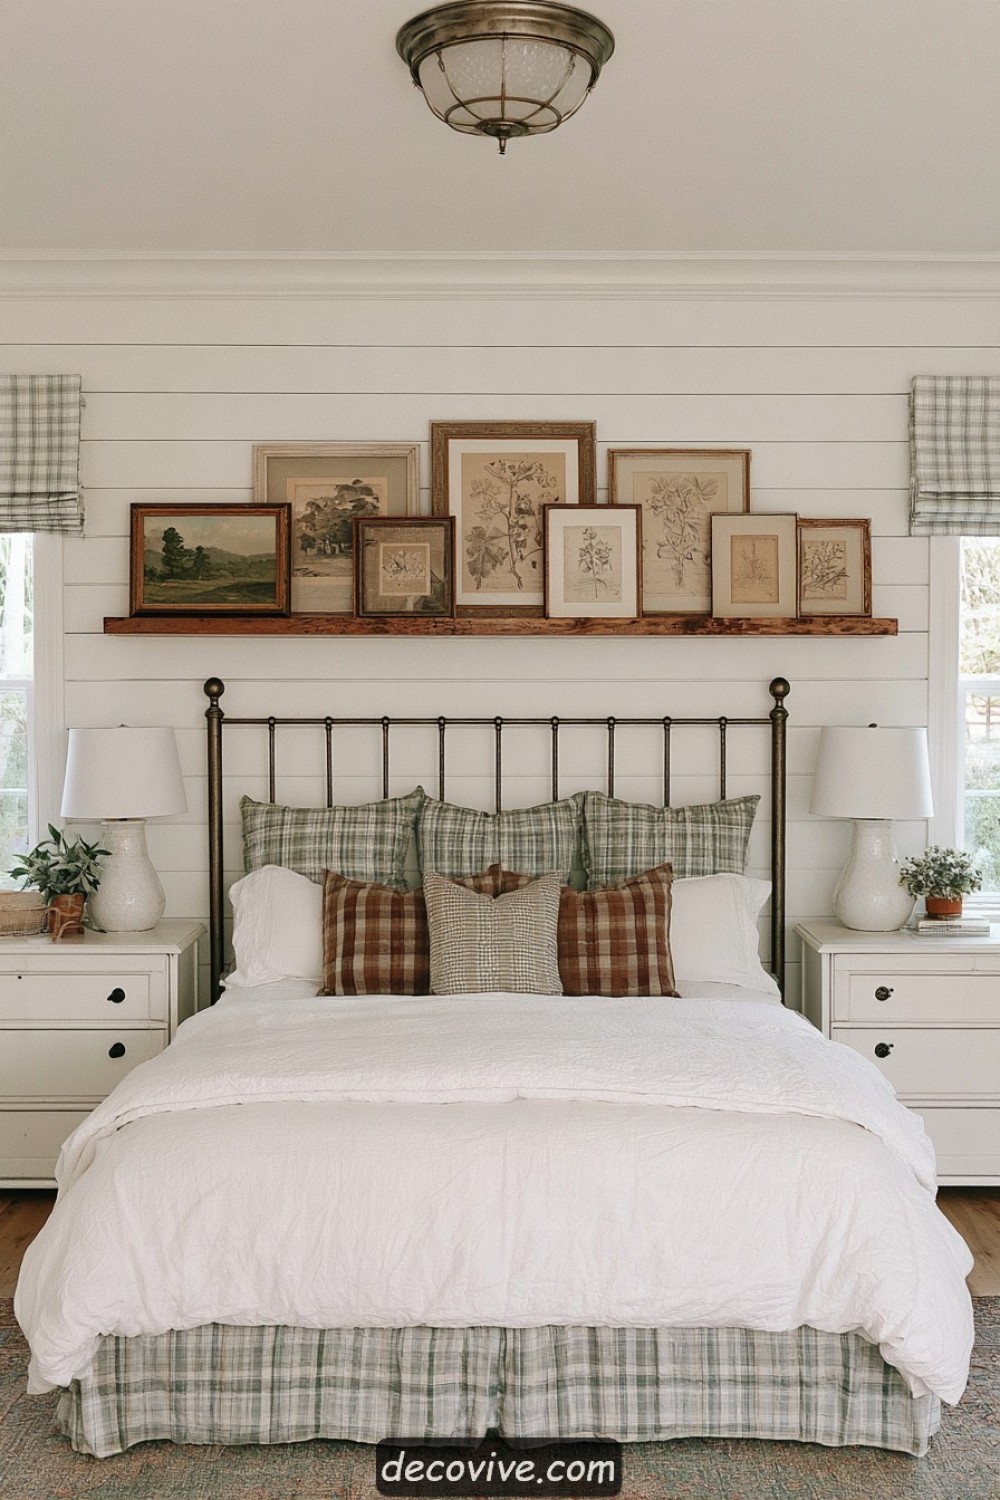
A slim picture ledge groups small frames over the bed. Plan shelf, frames and retention as one mounted system. Keep the selection light and secure each object rather than relying on a lip beneath loose leaning glass.
16. Tuck an Open Writing Desk Beside the Window
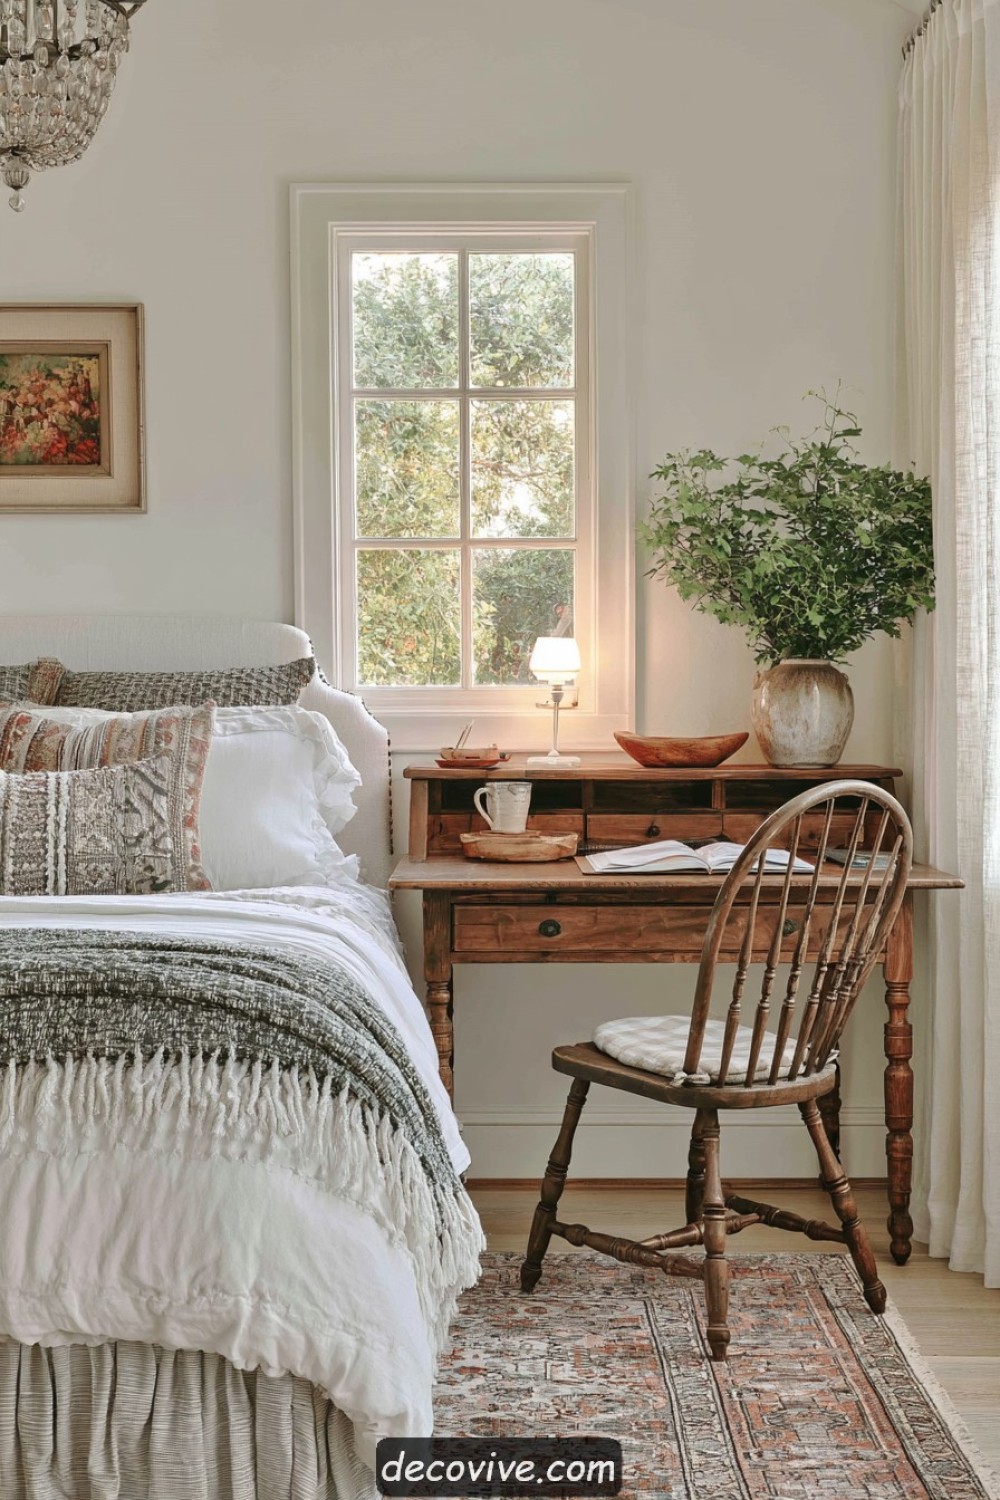
The open wood desk fits beside the bedroom window, with a spindle chair that can tuck beneath it. Test the chair and desk together with a notebook open so the writing position is comfortable. Mark the chair pulled out before checking the path beside the bed. A small tray on the upper shelf can hold pens without filling the working surface.
17. Connect Sage, Cream, and Warm Wood Tones
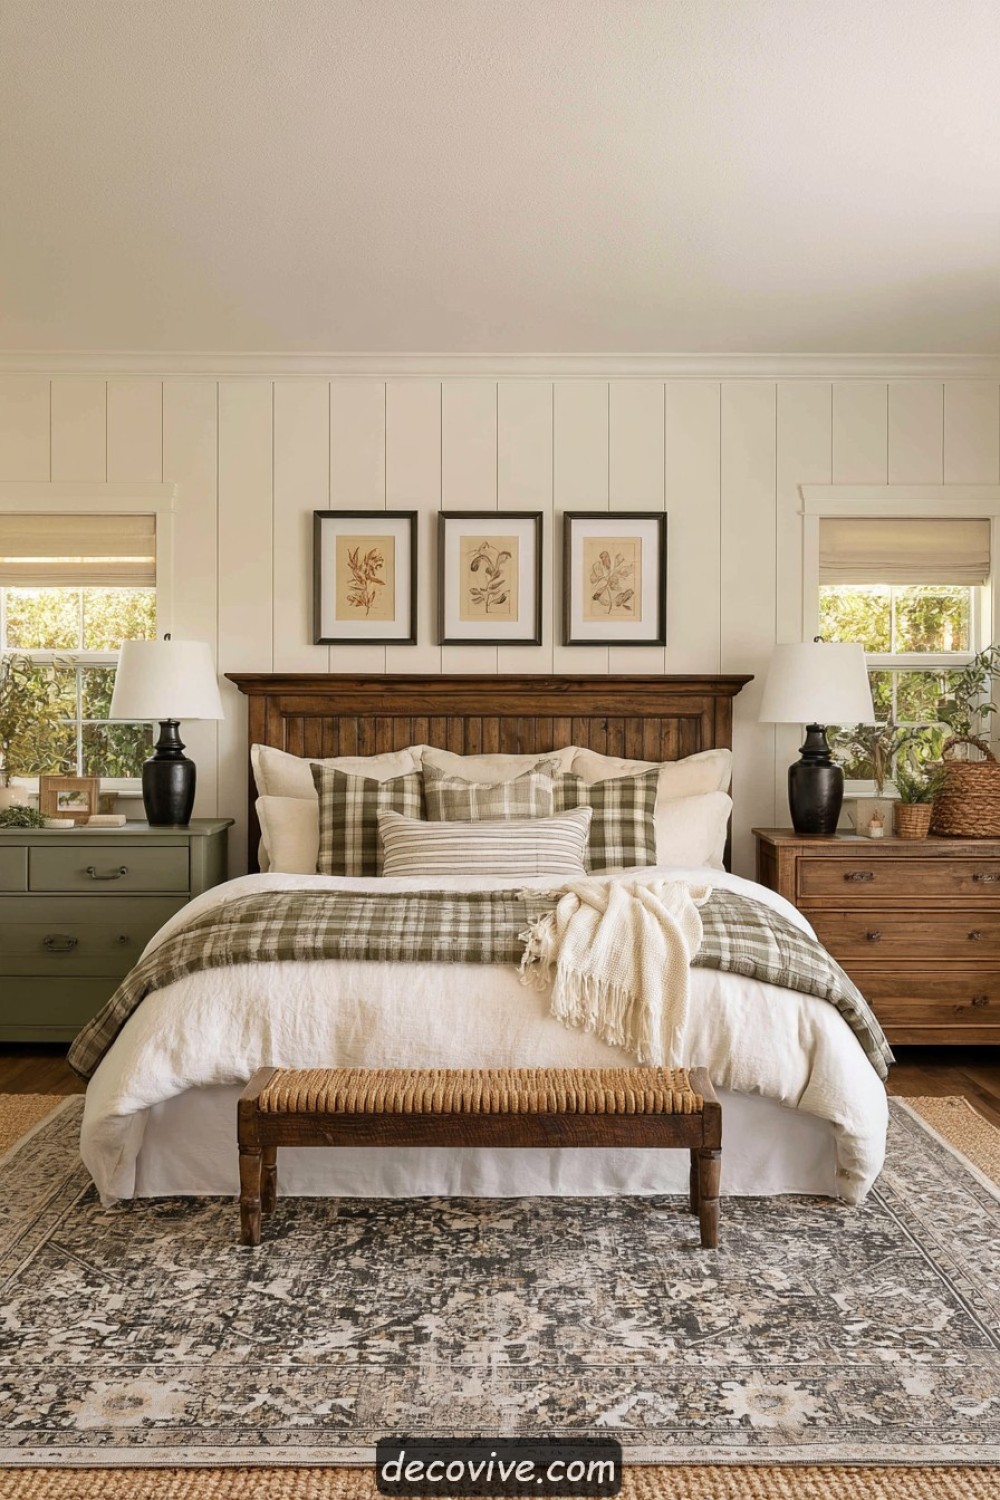
Cream bedding and warm wood join muted green accents. Compare paint and fabric samples beside the existing floor and largest furniture. Review both daylight and evening light before extending the palette across the room.

Leave a Reply