

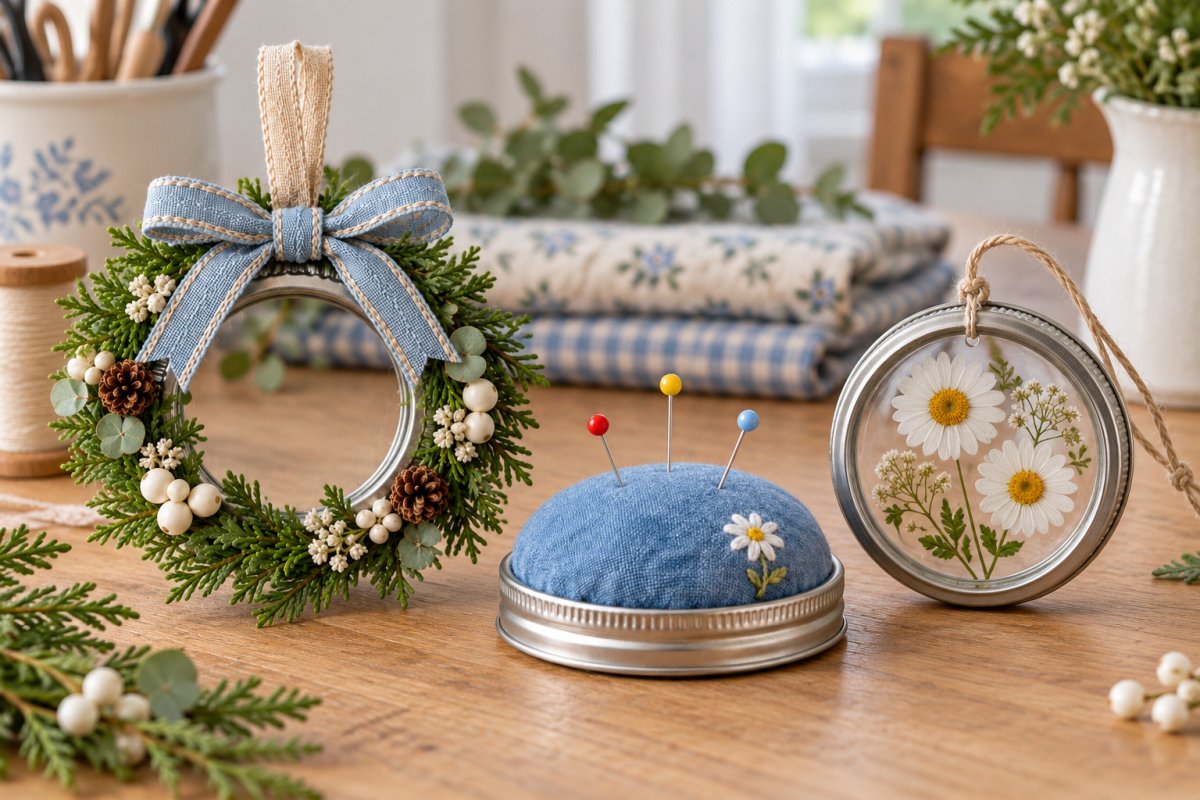
A spare Mason jar lid can become a tiny frame, a useful sewing accessory or the starting point for a larger display. These 30 ideas use the flat discs, the screw bands or both, with options for a single lid and for a matching collection. Choose a project that fits the parts you have, then adapt its colors and finish to your space.
Table of Contents
- Choose and Prepare Your Lids
- 1. An Evergreen Wreath with a Blue Bow
- 2. A Silver Lid Mobile with Blue Beads
- 3. A Little Portrait in a Round Frame
- 4. Bright Patterned Ornaments with Ribbon Loops
- 5. A Painted Flower Mobile
- 6. Felt Pumpkins for an Autumn Window
- 7. Button and Felt Mini Art Discs
- 8. A Hanging Christmas Tree with Felt Motifs
- 9. Reindeer Ornaments with Felt Antlers
- 10. A Wall of Tiny Colorful Pictures
- 11. Pressed Flowers Hanging from a Branch
- 12. Pocket Sized Landscape Ornaments
- 13. Fruit and Vegetable Fridge Magnets
- 14. A Hanging Seed Tray for Birds
- 15. Felt Flowers in a Small Pot
- 16. A Mini Stand with a Cork Top
- 17. A Woven Ring Wall Hanging
- 18. Foam Stamps with Lid Handles
- 19. A Green Turtle for a Shelf
- 20. A Pom Pom Tree on a Wooden Base
- 21. Painted Lids for Battery Tea Lights
- 22. A Fridge Display for Small Spice Containers
- 23. A Round Cork Board for Short Notes
- 24. A Washable Mesh Cover for a Drink
- 25. A Hand Mirror with a Wooden Handle
- 26. A Sunburst Rack for Light Accessories
- 27. A Soap Dish with a Slatted Insert
- 28. Illustrated Markers for Potted Plants
- 29. A Fabric Pincushion in One Lid
- 30. A Two Tier Jewelry Stand
- General Cost and Time Estimates
Choose and Prepare Your Lids
A two piece canning lid has a flat disc and a separate screw band. Wash both, dry them thoroughly and set aside any with rust, sharp edges or damage. Measure your own pieces before cutting inserts; regular and wide mouth sizes differ. Used flat canning lids belong in craft projects rather than another canning batch. The University of Illinois Extension explains the difference between single use flat lids and reusable, undamaged bands.
Choose an adhesive labeled for both materials, and follow its curing and ventilation instructions. Adults should prepare holes and handle sharp tools or hot glue. Keep small parts, magnets, pins and hanging cords away from young children. Paint and decorative adhesives should never touch food or drinks.
1. An Evergreen Wreath with a Blue Bow
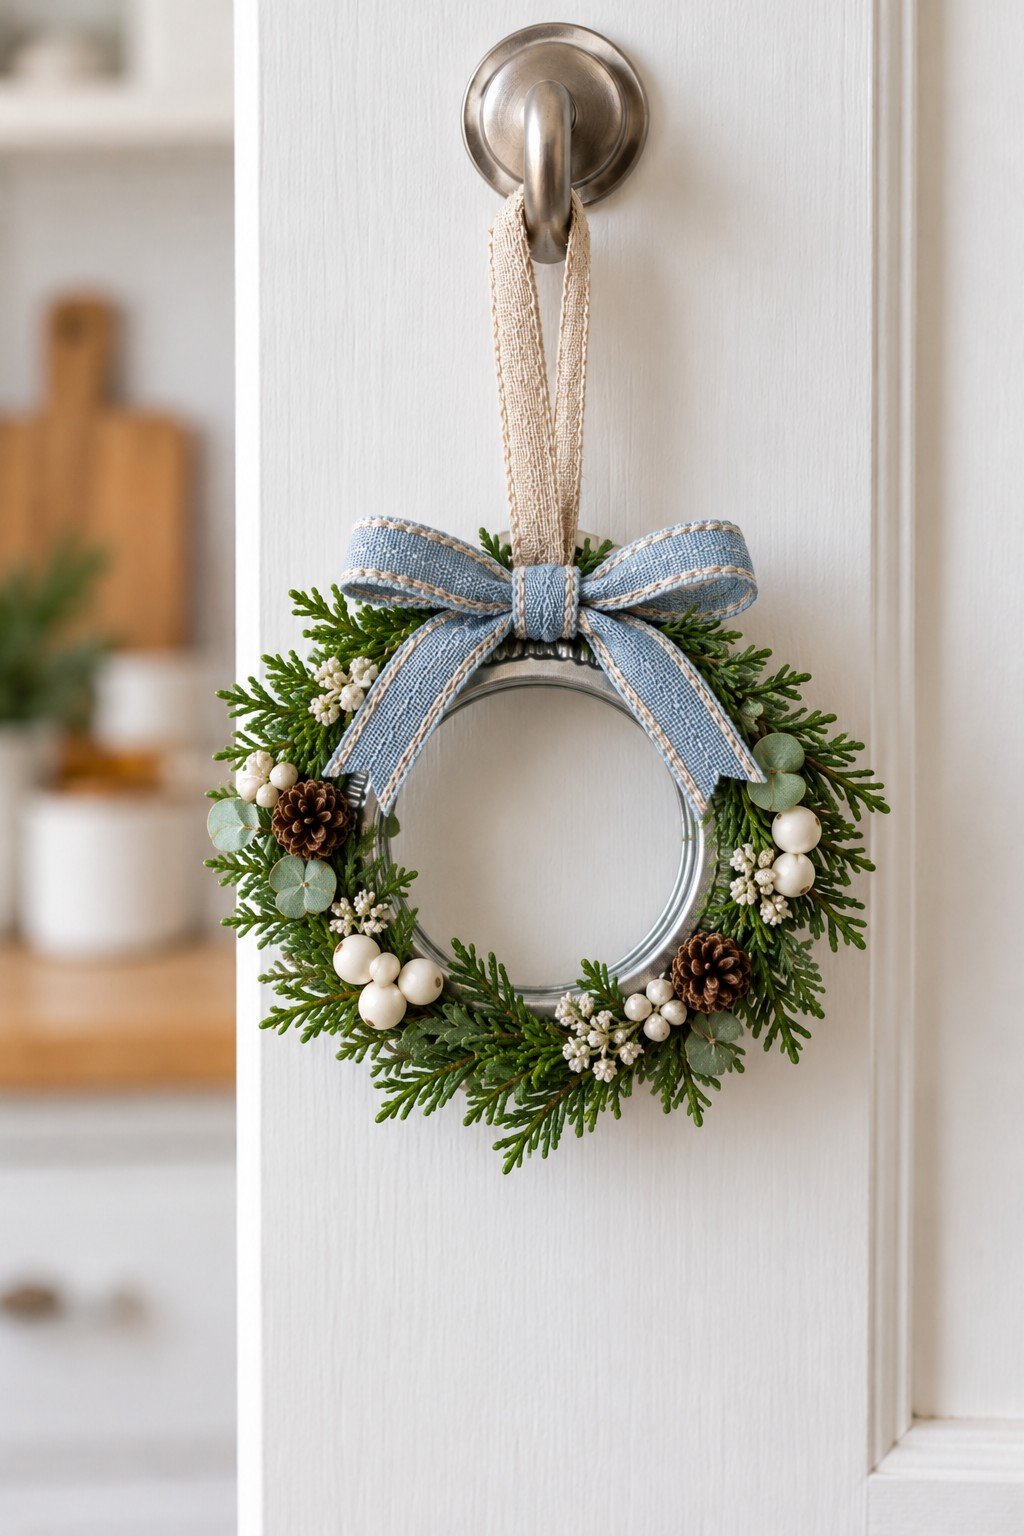
A lid band provides the circle for a miniature wreath that fits a cabinet knob or gift. Tie short sprigs around the ring in one direction, cover the bindings with a bow, and add a fabric hanging loop. Dried or artificial greenery keeps the display manageable indoors.
2. A Silver Lid Mobile with Blue Beads
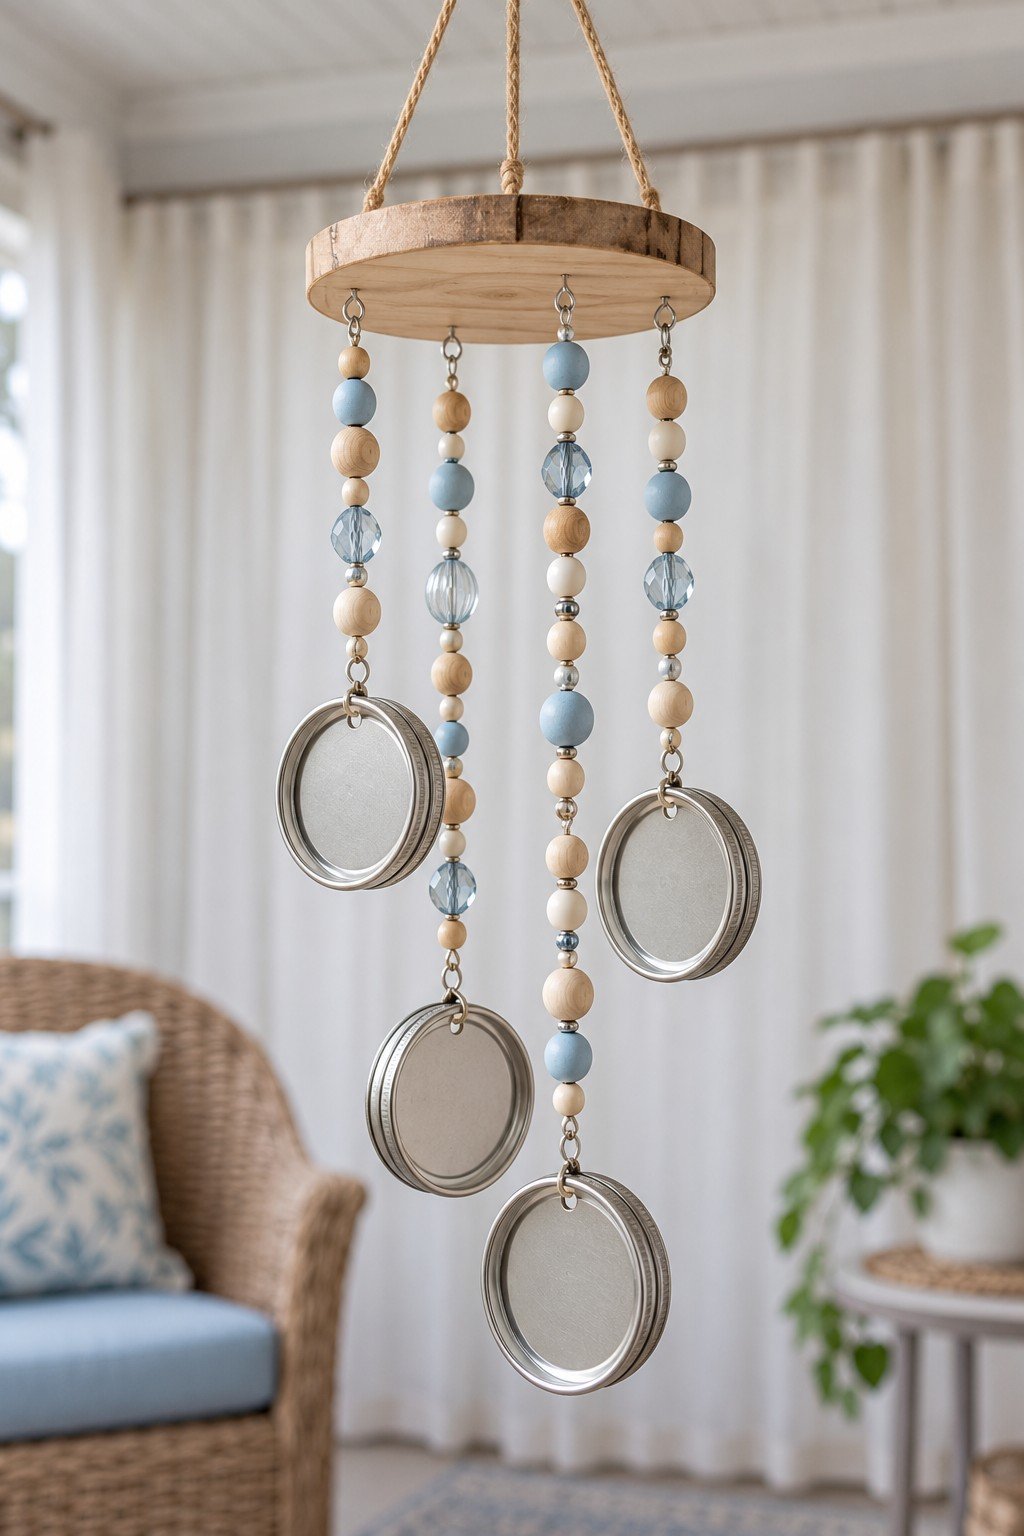
Four reflective discs and pale blue beads make an airy hanging that changes as it moves. Secure each strand to a wooden disc with closed screw eyes and attach each lid through a smooth, reinforced connection. Balance the strands before hanging the mobile well away from beds and small children.
3. A Little Portrait in a Round Frame
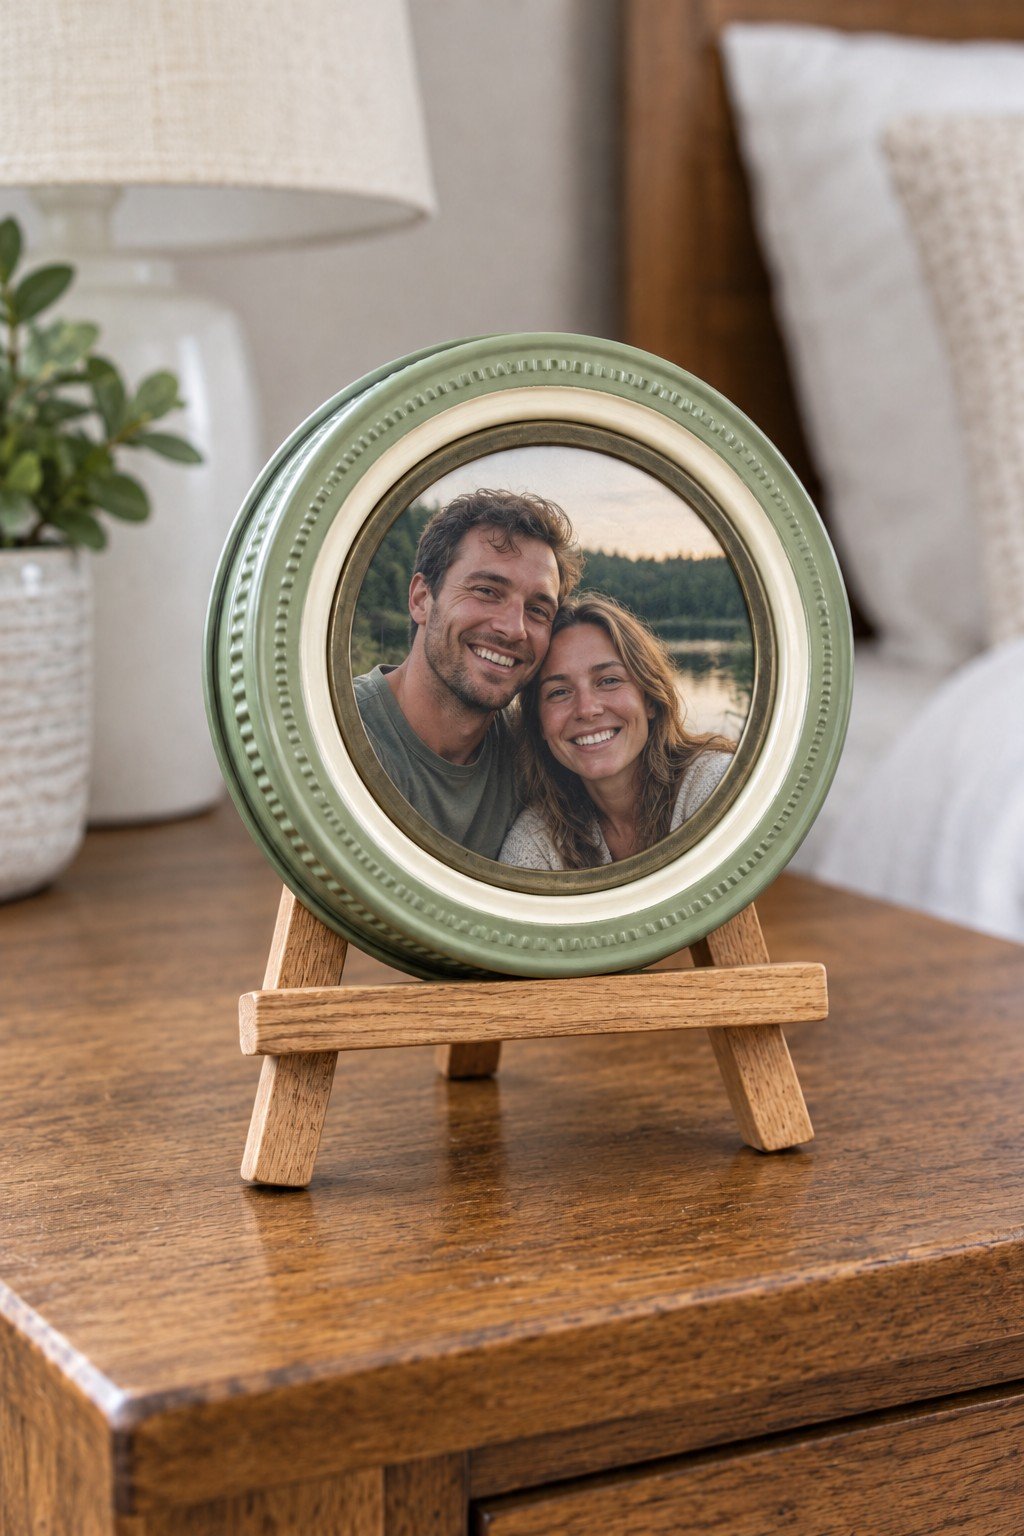
A painted outer rim gives a small portrait the look of a miniature frame. Cut a photo copy to fit the flat lid, protect it with a clear insert and retain the layers inside the band. A separate easel makes it easy to display without making holes in a wall. Find more ways to display favorite photographs.
4. Bright Patterned Ornaments with Ribbon Loops
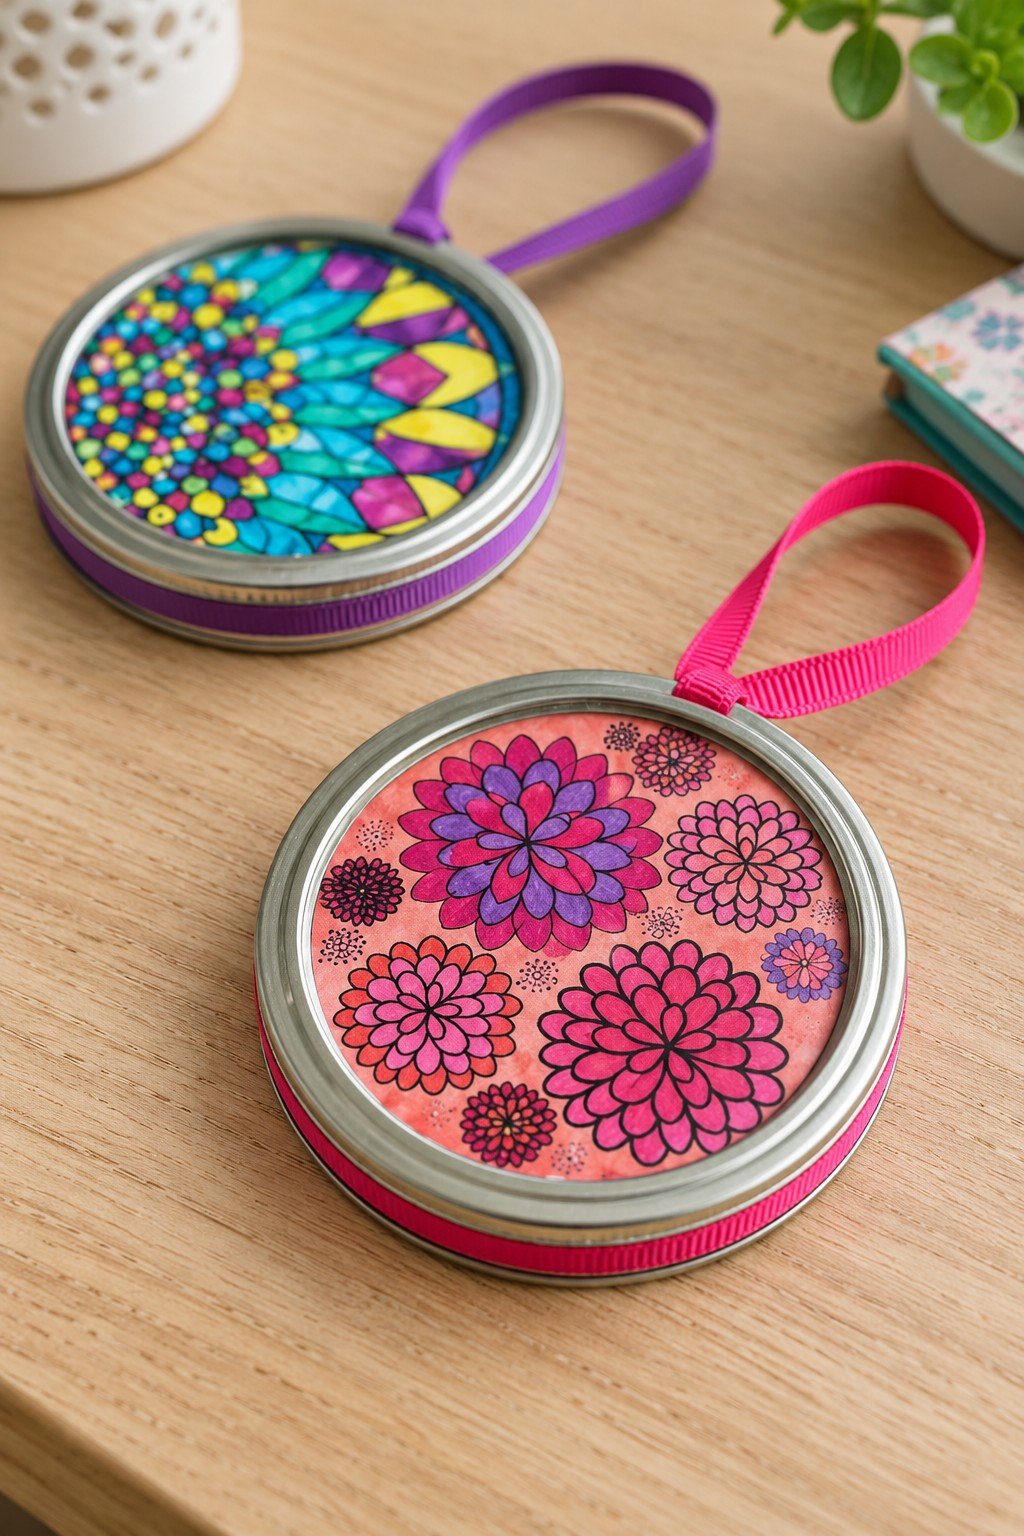
Colorful circular patterns fill these two lids, while matching ribbon loops give them a place on a hook. Cut a paper print or decorate a card circle to match the lid interior; secure the loop behind the backing. Using a removable insert lets you change the design for another occasion.
5. A Painted Flower Mobile
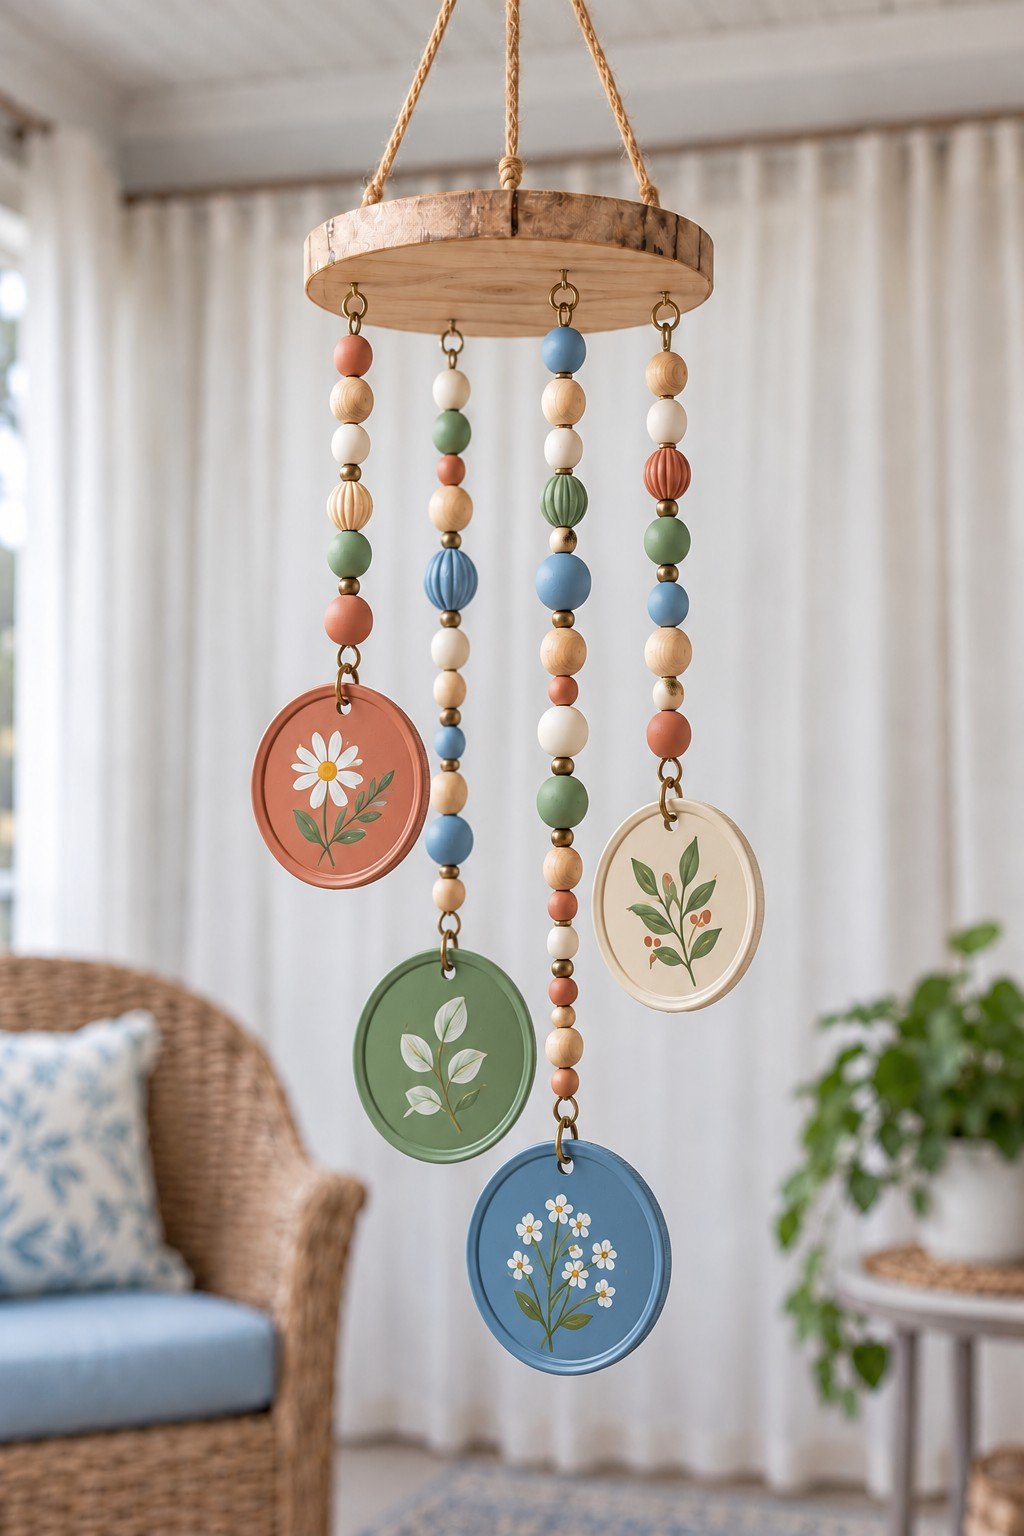
Painted flowers turn the flat sides of four lids into individual little pictures. Choose a limited palette for the lids and repeat those colors in the beads, then suspend the pieces from a stable wooden top. Keep the artwork facing outward and leave room between strands so they do not tangle.
6. Felt Pumpkins for an Autumn Window
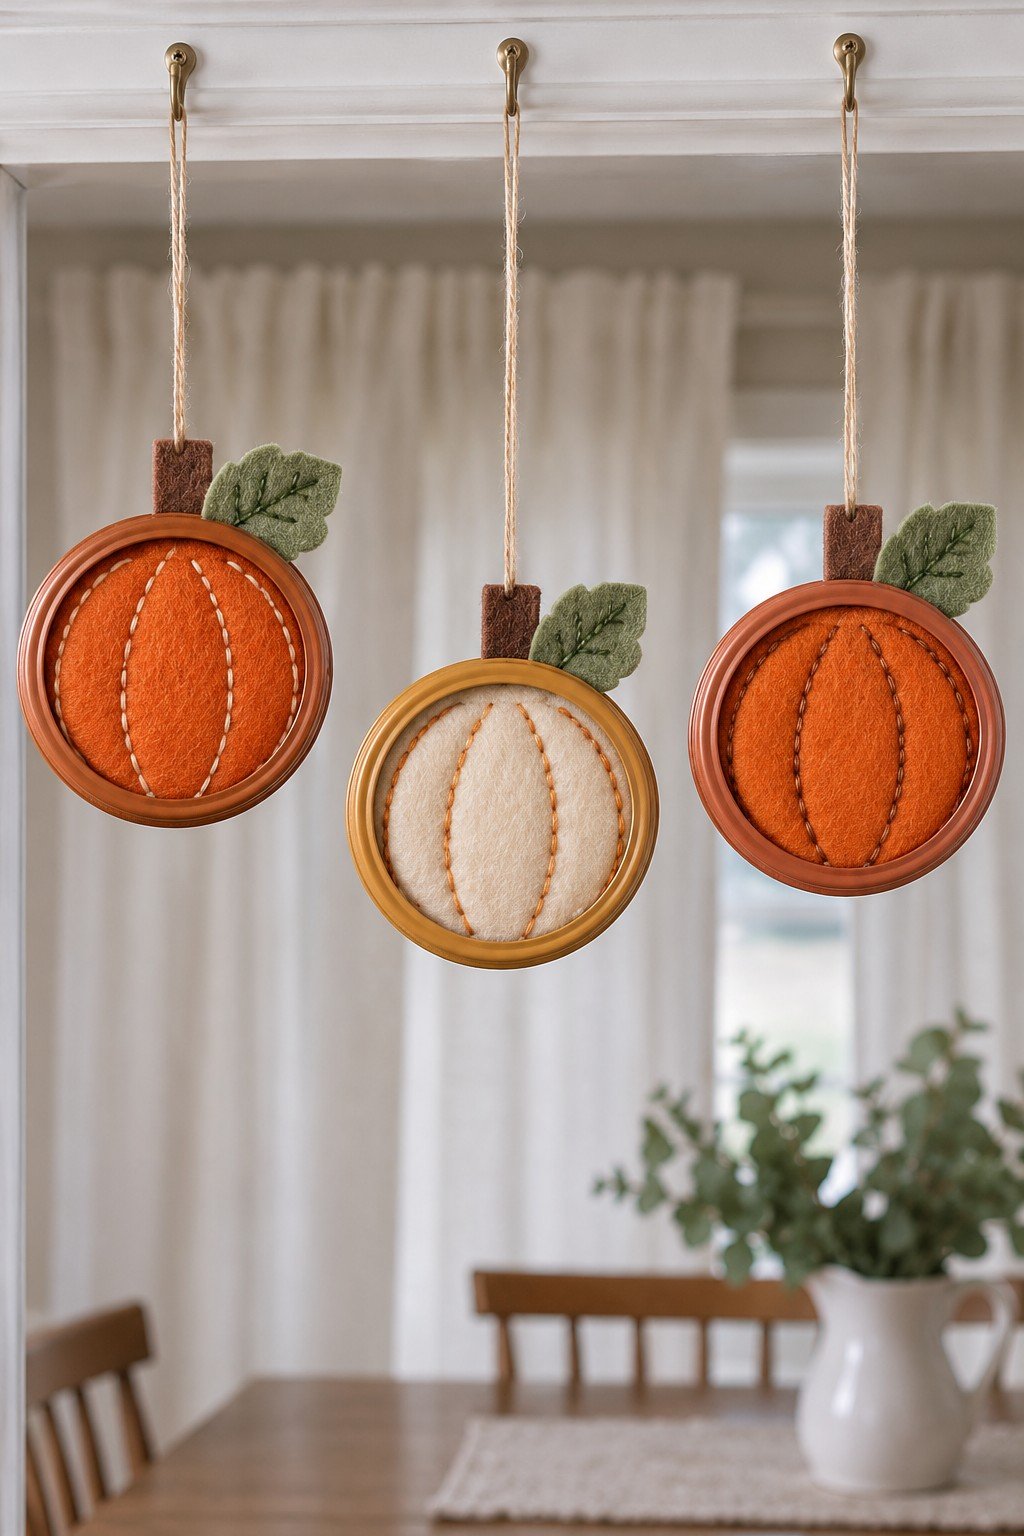
Orange and cream felt pumpkins sit within painted bands, with stitched curves suggesting their segments. Cut a backing circle for each ring, add the pumpkin pieces, and fasten the hanging cord to the backing. Vary the cord lengths for a window display; keep the fabric clear of damp glass.
7. Button and Felt Mini Art Discs
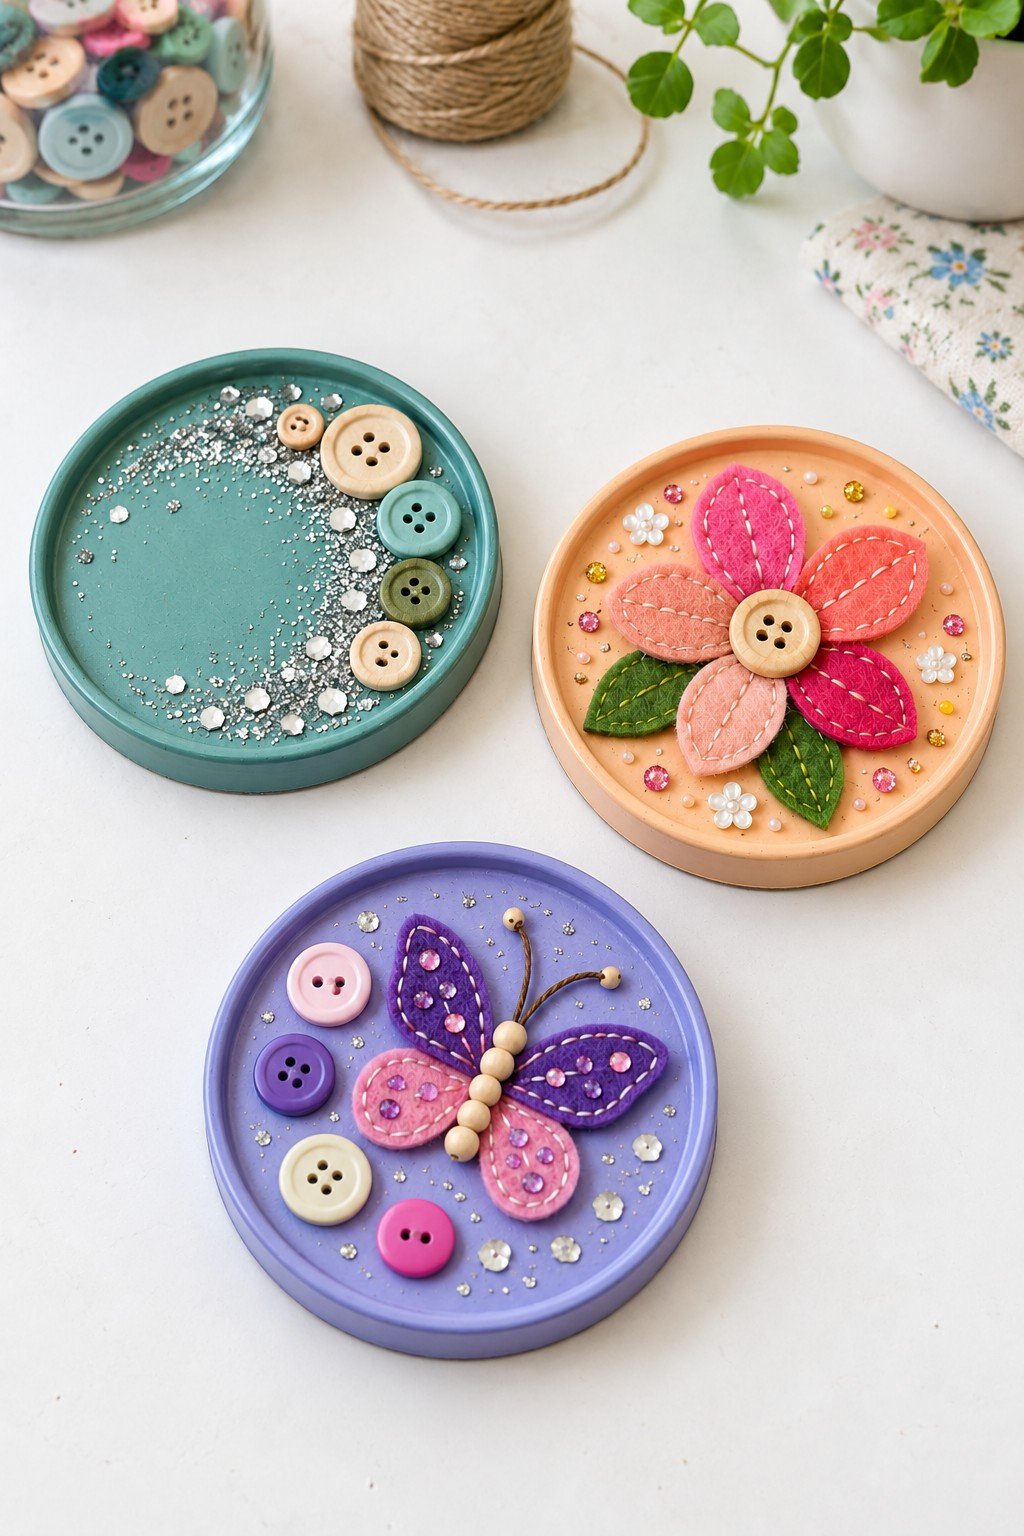
Buttons, felt shapes and small accents make each lid a self contained piece of art. Arrange the larger flower or butterfly first, then add a few small details where there is space. Use these as display pieces on a shelf or attach a suitable backing for hanging.
8. A Hanging Christmas Tree with Felt Motifs
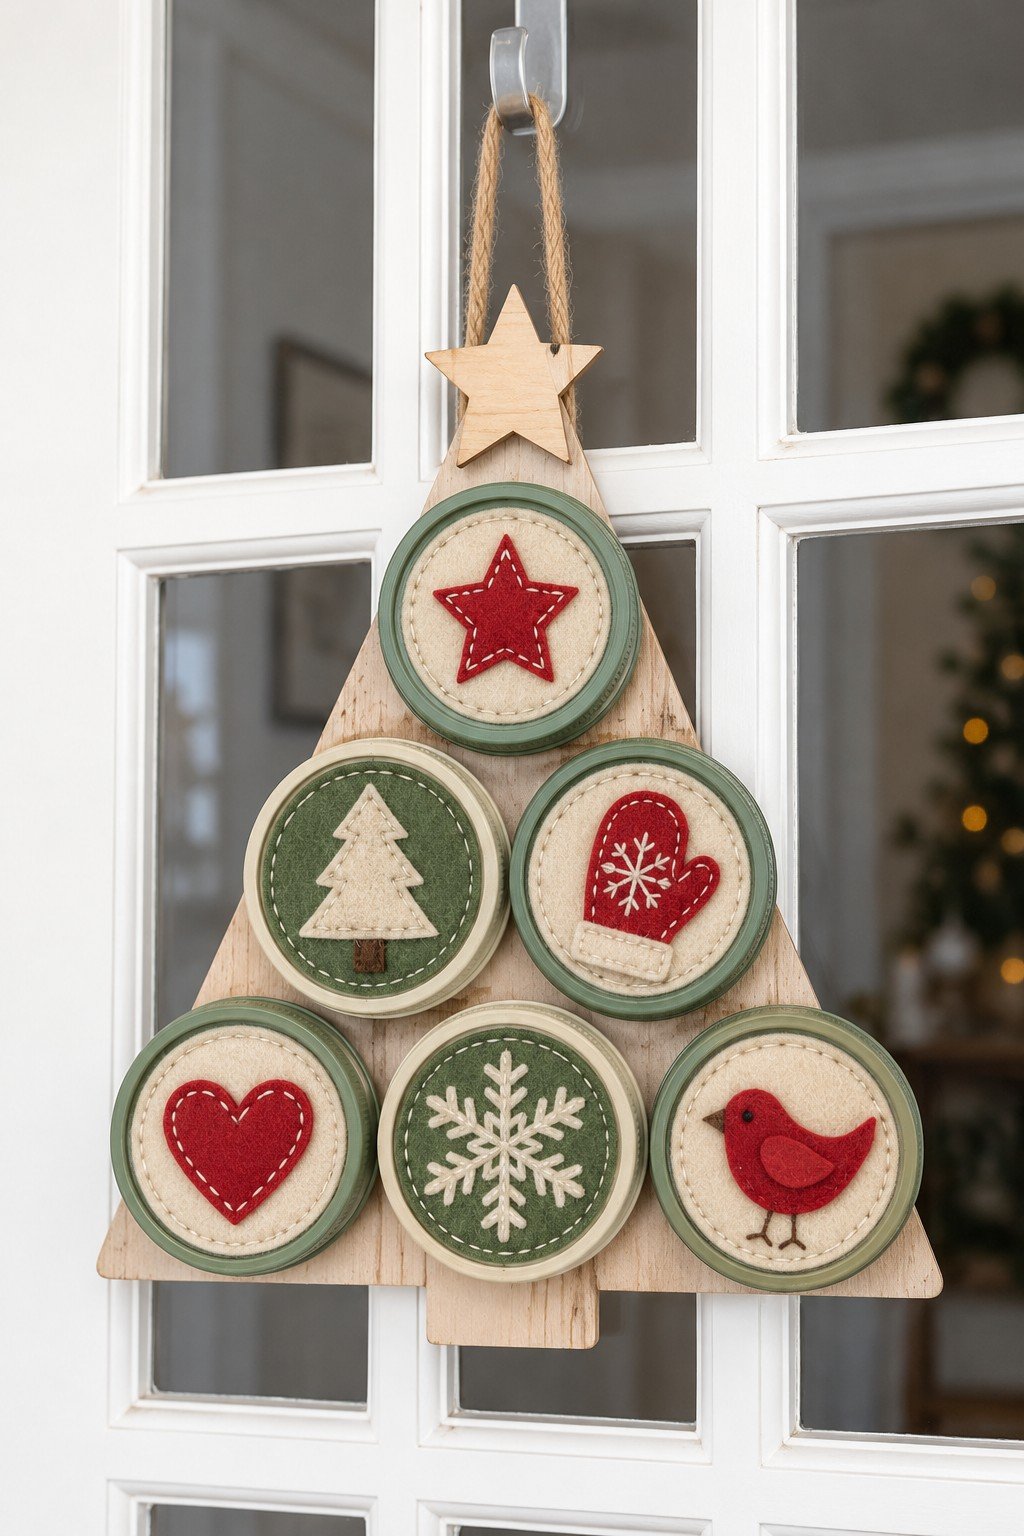
Six framed motifs form a tree on a pale wooden backing, topped by a star. Space the lids in rows before fastening them, and make sure the hanging loop is fixed to the board rather than just one lid. Felt inserts keep the motifs light and easy to personalize.
9. Reindeer Ornaments with Felt Antlers
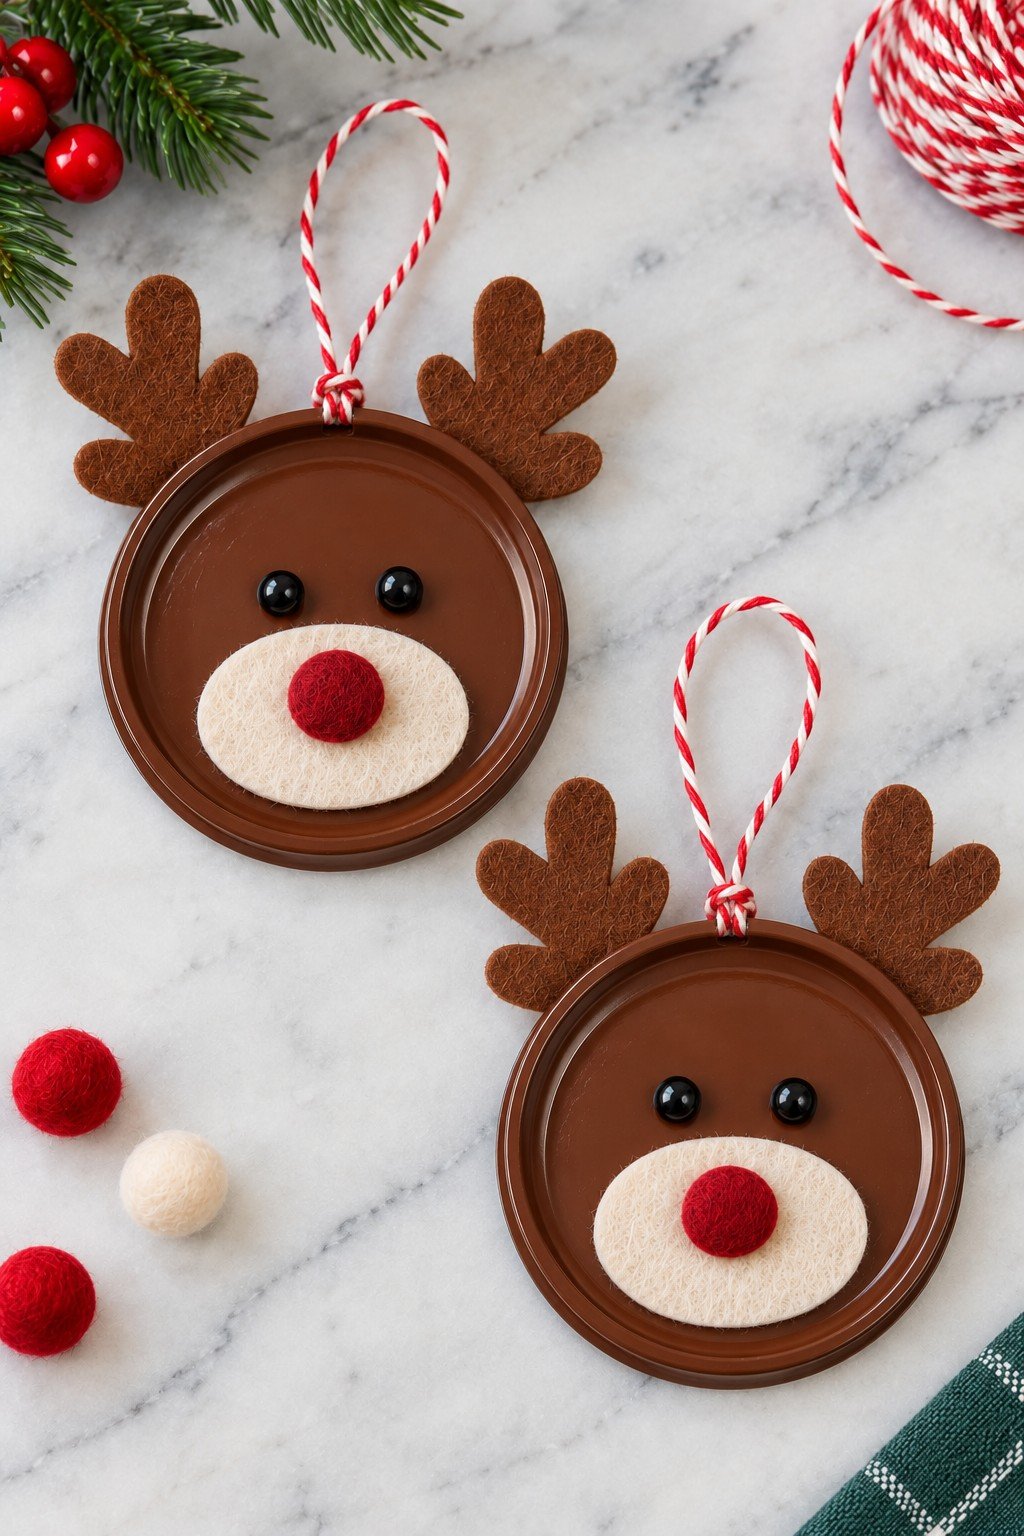
Brown lids, felt muzzles and red noses make a pair of cheerful tree decorations. Fix the antlers and hanging loop to the rear before attaching the face details. For an adult supervised craft, use felt eyes instead of small beads if loose parts are a concern.
10. A Wall of Tiny Colorful Pictures
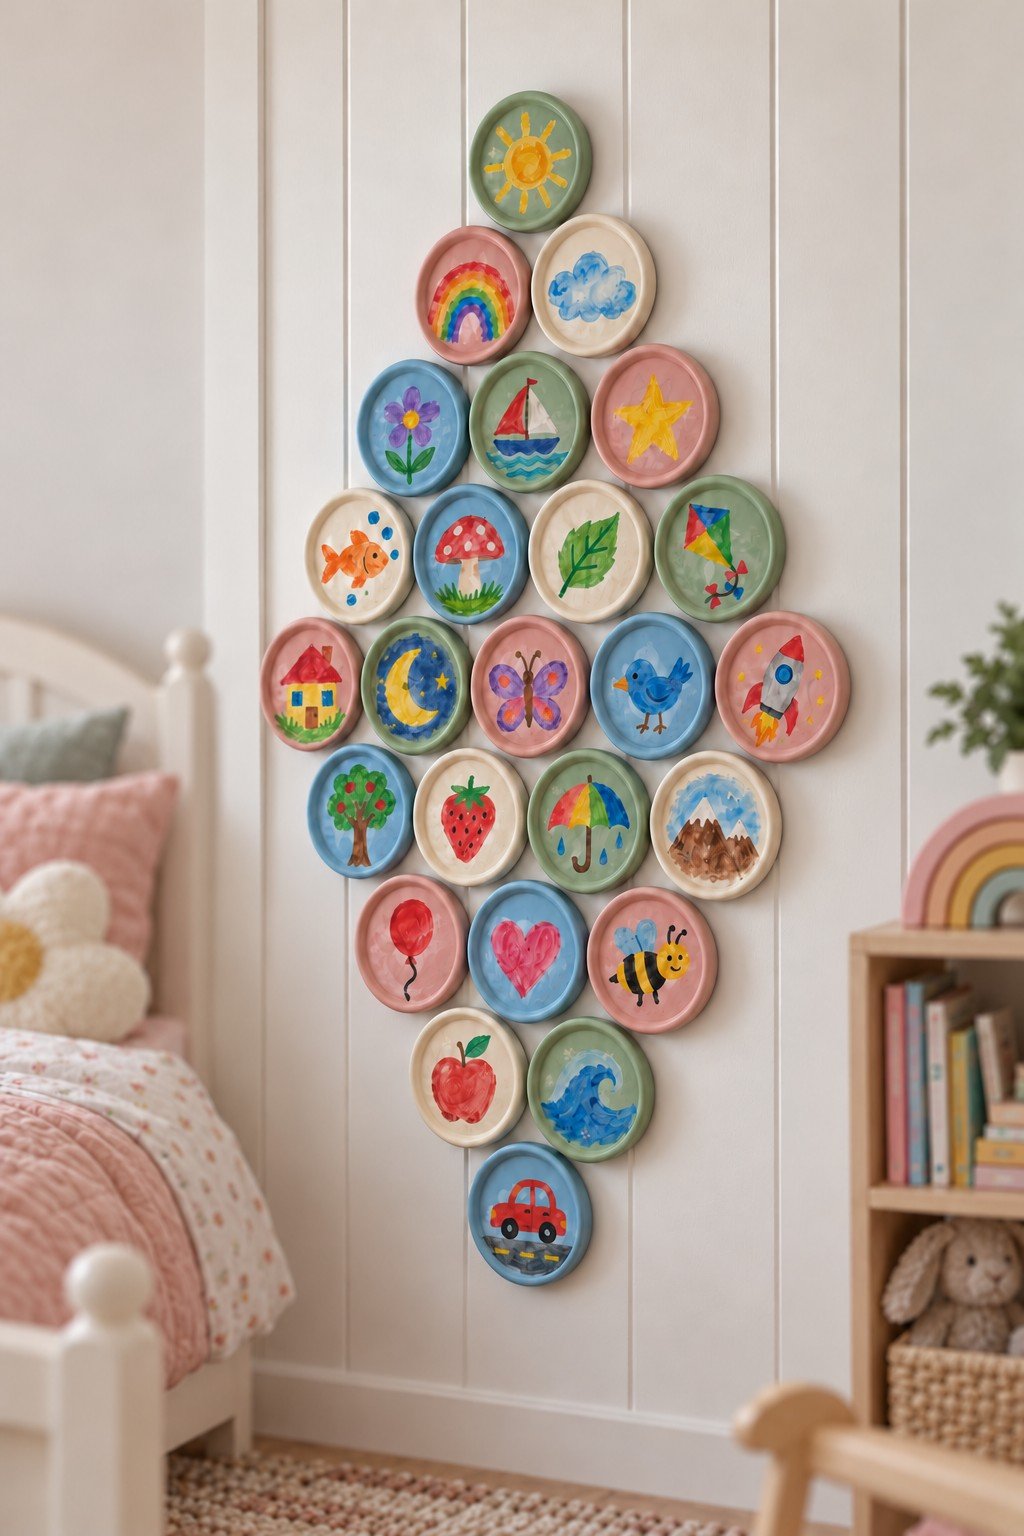
A large collection of small pictures becomes one lively wall feature when the lids are arranged in a diamond. Plan the outline on the floor, leaving consistent gaps, then attach the pieces to a secure backing panel. Position the finished display beyond the reach of young children.
11. Pressed Flowers Hanging from a Branch
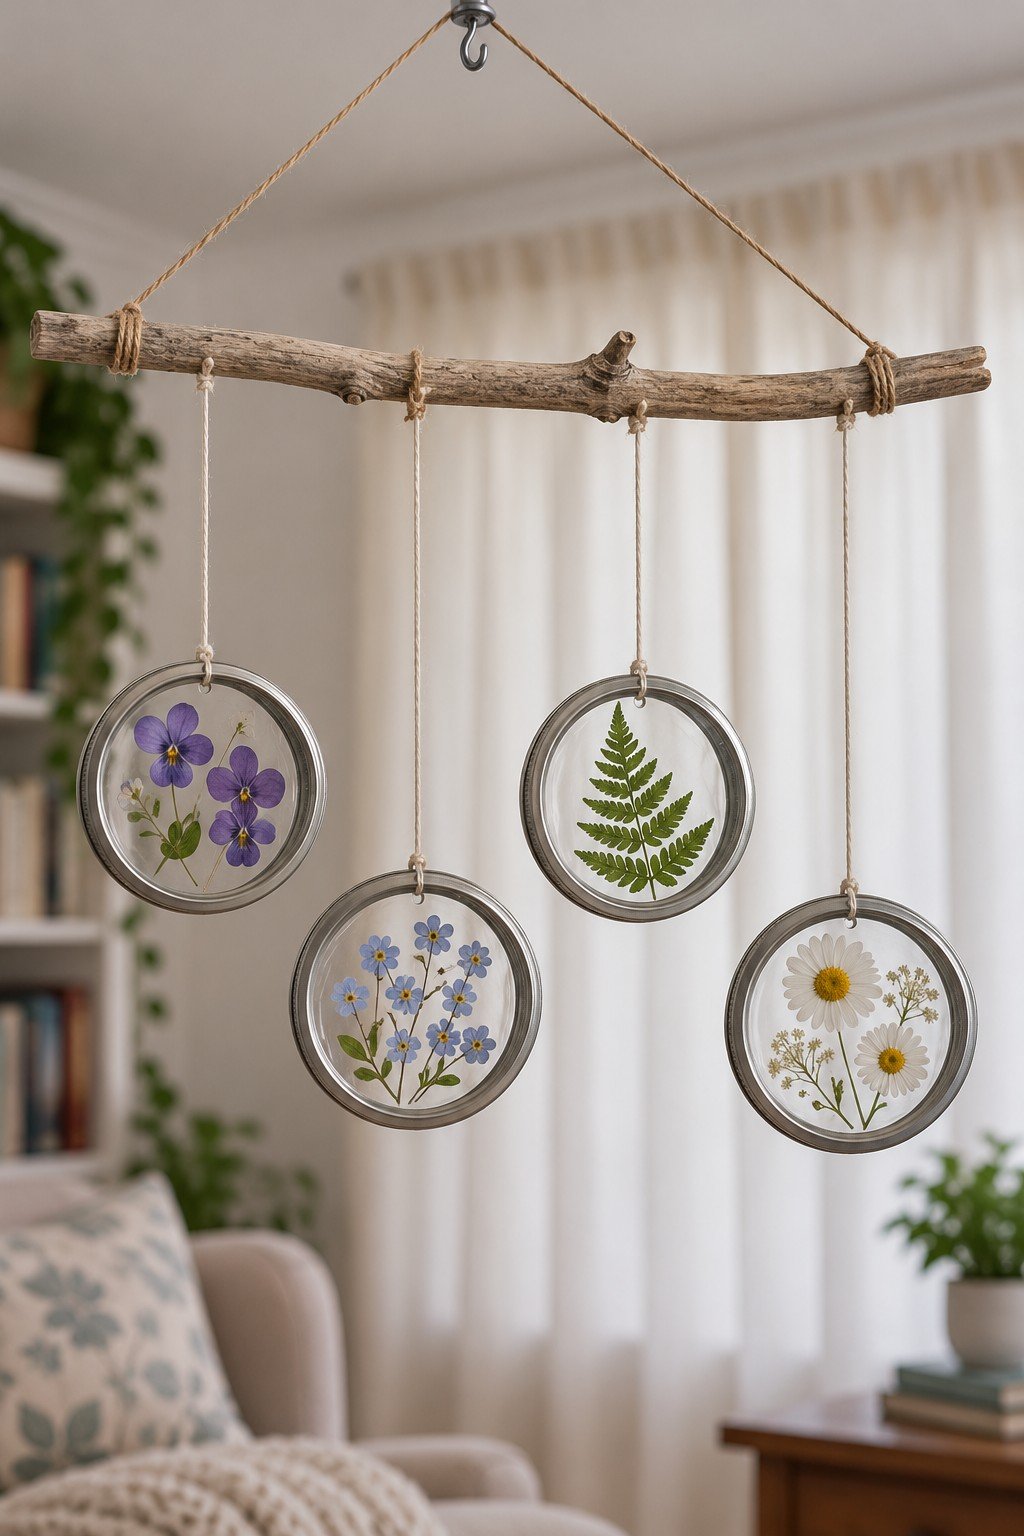
Pressed flowers and leaves appear to float inside four silver rings beneath a branch. Sandwich thoroughly dried specimens between two clear, lightweight discs sized to the bands, then fasten the cords to the frames. Keep the hanging indoors and away from strong sun to help preserve the colors.
12. Pocket Sized Landscape Ornaments
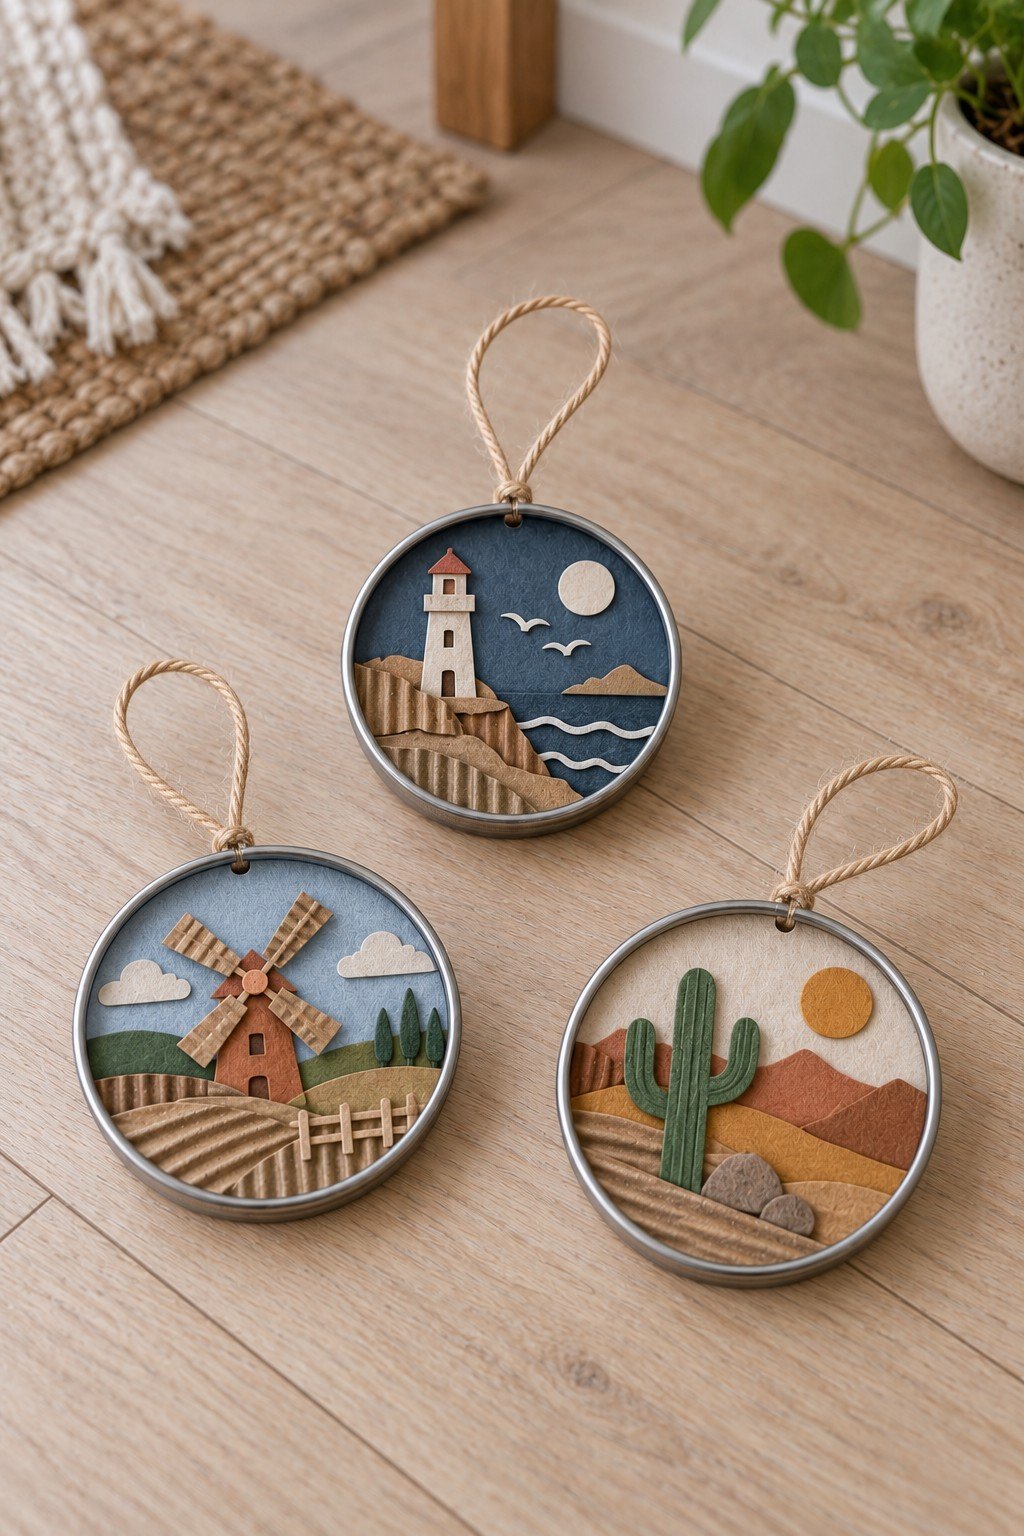
A lighthouse, a windmill and a cactus each have their own miniature landscape inside a ring. Layer thin card or lightweight craft materials on a circular backing, placing the horizon before the smallest details. Keep the layers shallow enough for the hanging piece to sit neatly against a wall.
13. Fruit and Vegetable Fridge Magnets
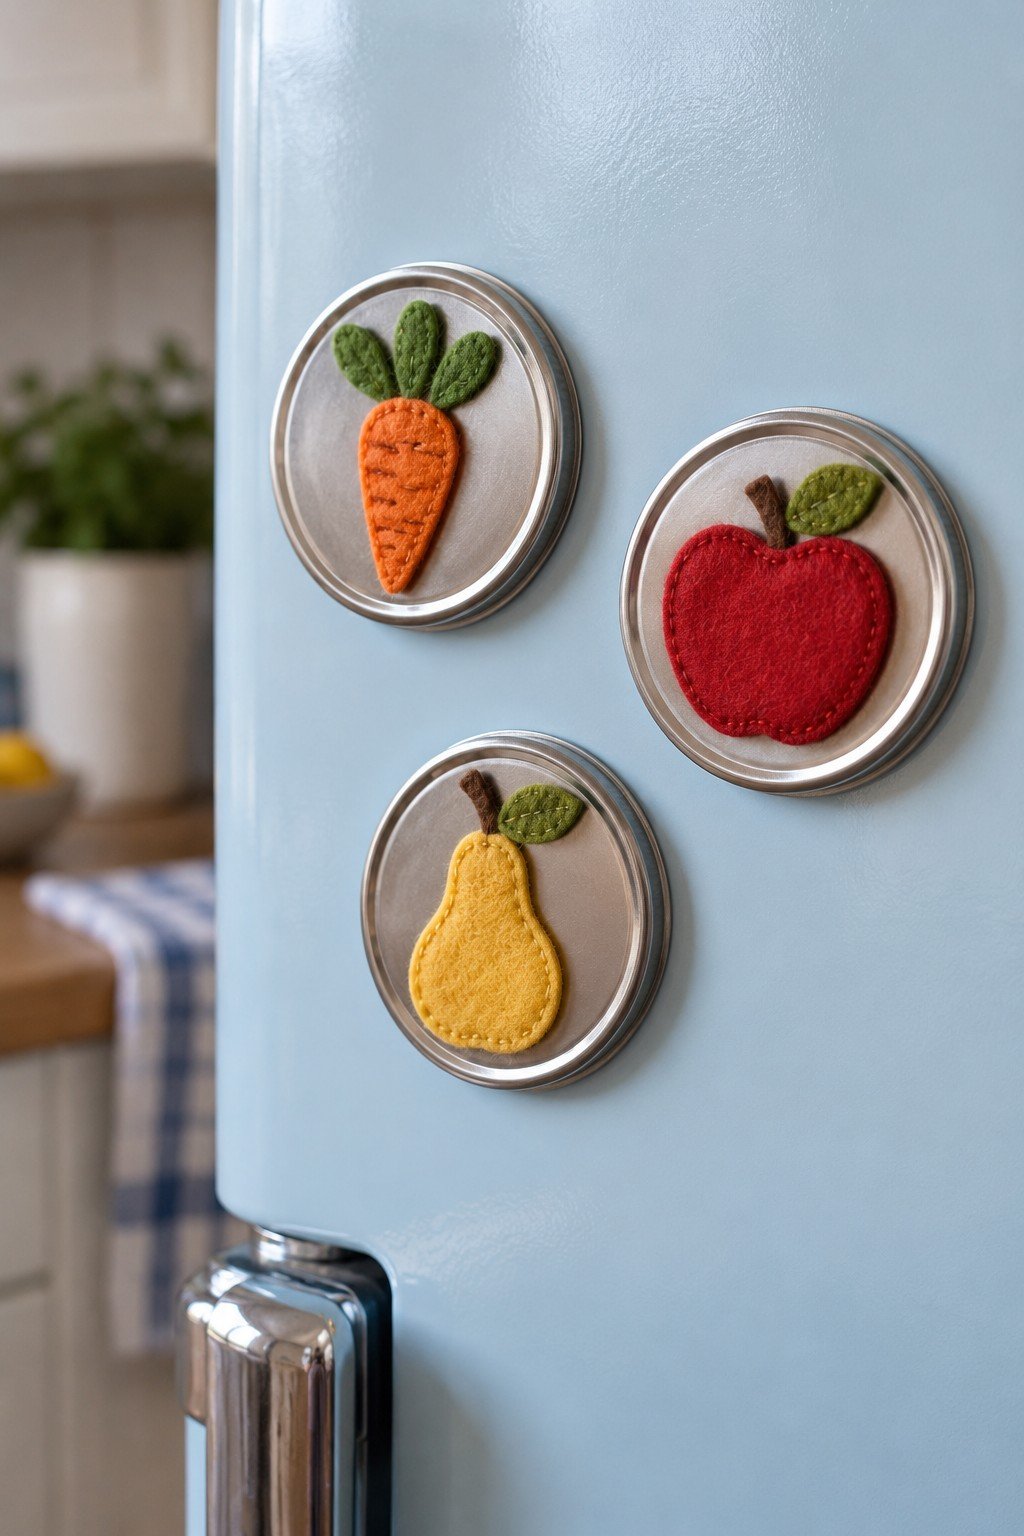
Felt shapes bring a carrot, apple and pear to a set of simple silver lids. Adhere each design to the flat front and secure an appropriately sized magnet to the back with a material compatible adhesive. Check its hold on the refrigerator and keep magnets away from children who may swallow them.
14. A Hanging Seed Tray for Birds
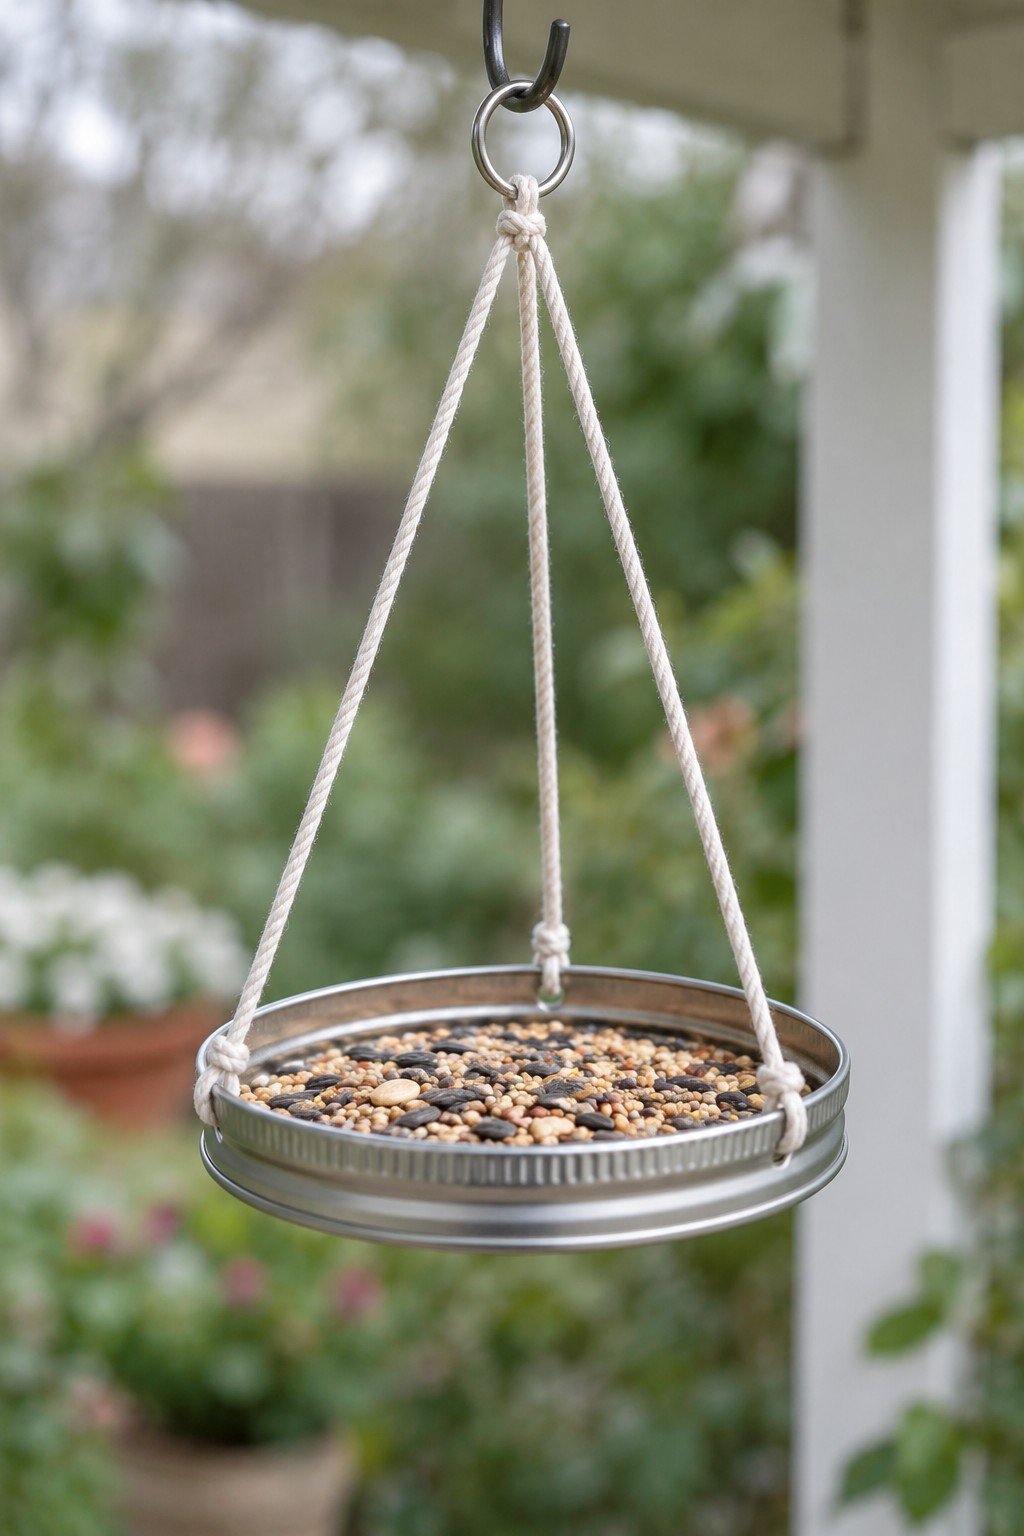
A shallow lid can suggest a compact seed tray, but an outdoor version needs a sound washable construction. Use an unpainted tray with smooth edges and drainage, attach three secure suspension points, and discard wet seed promptly. Project FeederWatch recommends cleaning seed feeders every week or two, more often in wet weather, and drying them completely before refilling.
15. Felt Flowers in a Small Pot
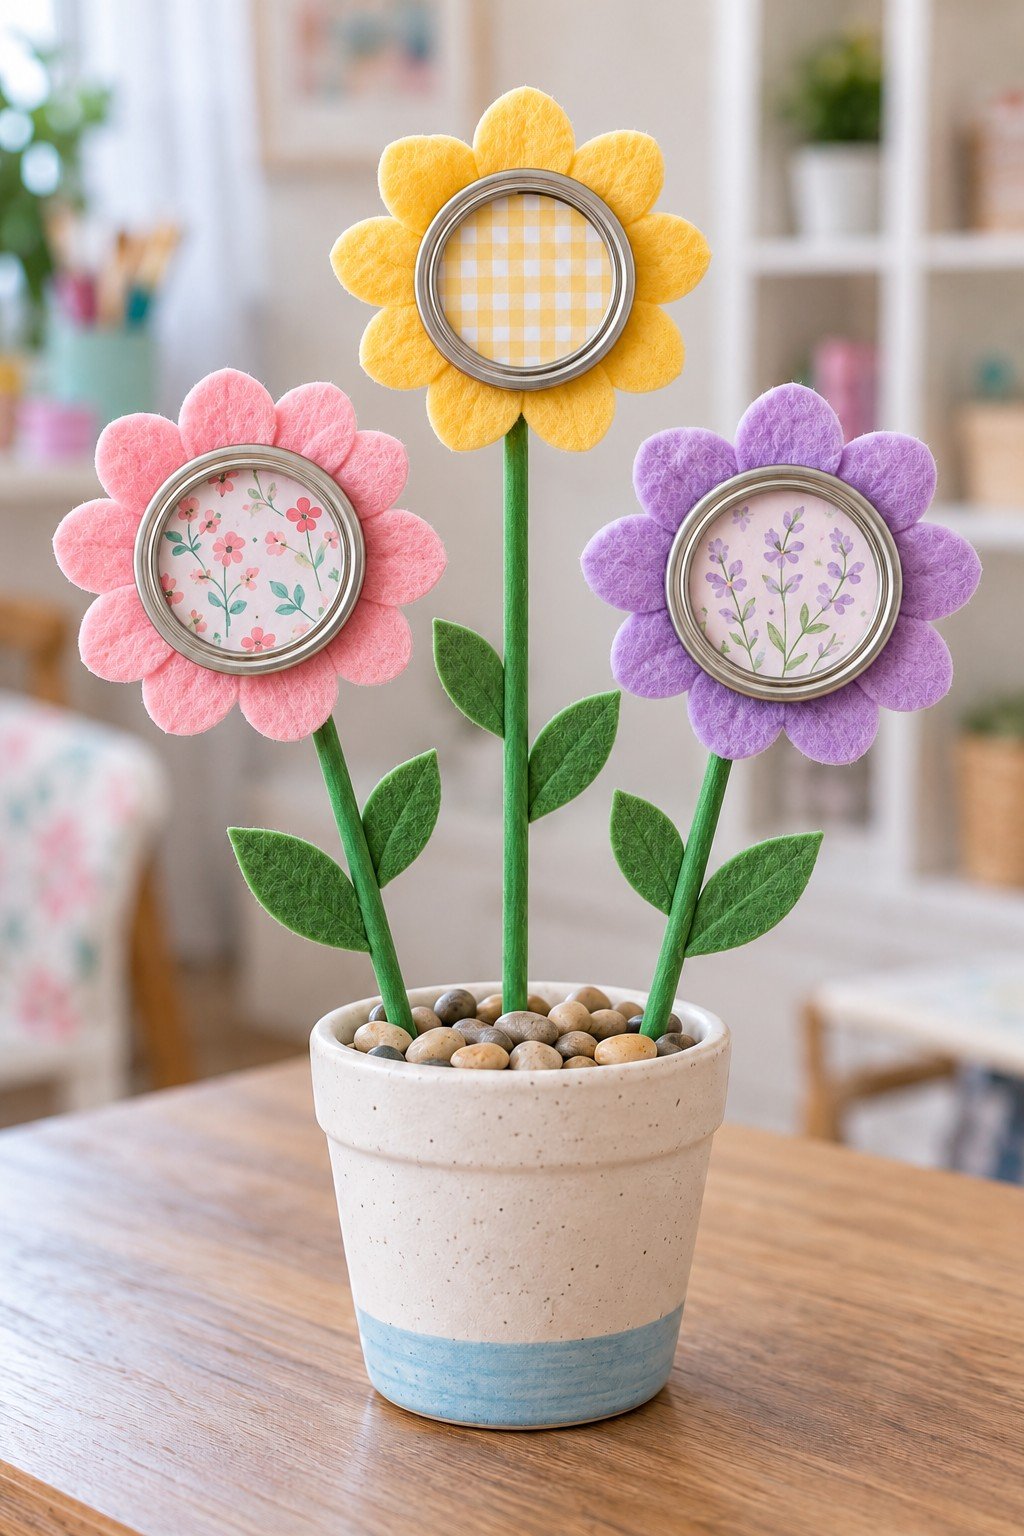
Three felt flowers use patterned circles inside silver bands as their centers. Attach petals behind each ring and secure each stem to a rigid flower back; set the stems into a stable filled pot. Adjust their heights so the flower heads remain visible without crowding one another.
16. A Mini Stand with a Cork Top
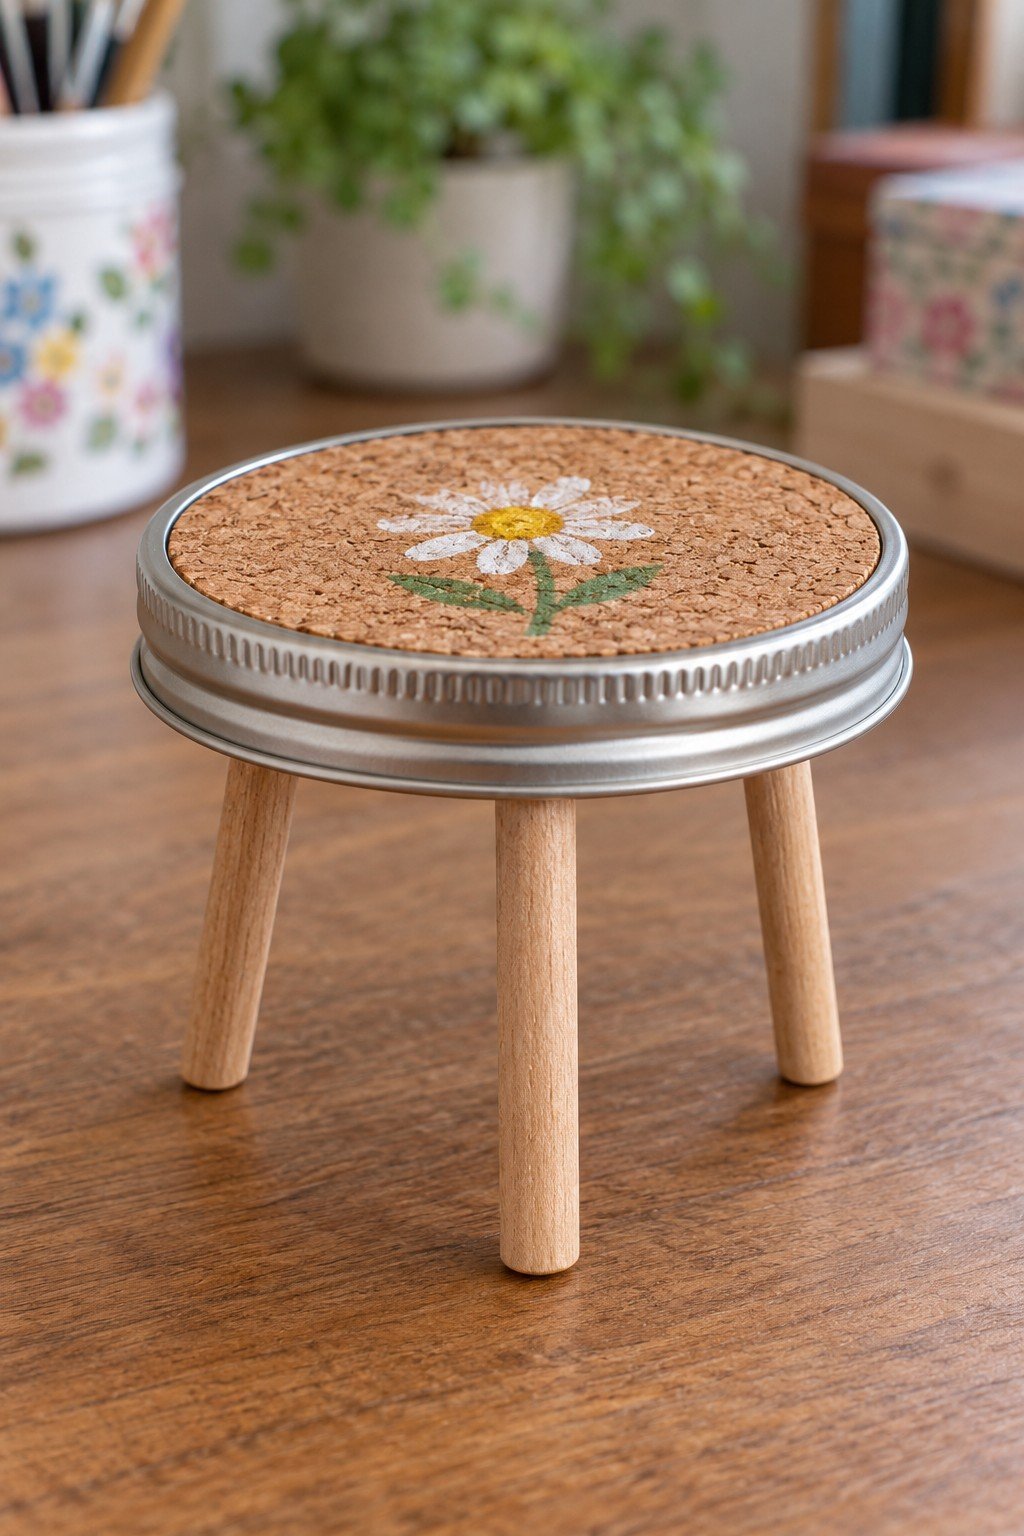
A cork circle softens the metal top of this tiny raised stand. Fit the cork inside the band and secure three equal legs to a rigid underside, spaced evenly for balance. Its small footprint suits a lightweight decorative object; check stability before placing anything on it.
17. A Woven Ring Wall Hanging
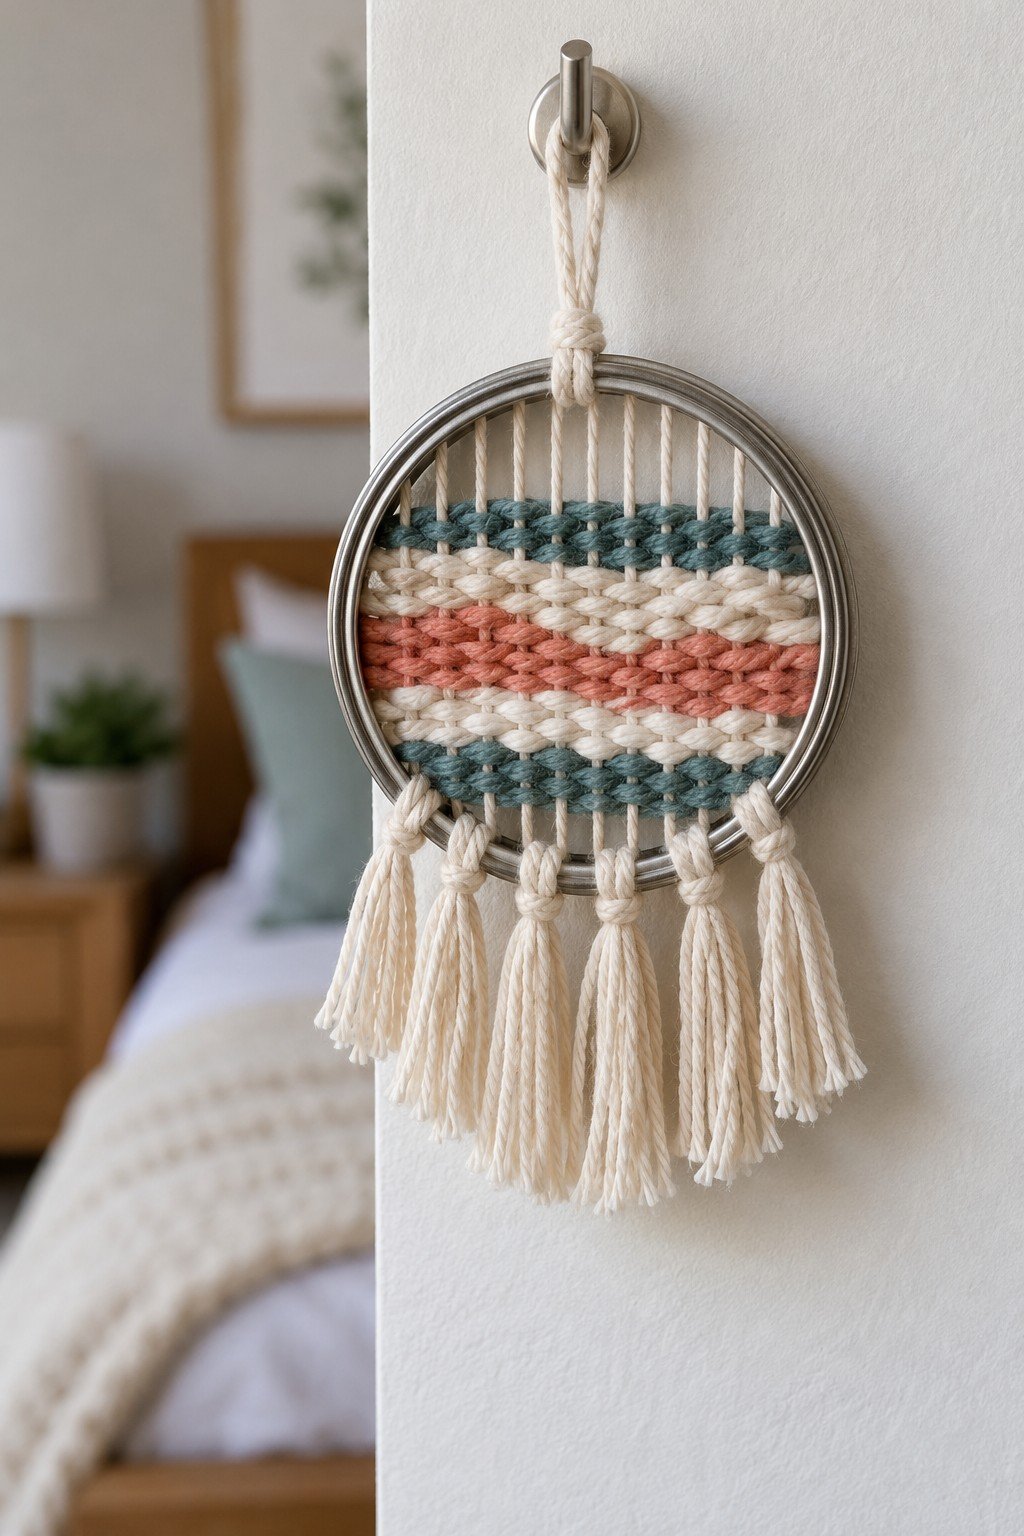
The ring acts as a small loom for rows of blue, cream and pink yarn. Tie parallel warp strands securely around the band, weave across them, and add short tassels along the lower edge. A second loop at the top keeps the hanging upright on a wall hook.
18. Foam Stamps with Lid Handles
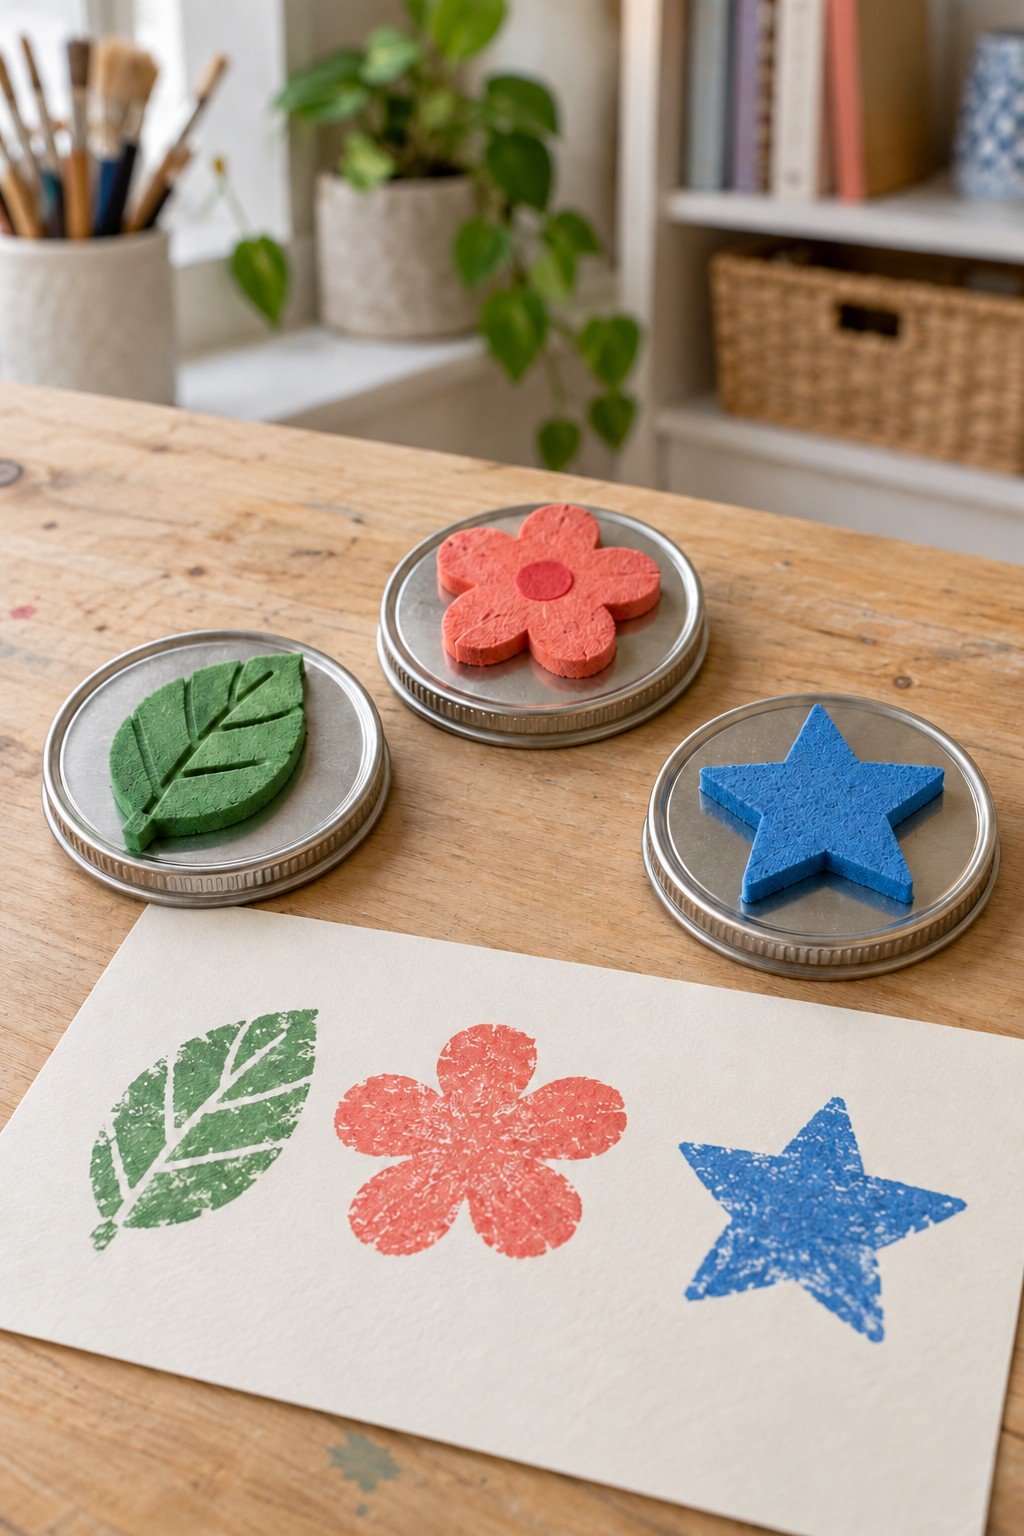
Raised foam shapes turn flat lids into easy to grip stamps. Cut a leaf, flower or star from craft foam and attach each to a lid with an adhesive suited to both surfaces. Brush on a thin layer of paint, test on scrap paper and clean the stamps after use.
19. A Green Turtle for a Shelf
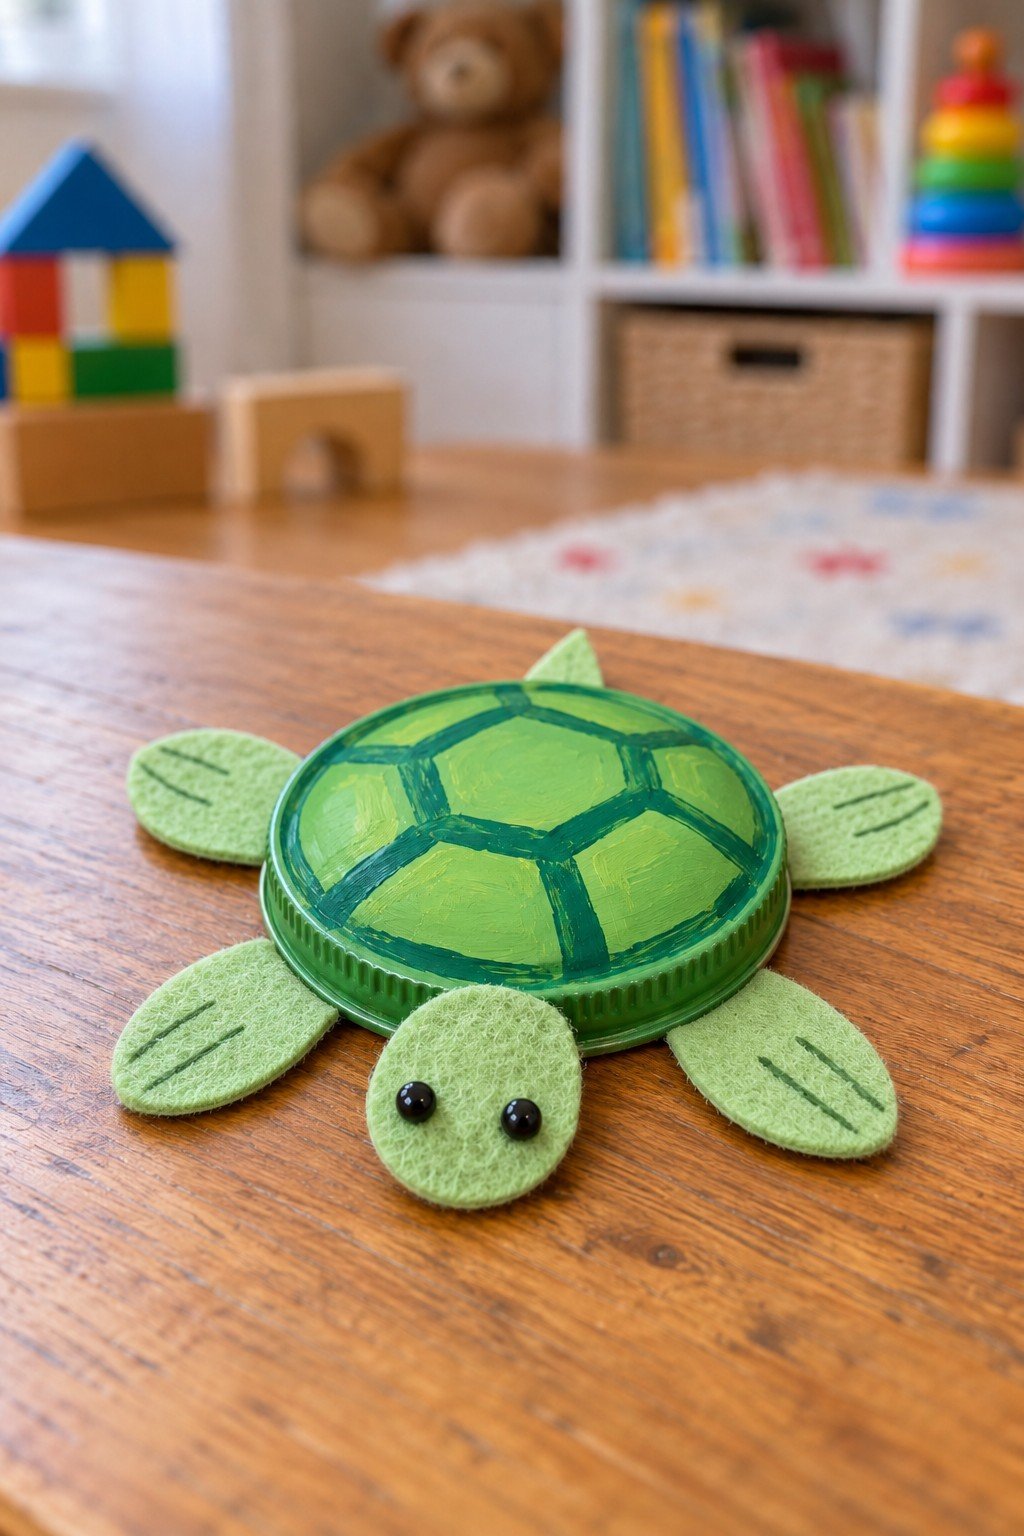
A painted lid becomes the shell of a small turtle, with a felt head and feet around its edge. Fix the felt pieces to a sturdy backing rather than relying on the narrow metal rim alone. Embroidered eyes make a useful alternative to loose beads; display it as a decorative craft.
20. A Pom Pom Tree on a Wooden Base
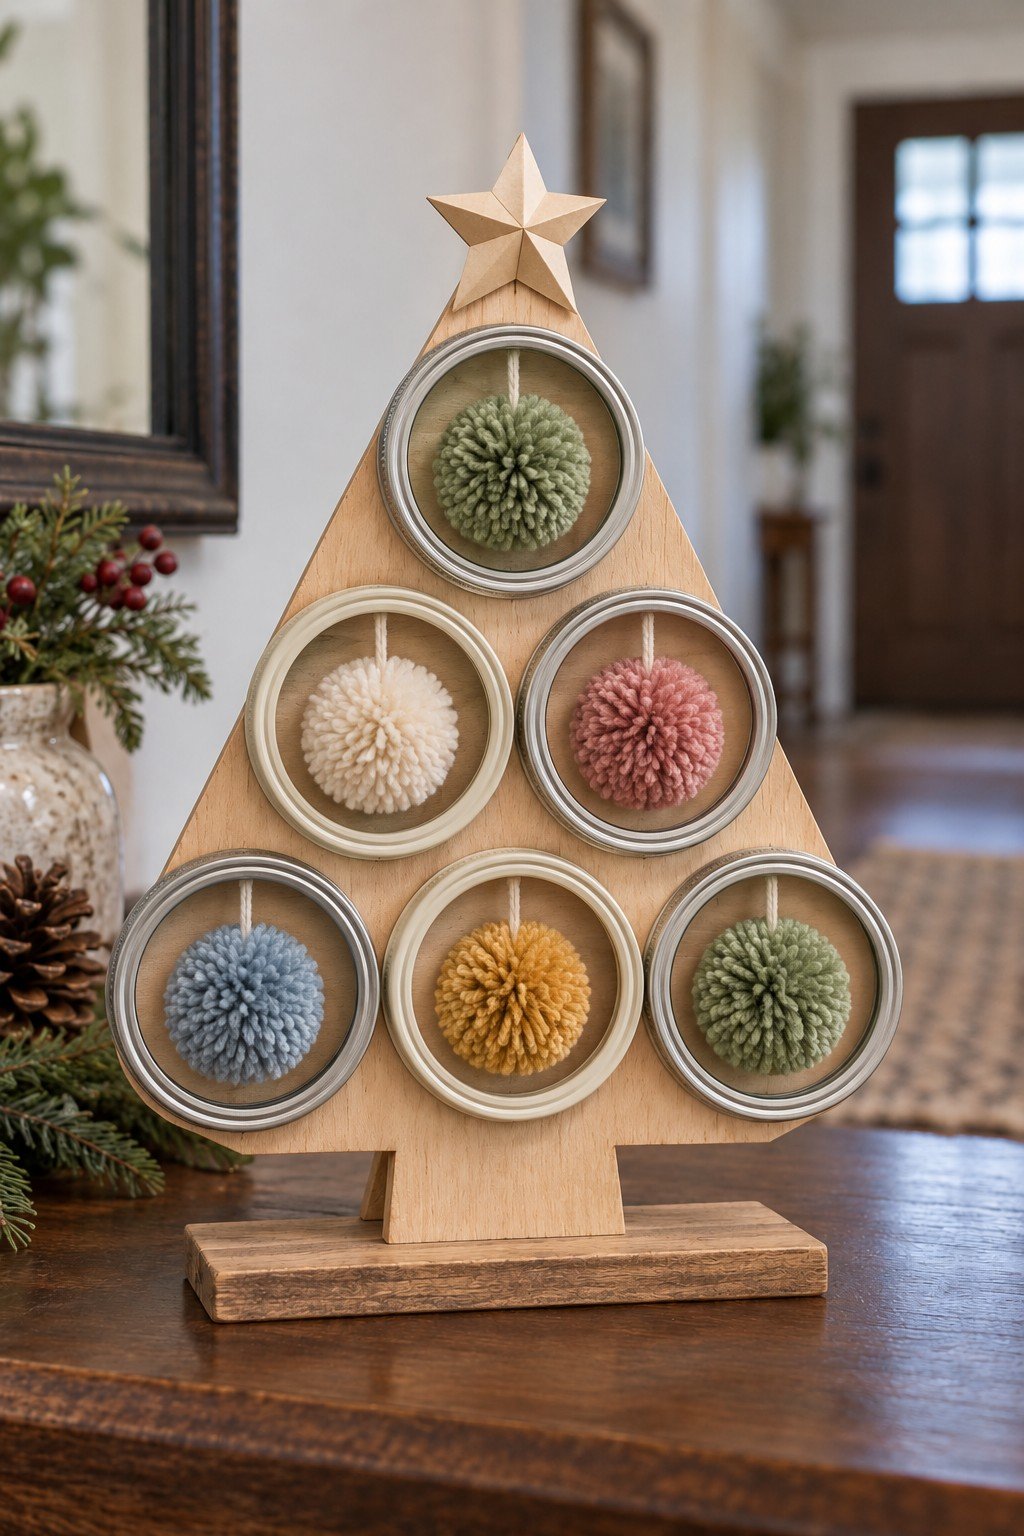
Six soft pom poms sit within metal rings on a freestanding wooden tree. Secure the tree to a broad base first, then position the rings in three rows and fasten a pom pom inside each one. A star at the top gives the design a finished silhouette without adding more clutter.
21. Painted Lids for Battery Tea Lights
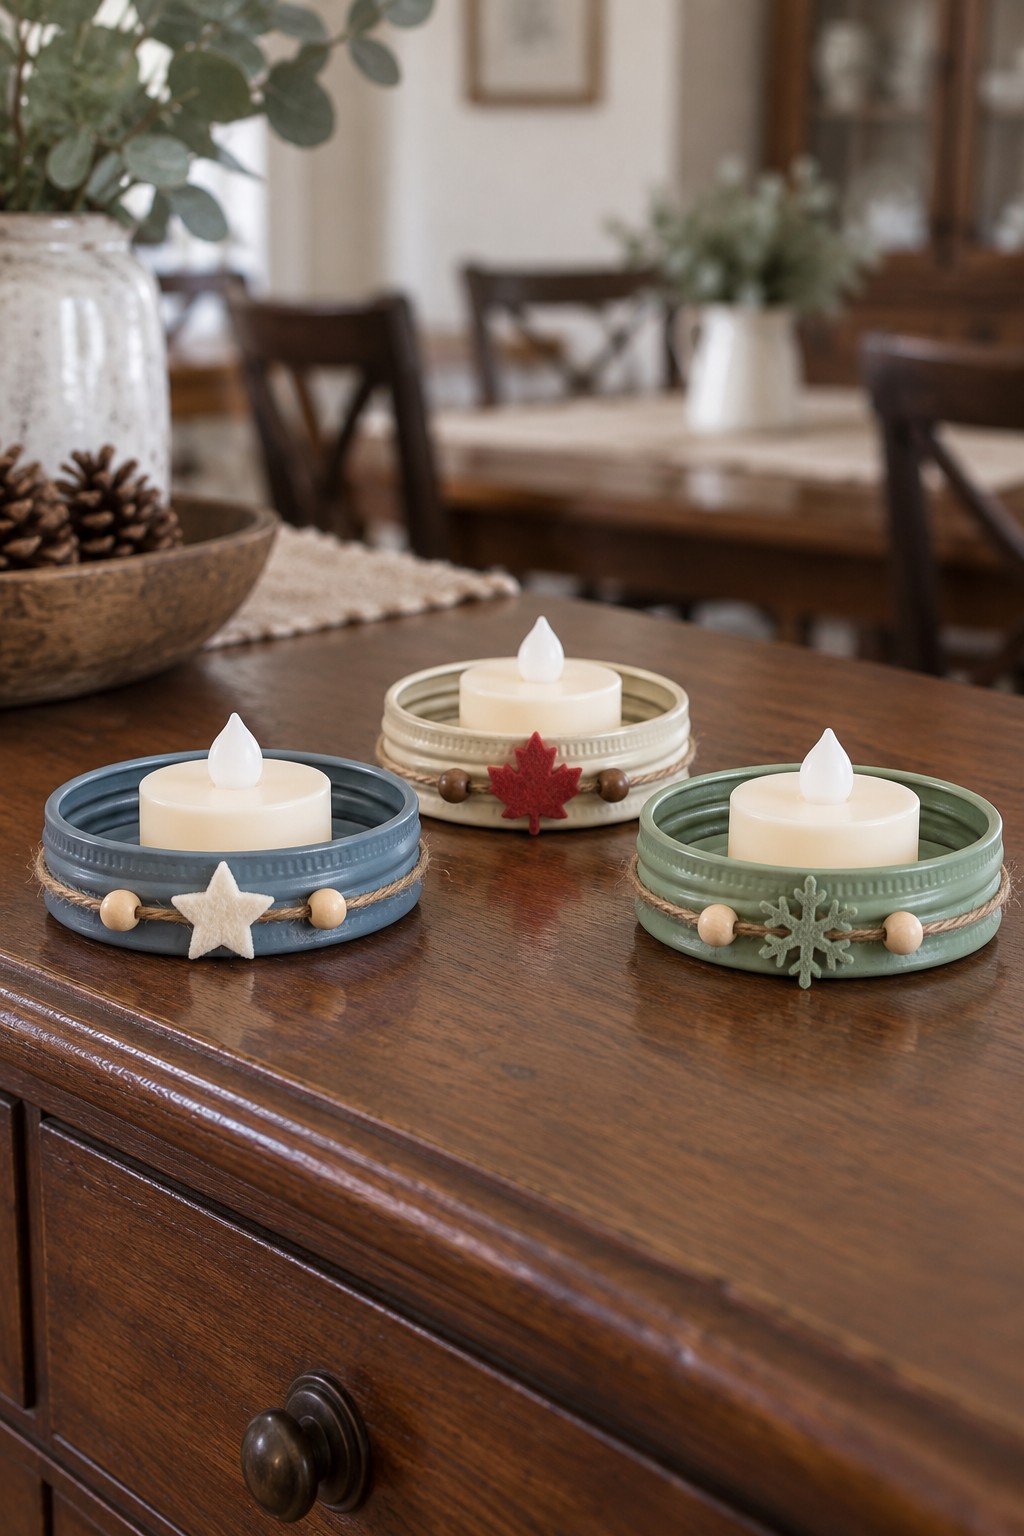
Muted blue, cream and green bands frame battery tea lights for a simple seasonal display. Paint the outside of clean lids, add twine and small decorations, and let the finish cure fully. Choose flameless battery lights and check that the switch and battery compartment remain accessible.
22. A Fridge Display for Small Spice Containers
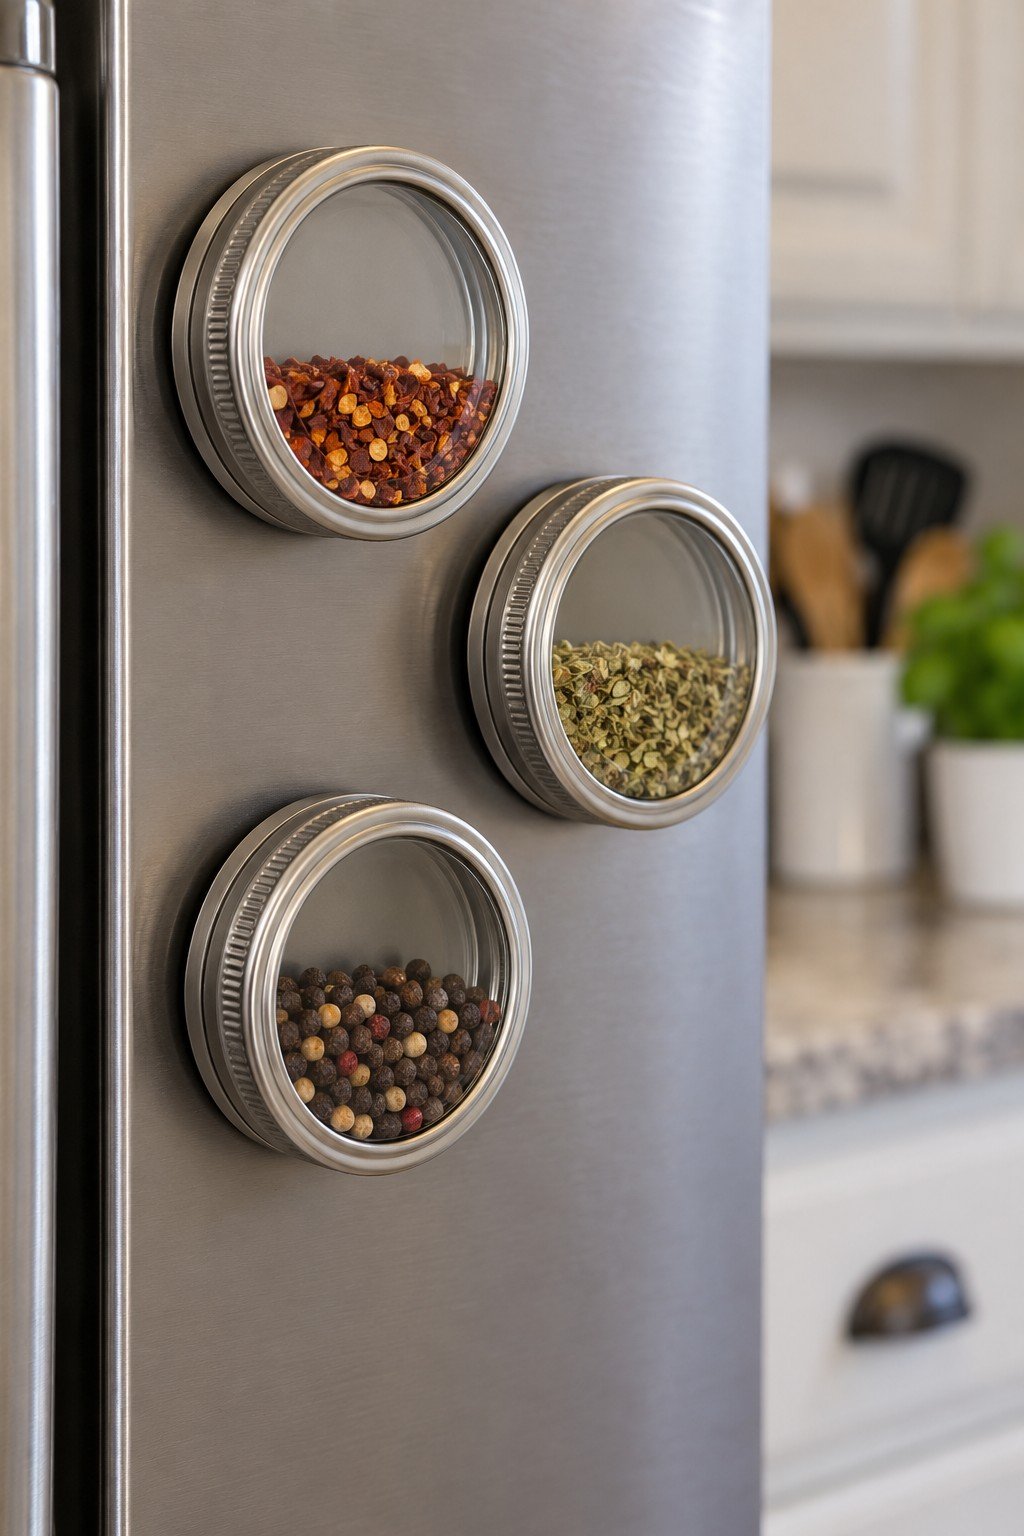
Three round containers show off colorful spices on a refrigerator door. For a workable version, pair each band with a closed, food safe container and a secure clear front; an open ring alone cannot hold the contents. Attach a magnet outside the food compartment, label the spices, and store away from heat and moisture.
23. A Round Cork Board for Short Notes
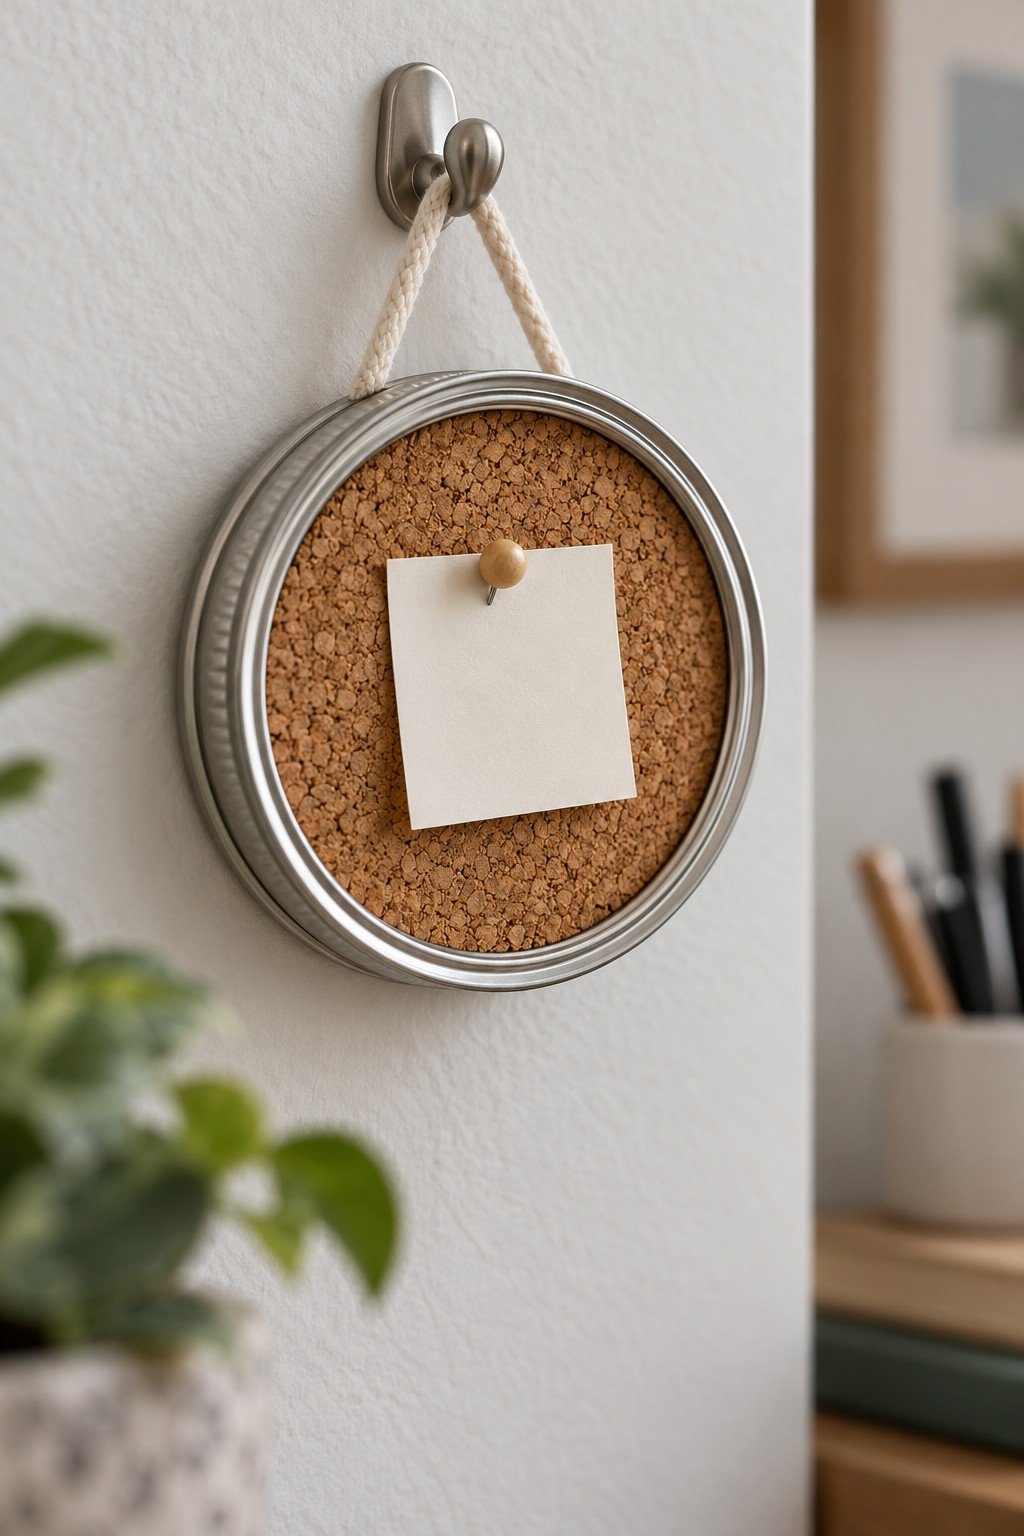
A fitted cork circle turns one lid into a handy place for a reminder. Use a cork layer thick enough for the pins you choose and fit a firm backing behind it before adding the hanging cord. Keep the board in a dry spot and away from small children because of the pins.
24. A Washable Mesh Cover for a Drink
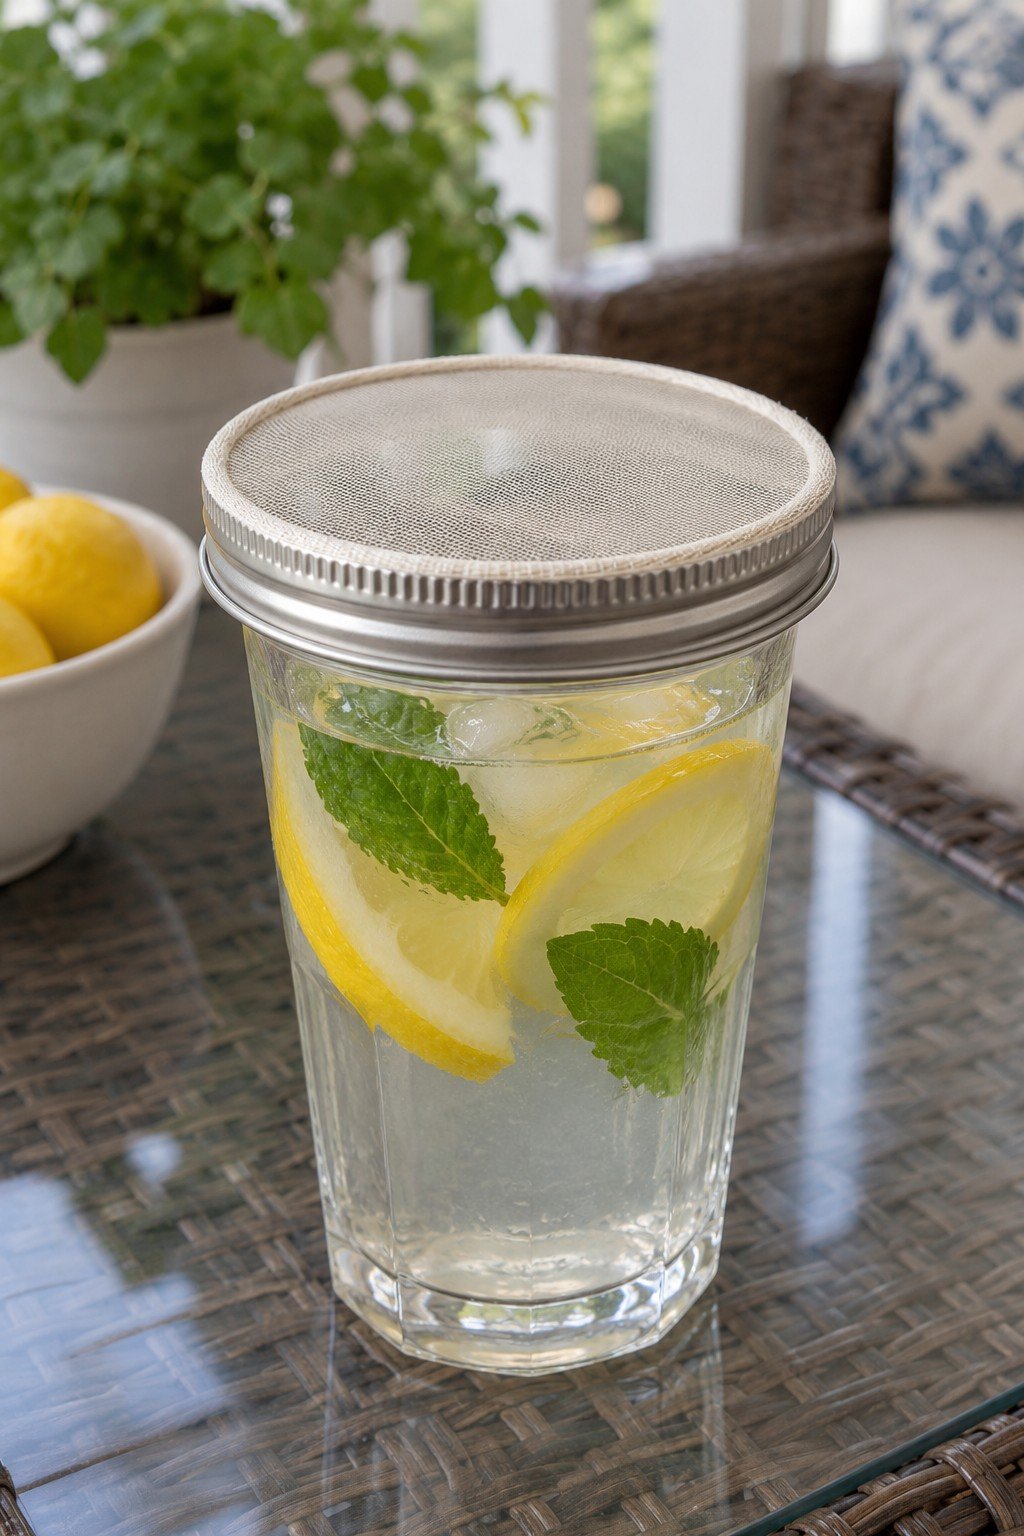
A fine mesh panel across a band can cover a drink while it sits outdoors. Choose washable material intended for food contact, keep decorative glue and paint away from the drink, and use a clean band that fits securely over the glass. Remove the cover to drink; it is not a spillproof seal.
25. A Hand Mirror with a Wooden Handle
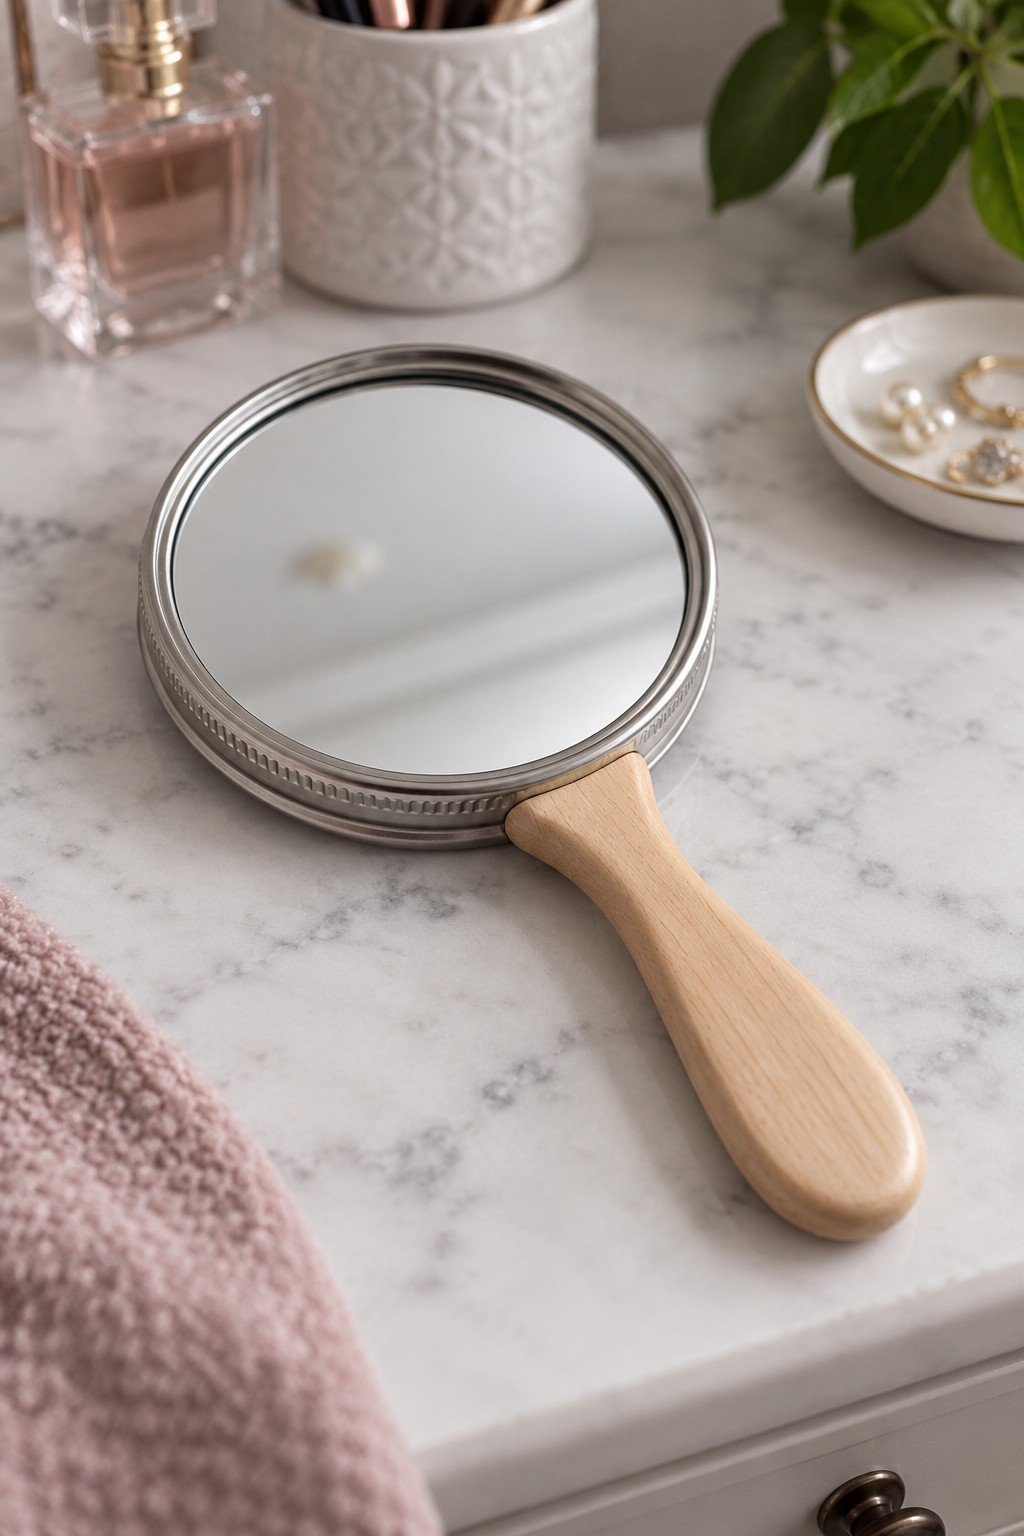
A simple wooden handle gives this small round mirror a practical shape. Use a correctly sized, smoothly edged mirror insert and a rigid back, then mechanically fasten the handle to that backing. Check the joint before use and keep the mirror clear of water and hard knocks.
26. A Sunburst Rack for Light Accessories
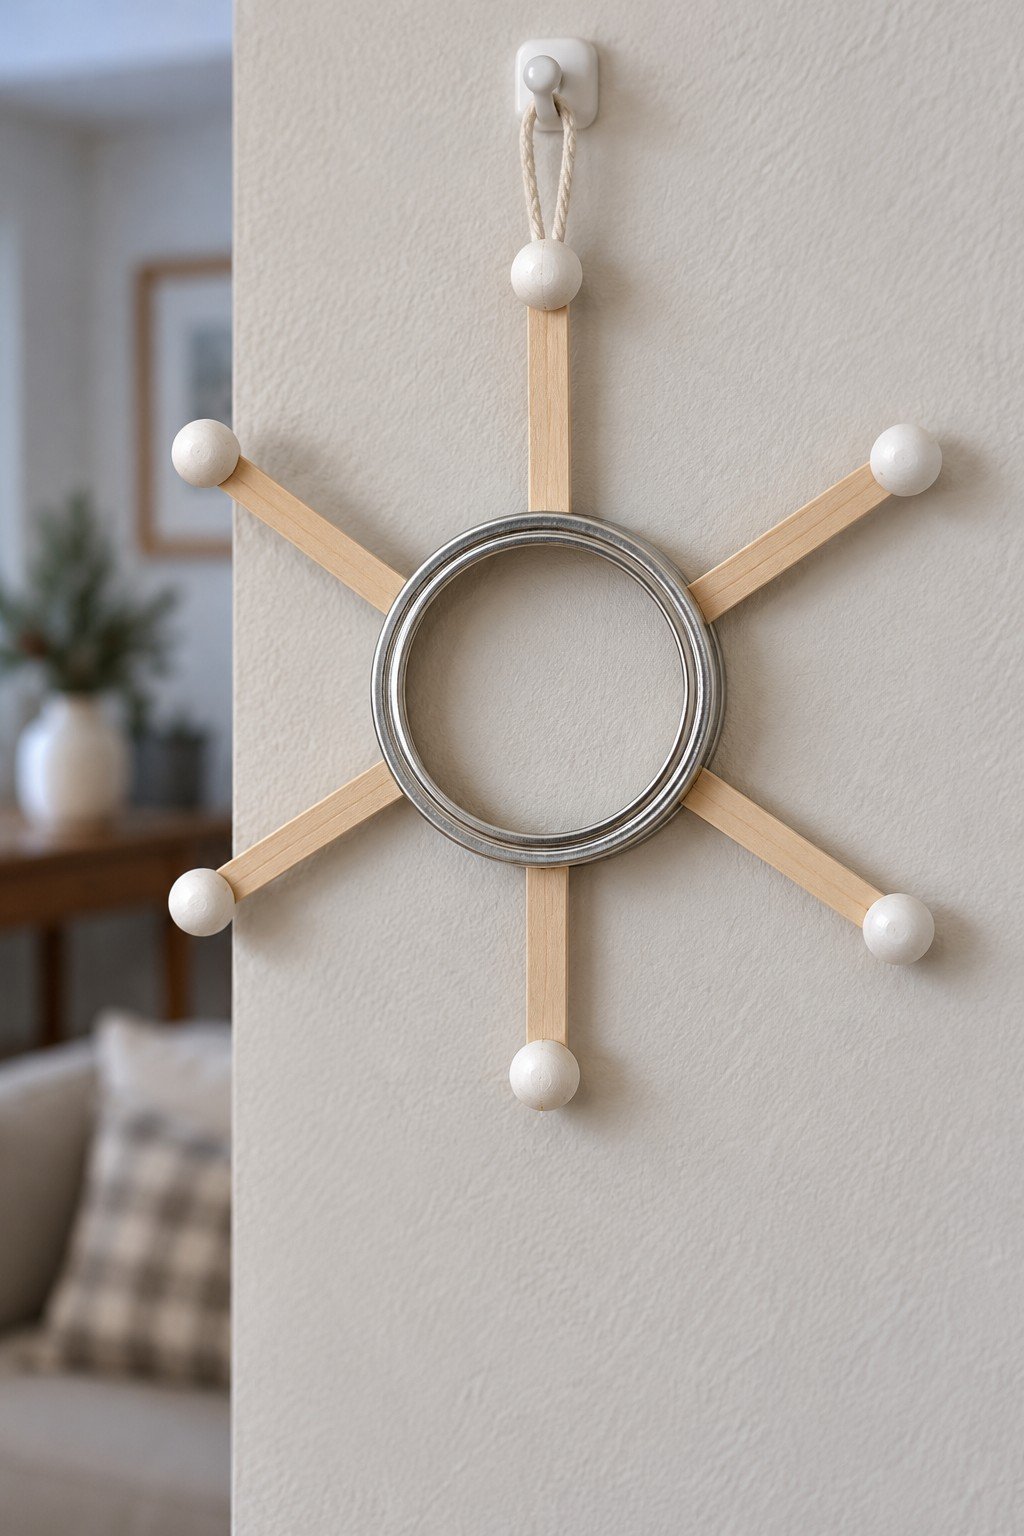
Wooden spokes radiate from a silver ring, with white knobs at their ends. Attach the spokes to a solid rear hub and install that hub using wall fixings suited to the surface. Treat the knobs as hooks for light accessories only after the complete rack is secure.
27. A Soap Dish with a Slatted Insert
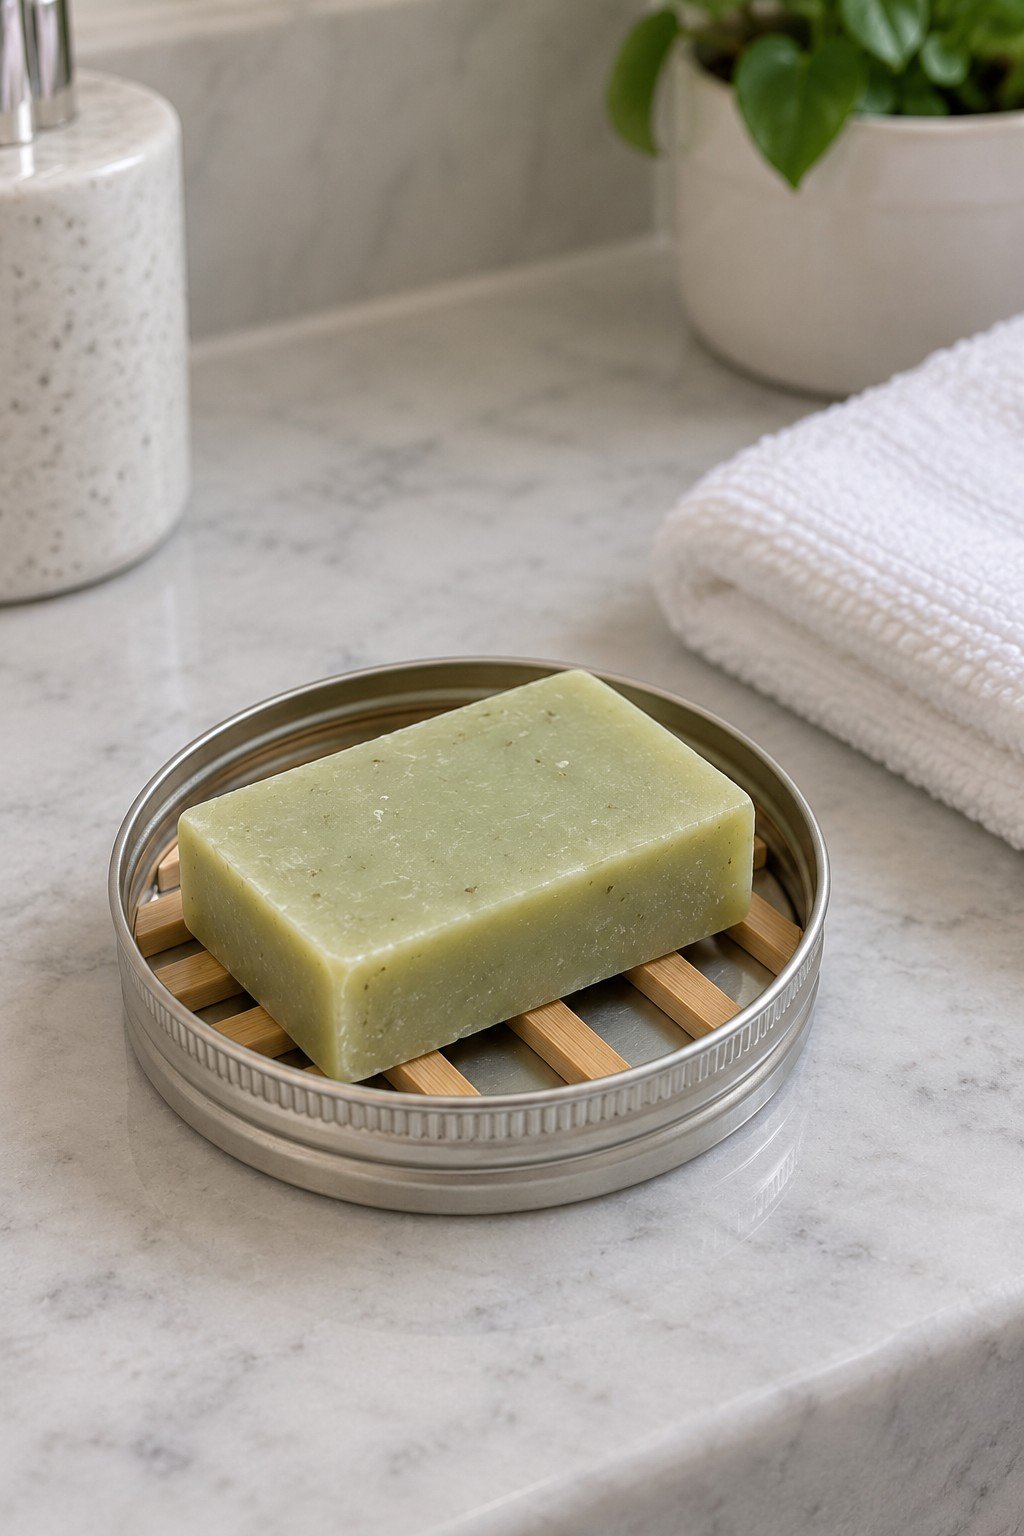
A raised slatted insert lifts the soap above the bottom of the lid. Cut or choose an insert that fits the band, remove it regularly and empty any collected water. Dry the metal after cleaning and replace the dish if corrosion develops; the lid by itself has no drain.
28. Illustrated Markers for Potted Plants
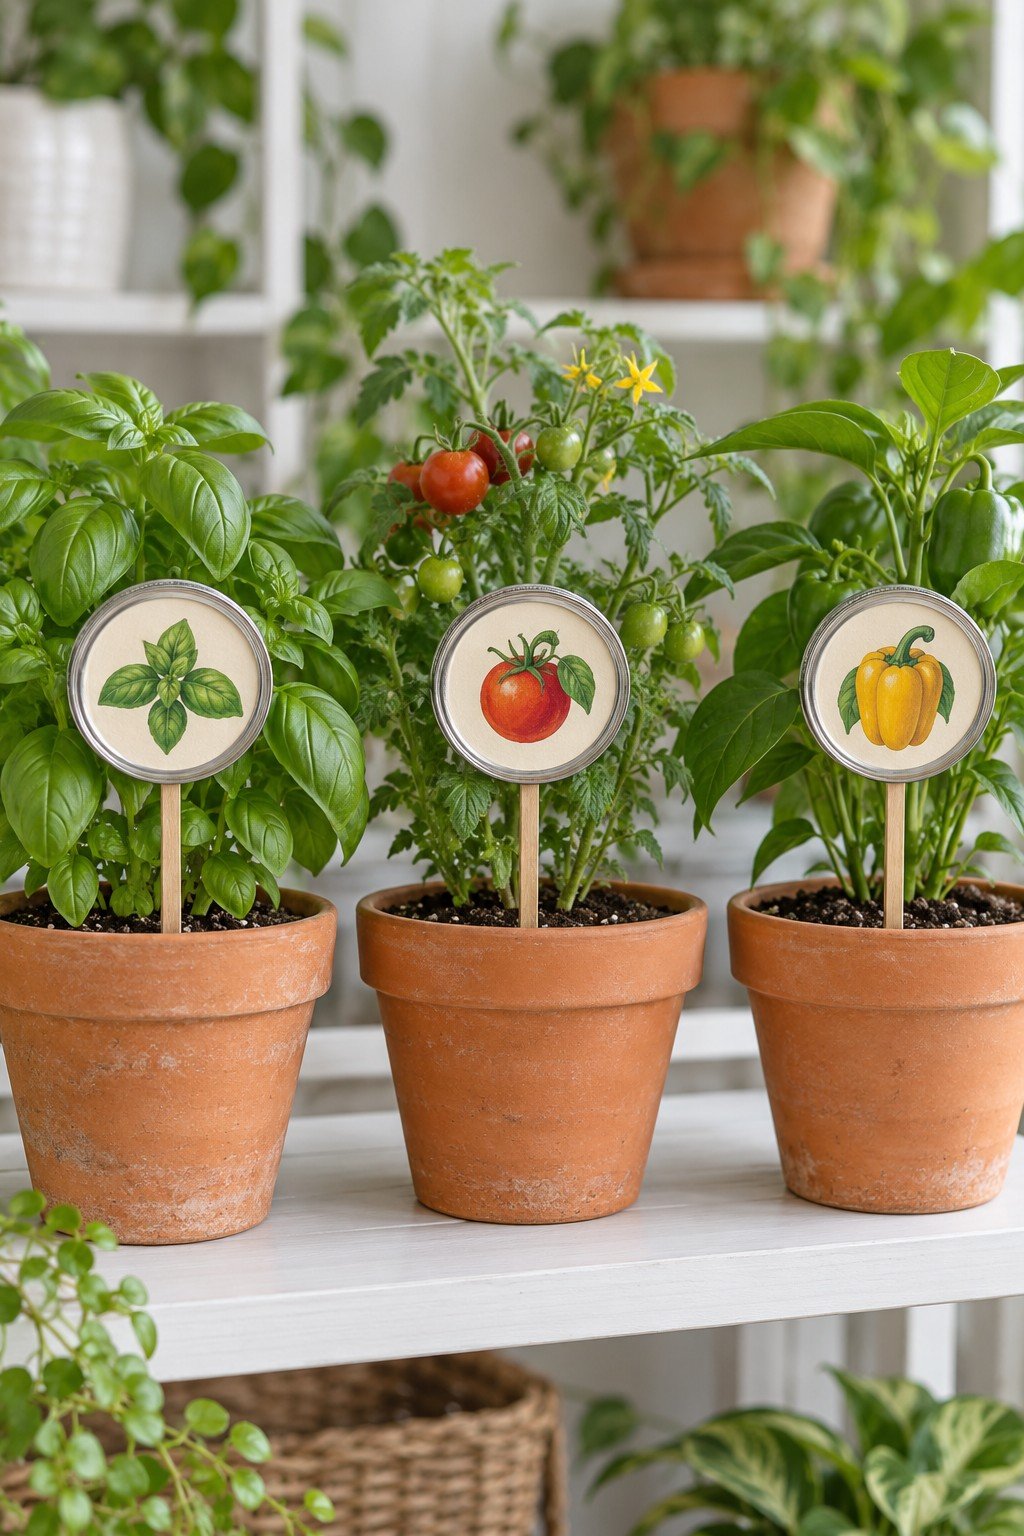
Small pictures of basil, tomato and pepper make the markers readable at a glance. Mount each illustration on a lid backing, attach a stake securely behind it and position the stake near the pot edge. Keep paper inserts out of direct watering or use a weather suitable alternative.
29. A Fabric Pincushion in One Lid
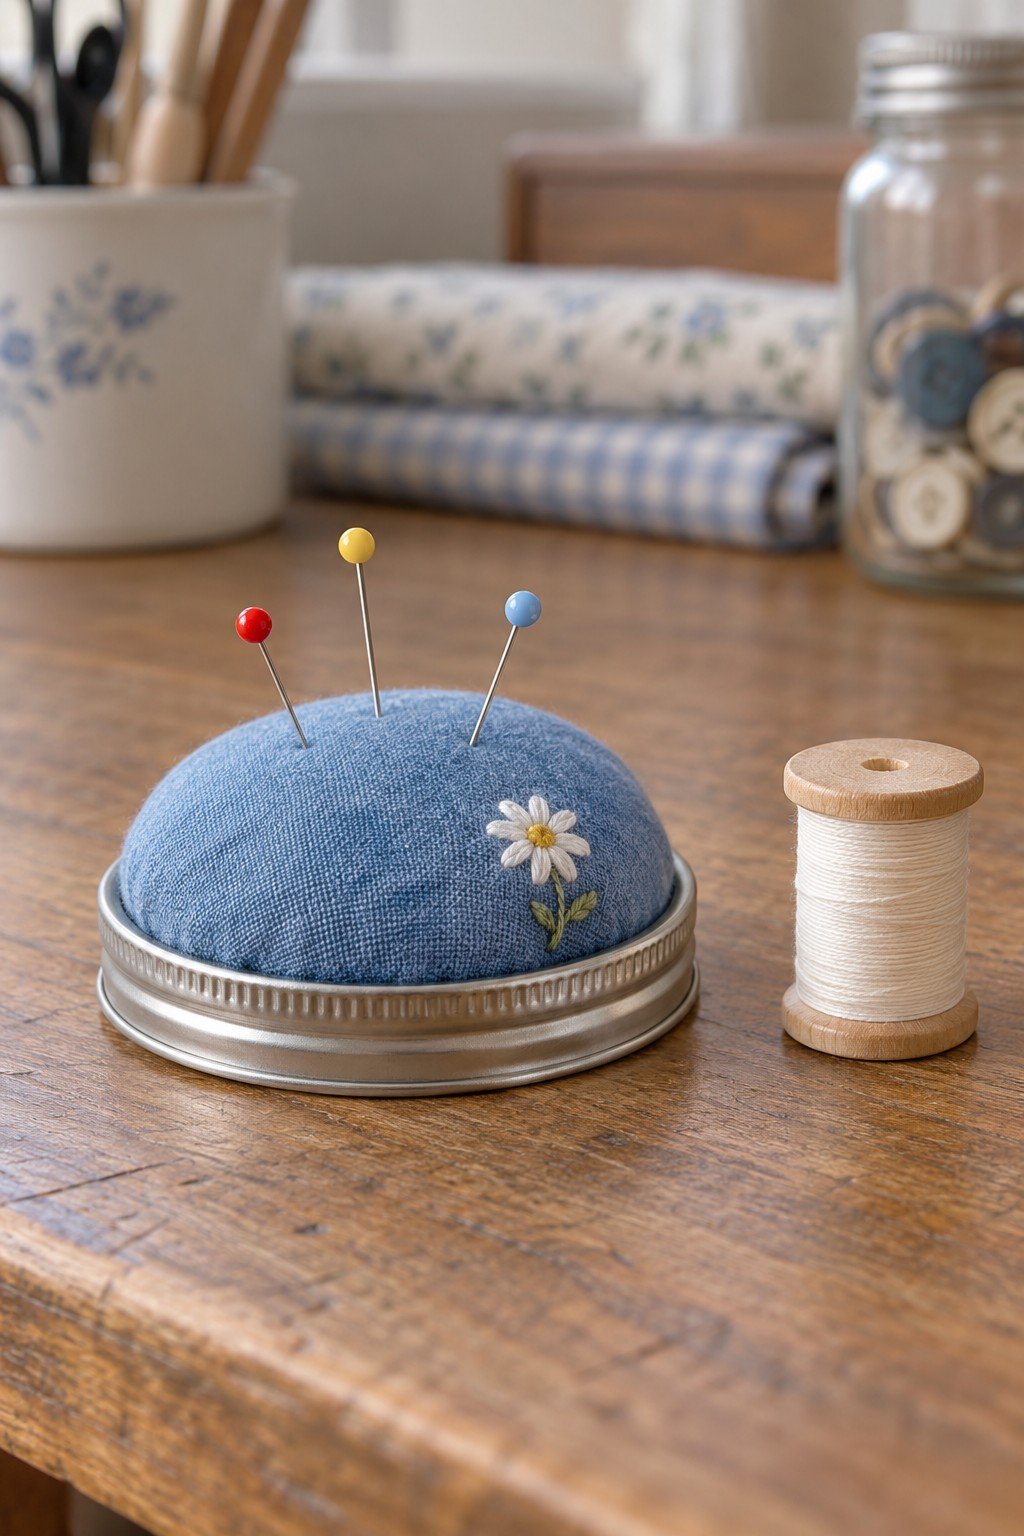
A padded fabric dome turns one lid and band into a useful sewing companion. Gather a fabric circle over fiberfill and the flat lid, fasten the excess underneath, and fit the cushion into the band. Cover the underside with card so the fabric edges stay tidy. The CraftBits jar pincushion tutorial shows the same layered method on a jar.
30. A Two Tier Jewelry Stand
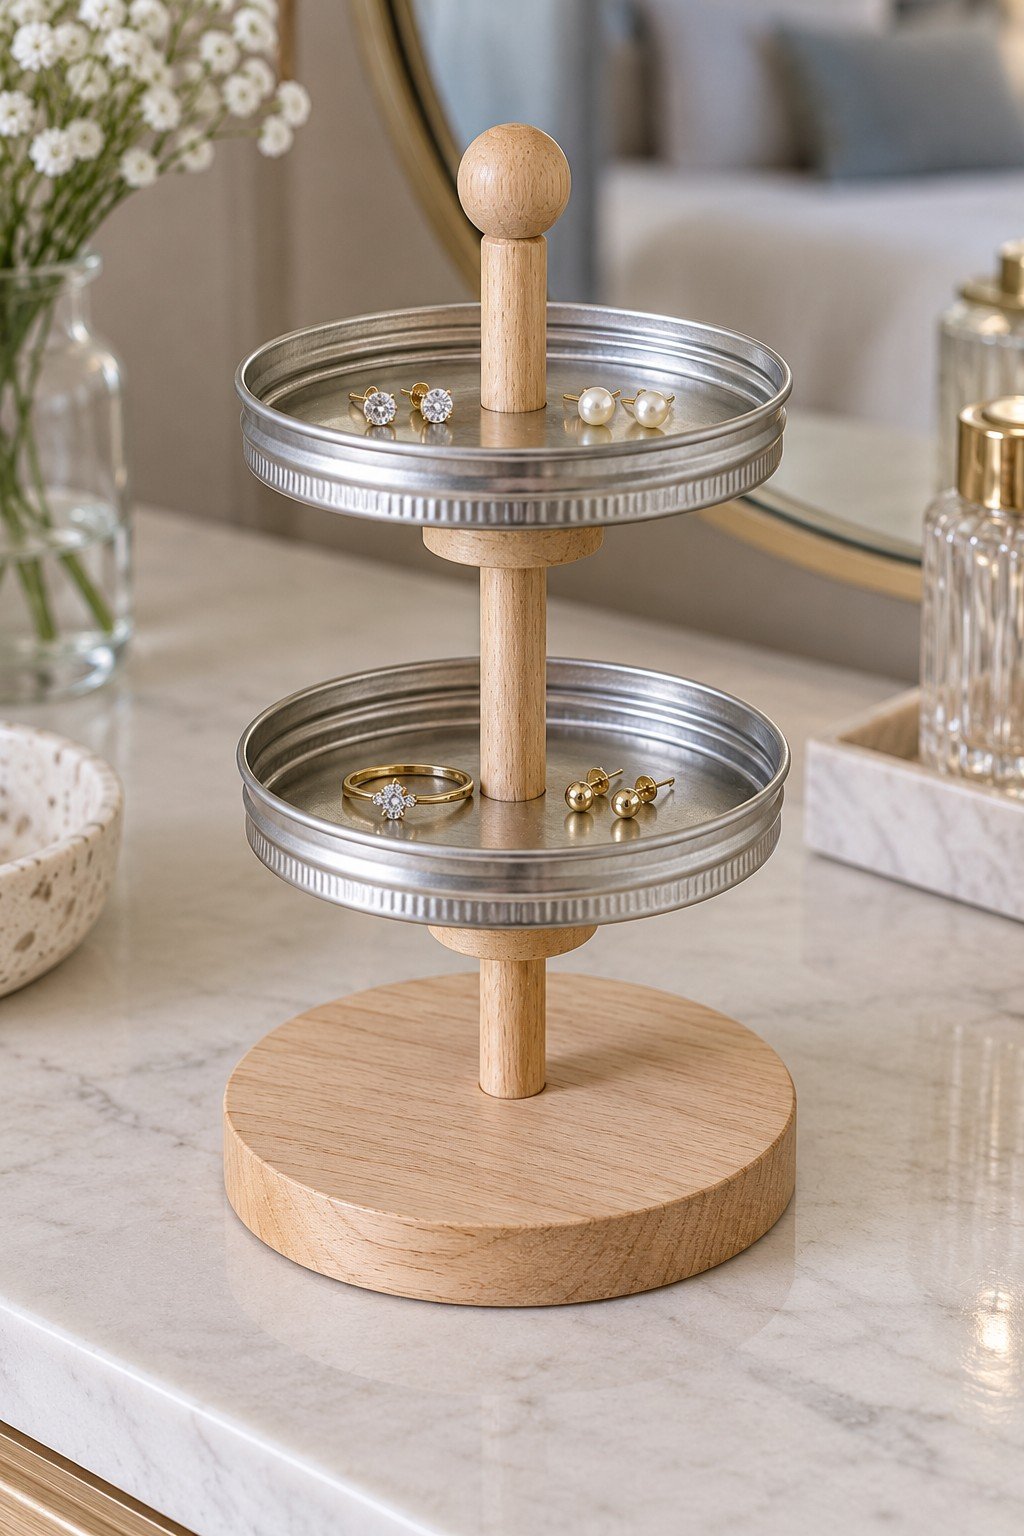
Two shallow trays place earrings and rings at different heights without taking much room. Start with a wide base and a vertical post fixed firmly into it. Support each tray on a separate secured collar or platform so the trays cannot slide down; line them if you want to cushion delicate pieces.
General Cost and Time Estimates
As a broad planning guide, allow approximately $2 to $25 for the materials used in a Mason jar lid craft. The cost depends on the number of lids and on any fabric, paint, beads, wood or fittings you add. This is an editorial estimate, not a fixed price. Supplies already on hand can reduce what you need to buy.
For context, a US retailer listed a pack of 12 lids and bands at $6.70, an 18 by 21 inch cotton fat quarter at $1.47, and a 16 ounce bag of fiberfill at $5.97 when checked on November 1, 2026. The estimates above refer to portions used; buying whole packages, tools, tax and delivery can increase the amount paid. Prices vary by location.
Plan approximately 20 minutes to three hours of active work, depending on the size and complexity of the design. This is a planning estimate, not a timed result. Allow extra time for paint, adhesive or other finishes to dry and cure according to their labels.
For another way to reuse small metal and plastic pieces, explore these bottle cap craft ideas.
Leave a Reply