

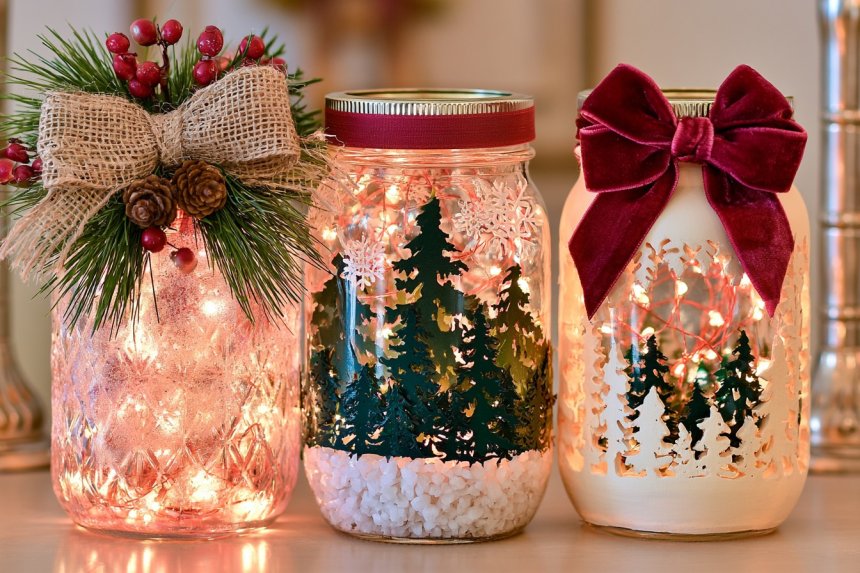
Choose how much glass to leave visible before decorating a jar light. Sixteen finishes compare frosting, paper, textiles and mosaics around removable battery lighting.
Table of Contents
- Plan the Glow Before Choosing the Decoration
- Choose Materials and Tools for the Theme
- Prepare, Arrange, and Attach the Decorative Layers
- Prepare the Glass and Trial the Pattern
- Use the Attachment Method That Fits the Material
- Keep Interior Filling Separate from the Outer Finish
- Adapt These Methods to the 16 Ideas Below
- Test Papers and Sealer on One Jar First
- 1. Give a Mason Jar a Frosted Finish
- 2. Frame the Light With Floral Details
- 3. Wrap the Lower Half With Twine
- 4. Let Light Shine Through Lace
- 5. Make a Coastal Inspired Mosaic Jar
- 6. Add an Autumn Leaf Pattern
- 7. Build a Snowy Winter Scene
- 8. Use Colorful Translucent Paper
- 9. Cover the Jar With Floral Motifs
- 10. Add Metallic Mosaic Accents
- 11. Combine Burlap With Floral Ribbon
- 12. Place Metallic Stars on Frosted Glass
- 13. Slip a Macrame Sleeve Over the Jar
- 14. Top the Jar With a Berry Cluster
- 15. Layer Botanical Paper Designs
- 16. Combine Interior Pebbles with Exterior Floral Pieces
- Keep the Display Easy to Use
Plan the Glow Before Choosing the Decoration
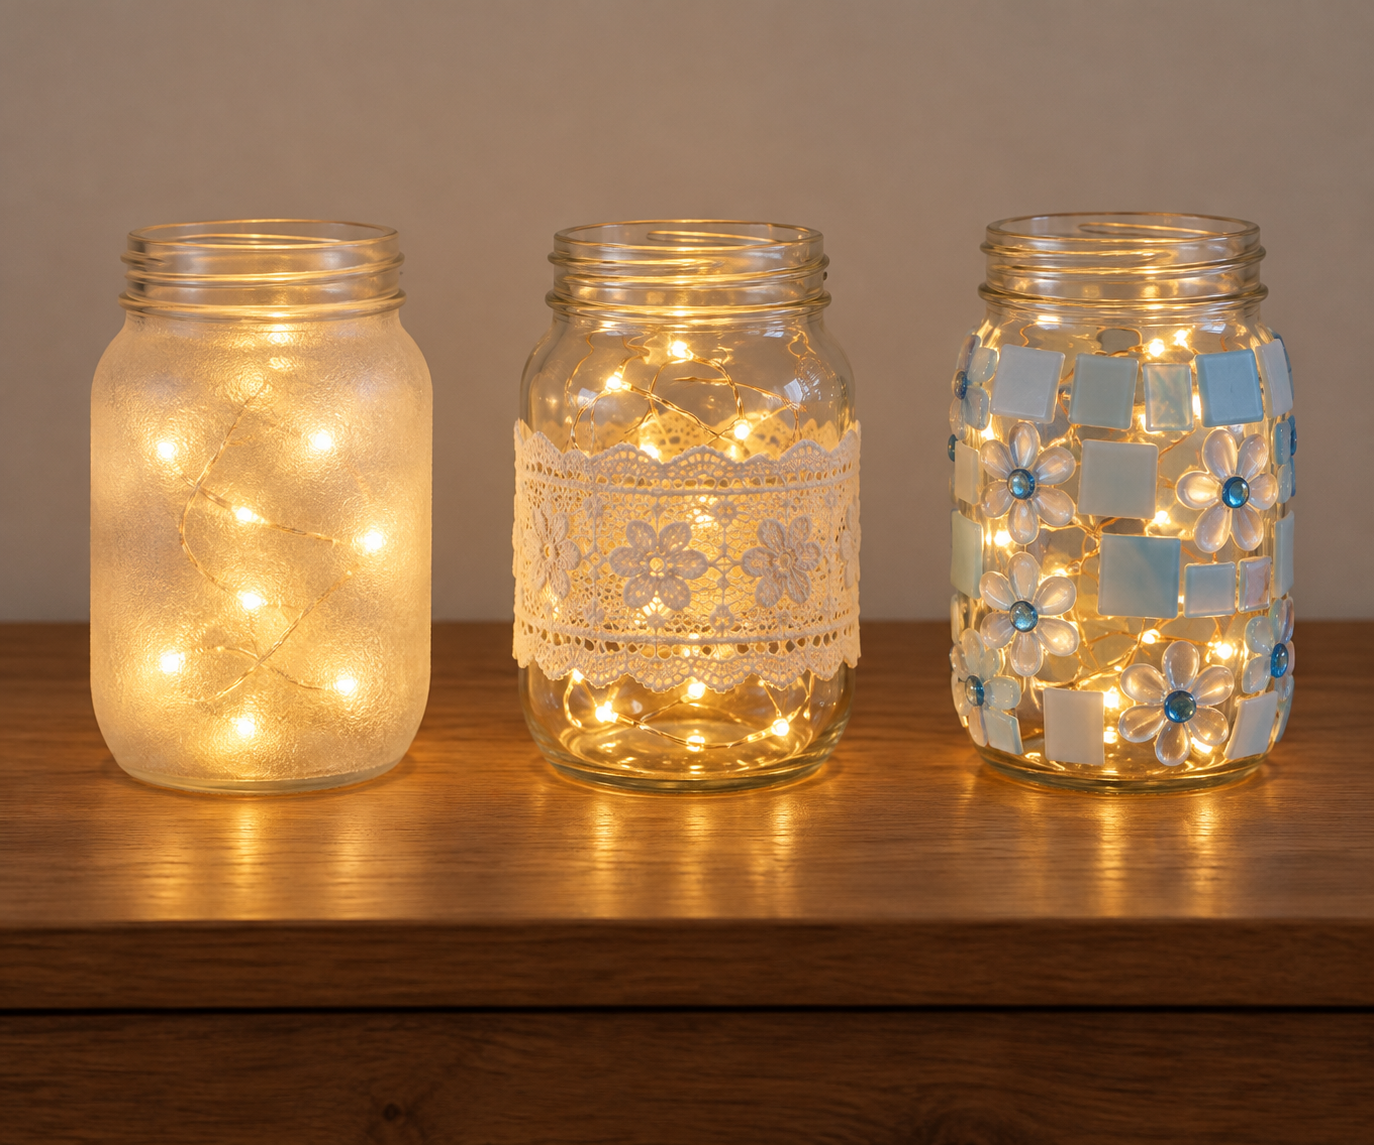
Try the light in a bare jar, then hold sample material against it. Frosting and thin paper soften points; clear gaps reveal them; dense wraps reduce transmission.
Use undamaged glass with an opening wide enough to remove the light. Choose a battery LED set meant for a jar display, with a switch and battery pack you can reach. Place the pack in its designed position and leave it removable; do not drill the glass or pinch wire under a metal lid. Use only a flameless light with the paper, lace and cord finishes here.
Choose Materials and Tools for the Theme
Gather the jar, removable light, chosen decoration and glass adhesive or coating. Prepare scissors, brush, cloth and a protected surface; the mosaic example also needs a template, masking tape and spreading and cleanup tools.
Trial a spare piece for staining and contact. Let adhesive and coatings reach their cure before handling, with the necessary ventilation during application.
Prepare, Arrange, and Attach the Decorative Layers
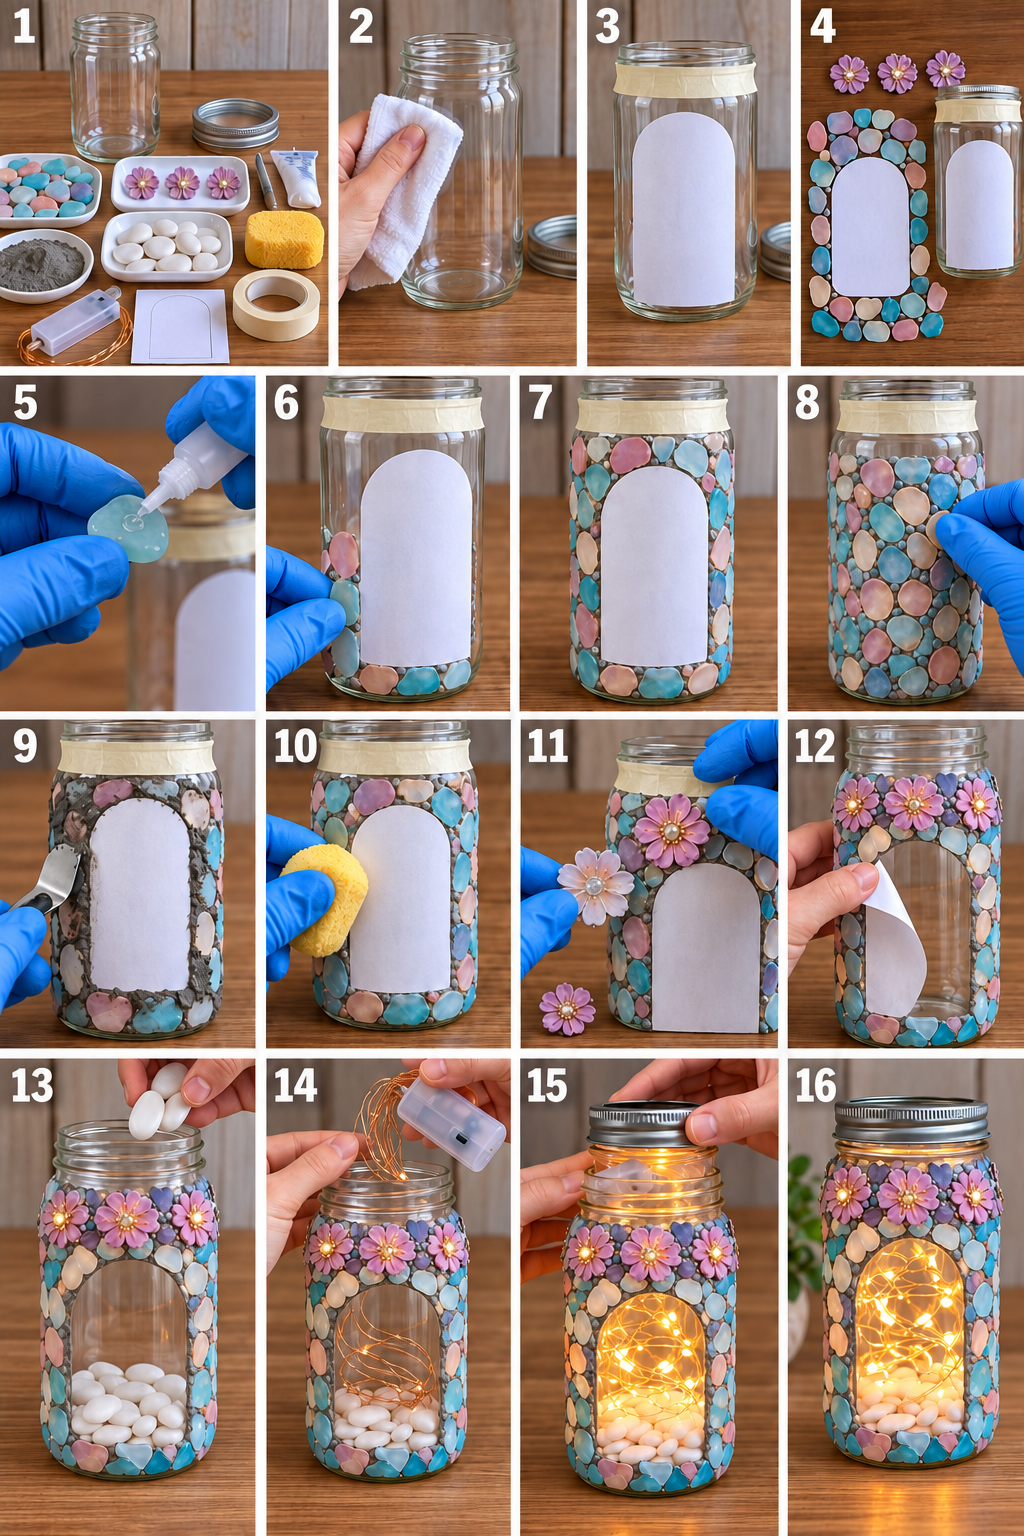
The step sequence reserves a clear window, attaches an outer mosaic border and adds inner stones and light afterward.
Prepare the Glass and Trial the Pattern
Remove labels and residue, then clean and dry the glass. Template the clear arch and trial pieces separately. Keep working lid threads and the opening clear.
Use the Attachment Method That Fits the Material
Keep the clear window masked while bonding small mosaic sections with a glass and tile adhesive, supporting each section until it holds. Trial the adhesive and any joint filler on a spare jar first; opaque residue can hide the light even where the mosaic looks neat. Clean the window before adding the floral trim and leave the lid threads free.
Keep Interior Filling Separate from the Outer Finish
Place only a shallow layer of clean dry pebbles inside, arranging the light without trapping wire. Position the battery pack as designed, with no pinched cable at the rim.
Adapt These Methods to the 16 Ideas Below
Test Papers and Sealer on One Jar First
At Gail Wilson’s mason jar craft night, a glitter and Mod Podge mix inside a jar took hours to dry, a heavy coat of spray sealer crept under the masking, and tissue paper stuck better than copy paper on the outside. Make one small sample with your paper and sealer, using light coats, before covering a whole set of jars.
For one tissue paper jar light, allow 30 to 45 minutes of active work and US$5 to 12 for a battery LED, paper and adhesive portions, with a clean jar and tools owned. These are planning estimates; Gail gives no total duration or price. Let all coatings dry and cure before the light goes in, and keep the finished mixed paper version indoors unless its whole materials are meant for outdoor exposure.
1. Give a Mason Jar a Frosted Finish
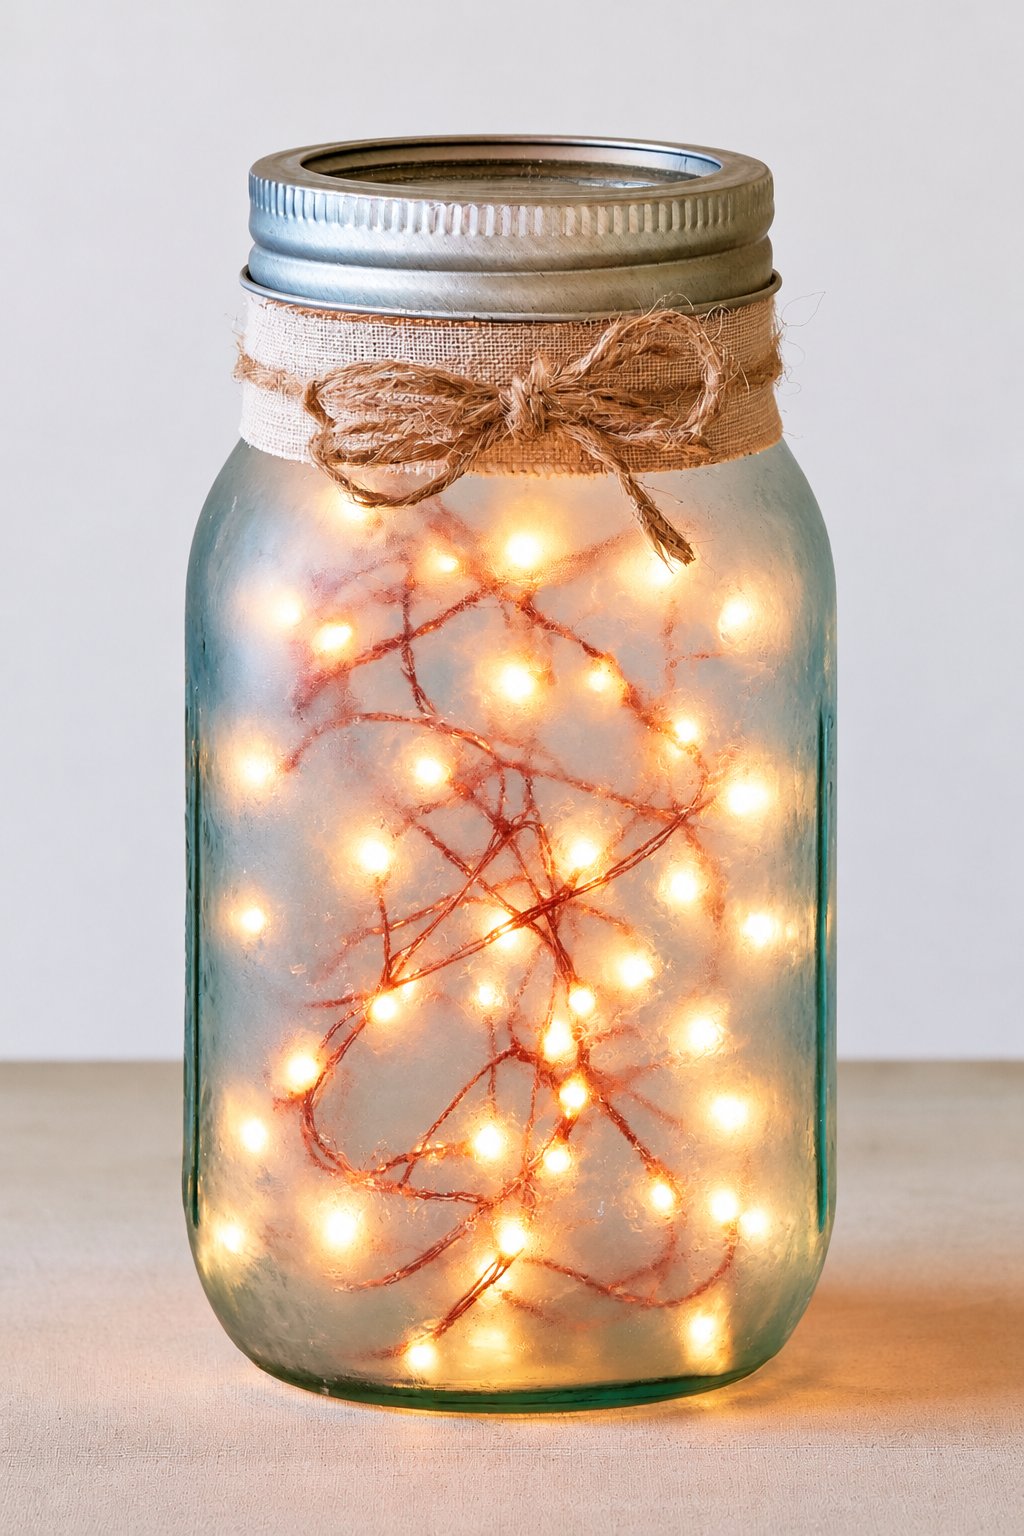
Frosted glass softens the visible light points. Trial a small area with the chosen frosting product, then cure before adding lights. Keep the neck wrap decorative and the opening and controls accessible.
2. Frame the Light With Floral Details
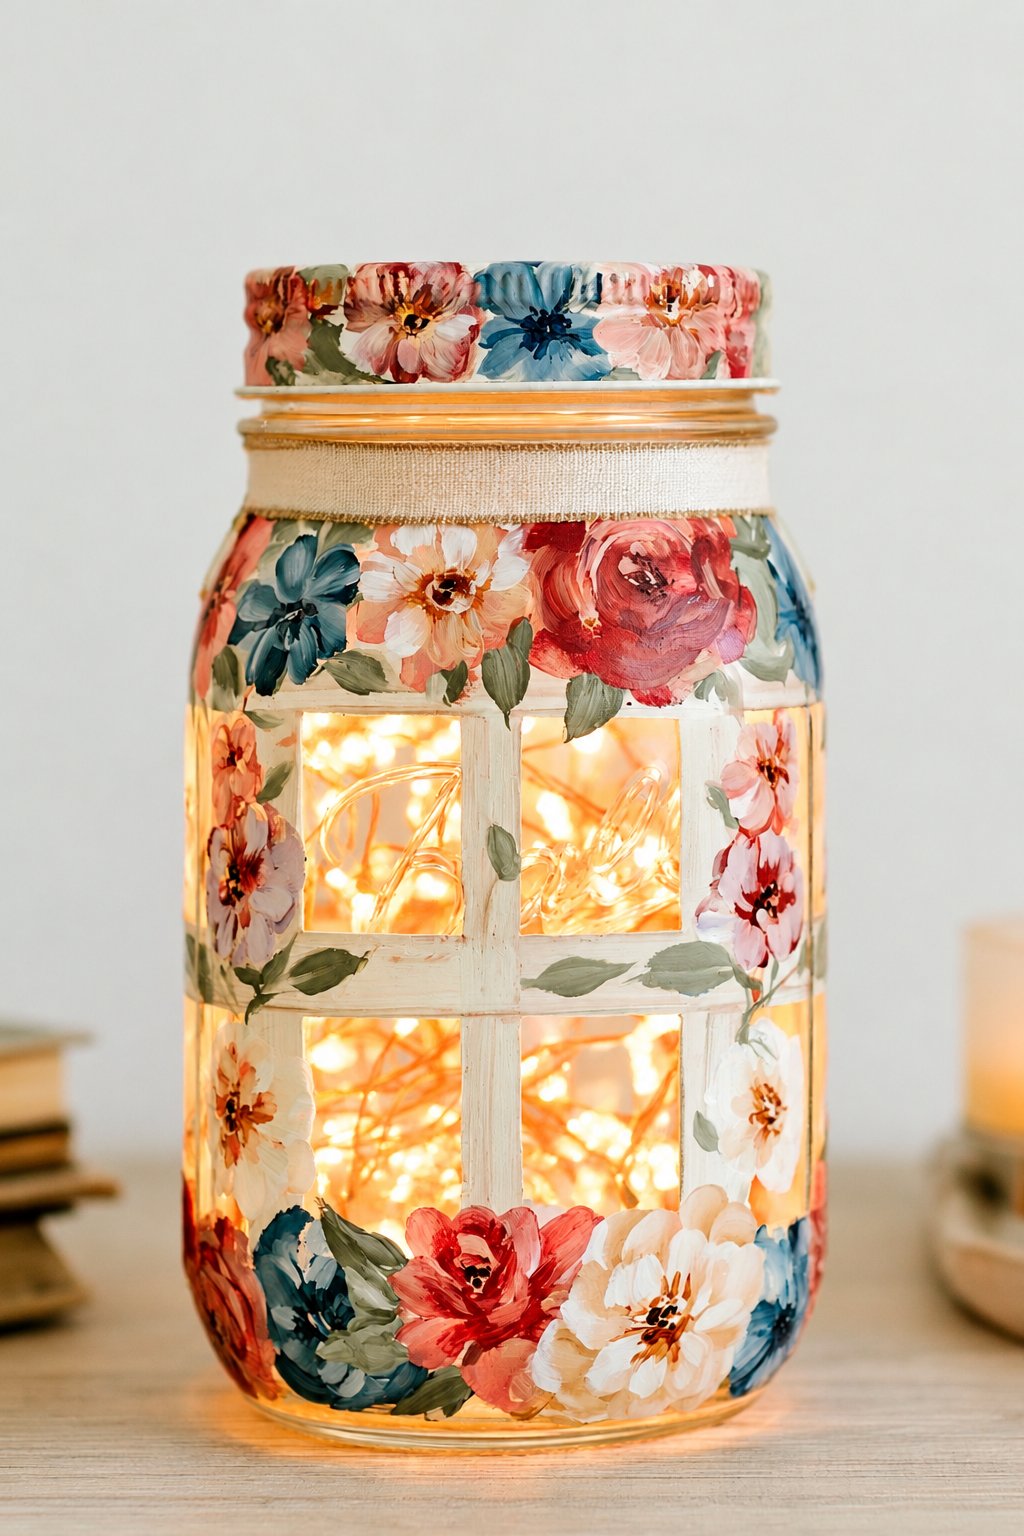
Floral motifs alternate with clear glass windows. Plan their spacing on a paper outline and attach thin paper or transfers with the right finish. Keep an undamaged grip area free of fragile raised accents.
3. Wrap the Lower Half With Twine
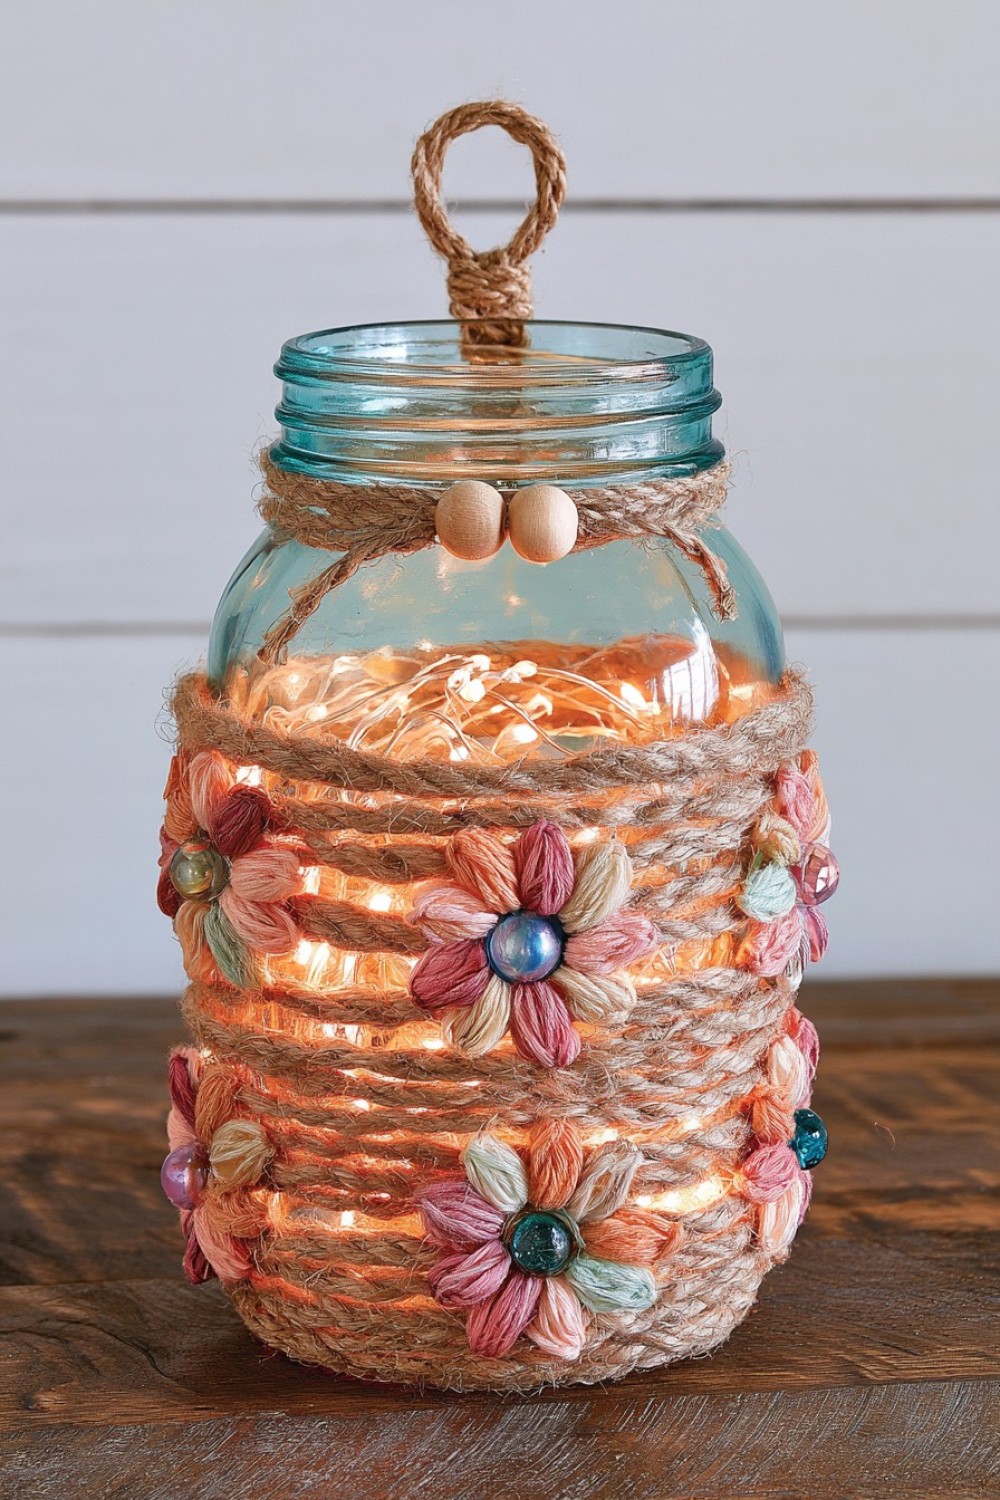
Thick twine covers the lower jar while upper glass remains open. Trial its band height with lights on before fixing rows. Treat the neck loop as decoration unless it is a designed weight bearing carrier.
4. Let Light Shine Through Lace
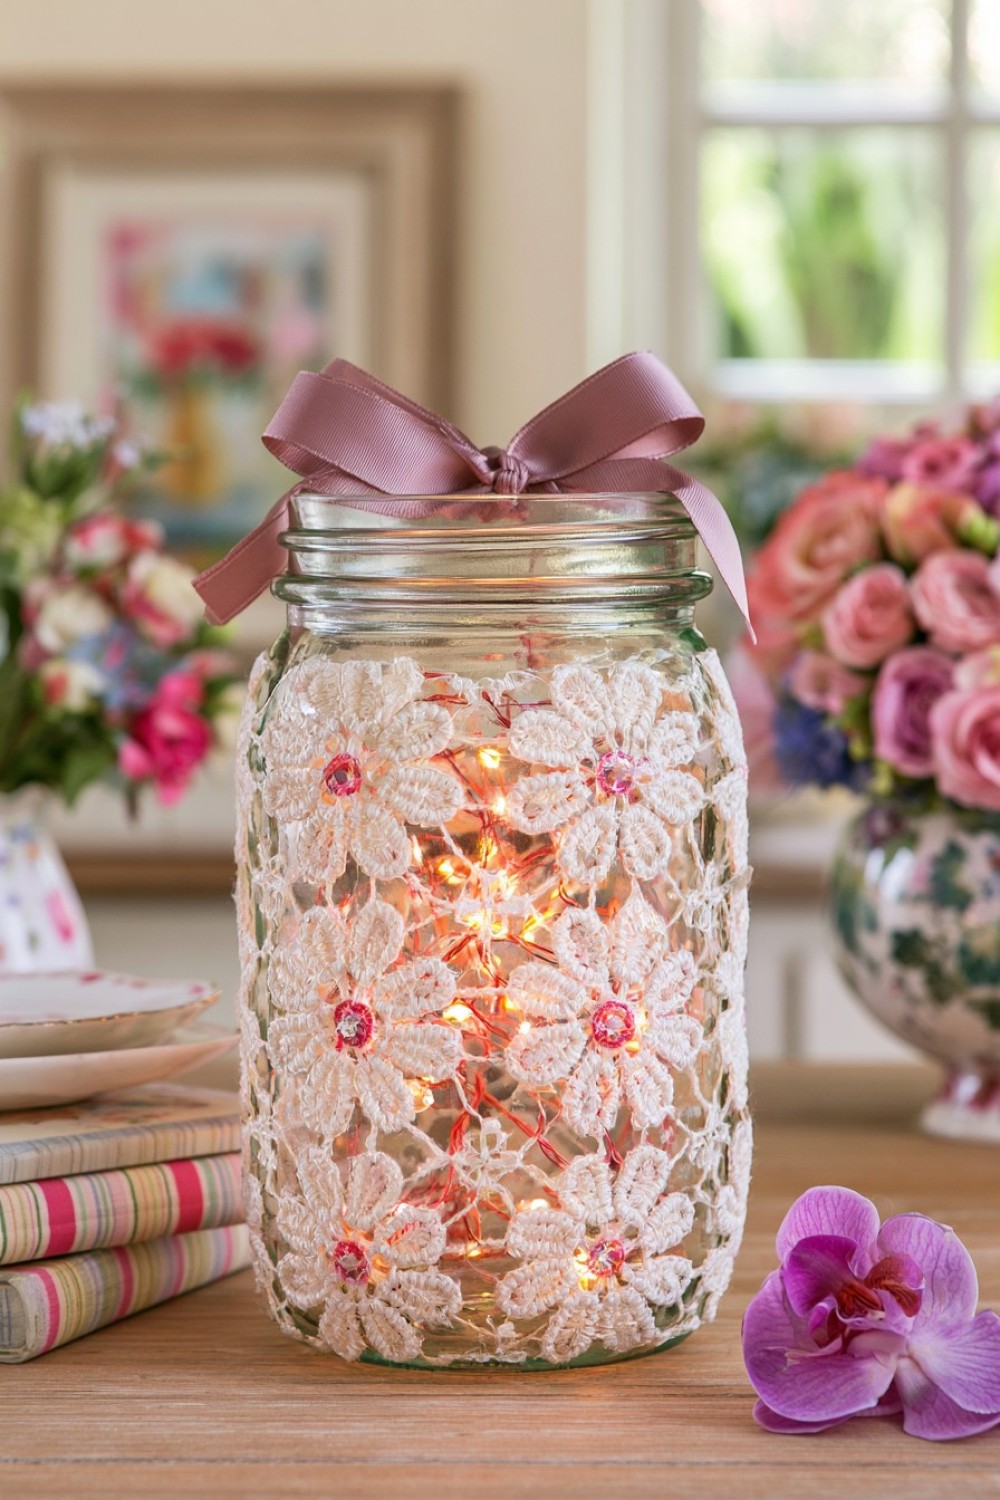
Lace wraps diffuse part of the glass without hiding the whole light. Measure the circumference and finish the join neatly. Keep the opening free for removable lights, with textile care suited to the finished treatment.
5. Make a Coastal Inspired Mosaic Jar
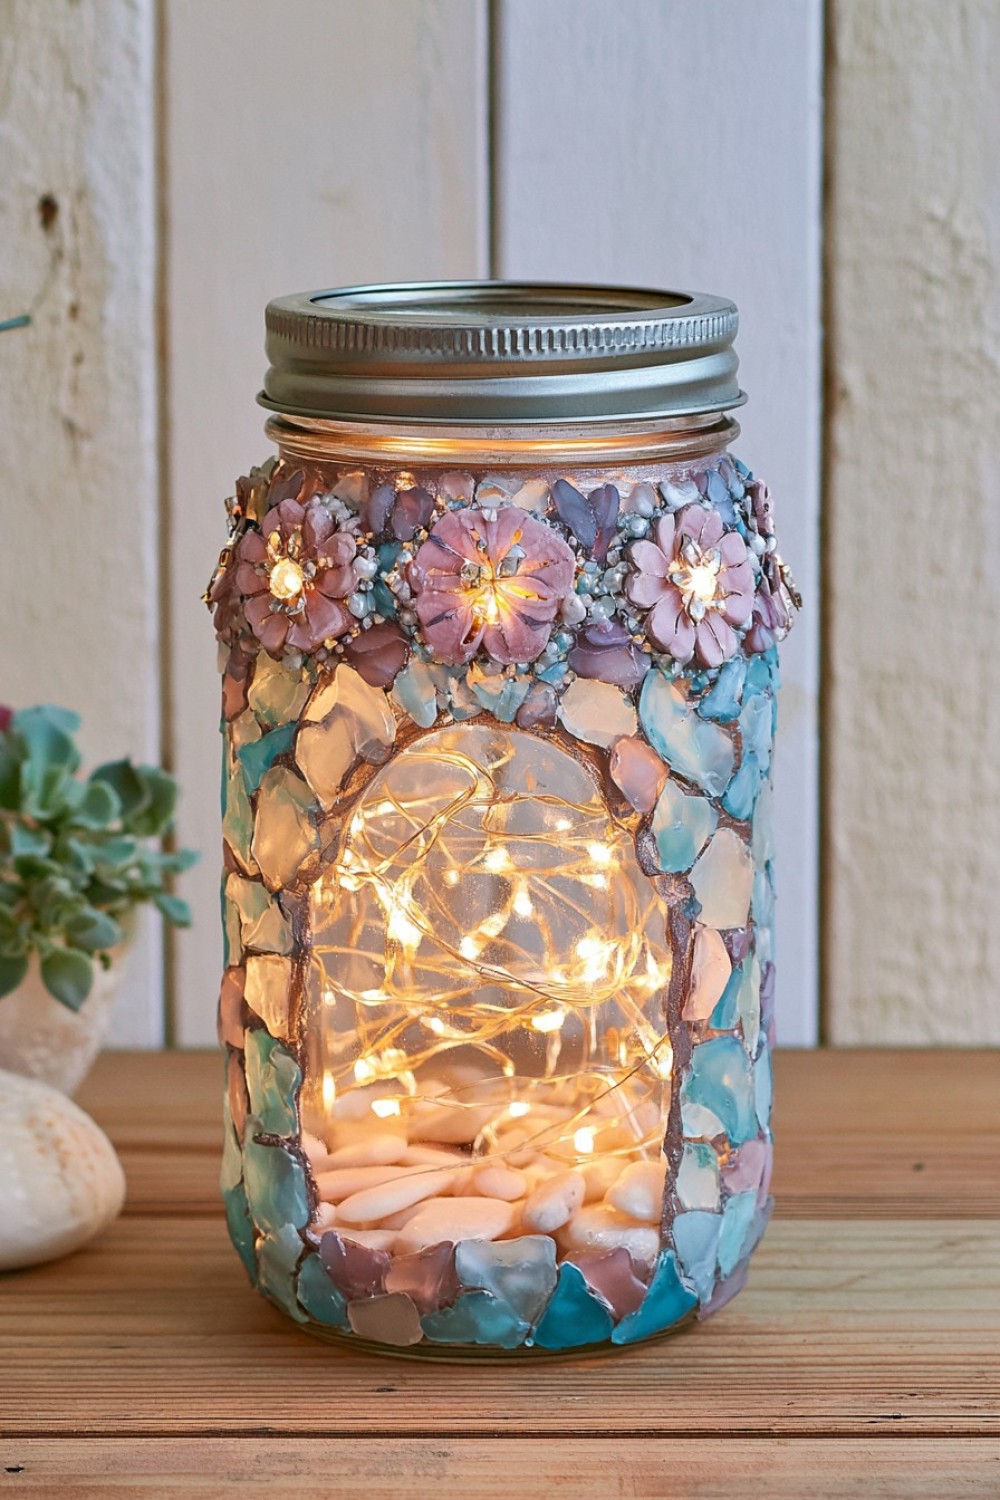
Blue green pieces and shells frame a clear arch. Template that window before attaching smooth craft components in small sections. The mosaic adds weight, so carry the jar by its undamaged body and inspect loose pieces.
6. Add an Autumn Leaf Pattern
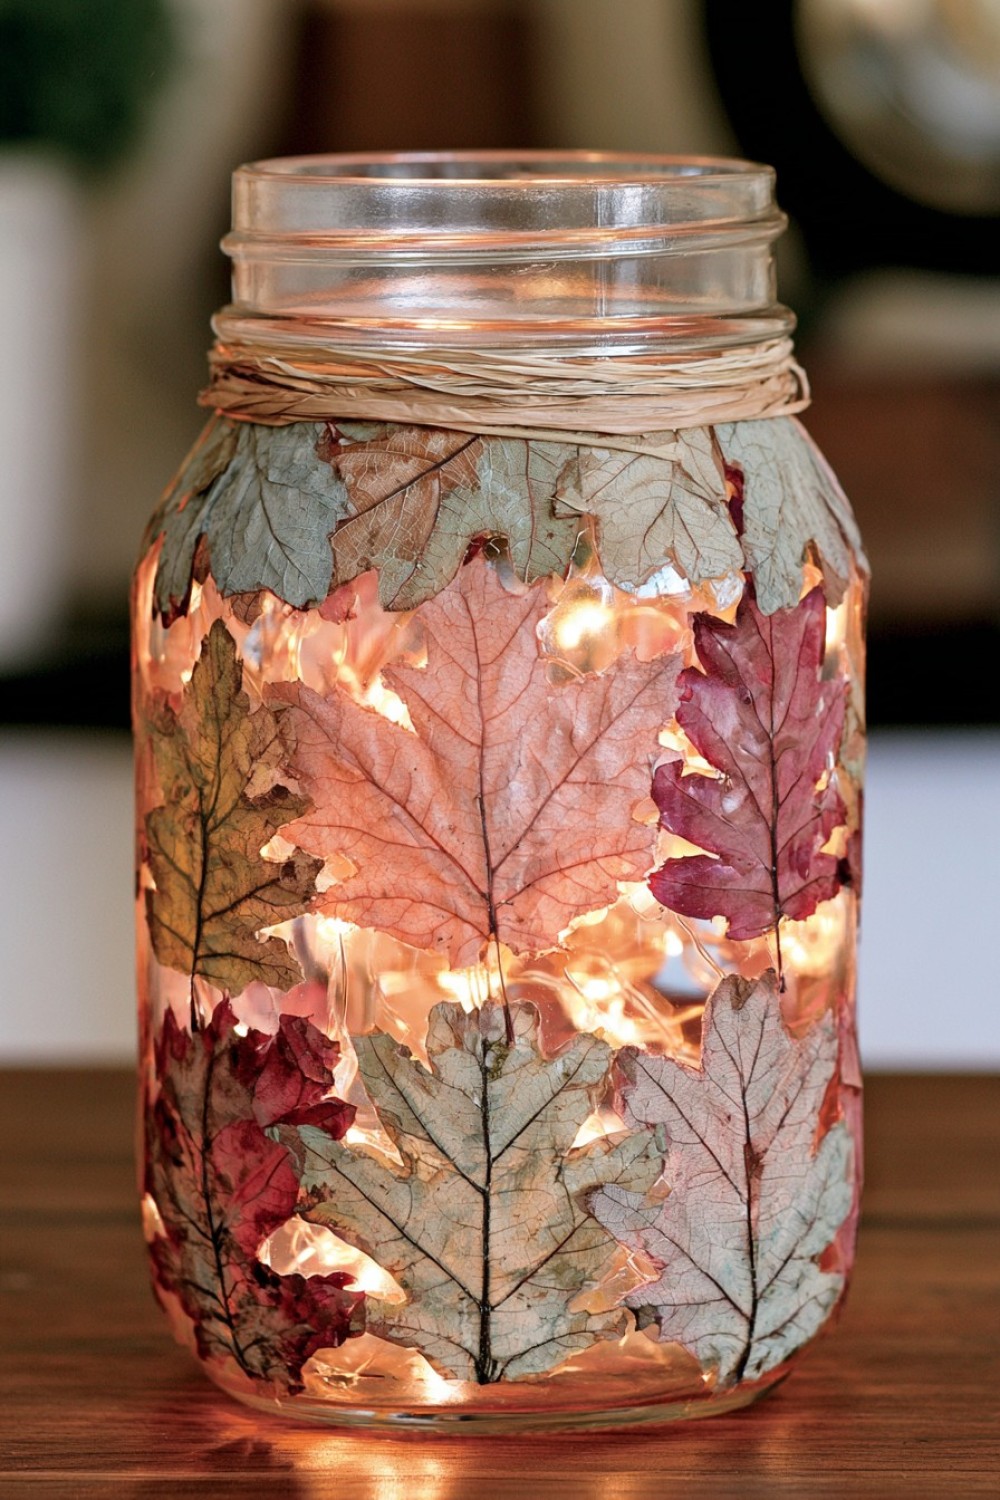
Autumn leaf shapes scatter across clear glass. Cut paper shapes or choose transfers, leaving gaps around darker colors. Trial dried botanical material separately if using it instead of paper.
7. Build a Snowy Winter Scene
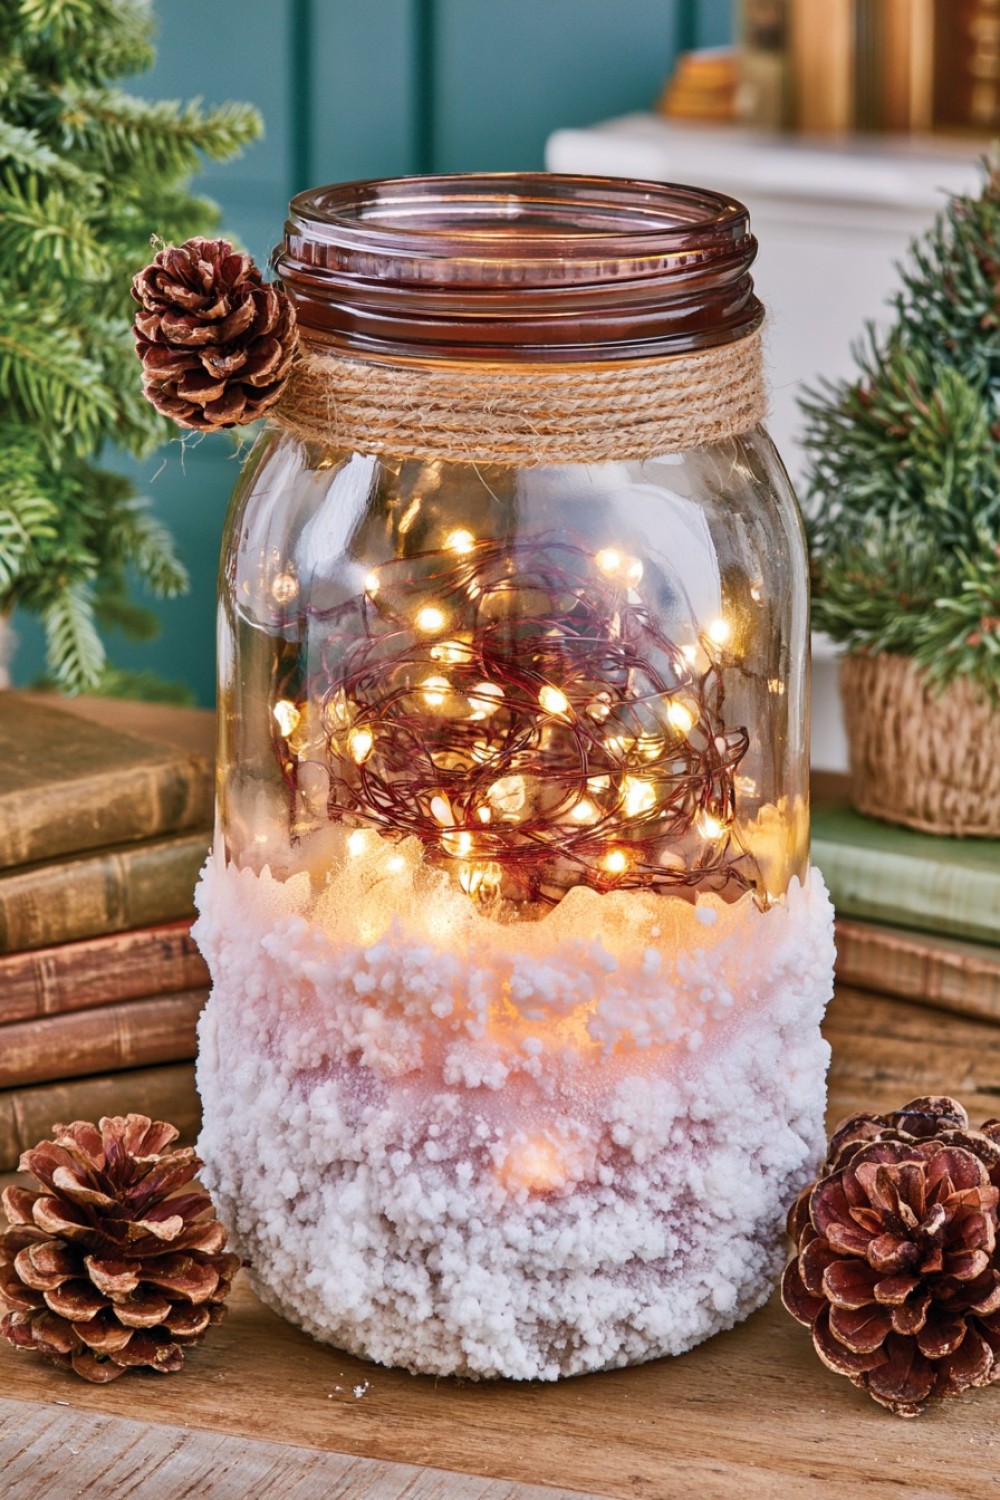
A textured white lower band suggests snow under a clear upper section. Choose an exterior craft snow finish and keep particles out of the battery area. Add nearby removable pinecones rather than covering every grip surface.
8. Use Colorful Translucent Paper
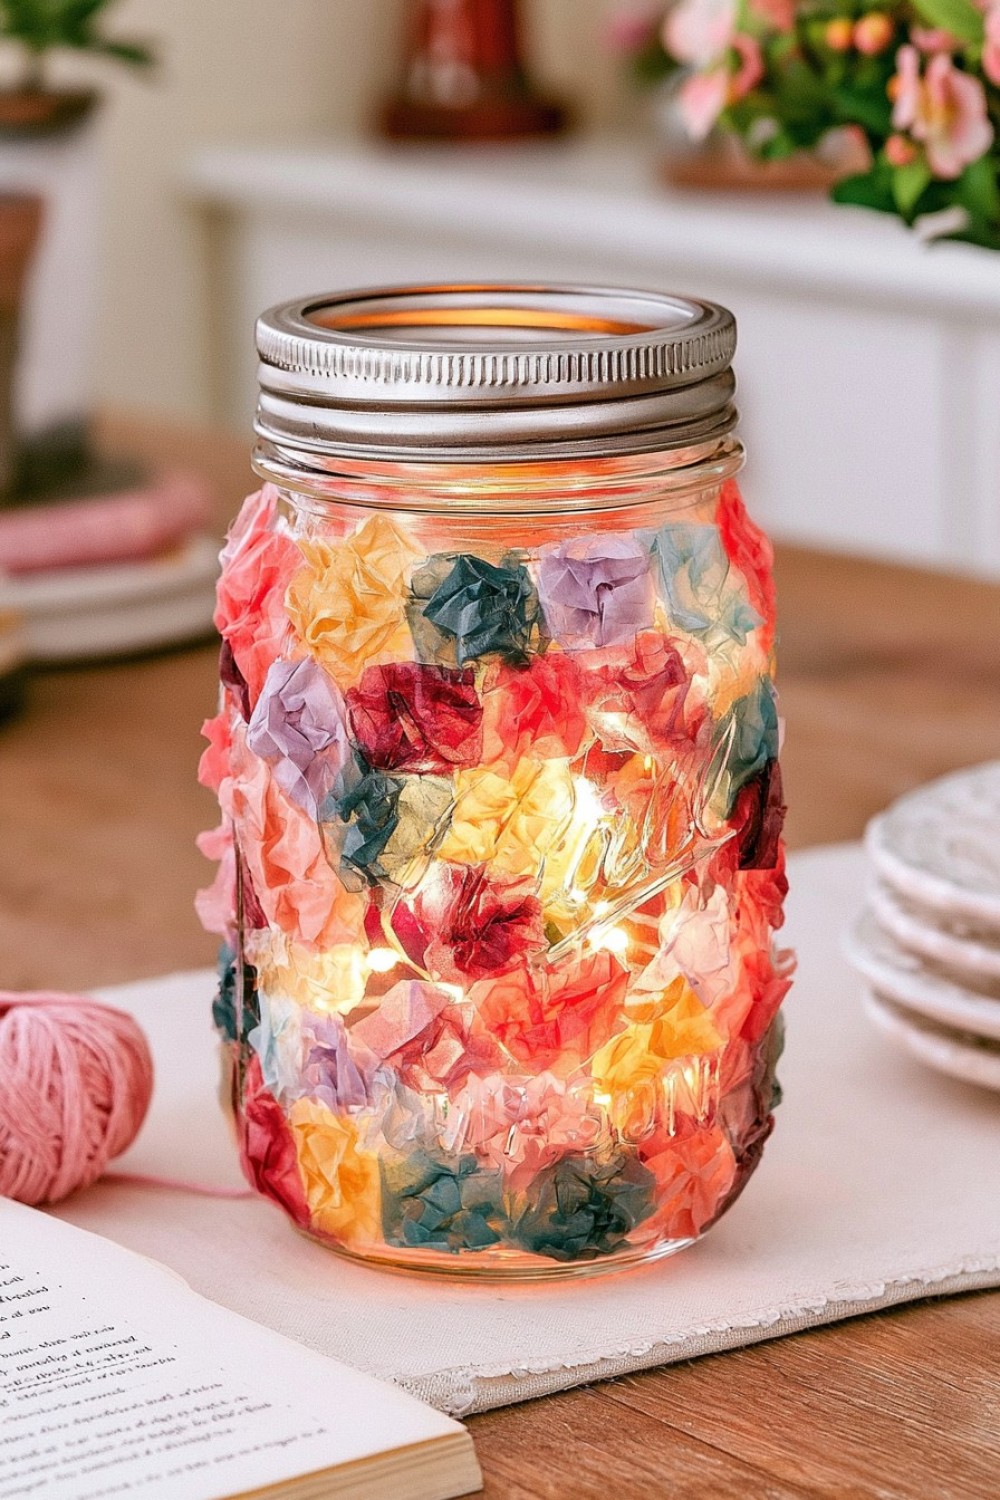
Thin colored paper overlaps into a translucent patchwork. Trial one light layer before adding denser areas. Use a glass decoupage system and compare the sample both lit and unlit.
9. Cover the Jar With Floral Motifs
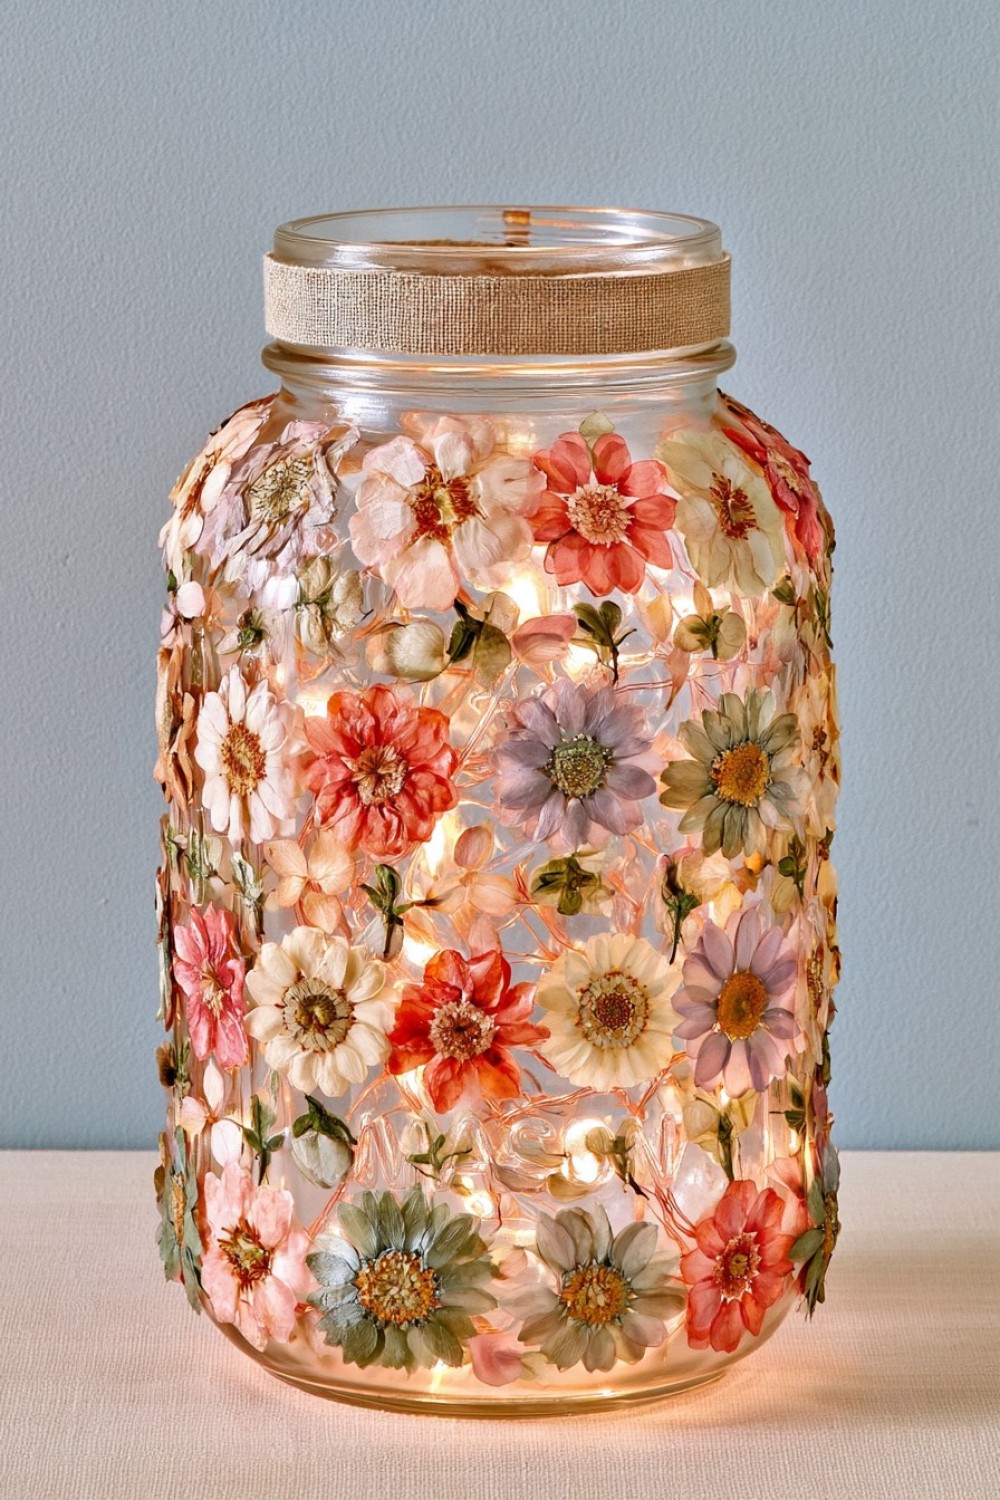
Dense small flowers make the jar decorative in daylight as well as at night. Choose lightweight accents and a plain background. Leave an accessible grip rather than lifting by projecting petals.
10. Add Metallic Mosaic Accents
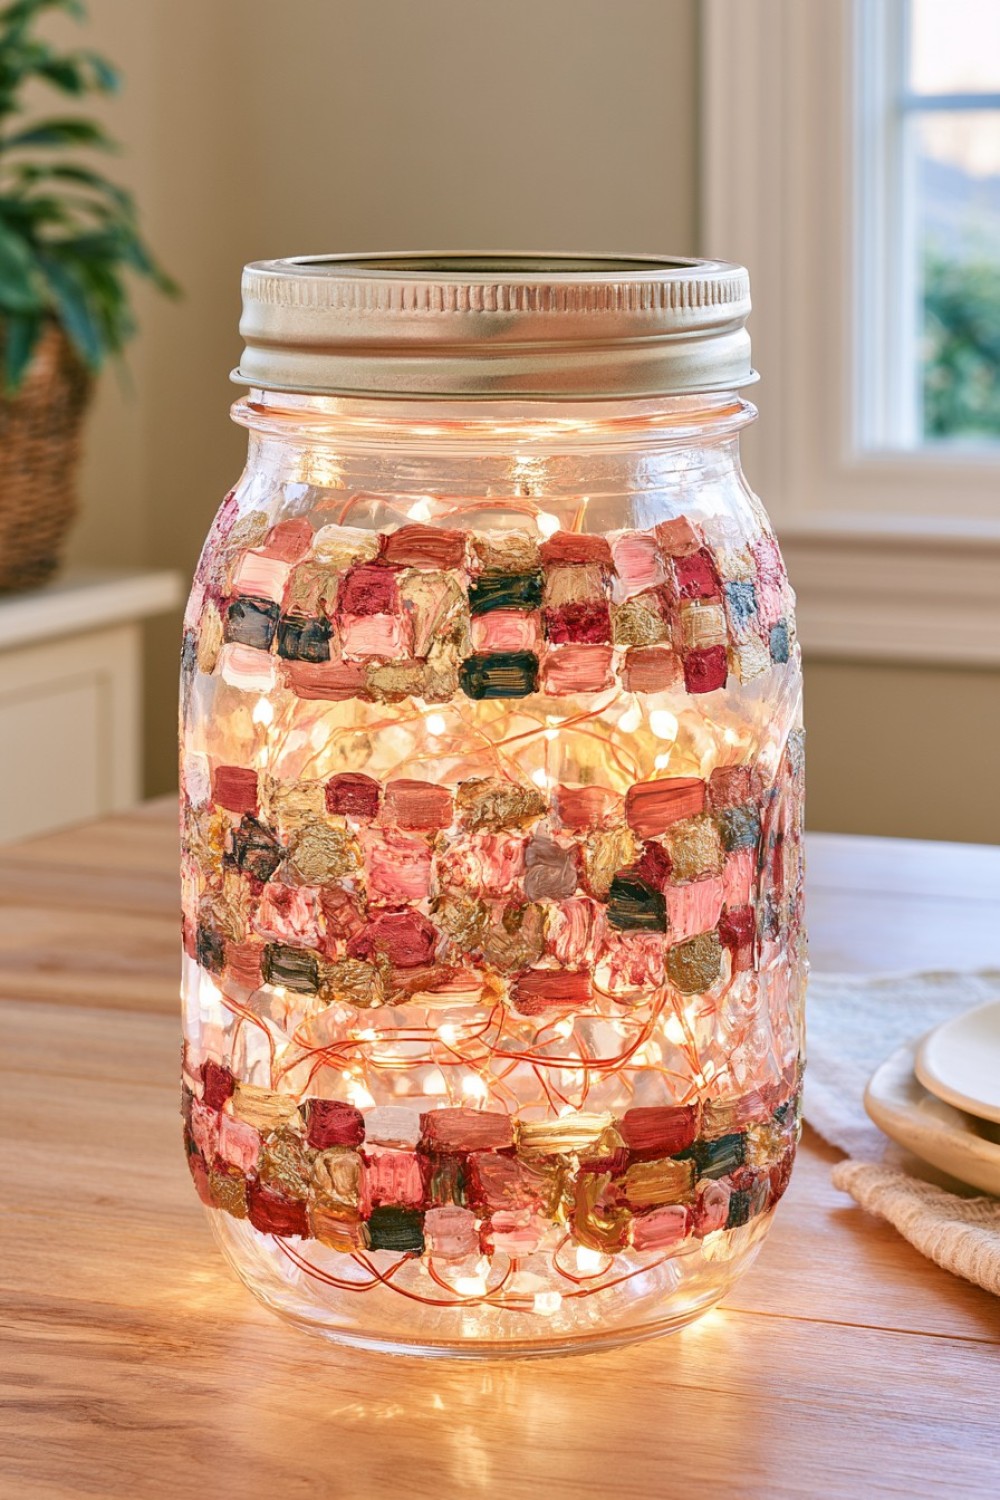
Small metallic squares form broken bands across otherwise clear glass. Lay them out on a paper strip wrapped around the jar, then transfer a few at a time. Leave clear gaps between bands so the light still reads as points; finish the edges where fingers will grip.
11. Combine Burlap With Floral Ribbon
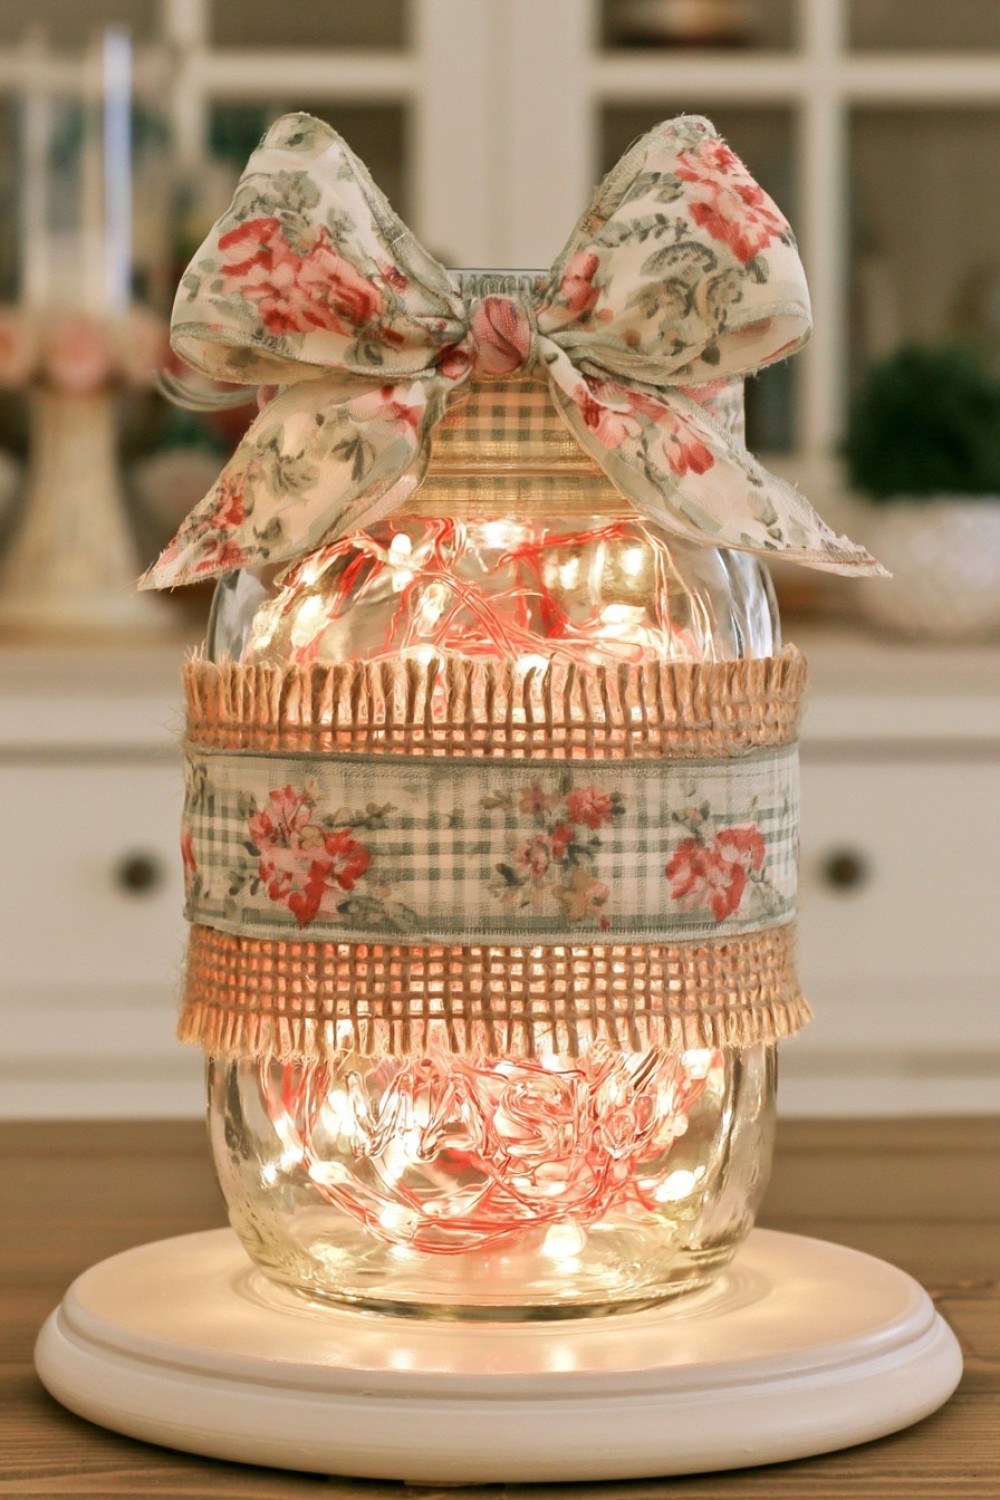
A burlap band carries floral ribbon around the jar’s middle. Measure both layers before cutting and leave clear glass above and below. A removable wrap suits regular cleaning or seasonal changes.
12. Place Metallic Stars on Frosted Glass
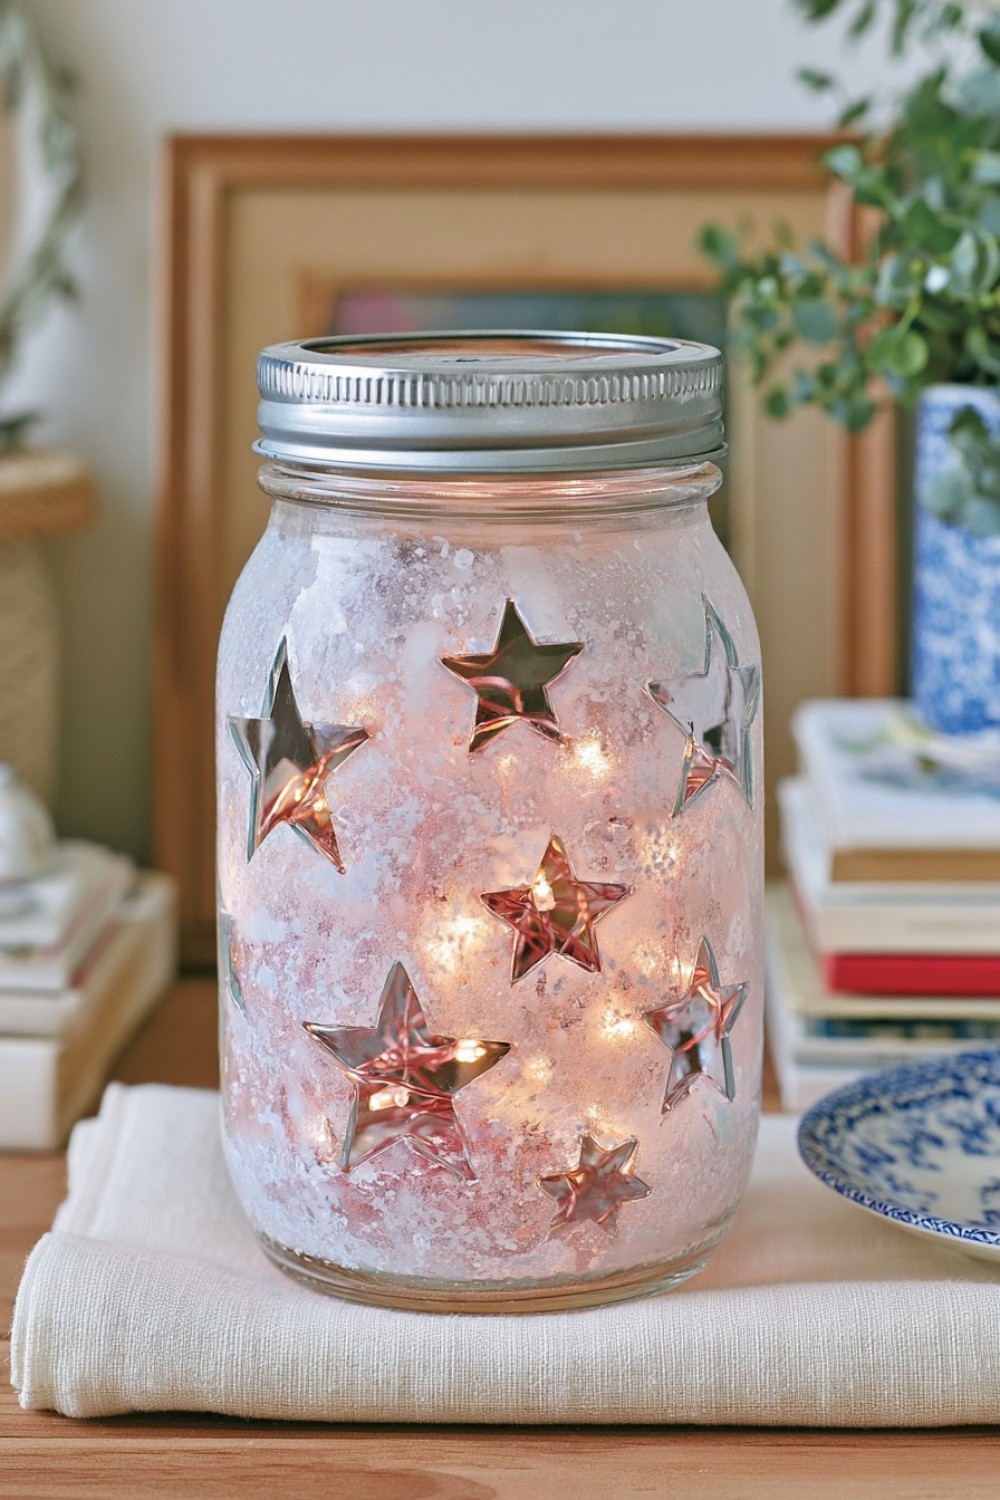
Metallic stars stand against a frosted glow. Add a restrained set of smooth shapes after testing their adhesive on the coating. Keep stars outside lid threads; the effect needs no holes cut into glass.
13. Slip a Macrame Sleeve Over the Jar
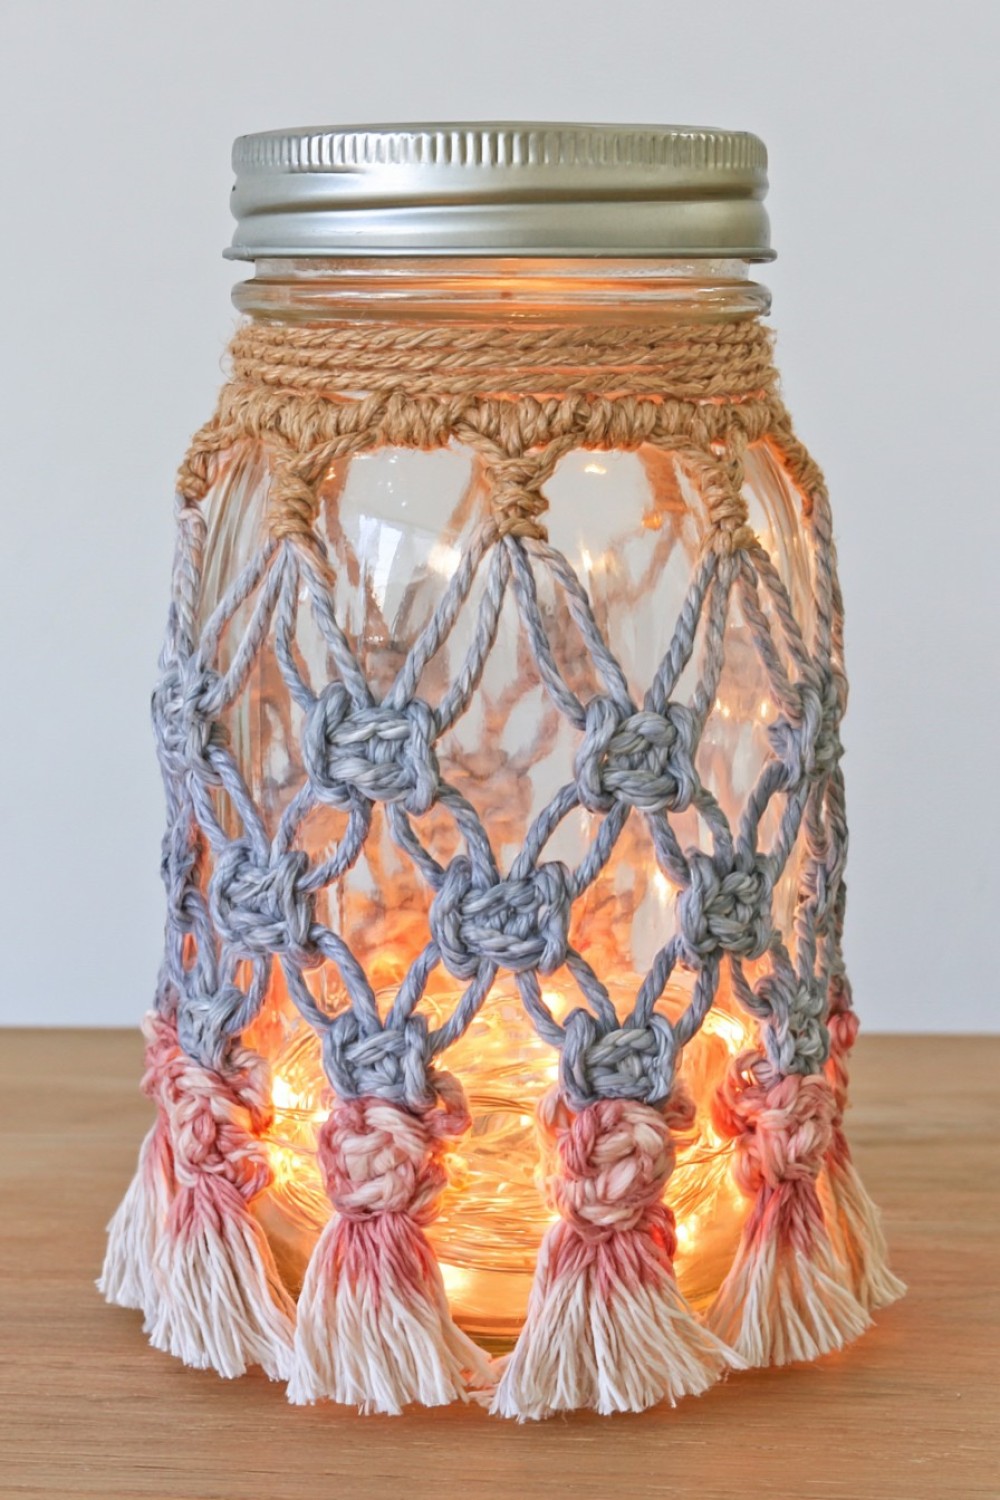
A removable knotted sleeve reveals glass through open gaps. Fit it without squeezing the jar and keep lower knots off the standing base. Let the cord dry fully after cleaning before refitting.
14. Top the Jar With a Berry Cluster
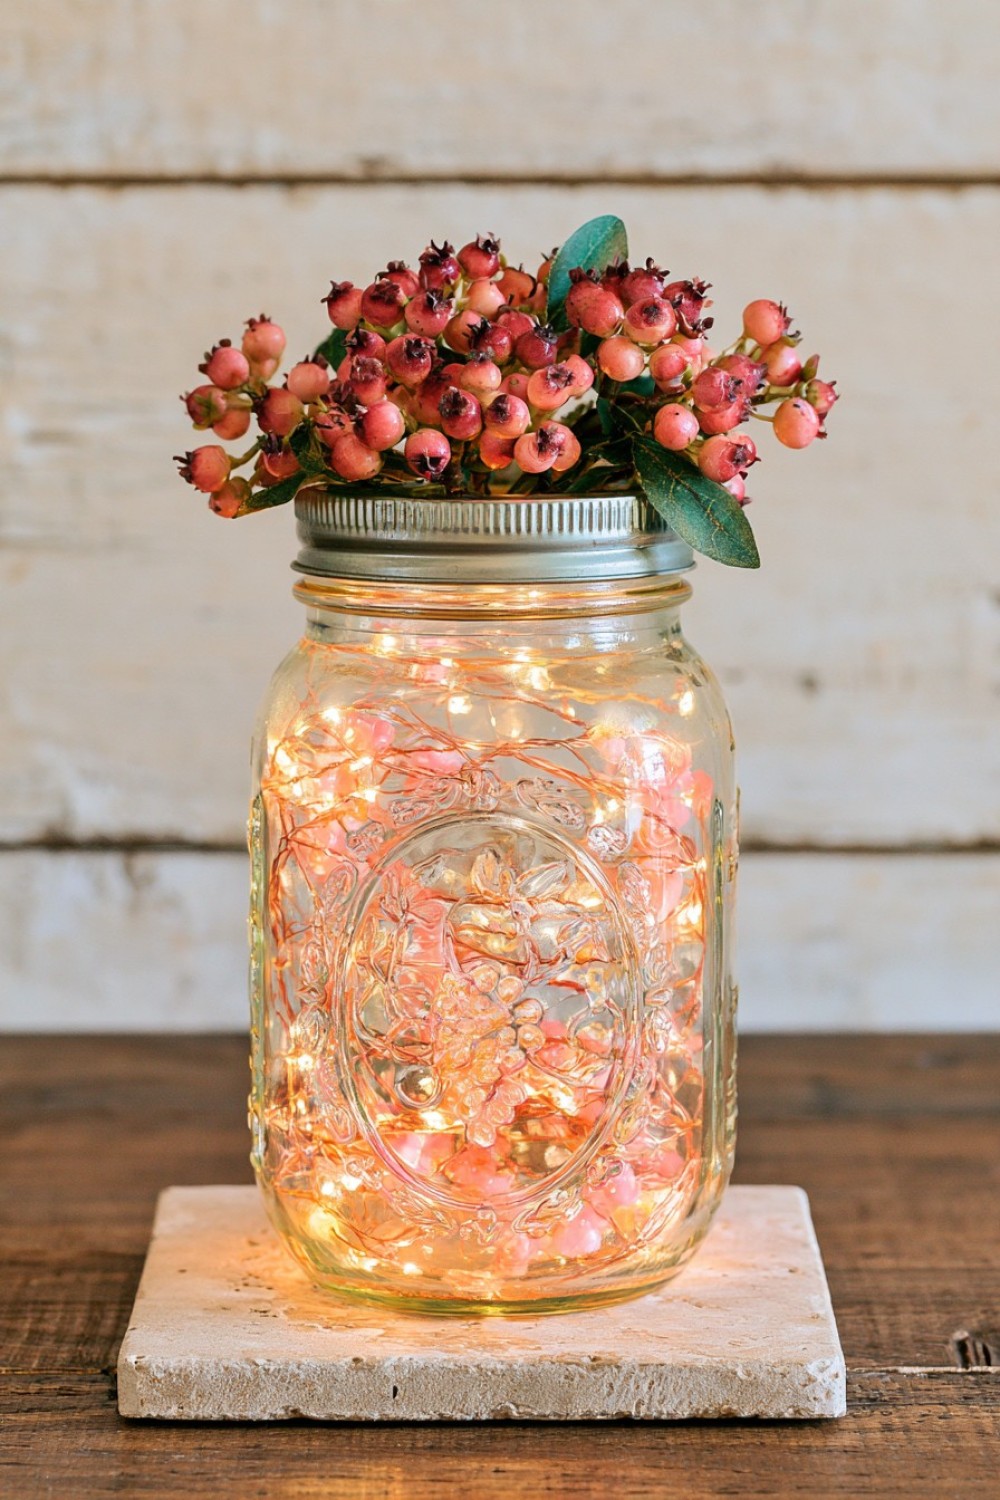
Berries and greenery concentrate the decoration near the top. Use a detachable cluster when seasonal changes matter. Keep it independent of the removable lid and battery access.
15. Layer Botanical Paper Designs
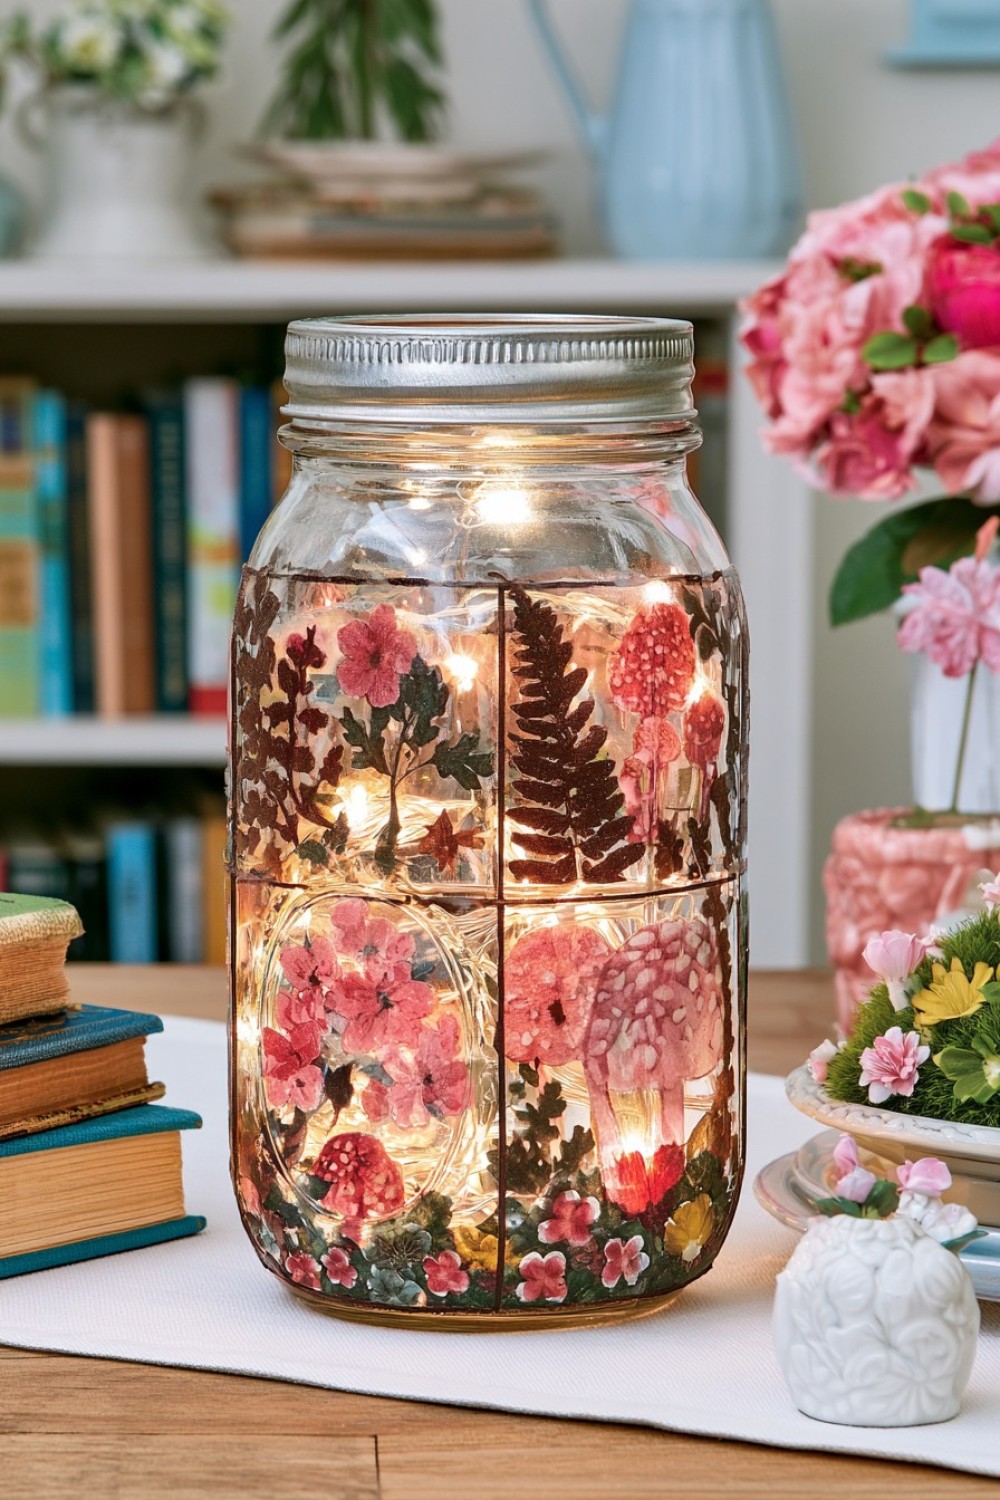
Botanical paper panels make a small collage around the glass. Repeat a background tone and leave plain intervals. Use copies of treasured letters or illustrations, and test the decoupage medium on a spare print before applying it to the glass.
16. Combine Interior Pebbles with Exterior Floral Pieces
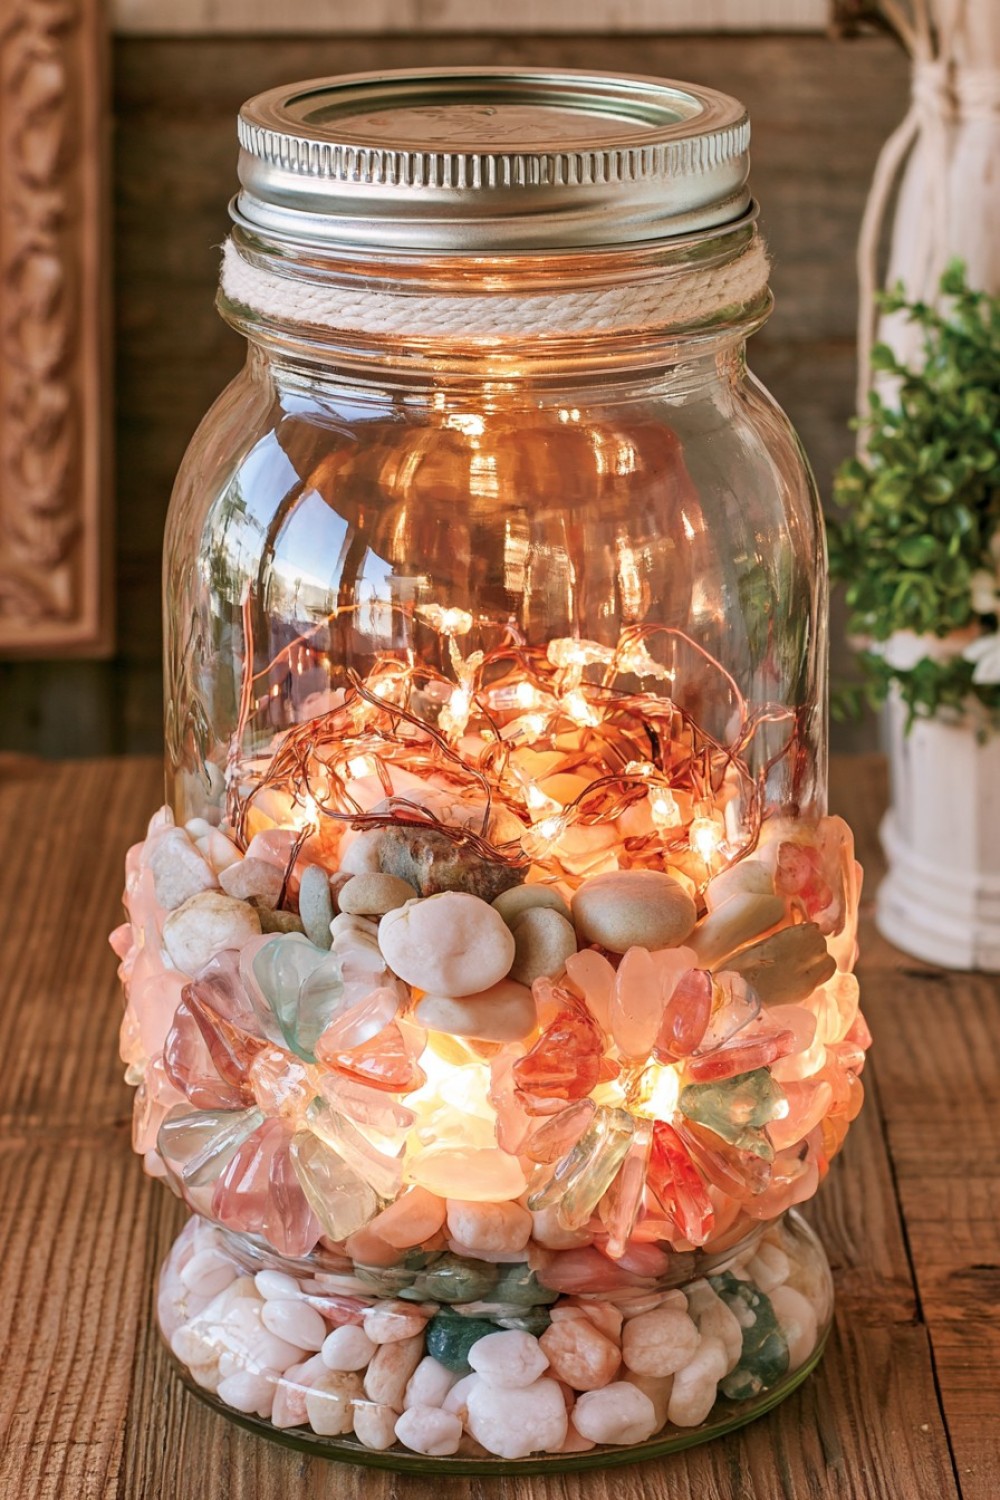
Pale pebbles form a low inner bed beneath loose light wire, while a separate pink and cream floral band decorates the outside. Keep the battery pack out of the stones and do not trap wire under their weight. Test the jar on a flat surface before adding the outer ornaments, keeping its base and controls clear.
Keep the Display Easy to Use
Switch off and remove lighting before cleaning. Check loose decoration and worn cord, then return the jar to a stable place with reachable controls.
Leave a Reply