19 Romantic Shabby Chic Crafts for Beautiful Vintage Inspired Decor

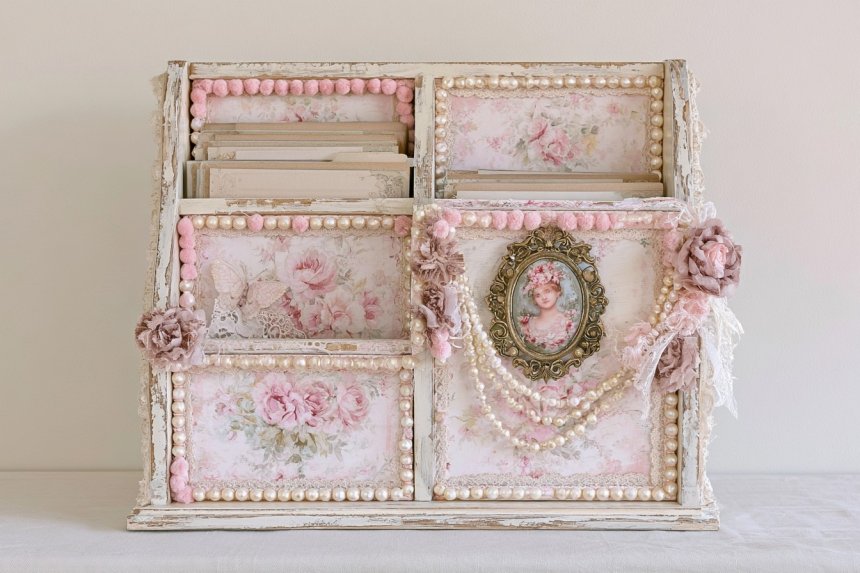
Shabby chic crafts combine soft colors, distressed textures, vintage details, and handmade character in a way that feels relaxed rather than overly polished. This style works especially well with recycled wood, lace, floral fabrics, old frames, glass jars, baskets, and furniture pieces that already show a little age. Instead of hiding imperfections, many shabby chic projects use sanding, layered paint, faded patterns, and intentionally worn finishes to create charm. The projects below can be adapted for bedrooms, living rooms, entryways, kitchens, craft rooms, and seasonal displays. Most can also be made inexpensively by repurposing thrifted or unused household materials.
1. Distressed Wooden Storage Crates
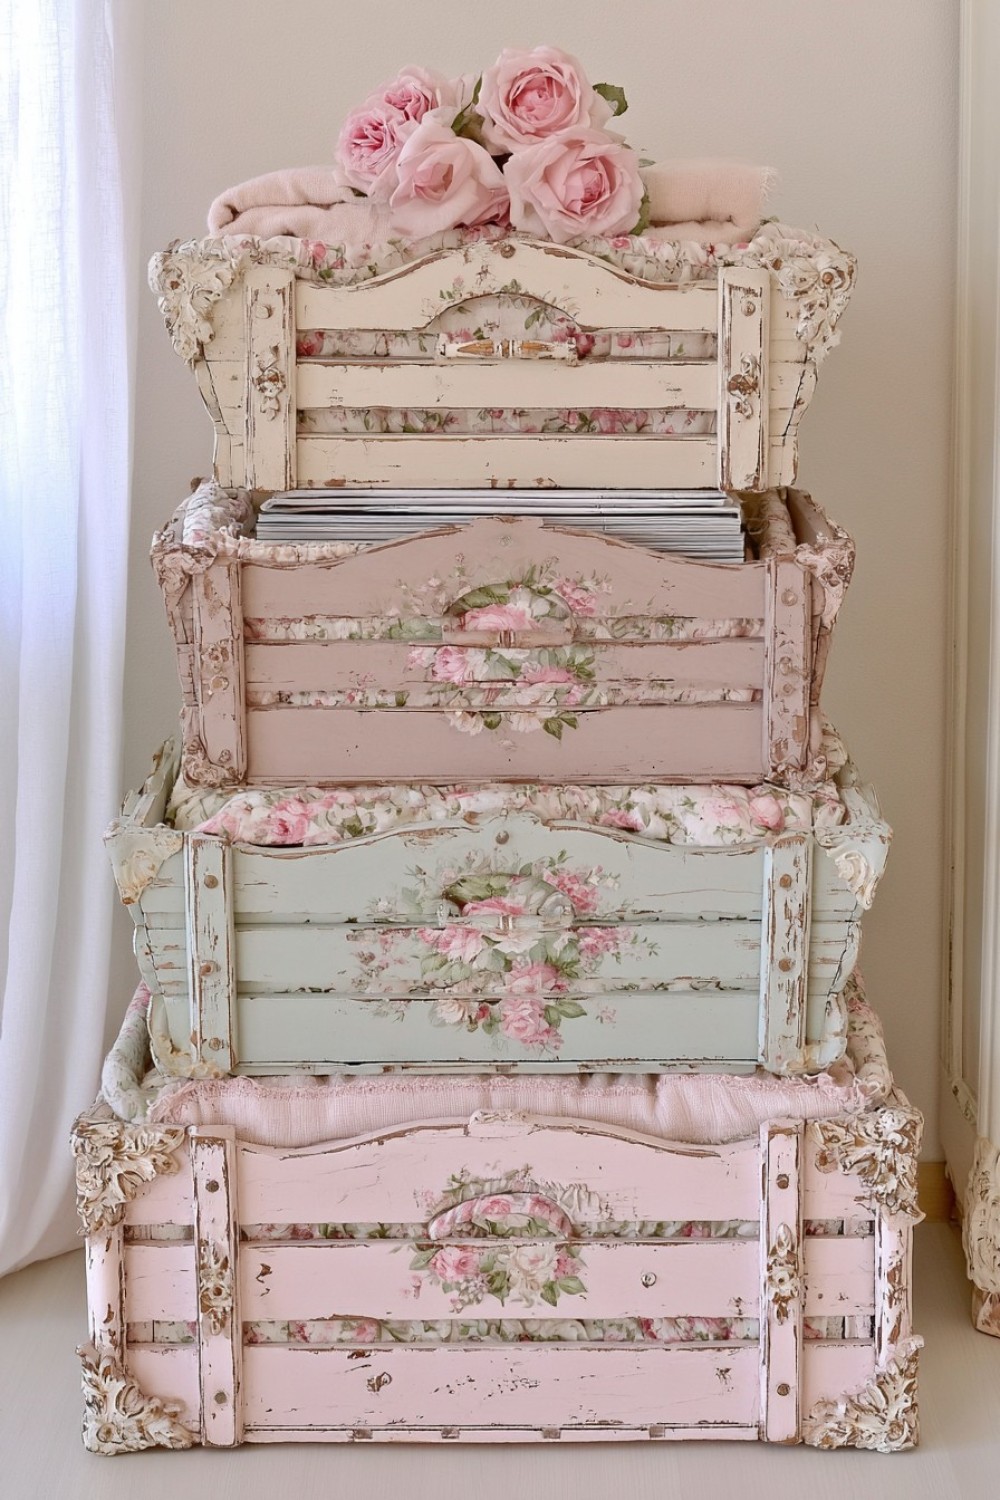
Ordinary wooden crates can become attractive shabby chic storage with a few layers of paint and careful distressing. Sand the surface first so splinters and rough areas are removed, then apply a muted base coat in cream, dusty pink, pale gray, or soft blue. Once dry, add a lighter top color and gently sand the edges, corners, and handles to expose small sections of the layer underneath. Line the interior with floral fabric or removable wallpaper for extra detail. Use the finished crates for folded blankets, magazines, craft supplies, bathroom towels, or pantry storage. Stack several together to create an informal open shelving arrangement.
2. Vintage Lace Covered Flower Pots
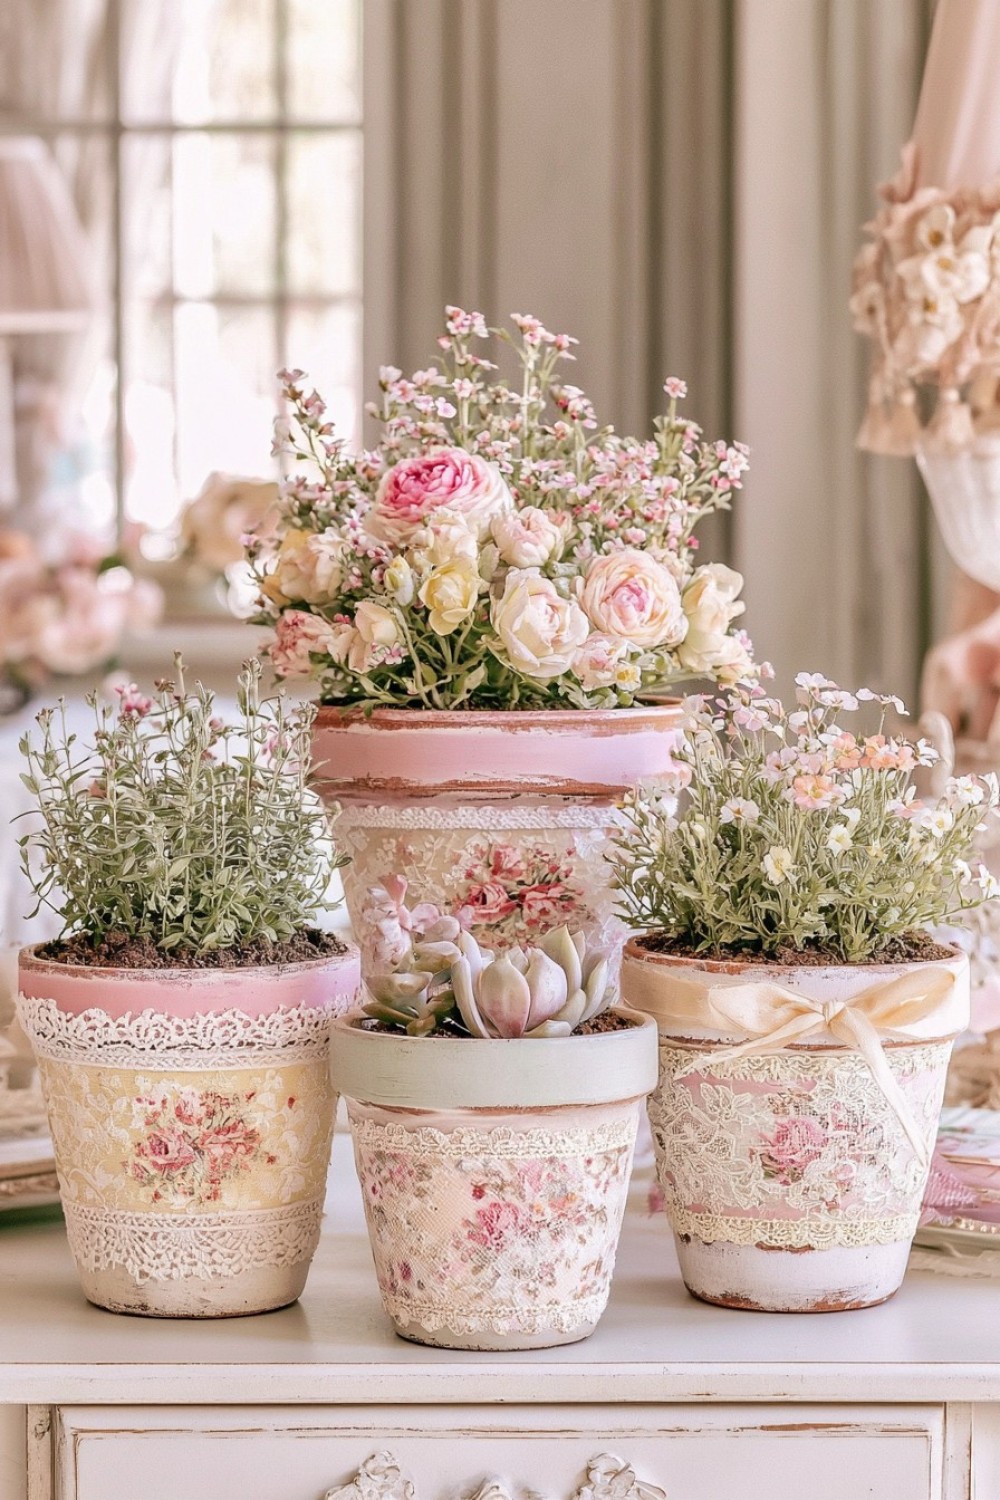
Give basic terracotta or ceramic pots a softer appearance by decorating them with lace. Cut a piece of vintage inspired lace to fit around the pot, then attach it with decoupage medium or a thin layer of strong craft adhesive. Paint the rim in an off white, faded rose, or chalky sage finish before adding the lace if you want more contrast. Small pieces of cotton ribbon can be wrapped around the upper edge for additional texture. These pots are ideal for herbs, succulents, dried flower arrangements, or decorative indoor plants. Group several slightly different designs together to create a charming windowsill or tabletop display.
3. Shabby Chic Picture Frame Makeover
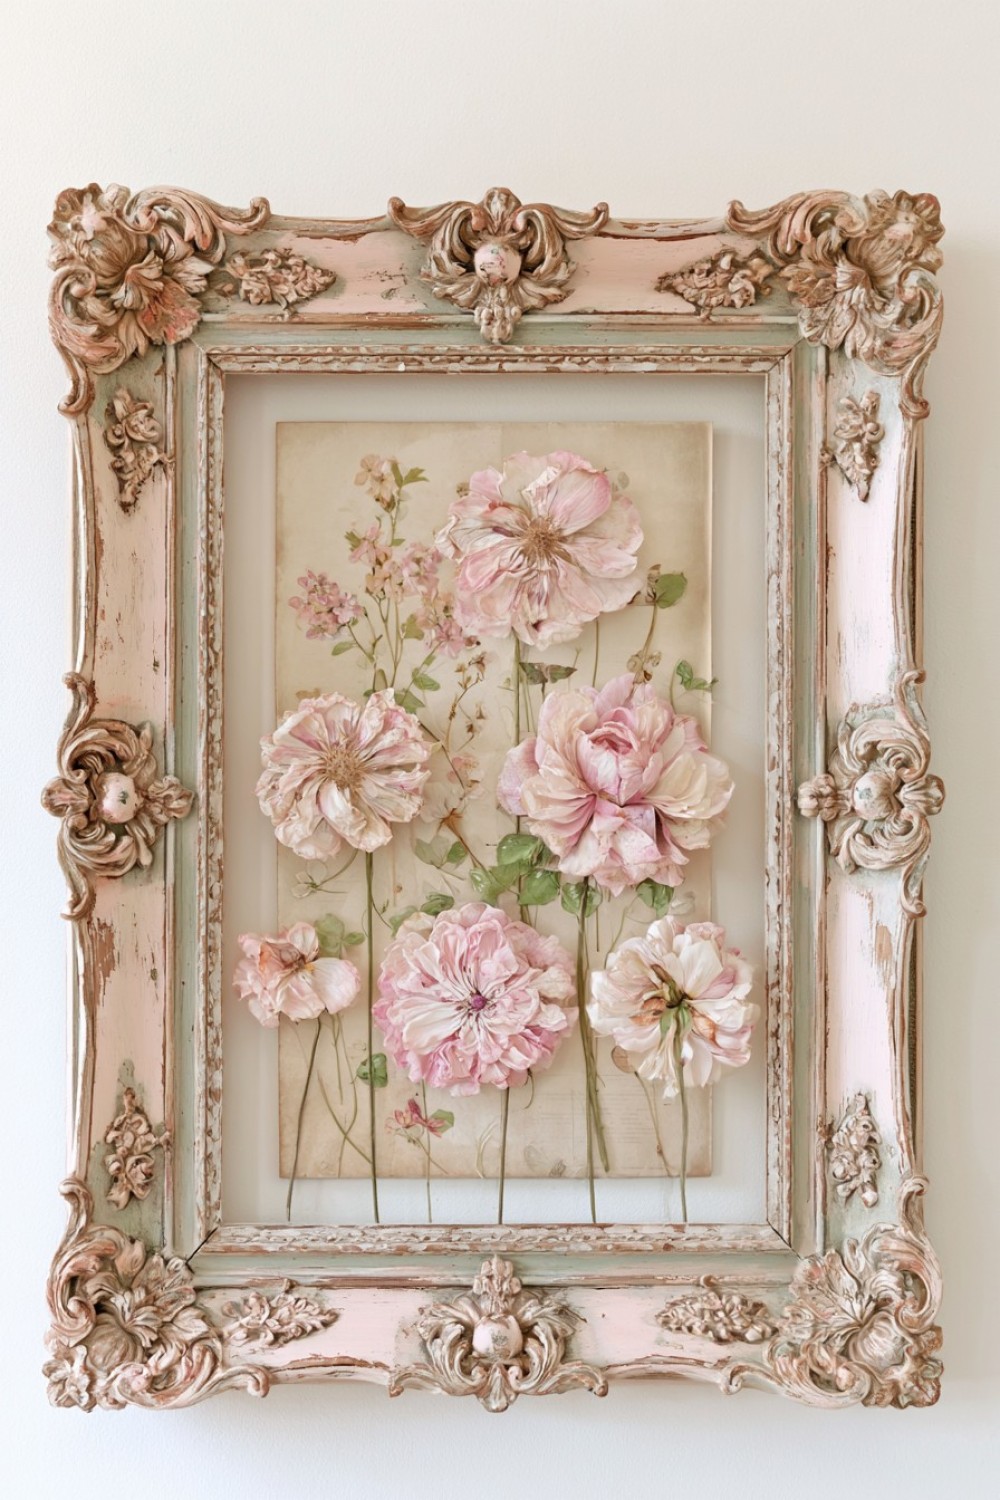
Old wooden frames are excellent materials for an easy shabby chic transformation. Begin by removing the glass and backing, then clean and lightly sand the frame. Apply a darker undercoat followed by one or two lighter chalk paint layers. Once everything dries, sand raised details and corners gently so the darker shade shows through naturally. Floral paper, vintage postcards, pressed flowers, fabric scraps, or botanical prints can replace conventional photographs. For a more decorative project, leave the center open and use the empty frame as wall decor. Mixing frames in different shapes and sizes creates an especially attractive gallery arrangement in bedrooms or hallways.
4. Floral Fabric Covered Storage Boxes
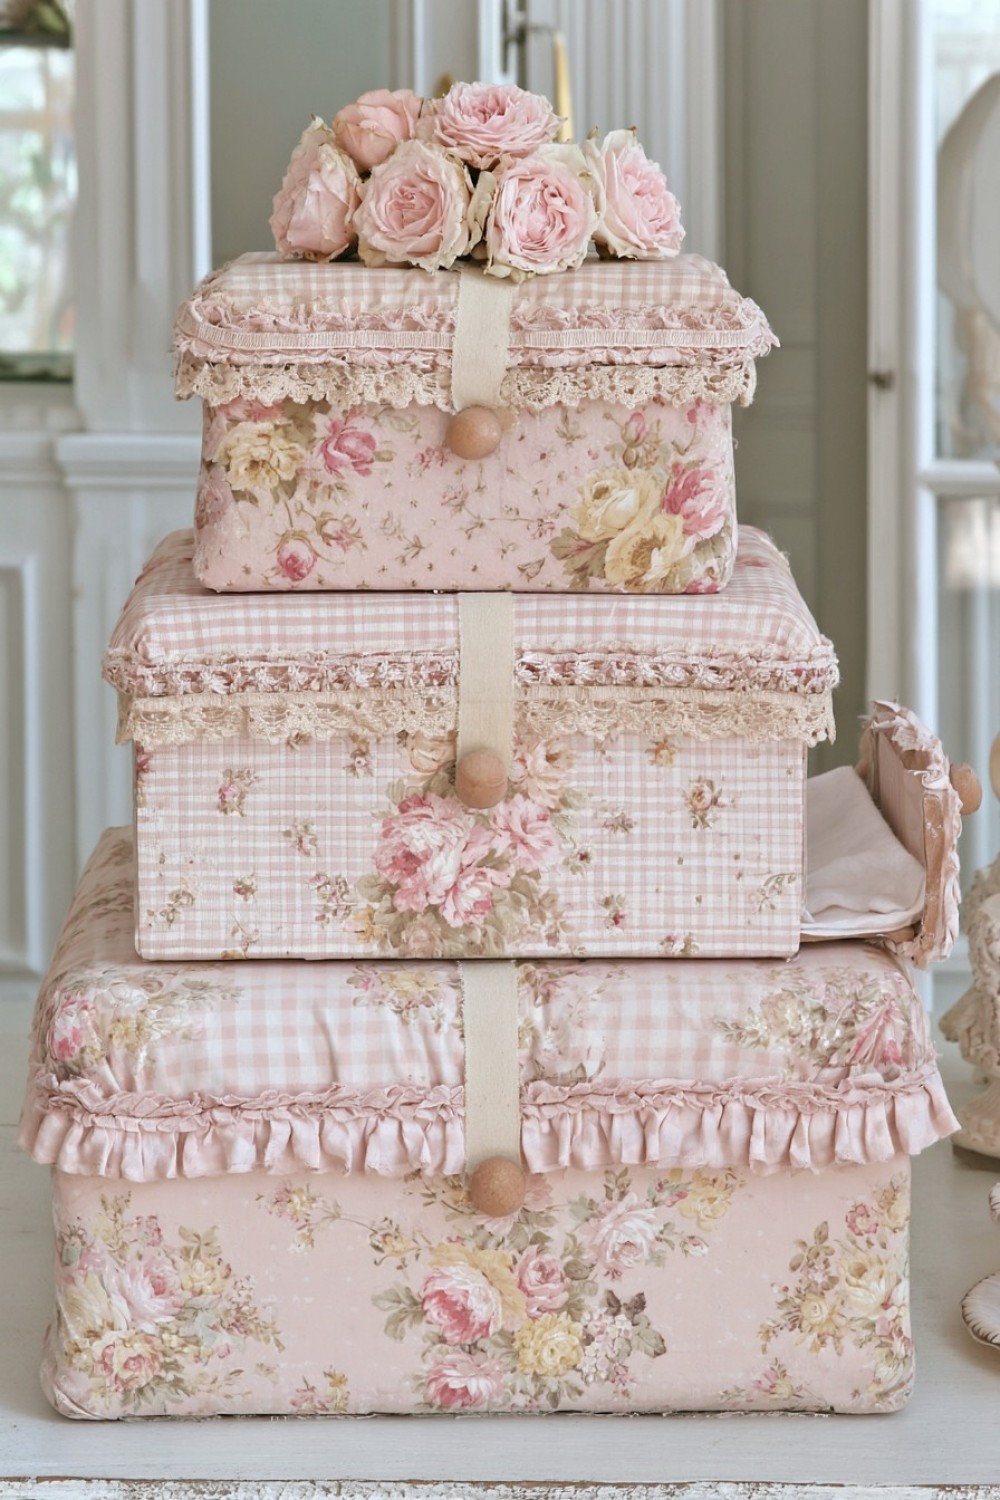
Plain cardboard or wooden storage boxes can easily be turned into pretty decorative containers using floral fabric. Measure each side carefully, cut the fabric slightly larger than necessary, and attach it smoothly using fabric glue or decoupage adhesive. Fold the edges inward to keep the corners tidy. Choose faded roses, tiny botanical prints, gingham, or vintage inspired patterns for a classic shabby chic look. Add cotton ribbon, narrow lace, or small wooden knobs to the lid if desired. These boxes are practical for sewing supplies, stationery, jewelry, photographs, or keepsakes. Display them openly on shelves rather than hiding them inside cabinets.
5. Repurposed Window Frame Wall Decor
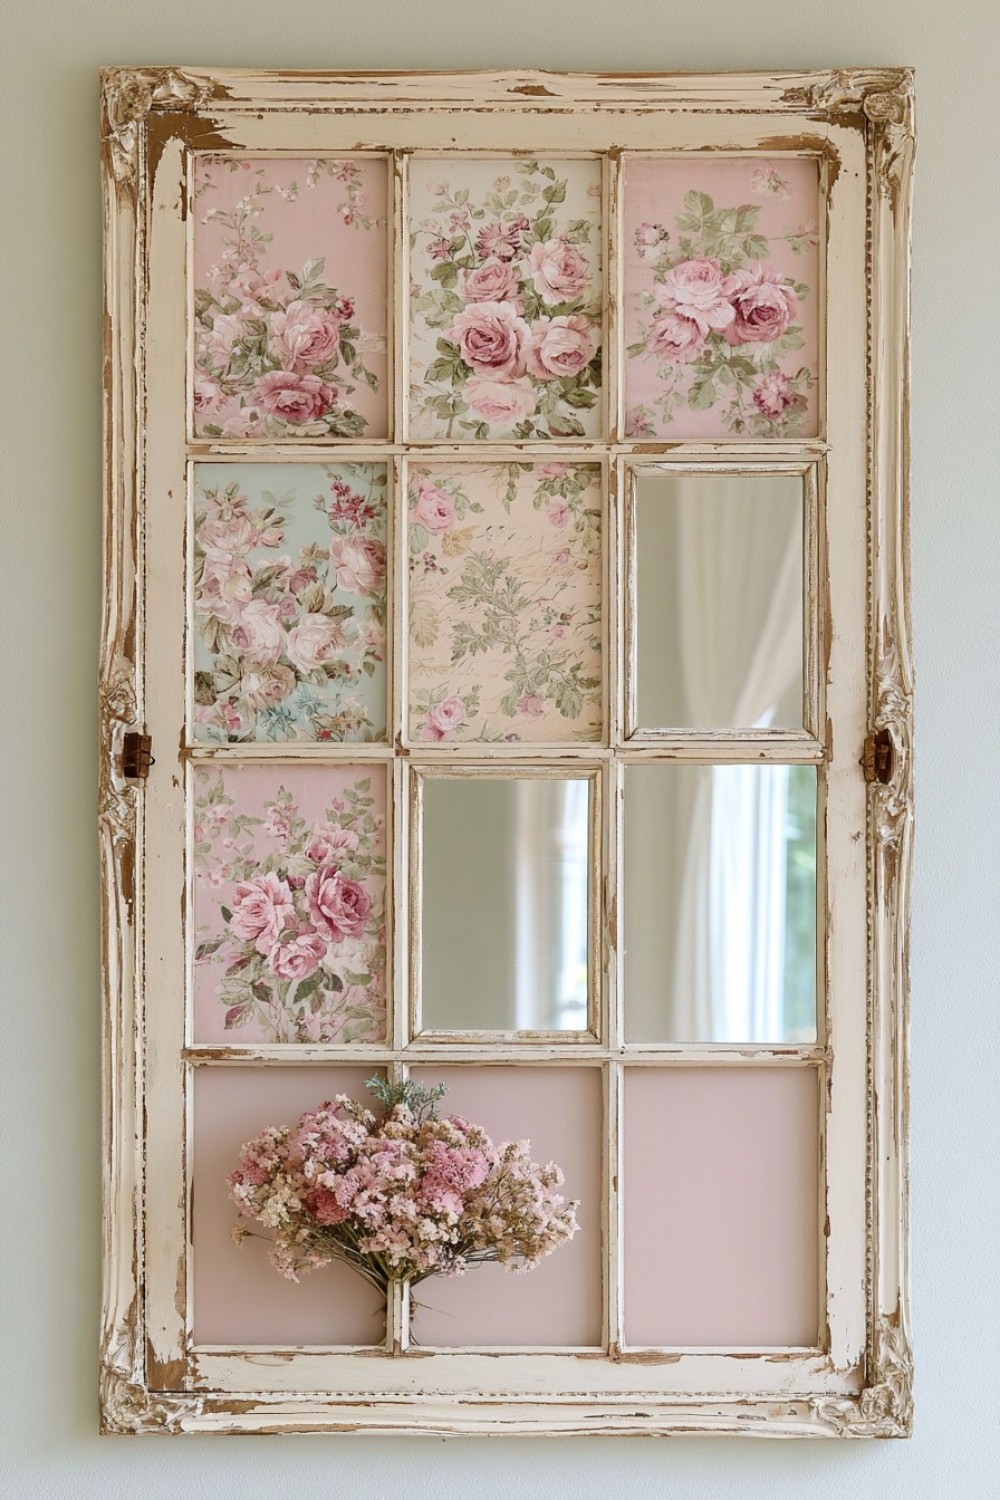
An old wooden window frame can become a striking piece of shabby chic wall decor. Remove loose paint and damaged hardware, but keep some worn areas visible to preserve the aged character. Clean the wood thoroughly, then apply a light whitewash or soft chalk paint if the finish needs refreshing. Replace broken panes with fabric, floral paper, mirrors, or lightweight decorative backing panels. Another option is to leave the openings empty and attach small dried flower bundles or simple wreaths to selected sections. Mount the finished piece securely above a console, sideboard, or bed. Larger frames can also serve as decorative focal points in entryways.
6. Romantic Fabric Scrap Garland
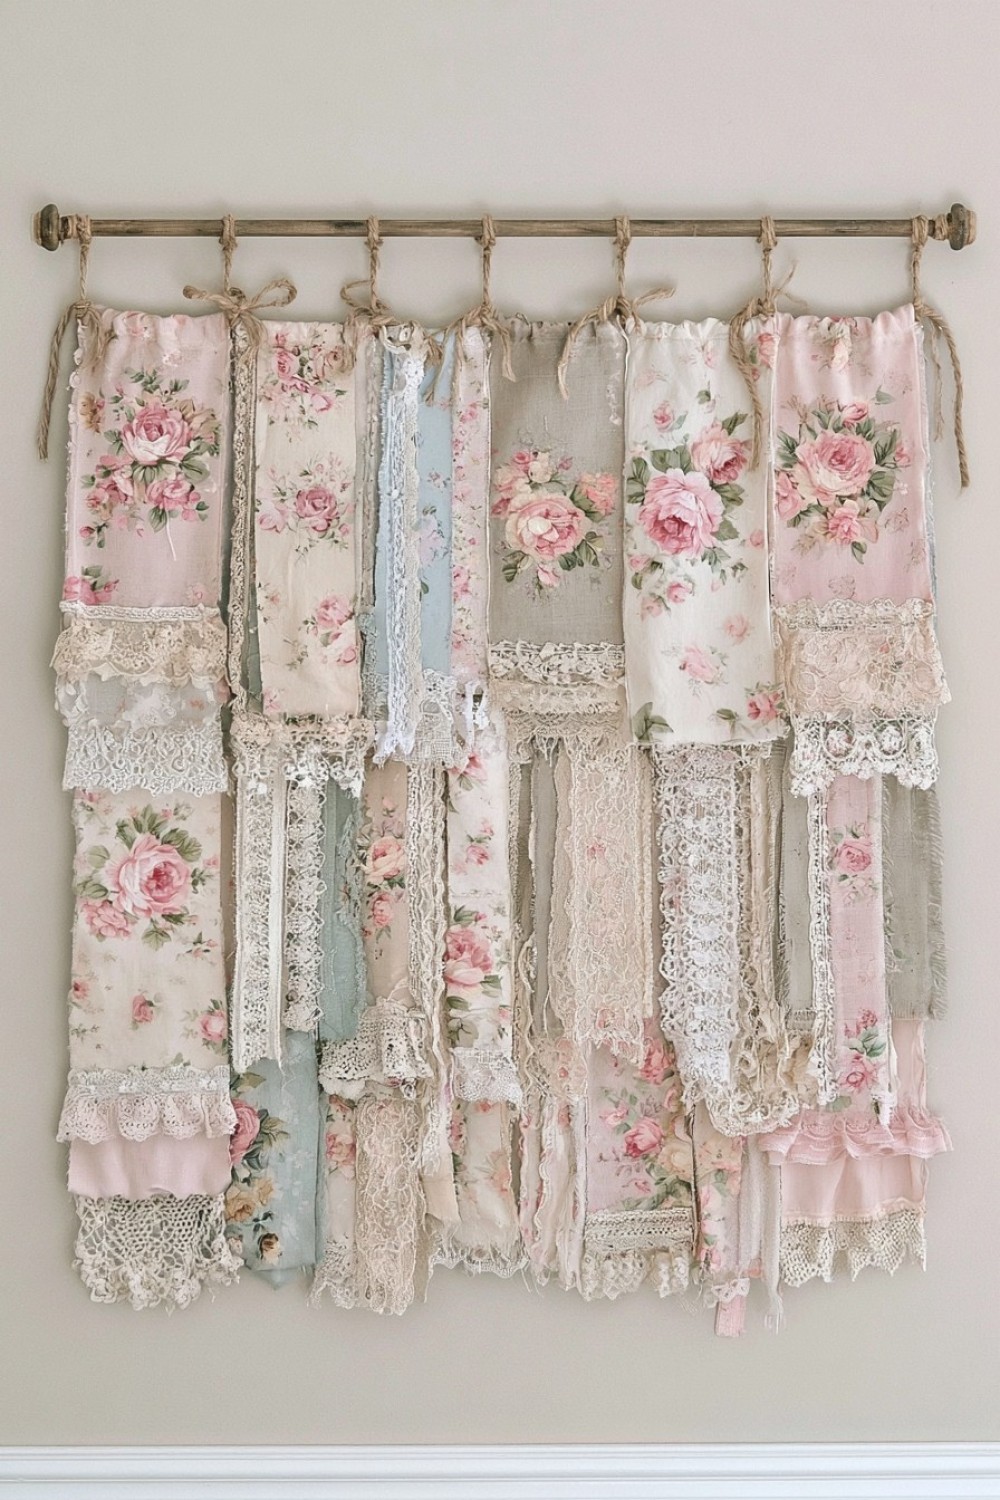
Fabric scraps can be transformed into an easy decorative garland without sewing. Cut strips of cotton, linen, lace, and floral fabric in slightly different lengths, then tie them individually around a piece of strong cotton cord. Mix faded pink, ivory, beige, muted blue, and soft green fabrics to keep the overall look gentle. Frayed edges can remain visible because they contribute to the handmade character. Add a few narrow ribbons or crochet trim pieces between the fabric strips for variation. Hang the garland across a shelf, headboard, craft room wall, or party backdrop. This project is also useful for repurposing leftover sewing materials.
7. Decorative Decoupage Glass Bottles
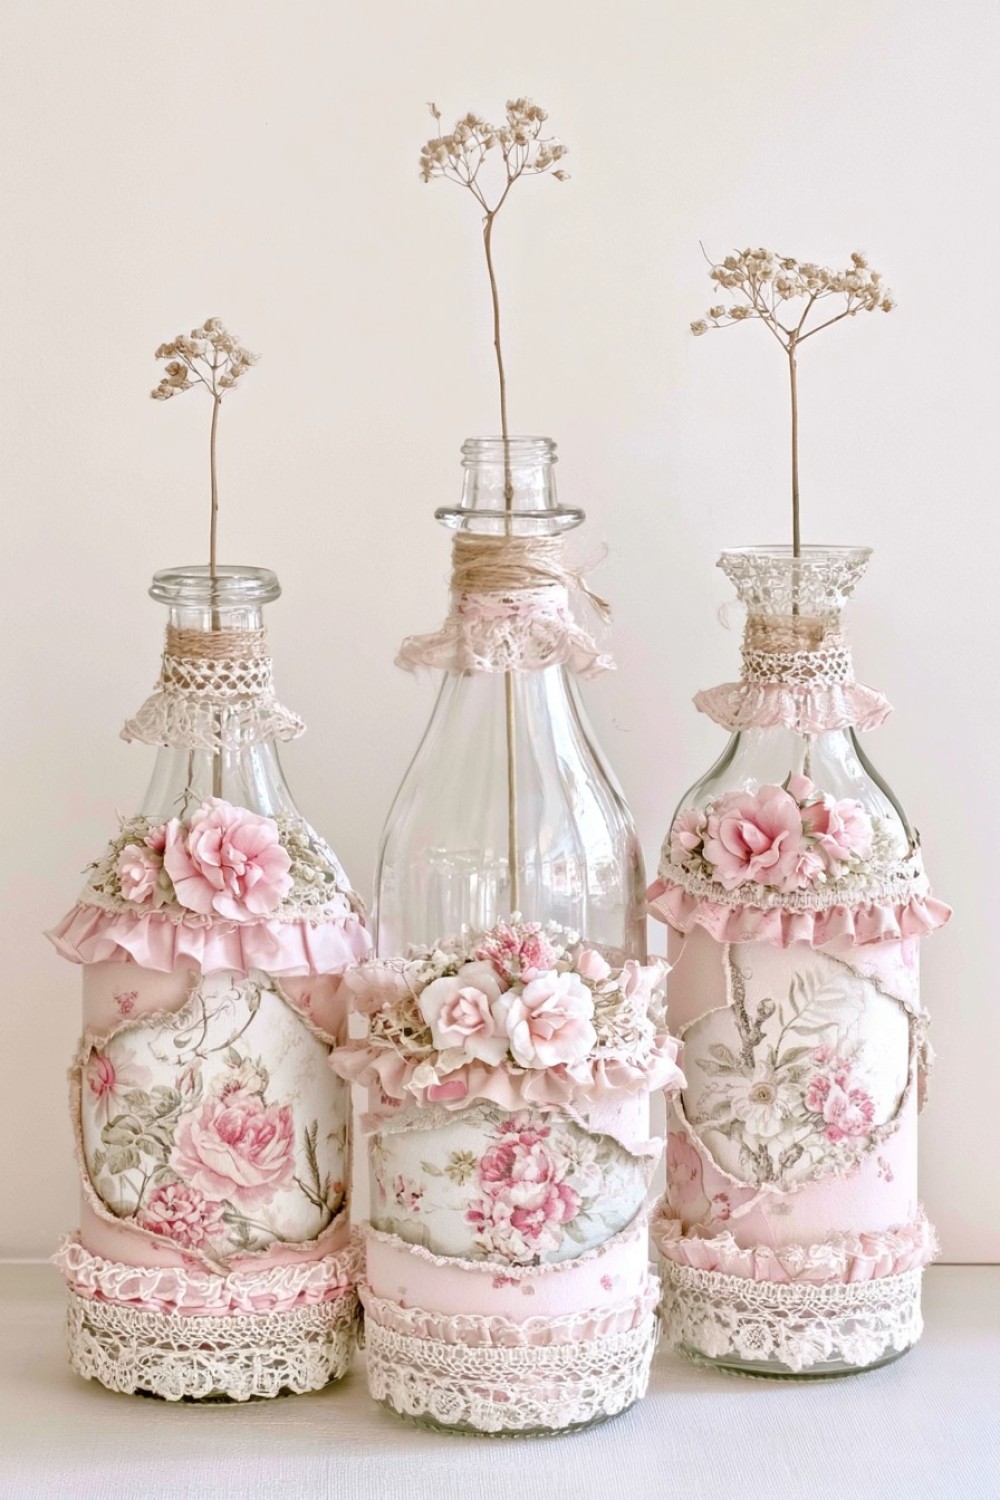
Empty glass bottles can become elegant shabby chic accessories through simple decoupage techniques. Wash the bottles thoroughly and remove all labels before beginning. Tear floral tissue paper, vintage style napkins, or thin decorative paper into small sections and apply them using clear decoupage medium. Overlapping the edges creates a softer handmade appearance than perfectly aligned pieces. Leave some glass uncovered for visual balance. Once dry, wrap lace, twine, or cotton ribbon around the neck. The bottles can hold dried flowers, single stems, or lightweight decorative branches. Arrange three different sized bottles together on a dresser, windowsill, or entry console for a collected vintage look.
8. Chalk Painted Jewelry Box
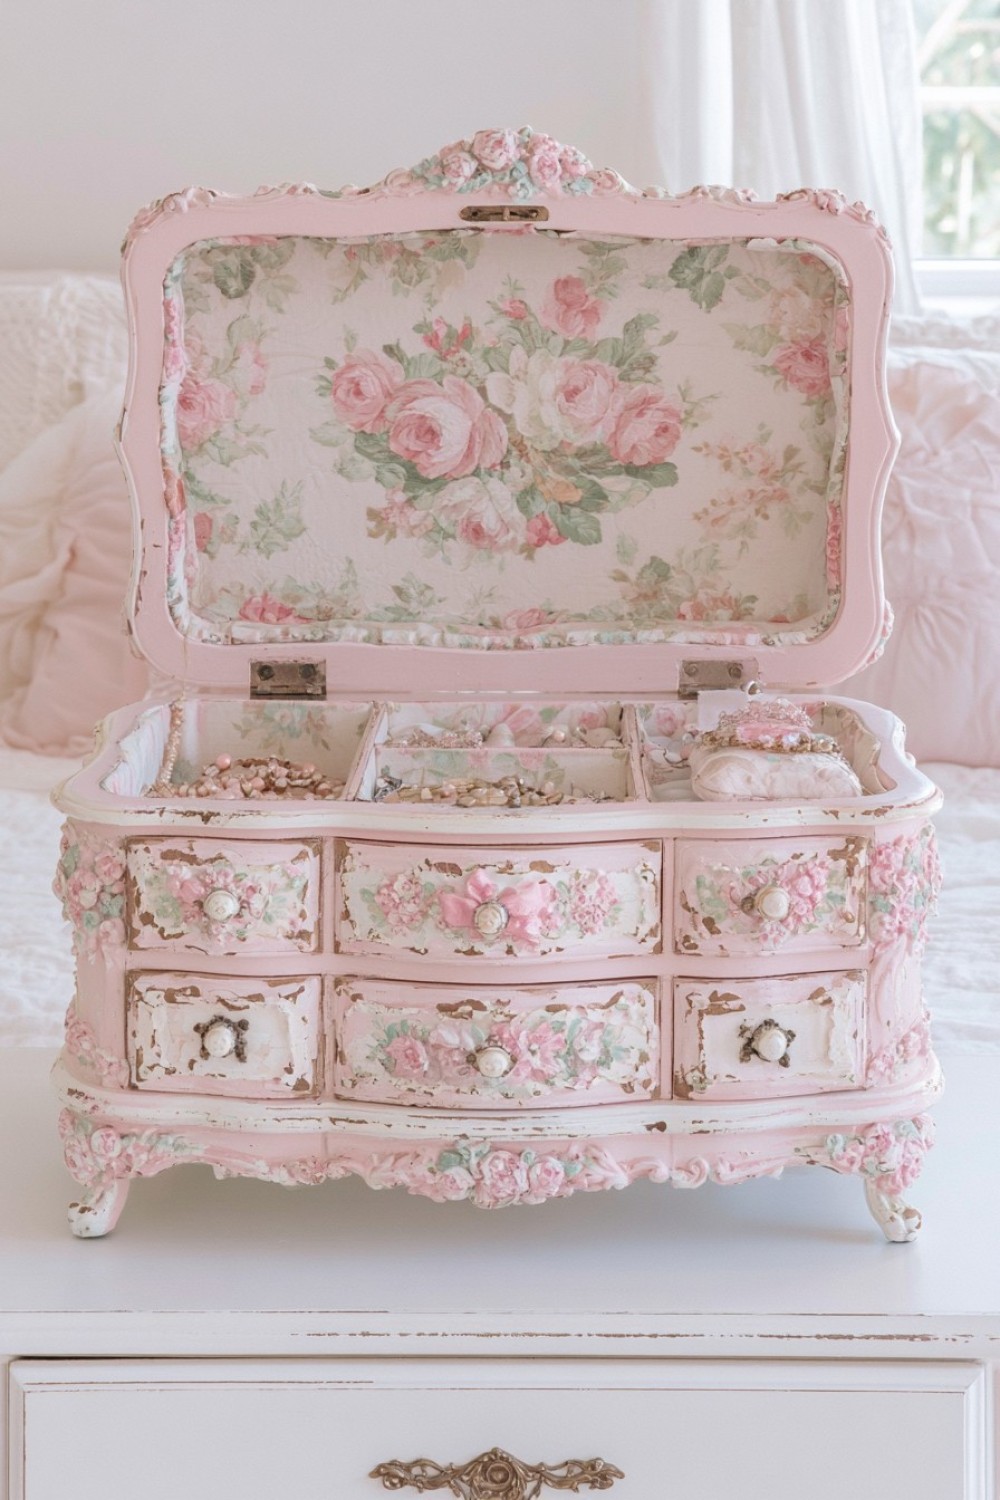
A small wooden jewelry box can be refreshed with chalk paint and subtle decorative details. Remove hardware if possible, then lightly sand and clean the entire surface. Apply two thin coats of cream, muted blush, soft gray, or pale sage paint. After drying, gently distress the edges and corners using fine sandpaper. Line the drawers with floral paper or fabric to make the interior feel equally finished. Replace ordinary knobs with ceramic, glass, or antique style metal handles if you want a more distinctive result. This project works beautifully for storing jewelry, sewing notions, keepsakes, or small craft supplies on a bedroom dresser.
9. Vintage Inspired Fabric Pinboard
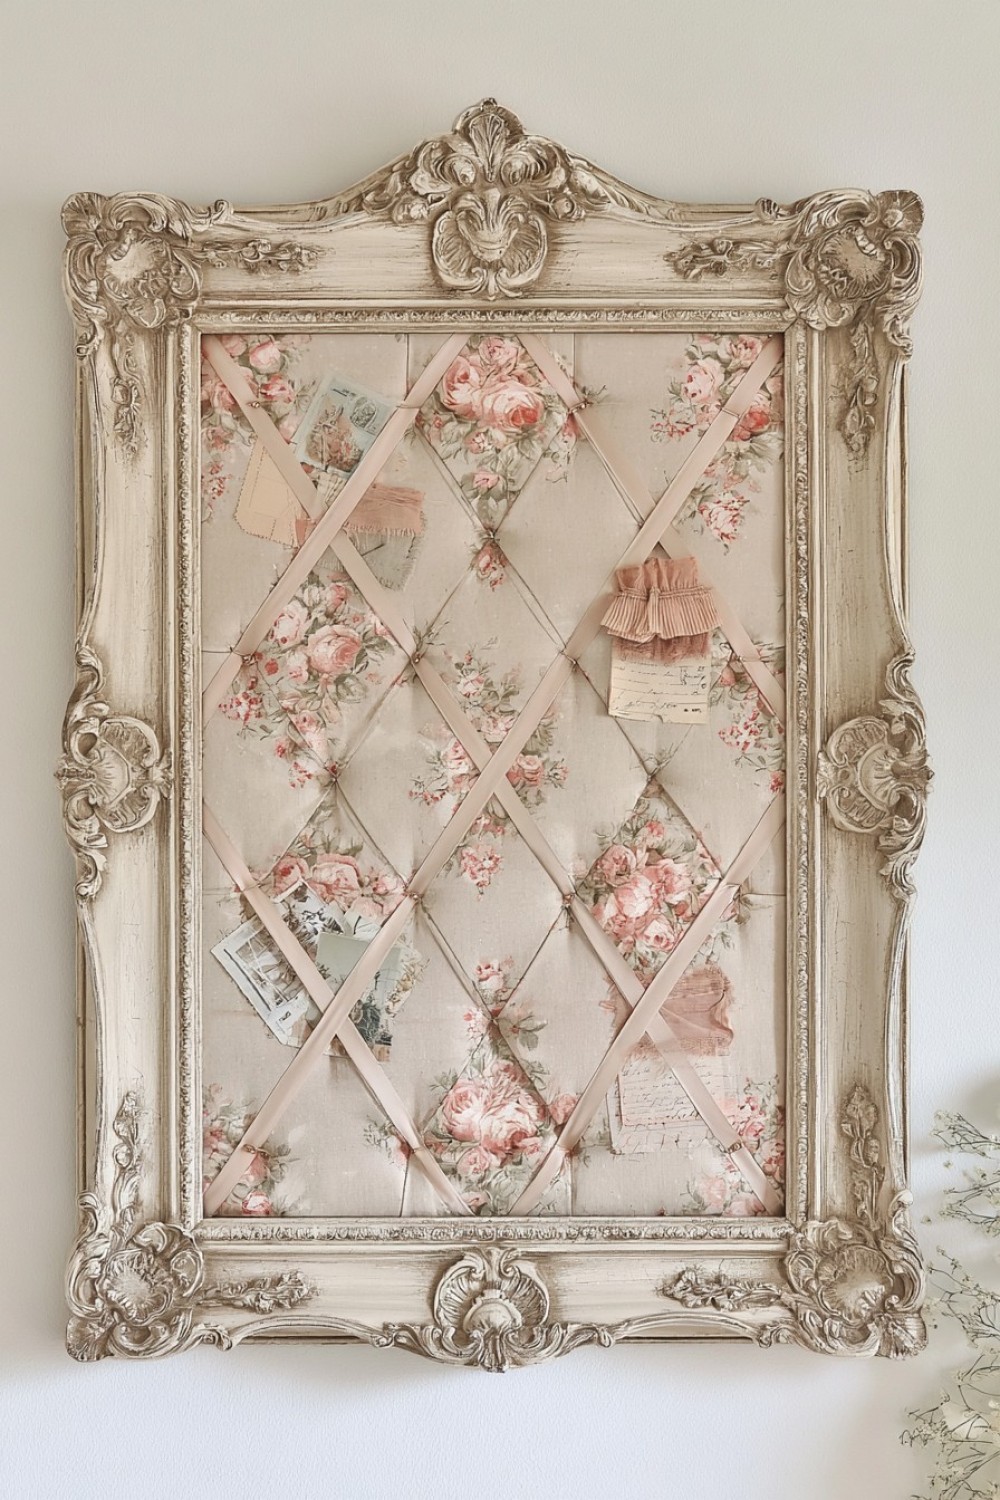
Create a practical display board using an old frame, cork sheet, batting, and floral fabric. Cut the cork and batting to fit inside the frame, then stretch the fabric tightly over both layers and secure it from the back. Choose faded botanical prints, small roses, linen, or toile patterns to suit the shabby chic style. Narrow ribbon can be arranged diagonally across the surface and attached at the edges, creating sections where photographs, notes, postcards, or fabric samples can be tucked. Distress the frame with chalk paint if necessary. Hang the finished board above a desk, sewing table, or dressing area for decorative organization.
10. Shabby Chic Mason Jar Organizers
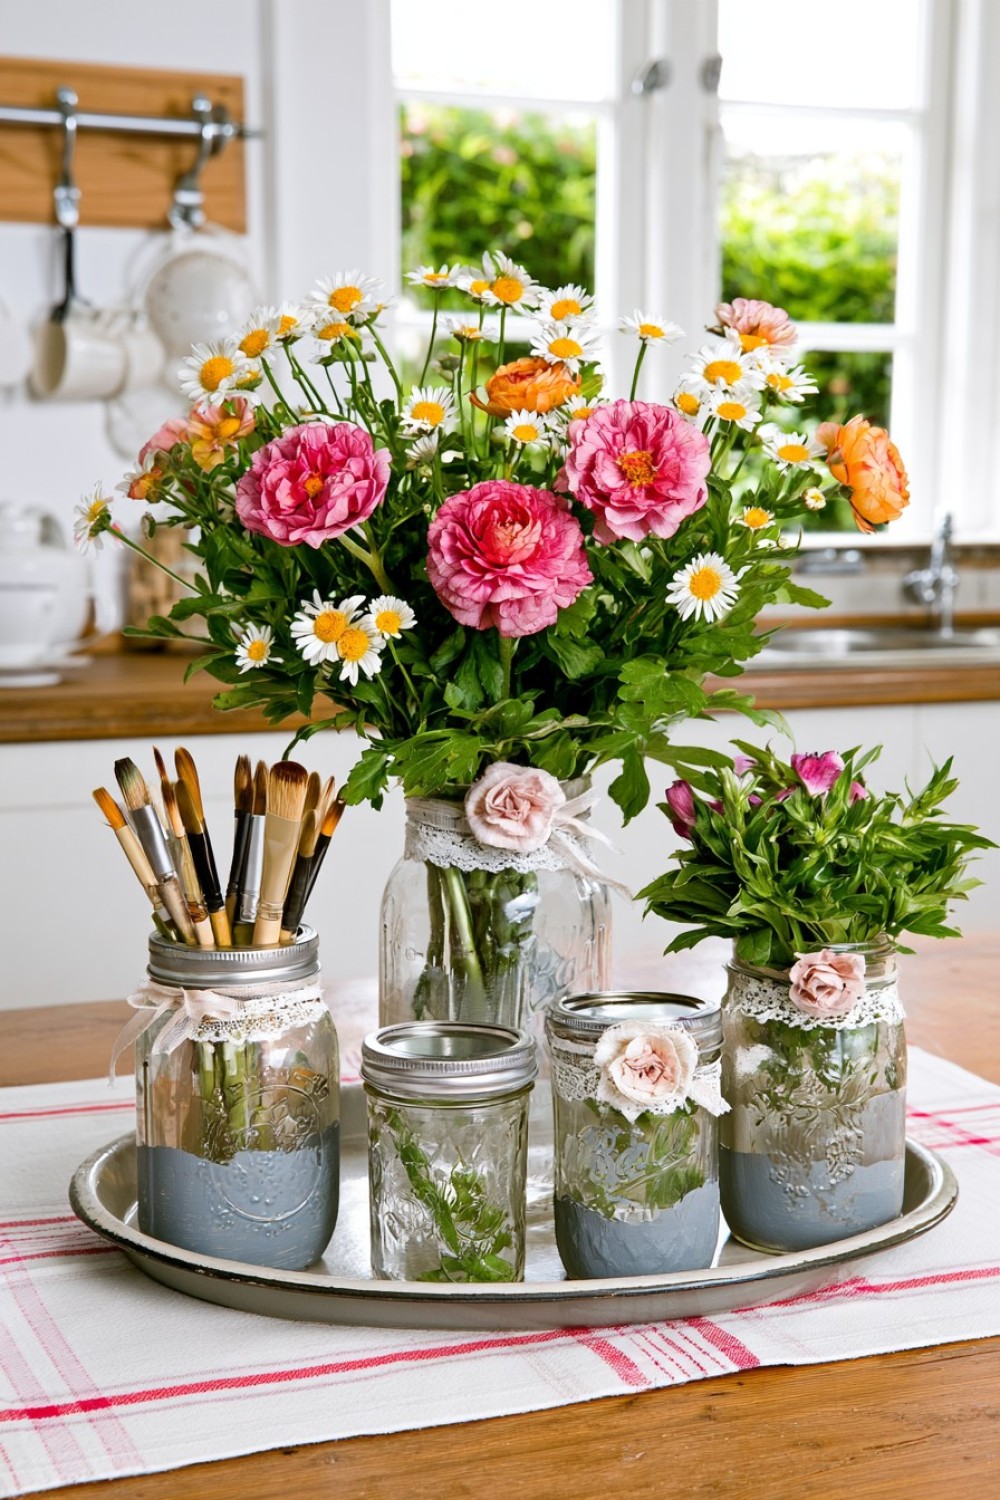
Mason jars can become practical organizers while still fitting naturally into shabby chic interiors. Paint only part of each jar with matte chalk paint, leaving selected glass sections visible. Once dry, sand lightly around raised lettering and edges to create a worn finish. Wrap lace or cotton ribbon around the rim and add small fabric flowers if you want extra detail. Use the jars for paintbrushes, makeup brushes, pencils, sewing tools, kitchen utensils, or bathroom accessories. Several matching jars can be mounted to a wooden board using metal clamps for wall storage. Alternatively, group them inside a shallow tray for portable tabletop organization.
11. Upcycled Drawer Wall Shelf
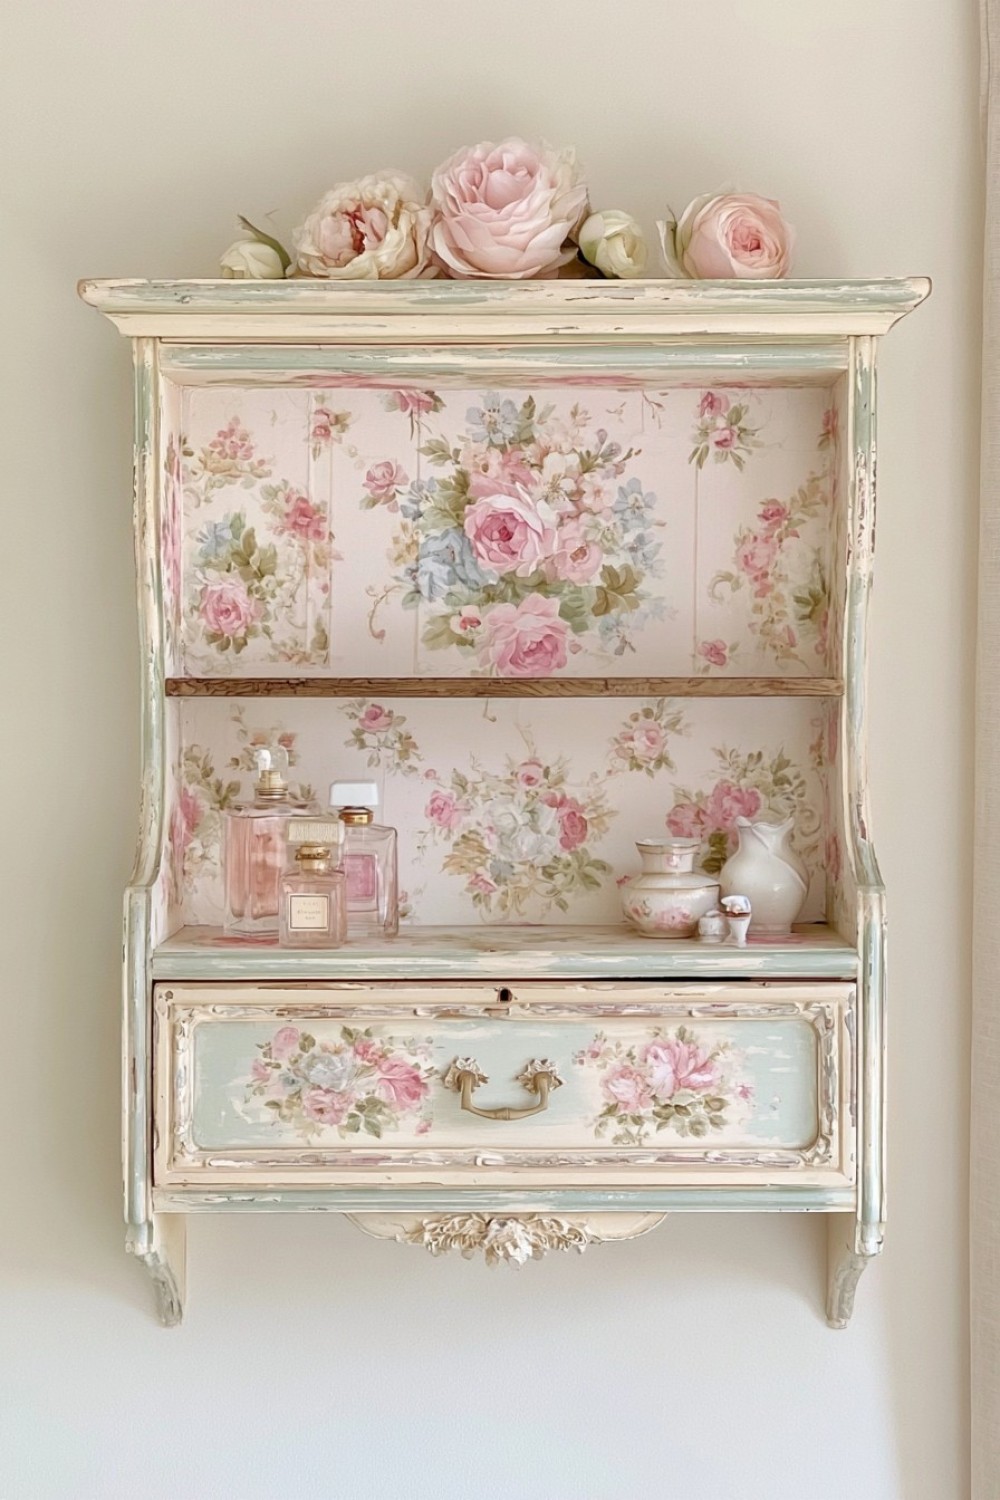
A discarded furniture drawer can become a surprisingly useful wall shelf. Remove the old handle if it is damaged, clean the drawer thoroughly, and sand rough surfaces. Paint the exterior in a muted shabby chic tone while lining the inside with floral wallpaper, patterned paper, or fabric. Mount the drawer horizontally to create a small display compartment, or position it vertically for a deeper shadow box effect. Add a narrow wooden shelf inside if extra storage is needed. Use the finished piece for small plants, perfume bottles, ceramics, craft supplies, or decorative objects. Several mismatched drawers can also form an eclectic wall arrangement.
12. Hand Painted Vintage Style Serving Tray
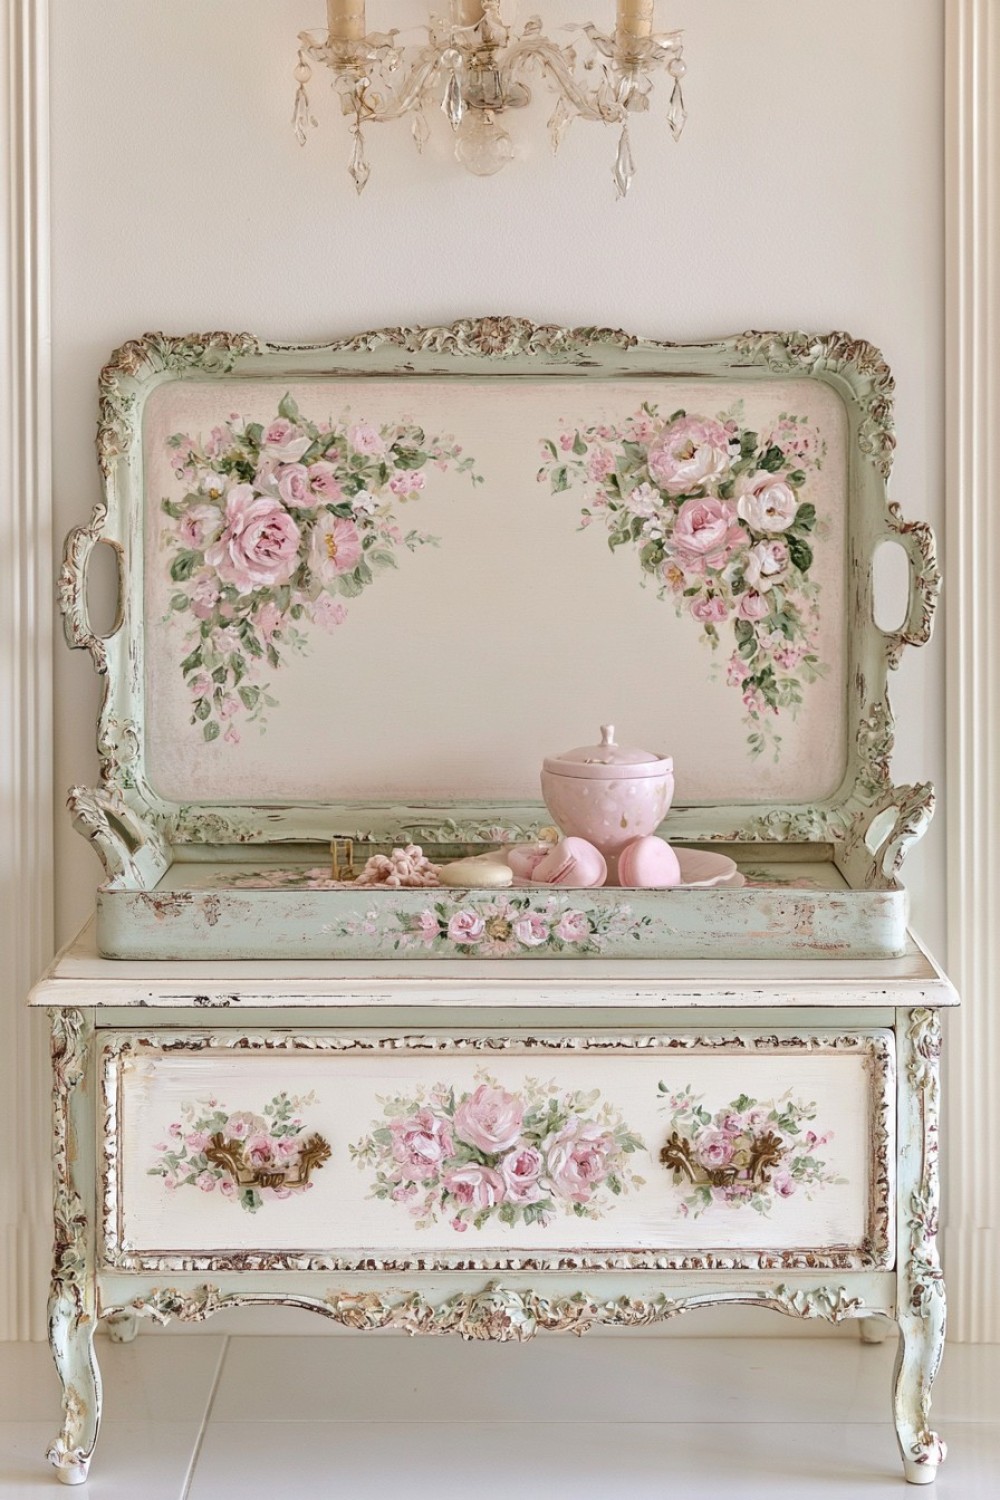
Turn an unfinished wooden tray into a charming decorative accessory using layered paint and delicate patterns. Apply a darker base color first, followed by an ivory, pale blue, or soft blush topcoat. Distress the edges after drying to reveal subtle traces of the lower layer. Add small floral motifs using stencils, decoupage paper, or hand painted brushwork. Protect the surface with a clear matte sealer if the tray will be used frequently. It can organize perfume bottles, jewelry, tea accessories, craft supplies, or bathroom essentials. When not in use, lean the tray upright against a backsplash or shelf as decorative background styling.
13. Lace Trimmed Fabric Lampshade Makeover
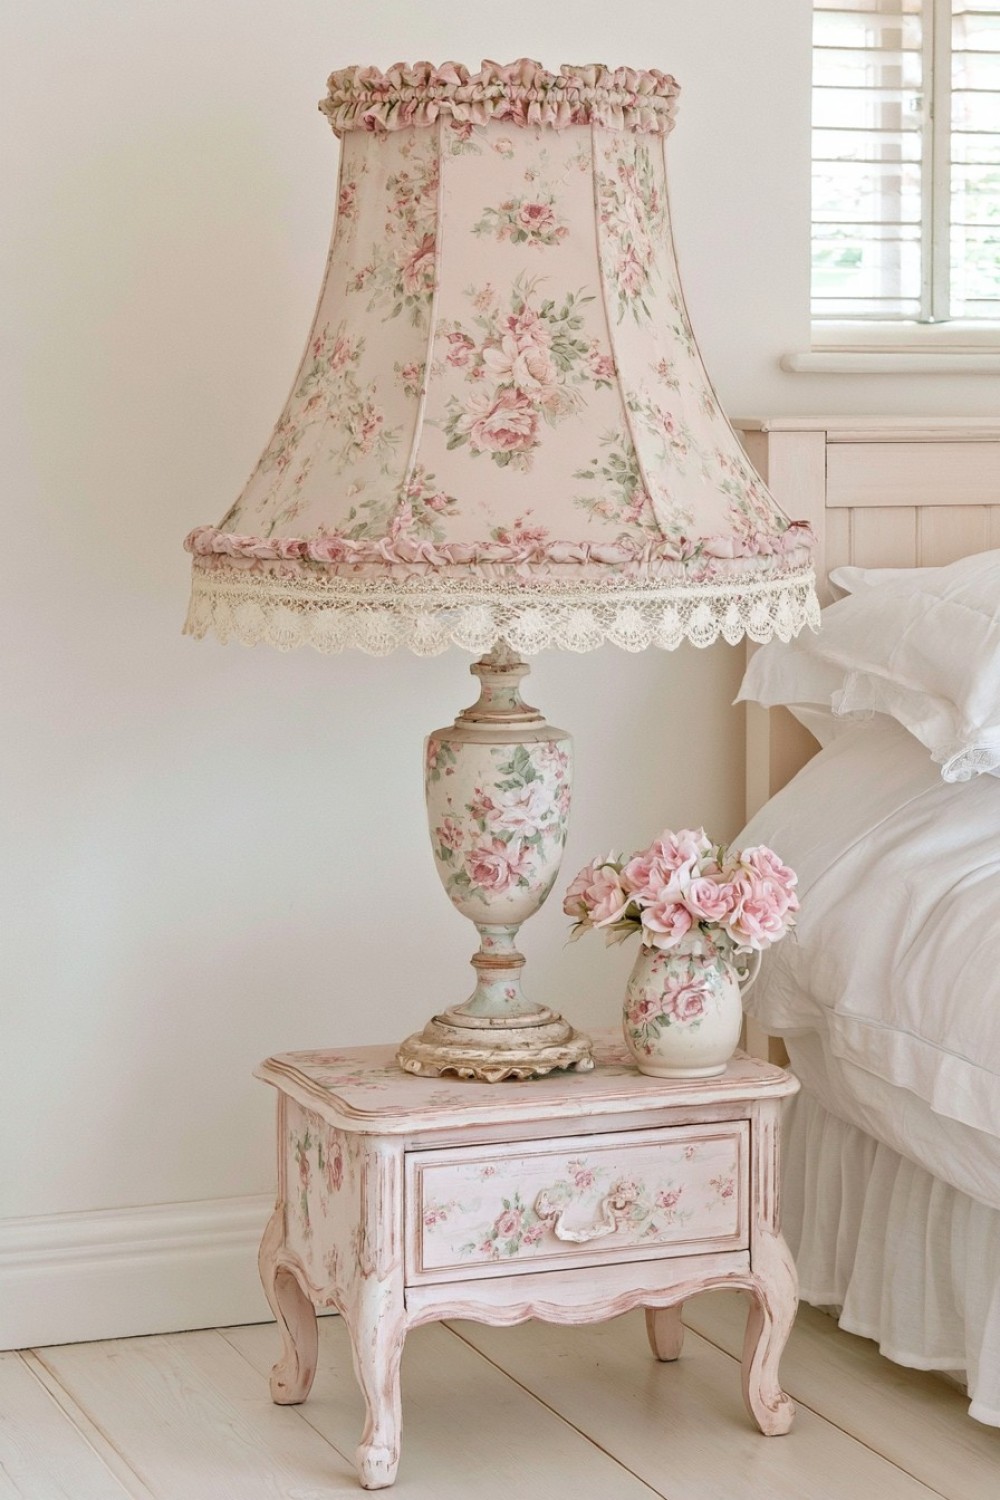
An outdated fabric lampshade can be given a shabby chic appearance with simple textile additions. Choose lightweight floral fabric or linen and carefully cover the existing shade, keeping the material smooth and evenly tensioned. Secure the edges with suitable fabric adhesive. Add narrow lace trim along the upper or lower edge, or use a small ruffled fabric border for extra softness. Keep the decoration relatively simple so the shade does not become bulky. Pale floral patterns and neutral fabrics work especially well. This project can refresh bedroom lamps, reading corner lamps, or guest room lighting while coordinating them with other handmade textile accessories in the space.
14. Distressed Wooden Sign Without Lettering
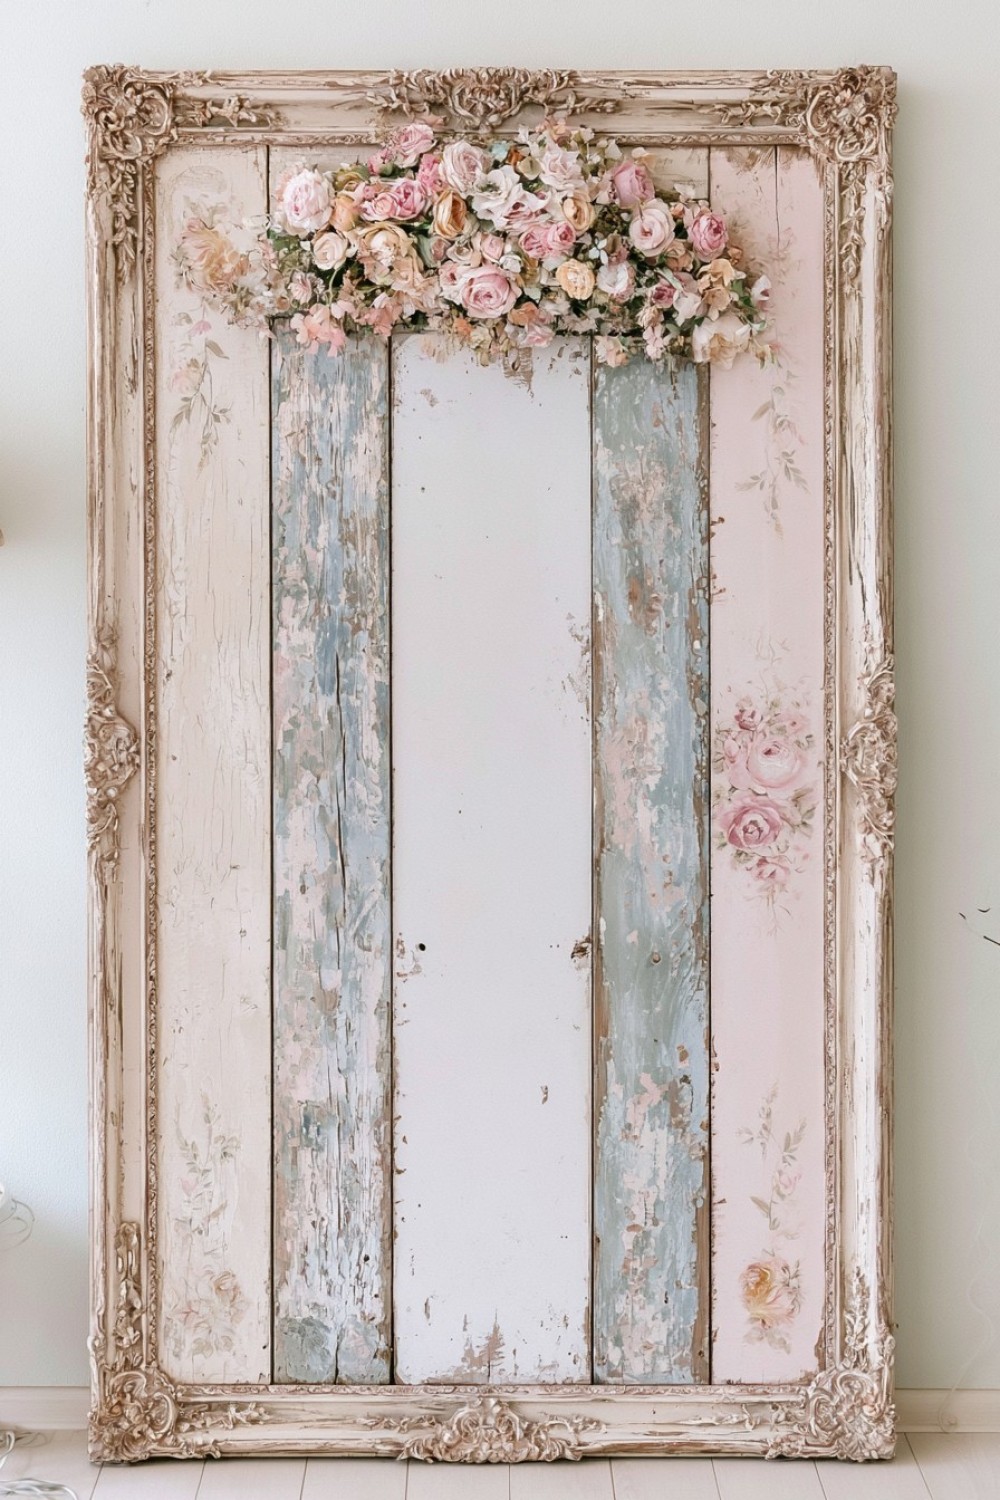
A decorative wood panel does not need words to become an attractive shabby chic accent. Join several narrow reclaimed boards or use a single unfinished plank as the base. Apply layers of muted paint, allowing each color to dry before lightly sanding selected areas. Instead of adding lettering, create visual interest with painted floral borders, faded botanical motifs, simple geometric patterns, or small sections of vintage wallpaper. The finished panel can be placed above a console table, incorporated into a gallery wall, or leaned casually against a shelf. This approach keeps the rustic handcrafted feeling while allowing color, texture, and pattern to become the main decorative features.
15. Vintage Teacup Pin Cushion
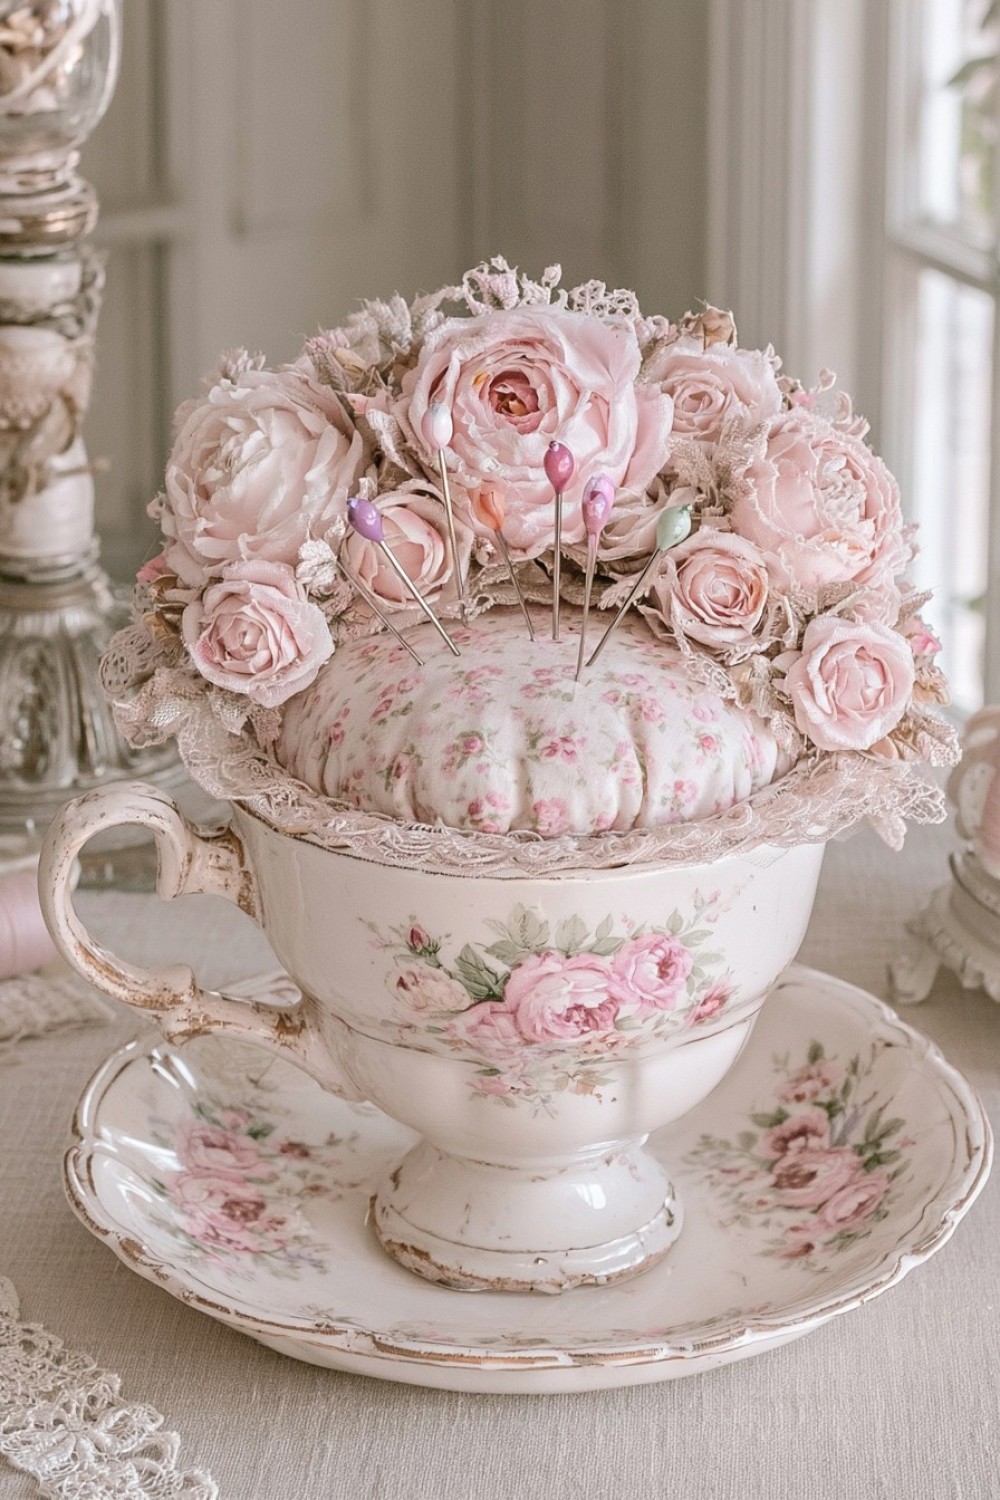
An unused teacup can become a practical sewing accessory with a small amount of fabric and stuffing. Cut a fabric circle larger than the cup opening, fill the center with polyester stuffing or wool, then gather the edges underneath until a rounded cushion forms. Secure the shape tightly before gluing it inside the cup. Floral cotton, linen, or tiny rose patterns complement the vintage appearance particularly well. Add a narrow lace edge if the cup is simple and needs additional detail. The finished pin cushion looks charming on a sewing table and can also serve as a handmade gift for anyone who enjoys embroidery or crafting.
16. Shabby Chic Basket Makeover
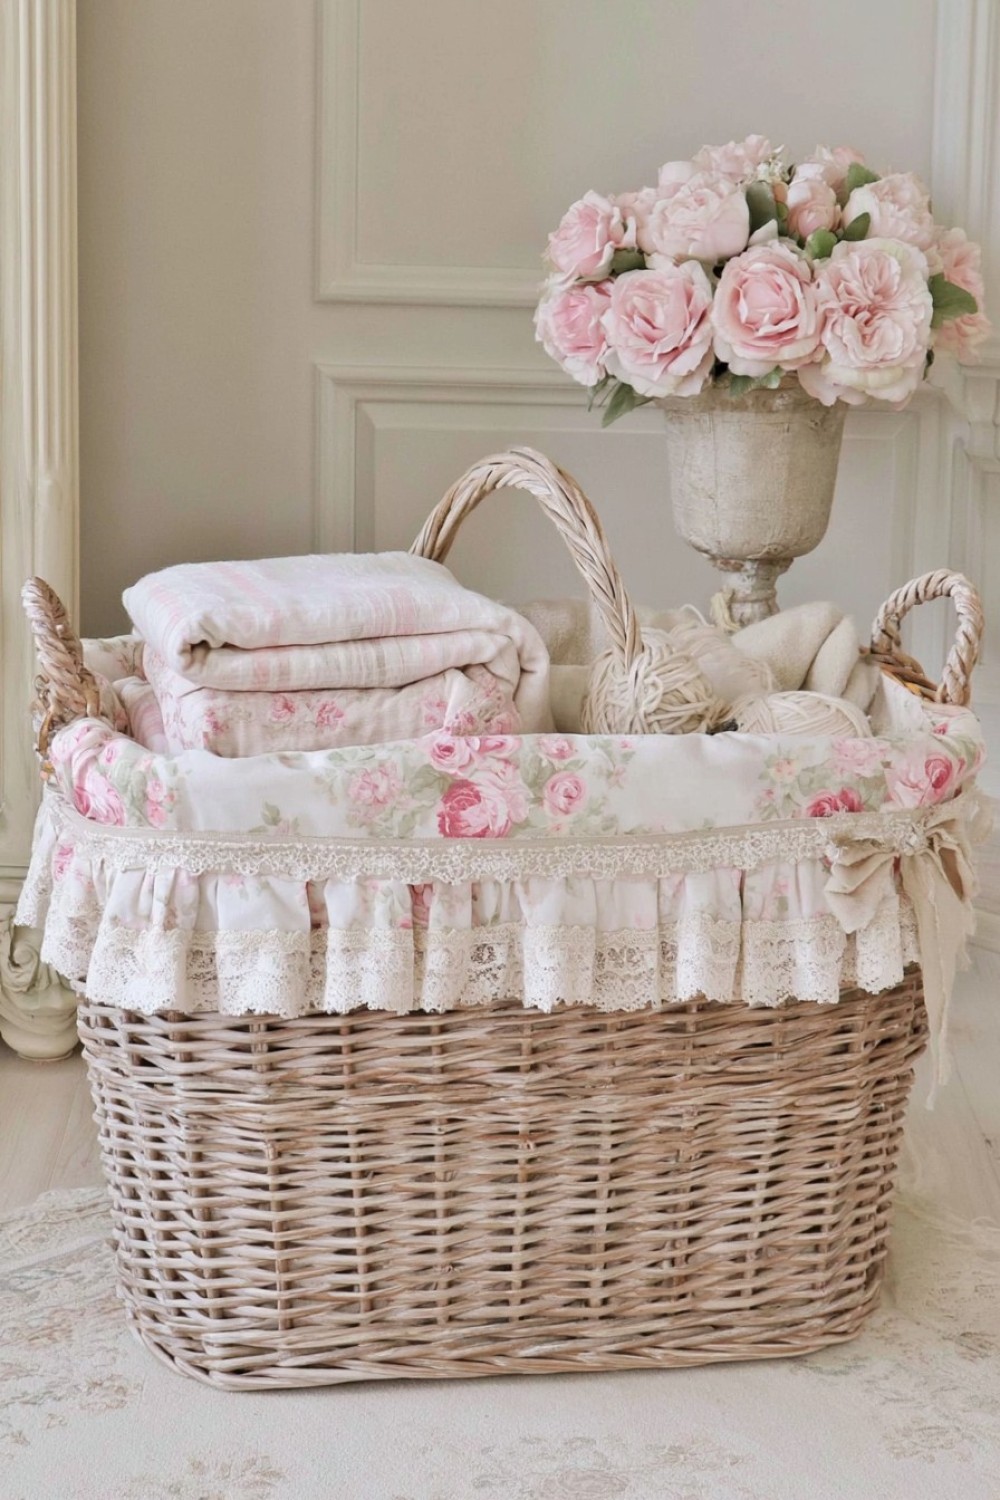
Refresh a plain wicker basket using paint, fabric, and understated decorative details. Start by cleaning dust from between the woven sections, then brush on a very thin coat of diluted white or pale gray paint. Allow some of the natural wicker to remain visible rather than completely covering it. Create a removable liner from floral cotton, ticking stripe fabric, or natural linen and fold the fabric slightly over the basket rim. Add narrow lace or a small fabric bow to one side if desired. Use the finished basket for towels, yarn, magazines, blankets, toiletries, or laundry. Larger baskets also make attractive open storage beside beds or sofas.
17. Floral Decoupage Furniture Knobs
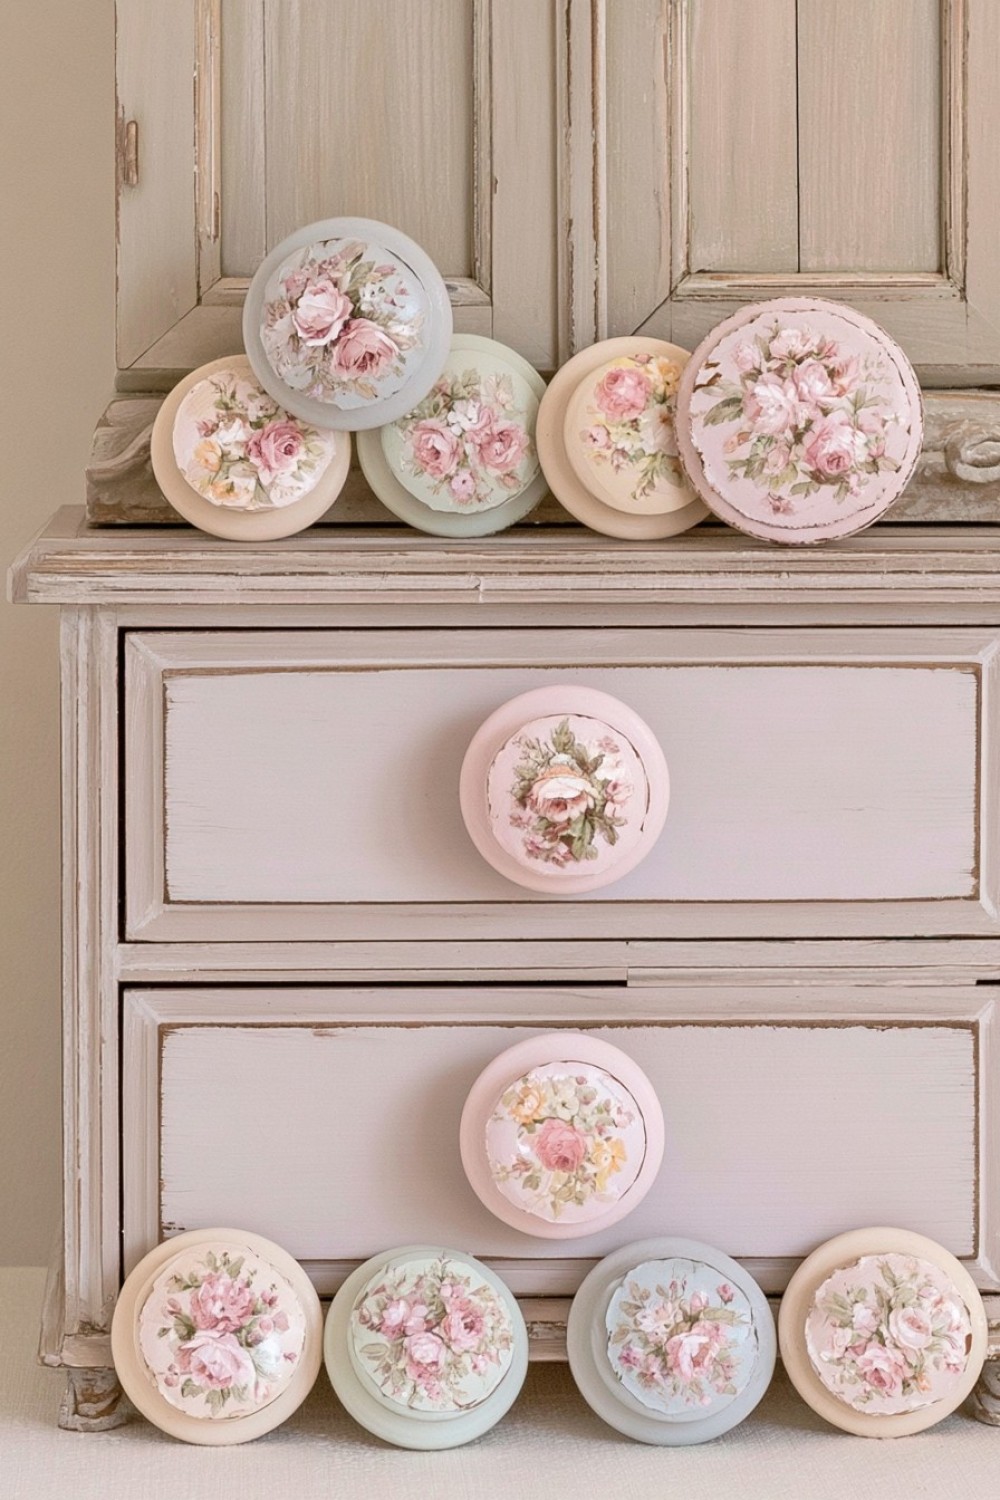
Small details can change the personality of furniture surprisingly quickly. Remove plain wooden knobs from a dresser, cabinet, or bedside table and paint them in a soft neutral shade. Once dry, cut tiny floral motifs from thin decorative paper or napkins and apply them with decoupage medium. Seal the surface with a clear protective finish after everything has dried. Each knob can feature a slightly different flower while still sharing the same overall palette. Reattach them to painted or distressed furniture for an inexpensive customized update. This technique can also be used on storage boxes, small cabinets, craft drawers, and bathroom furniture.
18. Fabric Wrapped Decorative Hangers
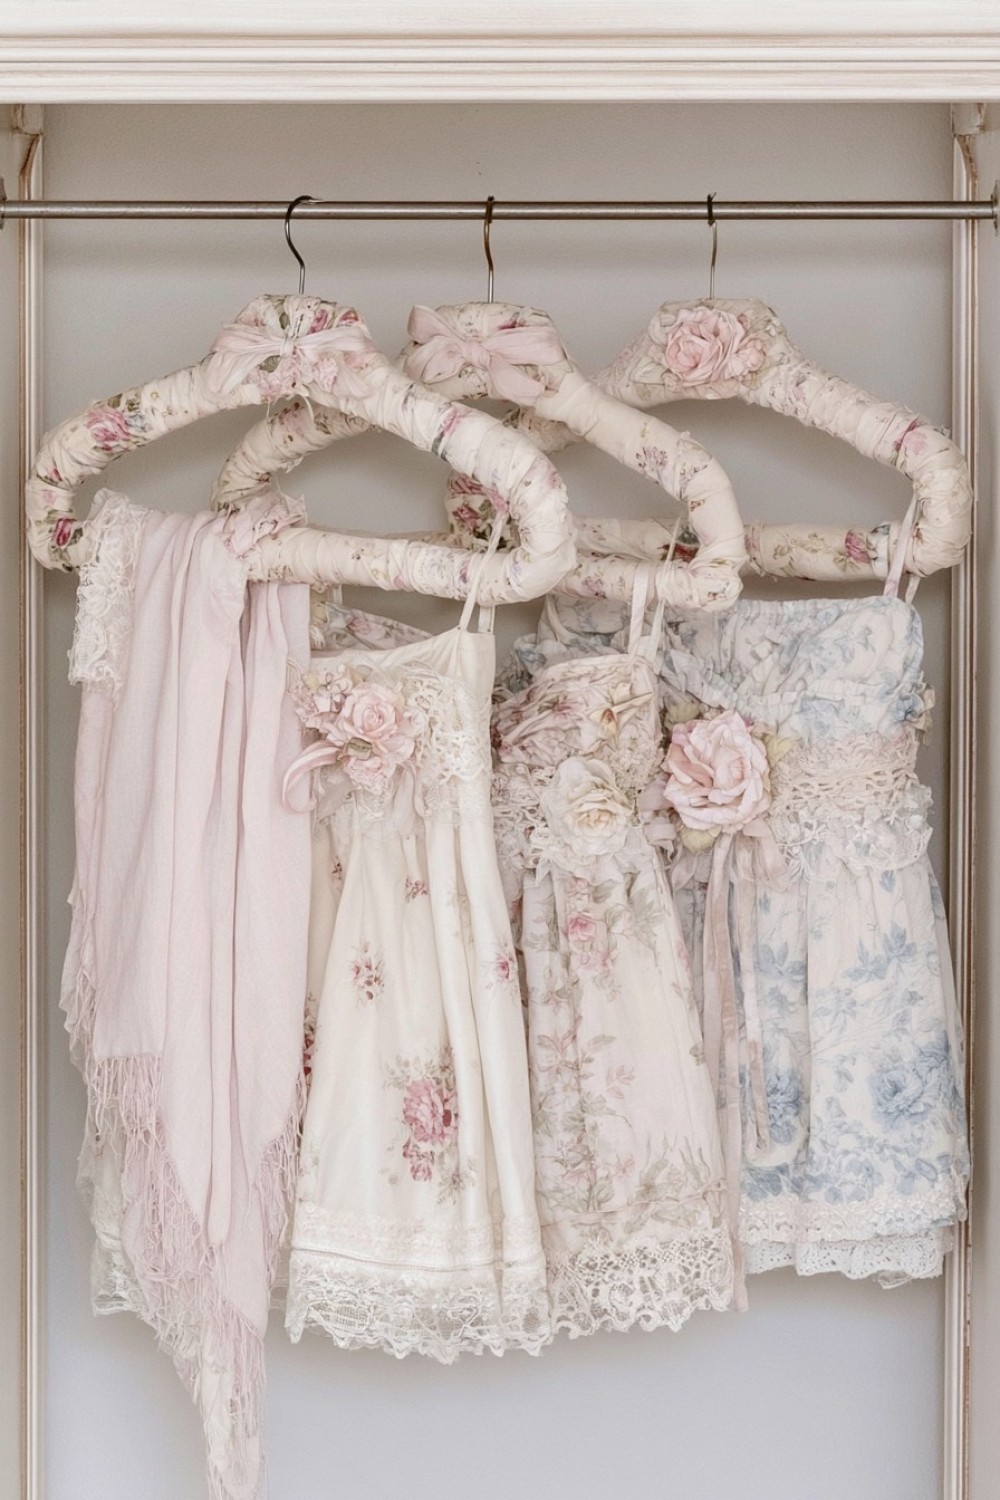
Ordinary wooden or padded hangers can become decorative accessories for wardrobes, guest rooms, or clothing displays. Cut long strips of floral fabric and wrap them tightly around the hanger, slightly overlapping each layer. Secure the ends discreetly with fabric glue. Add a small lace strip, ribbon bow, or fabric rosette near the hook if you prefer a more detailed finish. Coordinating fabrics can make several mismatched hangers look like a purposeful collection. Besides holding clothing, these hangers work beautifully for displaying vintage dresses, scarves, lightweight textiles, or special occasion outfits. They are also a practical way to use leftover fabric from larger craft projects.
19. Layered Shabby Chic Keepsake Box
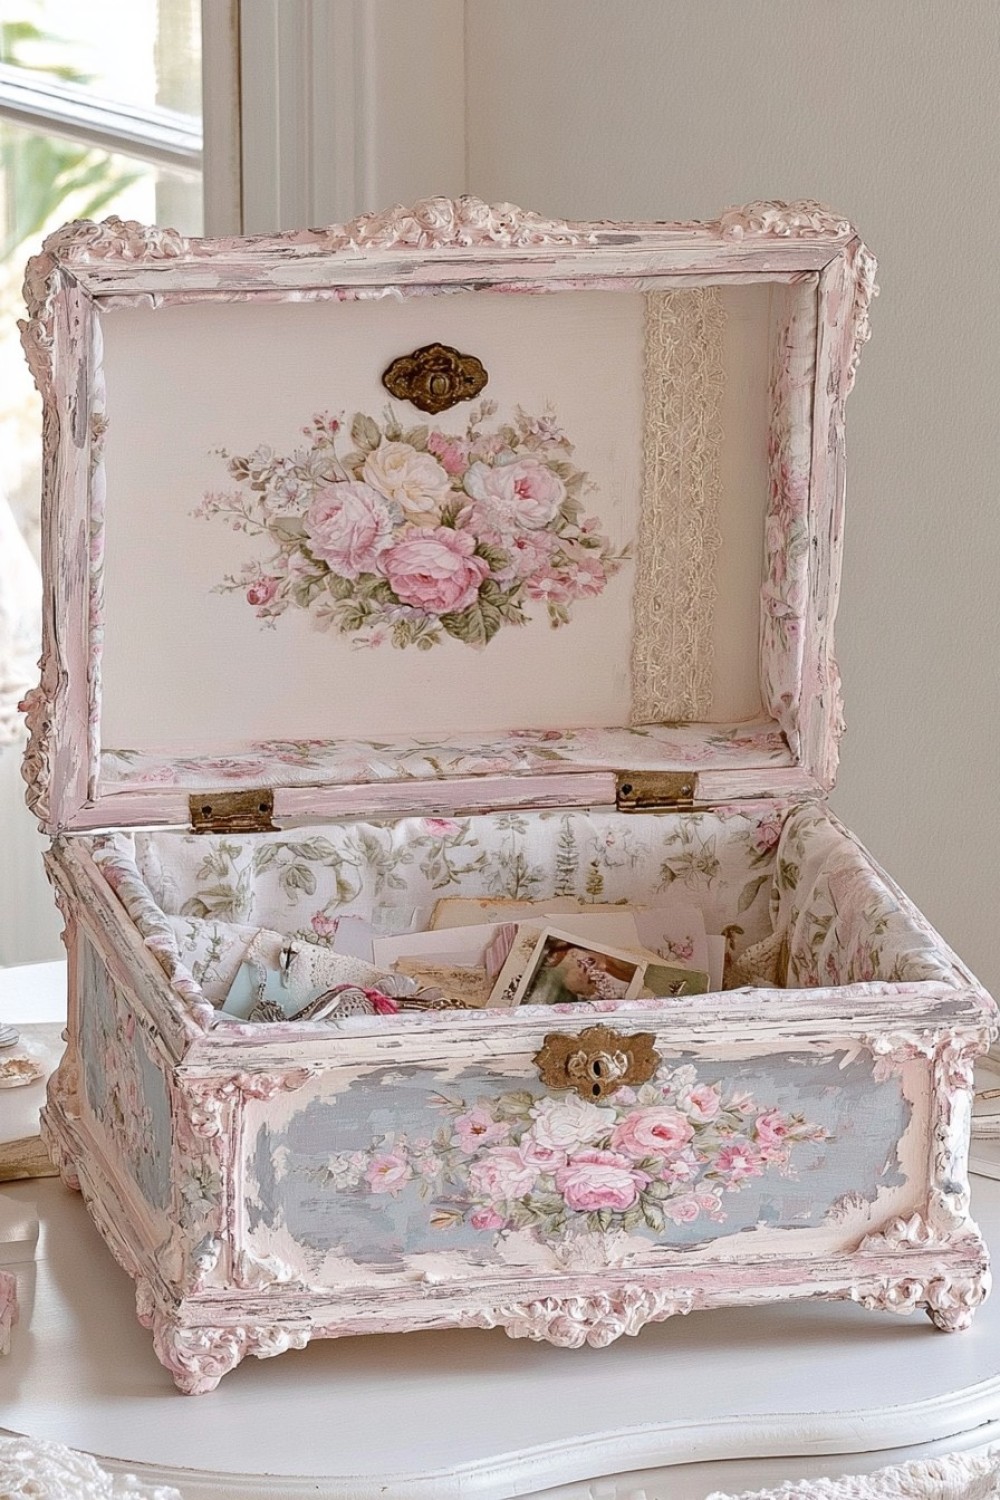
Create a personalized keepsake box by combining several shabby chic techniques in one project. Start with a plain wooden box and paint it using two complementary colors, such as muted gray beneath cream or dusty blue beneath ivory. After the paint dries, sand corners and raised areas to expose the lower layer. Decorate the lid with floral decoupage, lace, fabric scraps, or a small vintage style metal embellishment. Line the interior with patterned paper or soft cotton fabric. Use the finished box for photographs, letters, jewelry, sewing notions, or small sentimental objects. It also makes a thoughtful handmade gift that can be customized for different occasions.
MORE IDEAS


Share
What's Your Reaction?
 Like
1
Like
1
 Dislike
0
Dislike
0
 Love
0
Love
0
 Funny
0
Funny
0
 Angry
0
Angry
0
 Sad
0
Sad
0
 Wow
0
Wow
0