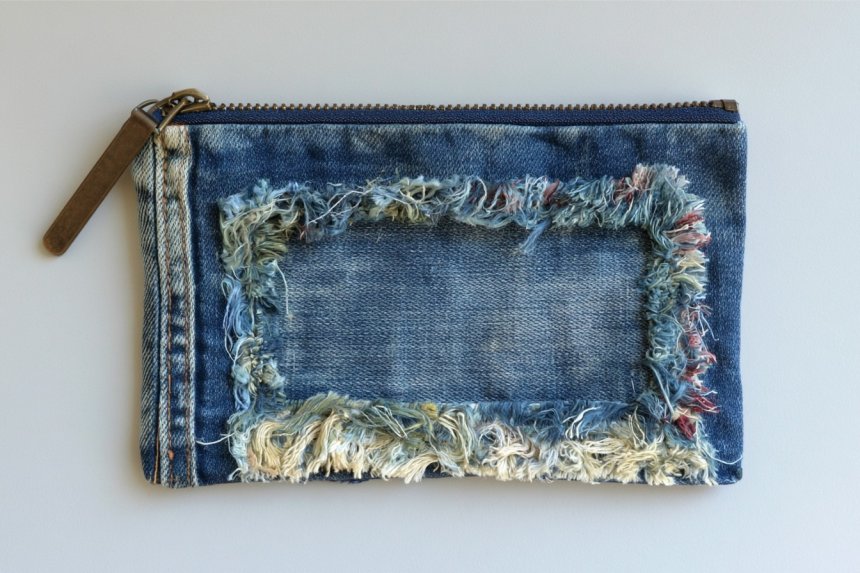
15 Recycled Wood Projects for Your Home

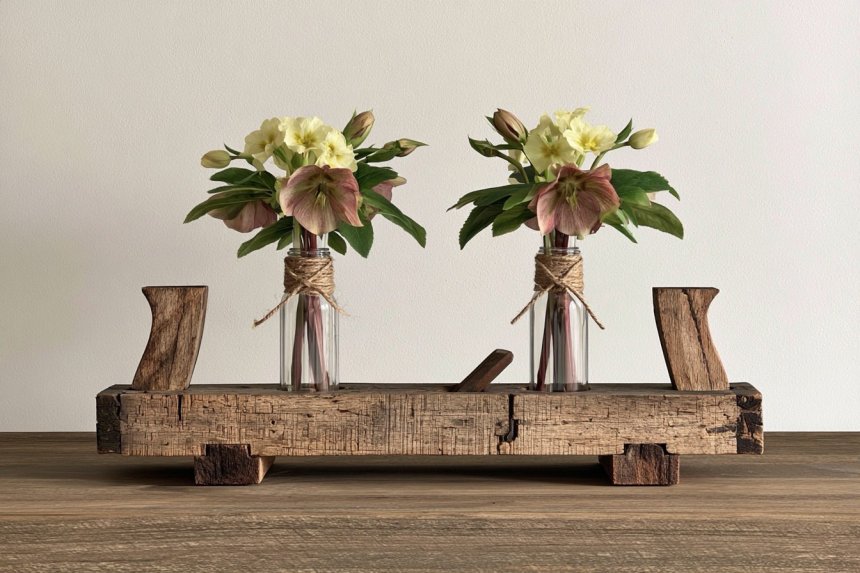
Recycled wood brings history, texture, and practical value to projects that might otherwise require new lumber. Offcuts, broken furniture, shipping crates, fence boards, drawers, and unused shelving can become organizers, tables, planters, or decorative features with thoughtful preparation. Inspect every piece for rot, insects, embedded nails, and unknown coatings before cutting. Avoid chemically treated or contaminated wood, especially for items touching food, plants, children, or pets. Clean, sand, and seal suitable boards according to their final location. These fifteen ideas combine approachable construction, adaptable styling, and useful decorating choices, helping leftover timber become distinctive additions for modern homes and gardens.
1. Build a Patchwork Entryway Organizer
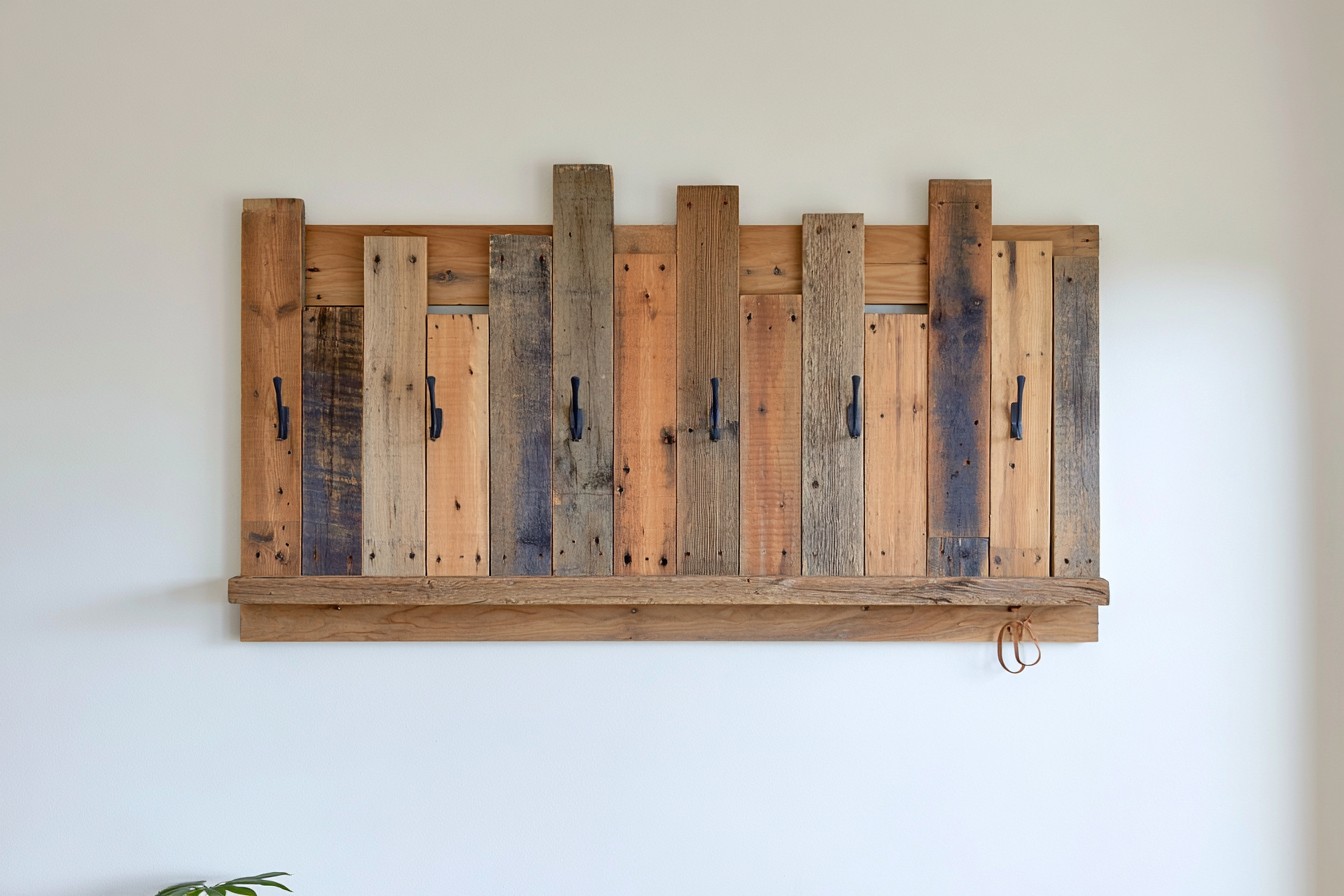
Combine offcuts from several projects to create a layered entryway organizer with character. Trim the boards to varied lengths, sand edges, and arrange them vertically across a plywood backing. Preserve contrasting grains with clear matte sealer or stain selected strips for a subtle patchwork effect. Attach sturdy hooks into the backing for keys and lightweight bags, then add a shallow reclaimed shelf for mail. A slim leather loop can hold sunglasses without crowding the design. Secure the finished organizer into wall studs, cover old nail holes, and position heavier hooks near the center where the backing offers the greatest support.
2. Turn Produce Crates into a Rolling Pantry Cart
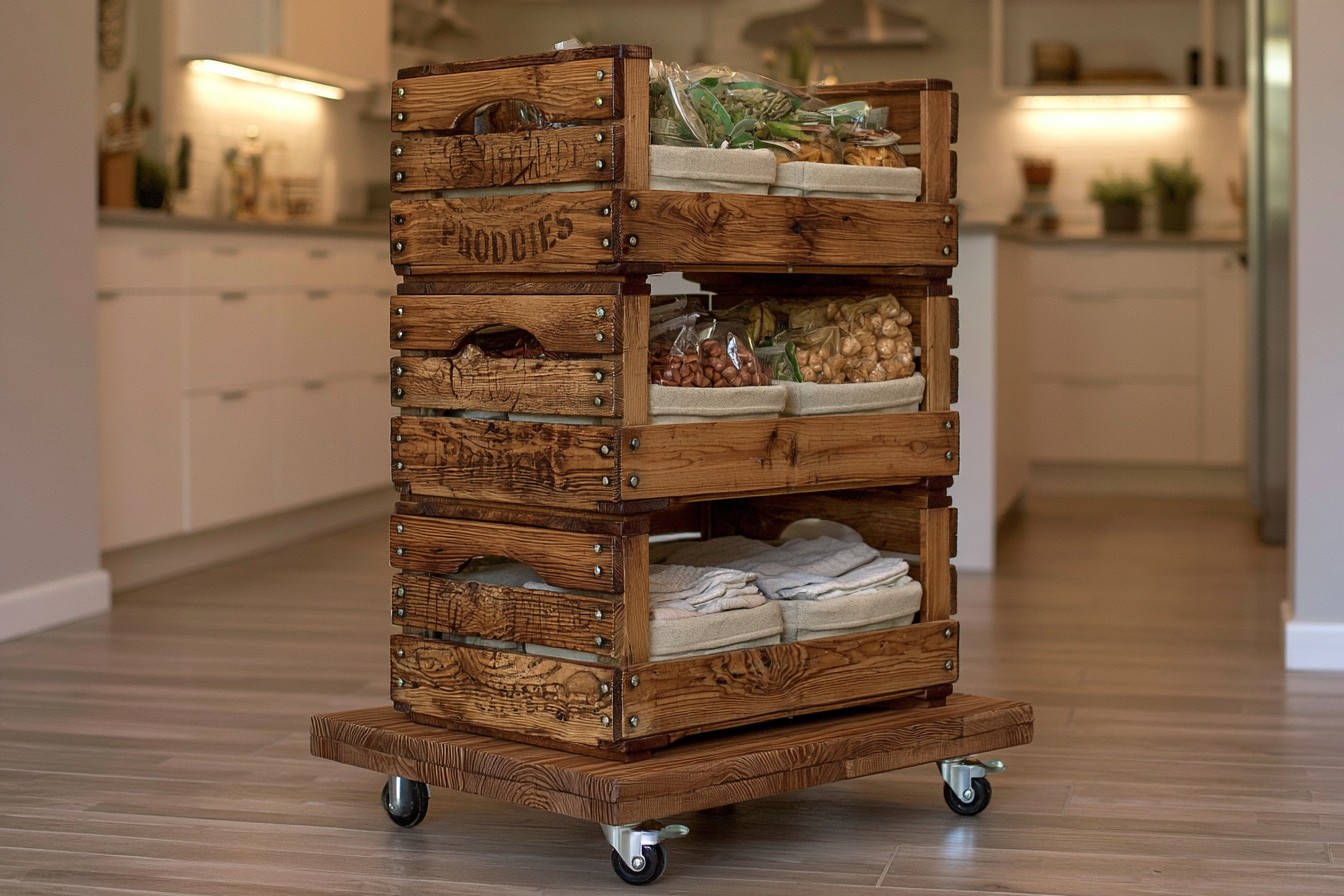
Stack three wooden produce crates to build a pantry cart for packaged foods, linens, or kitchen supplies. Clean the crates, reinforce weak corners with screws, and sand splintered slats until smooth. Join them through solid frame sections, then attach the stack to a sealed plywood platform fitted with locking casters. Line each compartment with washable fabric baskets for a softer appearance. Paint the exterior warm cream, or retain faded markings beneath clear sealer for vintage character. Store heavier goods at the bottom, lock the wheels during use, and avoid using reclaimed crates that carried chemicals, pesticides, or unknown industrial materials.
3. Shape a Sofa Arm Table from Short Boards
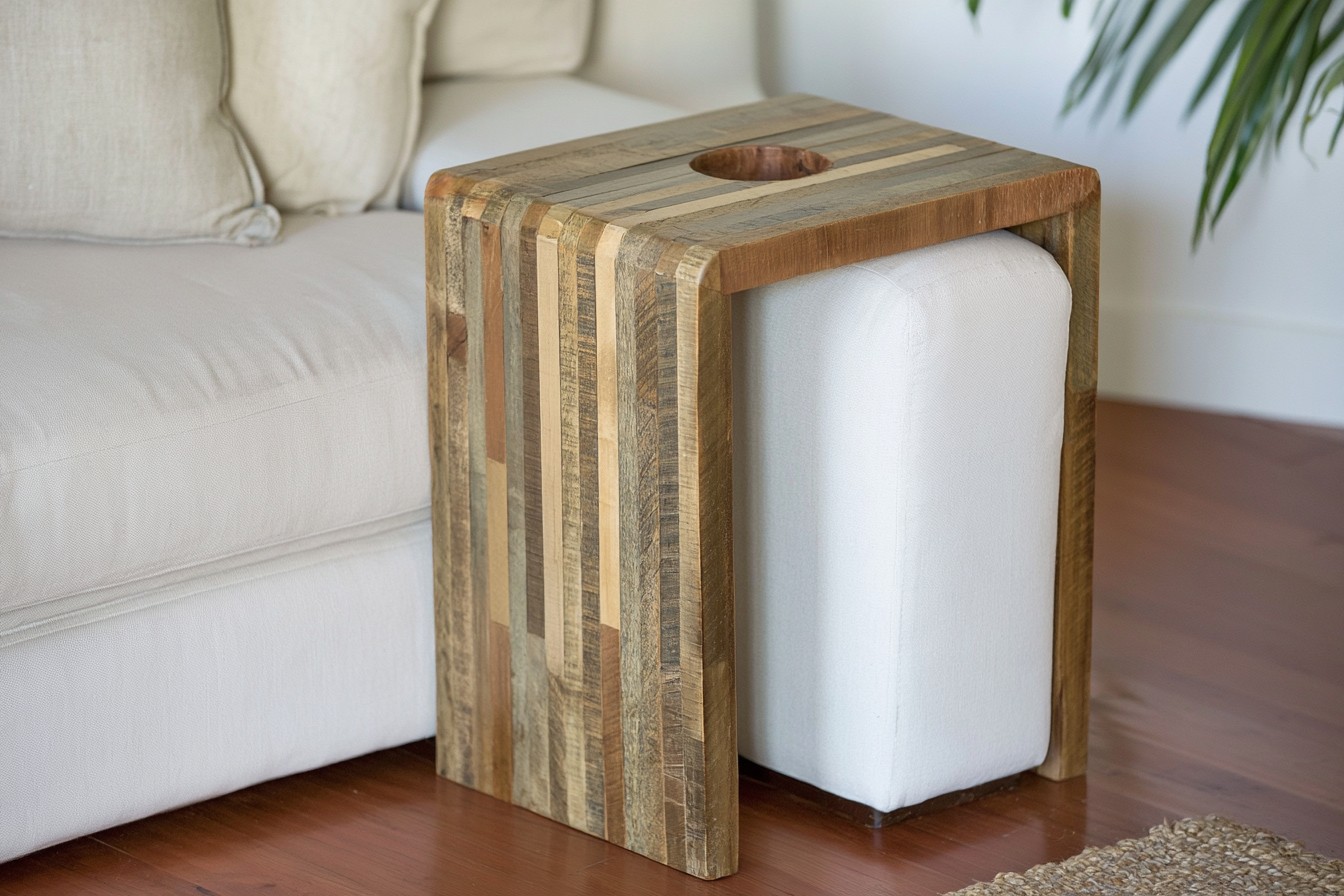
Use short boards to create a fitted wooden sleeve that rests across a sofa arm. Measure the arm, then cut one top and two side panels wide enough to slide over it without squeezing upholstery. Join the pieces with dowels or pocket screws, keeping all hardware below the surface. Sand corners into curves and finish the wood with water based varnish. Add a shallow routed circle for a cup only if the remaining top stays strong. Mixed wood tones create a striped look, while one stain feels calmer. Test stability before use and never place hot dishes on the sleeve.
4. Assemble a Geometric Tiered Plant Stand
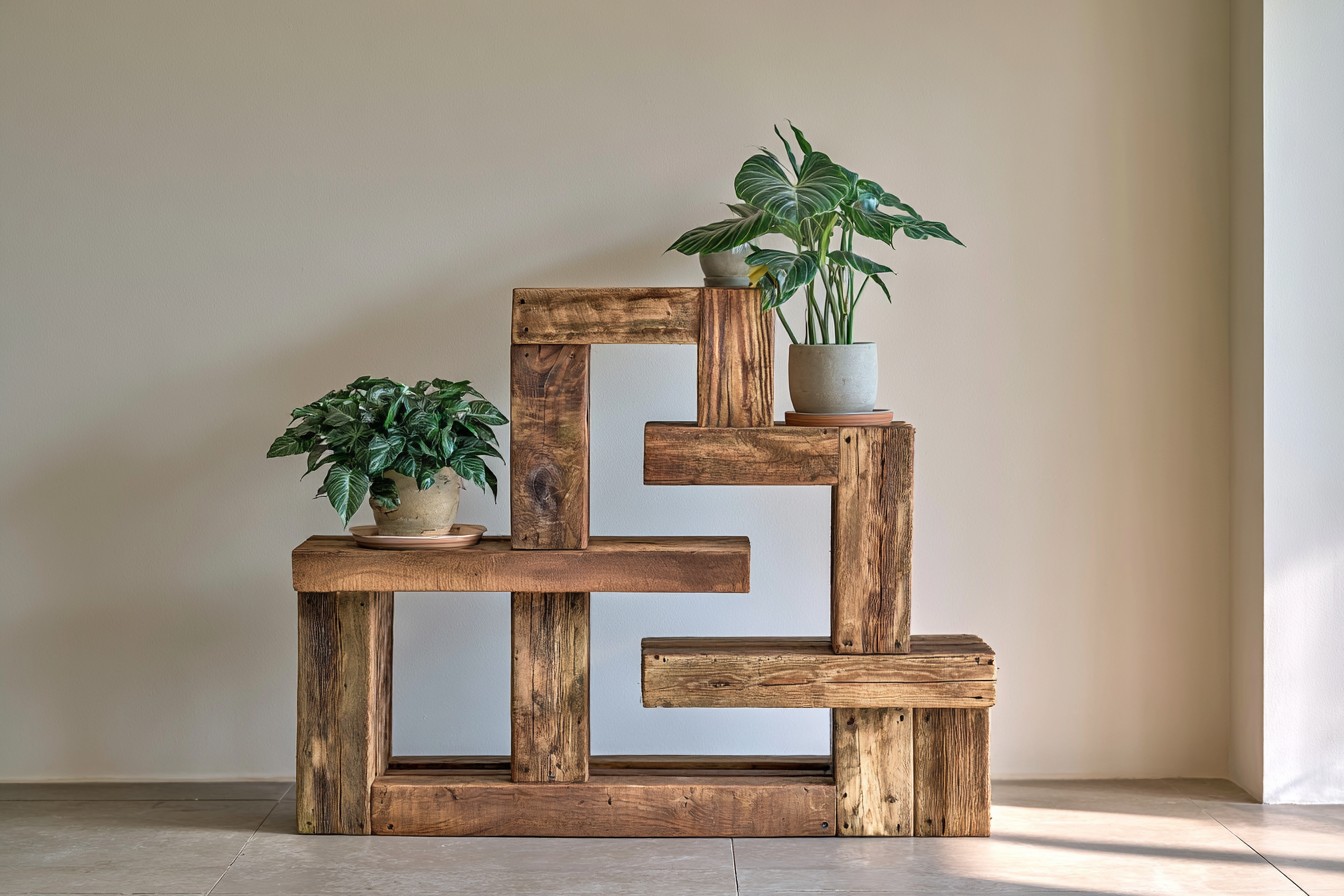
Transform posts and shelving scraps into a tiered indoor plant stand. Cut platforms in descending sizes, build supports at different heights, and dry fit the structure before drilling pilot holes. Join every section with screws and wood glue, ensuring each platform remains level. Paint the frame charcoal and leave the shelves natural for contrast, or whitewash everything for a coastal room. Place waterproof trays beneath nursery pots and reserve a tier for lightweight plants. Add felt pads to protect flooring, distribute weight over the supports, and anchor tall versions to the wall so an uneven watering can cannot tip them.
5. Convert an Old Drawer Front into a Serving Tray
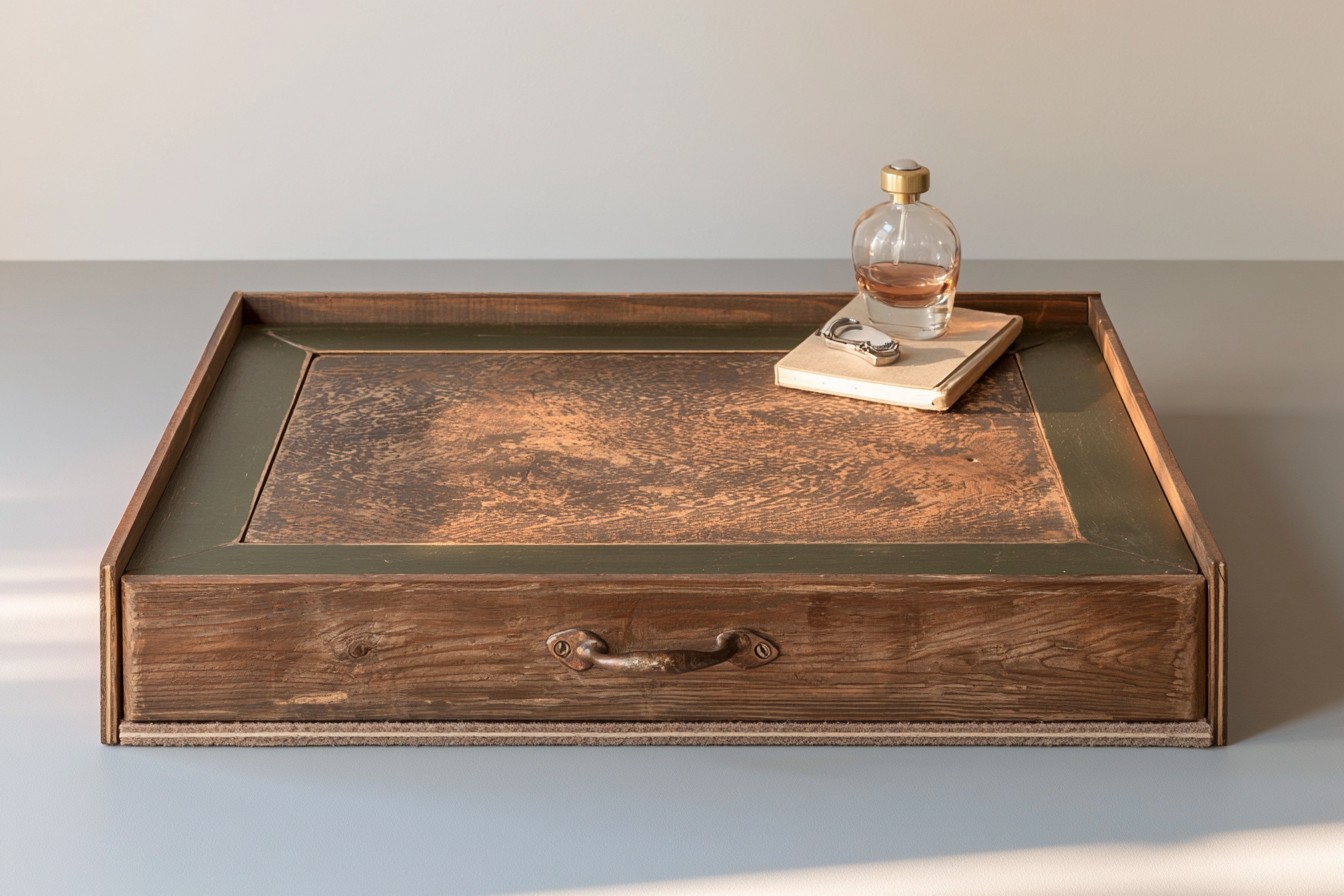
Give a drawer front a second life as a tray for perfume, desk accessories, or coffee table objects. Remove the original handle, fill unwanted holes, and attach the panel to a shallow frame made from slim wood scraps. Add two salvaged drawer pulls at opposite ends, using short screws that cannot break through the base. Sand rough areas and seal old paint beneath water based varnish. Line the underside with felt to protect furniture. Keep authentic wear visible for vintage charm, or add a contrasting painted border. Use the tray decoratively rather than carrying hot food, liquids, or heavy glassware.
6. Make a Folding Drying Rack from Bed Slats
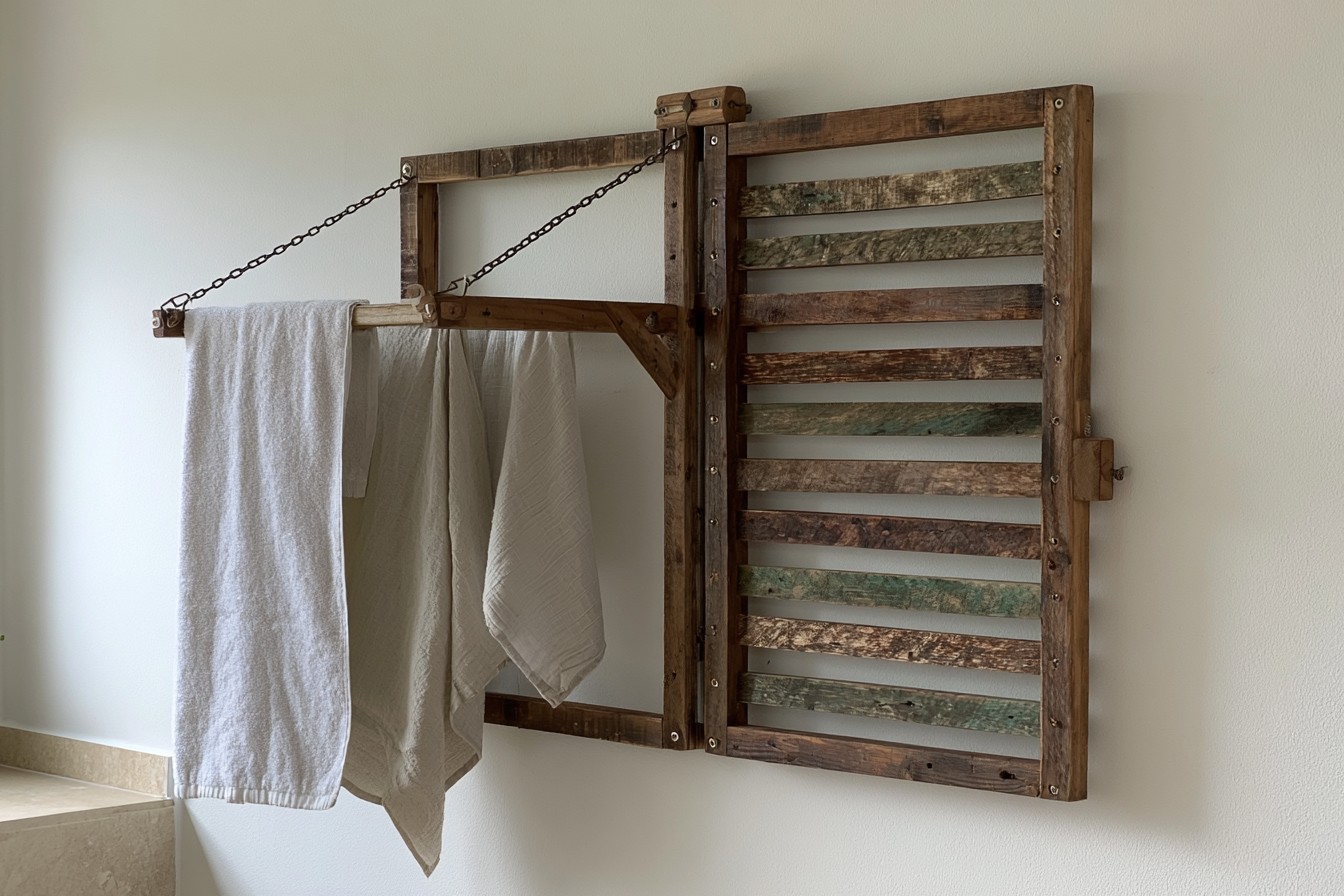
Repurpose wooden bed slats into a wall mounted drying rack for laundry rooms or covered balconies. Build two rectangular frames, space the slats evenly across one frame, and connect the sections with hinges. Add chains or folding brackets that hold the rack level when open, plus a secure latch for closing it flat. Sand every surface thoroughly to prevent fabric snags and seal the timber against moisture. Paint the outer frame to match nearby cabinetry while leaving the slats natural. Mount the unit into studs, test the hardware with damp towels, and never exceed the bracket manufacturer’s recommended weight capacity.
7. Craft a Desktop Monitor Riser with Storage
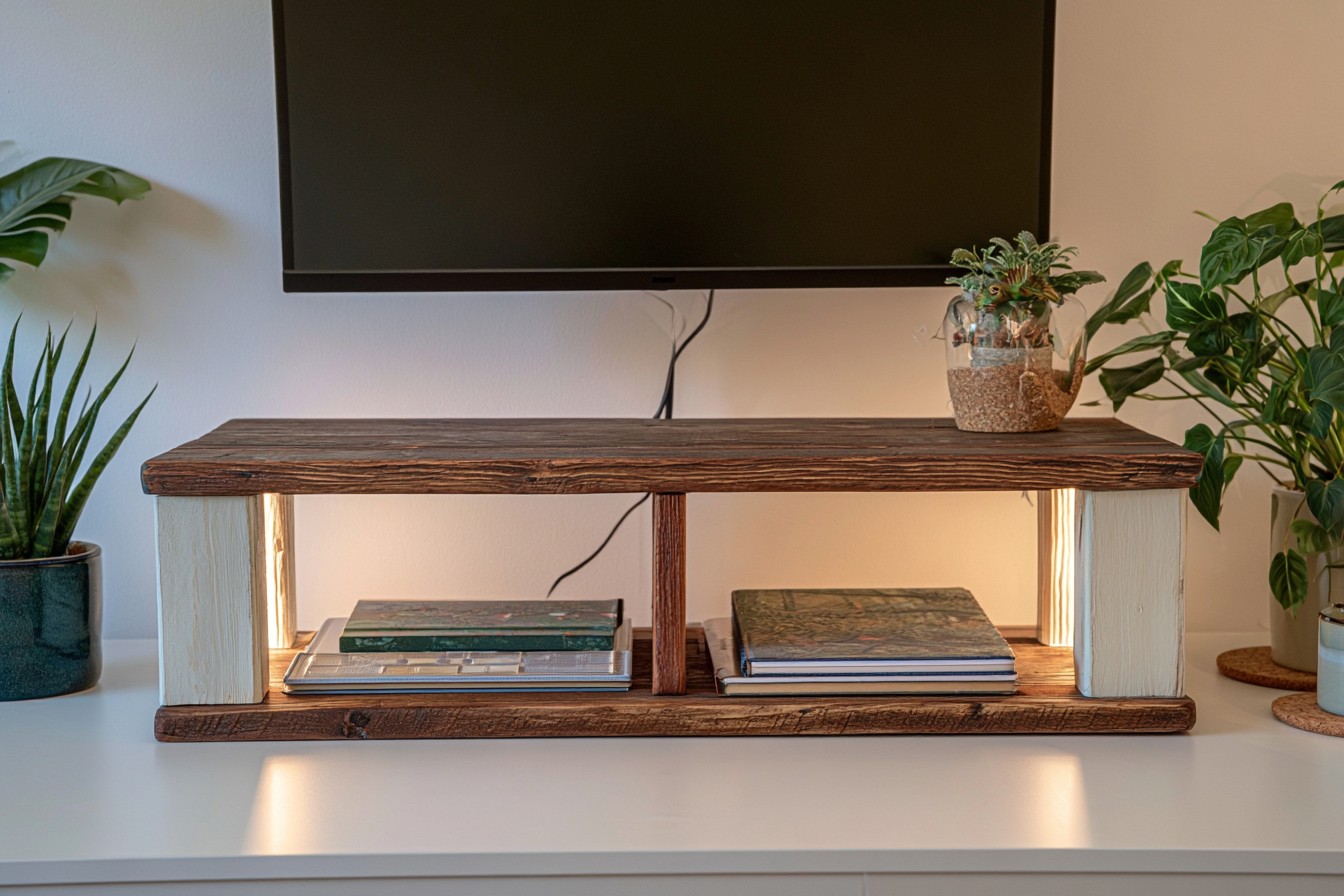
Create a workspace by turning a reclaimed shelf board into a monitor riser with open storage underneath. Cut the top to match the desk width, then attach two side supports using dowels, screws, and wood glue. Add a narrow divider if separate spaces for notebooks and a keyboard are useful. Sand the front edges smooth and seal the surface with a low odor finish. A dark stained top paired with painted supports offers contrast. Add cork pads beneath the legs, confirm the riser can safely carry the monitor, and keep ventilation openings clear when electronic accessories are stored below it.
8. Build Slim Book Ledges from Fence Boards
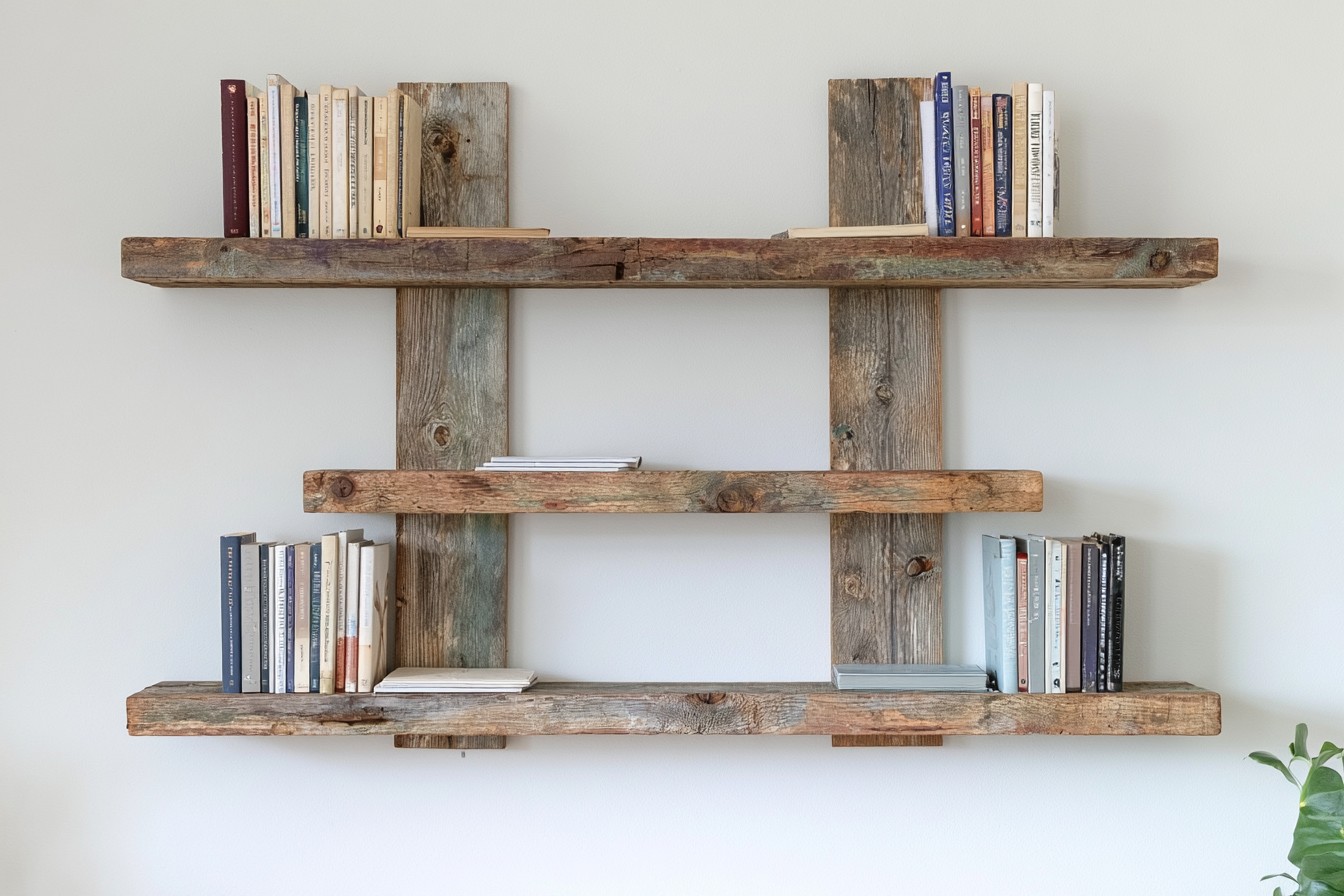
Fence boards can become shallow book ledges for a hallway, bedroom, or reading corner. Select dry, untreated pieces without rot, cut them to matching lengths, and sand away splinters. Join a base, backboard, and front retaining strip with glue and countersunk screws. Preserve weathered grain beneath matte sealer, or paint each ledge a related shade for a playful arrangement. Mount several rows at varied heights to display front facing books, small prints, or lightweight notebooks. Fasten every ledge into studs or suitable anchors, round exposed corners for children’s rooms, and avoid loading the narrow shelf with heavy objects or pottery.
9. Rework Cabinet Doors into a Fold Down Desk
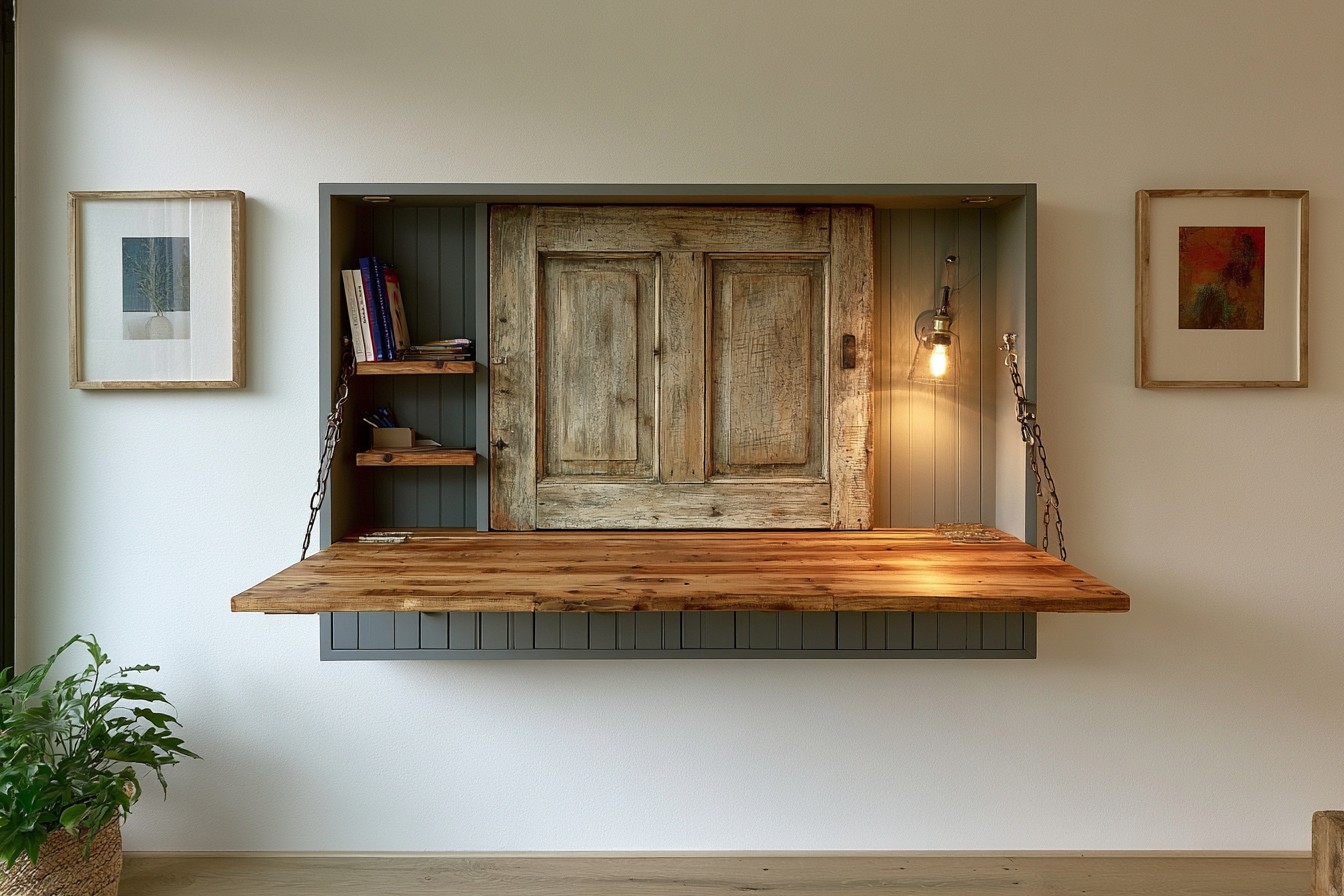
Pair a reclaimed cabinet door with a shallow wall box to make a compact fold down desk. Remove hardware, reinforce the door if necessary, and hinge its lower edge to the box. Install locking support brackets or rated chains that hold the work surface level when open. Inside, add scrap wood shelves for notebooks and stationery. Paint the cabinet exterior to blend with the wall, while preserving natural wood on the desktop for warmth. Use a latch to keep everything closed. Anchor the box into studs, confirm the supports carry working weight, and avoid leaning heavily on the outer edge.
10. Create a Breadboard Style Bath Caddy
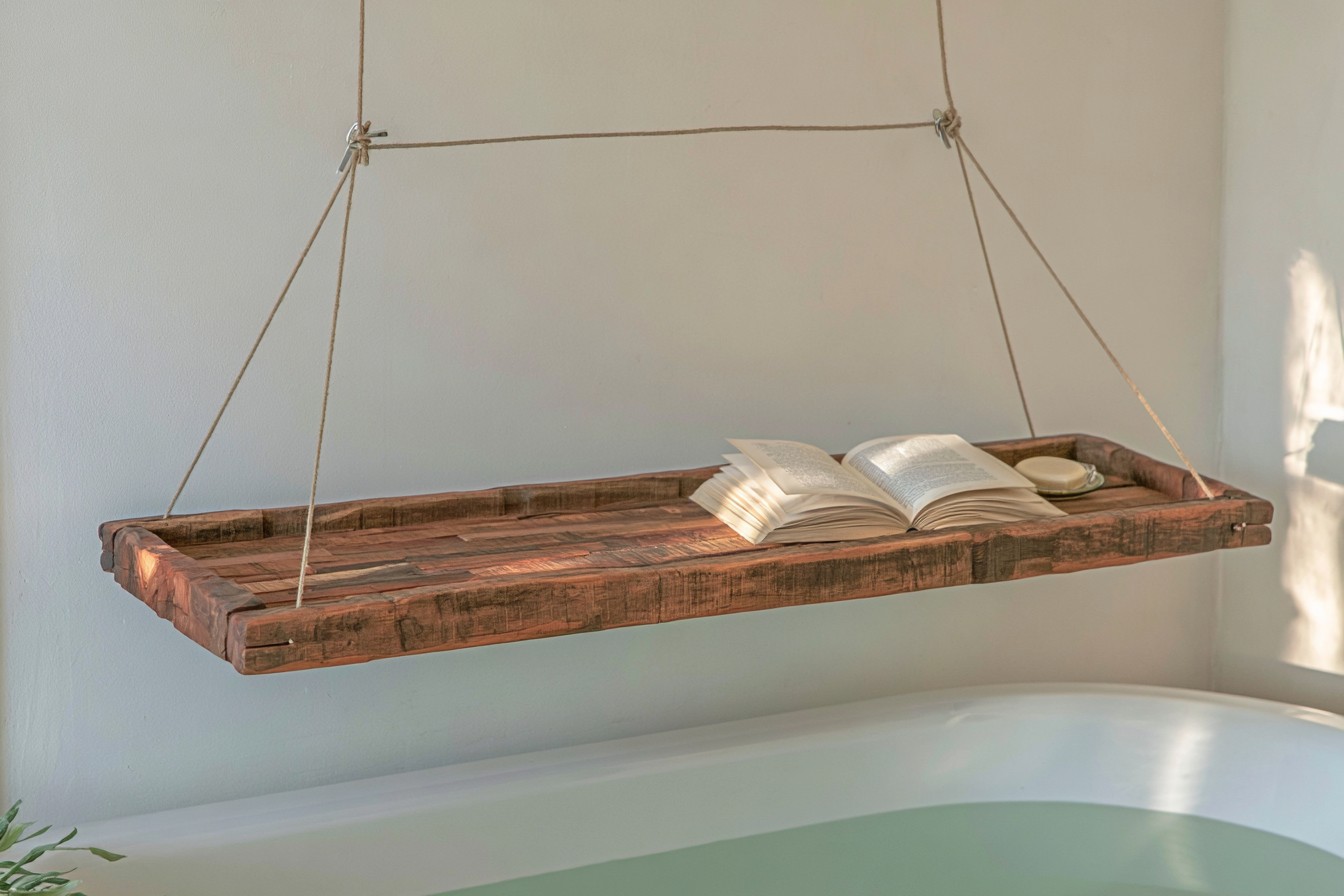
Join hardwood offcuts into a bath caddy that spans the tub without resting on fragile edges. Measure the width, glue the boards side by side with waterproof wood adhesive, and clamp them until cured. Add two underside stops that prevent sideways movement, keeping them clear of the tub rim. Sand the piece smooth and seal every face with multiple coats of moisture resistant finish. Contrasting wood strips can create a breadboard inspired pattern without decoration. Include a shallow groove for a book only if tools allow precise work. Dry the caddy after use and never place electrical devices on it.
11. Organize Garden Seeds in a Divided Box
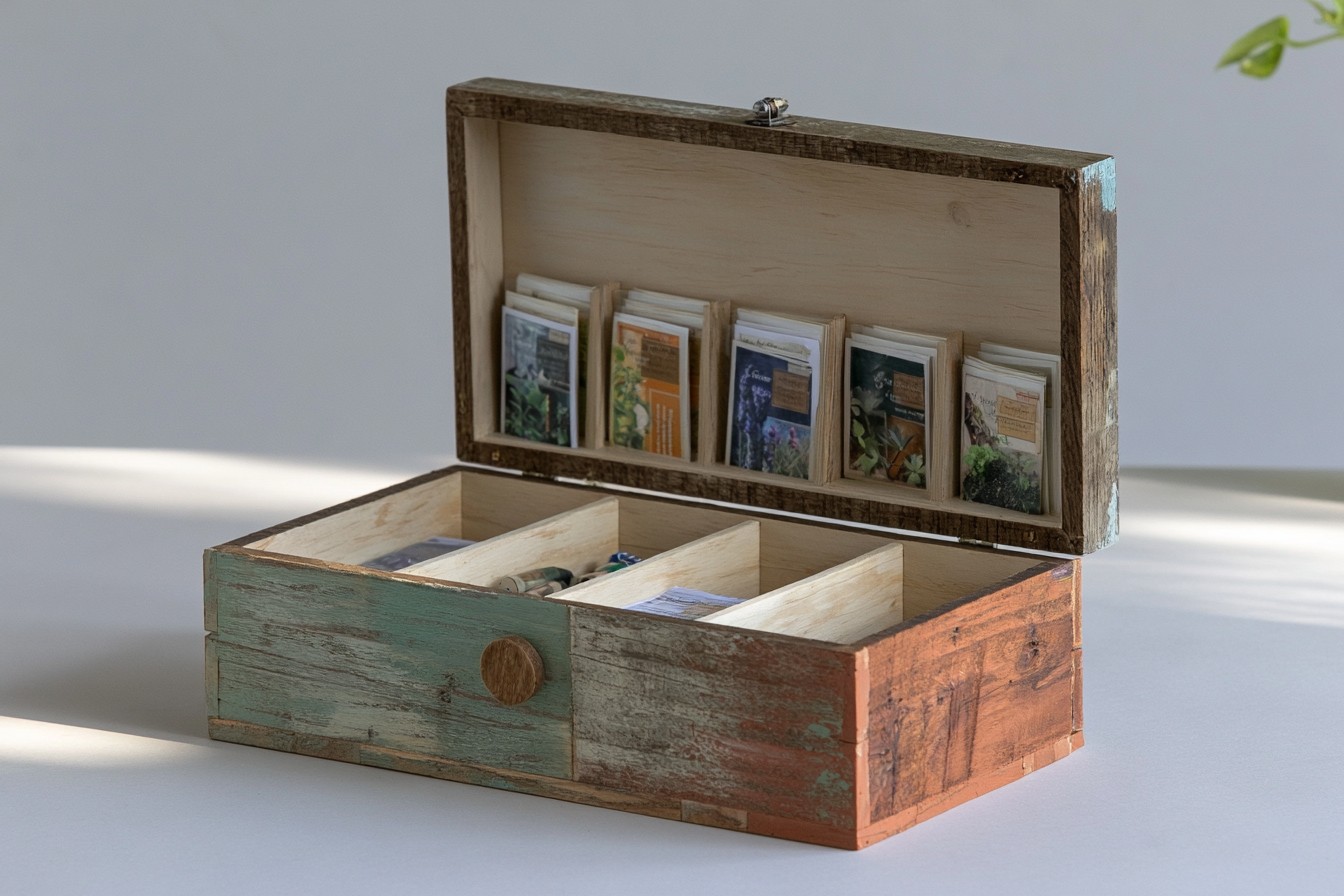
Build a seed organizer from thin drawer sides, crate slats, and plywood scraps. Create a rectangular box, reinforce its corners, and insert removable dividers sized for seed packets. Add a hinged lid with a simple wooden pull, then sand and seal every surface. Paint the exterior sage or terracotta, while leaving the interior pale so packet labels remain easy to read. A shallow compartment beneath the lid can hold planting notes and markers. Store the box in a cool, dry cupboard rather than a humid shed. Confirm reclaimed boards are clean, and avoid timber with chemical treatments or persistent odors.
12. Form a Herringbone Top for a Side Table
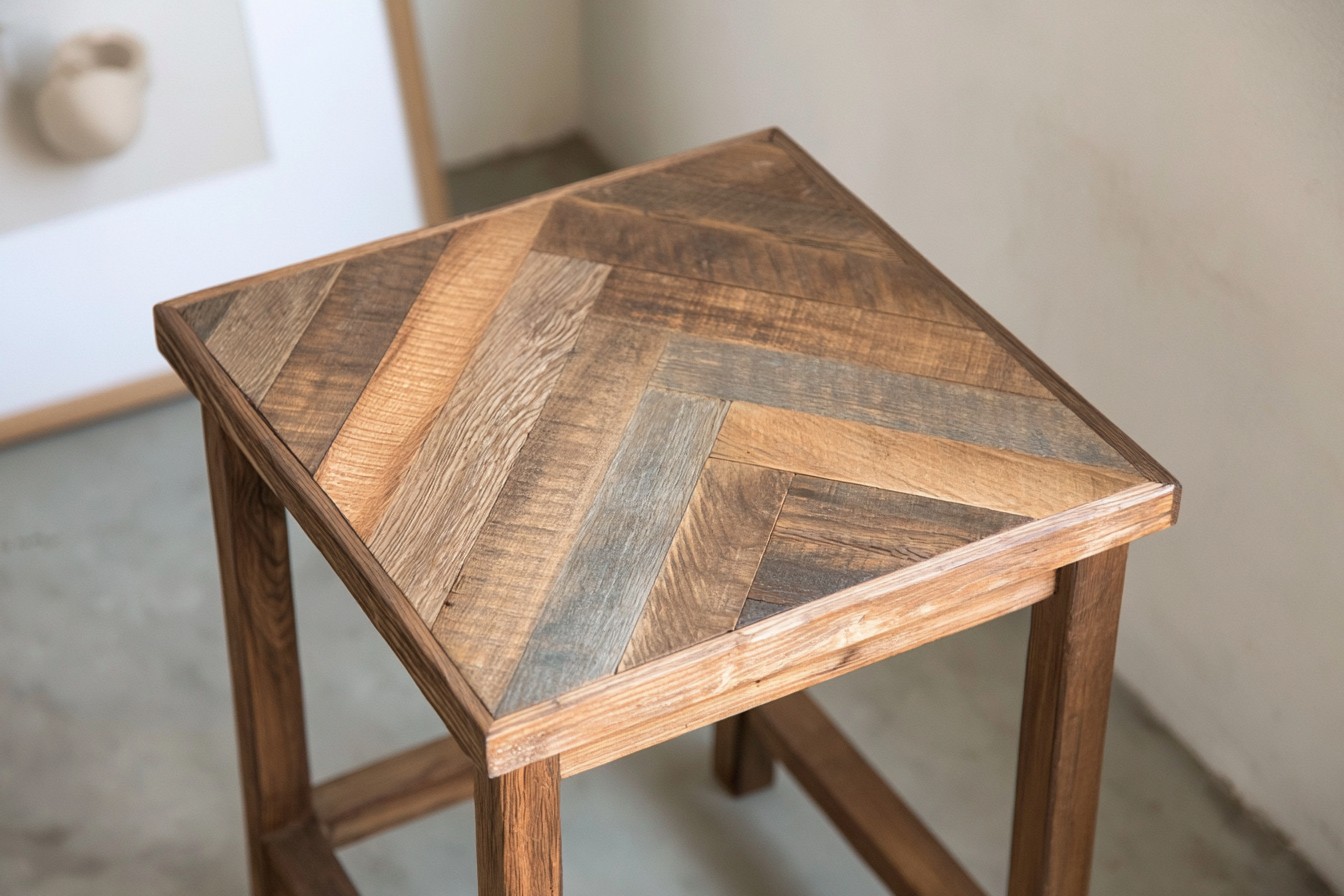
Use narrow flooring leftovers or furniture offcuts to give a side table a patterned new surface. Cut equal strips at angles and arrange them in a herringbone layout over a plywood panel. Number each piece, glue the pattern down, and weight it evenly while curing. Trim the perimeter straight, fill fine gaps with compatible wood filler, and frame the top with slim edging. Sand cautiously so thin pieces remain level, then apply a protective finish. Combining two related wood tones creates movement without looking busy. Fasten the completed panel to a sturdy base and verify that the table remains balanced.
13. Construct a Garden Tool Cleaning Station
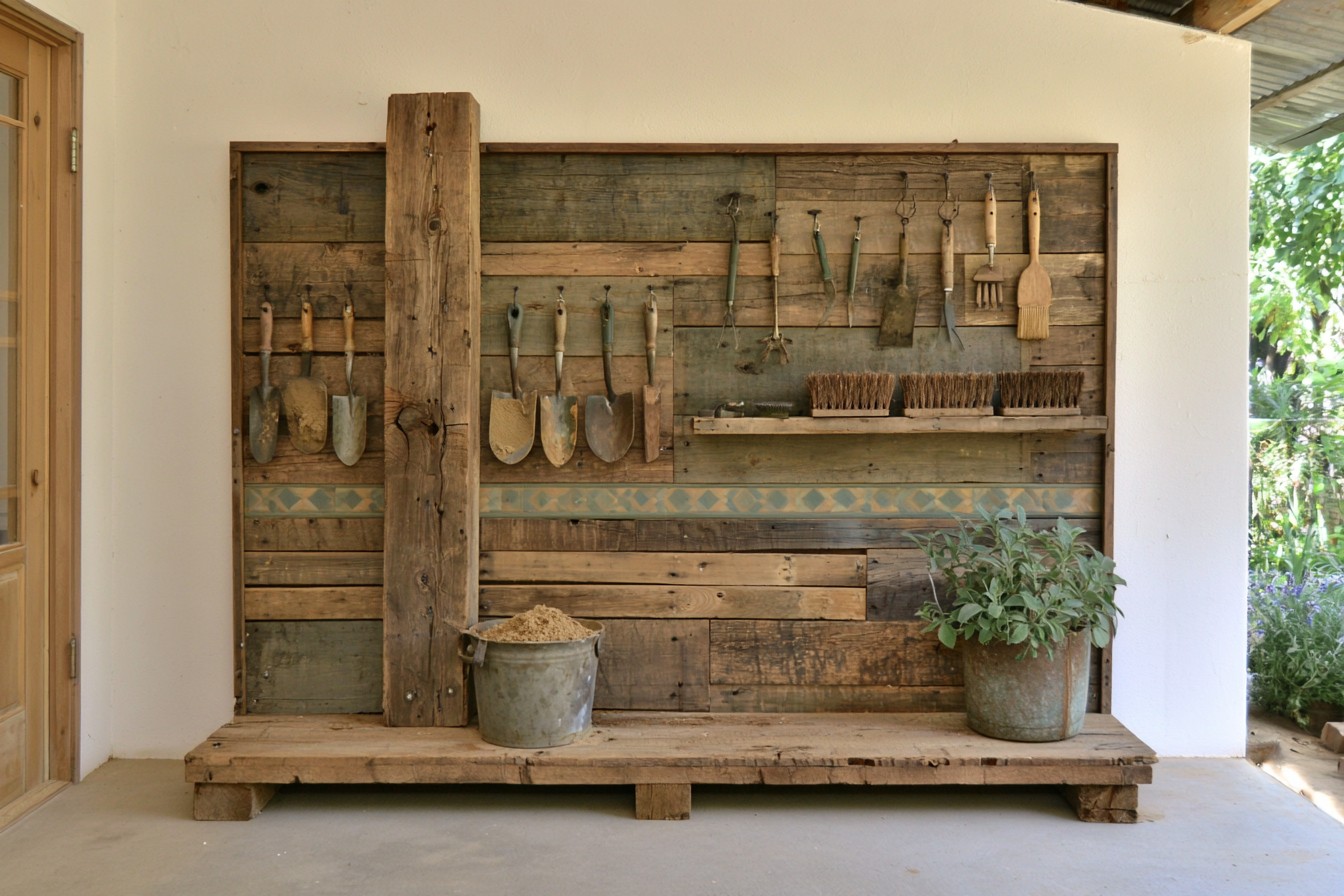
Turn a reclaimed post, wide board, and scrap shelf into a cleaning station for hand tools. Fix the post into a stable freestanding base or secure it beside a shed, then mount the backboard vertically. Add hooks for trowels, a shelf for brushes, and a removable bucket filled with dry sand for loosening soil from metal blades. Finish untreated timber with exterior oil and cover sharp screw ends. A painted geometric band can coordinate the station with nearby planters. Keep tools dry after cleaning, position the project beneath shelter, and ensure the base cannot tip when heavier equipment is removed.
14. Assemble a Slatted Indoor Compost Screen
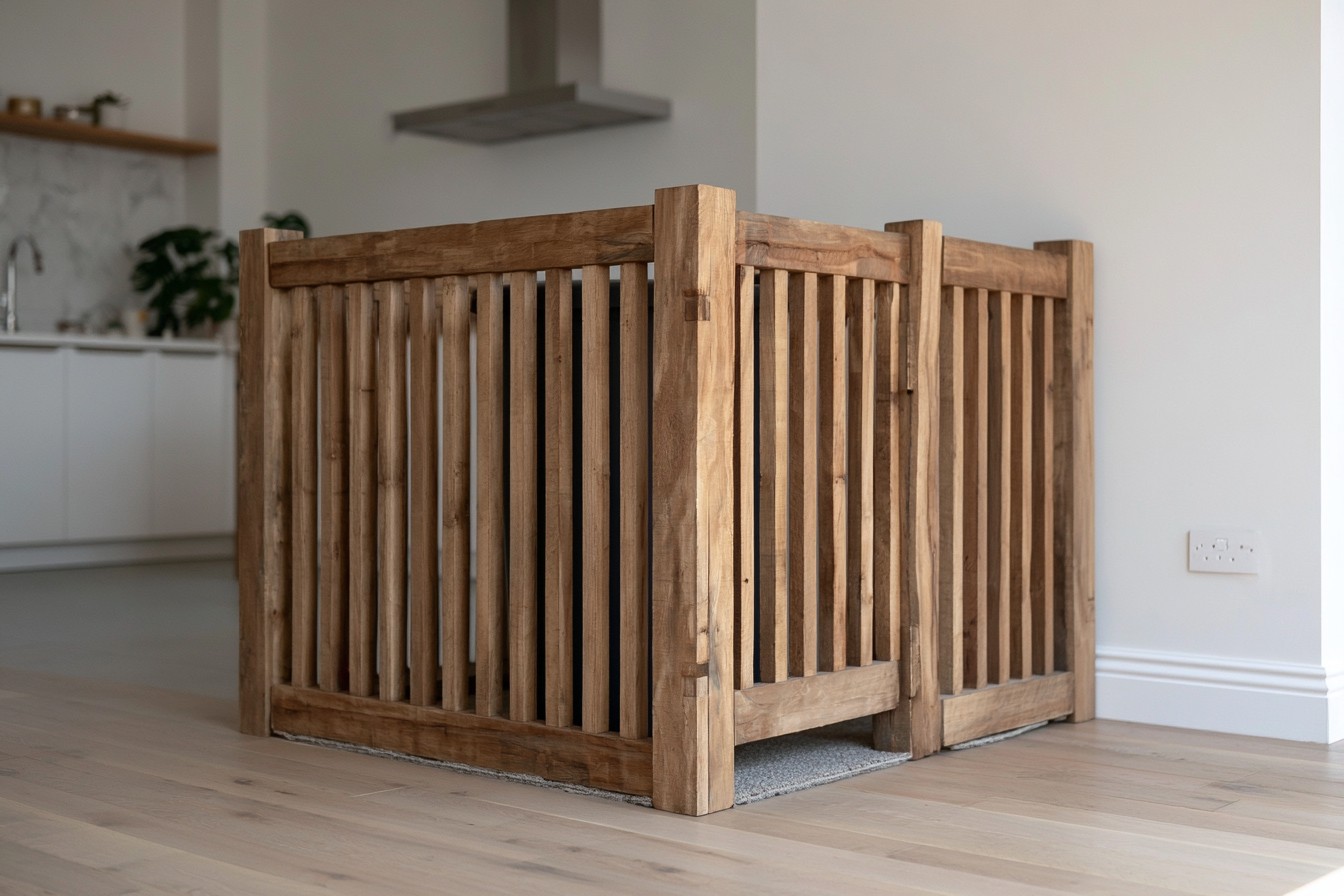
Hide a compost container or recycling bin behind a ventilated wooden screen made from reclaimed slats. Build a three sided frame sized slightly larger than the container, then attach evenly spaced vertical strips with glue and brads. Leave gaps for airflow and easy cleaning. Sand every surface, seal the wood with a washable finish, and add felt pads underneath. Paint the interior dark to disguise marks while leaving the exterior natural. A hinged front panel can improve access in kitchens. Keep the screen away from cooking heat, wipe spills promptly, and ensure it never obstructs the container’s lid or ventilation.
15. Design a Modular Wall Pocket System
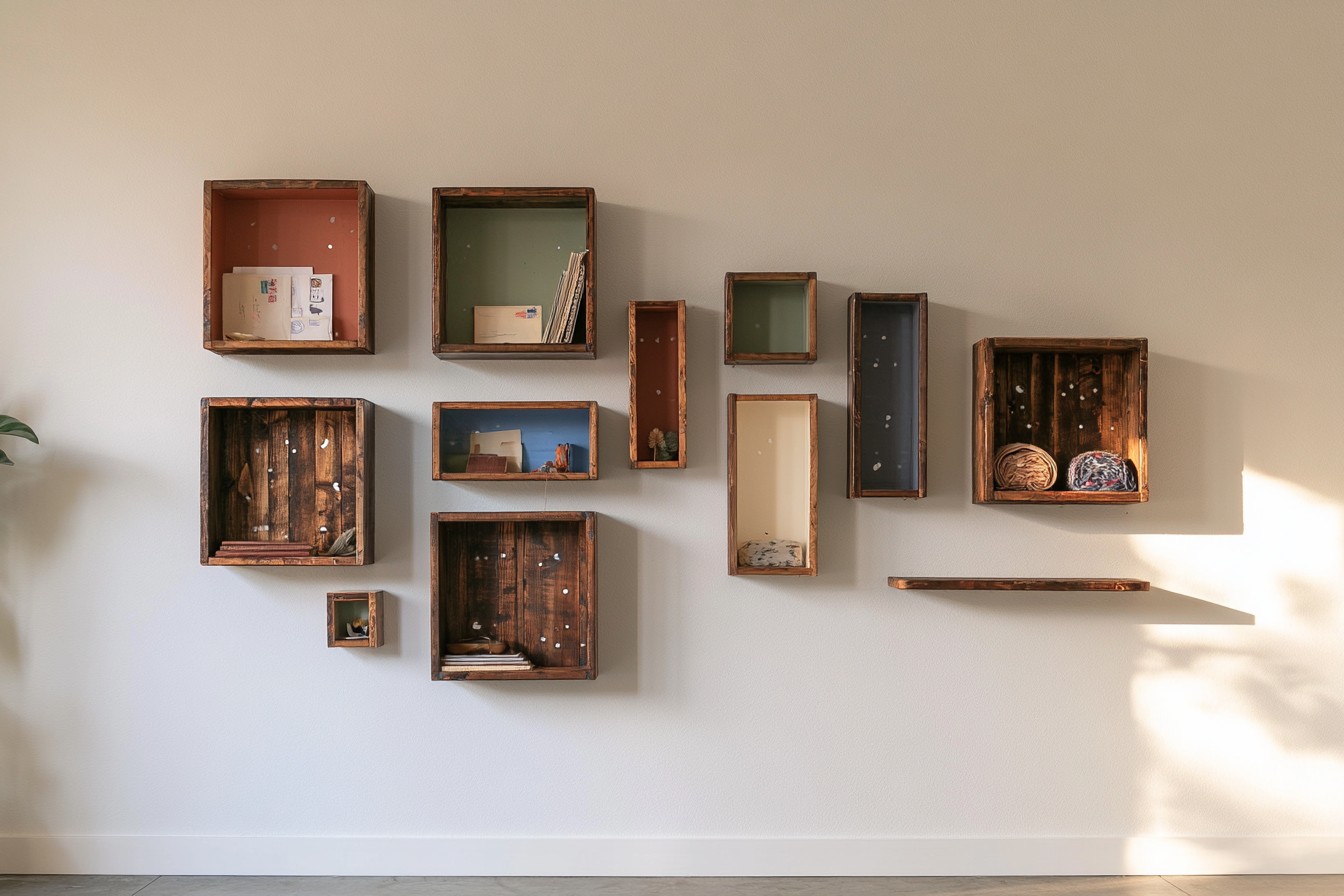
Create wall storage from drawer boxes, crate ends, and leftover shelving. Repair each piece, remove protruding nails, and arrange the components on the floor before mounting. Combine open cubes, narrow pockets, and one small ledge to hold mail, notebooks, fabric rolls, or lightweight accessories. Paint selected interiors in muted colors while unifying the outer surfaces with clear matte sealer. Leave breathing space between modules so the collection feels intentional rather than crowded. Fasten every box independently into appropriate anchors, keep heavier items in lower compartments, and rearrange the layout later by patching old holes and changing the spacing between pieces.
MORE IDEAS


Share
What's Your Reaction?
 Like
0
Like
0
 Dislike
0
Dislike
0
 Love
0
Love
0
 Funny
0
Funny
0
 Angry
0
Angry
0
 Sad
0
Sad
0
 Wow
0
Wow
0