

A wine rack’s openings can organize far more than bottles when the new contents fit securely. Sixteen alternatives compare soft rolls, retained cups, baskets and growing vessels. More reused containers are collected in upcycled storage ideas, and the bottles themselves in wine bottle crafts.
Table of Contents
- Read the Rack's Shape Before Changing It
- Select Tools for the Adaptation You Need
- Prepare, Support, and Position the New Storage
- Trial the Contents and Prepare the Structure
- Add Support Where the New Use Requires It
- Mount or Restrain the Whole Assembly
- Keep Inserts Easy to Remove
- 1. Display Rolled Towels
- 2. Sort Yarn Into Separate Cubbies
- 3. Store Reusable Bottles and Travel Cups
- 4. Arrange Small Herb Pots on a Wall Rack
- 5. Organize Ribbon and Wrapping Paper
- A Ribbon Organizer Made from a Countertop Rack
- 6. Use an Accordion Rack for Mail
- 7. Give Flats and Slippers Their Own Cubbies
- 8. Sort Craft Supplies in Jars
- 9. Keep Baking Tools Beside the Counter
- 10. Prepare a Guest Refreshment Caddy
- 11. Stack Baskets for Bathroom Supplies
- 12. Hold Rolled Magazines Near a Reading Chair
- 13. Adapt a Wall Rack for Pet Walking Supplies
- 14. Hold Plant Cuttings in Individual Jars
- 15. Organize Pantry Produce in Removable Baskets
- 16. Turn a Floor Rack Into a Cleaning Cart
- Keep the New Role Easy to Maintain
Read the Rack's Shape Before Changing It
Trial one item in the smallest opening. Include lid, handle and hand clearance, checking whether a ring supports the object or only locates it.
Inspect joints, bent metal and mounting points, then assess the full new load. Water, wet compost and tools may need additional support.
Select Tools for the Adaptation You Need
For a simple organizer, start with a tape measure, a ruler, a cleaning cloth and the objects you want to store. Add a drill and fasteners only if the new use needs a shelf, wall mounting or a retaining rod. Keep the first trial reversible: a removable cup or basket may solve the problem without altering the rack.
Identify and assess old coatings before surface preparation. Choose paint and cleaning methods for the material and allow cure before fitting textiles.
Prepare, Support, and Position the New Storage
Trial the Contents and Prepare the Structure
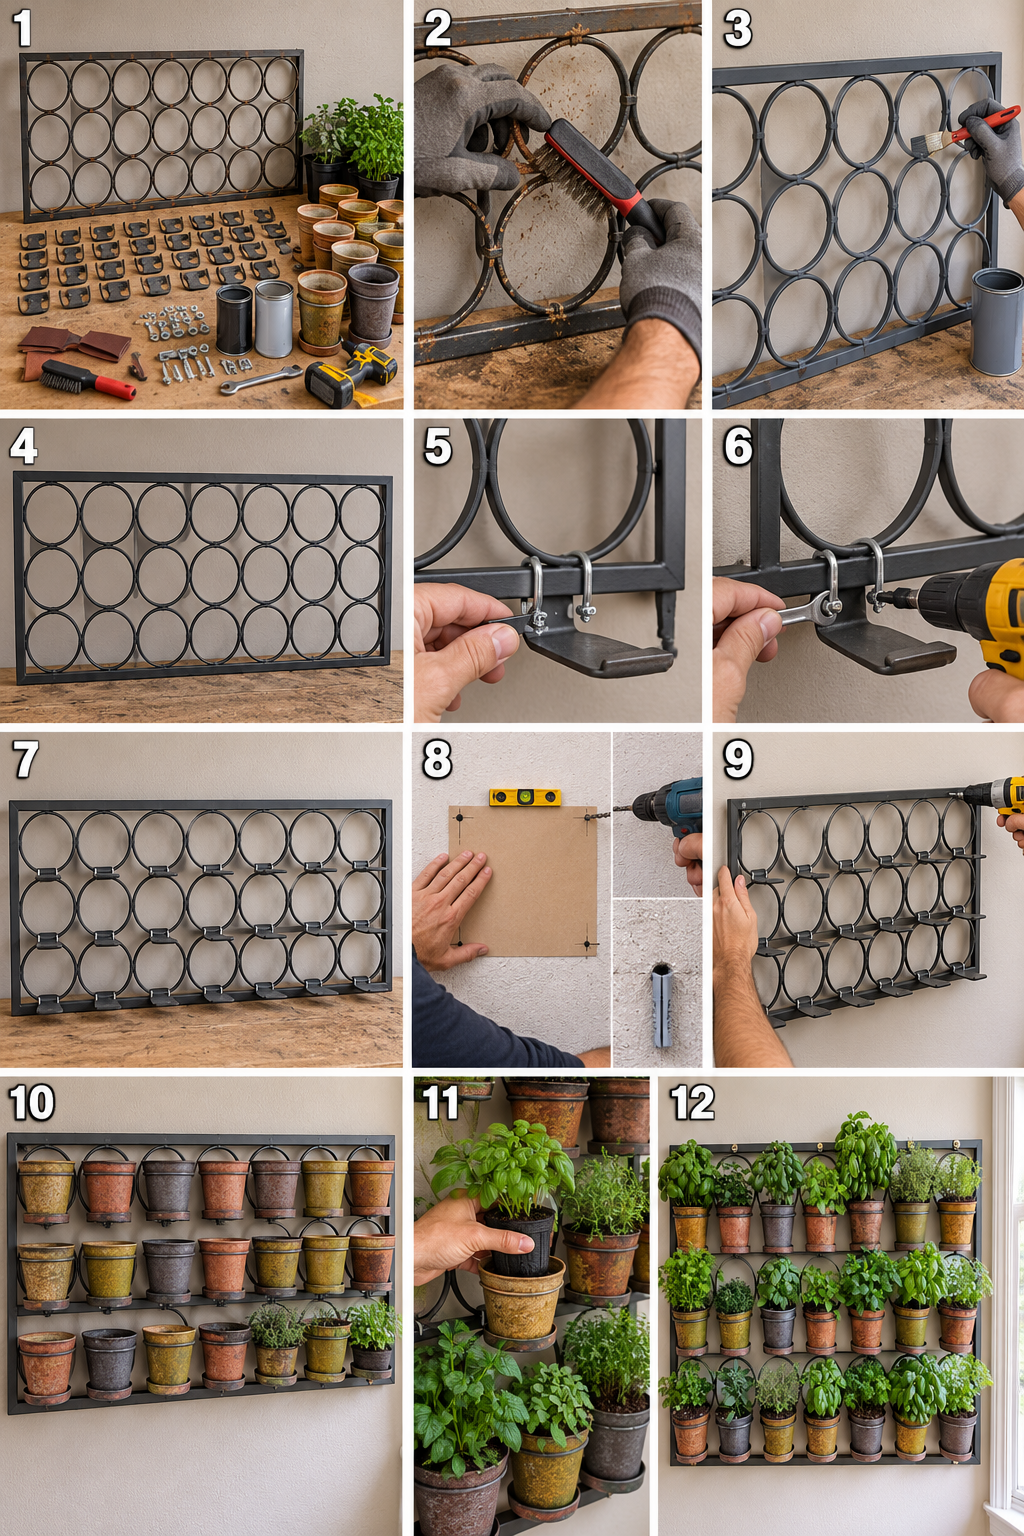
Check the frame for cracked welds, loose screws and bent rings before working on its finish. Place an empty pot in each position and make sure its rim cannot fall through. Replace a damaged rack rather than concealing weak joints with paint. Clean and finish the solid frame before adding removable containers.
Add Support Where the New Use Requires It
A ring can stop a pot moving sideways without supporting its base. Add a shelf or a dedicated pot carrier fixed to the frame where that support is missing. Account for the pot, wet compost and water when choosing the whole carrier and fixing arrangement. The same check applies to jars: fitting through a hole is different from being held securely by it.
Mount or Restrain the Whole Assembly
Use a template and level for wall mounting, with fixings for the structural surface and complete load. Restrain tall floor units and keep concealed services clear when drilling.
Keep Inserts Easy to Remove
Fit removable containers with room to lift each independently. Keep wet components separate from the frame and inspect behind them during cleaning.
1. Display Rolled Towels
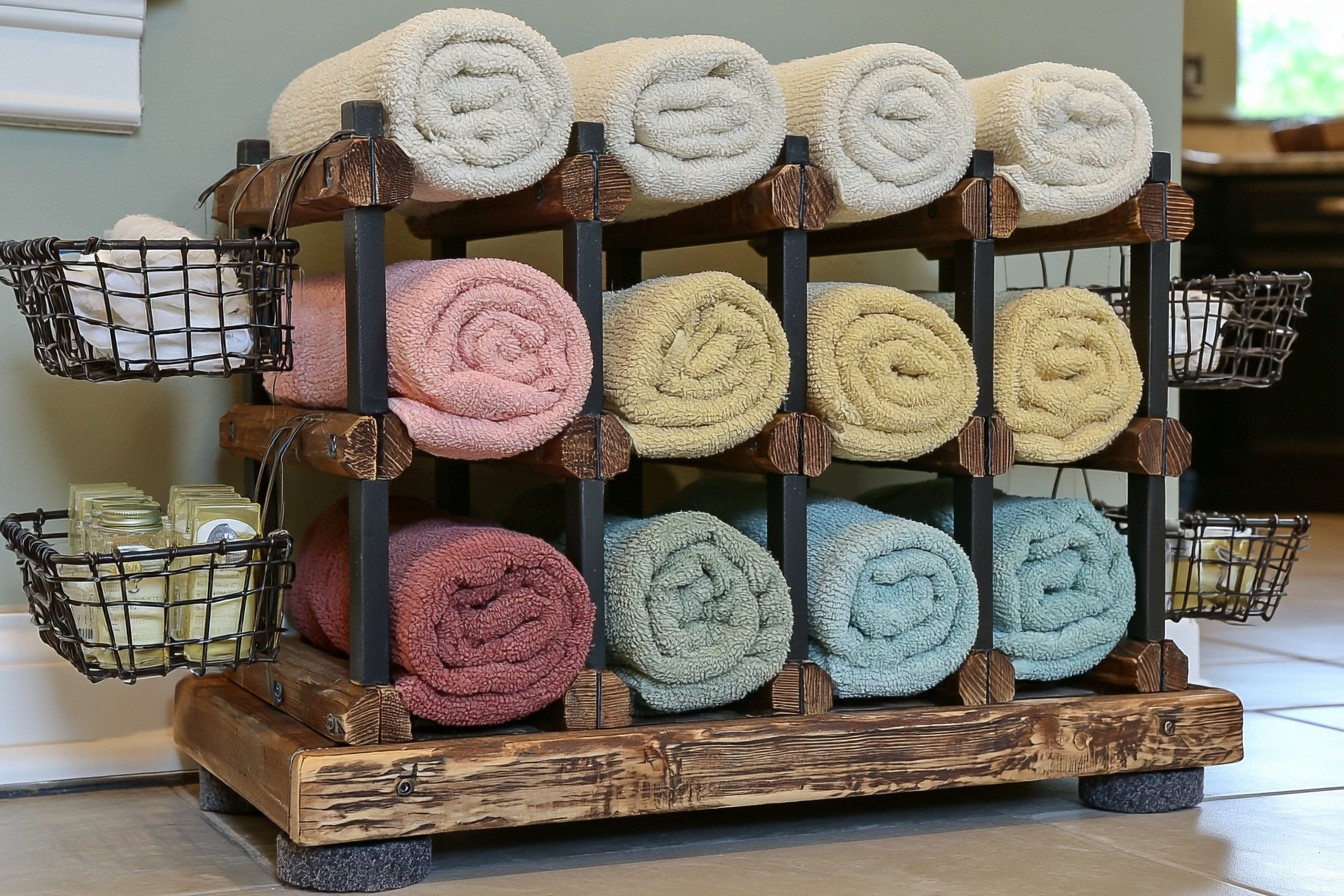
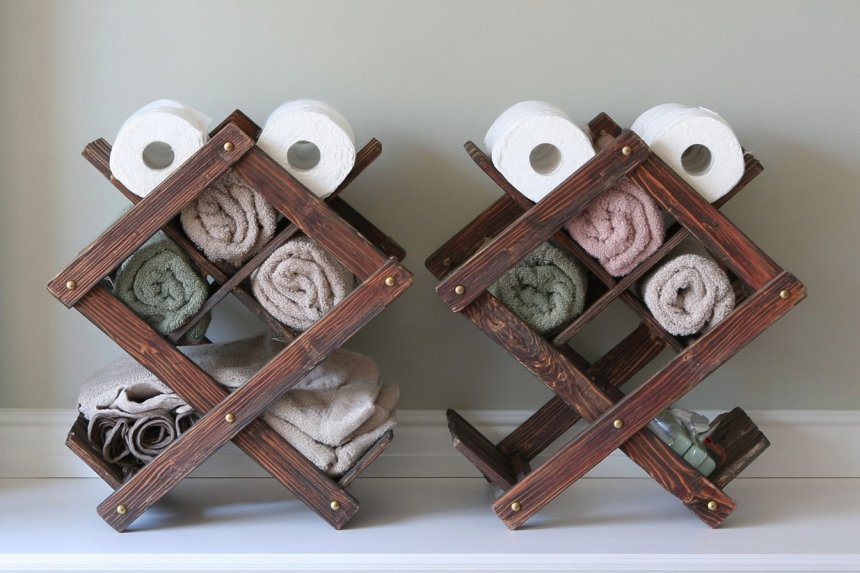
Horizontal openings hold dry rolled towels. Trial a relaxed roll that lifts without tugging the frame. Keep side baskets light and the rack outside regular splashes, checking stability as items are removed.
2. Sort Yarn Into Separate Cubbies
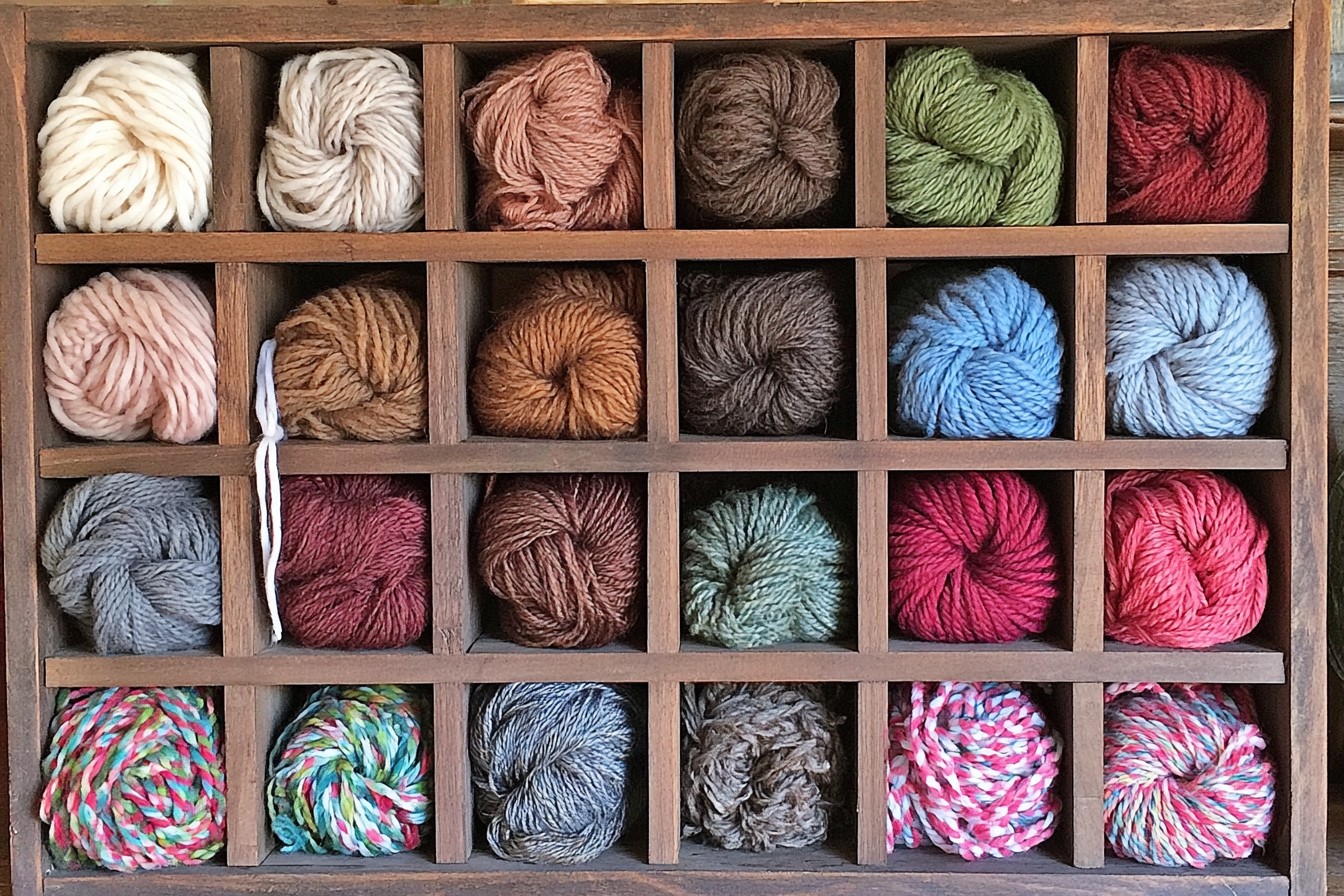
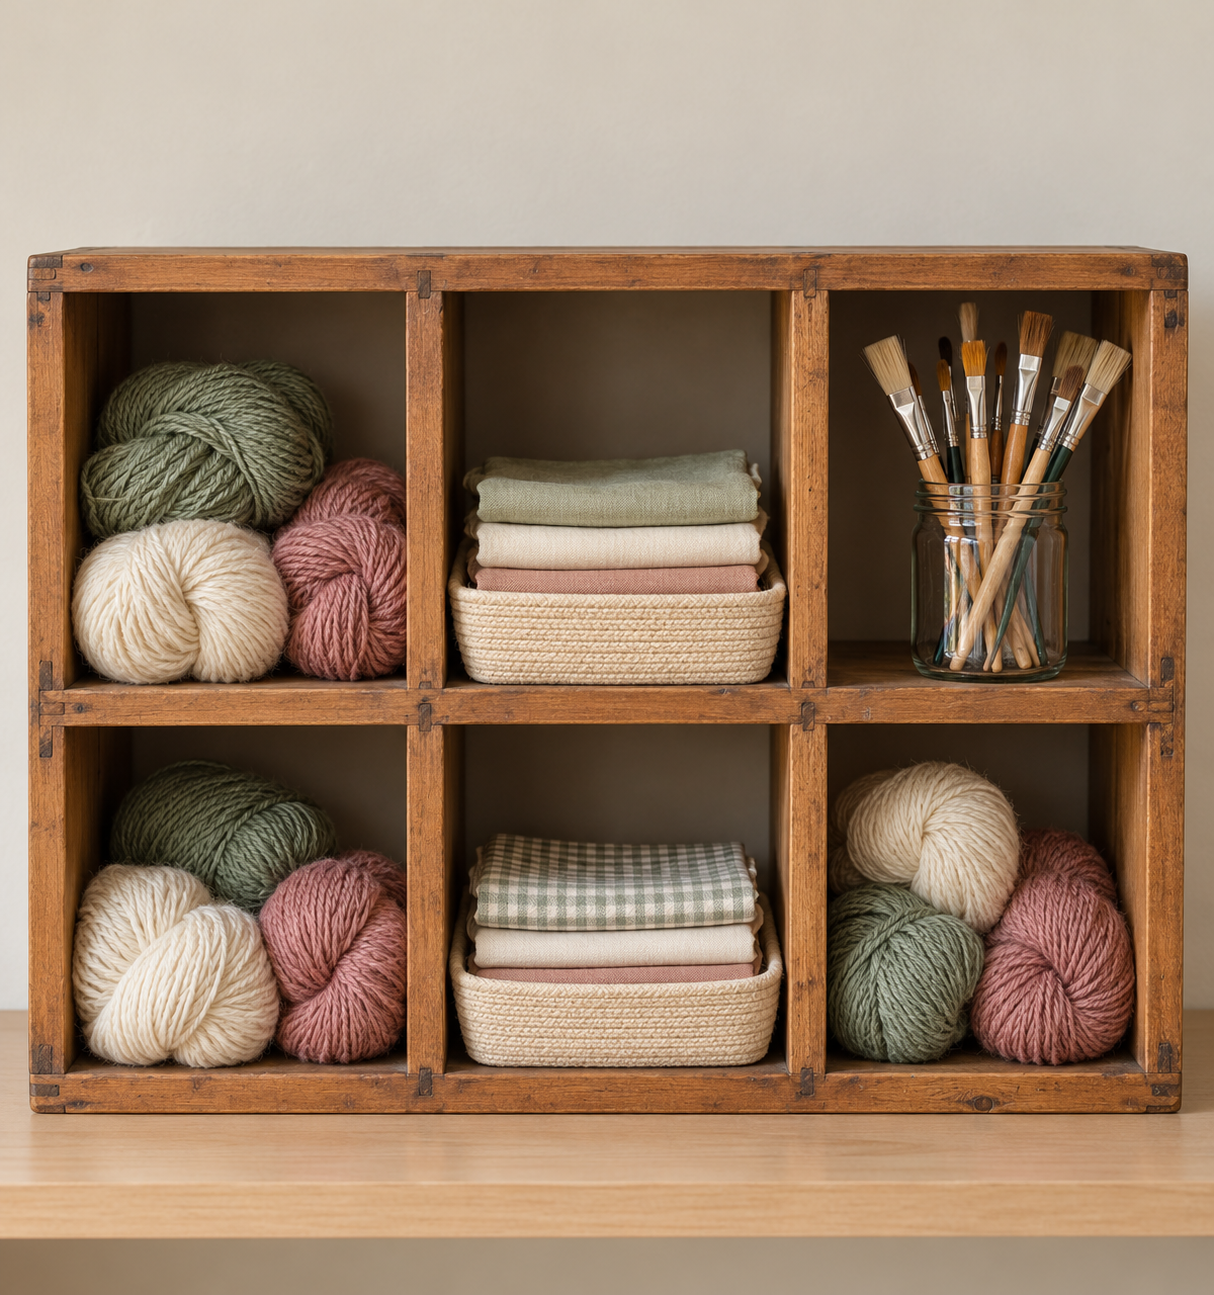
Cubby compartments separate yarn by color or fiber. Trial the largest skein against smooth edges and leave space for loose strands. Keep frequently used yarn near the front, away from dampness and strong sun.
3. Store Reusable Bottles and Travel Cups
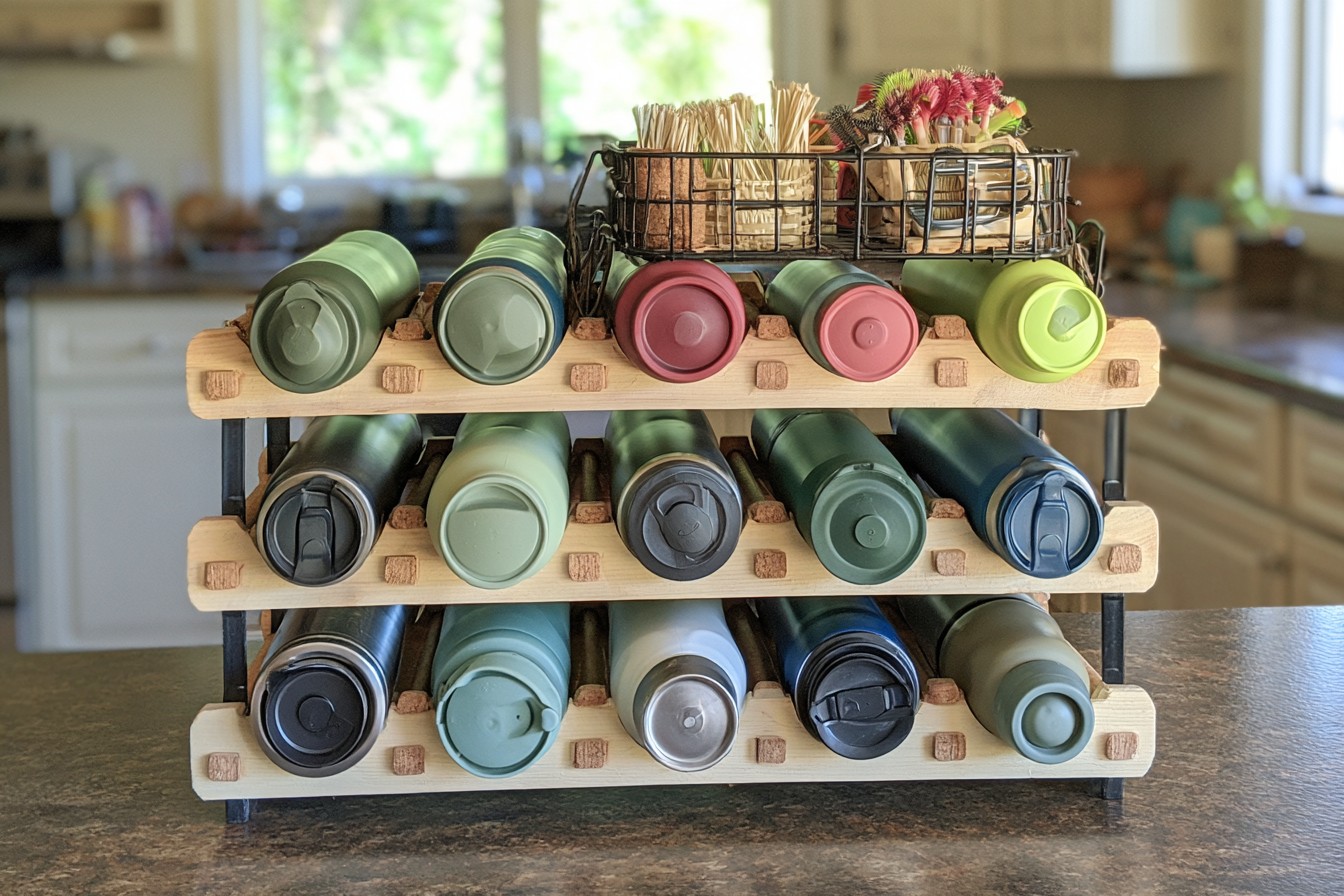
A low rack gathers reusable bottles horizontally. Fit the least regular lid or handle first and check it stays retained. Store only clean dry bottles, leaving food preparation space around the organizer.
4. Arrange Small Herb Pots on a Wall Rack
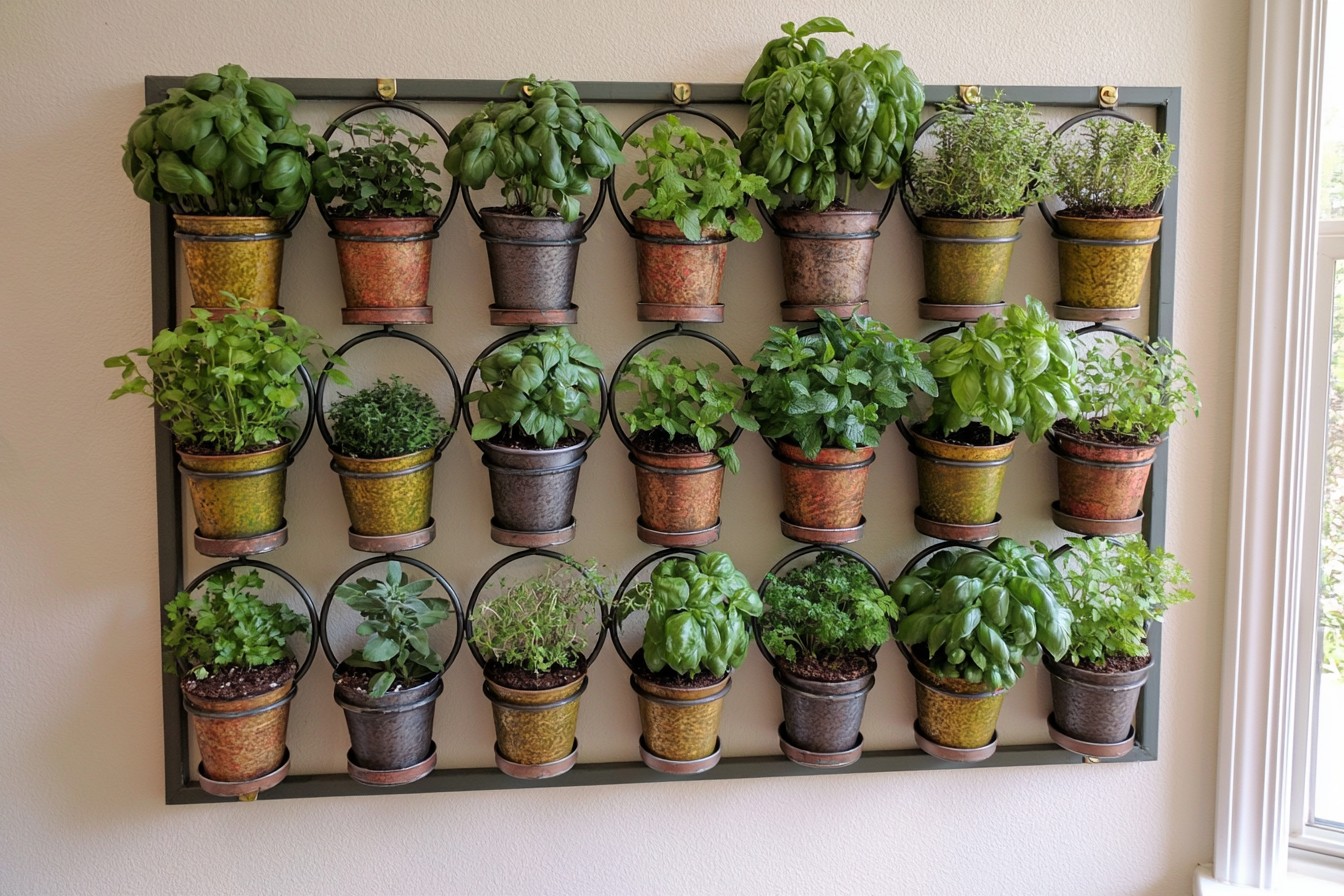
Metal rings outline rows of herb pots. Fit empty containers first, adding separate ledges where the rings only locate them. Mount for wet contents and leave room to lift pots for drained watering.
5. Organize Ribbon and Wrapping Paper
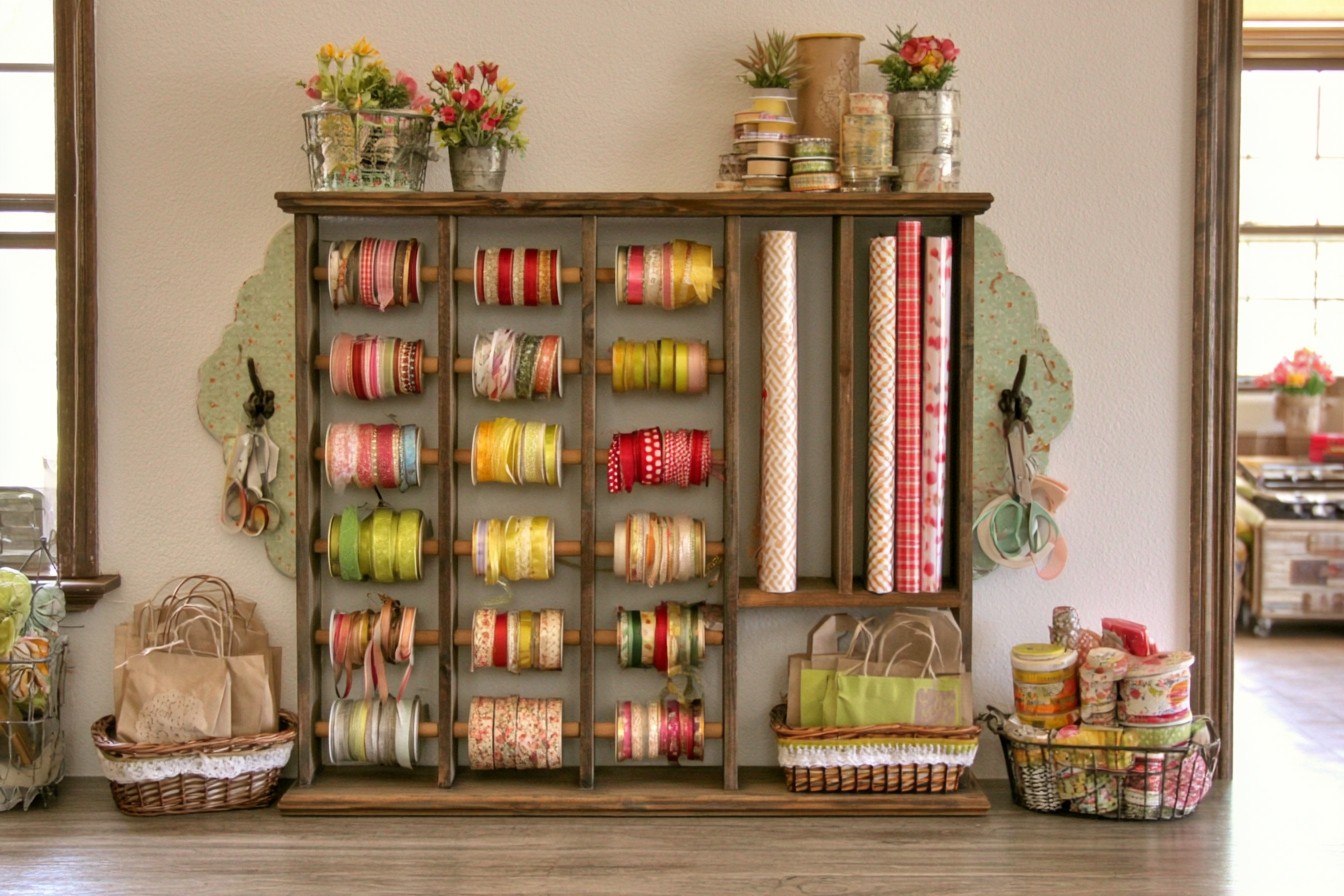
Horizontal rods hold ribbon spools while the tall end compartment stores wrapping paper. Measure the largest spool first so it can turn without rubbing the row above. Make one end of each rod removable for refilling, then add an end stop that keeps it from sliding out during use. Try lifting out the longest paper roll before mounting the organizer beneath a shelf.
A Ribbon Organizer Made from a Countertop Rack
A wine rack can hold ribbon spools. Sarah Ramberg’s wine rack ribbon cradle at Sadie Seasongoods threads wire through the spool centers so they stay put while ribbon is pulled. Check that your spools have center holes wide enough for the wire before you start.
She does not publish a build time or a budget. For a rack already owned, allow about 30 to 45 minutes of active work for cleaning, fitting and wire adjustment, plus any coating’s drying time; this is an editorial planning estimate. A new pack materials example is US$13.77: US$6.48 white spray paint plus US$7.29 flat craft wire at the displayed prices checked October 29, 2026. That excludes the rack, tools, tax and delivery. Skip painting if the existing finish is in good condition.
6. Use an Accordion Rack for Mail
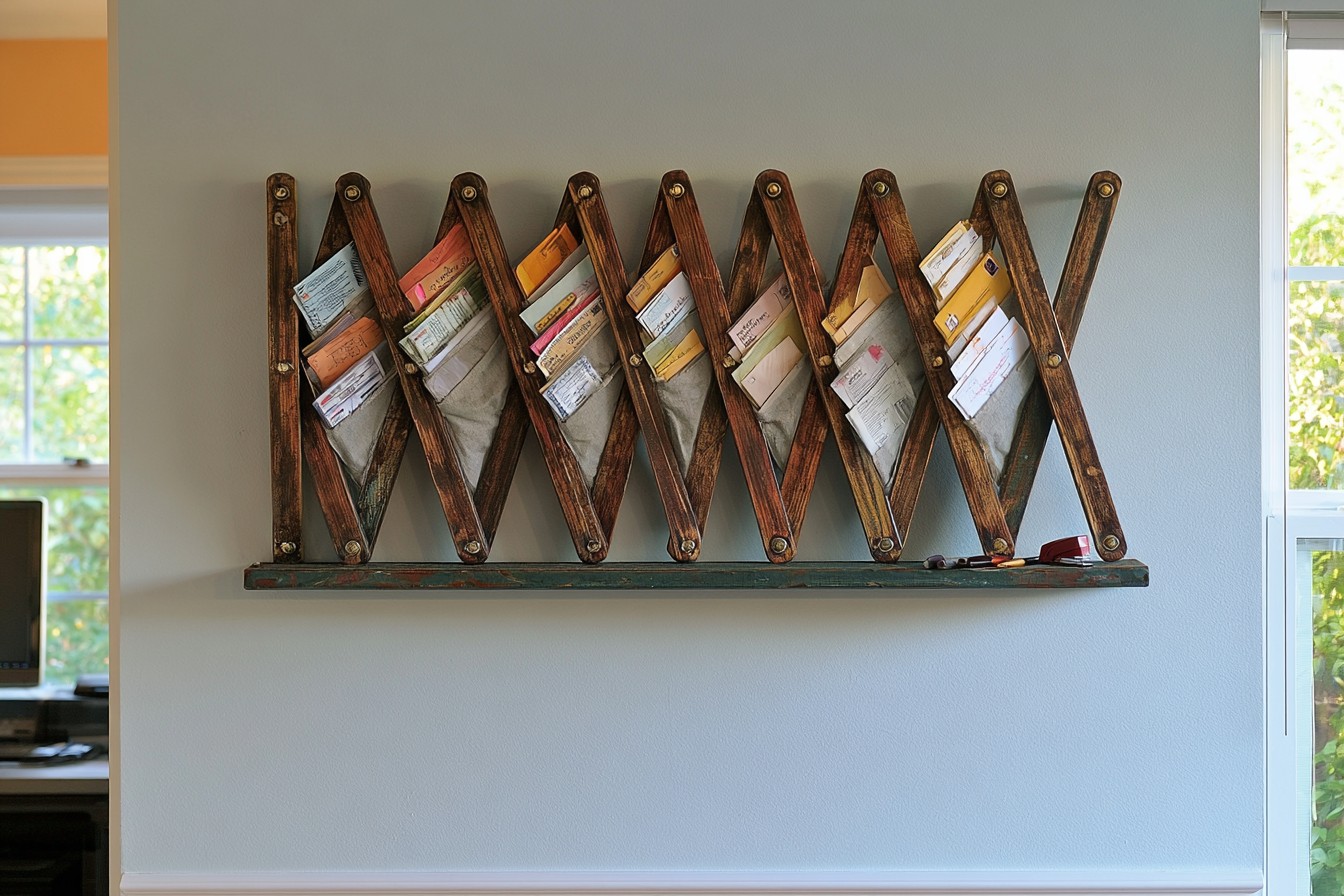
An accordion rack sorts lightweight envelopes in angled spaces. Secure the folding frame at the chosen width so it cannot collapse as you remove mail. Try your largest envelopes and add fabric pockets where smaller papers slip through. Empty active categories regularly instead of filling them with permanent archives.
7. Give Flats and Slippers Their Own Cubbies
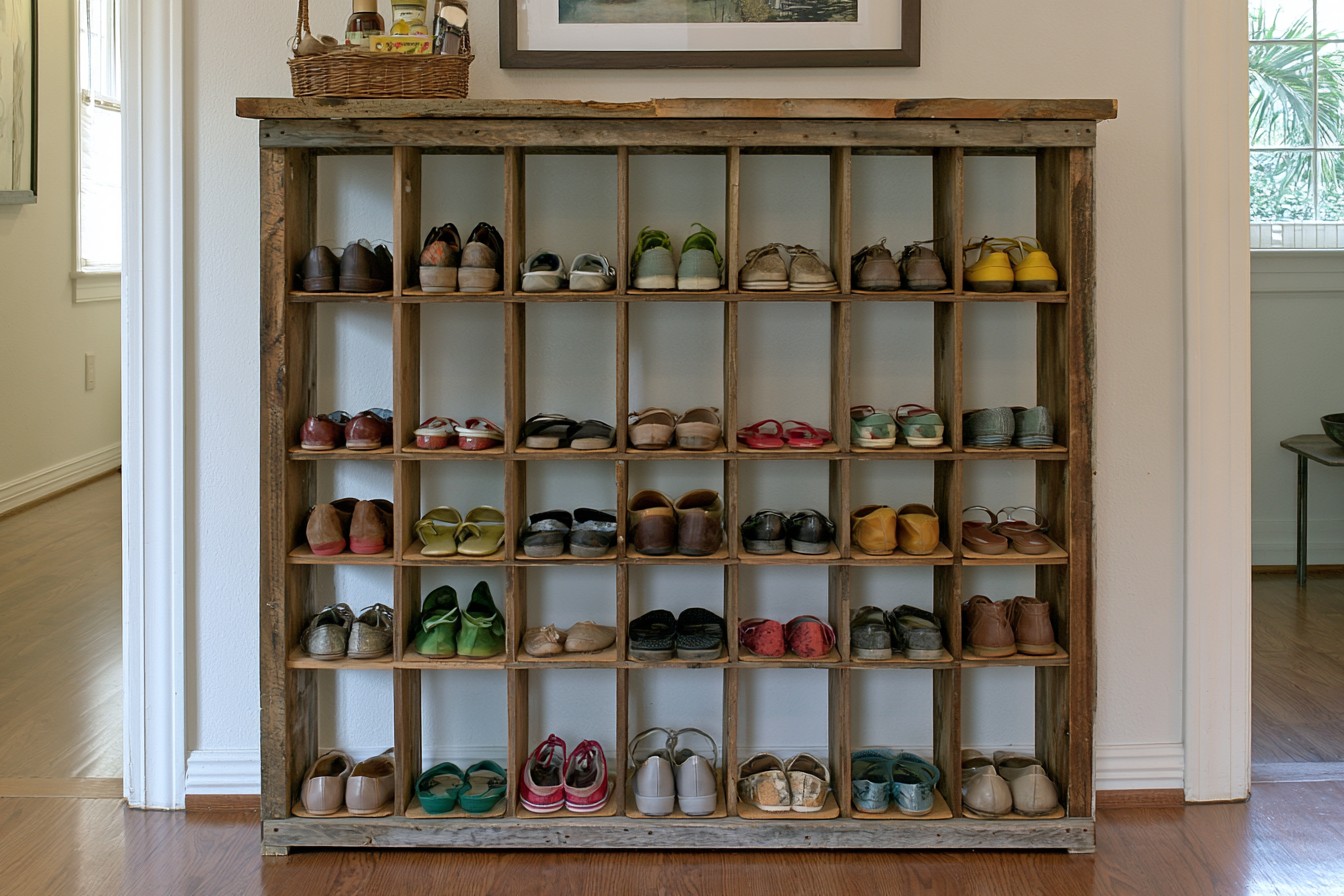
This broad wooden grid suits flats and slippers that can slide into individual compartments. Measure shoes as a pair rather than assuming a bottle sized opening will work. A removable washable liner catches dust; let damp shoes dry elsewhere before storing them. Anchor a tall unit against tipping, especially where a child might pull on a shelf.
8. Sort Craft Supplies in Jars
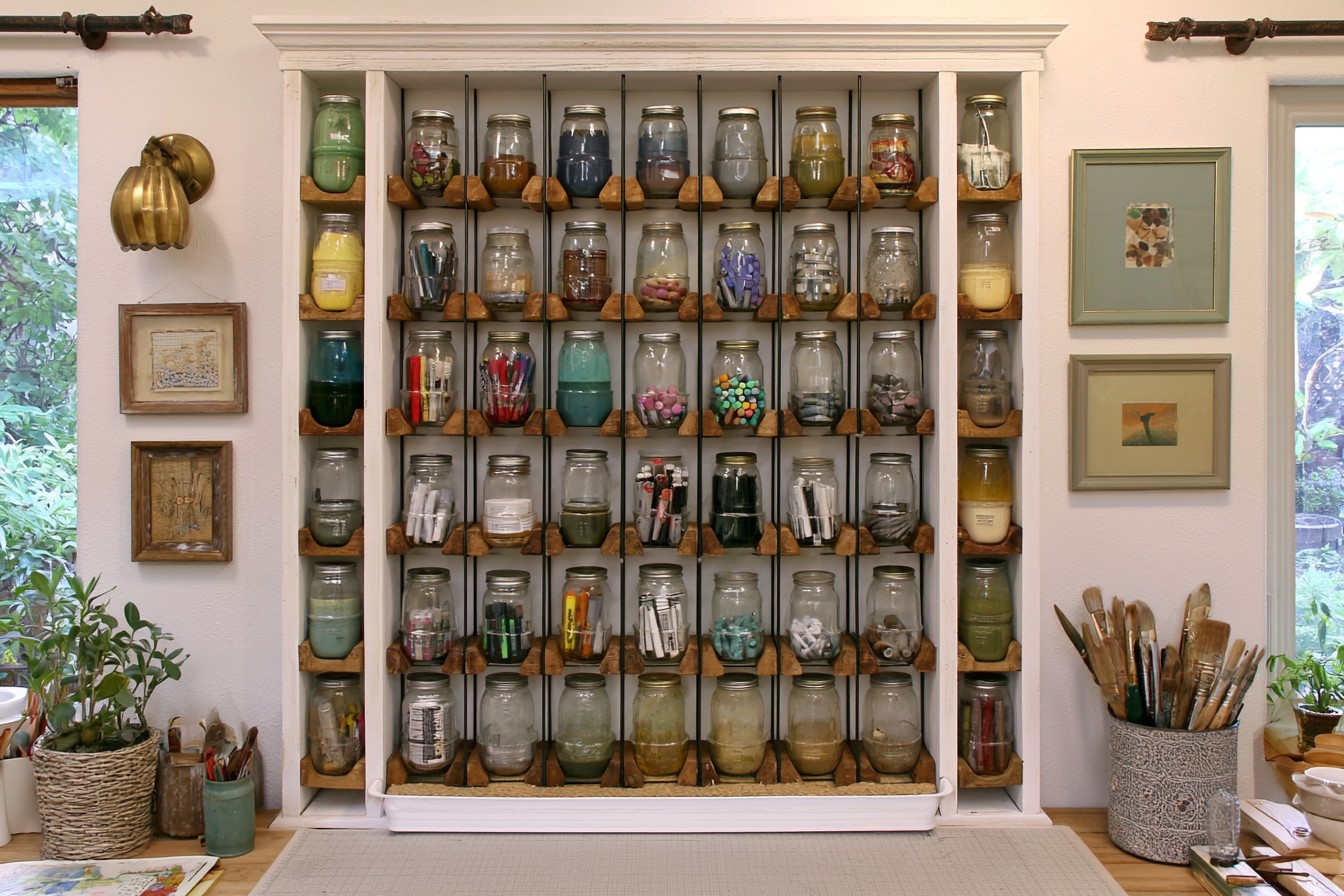
Separate jars sort craft materials within narrow rack openings. Choose retained containers with smooth contact points and check filled weights. Keep heavy jars low and supplies in their original labeled storage where required.
9. Keep Baking Tools Beside the Counter
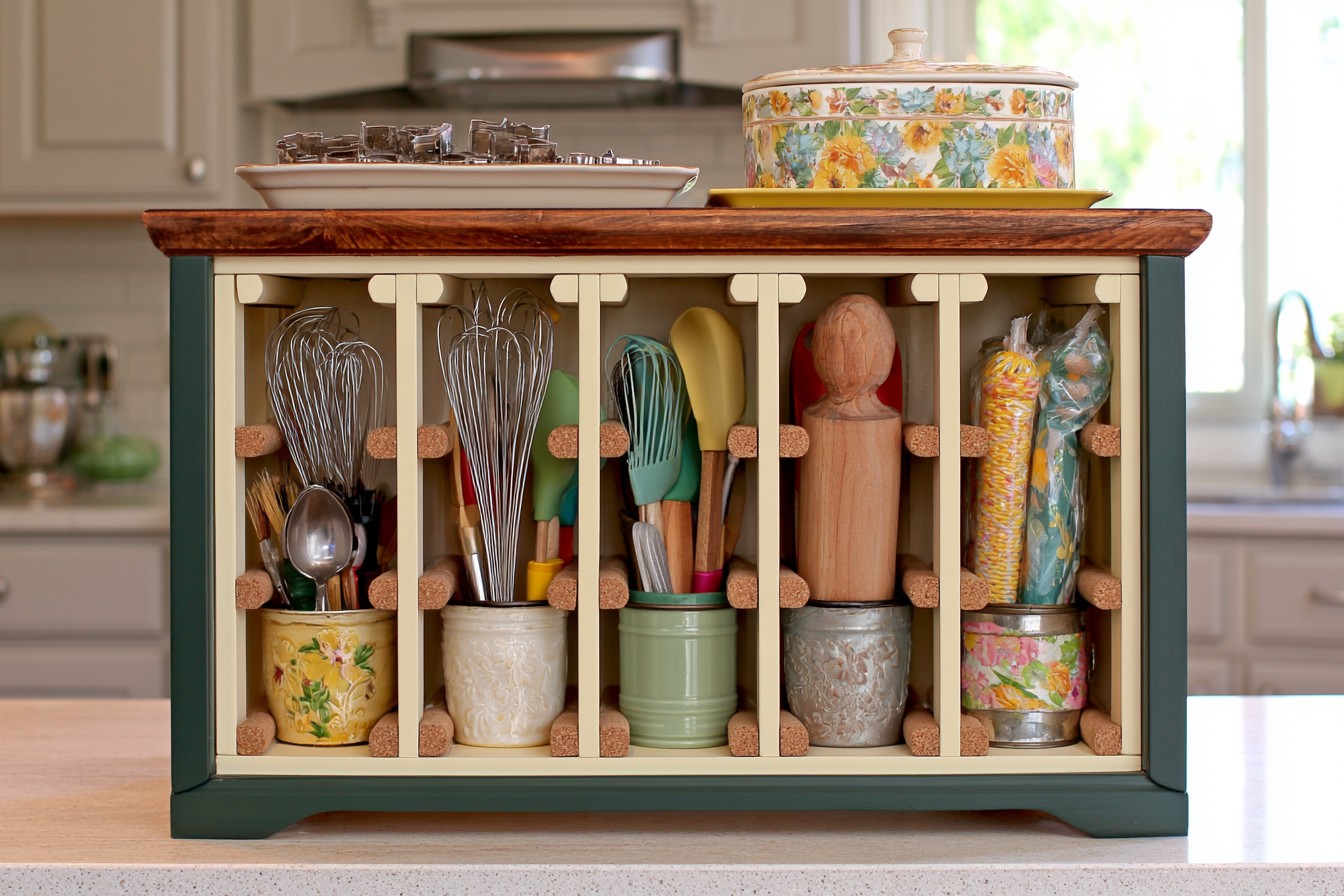
Individual cups hold baking tools upright in a countertop frame. Trial tall whisks and rolling pins for balance and removal clearance. Keep clean utensils in washable inserts rather than against unknown old finishes.
10. Prepare a Guest Refreshment Caddy
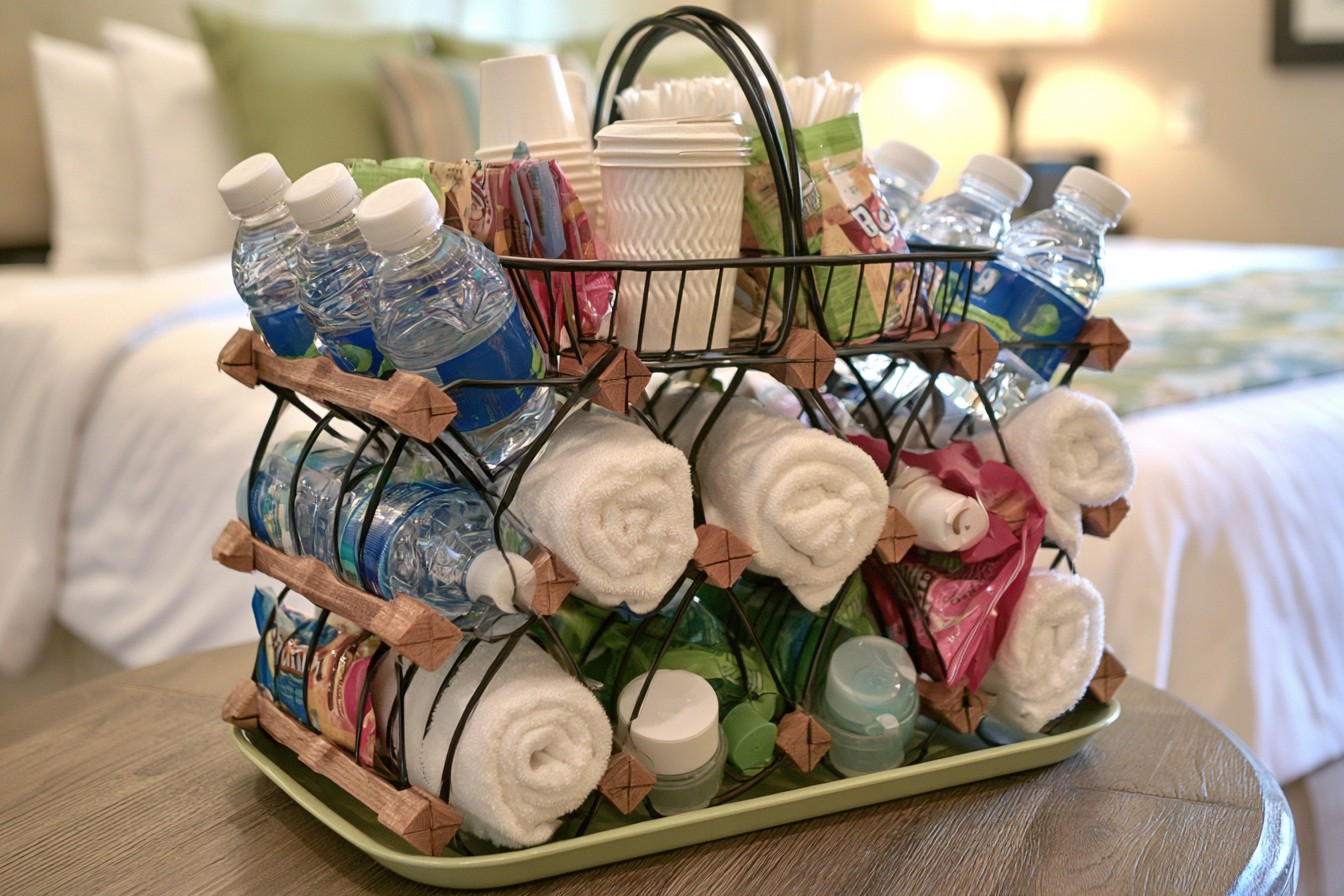
Bottles, dry towels and packaged items fill a guest caddy. Give each opening one role and check retention as neighbors empty. Keep refreshments under their correct storage conditions and refill small quantities.
11. Stack Baskets for Bathroom Supplies
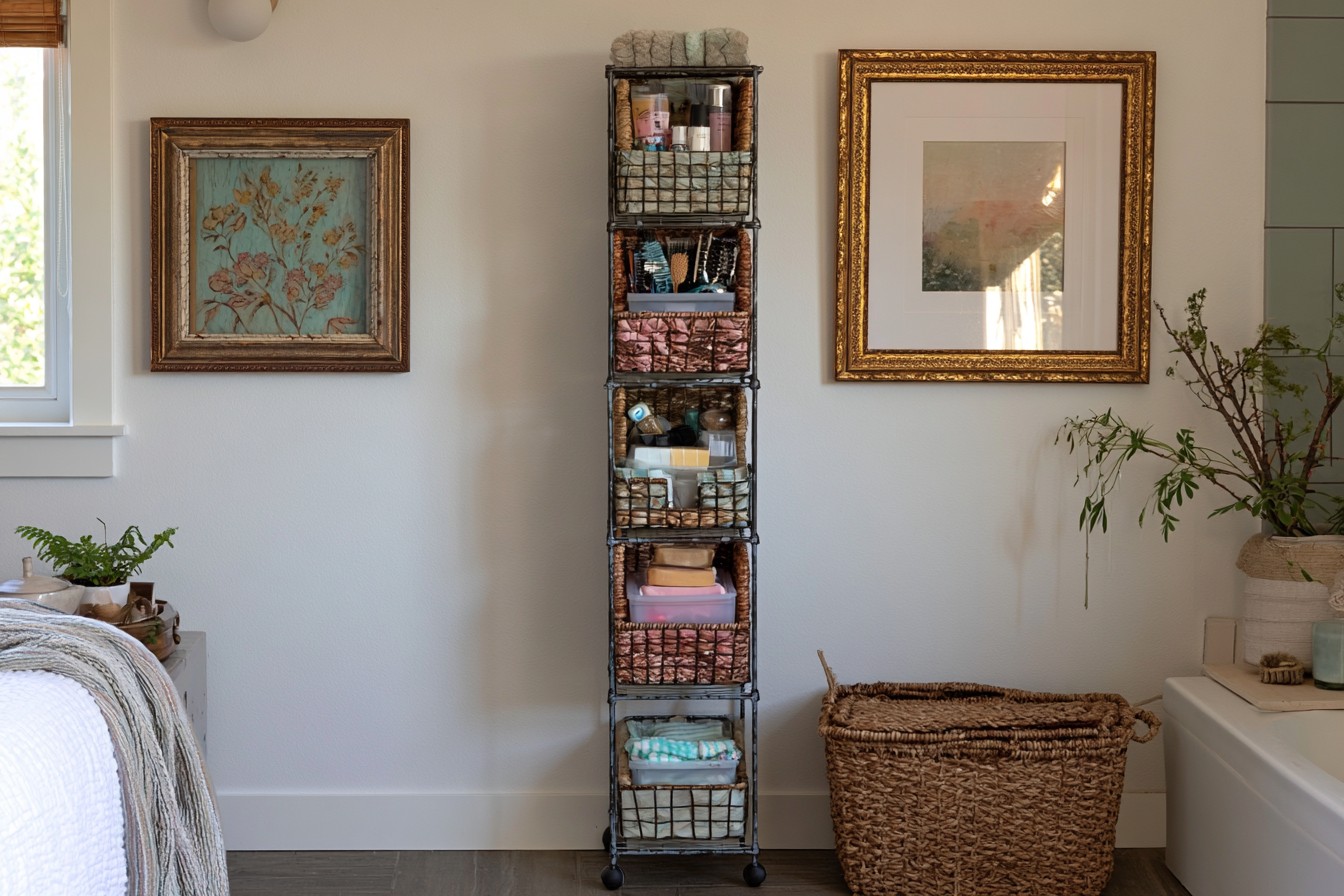
A narrow tower holds baskets of toiletries. Fit them with handles clear through the entire removal path. Keep the unit restrained against tipping, with easy front access and a position outside regular splashes.
12. Hold Rolled Magazines Near a Reading Chair
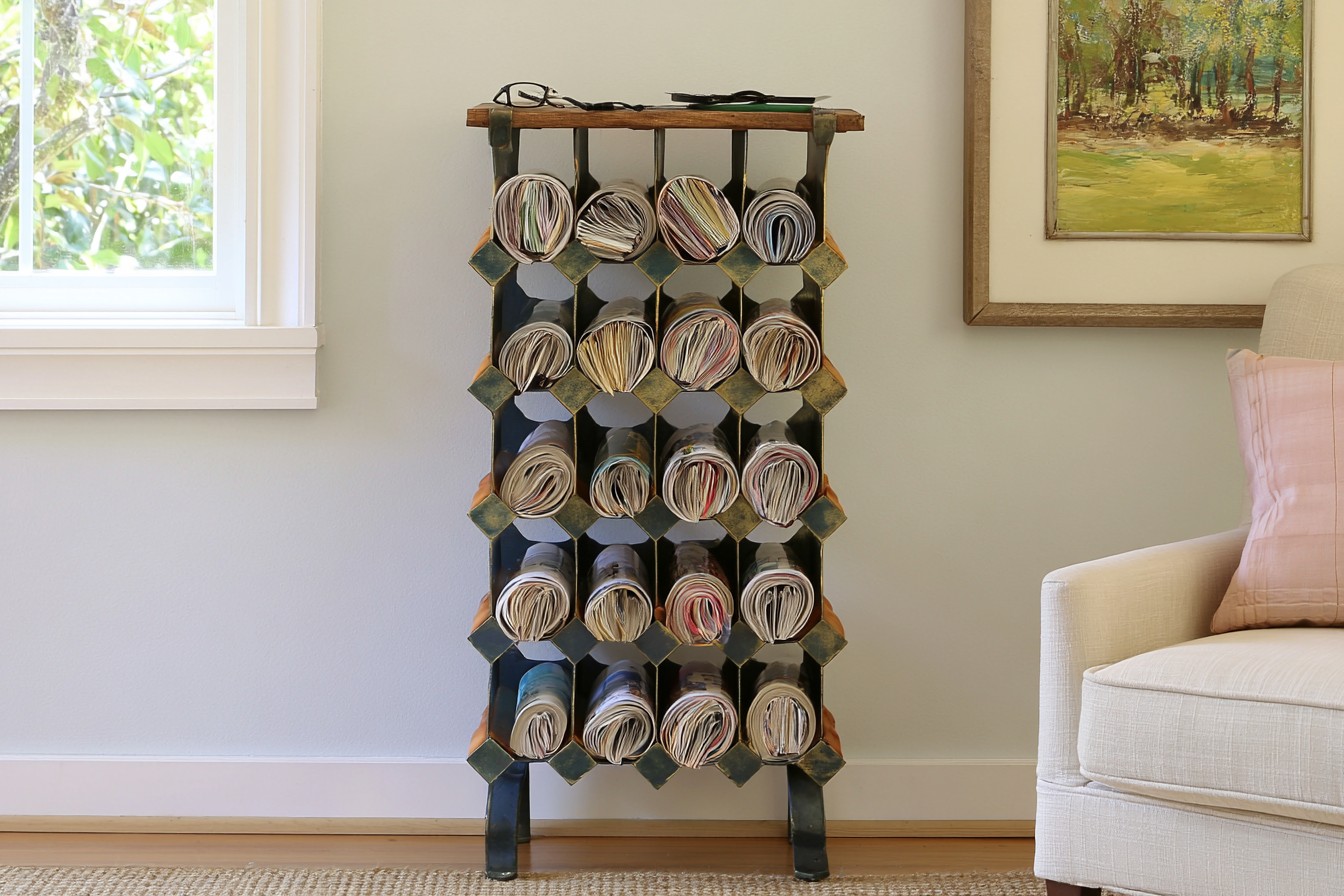
Rolled magazines fill bottle size openings beside a chair. Trial a loose roll for casual reading material and avoid forcing thick issues. Keep valued publications flat in storage elsewhere.
13. Adapt a Wall Rack for Pet Walking Supplies
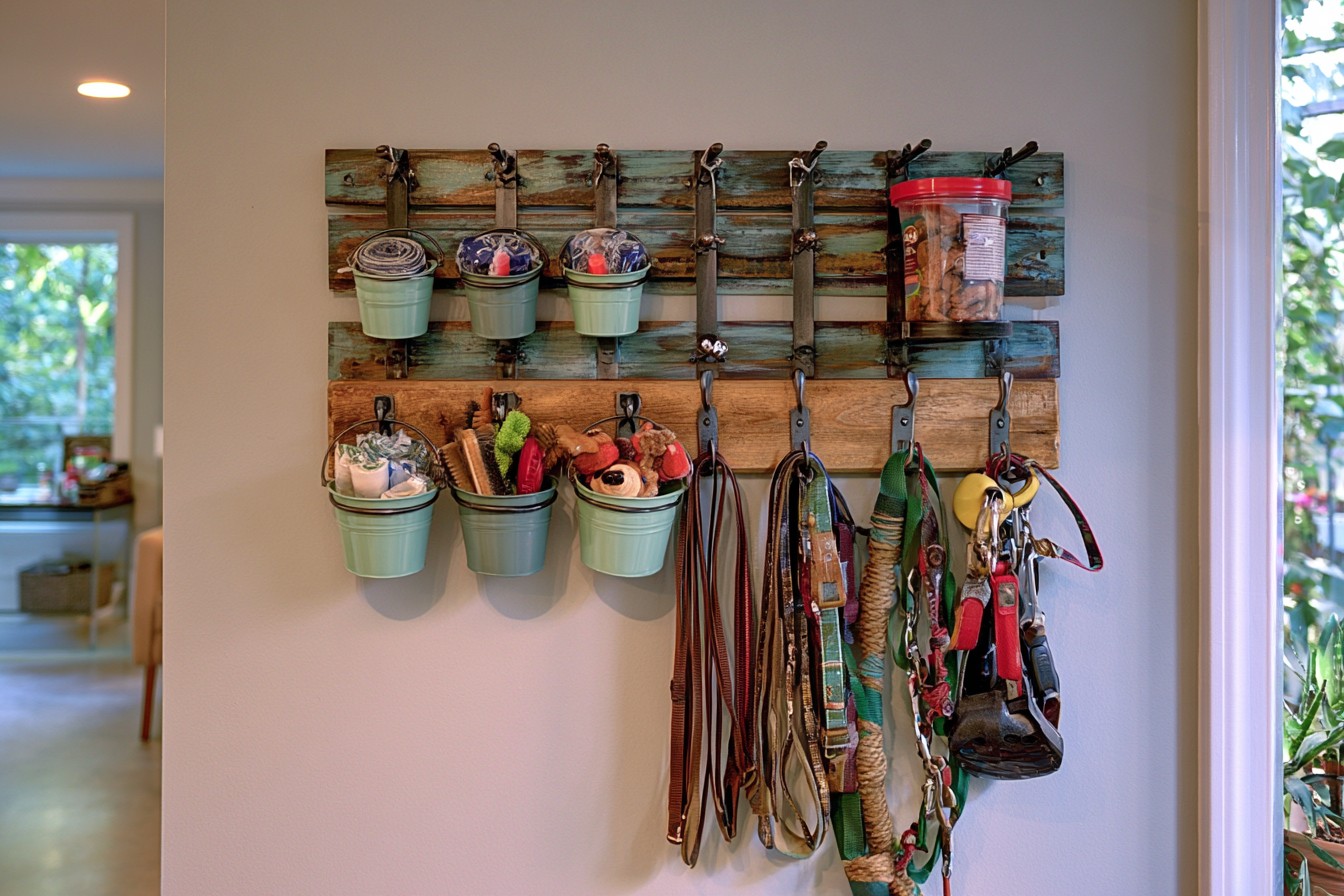
Small buckets hold bag rolls and packaged treats while hooks keep leads separate. Place the hooks where a lead can lift off without snagging a bucket above it. Fix the whole rack through its mounting points into the supporting wall; do not hang a heavier pet supply arrangement from ornamental scrolls. Label a bucket for each animal if their walking equipment differs.
14. Hold Plant Cuttings in Individual Jars
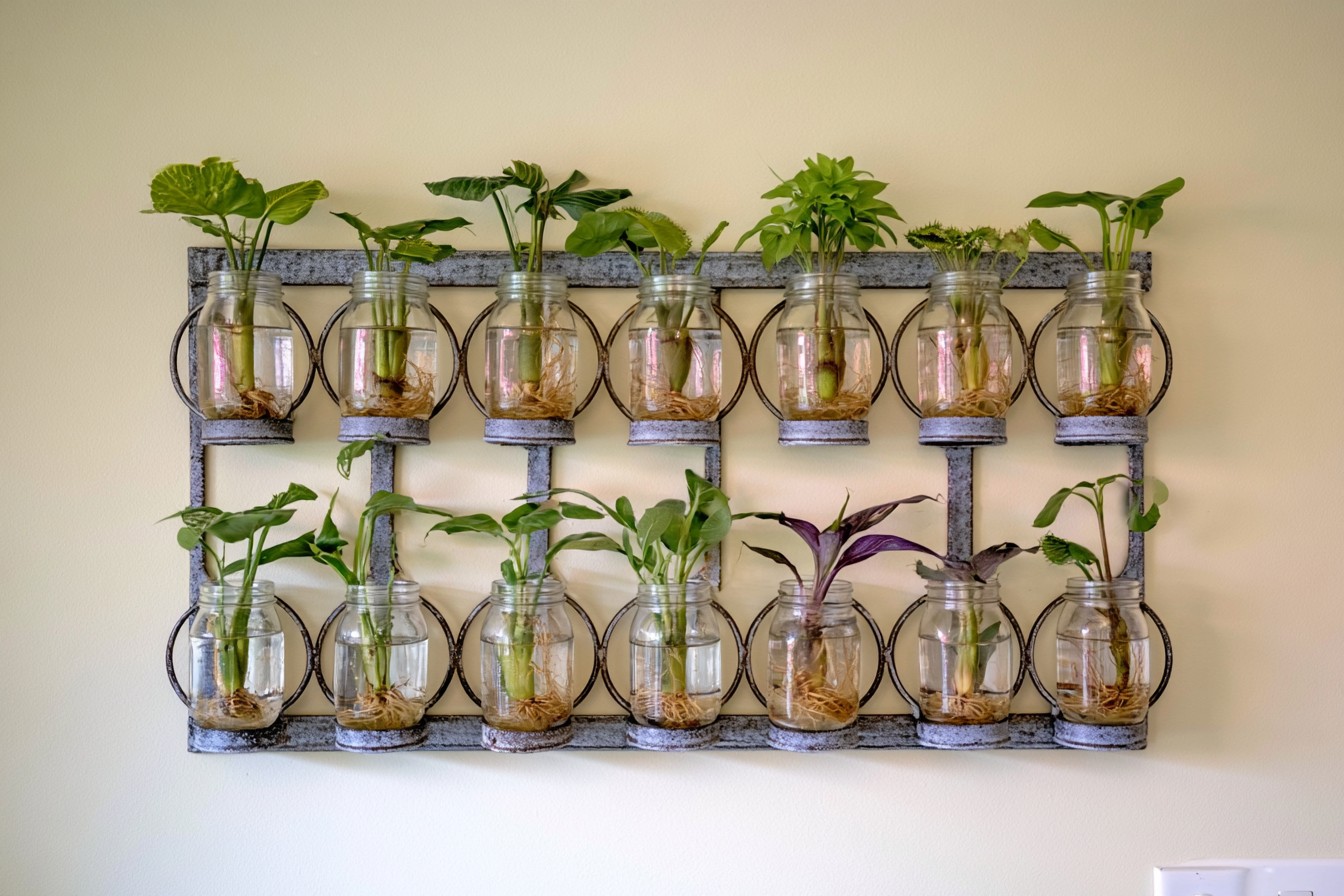
Glass jars sit within ring supports for separate cuttings. Assess the full water load and a clear lift out path before planting. Refresh water and clean hidden contact areas, keeping leaves above the surface.
15. Organize Pantry Produce in Removable Baskets
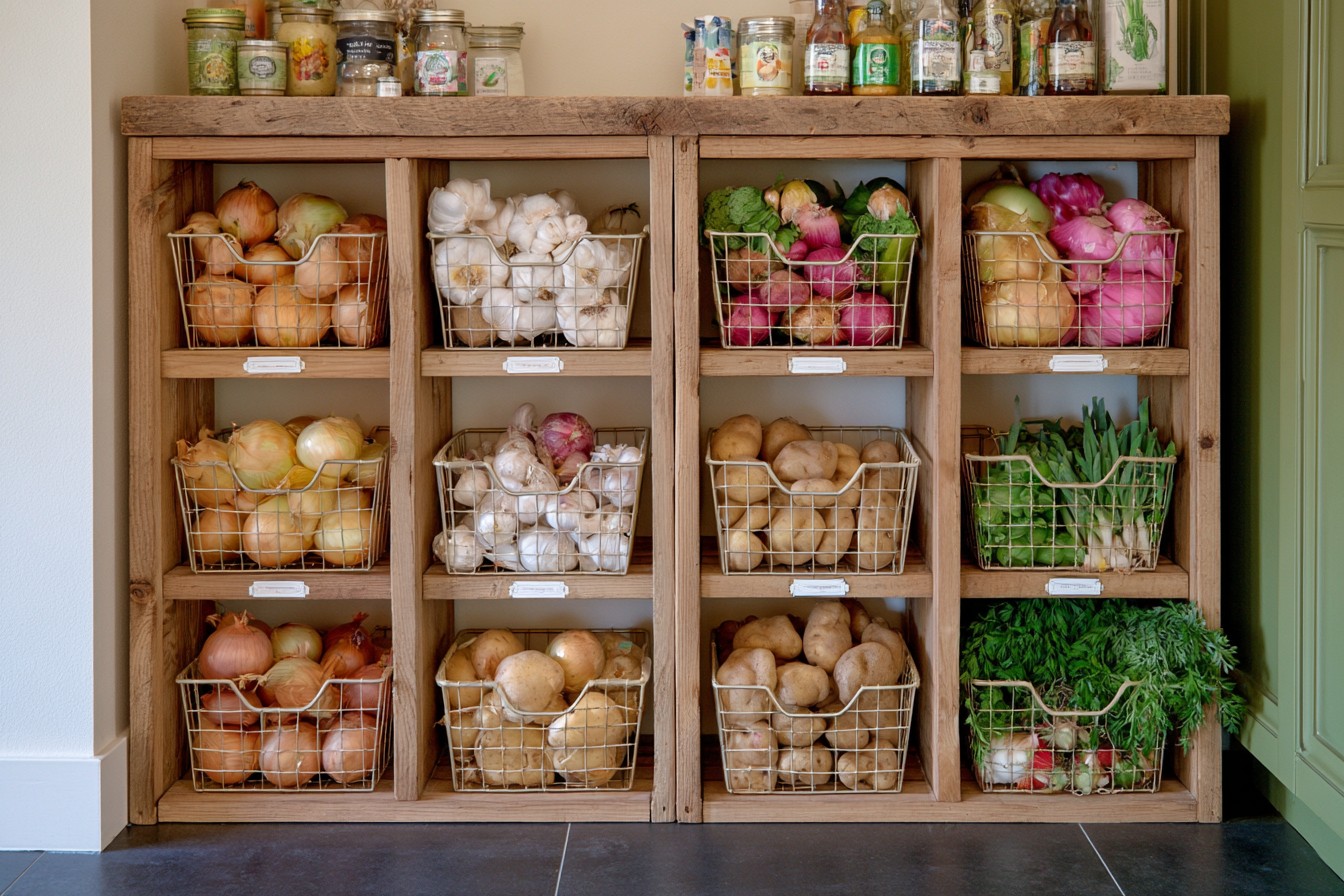
Removable baskets organize produce in broad cubbies. Choose basket size around the foods and their separate storage needs. Leave hand clearance, inspect contents and clean behind each basket during refilling.
16. Turn a Floor Rack Into a Cleaning Cart
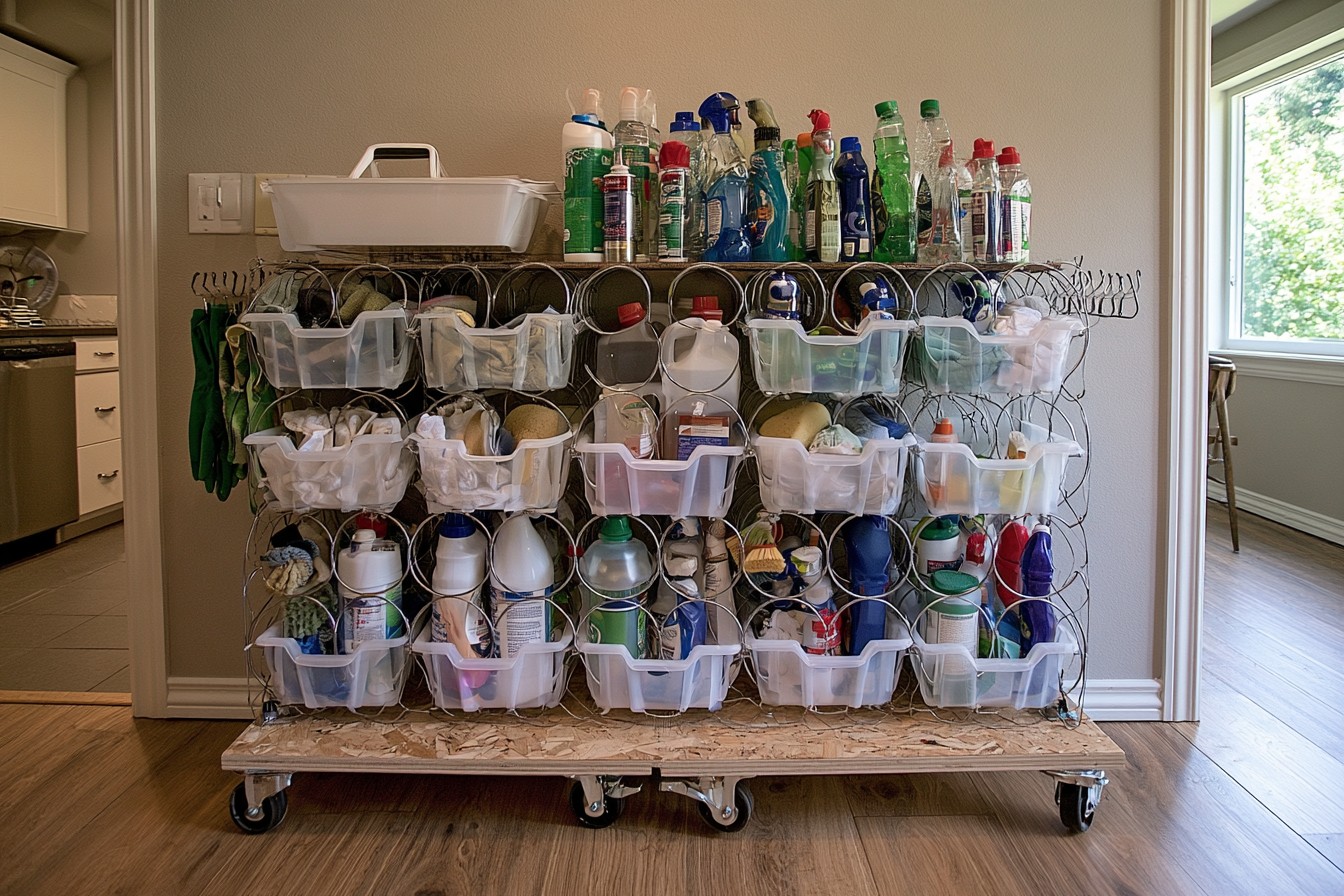
The large wheeled organizer uses bins to separate cloths and bottles. Build its base as a single braced platform and bolt the caster plates through that base, choosing the whole set for the loaded cart. Add a low retaining edge so bottles cannot slide off when the cart turns. Store chemicals upright in their labeled containers and keep the cart secured away from children.
Keep the New Role Easy to Maintain
Check for slipping inserts, caught fibers, loose joints and hidden moisture. Clean removable parts and reassess fit and weight when their contents change.


Leave a Reply