DIY Tiered Terracotta Fairy Garden With Succulents

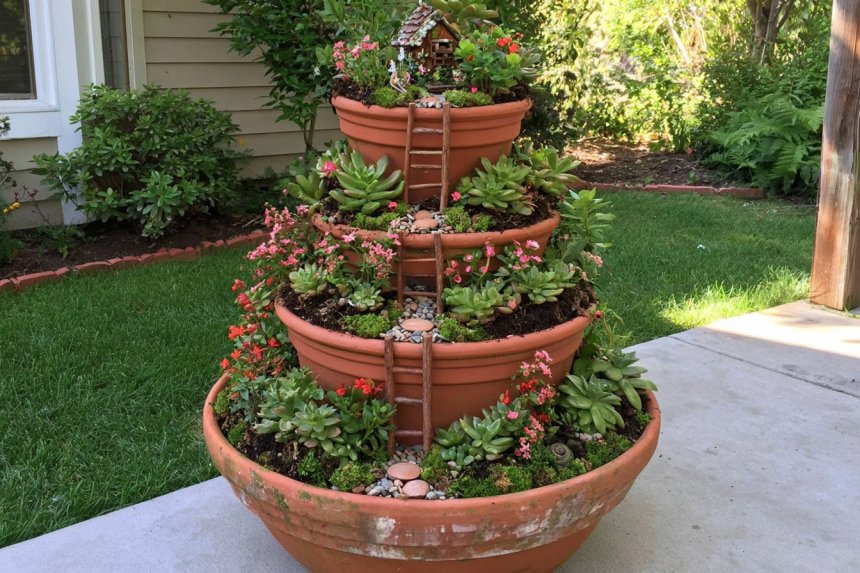
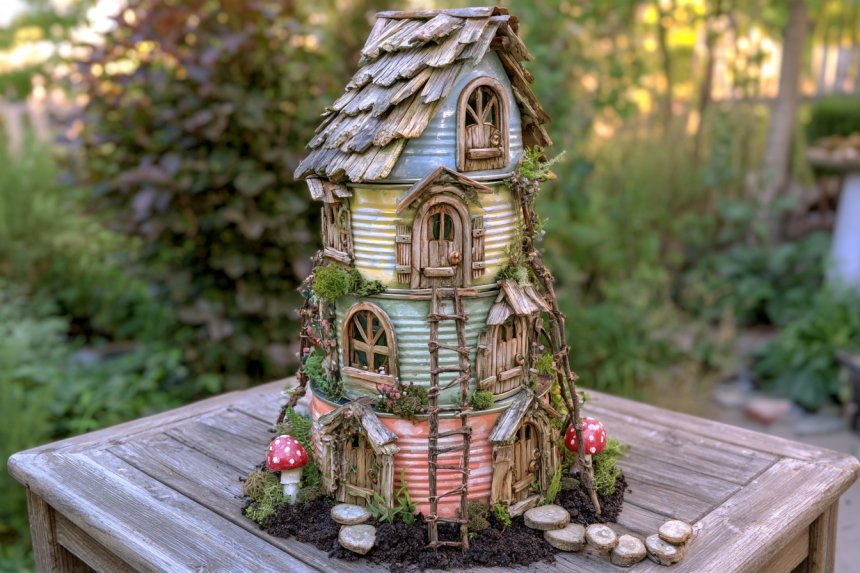
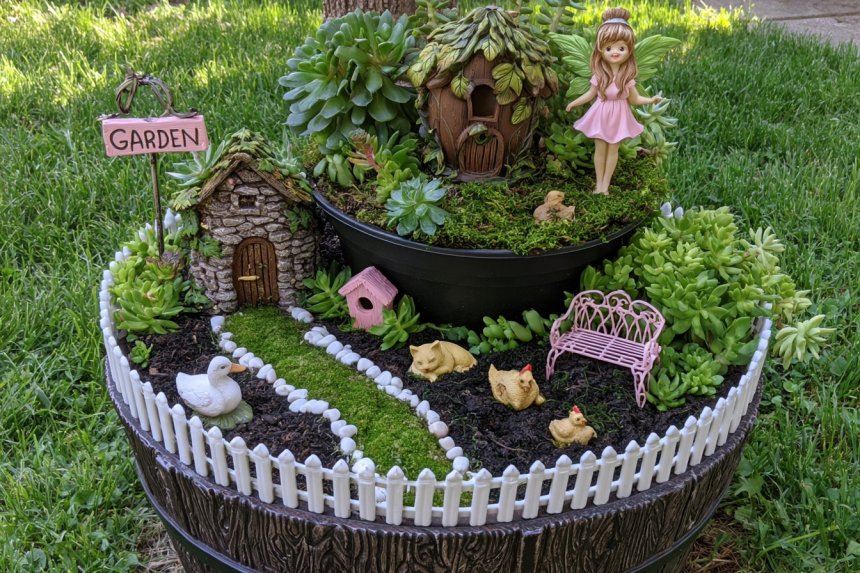
A tiered terracotta fairy garden uses stacked planters to turn a small footprint into a layered miniature landscape. Each level becomes its own planting zone, while pebble paths and twig ladders visually connect the tiers from bottom to top.
The design works especially well with succulents because their compact forms create clear structure without overwhelming the miniature details. Small flowering plants add color between the green rosettes, while terracotta brings warmth and an aged garden character.
The most important part of the project is not the decoration. It is the way the pots are stacked, filled, drained, and planted. A stable base and appropriate growing medium make the display easier to maintain and help prevent the upper tiers from shifting.
Step 1: Gather the Pots and Materials
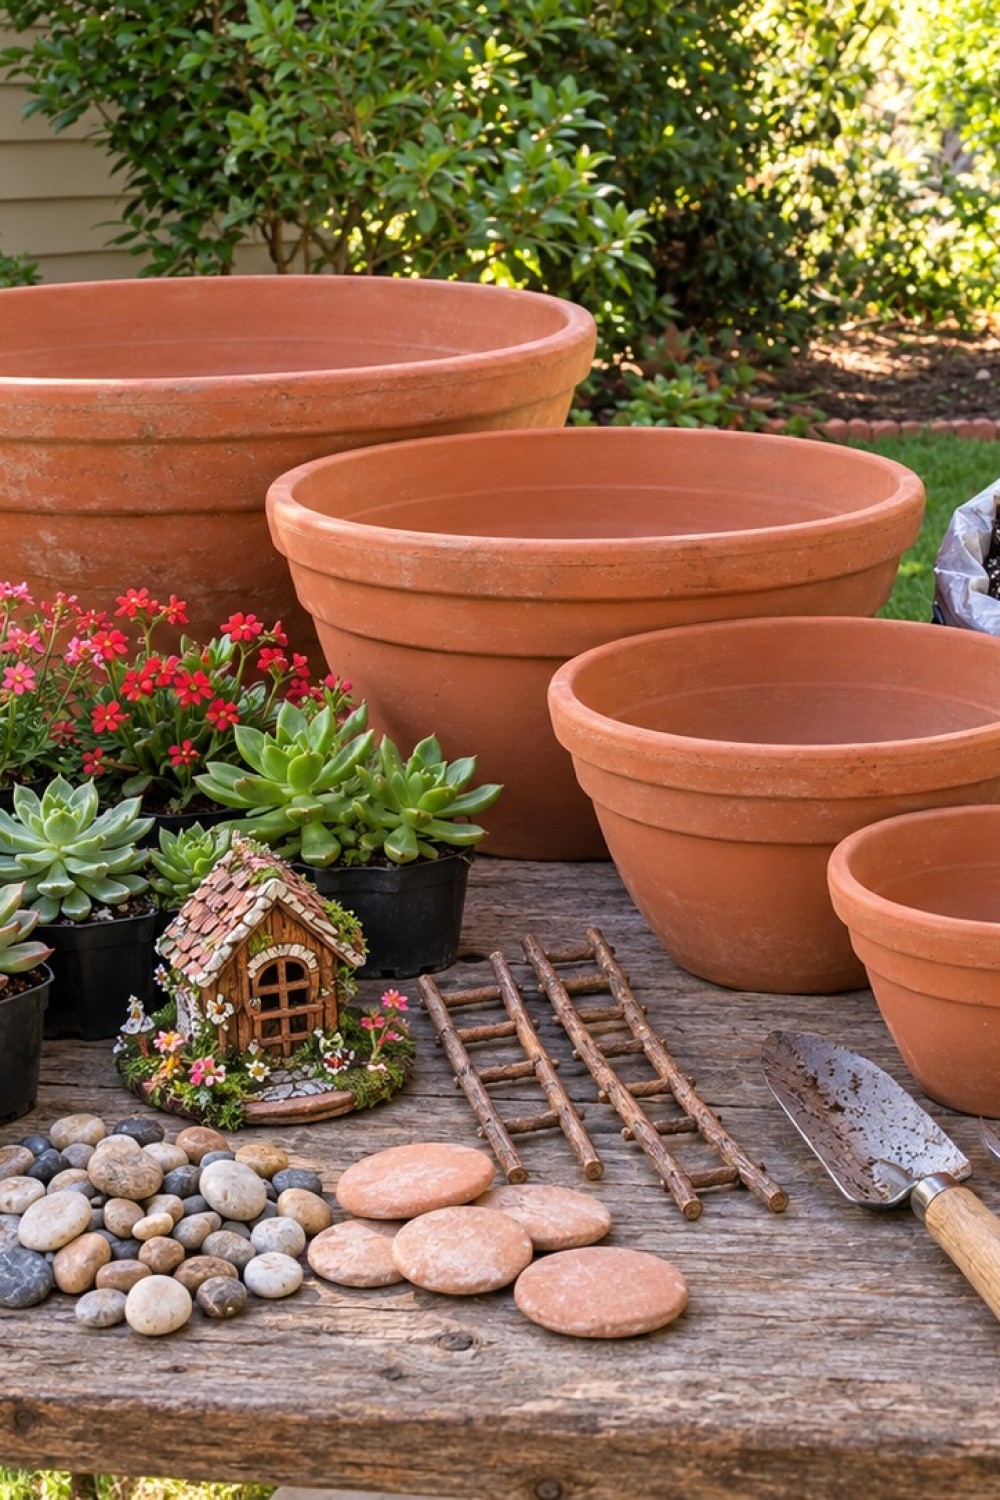
Start with four terracotta planters in gradually smaller sizes. A shallow, wide bowl works best at the bottom because it creates a broad planting surface and gives the whole structure a visually stable base.
You will need:
- Four terracotta pots or bowls in different diameters
- Potting mix suited to the plants you choose
- Succulents in several shapes and sizes
- Compact flowering plants
- Small pebbles
- A few flat stepping stones
- Moss for decorative areas
- A miniature cottage
- Thin dry twigs
- Natural twine if you want to bind the ladder joints
- Pot feet or another method of keeping the drainage opening clear if necessary
- Drainage mesh or similar material to prevent growing medium from washing through large holes
Useful tools include a hand trowel, gardening gloves, pruning shears, a watering can, and a small brush for cleaning soil from the finished terracotta.
Before planting, inspect every pot for cracks. Hairline imperfections may be cosmetic, but a pot with significant structural damage is not a good choice for a heavy stacked arrangement.
Check that each planter has usable drainage. Avoid permanently blocking drainage holes just to stabilize the upper pots. Excess water needs somewhere to escape.
Step 2: Stack and Fill the Terracotta Planters
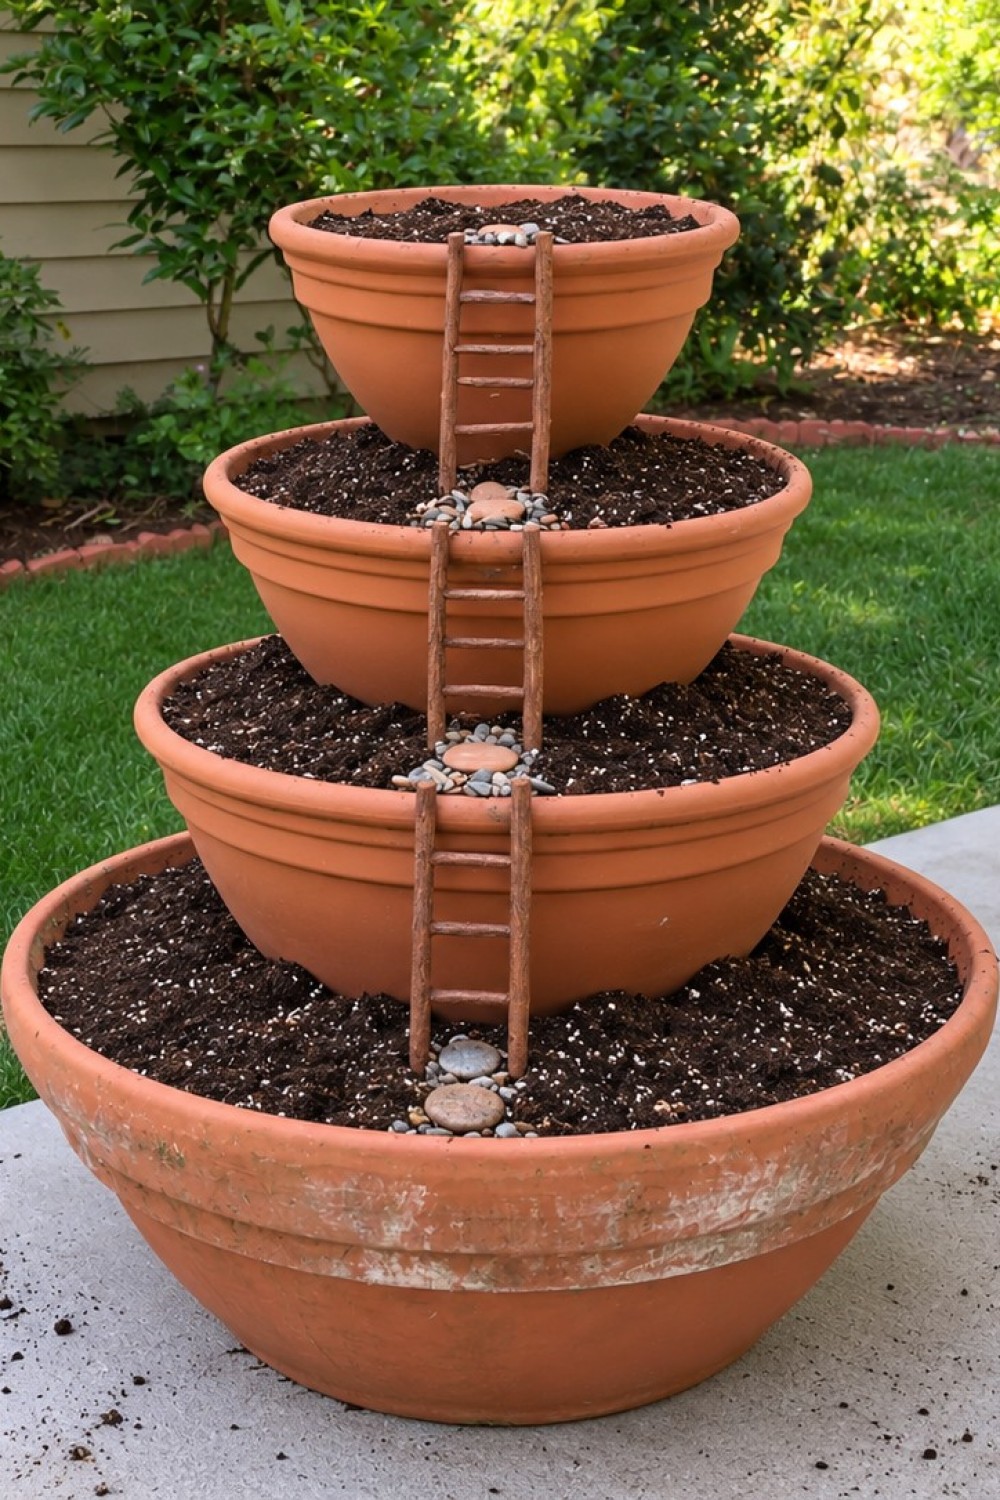
Place the largest bowl on a level, firm surface before adding any soil. Once filled, the arrangement will become much heavier and more difficult to reposition.
Position the next planter centrally inside the bottom bowl. The exact difference in diameter will determine how much planting space remains around it. The visible ring should be wide enough to accommodate your chosen plants without forcing their crowns directly against the next pot.
Repeat the process with progressively smaller planters.
Fill the exposed planting areas as you work upward rather than building an empty stack and trying to pack soil into narrow gaps later. Gently firm the growing medium, but do not compact it heavily.
Leave a small amount of space below each rim. This helps prevent soil and water from washing over the sides during irrigation.
At this stage, establish the main visual pathway. Place a narrow line of small pebbles from the front edge of one tier toward the center, then continue the path visually onto the level above.
Small twig ladders can bridge the planter rims. Make each ladder from two straight twigs and several shorter rungs. Bind or secure the joints before positioning the ladder.
The ladders are decorative only. They should not be used to support the weight of upper pots.
Before moving on, gently test the structure. If any tier rocks, correct its position now. Decorative moss and stones should never be used to hide an unstable stack.
Step 3: Plant Each Tier
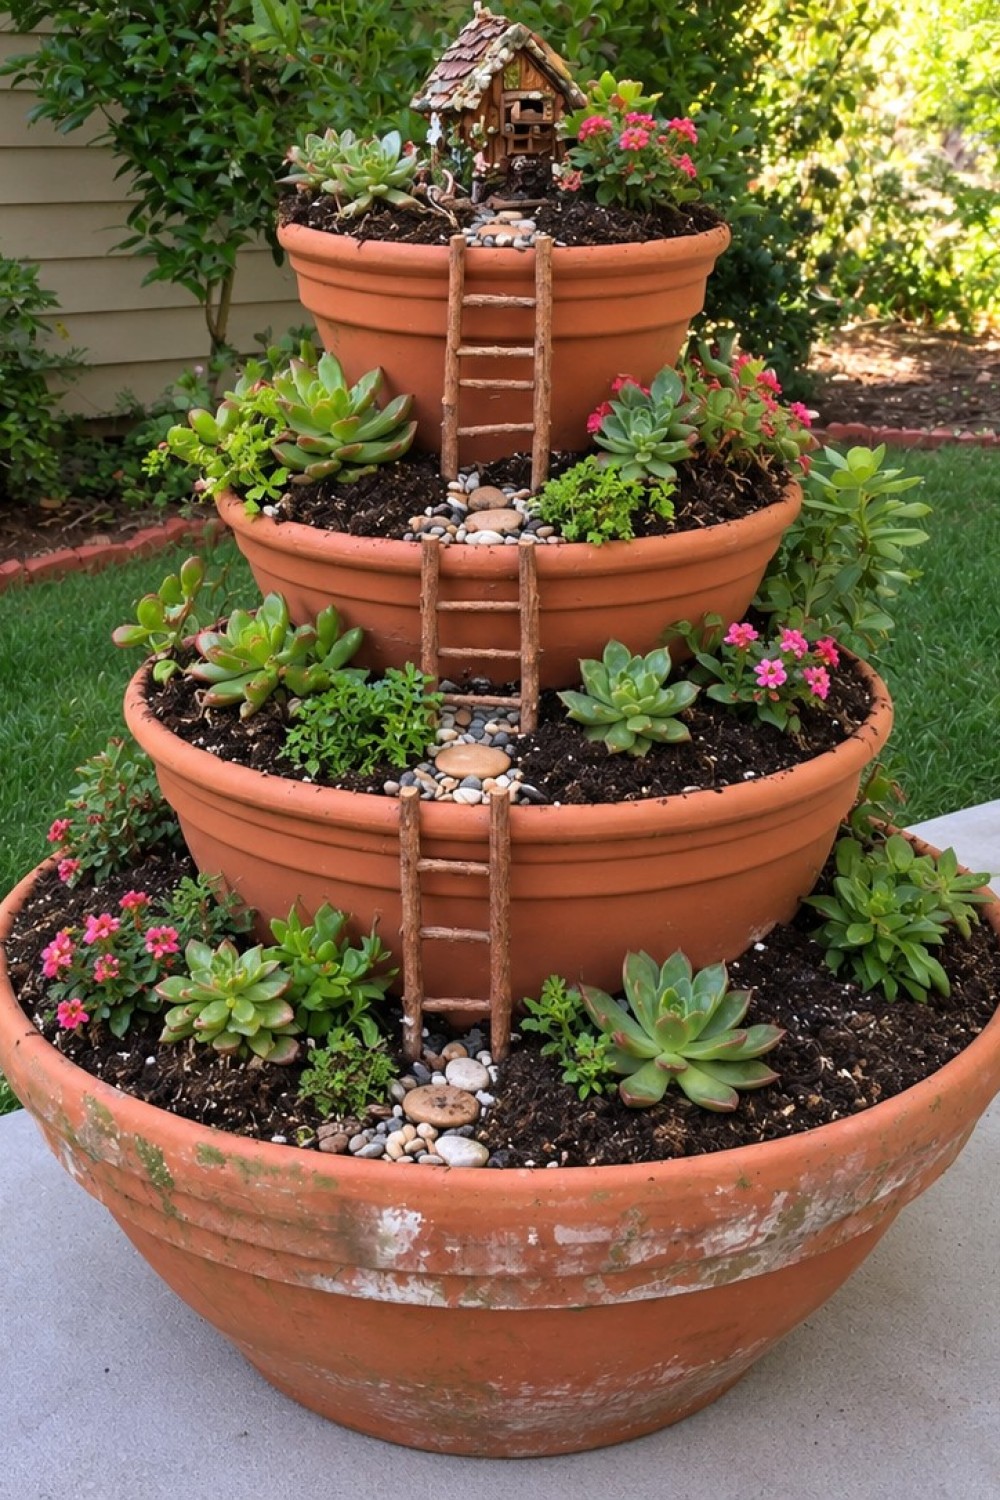
Plant the largest succulents first because they determine the balance of each level.
Place one or two larger rosette shaped plants toward the sides of the lower tiers. Their broad foliage gives the base enough visual weight to support the tall structure above.
Use smaller succulents closer to the central pathway and ladders. This preserves the miniature scale and keeps the connecting details visible.
Add compact flowering plants between the succulent groups rather than spacing them evenly around every tier. Uneven clusters tend to look more natural and also create clear areas of color without making the planting feel crowded.
The top level should be simpler than the lower ones. Place the miniature cottage toward the rear so it becomes the destination of the pebble path rather than blocking the planting area in front of it.
Keep plant requirements in mind before combining species. Succulents generally prefer freely draining conditions and should not be paired permanently with plants that require constantly wet soil.
If you want to combine plants with very different watering requirements, use small concealed nursery pots or removable planting pockets instead of putting everything into one shared soil zone.
Add a few pieces of moss between stones and around the cottage, but do not cover large areas of soil if the moss will trap moisture around plants that prefer drier conditions.
Step 4: Add Paths, Ladders, and Fairy Garden Details
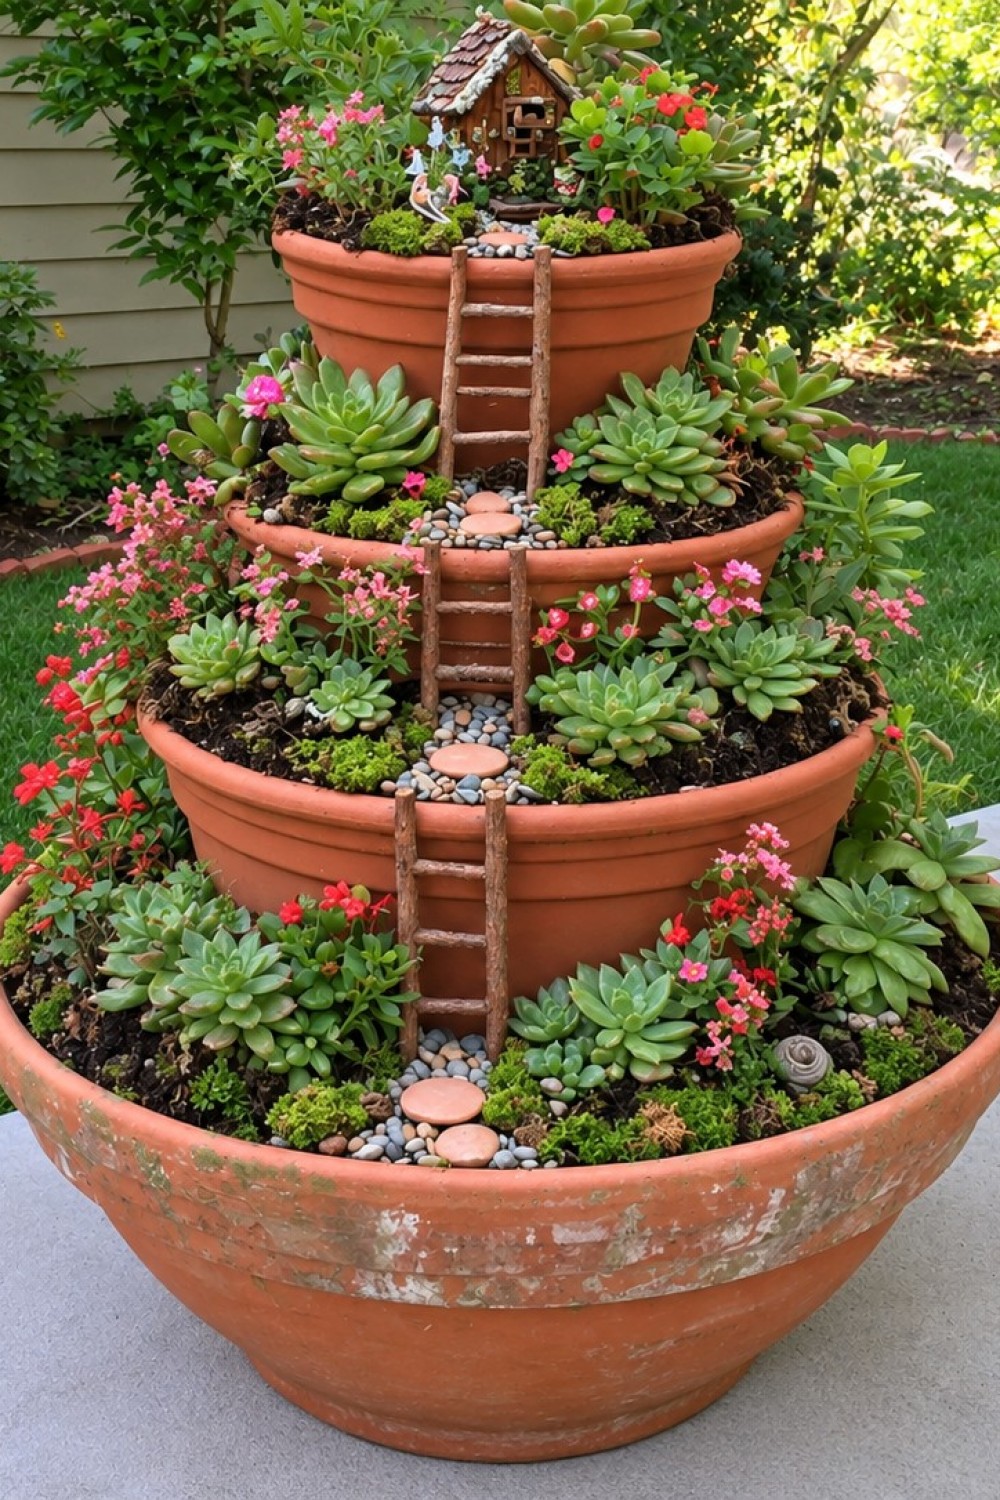
Once the plants are positioned, complete the miniature landscape.
Start with the pebble paths. Use smaller stones for the main walkway and a few larger flat pieces at transition points. A path that becomes slightly narrower toward the upper levels creates a stronger sense of scale.
Align each pathway with the ladder above it so the eye naturally travels upward through the structure.
Position the twig ladders against the planter rims. If the display is exposed to wind or frequent handling, secure them discreetly rather than relying on gravity alone.
At the top, place the miniature cottage among the smallest plants. Keep enough open space around its doorway so the feature remains visible after the plants grow.
Use moss sparingly around:
- The cottage base
- Edges of the pathway
- Small gaps between stones
- Selected areas near the ladders
The final arrangement should still show plenty of terracotta and soil. Covering every surface with moss and ornaments can make the tiers difficult to distinguish.
After the decorations are in place, water the plants carefully according to their needs. Apply water close to the soil rather than pouring heavily from the top and allowing it to wash through every level.
Choose Plants That Suit the Conditions
The success of a tiered fairy garden depends heavily on plant compatibility.
Succulents are useful because many stay compact and create strong forms, but they still need adequate light and drainage. A position that receives too little light can lead to stretched, weak growth.
Flowering plants should be selected according to the same exposure conditions. If the location receives intense afternoon sun, choose varieties that tolerate it rather than relying only on appearance.
Because upper pots contain less soil than the large lower bowl, they may dry faster. Check moisture at each level instead of assuming the entire stack needs watering at the same time.
Prevent Common Problems
The Upper Pots Shift
Movement usually means the stack is not seated securely. Reposition the planter and check the underlying soil level. Do not depend on decorative stones or plants to brace a heavy upper pot.
Plants Begin to Crowd the Path
Fast growing plants can quickly cover miniature details. Trim them selectively or move vigorous plants farther from the central pathway.
Soil Washes Down the Tiers
Heavy watering can move loose soil and pebbles over the planter rims. Leave space below the rim and water more slowly near the base of each plant.
Moss Stays Too Wet
If moss remains saturated around succulents, reduce the amount used or move it to areas that do not touch plant crowns.
The Display Looks Too Busy
Remove a few decorative objects before adding more. A clear cottage, pathway, and ladder sequence creates more visual impact than filling every gap with miniature accessories.
Care and Maintenance
Check the garden regularly as the plants grow. Succulents may produce offsets that can eventually crowd narrow planting rings, while flowering plants may need deadheading or seasonal replacement.
Remove fallen leaves from between pots and ladders before they begin to decompose.
Inspect the terracotta after freezing weather if the display remains outdoors. Moisture inside porous clay can contribute to cracking in climates with freeze and thaw cycles. Moving vulnerable pots to a protected location may be appropriate depending on local conditions and the type of terracotta.
The miniature cottage and twig ladders will also weather more quickly than the pots. Replace loose or deteriorated elements rather than allowing them to become unstable.
Why the Tiered Design Works
The design succeeds because every level has a clear purpose.
The largest bowl provides stability and carries the heaviest planting. The middle tiers introduce repeating layers of succulents and flowers. The upper planter creates a focal point with the miniature cottage.
The pebble paths and ladders connect these separate areas visually, so the structure feels like one continuous miniature garden rather than four unrelated pots.
Terracotta also contributes to the overall balance. Its warm orange surface contrasts with the cool greens of the succulents, while the repeated circular rims reinforce the layered shape of the arrangement.
The result is a compact fairy garden that creates height, planting variety, and miniature detail without requiring a large garden bed.
Share
What's Your Reaction?
 Like
0
Like
0
 Dislike
0
Dislike
0
 Love
0
Love
0
 Funny
0
Funny
0
 Angry
0
Angry
0
 Sad
0
Sad
0
 Wow
0
Wow
0