

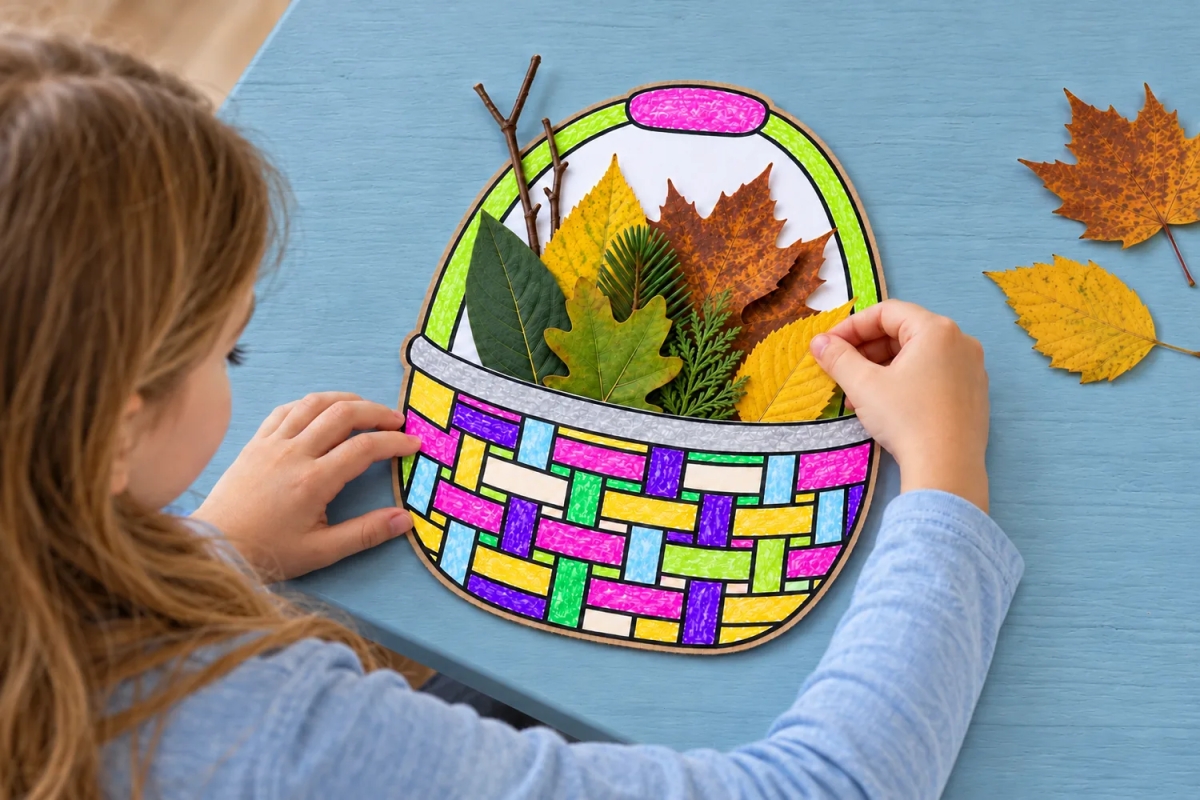
A colorful paper basket turns a handful of fallen leaves into a fall activity to make at home. Recycled cardboard supports the drawing, while a curved opening above the gray rim lets children slide leaf stems behind the patterned front. Arrange the leaves by color, compare their shapes, or set the finished piece on a shelf between play sessions. The eight steps below explain the cut and mounting sequence that makes the opening work.
Allow about 45 to 60 minutes for drawing, coloring, cutting, and assembly. This is a planning estimate, not a timed test; collecting or drying leaves takes extra time. An adult should prepare the cardboard and inner cut.
Table of Contents
Materials to Gather
You will need one sheet of white letter size or A4 paper; a clean piece of thin corrugated cardboard slightly larger than the drawing; a pencil and a black marker with a felt tip; crayons in pink, purple, green, yellow, light blue, cream, and gray; scissors; and double sided foam mounting tape with a peel away liner. Prepare about eight small tape squares, approximately ½ inch across, with a little extra available for the perimeter.
Choose six to eight clean, dry fallen leaves in mixed sizes, plus one or two short, blunt twigs and an optional small evergreen sprig from permitted pruning material. A drawing about 7 inches wide and 9½ inches tall fits the page; these suggested working dimensions can be adjusted. Choose thin cardboard an adult can cut comfortably.
1. Draw the Basket Outline
Sketch a broad basket body with a rounded bottom. Add a tall arched handle, an oval grip at its top, and an oval mouth across the body. Give the front rim a wide band, then draw alternating horizontal and vertical rectangles below it to suggest weaving. Trace the pencil lines with the black marker.
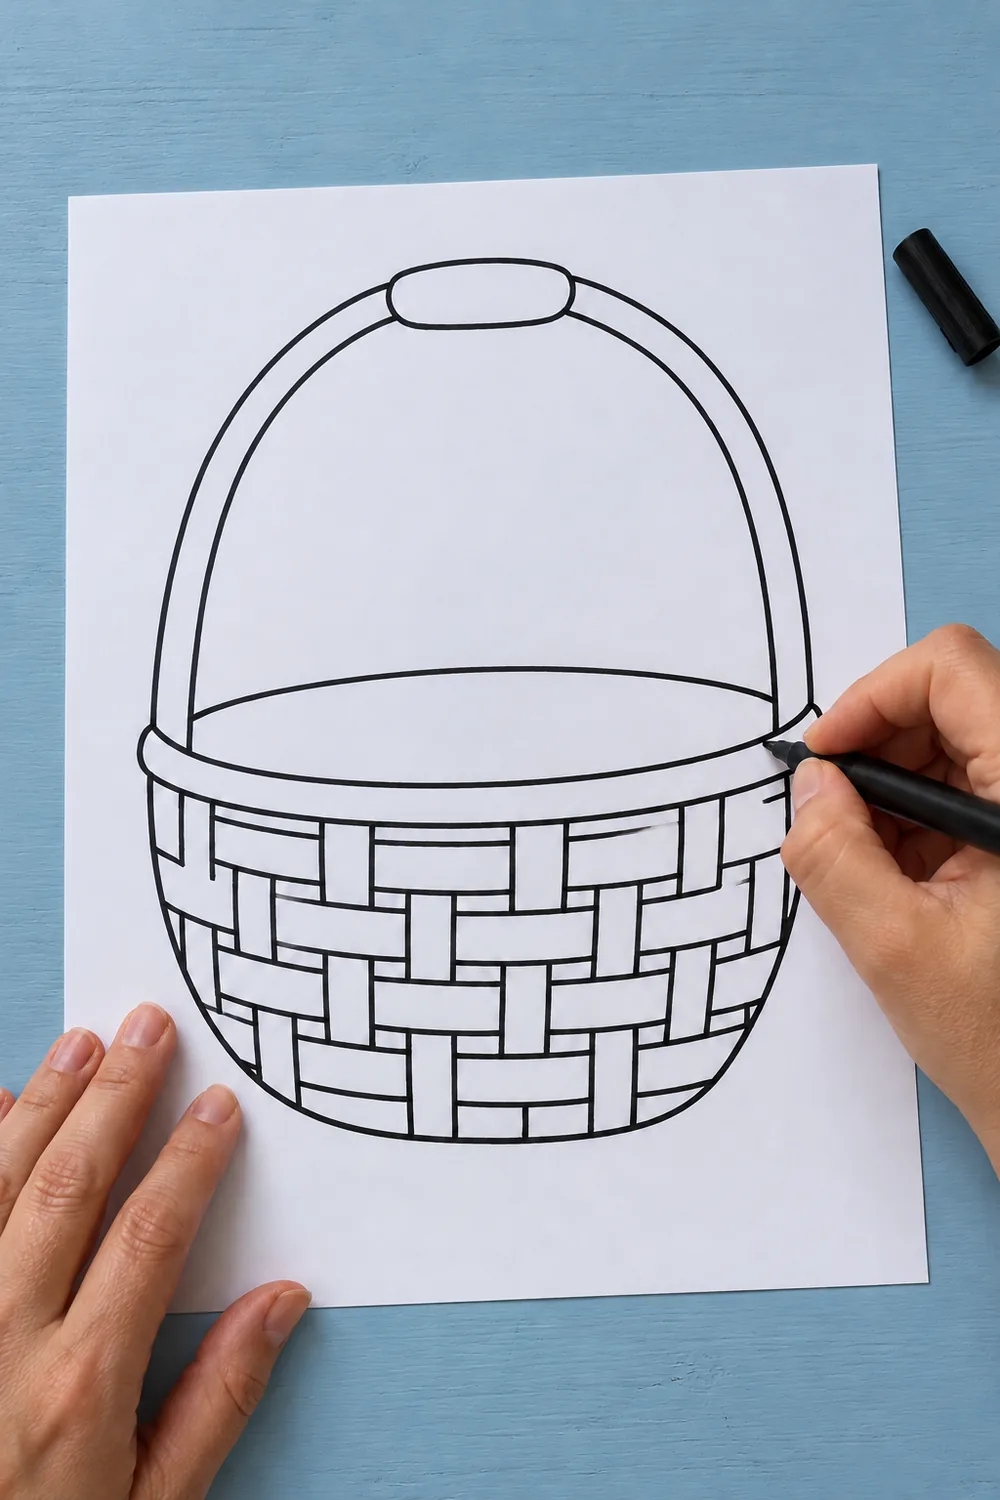
2. Color the Woven Pattern
Fill neighboring rectangles with different crayon colors. Use green for the handle, pink for the grip, and gray for the front rim. Keep the black outlines visible and leave the paper inside the handle and oval mouth white. Light crayon strokes give the pattern texture without making the paper wet or heavy.
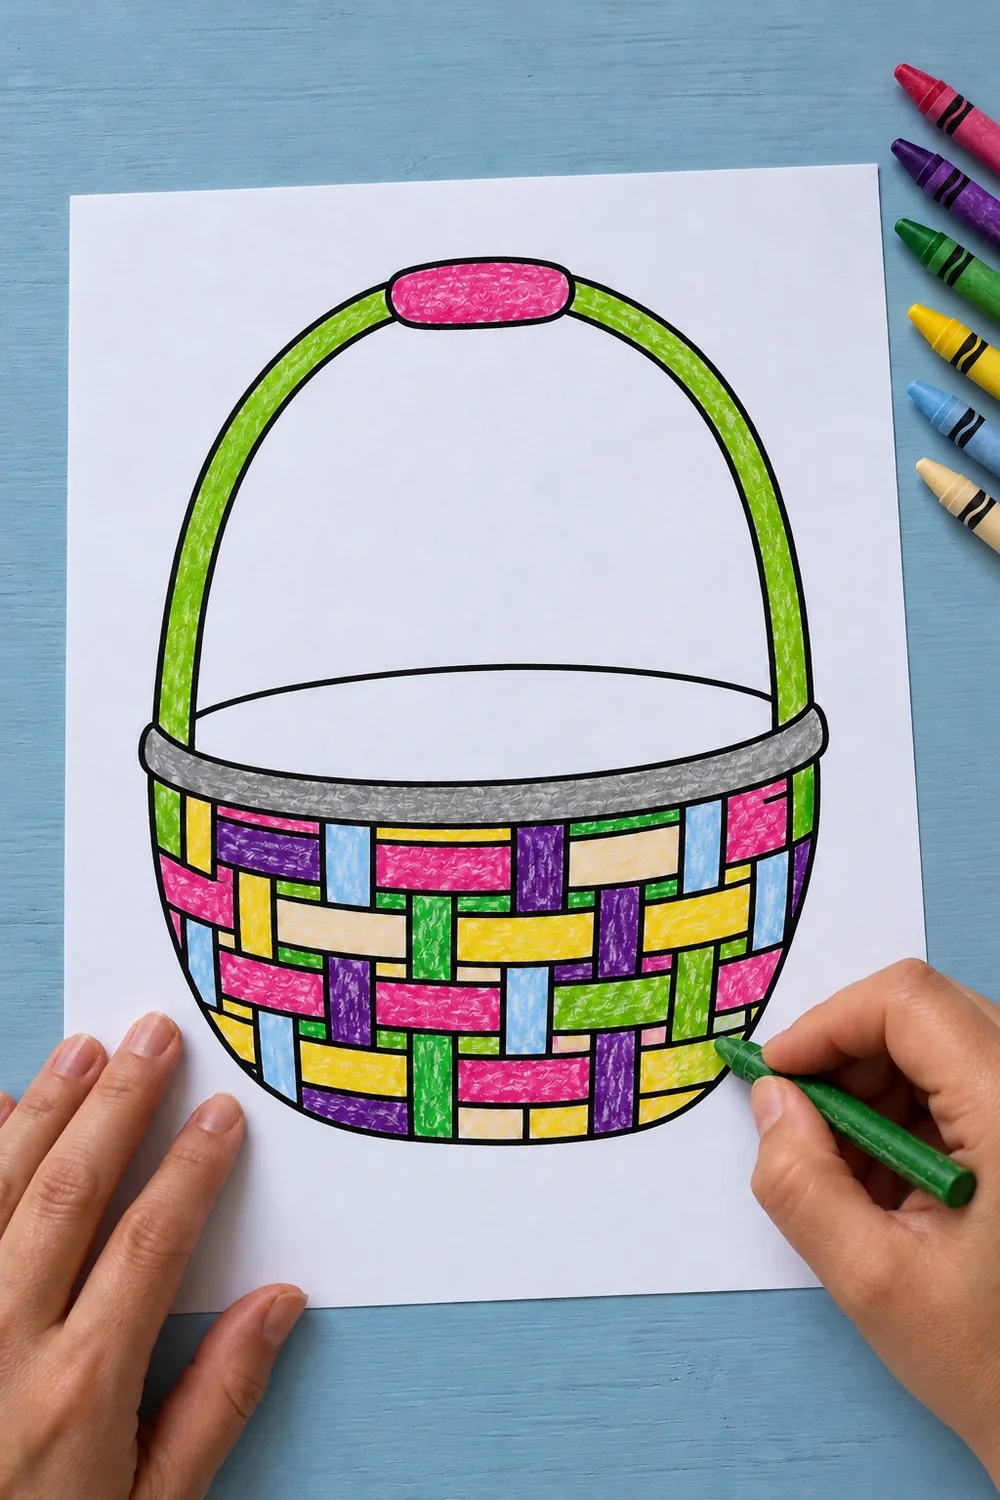
3. Cut the Paper Silhouette
Cut around the outside of the colored drawing, following the rounded body and outer handle. Turn the paper as you work so the scissors follow the curves. Keep the large white area within the handle intact. This stage removes the surrounding paper; the separate mouth cut comes in step five.
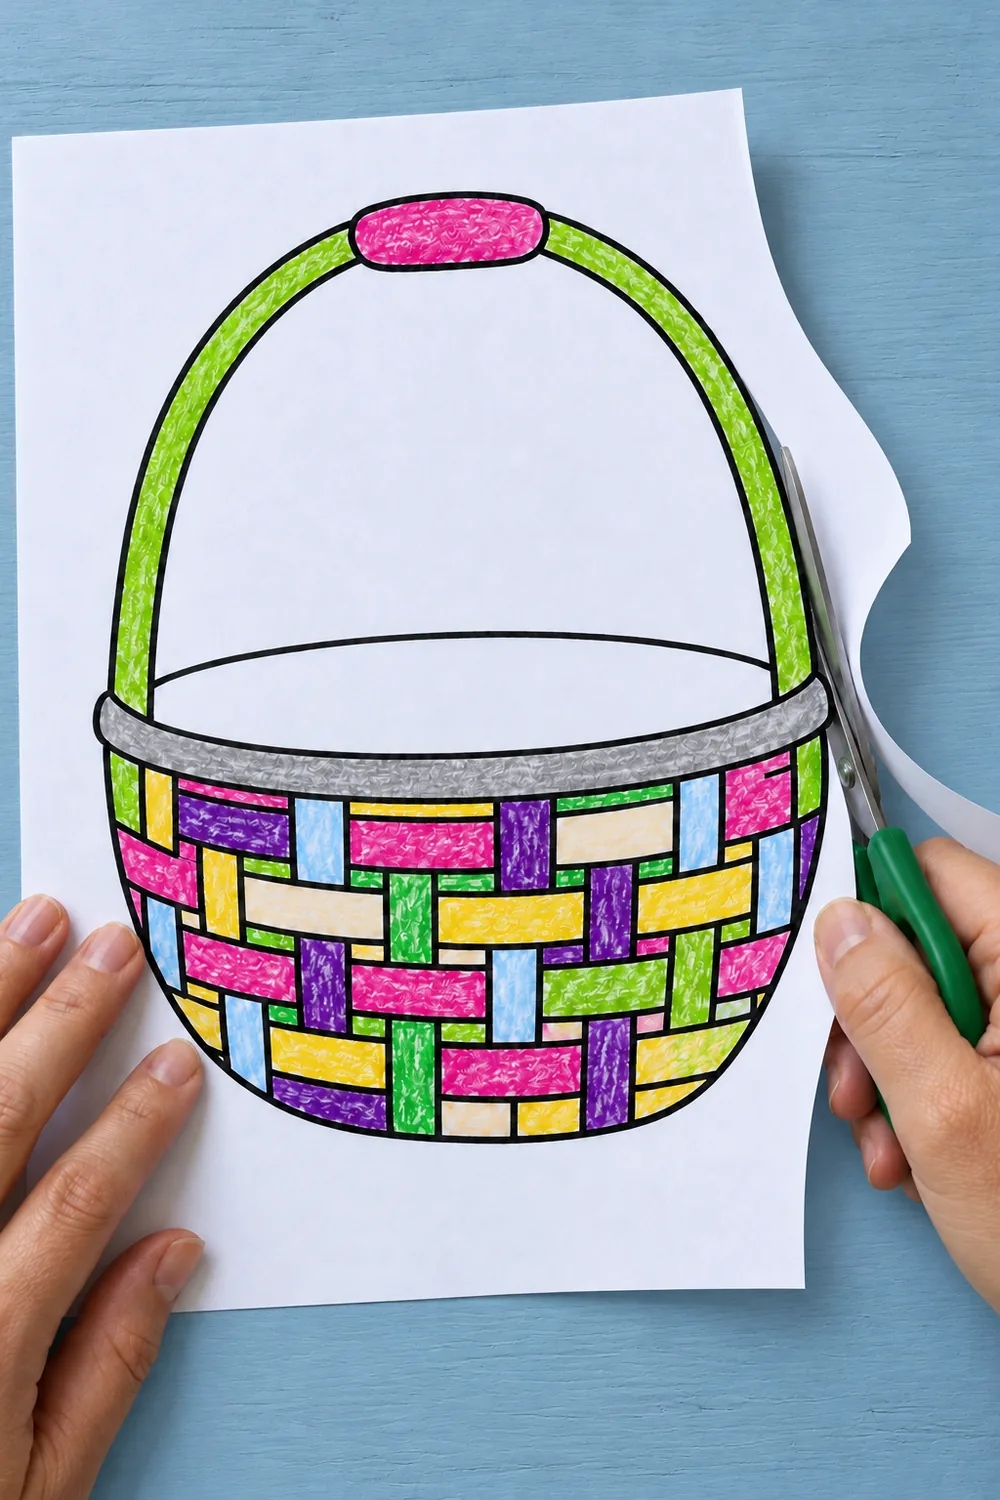
4. Cut the Cardboard Backing
Lay the cut paper basket on the cardboard and trace its outer edge. An adult should cut the cardboard to the same size, using the paper as a guide. Check that the two outlines align before adding adhesive. Keep the cardboard solid, including the area behind the drawn handle; it supports the paper and catches the leaf stems.
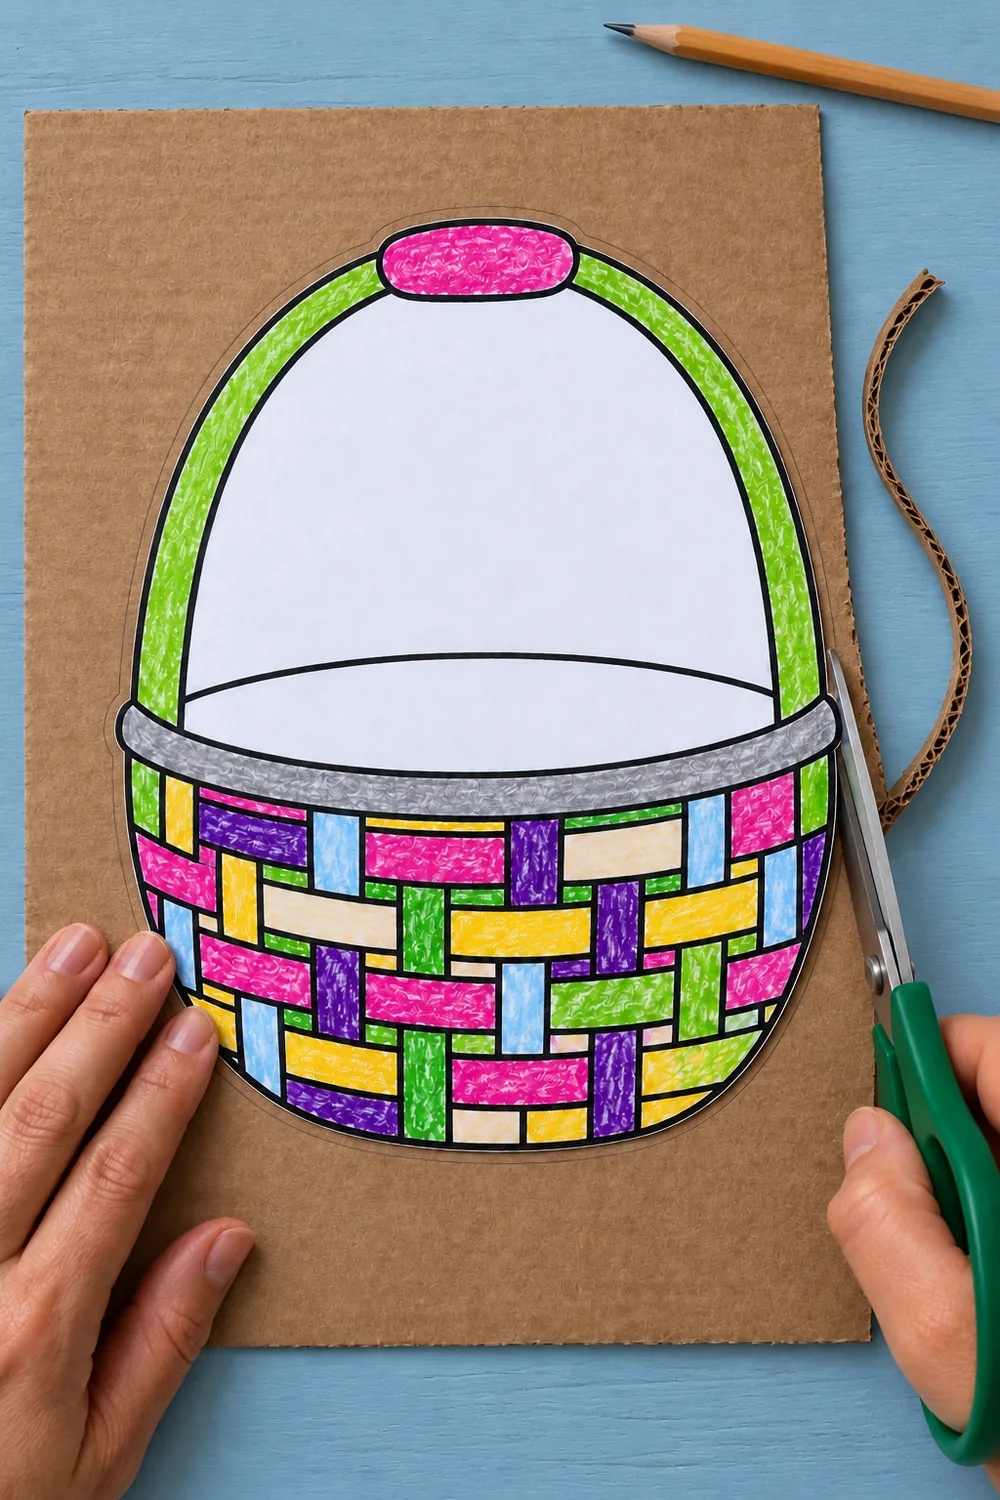
5. Open the Curved Mouth
Lift the paper away from the cardboard. Before mounting it, an adult should make a careful starting snip and cut along the curved upper boundary of the gray front rim. Leave a small connection at each end so the lower front stays attached. Do not cut through the colored rectangles or remove the white handle interior.
Gently pull the gray lip forward to check the opening. This cut allows stems to pass behind the patterned front; skipping it leaves no entrance to the shallow pocket.
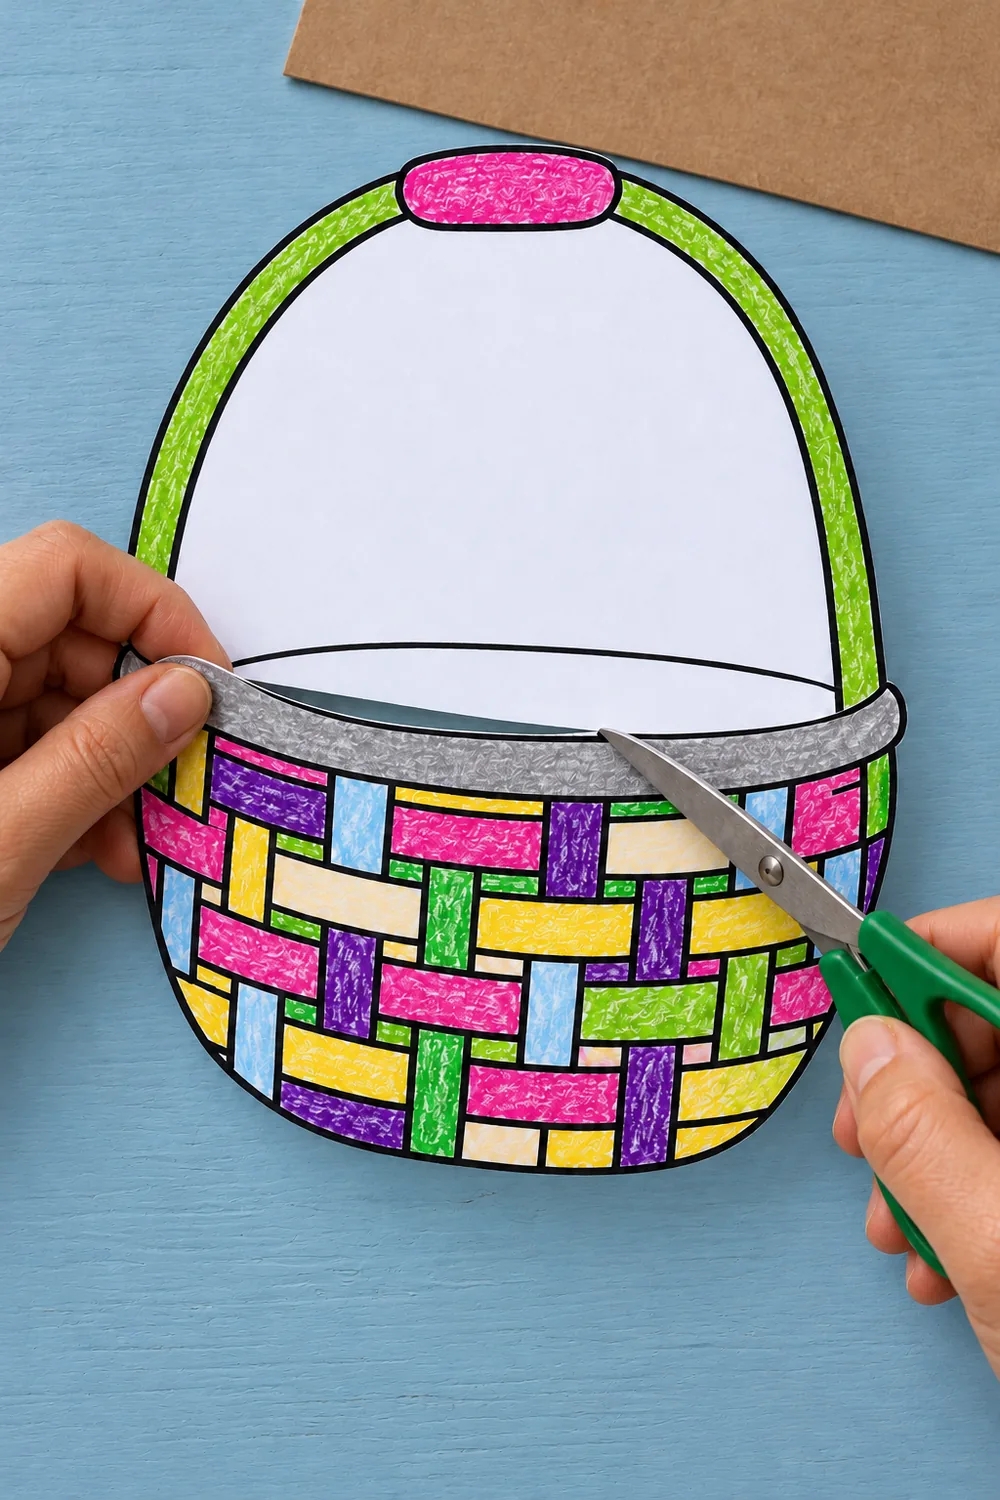
6. Tape the Outer Edges
Place small foam tape squares around the cardboard perimeter, including the top of the handle, the sides, and the bottom. Test the adhesive on a scrap first. Keep the central area behind the lower basket front free, and never run tape across the mouth opening. Peel away the release liners only when you are ready to align the paper.
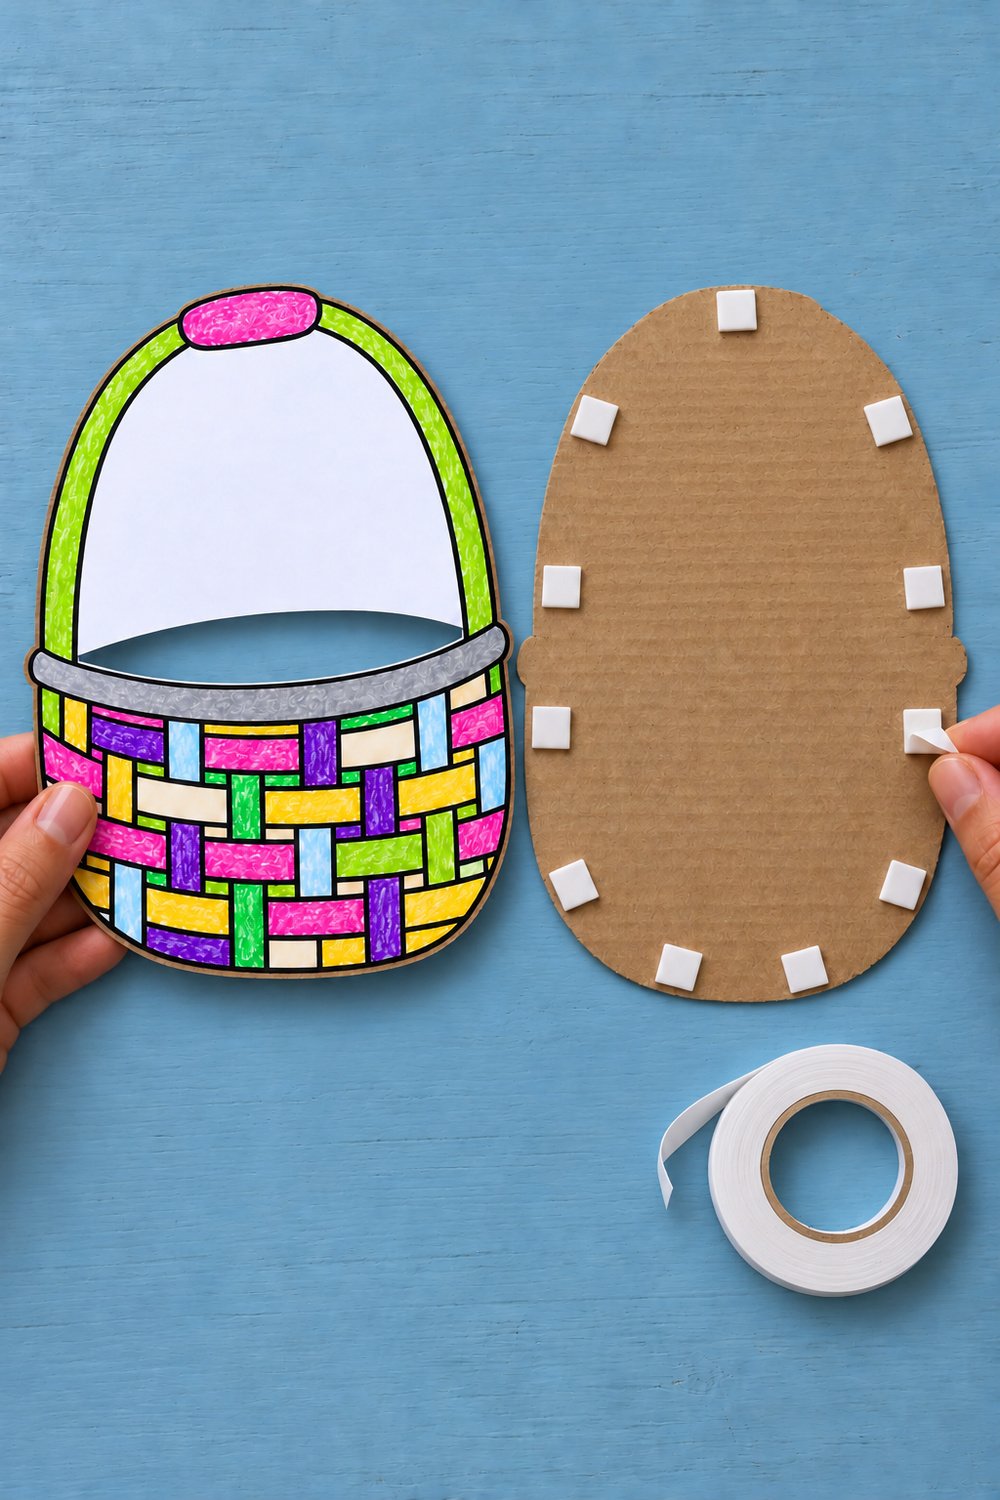
7. Mount and Check the Opening
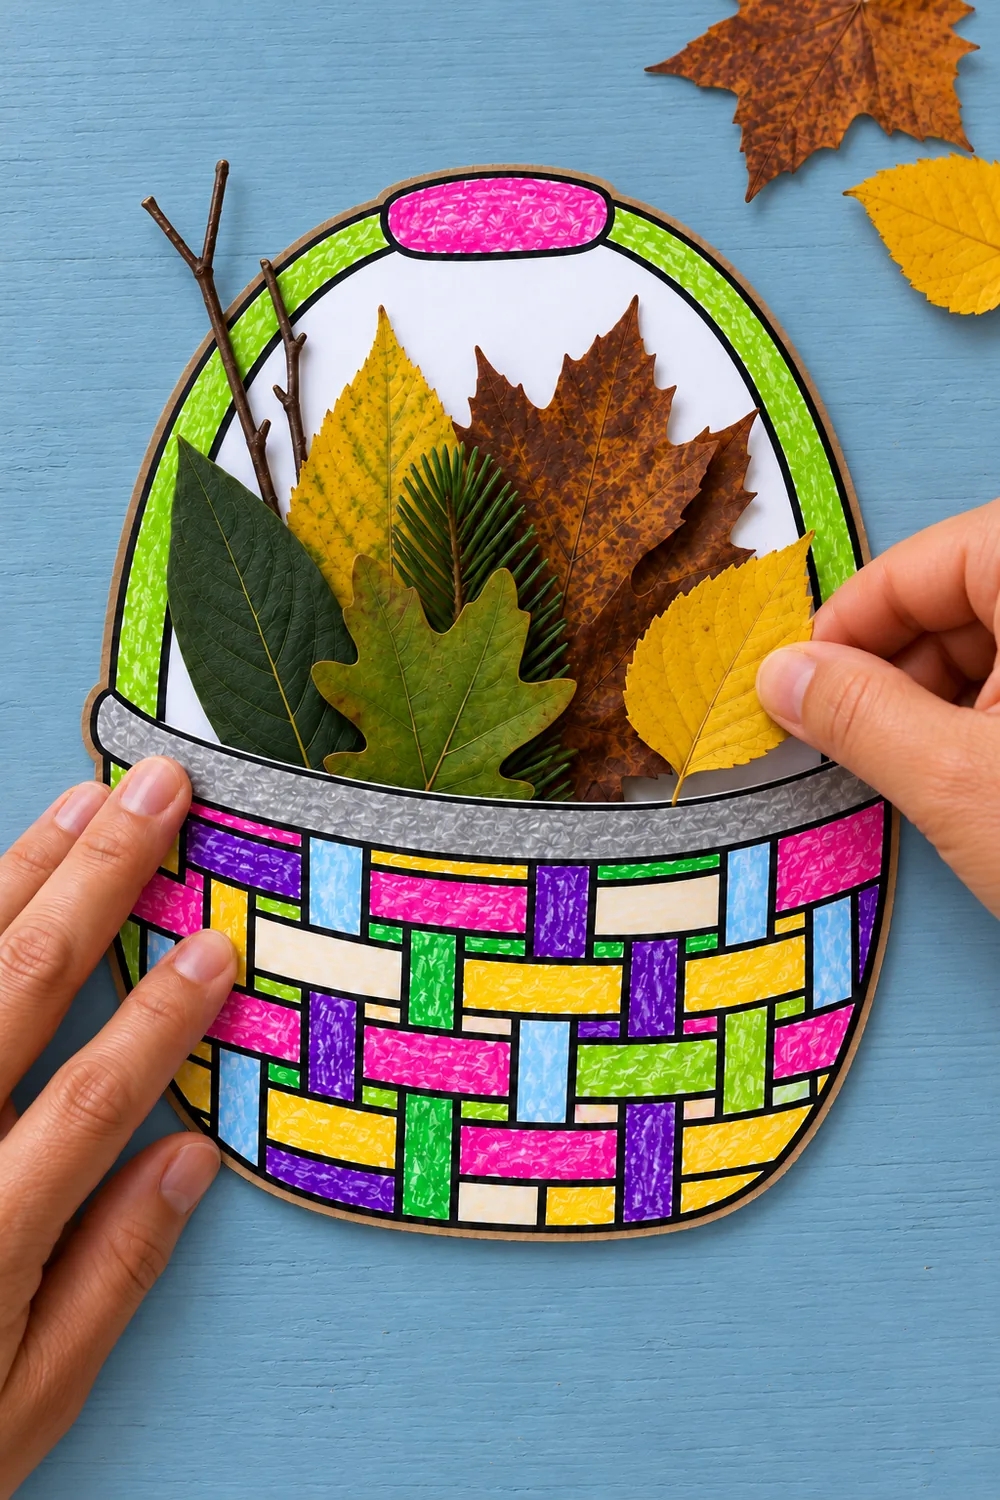
Lower the paper onto its matching cardboard backing and press the taped outer edges. Let the gray front lip lift slightly instead of bonding it shut. Slide one leaf stem through the curved opening: it should travel down between the colored paper front and the cardboard. If it catches on tape, adjust the attachment before pressing it firmly.
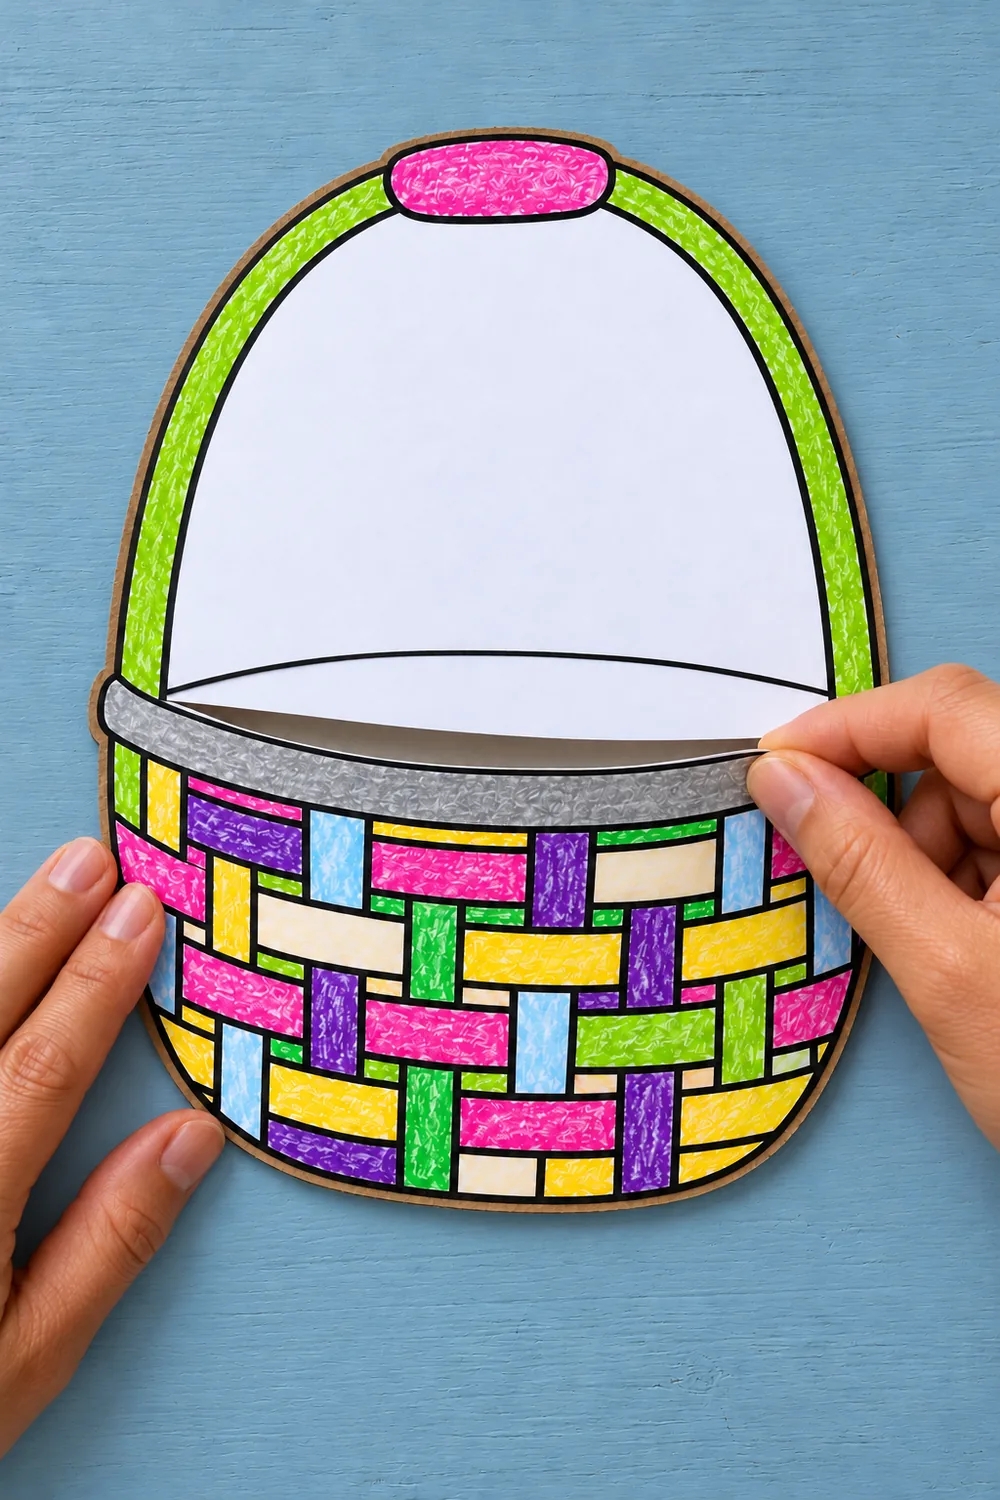
8. Slide in the Leaves
Insert the twigs and larger leaves first, then layer smaller leaves and a light sprig in front. Push each stem through the opening behind the gray rim, leaving the colored basket visible. Use only a few light pieces at a time. The leaves sit in the paper pocket; they do not need to be glued onto the white area above it.
The Finished Fall Basket
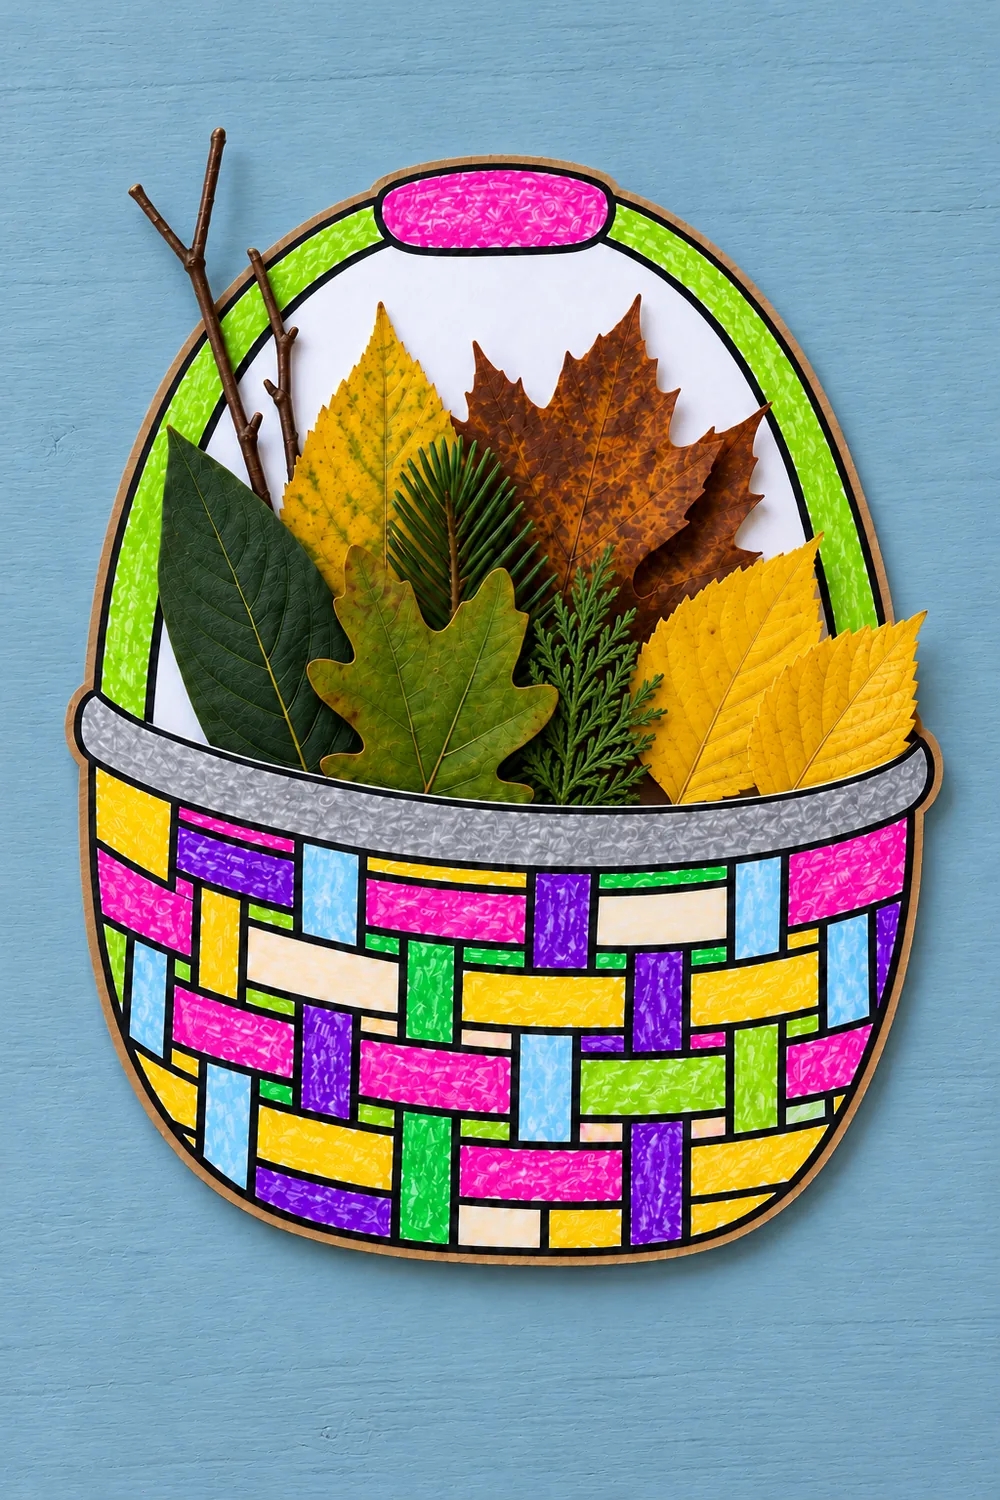
Set the finished piece flat on a table for a leaf sorting game. Ask a child to find a yellow leaf, compare two edges, or rearrange the smallest leaves at the front. Support the cardboard when moving it; the drawn handle is decorative. Replace brittle leaves as needed and keep the project indoors, away from moisture and heaters.
If the front begins to tear, reduce the number of stems and choose thinner ones. A small paper patch on the reverse can support a torn end without covering the opening. For another making session, try this paper cup dragon with a moving mouth or browse these recycled art projects for kids.
Estimated Materials Cost
With cardboard, leaves, crayons, and tools already available, budget roughly US$0.25 to $0.75 in consumed supplies for one basket. This editorial estimate covers one sheet, small tape pieces, and a modest allowance for coloring; it is not the cost of buying every supply new.
As of October 28, 2026, example U.S. retail prices were $5.79 for a pack of 500 sheets of letter paper, $1.49 for a box of 24 Crayola crayons, and $6.39 for a roll of Scotch double sided foam mounting tape. Those three full packs total about $13.67 before tax or shipping and leave material for other crafts. A marker, pencil, and scissors cost extra if needed. Local prices and availability vary; test the tape on a scrap of your paper and cardboard first.
Safety and Cleanup
Adults should cut the cardboard and start the inner slit, keeping fingers clear of the blades. Supervise children's paper cutting and leaf arranging. Use crayons and washable markers labeled for your child's age, follow the package labels, and keep marker caps and tape liners out of reach of children who mouth small objects.
An adult should select the plant material: avoid unidentified plants, berries, thorns, mold, and contaminated leaves. Trim sharp twig ends and omit twigs when they do not suit the child. Keep leaves and supplies away from mouths, wash hands afterward, and clear up all small scraps. Do not use the paper basket to carry food or heavy objects, and do not stick permanent mounting tape directly onto furniture or painted walls.
Leave a Reply