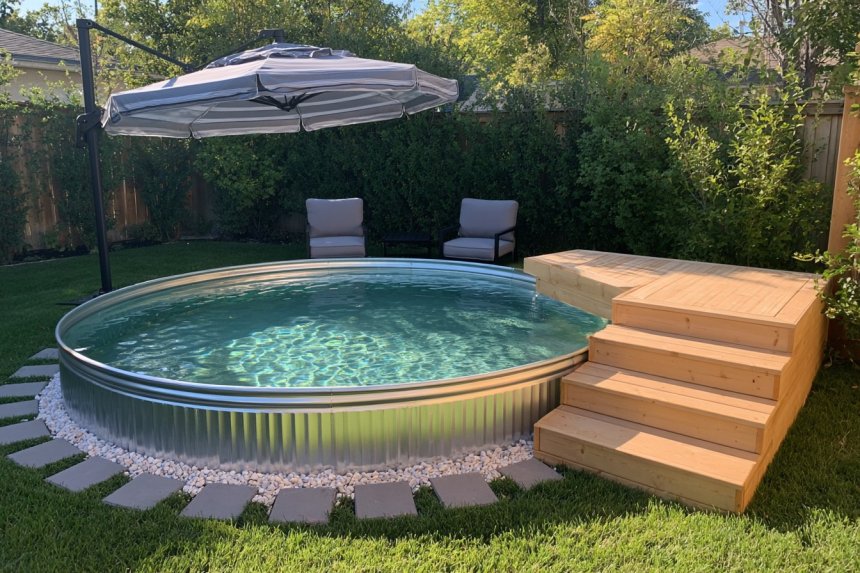
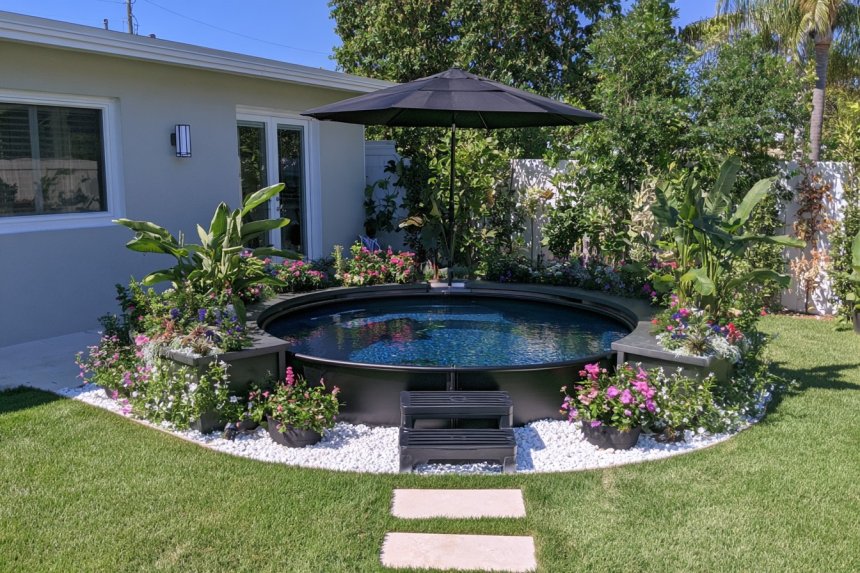
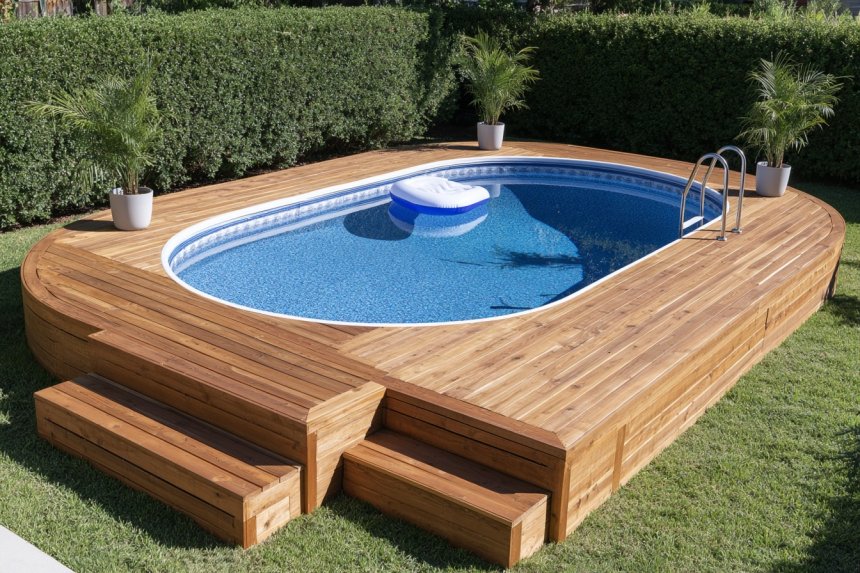
DIY Above Ground Pool Stairs With Built In Planters

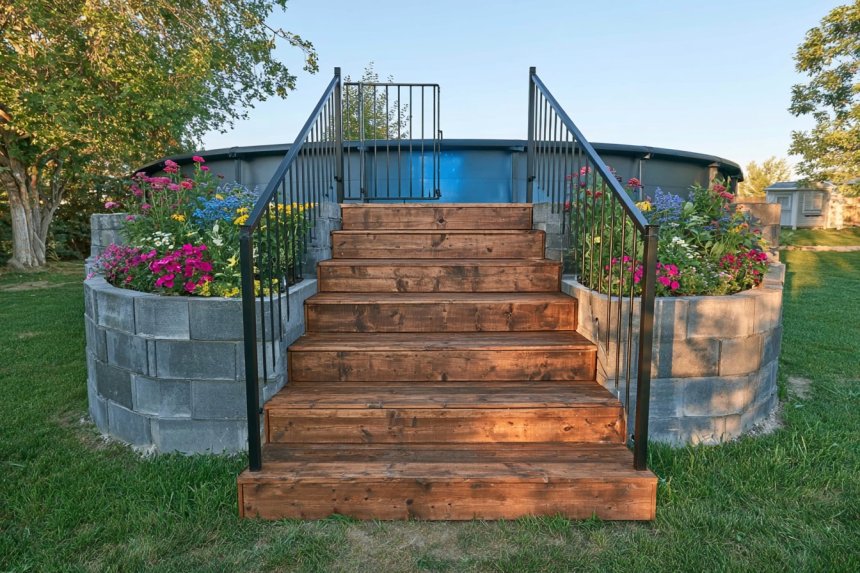
Above ground pool access can be made far more comfortable when the stairs are designed as part of the surrounding landscape instead of relying on a narrow freestanding ladder. This project combines broad timber steps with black metal railings and curved concrete block planters on both sides. The planters visually anchor the staircase while creating space for flowers and foliage around an otherwise exposed pool wall. The important work, however, is structural. The stair base needs firm support, the timber frame must carry repeated foot traffic, the rail posts require solid connections, and the planter walls need drainage so retained soil does not create unnecessary pressure or moisture problems.
The five construction stages below correspond directly with the five project images.
Materials and Layout
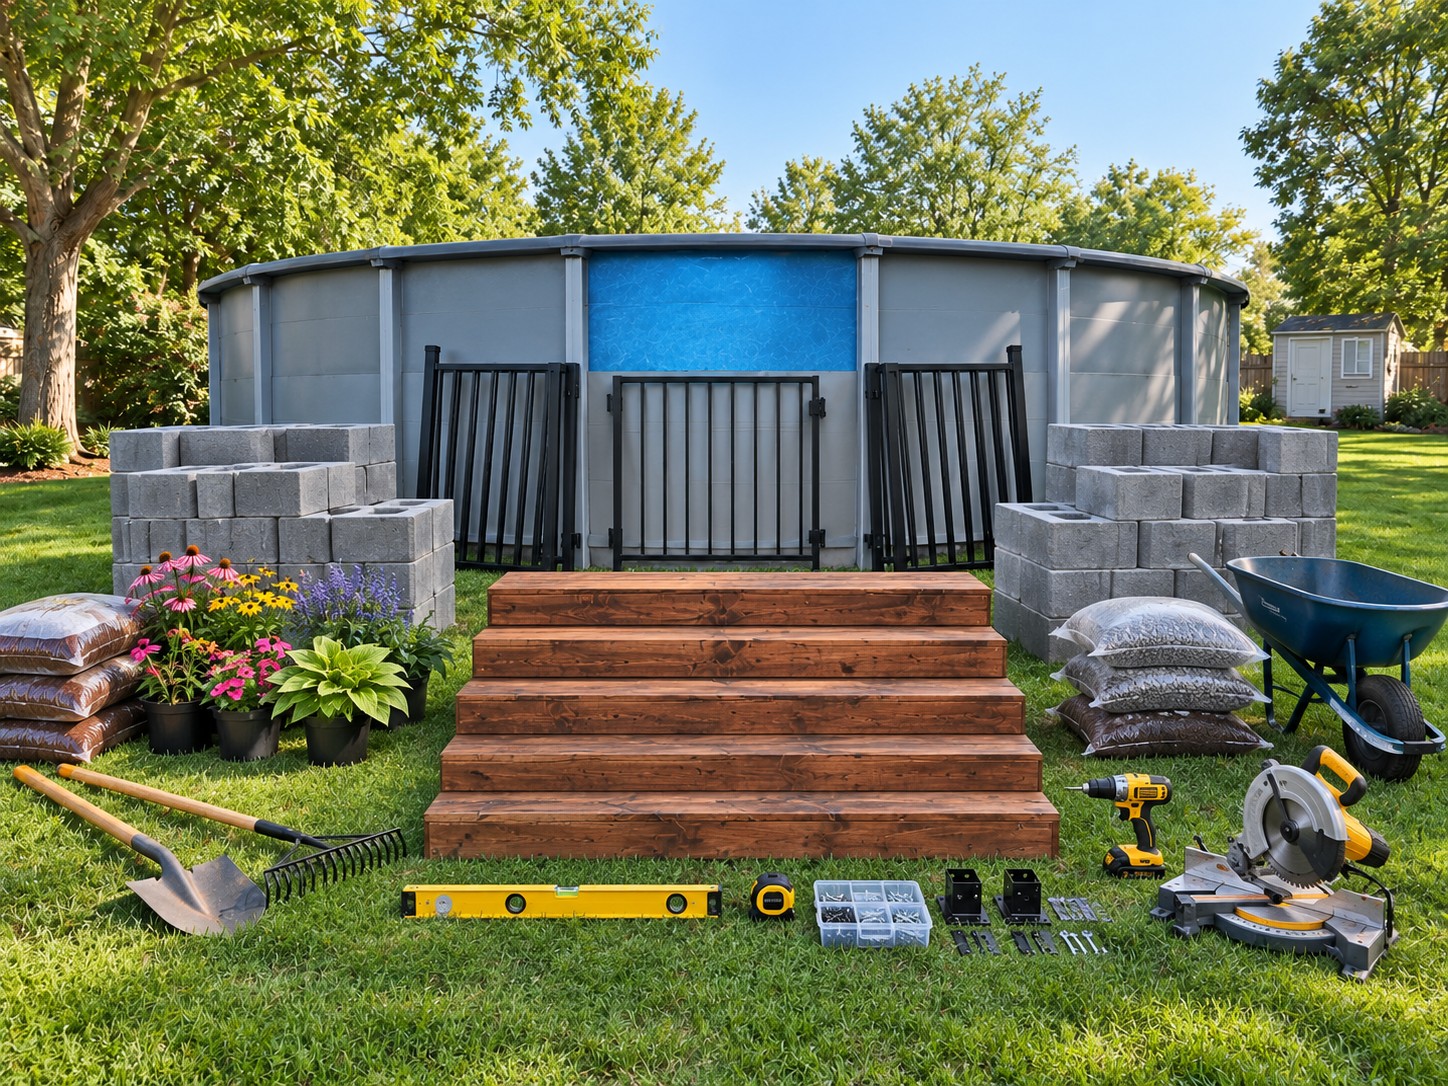
For a pool similar to the example, begin by measuring the height from finished ground level to the intended upper landing. A common above ground pool may have a wall height around 48 to 52 in, 1.22 to 1.32 m, although the exact measurement must come from the installed pool.
Do not determine the stairs from the pool wall height alone. Measure the actual elevation difference at the stair location.
For a staircase approximately 48 in, 1.22 m, wide, typical materials may include:
• Pressure treated 2 x 12 in, 38 x 286 mm, lumber for stair stringers
• Pressure treated 2 x 6 in, 38 x 140 mm, lumber for tread framing where required
• Exterior decking boards approximately 5/4 x 6 in, 25 x 140 mm, or suitable exterior boards for the walking surface
• 4 x 4 in, 89 x 89 mm, pressure treated posts for railing support
• Exterior structural screws approximately 3 to 4 in, 75 to 100 mm
• Manufacturer approved structural connectors and post brackets
• Corrosion resistant deck screws approximately 2.5 to 3 in, 65 to 75 mm
• Concrete landscape retaining blocks
• Compactable crushed stone
• Drainage gravel
• Landscape fabric or geotextile
• Quality planting soil
• Exterior wood stain or sealer suitable for pressure treated lumber
• Powder coated or exterior rated metal railing components
• Gate hardware if a self closing pool barrier gate is required
• Plants selected for the available sunlight
The main tools should include a tape measure, long level, framing square, speed square, circular saw or miter saw, drill, impact driver, clamps, shovel, rake, wheelbarrow, rubber mallet, string line, and personal protective equipment.
Use the first photograph as the planning image: the pool, stair position, concrete blocks, lumber, rail sections, soil, plants, cutting tools, and fastening hardware should all be visible before construction begins.
Build the Planter Foundations
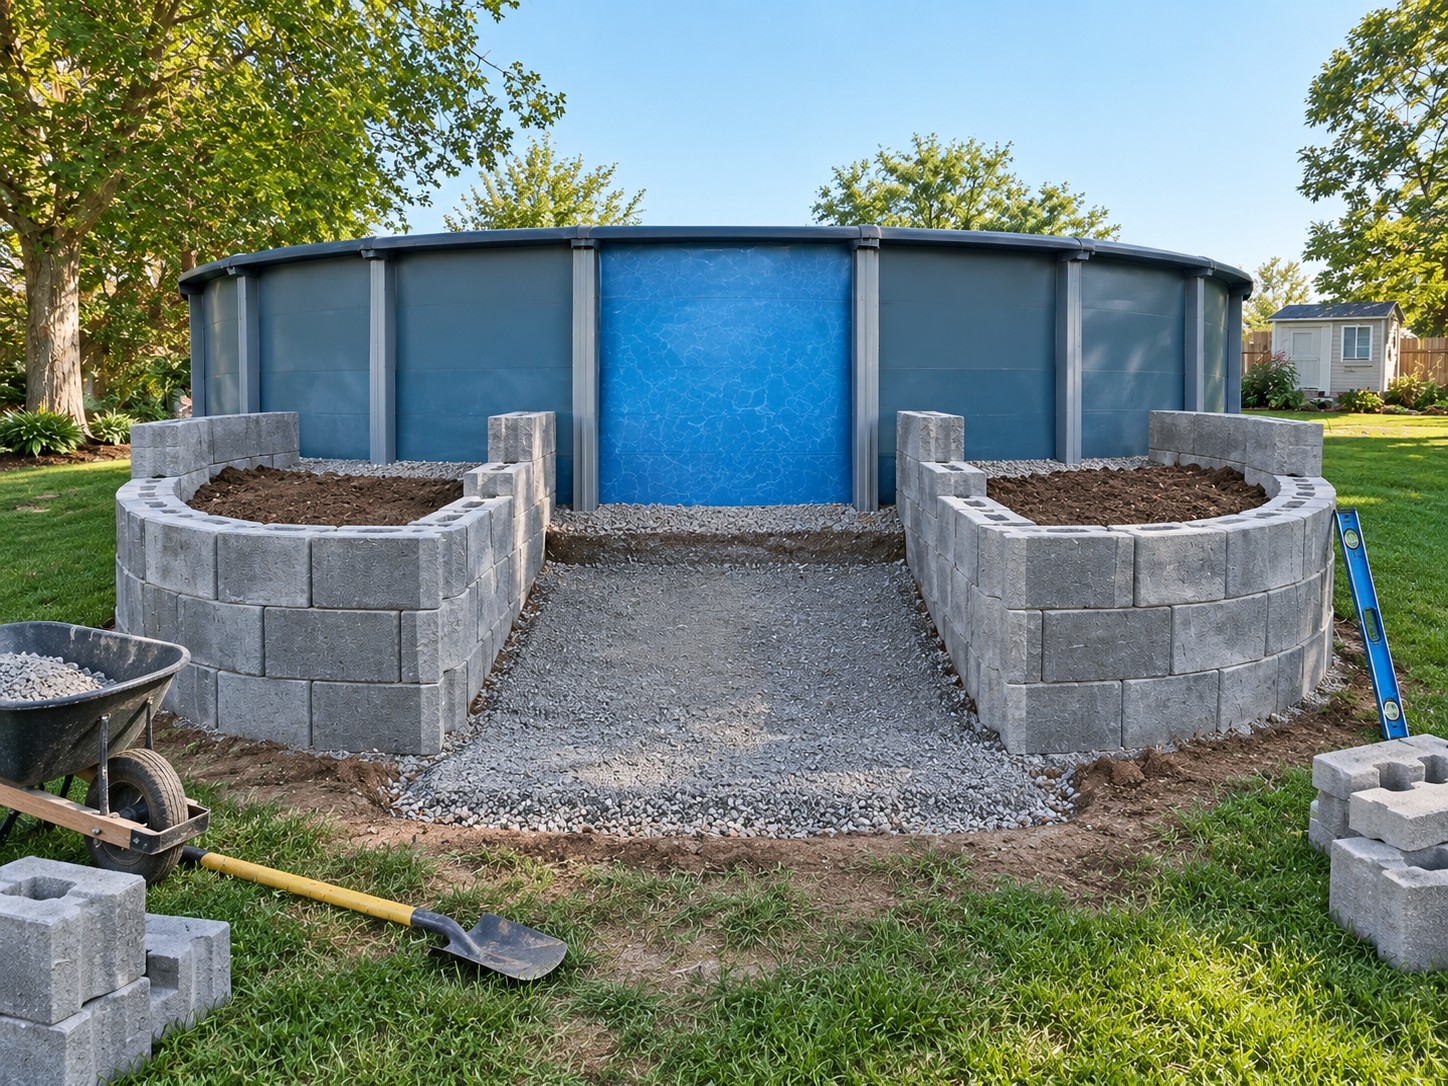
The second stage establishes both planter walls and the stair approach.
Mark the staircase centerline first. Keep both planter walls symmetrical so the stairs do not appear offset from the pool.
Remove grass and organic soil underneath the block walls. A useful starting point for many residential landscape walls is approximately 6 to 8 in, 150 to 200 mm, of excavation below finished grade, but soil conditions and retaining wall height may require more.
Do not place retaining blocks directly on turf.
Add approximately 4 to 6 in, 100 to 150 mm, of compactable crushed stone beneath the first course. Spread it in layers, compact it thoroughly, and check it with a long level.
The first course determines the accuracy of everything above it.
Set each concrete block with a rubber mallet until the course is level from front to back and side to side. Check several blocks together with a long straightedge rather than leveling each block independently.
If the planters are curved, adjust the joints gradually instead of creating a sharp change in direction.
The planter walls in this design are decorative retaining structures, not structural supports for the staircase. The stair framing should carry its own load.
Install drainage gravel behind the blocks as the wall rises. A typical drainage zone approximately 6 to 12 in, 150 to 300 mm, wide behind the retaining blocks can help reduce trapped water.
Landscape fabric between native soil and drainage stone can help prevent fine soil from migrating into the gravel.
Frame the Stair Structure
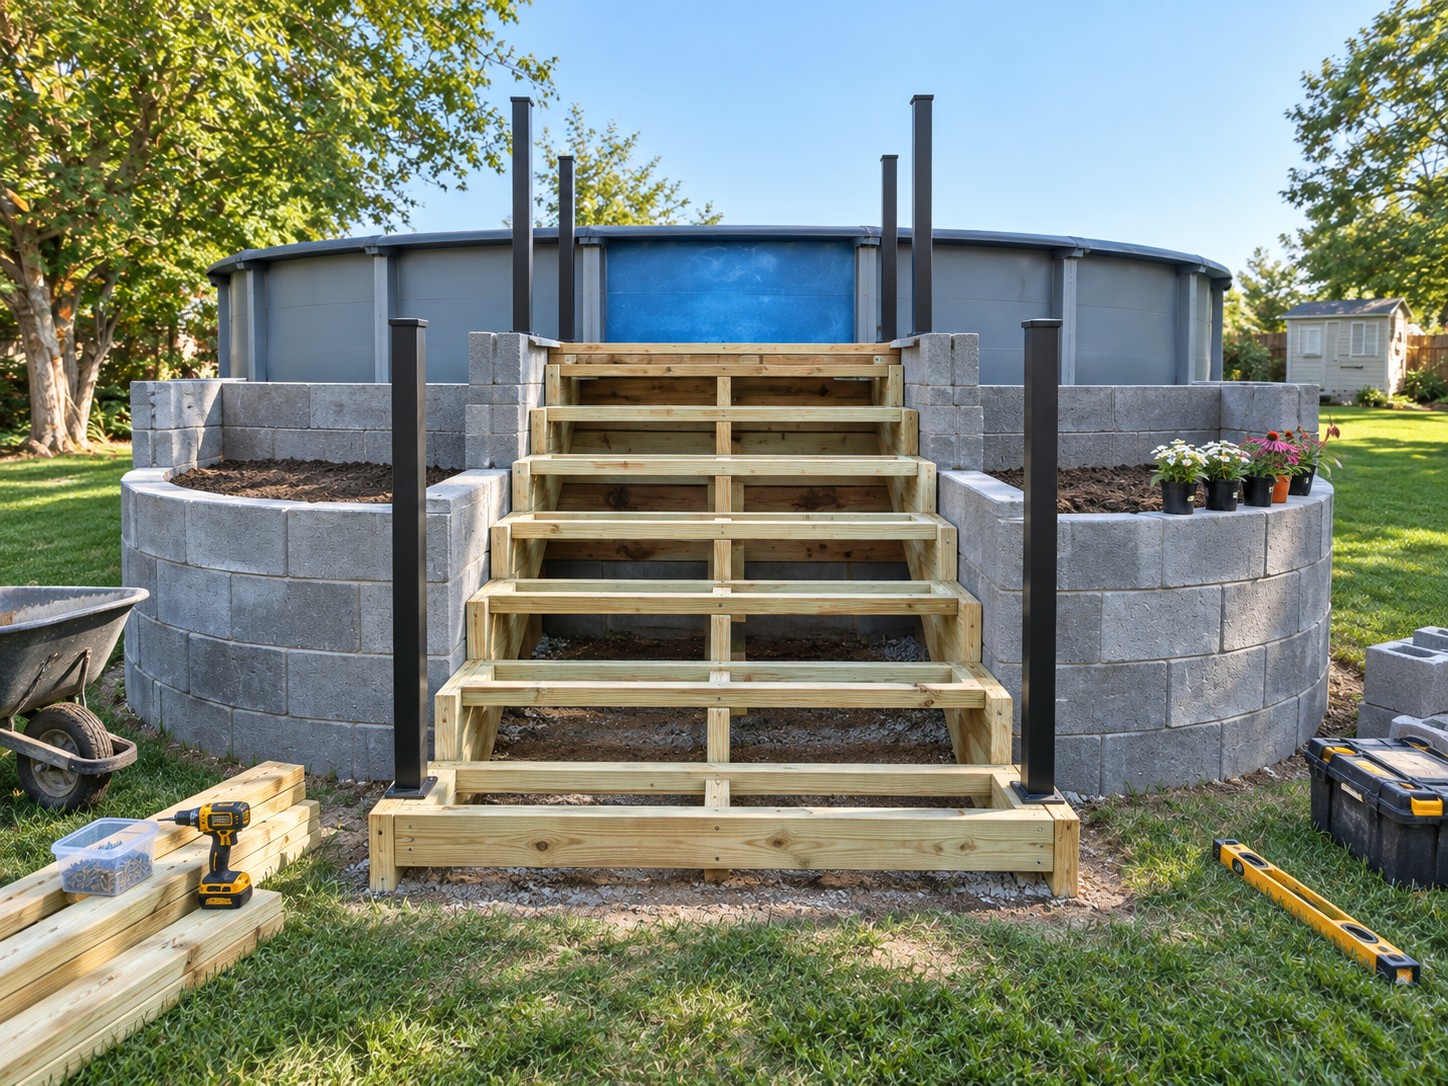
The third image should show the timber structure before the tread boards and most of the decorative finish are installed.
Determine the number of risers from the total height.
For example, a 49 in, 1.24 m, total rise divided into seven equal risers produces approximately 7 in, 178 mm, per riser. This is more comfortable than trying to create a few unusually tall steps.
Actual stair geometry must comply with local building requirements.
Once the riser count is known, determine tread depth. Outdoor pool stairs benefit from generous treads, commonly around 10 to 12 in, 250 to 300 mm, or more where the design permits.
Lay out the stringers with a framing square.
For a staircase approximately 48 in wide, do not rely on only two outer stringers. Additional intermediate support reduces flex in wide steps. Stringer quantity and spacing depend on tread material and local code, but a broad stair commonly needs several evenly spaced stringers.
Cut the first stringer carefully and test it before using it as the template for the others.
Do not cut all stringers until the first one fits correctly.
Set the lower end of the staircase on a stable footing rather than directly on soil. Depending on site conditions, this may be a compacted stone base with concrete pavers, approved deck footings, or frost protected concrete footings where required locally.
Connect structural members with exterior rated structural screws, bolts, or approved framing connectors. Ordinary drywall screws are not suitable for this work.
The upper landing should be self supporting or connected only to a structural element designed to accept the load. Do not fasten a heavily loaded staircase directly to a thin above ground pool wall.
Install Treads and Railings
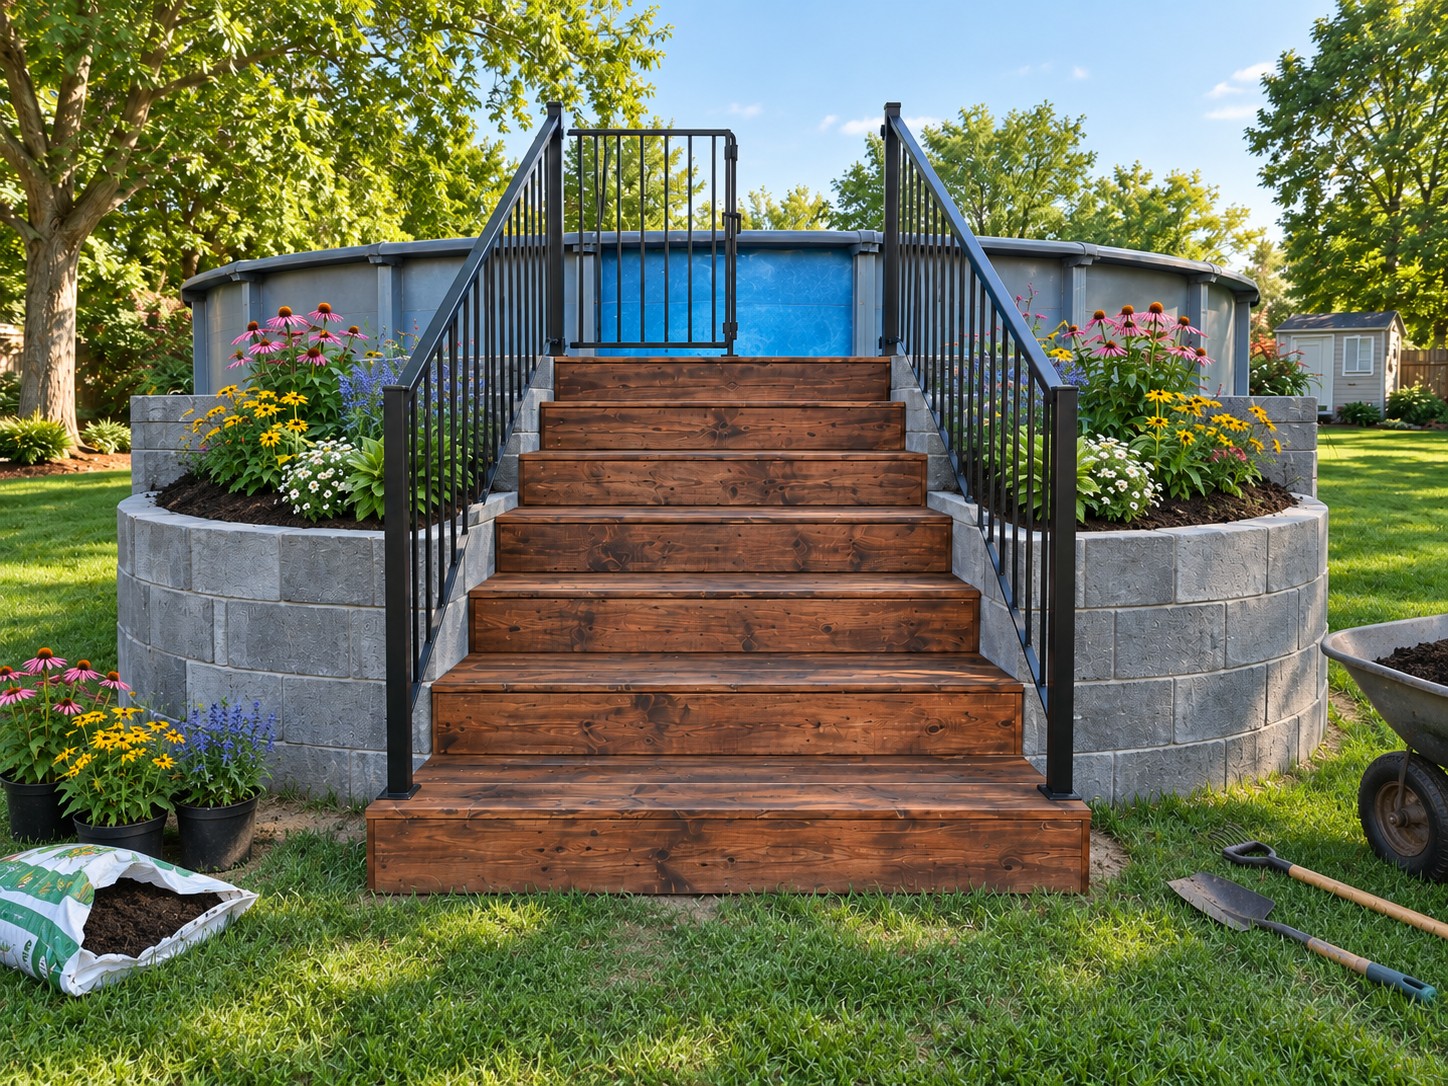
After the framing has been checked for level, square, and movement, install the visible stair surfaces.
Cut the tread boards so each step has consistent coverage. If two boards form one tread, maintain the drainage gap recommended by the decking manufacturer.
Use corrosion resistant exterior deck screws and position fasteners consistently.
Pre drilling near board ends can reduce splitting.
The finished stair surface should drain rather than hold water. Avoid creating enclosed horizontal pockets beneath the treads where moisture can remain trapped.
Install the railing posts into the stair framing using structural connections capable of resisting lateral force. A railing post should not simply be screwed into a thin fascia board.
Where a wood post connects to the stair structure, through bolts, structural screws, blocking, or approved post connectors may be required depending on the design.
The black metal rails shown in the project can then be secured to these structural posts.
Pool access often has stricter barrier requirements than an ordinary garden staircase. Depending on jurisdiction, the top or bottom entrance may require a self closing, self latching gate positioned so young children cannot easily access the water.
Check local pool barrier rules before treating the stair system as complete.
Once the timber assembly is finished, allow new pressure treated lumber to dry as recommended before applying stain or sealer. The dark brown finish shown in the images gives the stairs visual contrast against the gray retaining blocks and black railings.
Fill and Plant the Side Beds
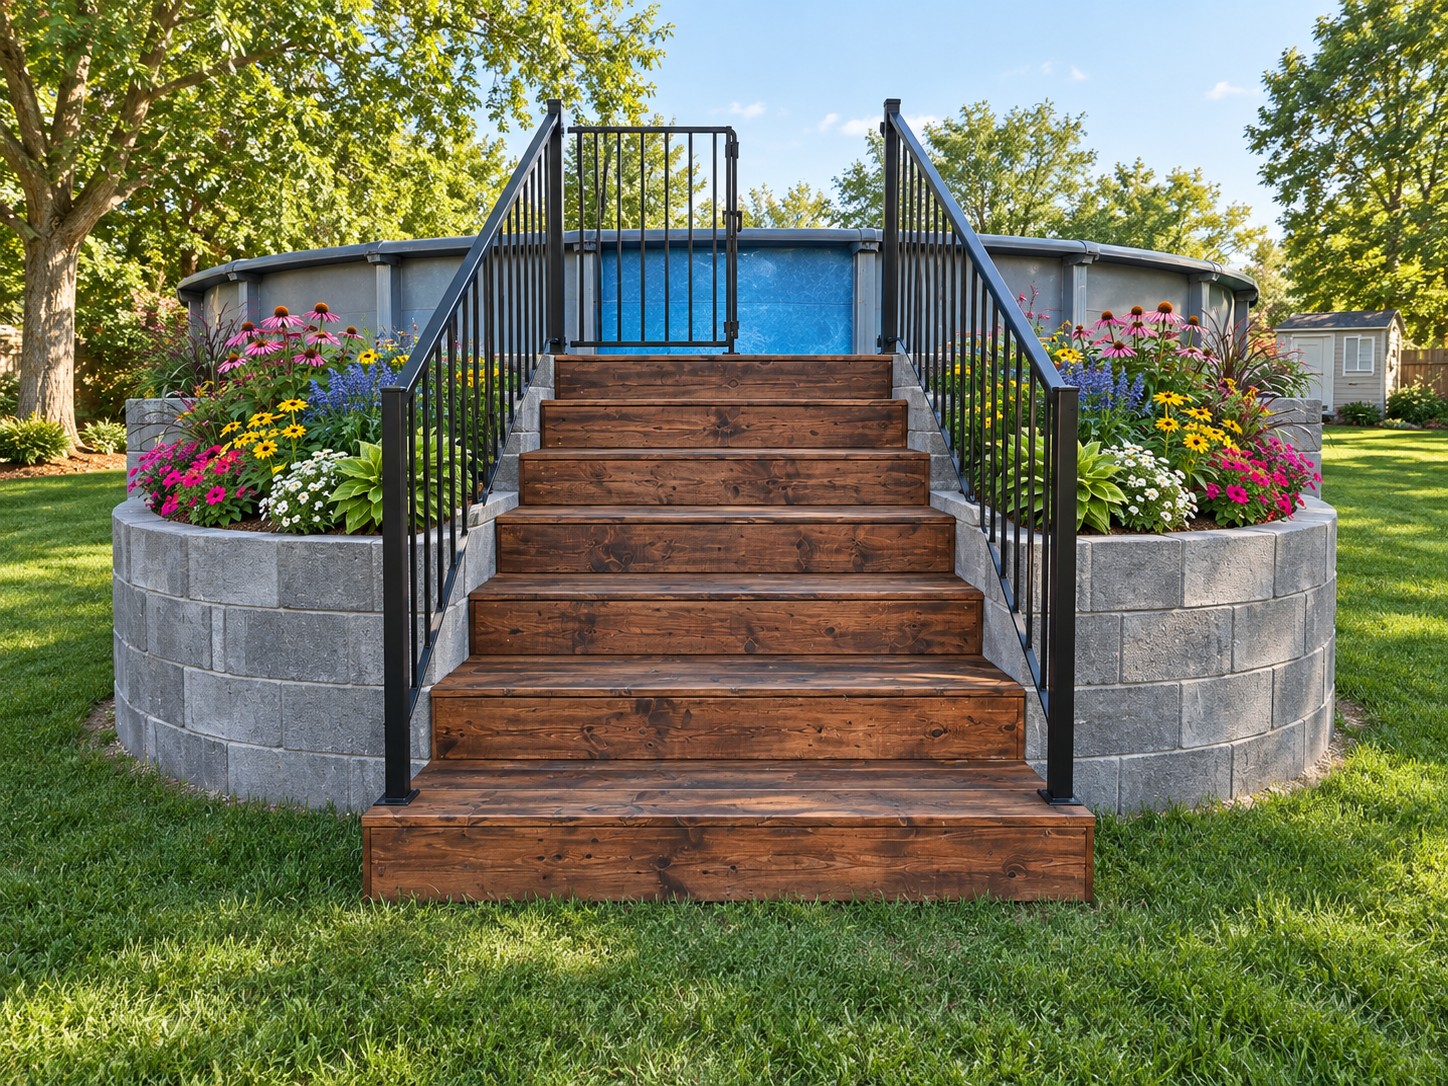
The final construction stage turns the retaining walls into usable planters.
Before adding soil, confirm that water has an exit route.
Do not fill an enclosed concrete block planter with heavy garden soil and assume excess irrigation water will simply disappear.
Keep a drainage layer near the wall base and use free draining planting soil above it.
Leave approximately 1 to 2 in, 25 to 50 mm, between the finished soil level and the upper block edge to reduce soil washing over the front during irrigation.
In the example, taller flowers are concentrated toward the rear and outer edges while lower flowering plants fill the front. This creates height without visually narrowing the staircase.
Choose plants according to actual sunlight conditions.
Good combinations for a sunny pool area may include coneflowers, black eyed Susans, salvia, petunias, calibrachoa, compact ornamental grasses, and other climate appropriate flowering plants.
Avoid aggressive plants that will quickly grow into the handrail or stair opening.
Do not allow potting soil or mulch to remain in constant contact with exposed wood framing.
Keep the Stairs Comfortable
Wide stairs are useful because they make pool access feel more like a normal outdoor staircase than a ladder.
Consistency matters more than decorative complexity.
Each riser should be as close as possible to the same height. Even a small unexpected difference between steps can cause a person to catch a foot.
The walking surface also needs traction.
Highly polished coatings can become slippery around pool water. If the wood is stained, use a finish appropriate for exterior walking surfaces.
Regularly check the treads for loose fasteners, cracks, splinters, or movement.
The top landing deserves special attention because users may pause there before entering or exiting the pool.
Separate the Stair Load From the Pool
One of the most important structural principles in this project is that the stairs should not depend on the pool wall for support.
Above ground pool walls are designed primarily to resist water pressure. They are not automatically intended to carry deck, stair, planter, or railing loads.
Create independent support for the stair system.
The same principle applies to the planter walls. Their purpose is to retain soil and create landscaping around the stair opening, not to become improvised deck foundations.
Maintaining this separation also makes future pool replacement or liner service easier.
Plan for Water Around the Structure
Pool stairs regularly receive splashing water, so drainage deserves more attention than it would on a dry garden staircase.
Grade the ground beneath and around the stairs so water does not remain against the bottom framing.
Keep soil below structural wood wherever possible.
Use pressure treated lumber rated for the intended exposure and corrosion resistant hardware compatible with treated lumber.
If the site naturally collects water, consider a gravel drainage zone or approved drain before building the stair structure.
The planting beds also need controlled drainage so irrigation water does not continuously flow under the staircase.
Inspect the Finished Project
Once all construction and planting are complete, remove loose lumber, tools, open soil bags, excess stone, and construction debris.
Walk every tread and apply normal lateral pressure to the rails.
There should be no noticeable movement in the staircase, railing posts, or upper landing.
Check that the gate operates correctly if one is installed.
The finished design works because the project does more than hide a standard pool ladder. Broad wood stairs provide a comfortable approach, black railings create a defined access route, concrete block planters stabilize the visual composition, and layered flowering plants soften the transition between the pool and lawn.
Most importantly, the finished appearance is supported by a properly prepared base, independently framed staircase, structural fasteners, well anchored railings, and controlled drainage rather than decoration alone.
Share
What's Your Reaction?
 Like
0
Like
0
 Dislike
0
Dislike
0
 Love
0
Love
0
 Funny
0
Funny
0
 Angry
0
Angry
0
 Sad
0
Sad
0
 Wow
0
Wow
0