DIY Stock Tank Pool With a Wood Deck and Gravel Border

DIY Stock Tank Pool With a Wood Deck and Gravel Border

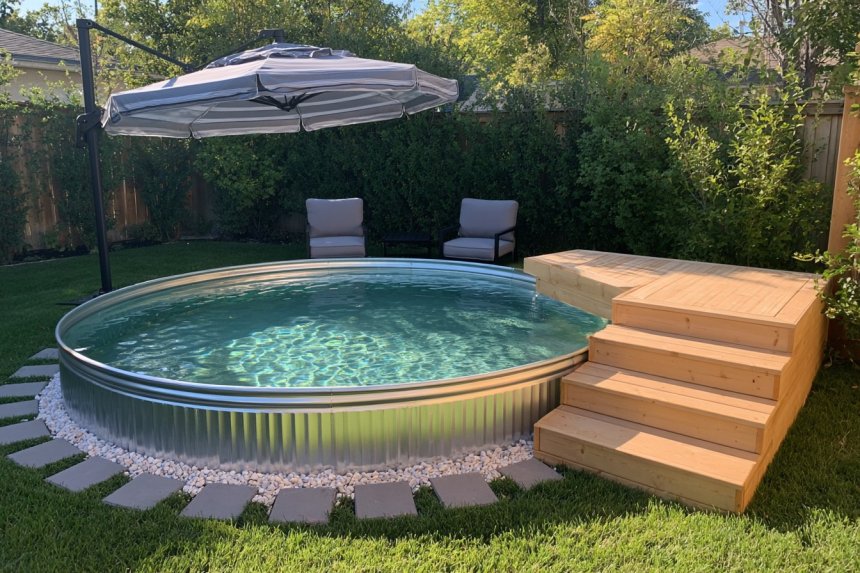
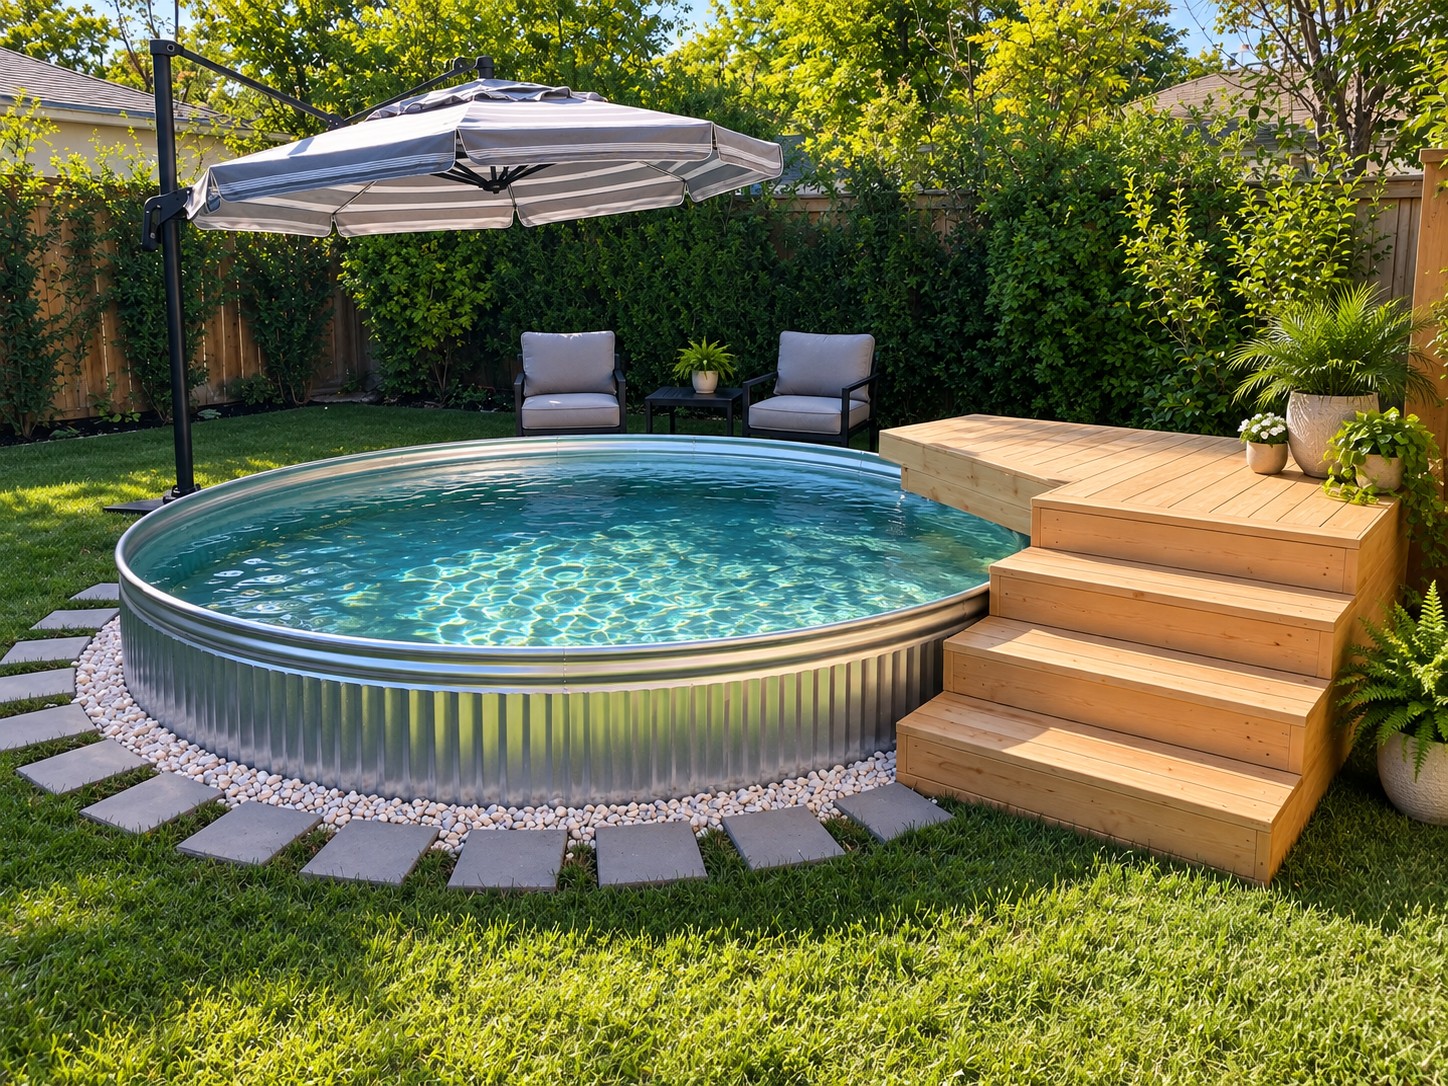
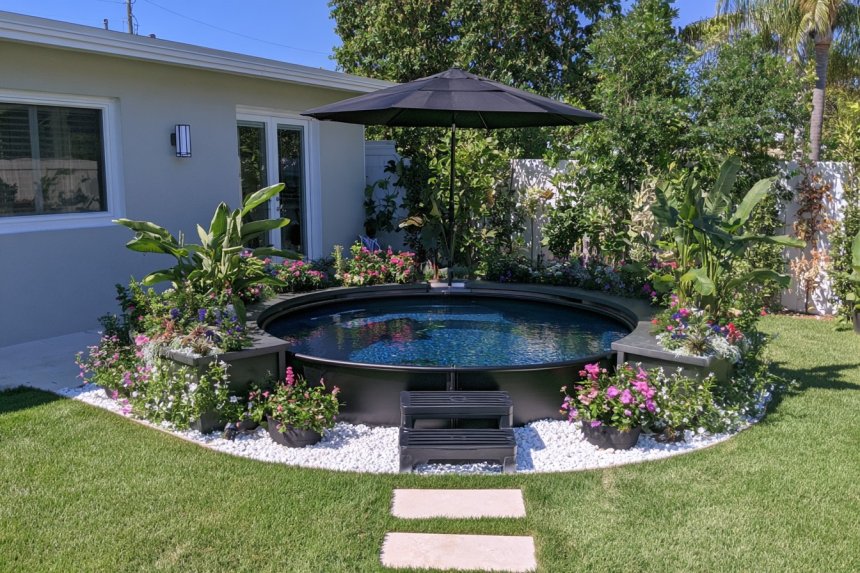
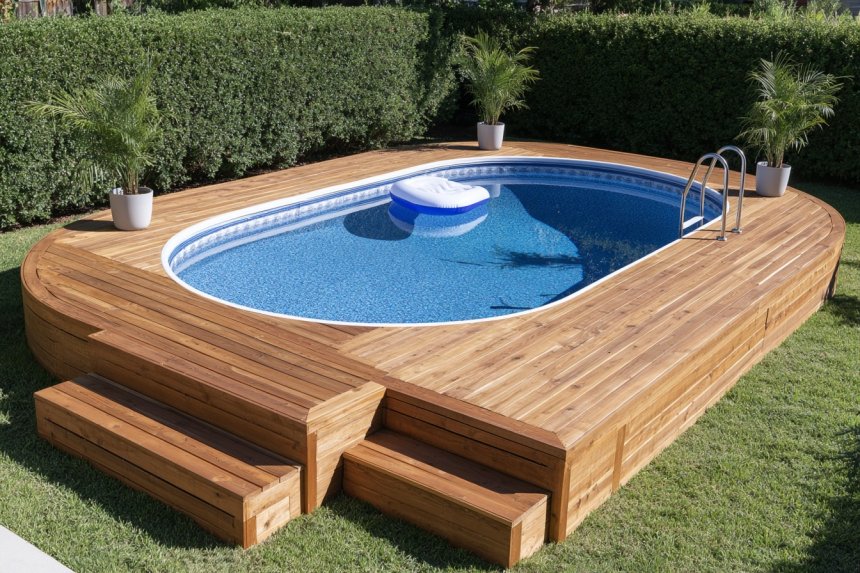
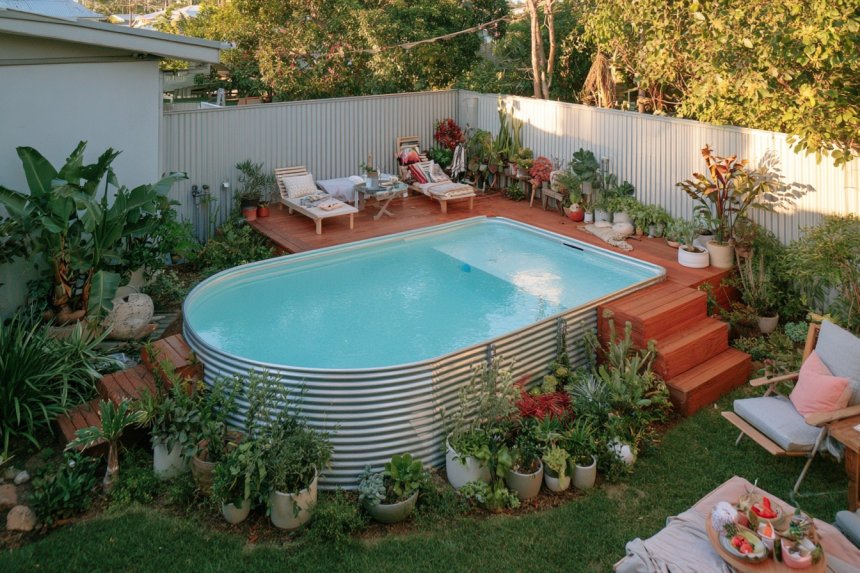
A DIY stock tank pool can turn an ordinary section of lawn into a compact backyard cooling area without requiring the footprint of a traditional in ground pool. The most successful versions are not just about placing a galvanized tank on the grass. Ground preparation, access, drainage, stable decking, and the space around the pool all affect how comfortable and durable the finished project will be. This project combines a round galvanized stock tank with a small wooden entry deck, wide steps, white landscape pebbles, concrete pavers, and a shaded seating area. The four stages below separate preparation, structural construction, finishing, and styling so each part of the build has a clear purpose.

Materials and Tools

Materials And Tools

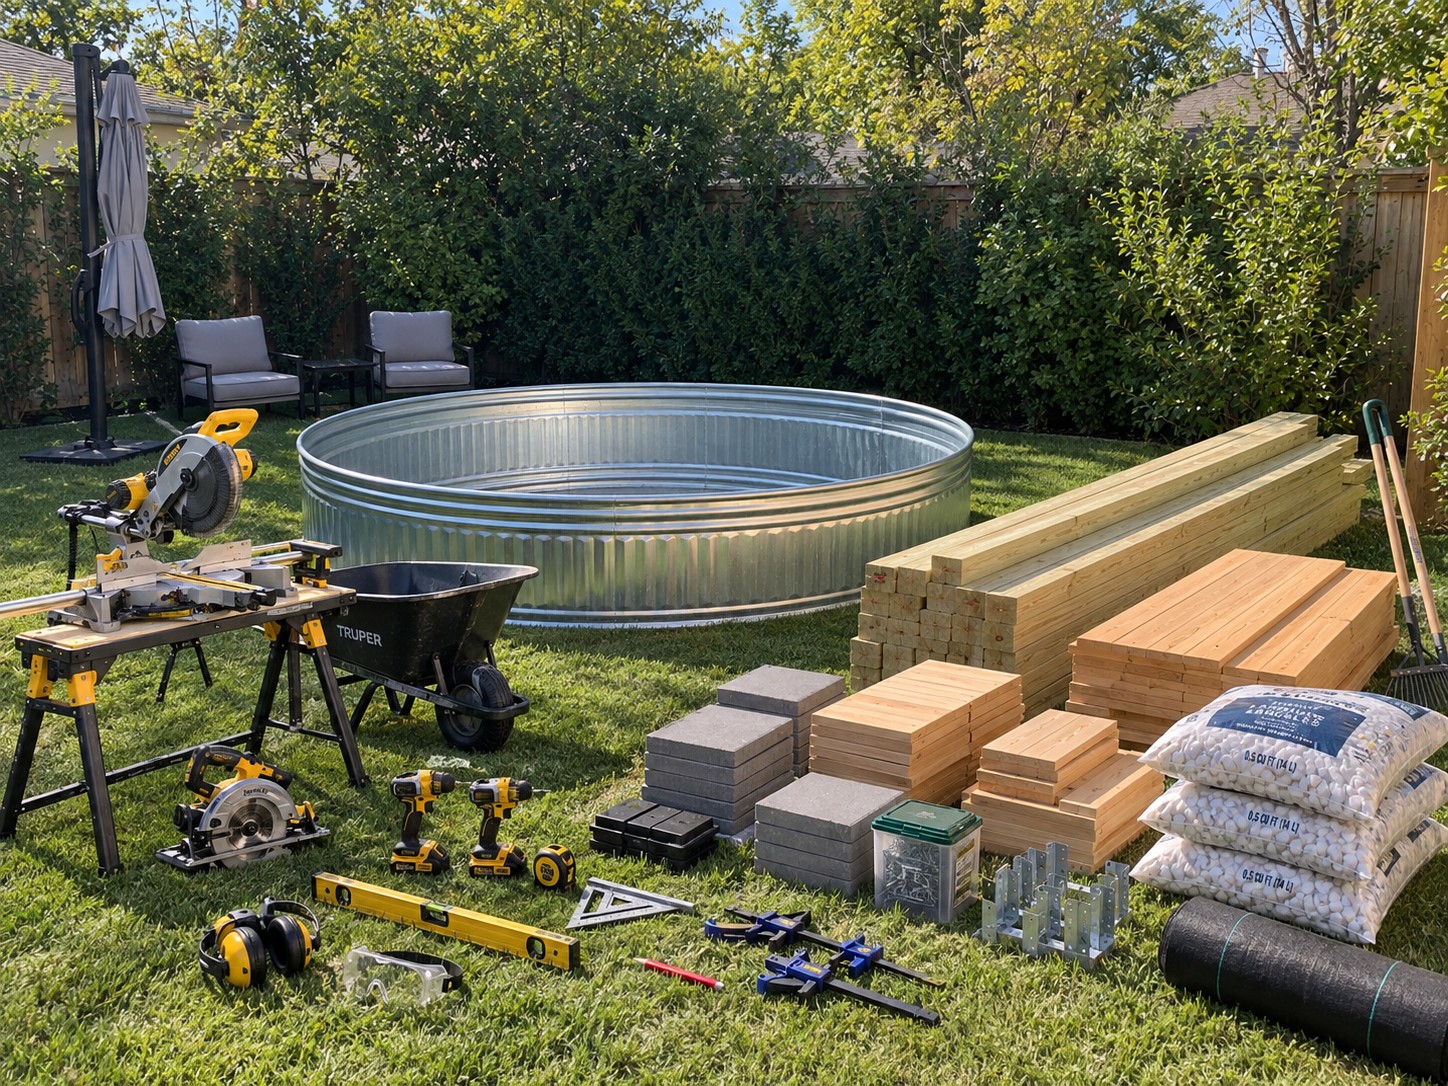
Before beginning, gather the construction materials and tools in one place. Having everything available before cutting lumber makes it easier to verify measurements and prevents the deck dimensions from changing halfway through the project.

• Galvanized stock tank suitable for outdoor water use
• Pressure treated lumber for posts, joists, and structural framing
• Exterior grade deck boards for the platform and stair treads
• Exterior deck screws and corrosion resistant structural fasteners
• Galvanized joist hangers and framing brackets where required
• Concrete pavers or solid support blocks
• White landscape pebbles or river rock
• Landscape fabric
• Gray concrete stepping stones
• Compound miter saw
• Circular saw
• Cordless drill and impact driver
• Tape measure
• Long spirit level
• Speed square
• Wood clamps
• Carpenter's pencil
• Shovel and garden rake
• Wheelbarrow
• Safety glasses and hearing protection
• Optional cantilever umbrella, outdoor chairs, side table, and planters

Choose lumber dimensions and fasteners according to the size of the platform rather than copying dimensions from another project. A deck carrying people beside a pool needs adequate structural support.

1. Prepare Everything Before the Build

1. Prepare Everything Before The Build

The first stage is primarily about planning rather than construction. Position the empty stock tank where you expect the finished pool to sit and use it to judge circulation space around the yard. There should be enough room for the deck, steps, maintenance access, and a walking route that does not force people to squeeze between the tank and surrounding landscaping.

Lay the lumber, deck boards, pavers, gravel, brackets, and hardware nearby before making the first cut. Check boards for excessive warping and separate structural lumber from finish boards.

This is also the best time to establish the tool area. A compound miter saw makes repeated straight cuts for framing and stair components easier, while a circular saw is useful for longer boards and adjustments. Keep the drill, impact driver, level, tape measure, square, and clamps together so measurements can be checked repeatedly during assembly.

Before moving forward, determine whether the selected area is genuinely level. A stock tank filled with water becomes extremely heavy. Soft soil, pronounced slopes, or recently disturbed ground should be corrected before the tank is filled.

2. Level the Tank and Build the Frame

2. Level The Tank And Build The Frame

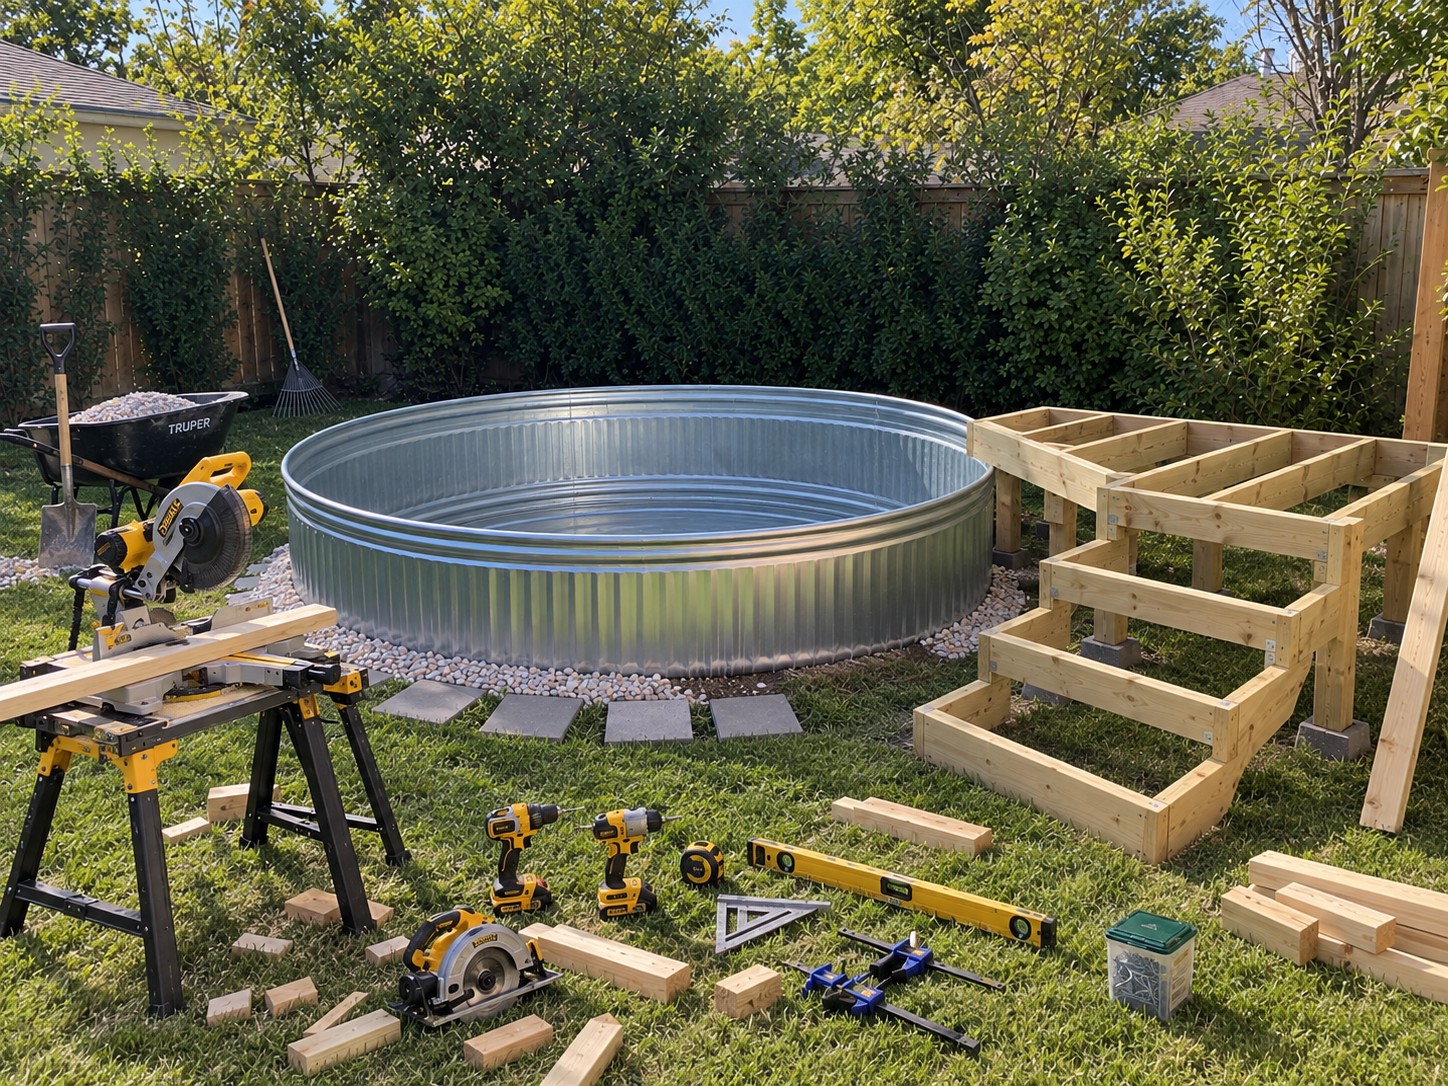
Once the location is confirmed, prepare the ground beneath the stock tank. Remove uneven high spots rather than trying to compensate by simply piling loose material under one side. The tank should sit on a stable, compacted, level surface capable of supporting the filled weight.

Begin the landscape border at the same stage. Landscape fabric can help separate decorative stone from the soil, while a shallow band of white pebbles provides a cleaner transition between the galvanized metal and lawn. Leave parts of the border unfinished until the larger construction work is complete so tools and lumber do not continually disturb the stone.

Next, assemble the deck frame beside the tank. Construct the structural platform first and keep the joists exposed while checking alignment. Use a long level across several points instead of checking only one board.

The stair frame should be treated as part of the structure rather than decorative trim. Each step needs consistent support and comfortable spacing. Confirm tread depth and rise before cutting all of the remaining pieces.

At this stage the pool should still be empty. It is much easier to reposition the tank or correct a structural mistake before hundreds of gallons of water have been added.

3. Add Decking and Begin Filling

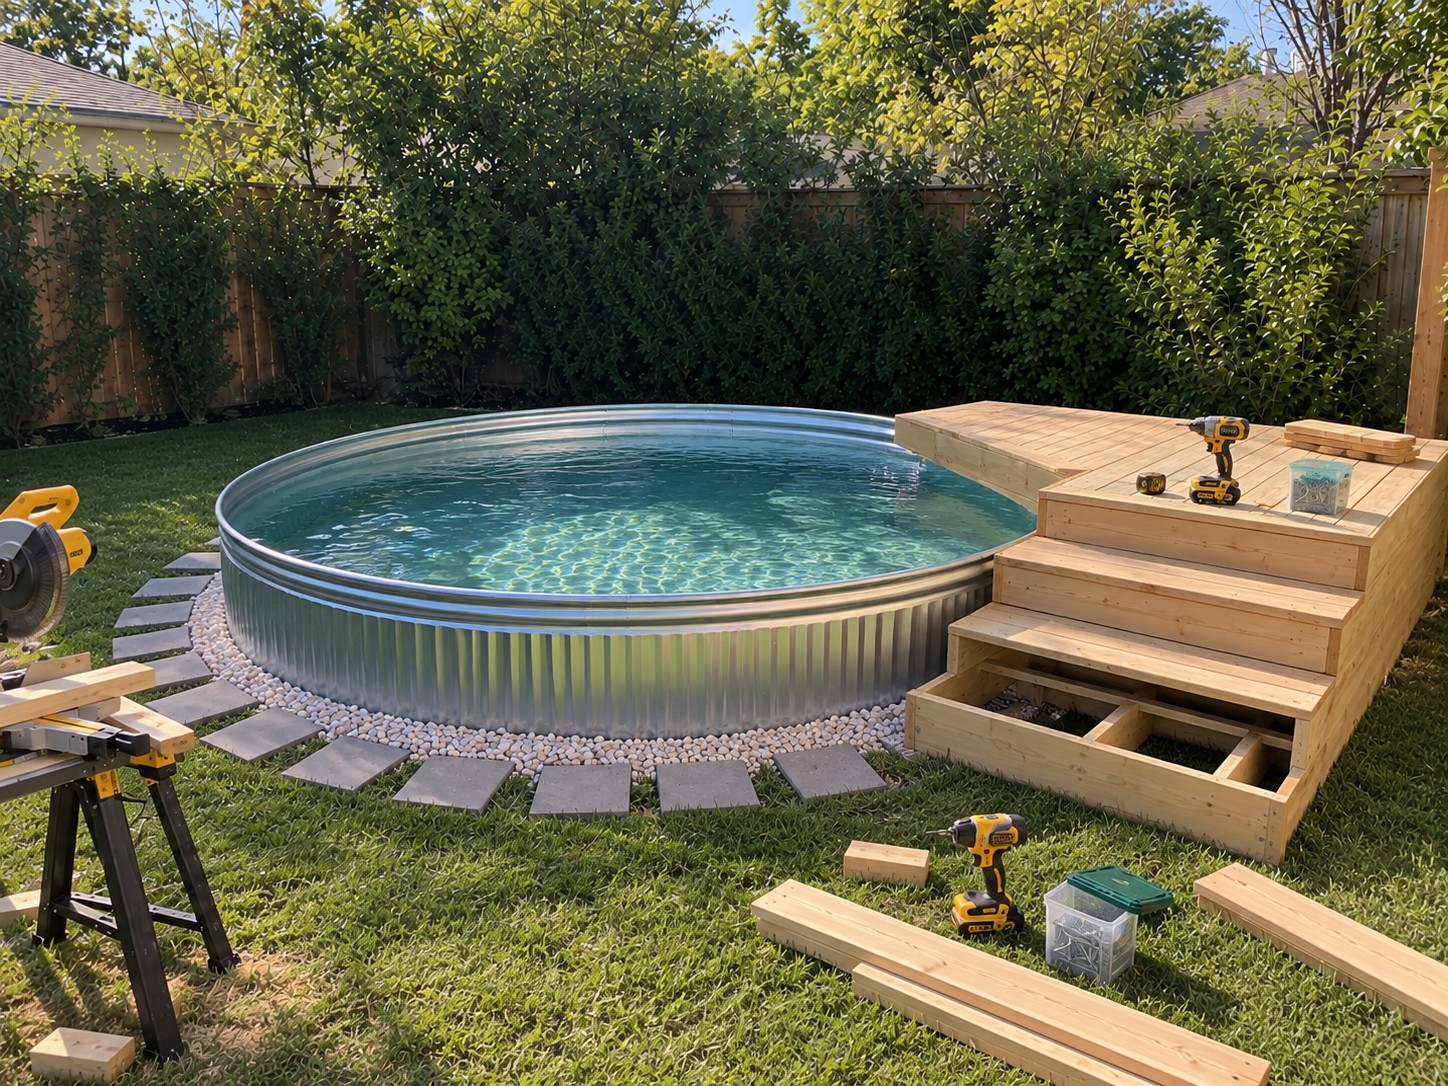
With the framing square and secure, the project can move into its finishing stage. Install the deck boards across the platform while maintaining consistent spacing for drainage and seasonal wood movement. Start from the most visible edge and work toward the less noticeable side so any final adjustment is easier to conceal.

The steps can now receive their treads and most of their exterior facing boards. However, keep accessible areas open until the framing and fasteners have been inspected. This is particularly useful around the lower step where small alignment problems tend to become more visible.

Finish spreading the pebble border and position the gray pavers around the pool. The pavers should feel intentional but do not need to create a rigid circular pattern. Leaving sections of grass between them can make the transition softer and more appropriate for a residential backyard.

Once the tank is confirmed to be level and stable, begin filling it while periodically watching the rim. If the water level becomes noticeably higher on one side, stop and correct the base rather than accepting the imbalance.

Leave several tools nearby during this stage because minor adjustments are normal. A drill, level, tape measure, screw container, and a few spare boards are usually more useful now than the larger construction setup from the previous step.

4. Finish the Pool Area

4. Finish The Pool Area

The final stage should look noticeably different from the construction photographs. Remove leftover lumber, saws, screw boxes, and offcuts before treating the area as a usable outdoor space.

Complete the remaining stair faces and deck trim so exposed framing is no longer visible. Check every tread for movement and inspect accessible fasteners. Lightly sanding sharp board edges can make the stairs more comfortable for bare feet, but the walking surface should not become excessively smooth or slippery.

A cantilever umbrella works well beside a round stock tank because its support pole can remain outside the main circulation area while the canopy extends toward the water. The umbrella needs a properly weighted or anchored base rather than relying on the surrounding furniture for stability.

Two outdoor chairs placed behind the pool create a simple sitting zone without surrounding the entire tank with furniture. A small side table is enough for practical use, while a limited number of planters can soften the transition between the galvanized steel, timber, and existing garden.

The finished result should still leave clear walking space around the pool and uncomplicated access to any drain, filter, or maintenance equipment.

Practical Details That Matter

One advantage of this project is that the visible landscaping remains relatively simple. The white pebble band helps prevent grass from growing directly against the tank and creates a cleaner edge for trimming. The stepping stones reduce repeated foot traffic across the same patches of lawn, especially near the stairs.

The wood deck also provides more than decoration. A broad upper platform makes entering the stock tank easier and gives users a stable place to pause before stepping into the water. Wide steps can feel more comfortable than a narrow ladder, provided the framing is properly supported.

Material selection matters around water. Use exterior rated lumber, corrosion resistant fasteners, and hardware intended for outdoor construction. Untreated interior lumber and ordinary indoor screws can deteriorate quickly when exposed to moisture.

Pool Water and Ongoing Maintenance

A stock tank used as a swimming pool still requires water management. Standing untreated water can develop algae and support microorganisms, so the maintenance approach should be planned before regular use. Depending on the tank and setup, owners may use a compatible filtration or circulation system along with an appropriate sanitizing method.

Follow the tank manufacturer's recommendations before cutting openings or installing pumps. Any electrical equipment used near the water should be suitable for the application and connected according to local electrical safety requirements, including appropriate ground fault protection where required.

The galvanized surface should also be inspected periodically for corrosion, scratches, leaks, and damage around fittings.

Safety Before Regular Use

Treat the finished stock tank as a pool rather than as decorative garden water. Local rules may require barriers, covers, alarms, fencing, or other protective measures depending on water depth and jurisdiction. Children should never have unsupervised access to the pool area.

The wooden deck deserves the same attention. Recheck fasteners after the first period of use, watch for movement in the stair structure, and replace damaged boards rather than covering structural problems with trim.

With a properly prepared base, correctly supported deck, manageable landscaping, and realistic maintenance routine, this type of stock tank pool can remain visually simple while functioning as a practical backyard cooling area.

Share

What's Your Reaction?

Like Like 0
Dislike Dislike 0
Love Love 0
Funny Funny 0
Angry Angry 0
Sad Sad 0
Wow Wow 0