12 Stylish DIY Projects You Can Make with Acrylic Sheets

12 Stylish DIY Projects You Can Make with Acrylic Sheets

Acrylic sheets are highly versatile materials for modern DIY projects because they are available in transparent, colored, frosted, and mirrored finishes. They are lighter than glass, offer a similarly polished appearance, and can be cut into many different shapes. Thin sheets can usually be scored with an acrylic cutting knife, while thicker materials may require a jigsaw or professional cutting service. Before beginning, keep the protective film attached, mark every measurement carefully, and smooth the cut edges with fine sandpaper. Always wear protective equipment and work in a ventilated area when using adhesives. The following original projects can be adapted for living spaces, offices, kitchens, bedrooms, balconies, and creative studios.

1. Pressed Flower Acrylic Wall Panel

1. Pressed Flower Acrylic Wall Panel

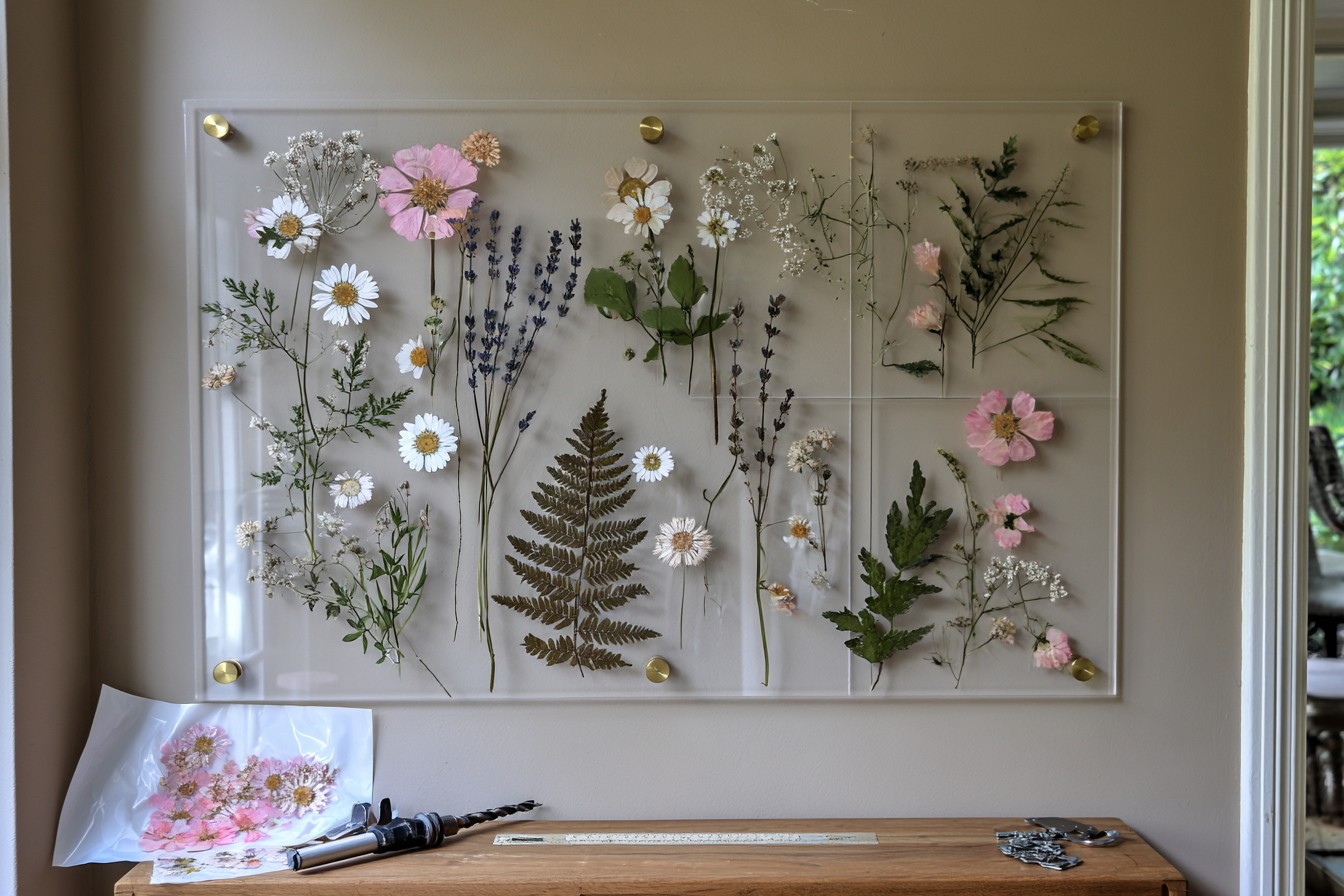
Transform dried flowers into contemporary wall art by placing them between two matching transparent acrylic sheets. Begin by pressing daisies, lavender, ferns, or delicate leaves inside a heavy book until they are completely flat and dry. Arrange the botanical pieces across the first sheet, leaving enough open space to maintain a clean and balanced appearance. Carefully position the second acrylic sheet over the arrangement. Drill small holes in the corners and connect the panels with decorative metal standoff screws. To prevent cracking, drill at a low speed and support the acrylic with a flat wooden board. Display the finished panel above a desk, dresser, or hallway console. The flowers can also be replaced seasonally, allowing the same frame to hold spring blossoms, autumn leaves, or meaningful natural keepsakes.

2. Modular Acrylic Desk Organizer

2. Modular Acrylic Desk Organizer

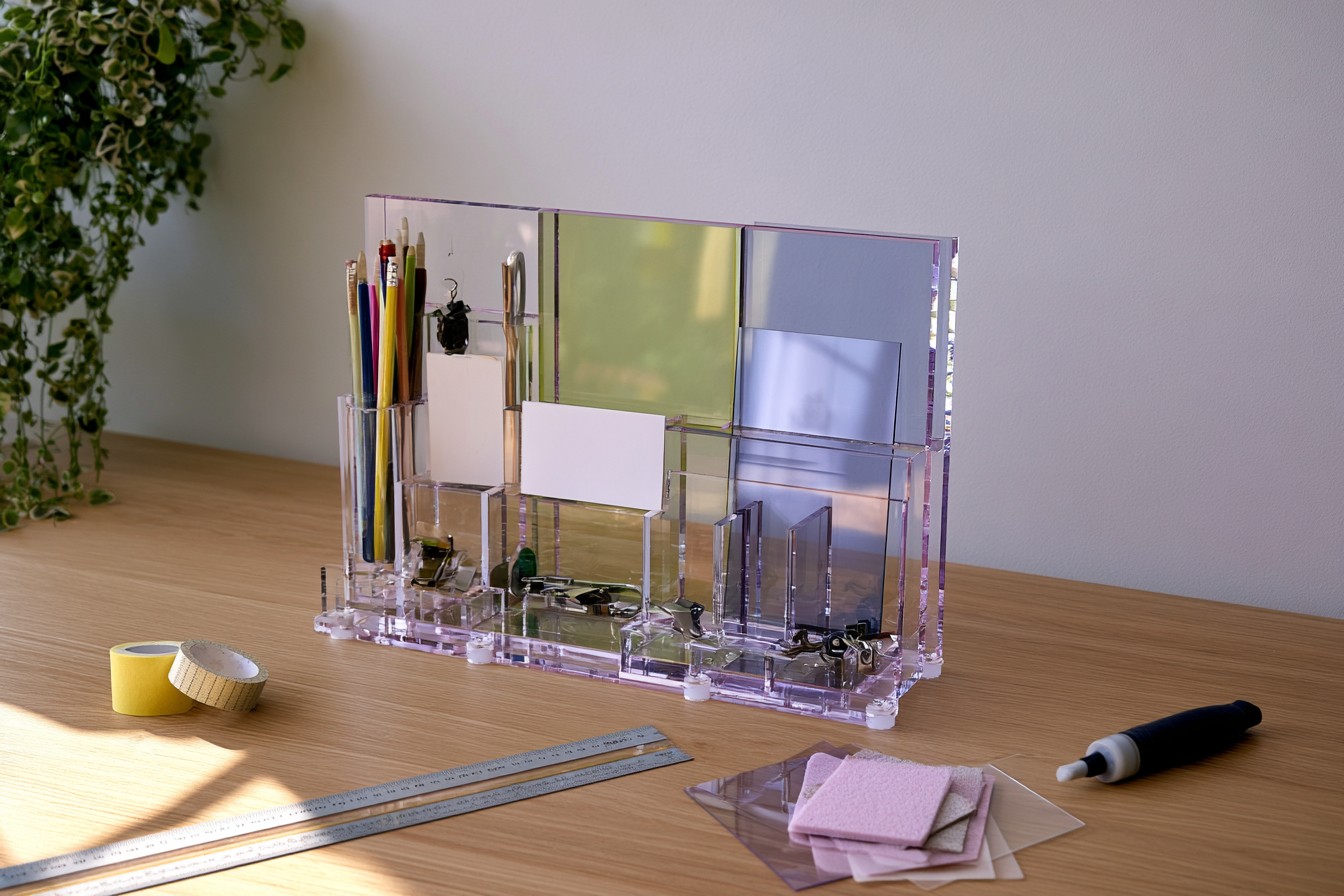
Create a customized organizer to keep pens, note cards, scissors, and small office supplies under control. You will need three millimeter acrylic sheets, a ruler, masking tape, fine sandpaper, and an adhesive formulated specifically for acrylic. Start by determining the desired dimensions of the base. Plan separate compartments for writing tools, sticky notes, business cards, and frequently used accessories. Temporarily secure the pieces with masking tape before applying adhesive so you can check their alignment. Use only a small amount of adhesive along the connecting edges and complete this step in a well ventilated workspace. Once fully cured, the organizer can be placed in a home office, craft room, or study area. Combining transparent panels with one or two pastel sections can introduce color while maintaining a clean, modern, and visually uncluttered appearance.

3. Reusable Weekly Planning Board

3. Reusable Weekly Planning Board

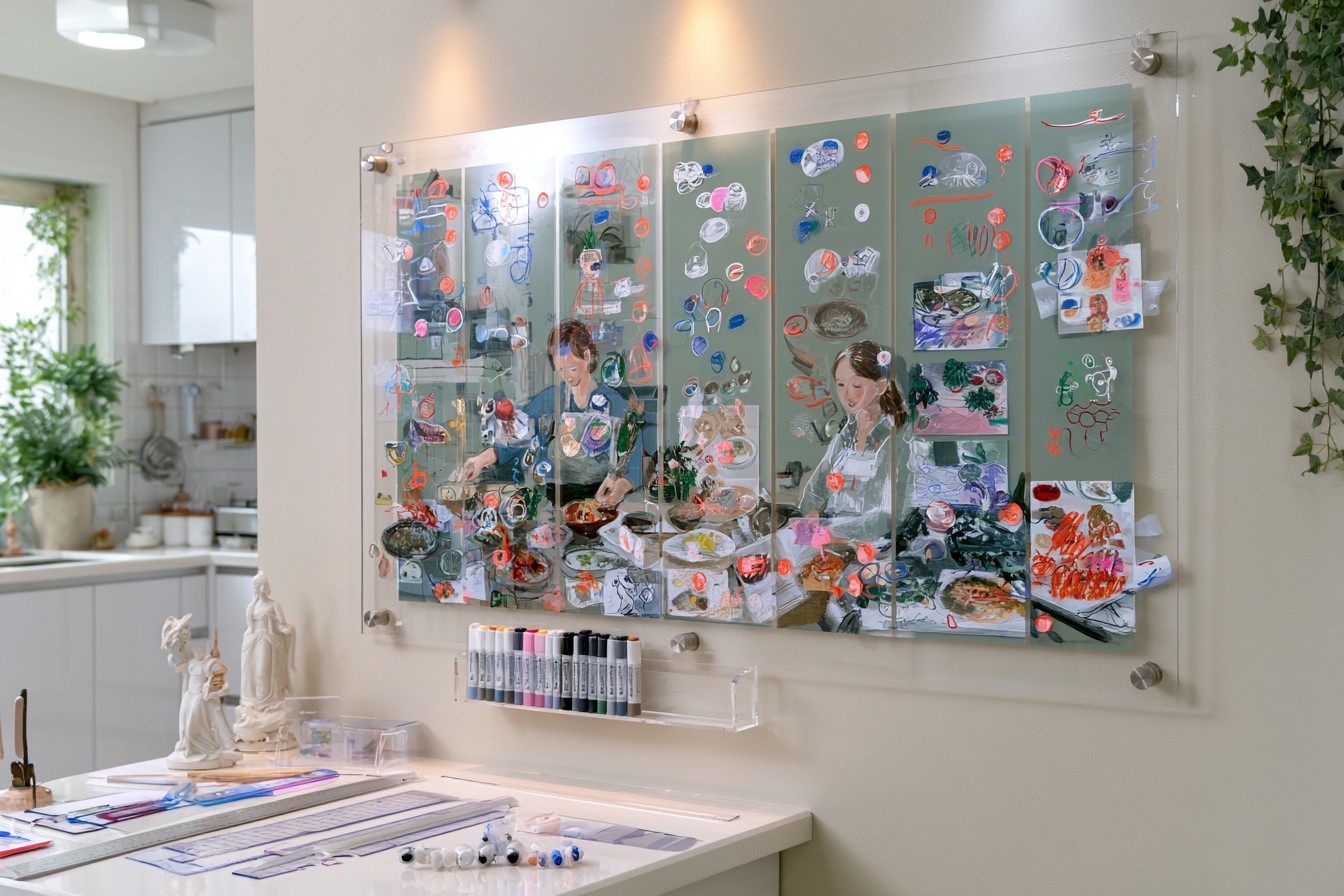
The smooth, erasable surface of an acrylic sheet makes it suitable for creating a reusable weekly planner. Gather a medium sized transparent sheet, a ruler, permanent paint markers, dry erase markers, and metal wall mounting hardware. Divide the back of the panel into seven equal sections and draw the permanent grid on that side. Applying the fixed design to the reverse surface prevents it from being removed when the front is cleaned. Mount the panel with standoff connectors that leave a small gap between the acrylic and the wall. Weekly appointments, meal plans, content schedules, household tasks, and school activities can then be written on the front and erased whenever necessary. Install the planner in a kitchen, shared family workspace, or home office. A removable sheet of colored paper placed behind the board can change its appearance without requiring permanent decoration.

4. Layered Geometric Acrylic Wall Art

4. Layered Geometric Acrylic Wall Art

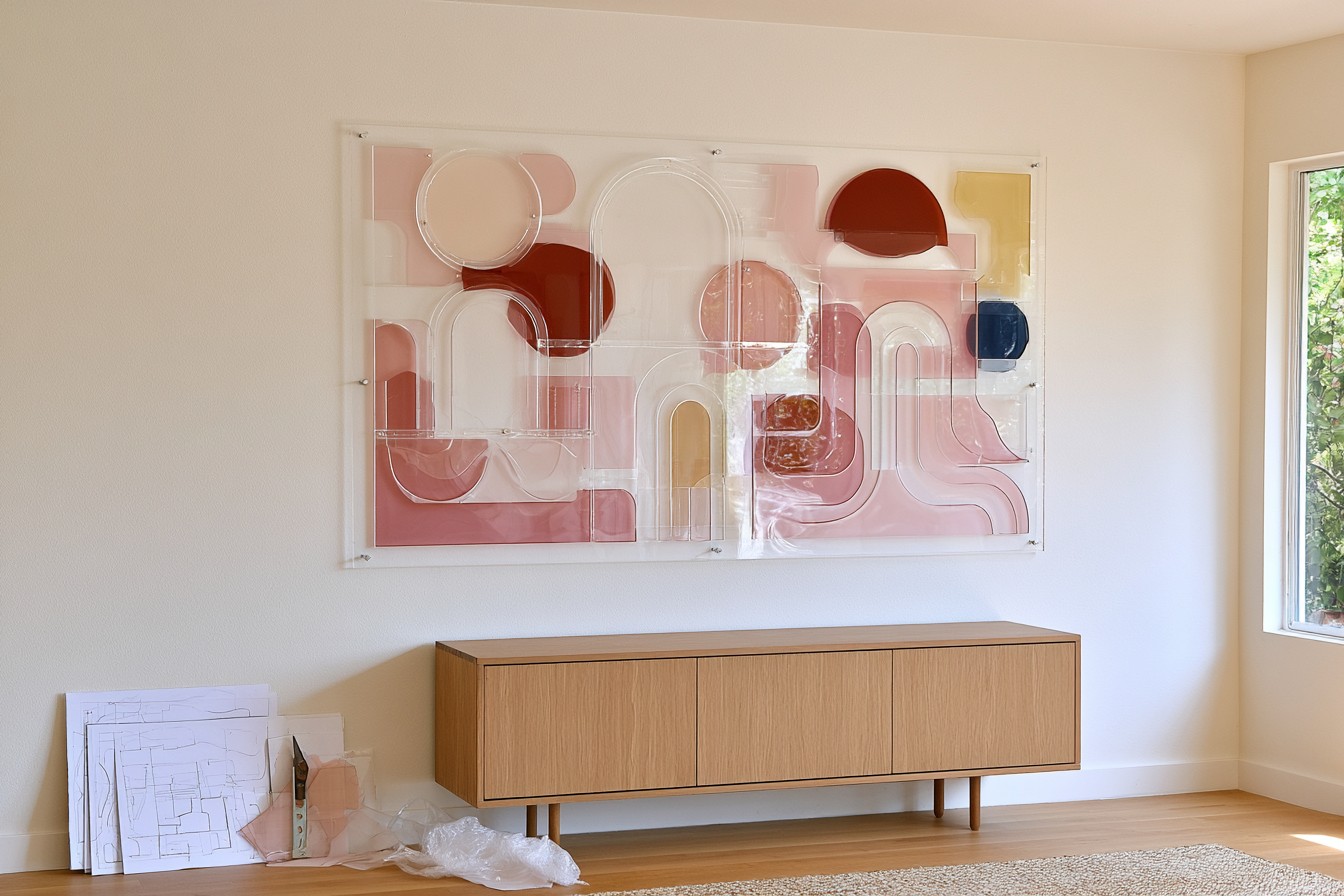
Use leftover acrylic pieces to create a layered wall composition featuring circles, arches, semicircles, and organic shapes. Combining transparent, frosted, and softly colored sheets will give the artwork greater dimension. Begin by sketching the complete arrangement on paper and transferring each template onto the protective film covering the acrylic. Straight sections can be scored with an acrylic knife, while curved forms may require a fine toothed jigsaw or professional cutting service. Smooth every edge carefully before assembling the pieces. Small transparent spacers can be placed between the layers to create subtle depth and changing shadows. Display the finished artwork in a hallway, studio, bedroom, or minimalist living room. Limiting the design to two main colors and one accent shade will make the piece appear more balanced. Choose colors that coordinate with nearby furniture, textiles, or existing artwork.

5. Acrylic Plant Propagation Station

5. Acrylic Plant Propagation Station

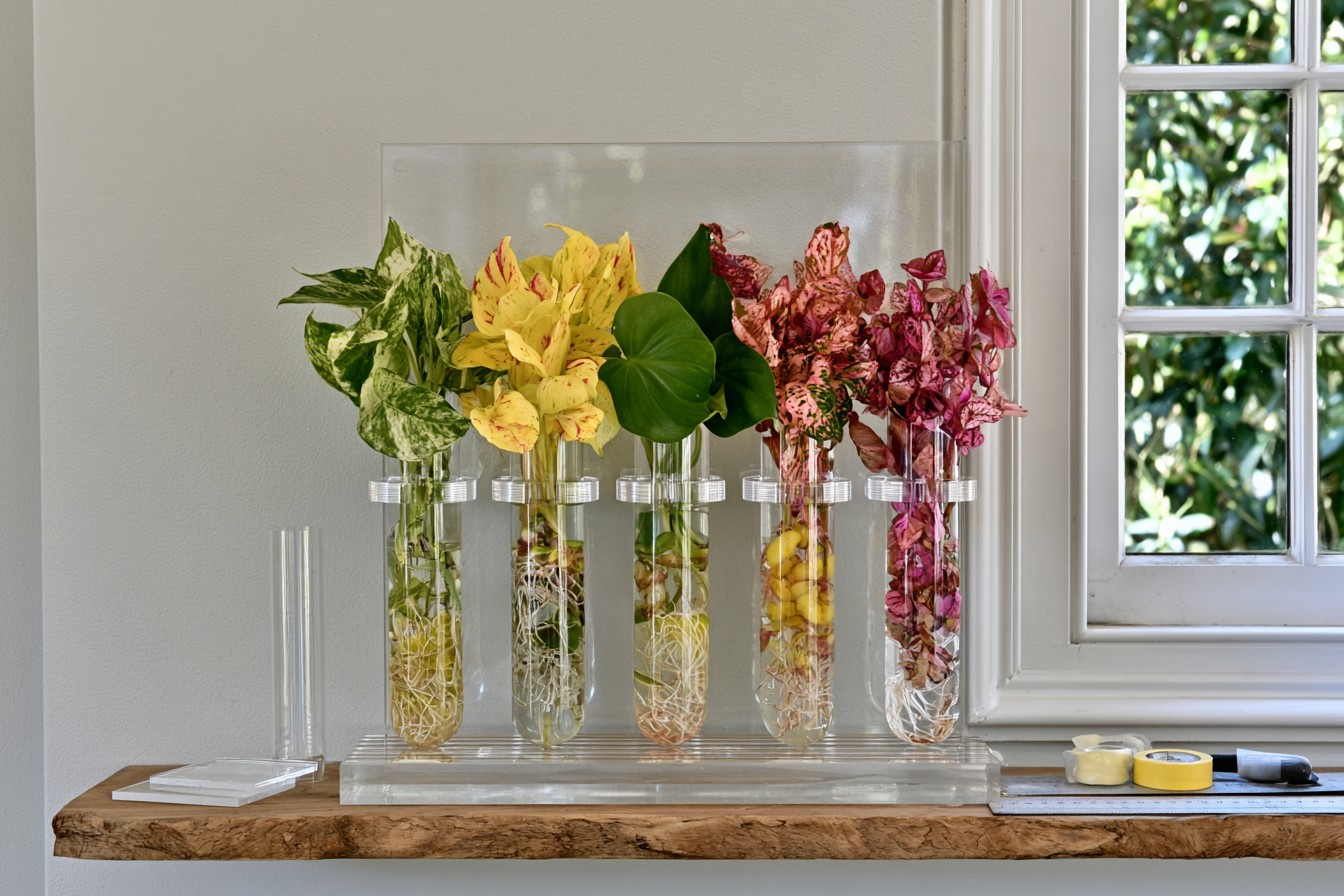
Build a compact propagation station for displaying plant cuttings as they develop roots in water. This project requires a thick acrylic base, a vertical back panel, several small glass tubes, tube holders, and a suitable acrylic adhesive. Determine the placement of the tubes and mark evenly spaced positions across the upright panel. Secure a holder at each marked point so the glass containers remain stable. Attach the back panel to the base at a precise right angle and support it until the adhesive has completely cured. Fill the tubes with clean water and add cuttings from pothos, spider plants, wandering dude plants, or heartleaf philodendrons. The station can be used beside a kitchen window, on a home office shelf, or on a sheltered balcony. Check the water level regularly, clean the tubes, and protect developing roots from intense direct sunlight.

6. Modern Acrylic Jewelry Display Stand

6. Modern Acrylic Jewelry Display Stand

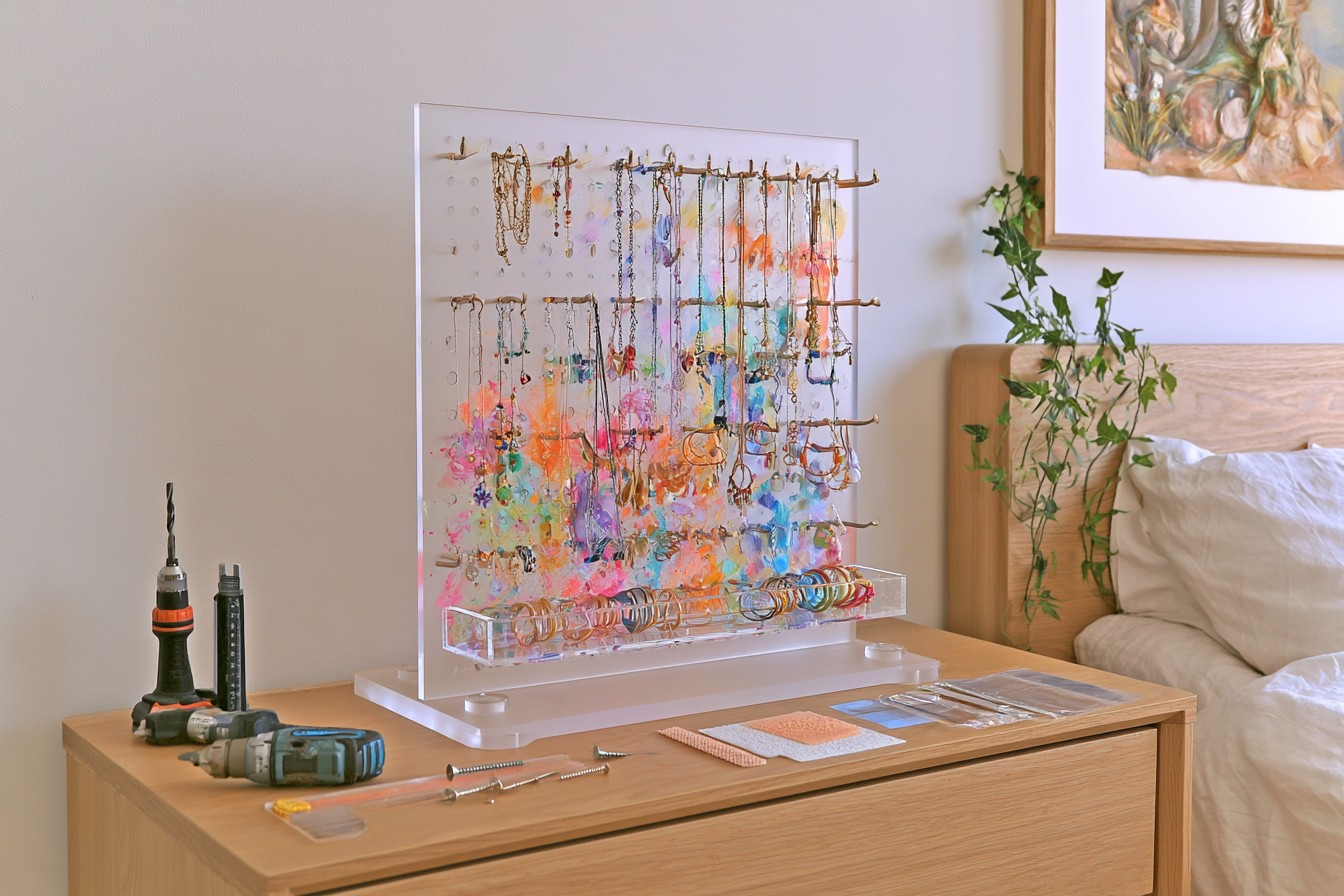
Prevent necklaces from becoming tangled and keep earrings visible by creating a freestanding acrylic jewelry display. Use a frosted acrylic panel, a wide base piece, small hooks, a drill, screws, and protective silicone pads. Mark a series of evenly spaced holes across the panel for earrings. Place short hooks along the upper section for necklaces and bracelets. The base should be wide enough to prevent the display from tipping when several accessories are added. A small tray section can also be incorporated along the bottom to hold rings, hair clips, and other compact items. Position the finished stand on a bedroom dresser, inside a dressing area, or on a boutique display counter. Transparent acrylic allows colorful jewelry to remain the main attraction, while a frosted finish makes fingerprints less noticeable. Carefully smooth all drilled openings and cut edges to make the organizer comfortable and safe to handle.

7. Adjustable Recipe and Tablet Stand

7. Adjustable Recipe and Tablet Stand

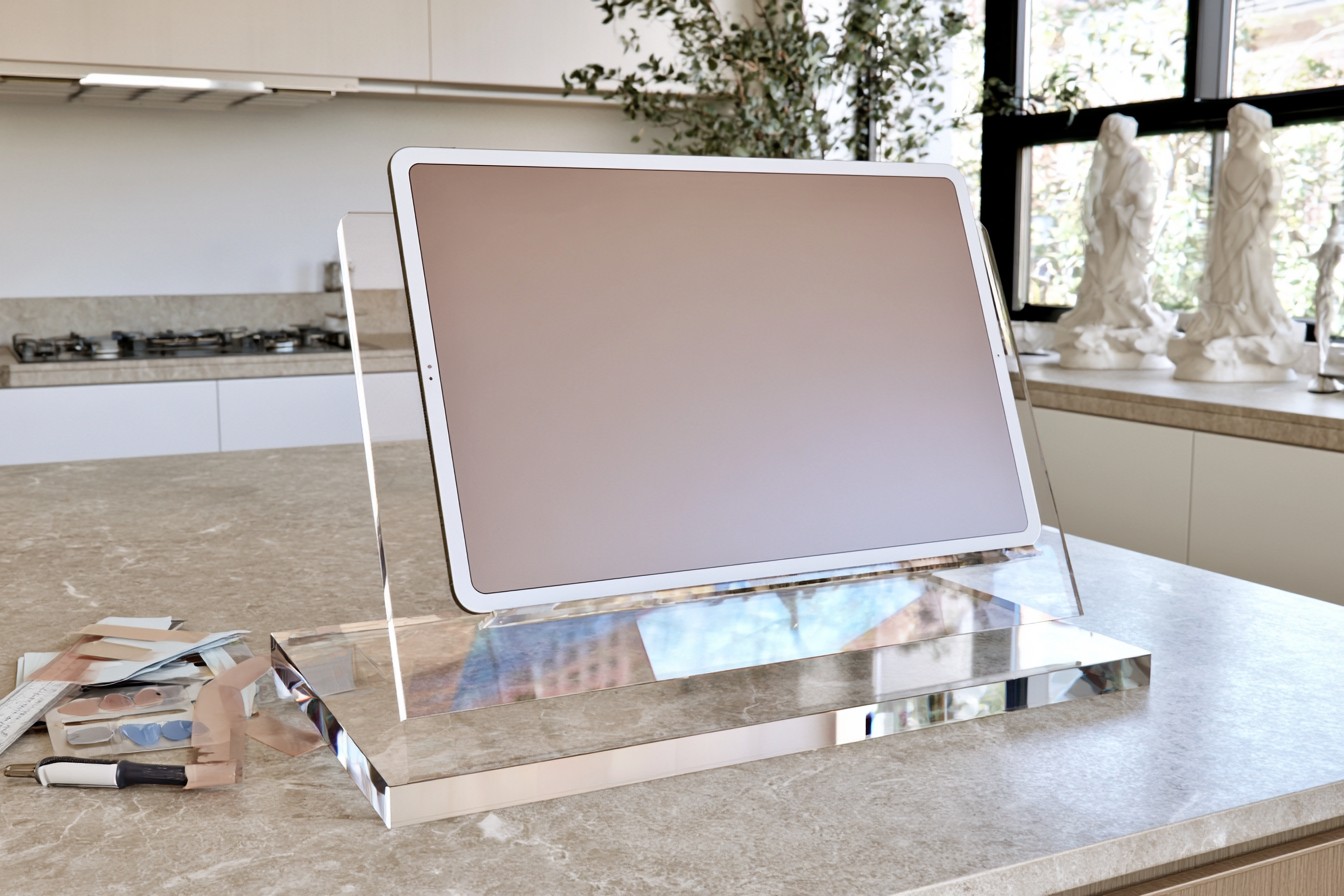
Make a practical acrylic tablet stand for following digital recipes without placing the device directly on the kitchen counter. You will need a thick base panel, an angled back support, a narrow front ledge, acrylic adhesive, and transparent silicone grips. Measure the height and width of your tablet before deciding on the final dimensions. Attach the back support at a comfortable viewing angle and add the narrow strip along the front edge. This ledge should prevent the device from sliding without covering a significant part of the screen. Silicone pads underneath the base will improve stability and protect the countertop. Beyond the kitchen, the stand can be used for online classes, video calls, digital drawing references, or hands free entertainment at a desk. Clean it with mild soapy water and a soft cloth, since abrasive products may leave visible scratches across the acrylic surface.

8. Color Block Acrylic Serving Tray

8. Color Block Acrylic Serving Tray

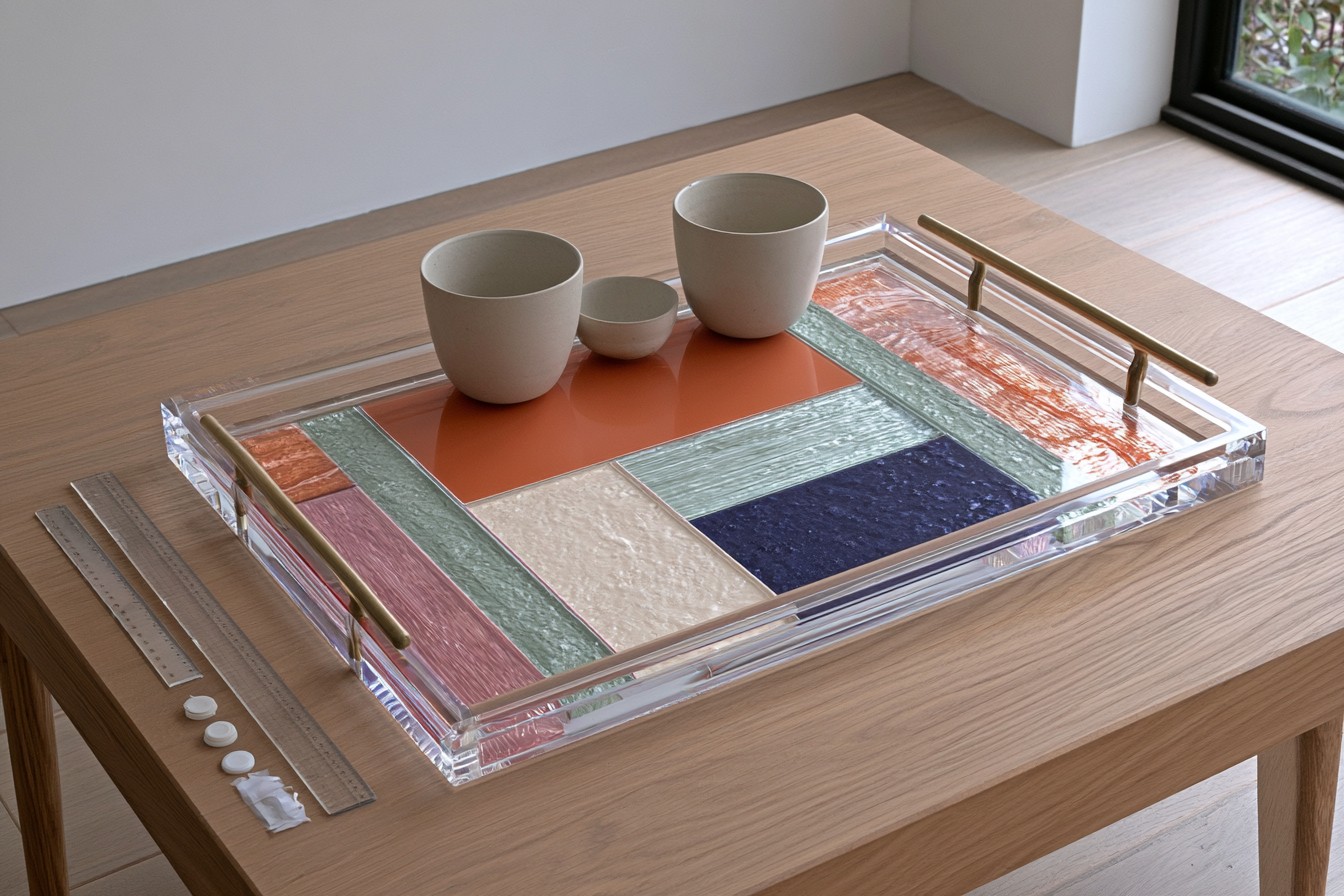
Turn a clear acrylic base into a customized serving tray by combining it with colored paper, fabric, or painted geometric inserts. Start with a rectangular base and attach low acrylic walls around its perimeter. Install sturdy handles along the shorter sides so the tray can be carried comfortably. Instead of attaching the decorative layer to the upper surface, position it beneath the transparent base. This approach protects the pattern from spills and everyday wear. A removable backing panel will allow you to change the colors or artwork whenever the room is redecorated. Use the tray for serving coffee, arranging skincare products, organizing desk accessories, or displaying small decorative objects. Test the handles before carrying anything and avoid placing excessively heavy items inside. A palette consisting of two main colors and one contrasting accent usually creates a polished appearance without making the handmade design look overly busy.

9. Personalized Acrylic Door or Room Sign

9. Personalized Acrylic Door or Room Sign

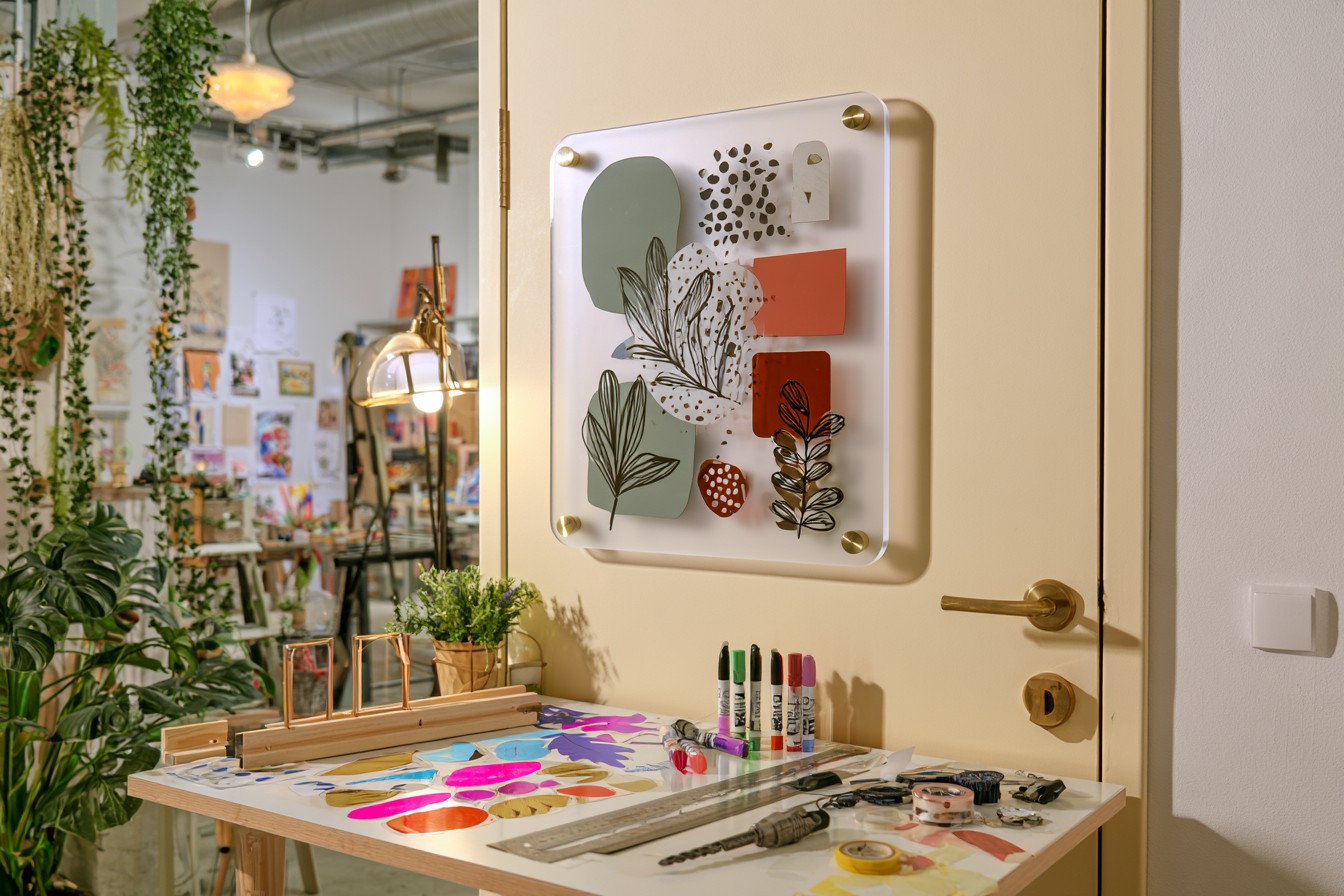
Create an attractive sign for a home entrance, bedroom, studio, office, or small business using a frosted, transparent, or colored acrylic sheet. Have the sheet cut to the required dimensions, then decorate it with paint marker illustrations, vinyl shapes, or a colored backing layer. If words or numbers are included, prepare a paper template and use a ruler to maintain consistent spacing. Drill holes near the corners and install metal standoff connectors so the panel sits slightly away from the wall. In a rented home, the finished sign can be suspended from a removable wooden hanging system instead of being permanently mounted. Outdoor versions should use weather resistant vinyl and rust resistant hardware. This will improve durability when the sign is displayed beneath a covered porch or beside an entrance. Keep the overall design simple so it remains clear, stylish, and easy to coordinate with changing seasonal decorations.

10. Changeable Photo and Art Display Ledge

10. Changeable Photo and Art Display Ledge

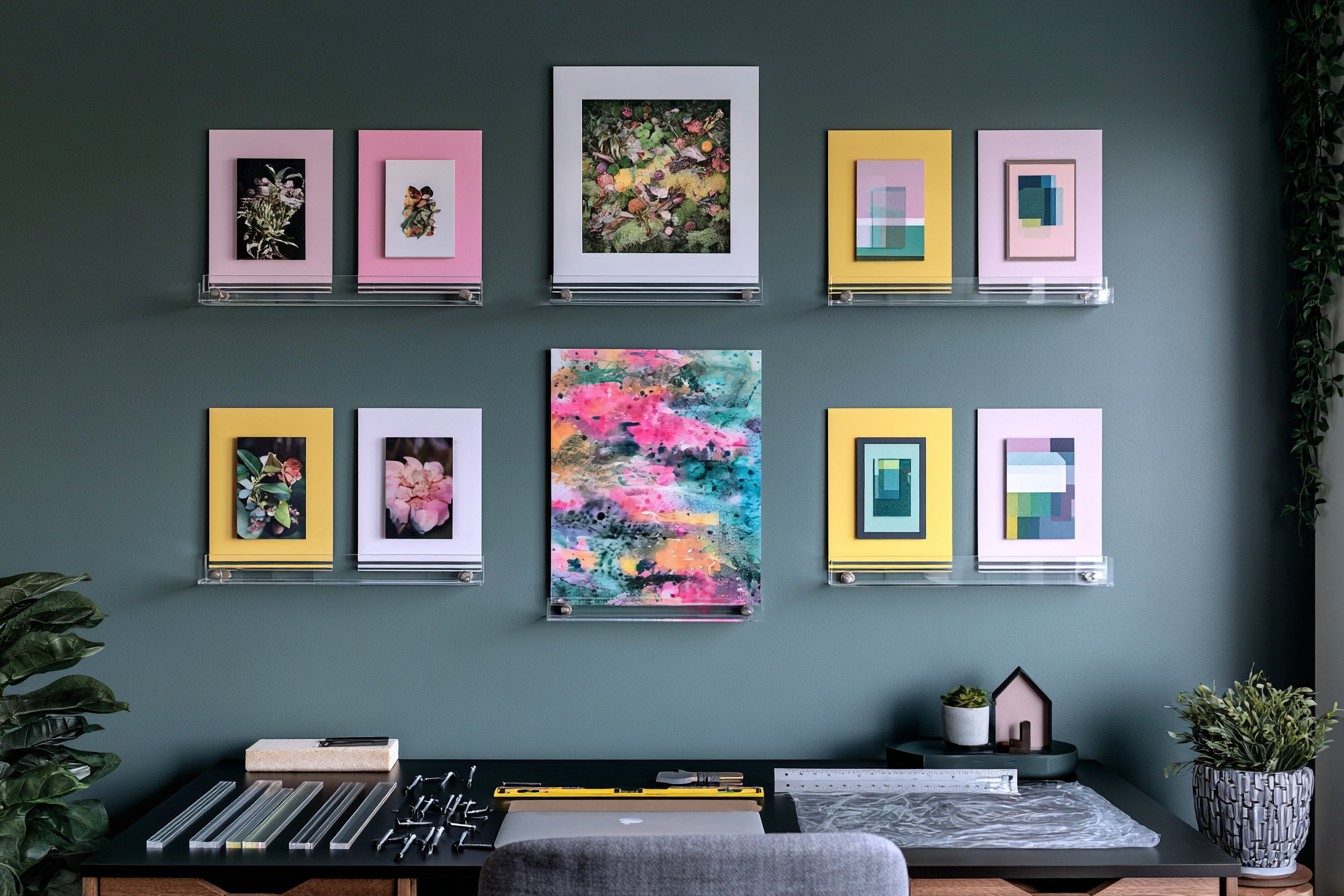
Design a narrow acrylic ledge for displaying photographs, postcards, children’s drawings, and small art prints without placing each item in a separate frame. The project requires a long base strip, a low front lip, wall anchors, screws, and smooth edge finishing supplies. Keep the shelf relatively shallow because it is intended for lightweight paper items rather than heavy decorative objects. Align all drilled holes carefully before attaching the sections. Once assembled, mount the ledge above a desk, along a hallway, or on a living room gallery wall. Transparent acrylic keeps the display visually light, making it especially useful in compact rooms. If several ledges are installed, leave enough vertical space for taller prints and photographs. The contents can be updated for different seasons, family milestones, or creative themes. Avoid placing heavy books, pottery, or glass objects on the ledge so it remains stable and safe.

11. Transparent Drawer Divider System

11. Transparent Drawer Divider System

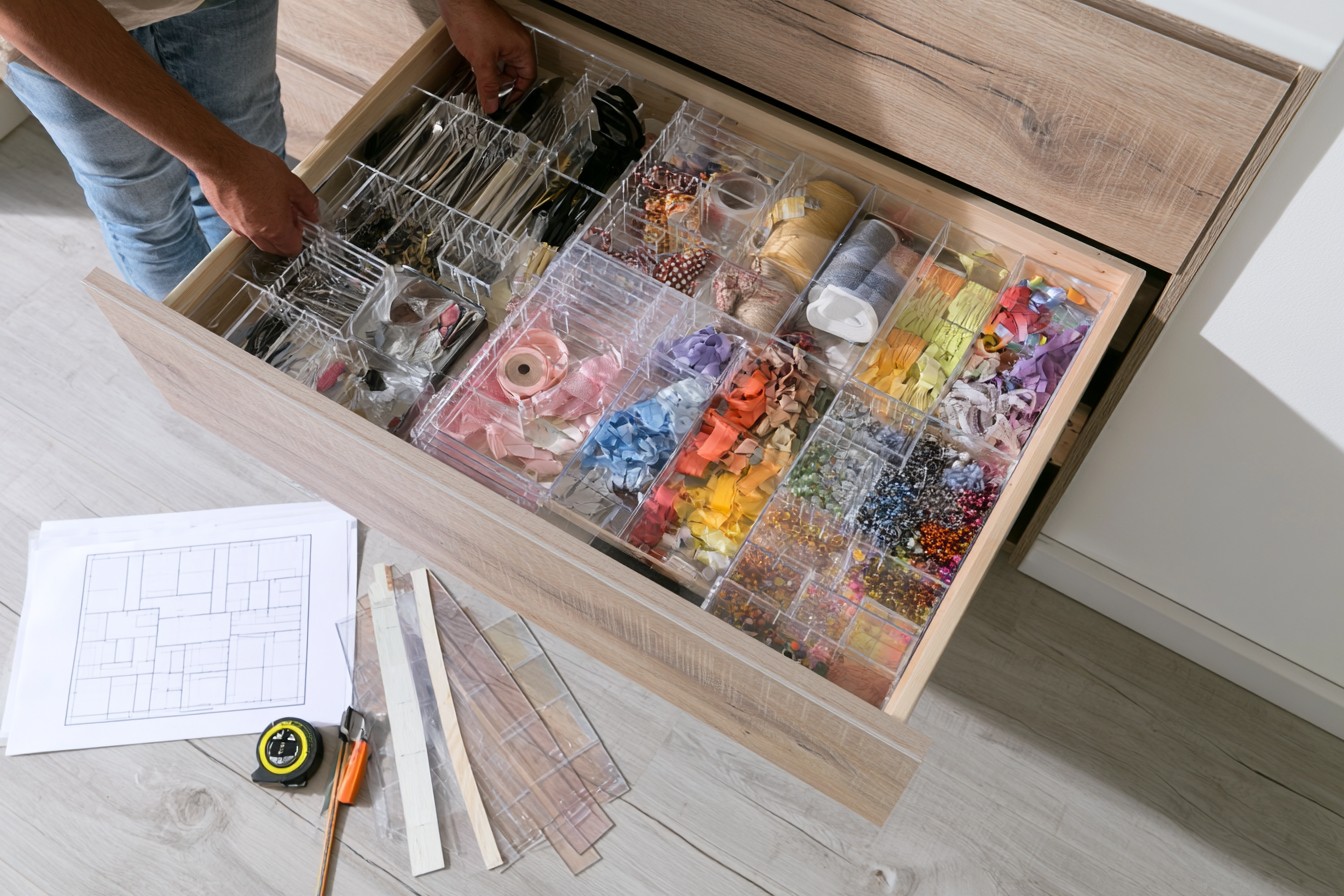
Create custom acrylic dividers to organize crowded drawers in a kitchen, bathroom, office, or craft room. Begin by measuring the internal width, depth, and height of the drawer accurately. Sort the objects you plan to store and draw a compartment layout on paper before cutting any material. Prepare narrow acrylic strips and create matching slots wherever two dividers need to intersect. The slotted construction allows the pieces to connect without permanent adhesive, producing a modular system that can be rearranged later. Use the compartments for cutlery, cosmetics, writing supplies, jewelry making tools, or sewing materials. Transparent acrylic improves organization without making the drawer appear dark or visually crowded. Add thin silicone protectors to the ends if you are concerned about scratching the interior walls. When storage needs change, the entire system can be removed, cleaned, and reconstructed in a completely different arrangement.

12. Protective Acrylic Display Box

12. Protective Acrylic Display Box

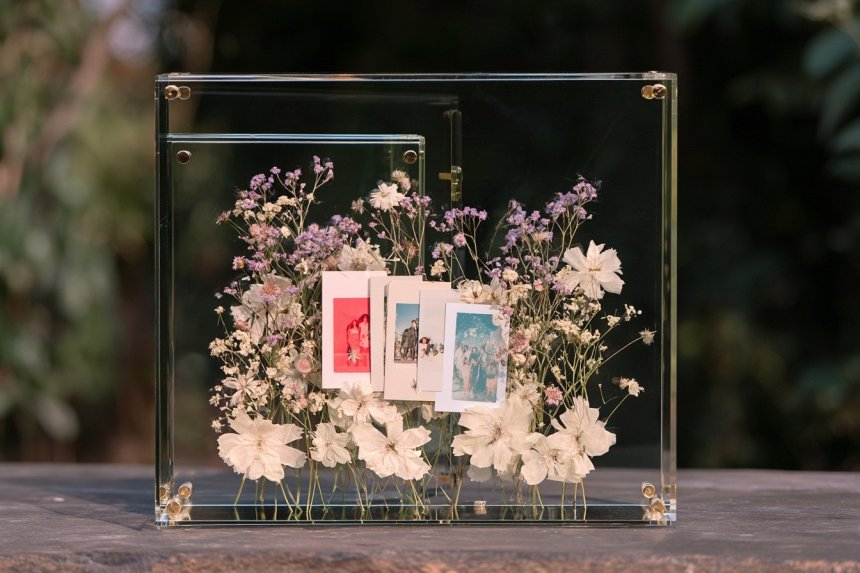
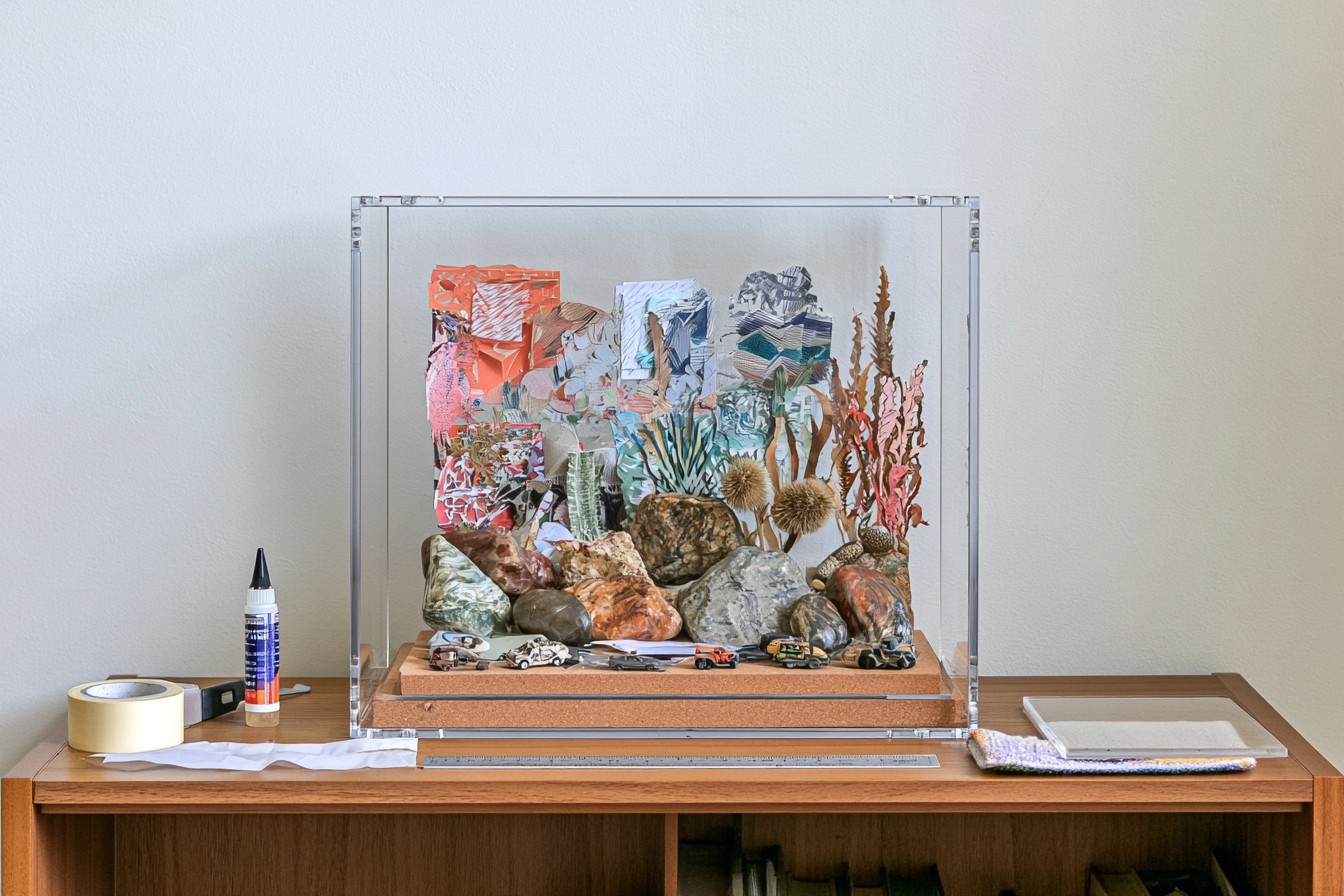
Build a transparent display box to protect miniature crafts, model vehicles, natural stones, collectibles, or travel souvenirs from dust. Determine the required base dimensions by arranging the objects before measuring the enclosure. Prepare four side panels and a top panel from acrylic of equal thickness. Temporarily hold the sections together with masking tape to confirm that all corners align correctly. Apply a small amount of specialized acrylic adhesive along each connecting edge and allow the structure to cure completely. Keep the cover separate from the base so the collection remains easy to access and rearrange. A platform covered with cork, fabric, or finished wood can prevent small objects from sliding while adding visual contrast. Place the completed display box on a bookcase, office shelf, or living room console. Avoid areas exposed to intense direct sunlight, which may affect both the acrylic and the colors of sensitive objects displayed inside.

MORE IDEAS

12 Stylish DIY Projects You Can Make with Acrylic Sheets

Share

What's Your Reaction?

Like Like 0
Dislike Dislike 0
Love Love 0
Funny Funny 0
Angry Angry 0
Sad Sad 0
Wow Wow 0