15 Upcycling Ideas for Old Mirrors

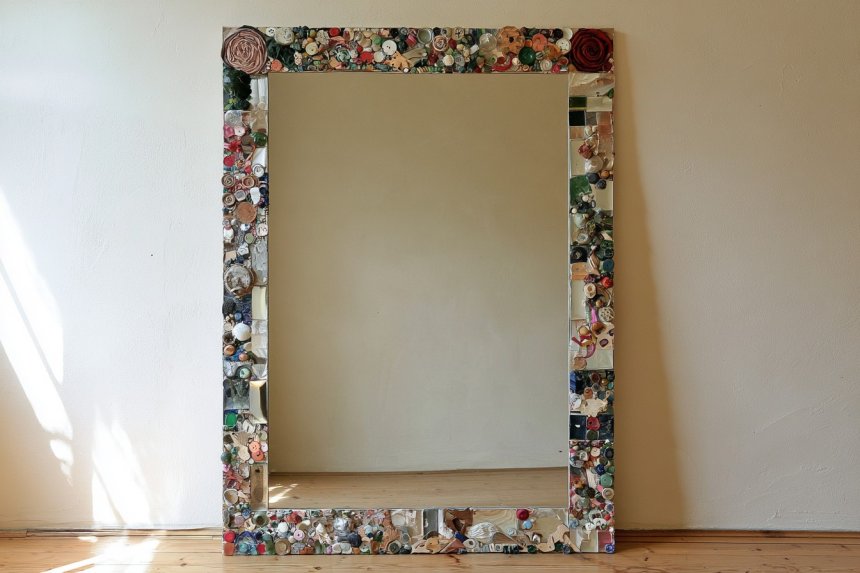
Upcycling old mirrors can transform overlooked pieces into useful, characterful decorations without demanding a large budget. A dated frame, loose mirror panel, thrifted vanity, or slightly damaged design offers countless creative possibilities. Paint introduces color, while reclaimed wood, fabric, rope, cork, and broken ceramics add texture. Mirrors can also become trays, organizers, garden accents, or architectural features rather than remaining ordinary wall accessories. Before starting, clean every surface, check the backing, repair loose joints, and choose adhesives suitable for glass. The following projects combine practical instructions, decorating guidance, and adaptable DIY options for many rooms and interior styles at home.
1. Give a Thrifted Frame a Color-Blocked Finish
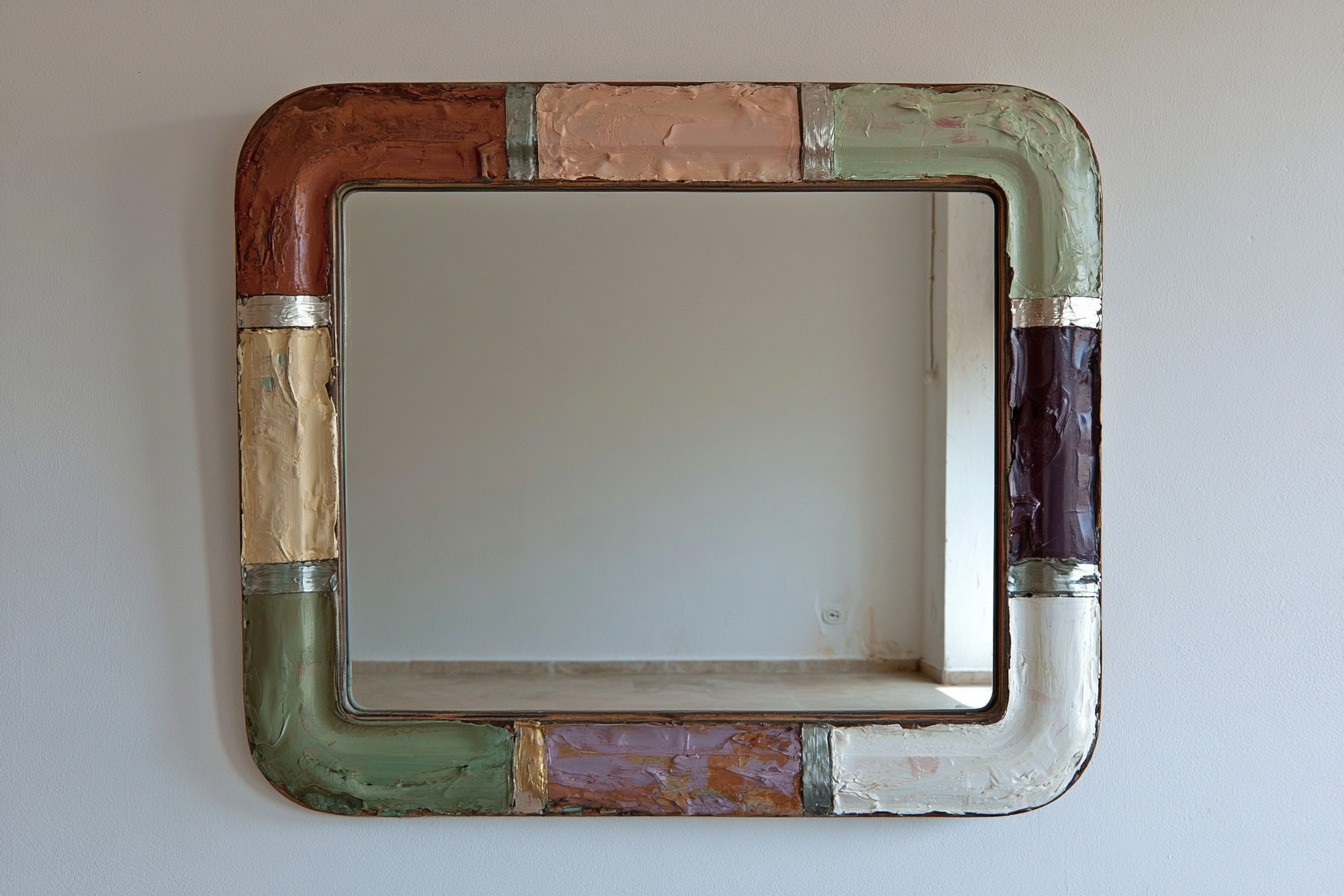
Refresh a thrift-store mirror by turning its frame into a crisp color-blocked feature. Remove dust, cover the glass with paper, and lightly sand glossy areas so primer adheres. Divide the frame with painter’s tape, then apply two or three complementary furniture-paint shades in sections. Terracotta, blush, and cream feel warm, while navy, sage, and white create calmer contrast. Peel away the tape before the final coat completely hardens to preserve clean lines. Finish with clear water-based sealer. For extra personality, paint a narrow metallic stripe between colors or coordinate one section with cushions, cabinetry, or artwork.
2. Build a Sunburst from Reclaimed Wood Offcuts
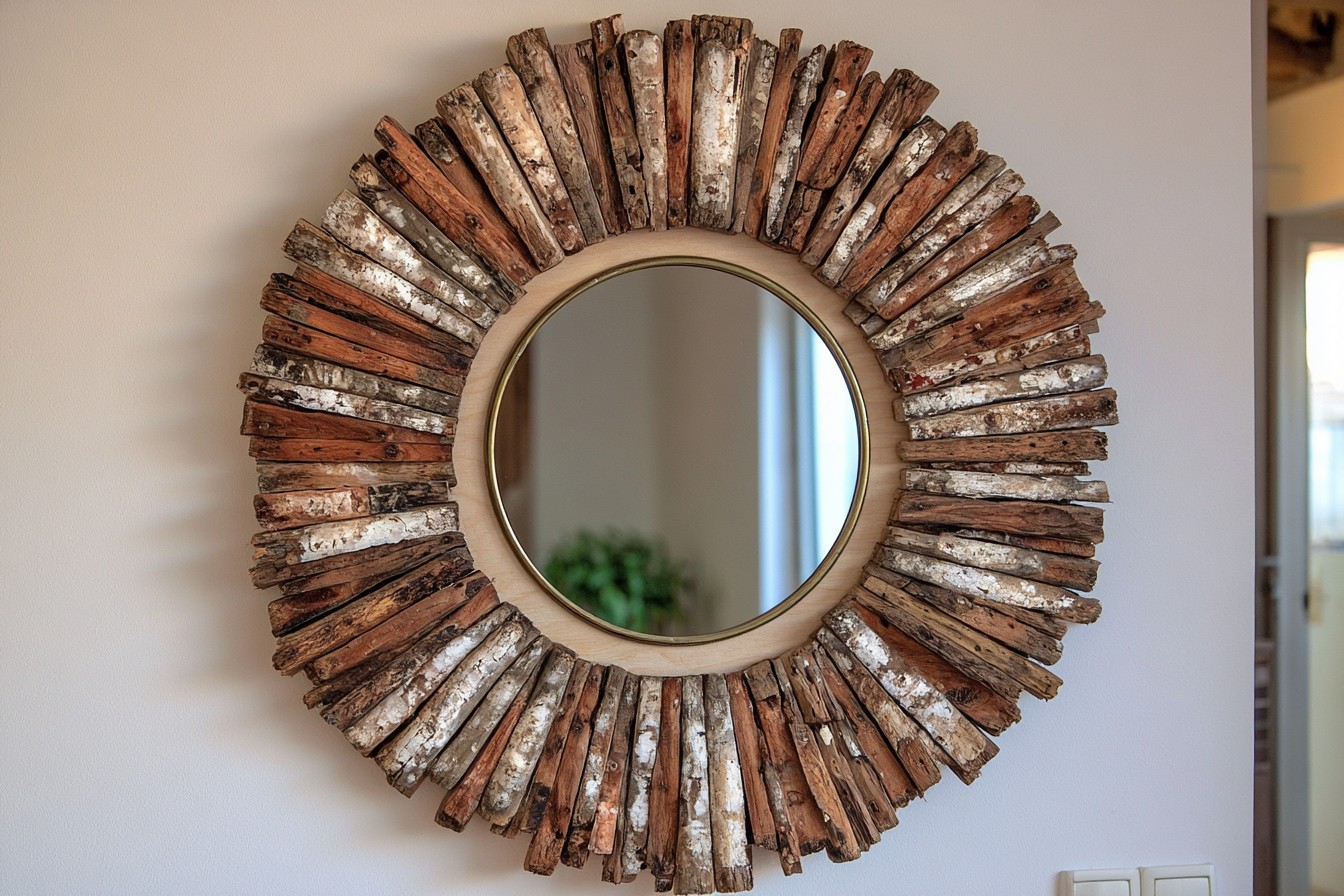
Turn a round mirror into sculptural wall decor using wooden strips, paint stirrers, or pallet slats. Cut the pieces into varied lengths, sand edges, and arrange them like rays around a plywood backing. Alternate long and short sections to create rhythm, then secure them with wood glue and brads. Attach the mirror centrally with mirror-safe adhesive and add a weight-rated hanging bracket. Leave the timber natural for rustic warmth, whitewash it for coastal rooms, or stain alternating rays for dimension. A slim brass-painted inner ring gives the inexpensive construction a polished, professionally layered appearance in any entryway.
3. Weave a Soft Frame with Fabric Scraps
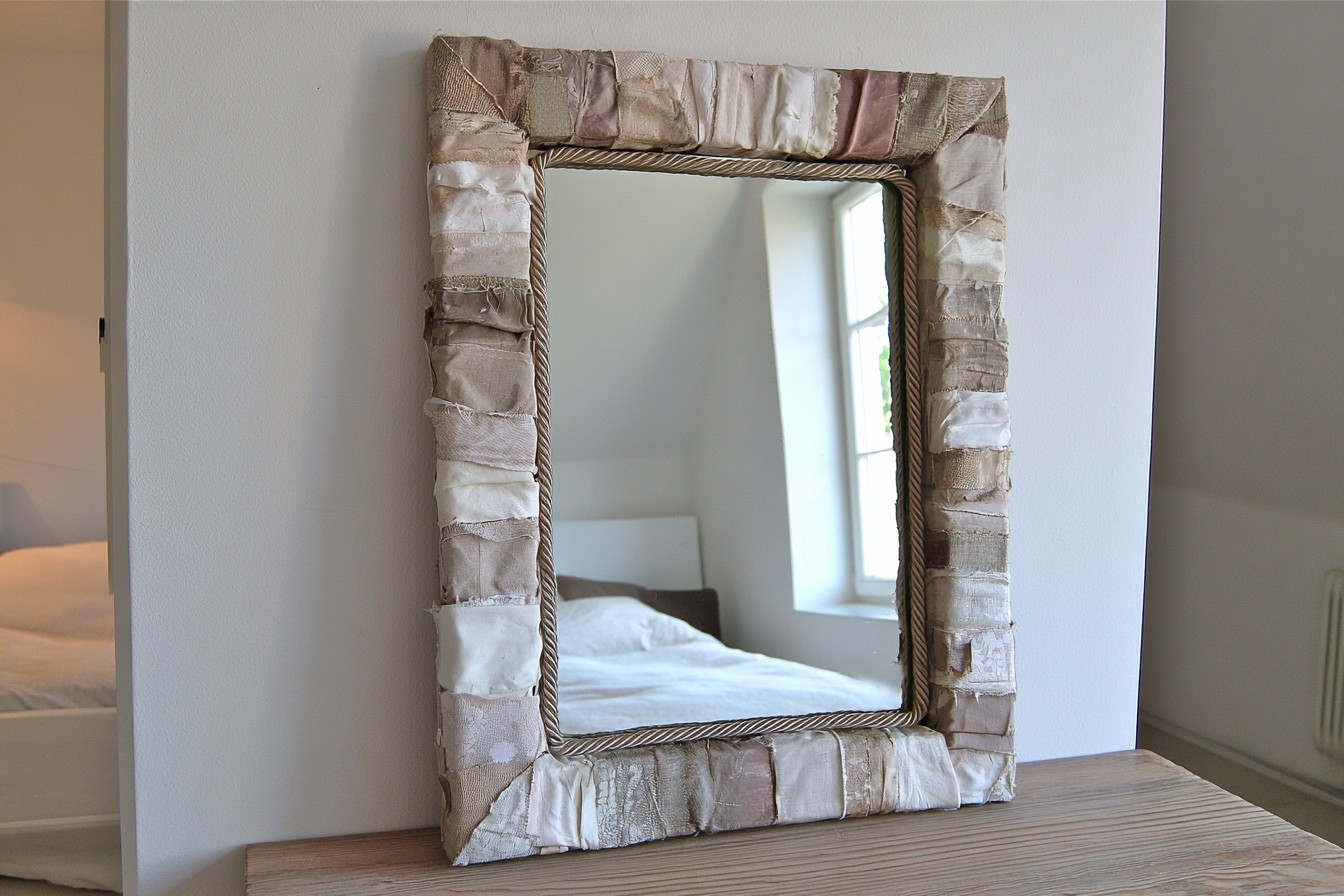
Use upholstery samples, worn shirts, or quilting remnants to give a basic mirror a tactile frame. Cut fabric into even strips, fold raw edges inward, and wrap each strip around the frame, overlapping as you work. Secure the fabric on the back with hot glue, keeping adhesive away from the reflective surface. Combine related prints for a patchwork effect, or use one neutral textile for sophistication. Add braided cord along the inner edge to hide uneven joins. This lightweight makeover suits bedrooms and craft rooms especially well. For easy seasonal changes, fasten the fabric with hook-and-loop tape instead.
4. Shape a Wavy Paper-Mâché Statement Mirror
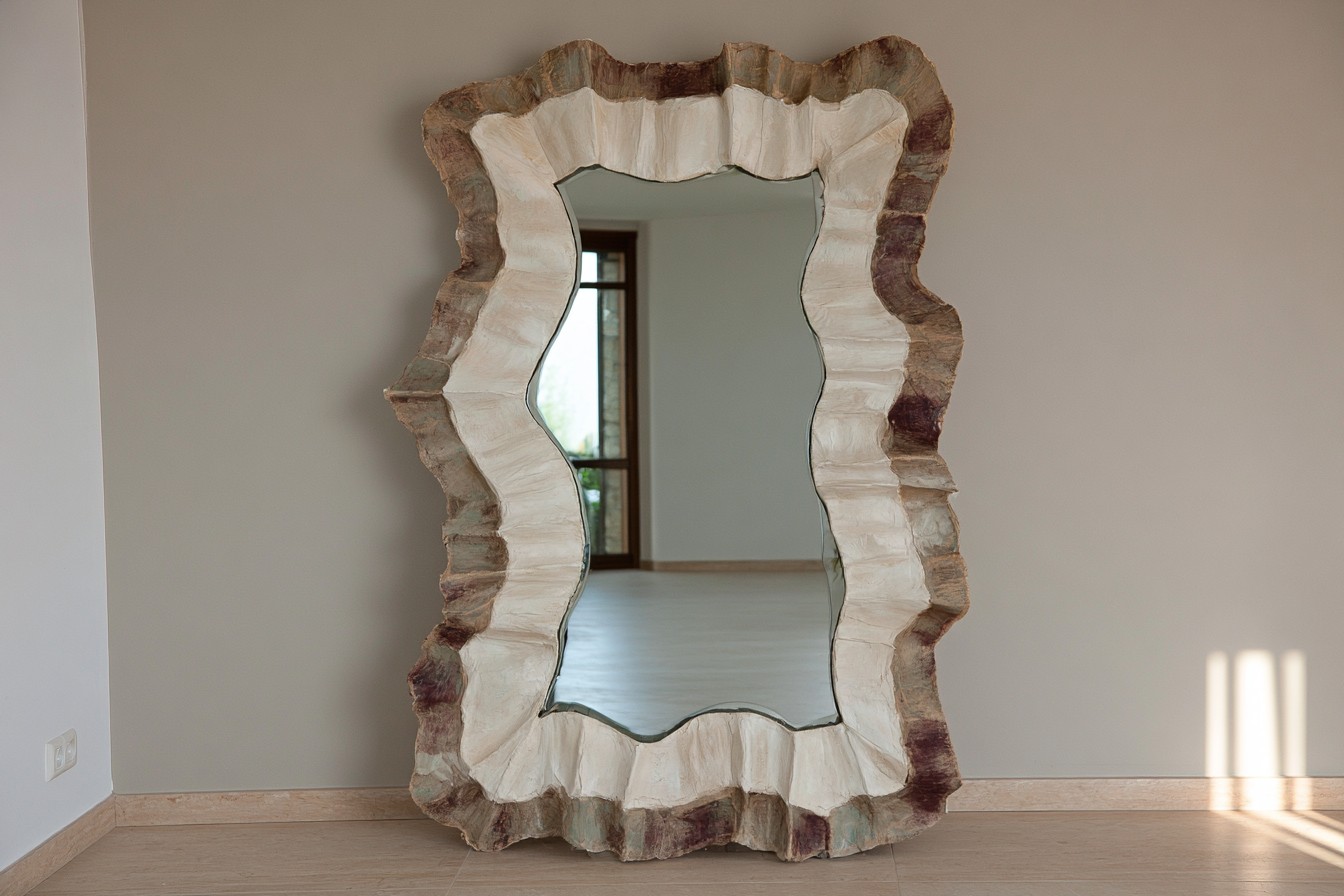
Create an organic, designer-inspired border around a frameless mirror using cardboard and paper-mâché. Trace the mirror onto corrugated board, draw an irregular scalloped outline, and cut out the backing. Glue the mirror in position with a product labeled safe for mirrors. Build raised curves from crumpled paper and masking tape, then cover them with layers of paper pulp or pasted newspaper. Allow each layer to dry before sanding rough spots. Paint the sculptural surround in chalky white, deep burgundy, or another room accent. Seal it with varnish and install sturdy hardware matched to the finished weight before hanging.
5. Wrap the Border in Natural Jute Rope
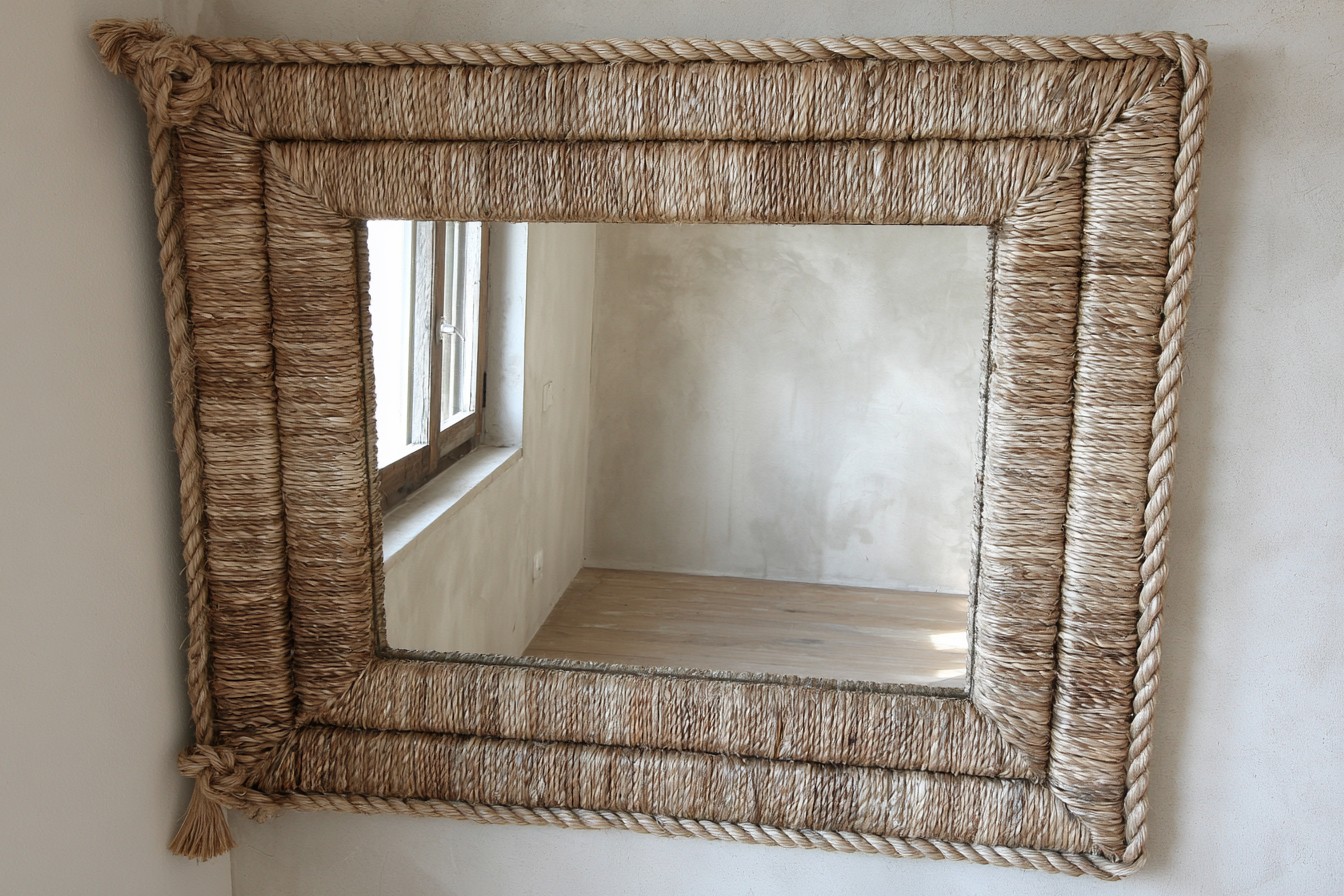
A mirror can gain relaxed coastal texture with salvaged rope or jute cord. Clean the frame, start at the inner corner, and glue the rope in tight concentric rows using construction adhesive. Press each round firmly so gaps do not expose the old finish. At corners, bend thinner cord or create neat diagonal joins. Finish the outer edge with a sailor knot, tassel, or looped hanging detail. Natural jute pairs beautifully with white walls and timber furniture; dyed black rope produces a more graphic look. Avoid placing untreated fiber in constantly damp bathrooms, where moisture may weaken adhesive over time.
6. Assemble a Patterned Wine-Cork Frame
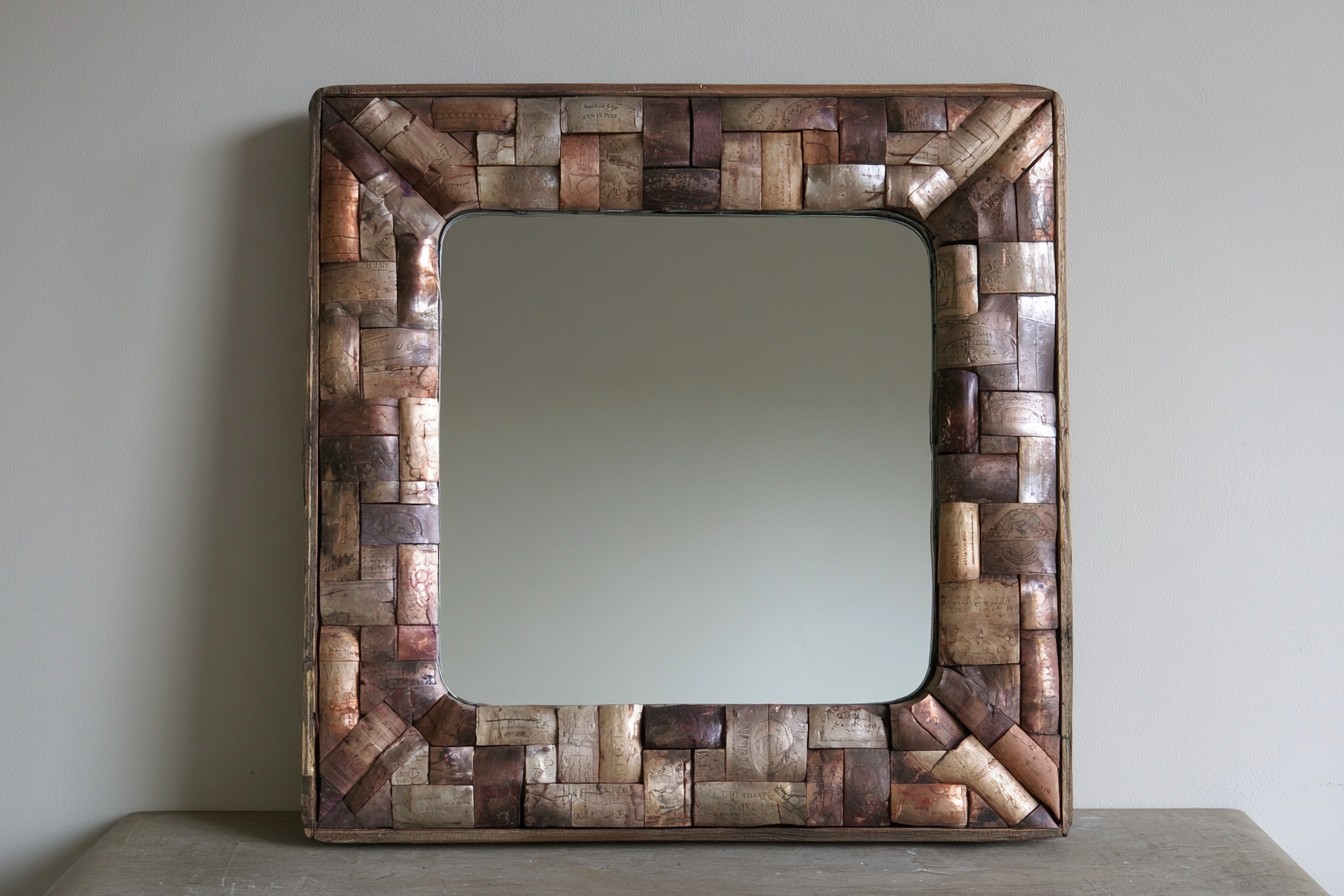
Save wine corks from recycling and arrange them around a small mirror for a warm, geometric border. Wash and dry the corks, then cut them lengthwise with a guarded craft cutter on a stable surface. Adults should handle this step. Test herringbone, checkerboard, or radial layouts on a plywood base before gluing down. Use strong multipurpose adhesive, keeping printed sides visible for character. Fill narrow spaces with cork slices, then frame the entire composition with thin reclaimed molding. A light wax deepens the natural tones. Display the finished mirror near a dining nook, kitchen beverage station, or home tasting area.
7. Turn Broken Ceramics into a Mosaic Border
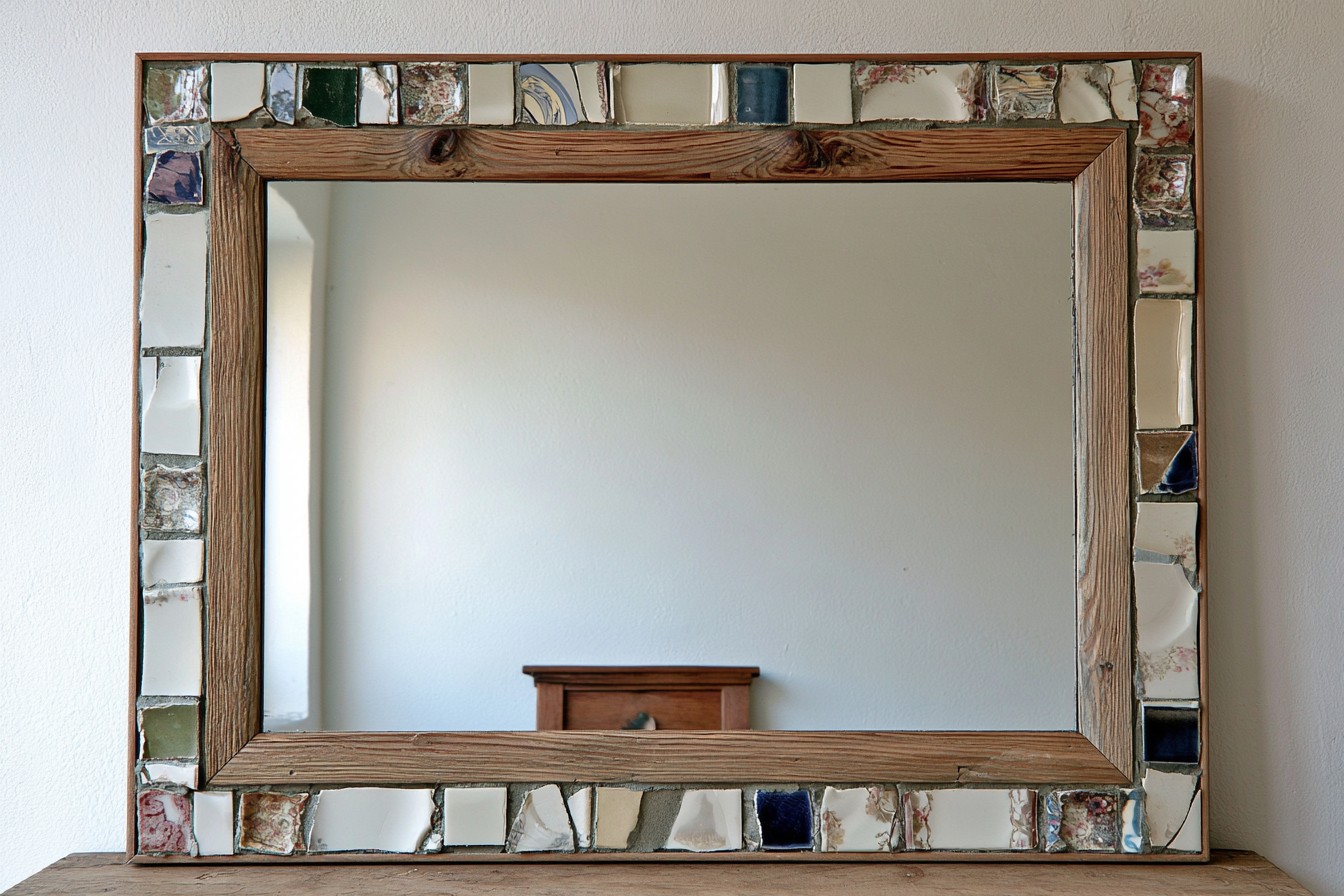
Give chipped plates and tiles another purpose by creating a colorful mosaic around a wooden mirror frame. Wear gloves and eye protection while breaking ceramics inside a folded towel, or choose pre-smoothed pieces for safer handling. Arrange fragments faceup, leaving spaces between them, and attach each piece with tile adhesive. Once cured, press grout into the joints, wipe the surfaces clean, and seal the border. Limit the palette to two colors for rooms, or mix china for cottage character. Keep sharp edges embedded and position the mirror away from children. Grout can soften the pattern; contrasting grout emphasizes it.
8. Layer Old Leather Belts Around the Glass
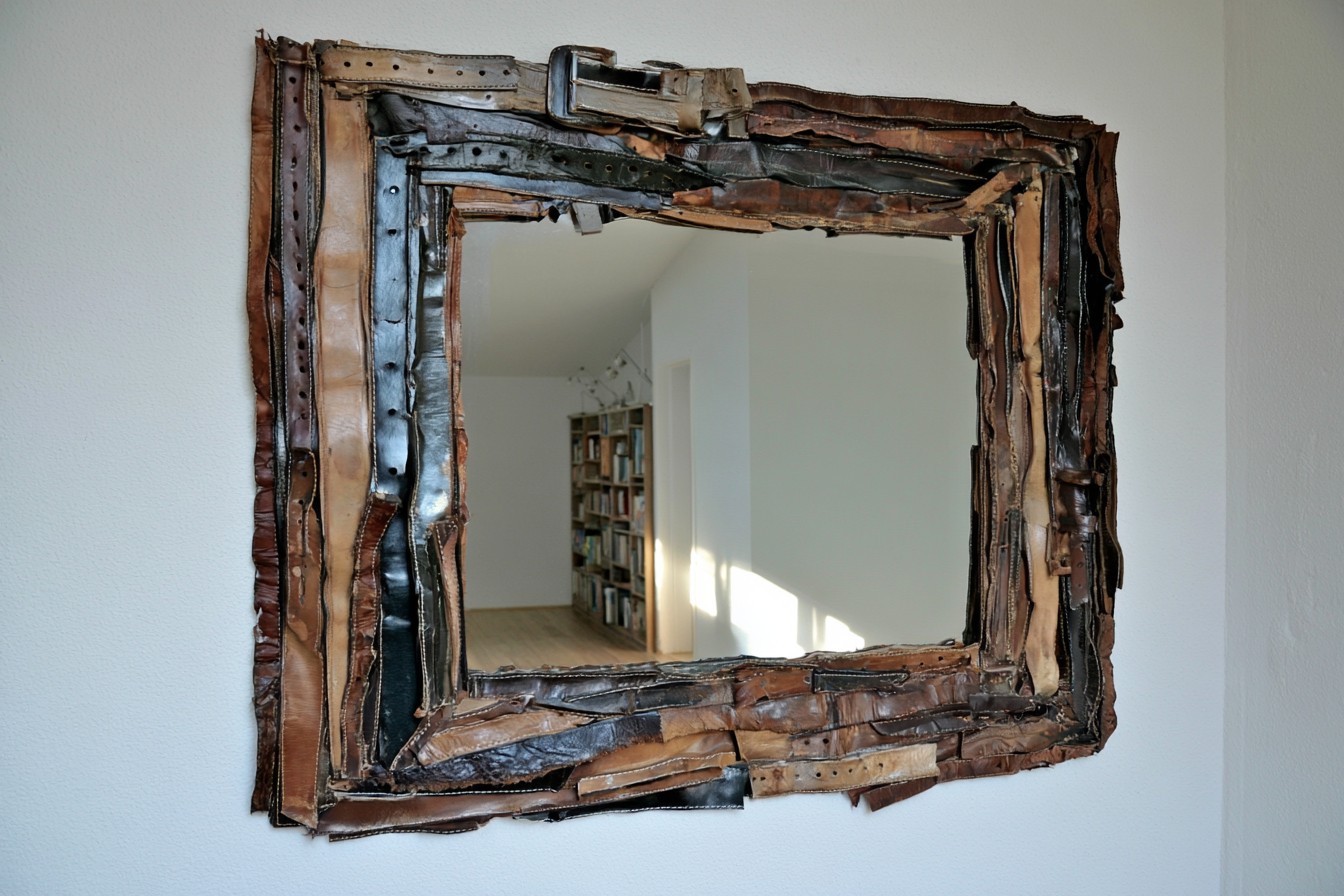
Repurpose leather belts as a tailored frame for a rectangular or circular mirror. Clean the leather, remove hardware where necessary, and measure enough lengths to cover the perimeter. Glue flat belt sections onto a backing, placing punched holes and natural patina where they remain visible. Miter corners for a refined finish, or overlap ends deliberately for a rugged workshop style. One buckle can become a decorative top accent rather than waste. Condition dry leather after assembly, but protect the mirror from oils. Tan belts complement warm wood, while mixed black and brown strips create a handsome library or entryway statement.
9. Make a Reflective Tray from a Small Mirror
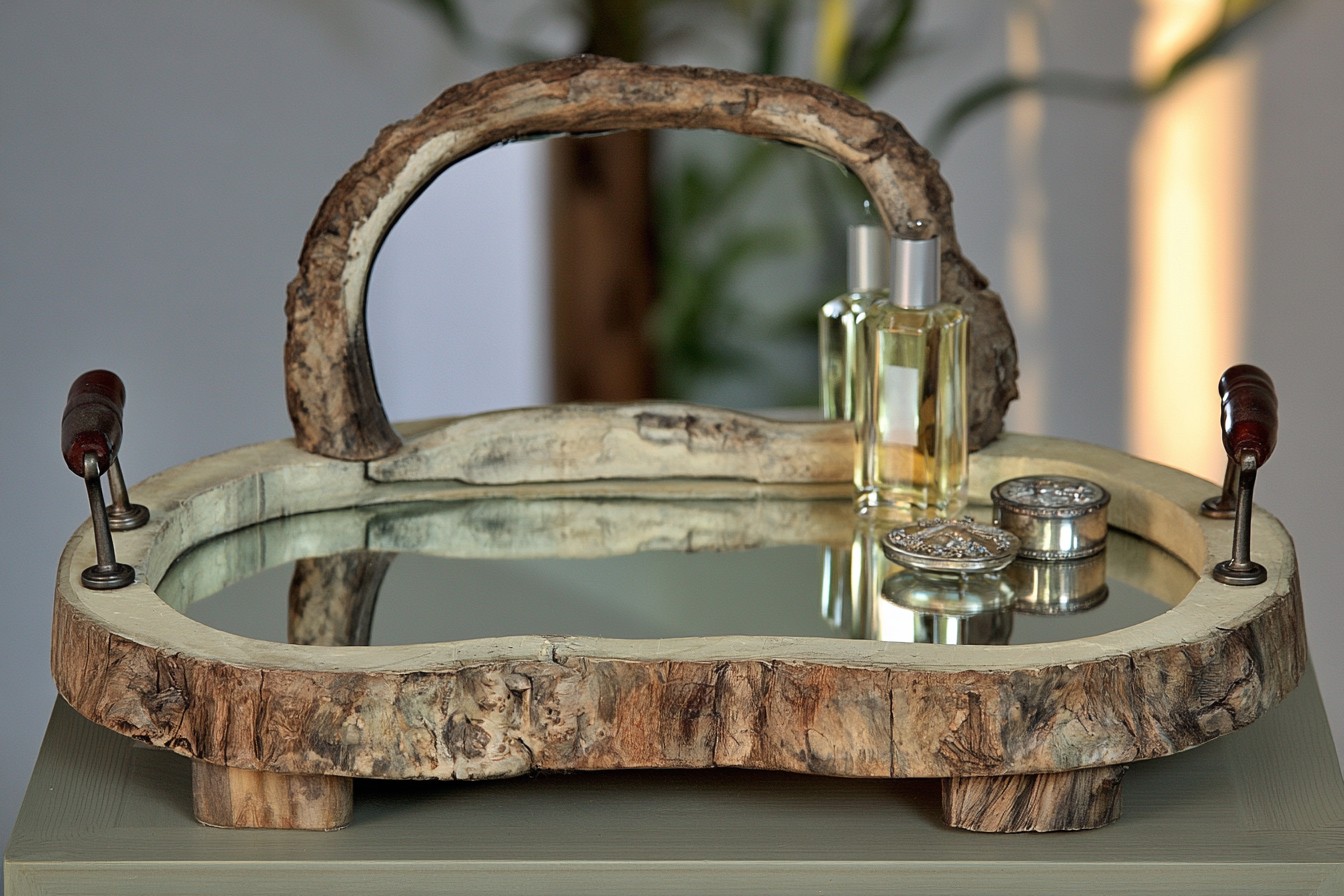
Convert a tabletop mirror into an elegant tray for perfume, jewelry, or coffee-table objects. Choose a mirror without cracks, secure it inside a shallow reclaimed frame, and add a plywood base beneath for support. Attach drawer pulls to sides with short screws that cannot reach the glass. Cover the underside with felt to protect furniture and stabilize the tray. Paint the frame satin black for modern contrast, distress cream paint for vintage charm, or preserve wood grain with clear oil. Arrange only accessories on top, because this decorative tray is not designed for carrying hot food or heavy glassware.
10. Add Hooks for an Entryway Organizer
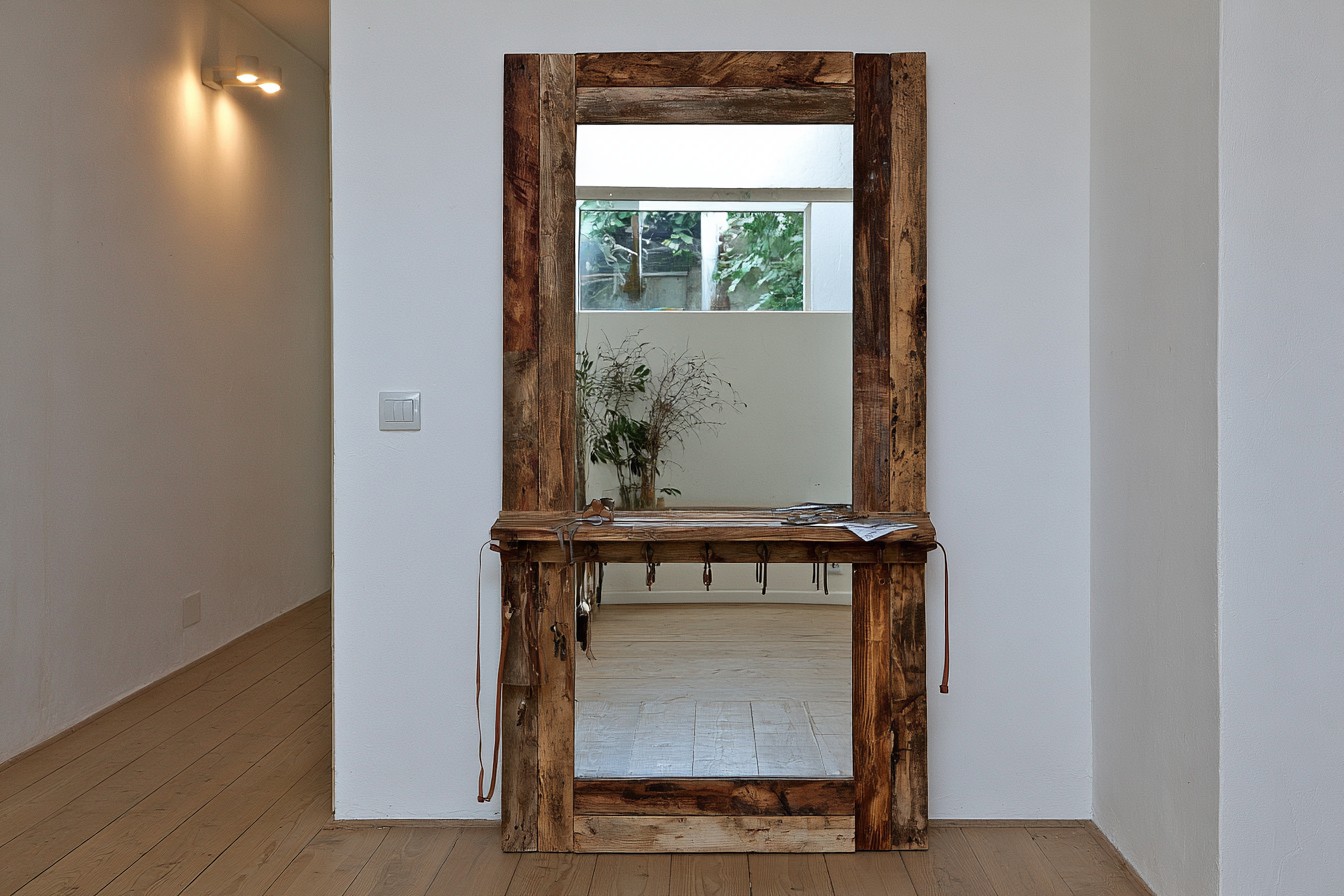
Transform a dresser mirror into a hardworking entryway station by combining reflection, storage, and display. Reinforce the wooden frame, then mount a narrow reclaimed shelf across the bottom using brackets. Screw several hooks into solid frame sections for keys, reusable bags, or lightweight hats. Paint everything one color to unify mismatched materials, or leave the shelf natural against a dark frame. A strip of salvaged leather can hold mail, while a tiny cup stores loose change. Use wall anchors for the combined weight and never attach hooks directly through glass. Hang the organizer near the door at a checking height.
11. Reimagine a Vintage Window as a Mirror
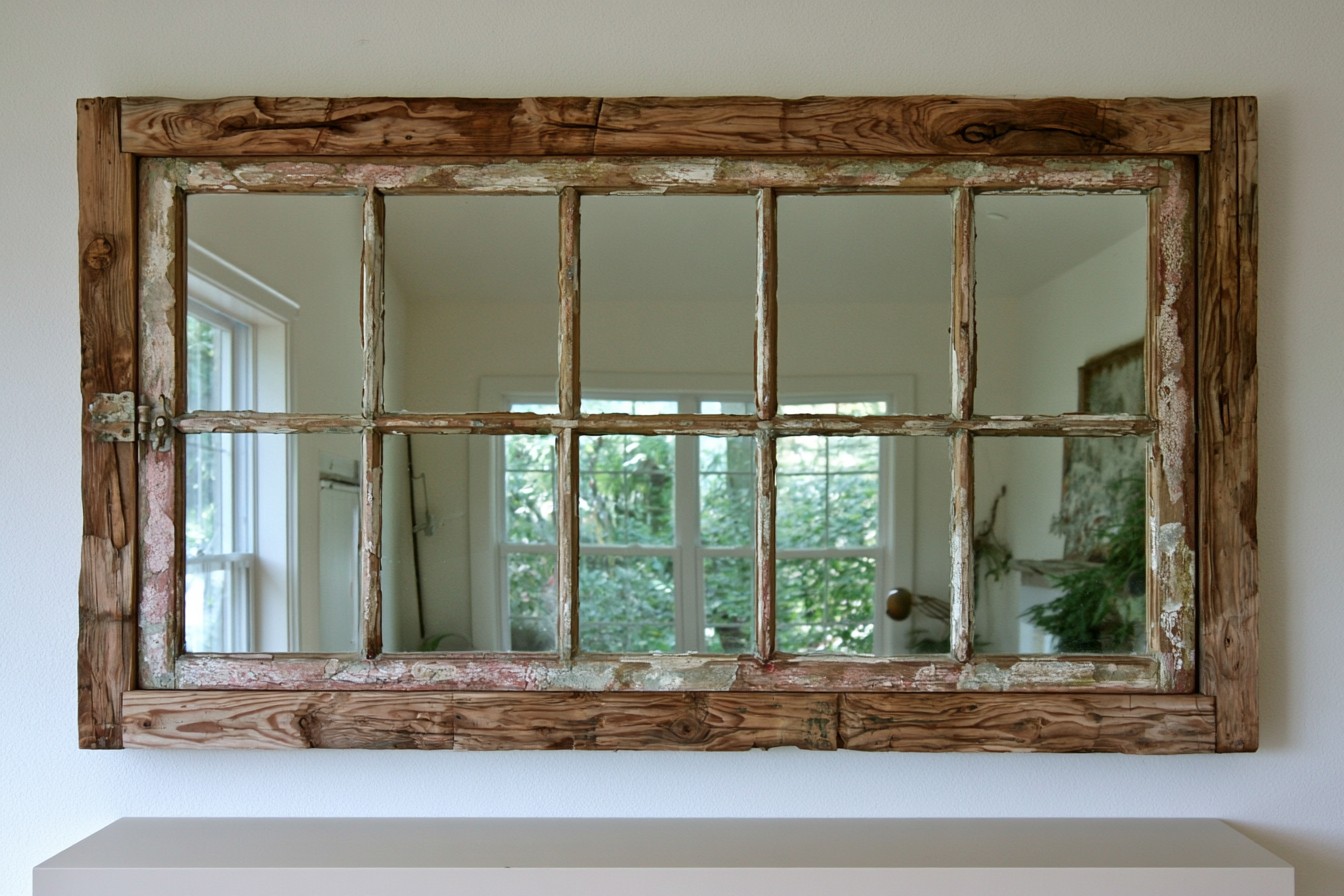
A divided window frame can become an architectural mirror that visually expands a narrow room. Remove loose paint, especially if the frame may contain lead, and stabilize joints. Have mirror panels cut to fit each opening, then secure them from behind with mirror clips and a protective backing board. Preserve weathered layers beneath clear matte sealer for farmhouse character, or repaint the frame charcoal for an industrial effect. Individual panes can receive antiquing film to suggest age without harsh chemicals. Mount the piece into wall studs because vintage frames are often heavy. It looks convincing above a console or mantel.
12. Create a Botanical Frame from Pressed Tin
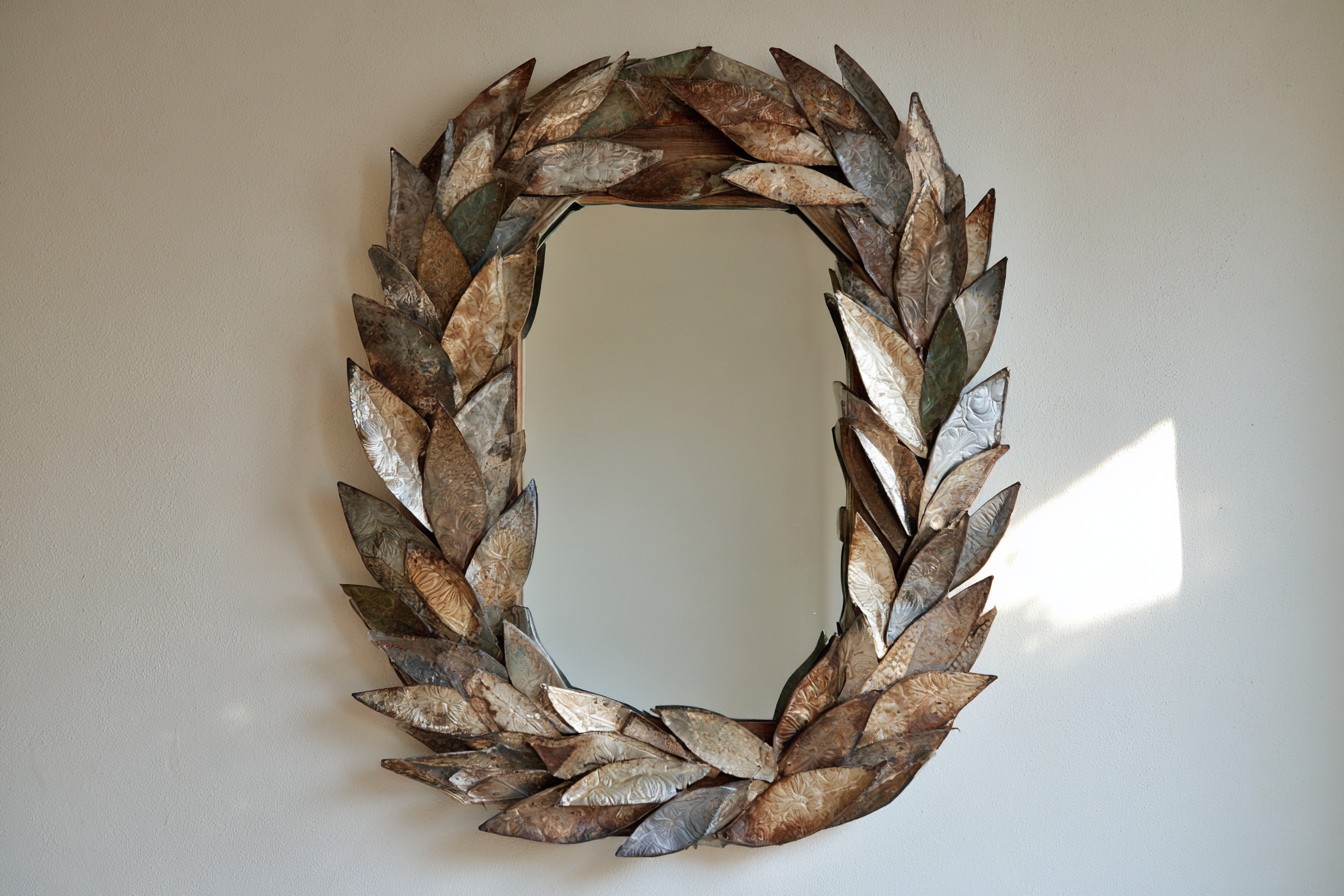
Rescue embossed ceiling-tin scraps, cans, or metal panels to make a detailed botanical mirror surround. Flatten the material, trace leaf shapes, and cut them with tin snips while wearing protective gloves. Fold sharp edges under with pliers, then attach the leaves to a sturdy wooden frame using short tacks or adhesive. Overlap shapes like a wreath, varying their angles for movement. Keep the original patina for vintage appeal, paint everything matte green, or dry-brush raised details with antique gold. Seal exposed metal against rust. This dimensional project works well on oval mirrors displayed above dressers or hallway tables.
13. Craft a Shimmering Frame from Old CDs
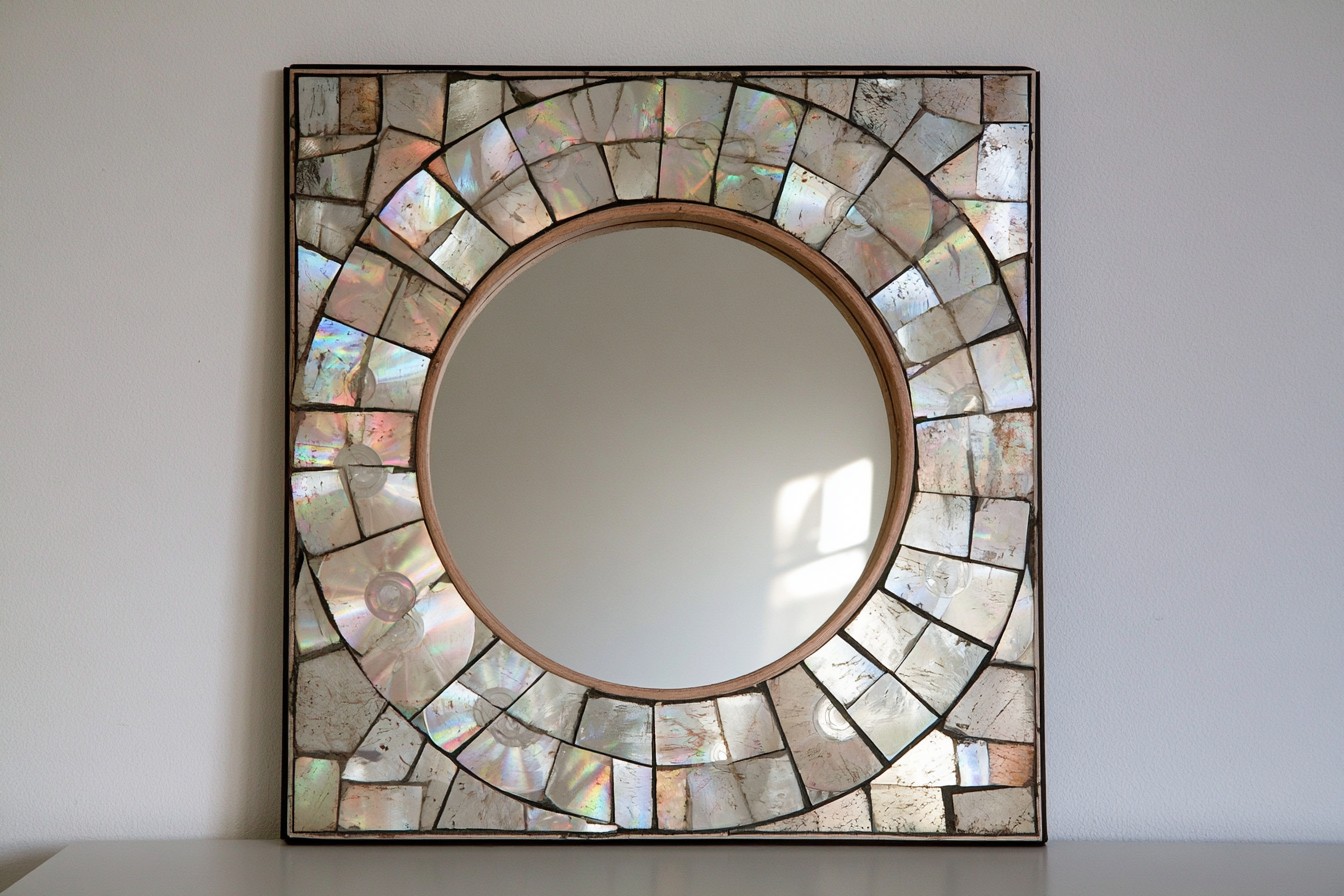
Unwanted CDs and DVDs can supply iridescent tiles for a playful mirror makeover. Soften each disc in warm water, dry it, and let an adult cut it into geometric pieces with scissors. Wear eye protection because brittle plastic may splinter. Arrange the pieces around a flat wooden frame, shifting their angles to catch colors, then secure them with craft adhesive. Fill gaps with dark grout or dimensional paint for a stained-glass effect. A black outer border keeps the shimmer sophisticated rather than chaotic. Hang the mirror where indirect daylight can animate the surface without creating glare at eye level.
14. Paint Folk Art Directly on the Mirror
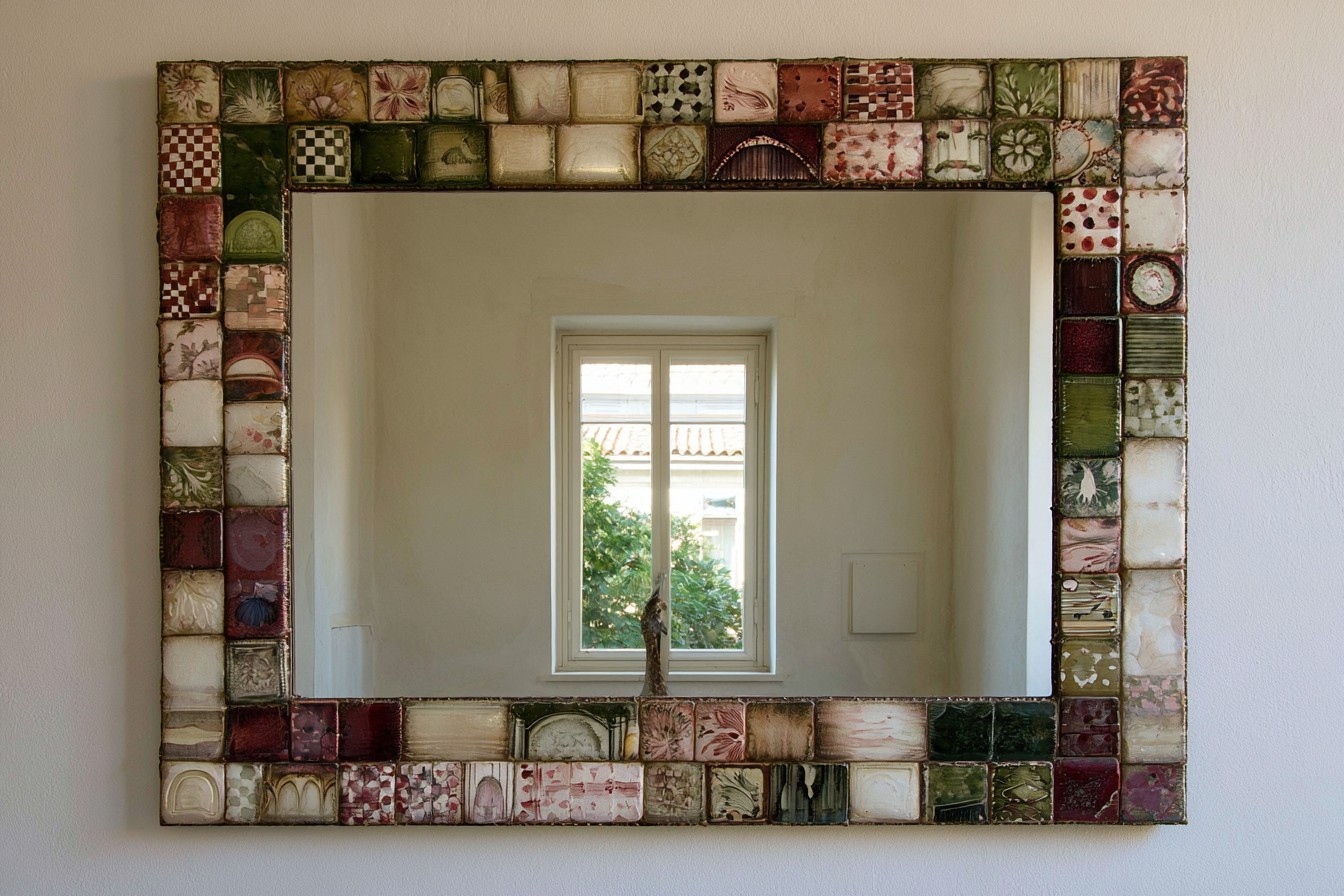
Turn a mirror into functional artwork by painting a border directly onto the glass. Degrease the surface, plan the design on paper, and mark a boundary with removable tape. Use opaque glass paint to add florals, checkerboards, arches, or freehand folk motifs around the perimeter while preserving a generous reflective center. Build color in thin coats and follow the manufacturer’s curing instructions. A white paint pen can add crisp dots and highlights after the shapes dry. Echo colors already present in the room for cohesion. If commitment feels risky, create the design with removable window markers and revise it seasonally.
15. Turn Mirror Fragments into Garden Art
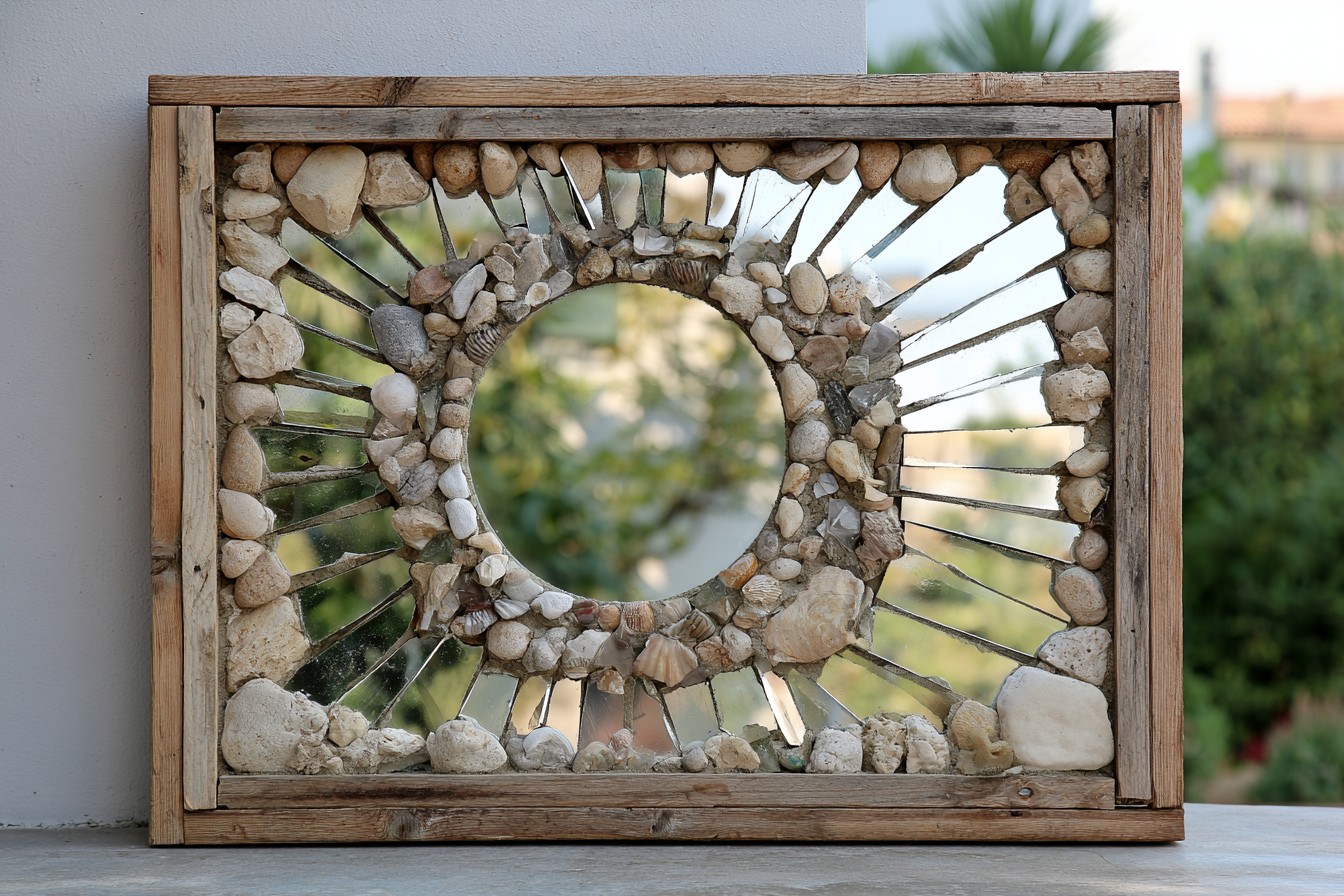
Salvage mirror pieces to create colorful outdoor mosaic art on a reclaimed wooden fence panel or weatherproof planter. Wearing protective gloves and eye protection, ask a professional to smooth edges, or use mosaic tiles instead. Lay out a sun, moon, or abstract pattern, then fix pieces with exterior-rated adhesive. Surround them with frost-resistant grout, clean carefully, and seal the design against moisture. Mix in pebbles, broken pottery, or sea glass to reduce glare and add color. Position the artwork where it reflects plants rather than intense direct sunlight, and keep it beyond the reach of children and pets.
MORE IDEAS


Share
What's Your Reaction?
 Like
0
Like
0
 Dislike
0
Dislike
0
 Love
0
Love
0
 Funny
0
Funny
0
 Angry
0
Angry
0
 Sad
0
Sad
0
 Wow
0
Wow
0