15 DIY Mug Designs to Personalize Your Coffee and Tea Routine

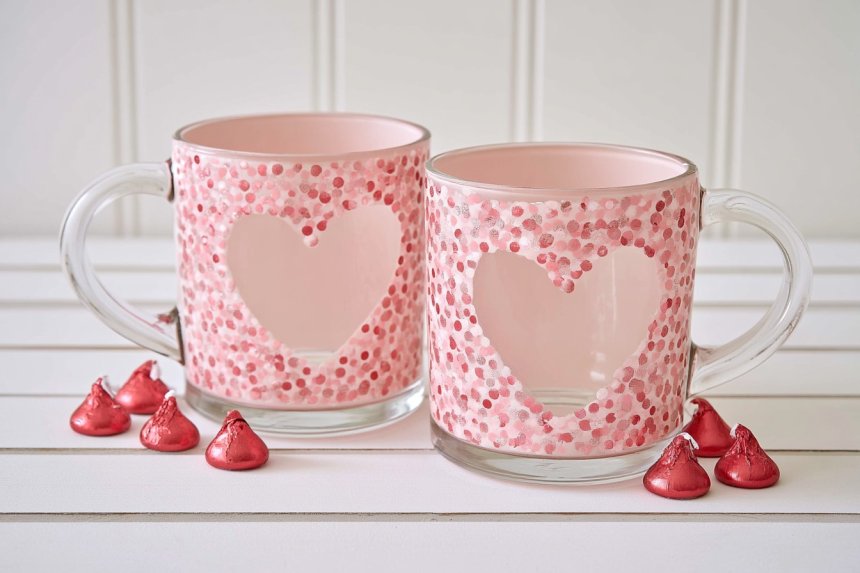
DIY mugs are a simple way to turn everyday drinkware into something more personal, decorative, and gift worthy. Plain ceramic mugs can be customized with paint pens, textured finishes, clay details, marbling techniques, decals, botanical patterns, and modern color blocking. The best projects begin with a clean surface and materials designed for ceramic use so the design lasts as long as possible. You can create mugs for coffee corners, home offices, seasonal displays, birthdays, housewarming gifts, or matching kitchen sets. These ideas combine practical decorating methods with creative styling options, allowing each mug to feel distinct rather than looking like a standard store bought piece.
1. Create a Minimal Line Art Mug
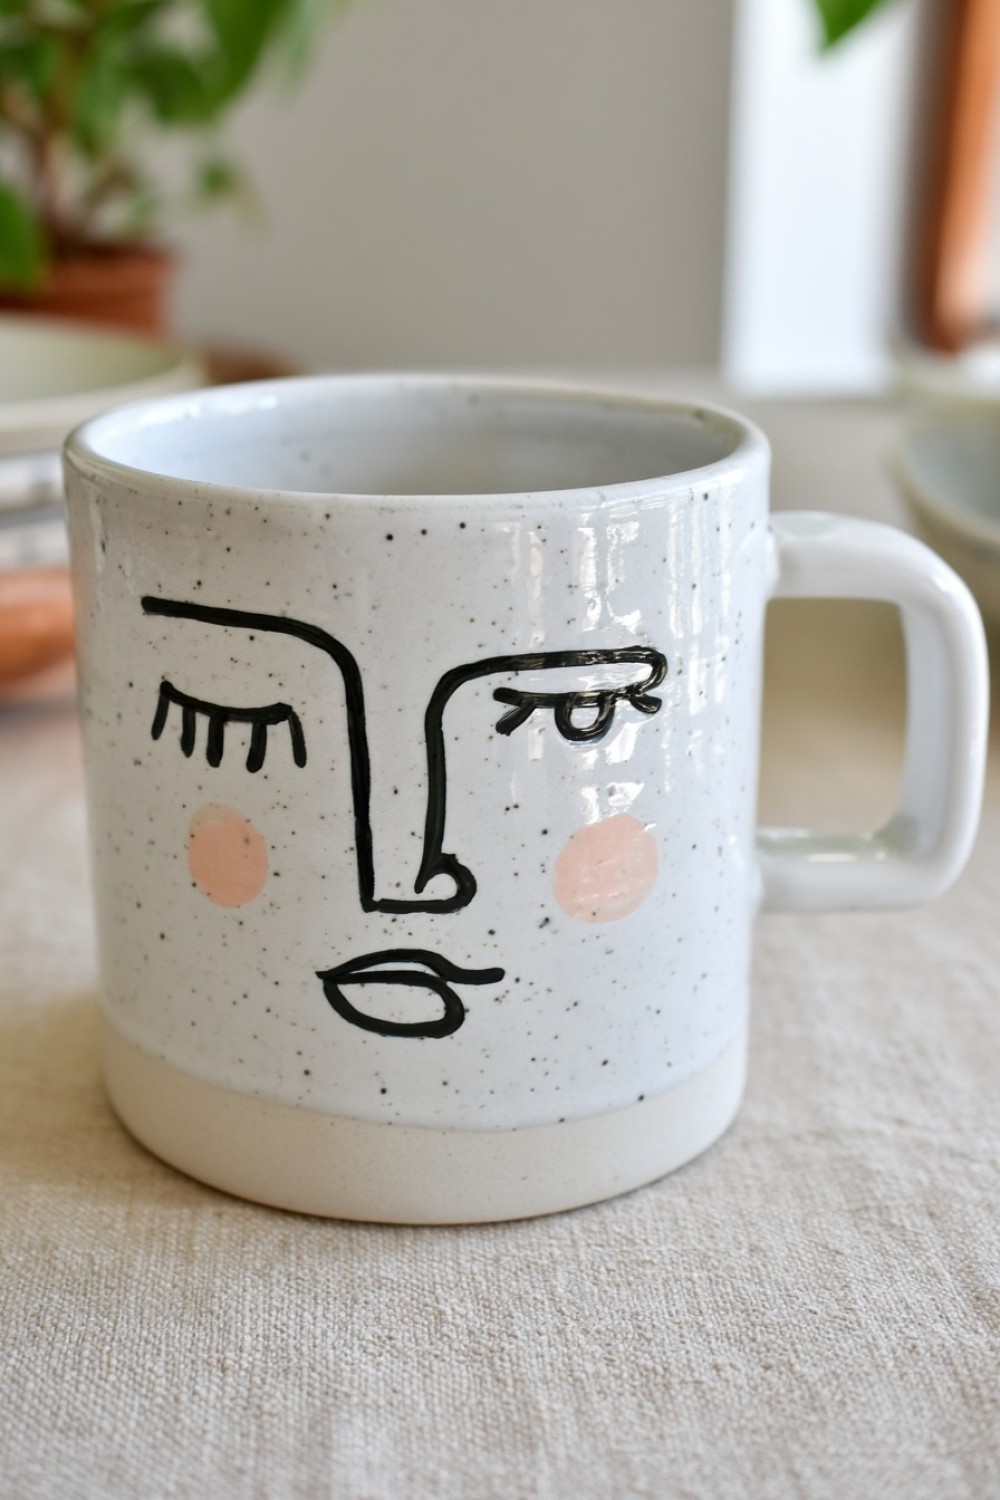
A simple line art design can make a plain white mug feel modern without requiring advanced drawing skills. Clean the mug with rubbing alcohol and let it dry completely before sketching a loose face, botanical outline, or abstract shape using a ceramic paint pen. Keep the design concentrated on one side rather than covering the entire surface. Black, dark blue, or earthy brown lines work especially well against a light background. Follow the paint manufacturer’s curing instructions carefully so the design sets properly. This style suits minimalist kitchens, home offices, and gift sets because the finished mug feels artistic while still remaining understated and practical.
2. Make a Speckled Stoneware Inspired Mug
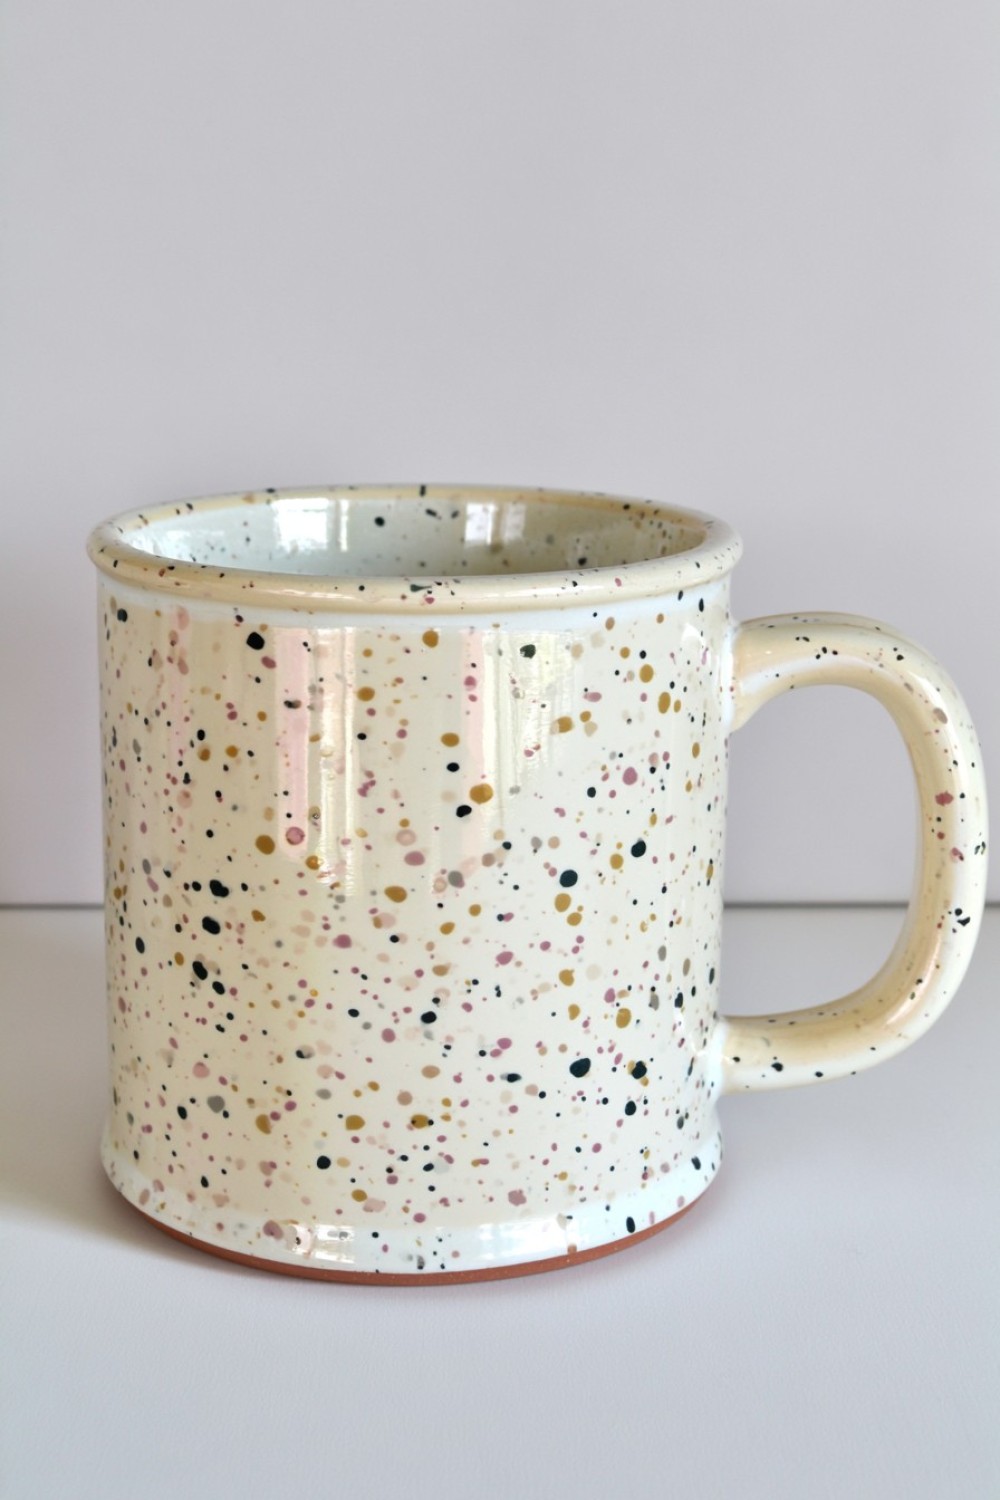
You can imitate the look of handmade stoneware using ceramic paint and a simple splatter technique. Start with a neutral mug in cream, beige, gray, or white. Apply small irregular dots using a stiff brush or toothbrush loaded with ceramic safe paint. Keep the speckles uneven so the finish looks natural rather than printed. For more depth, add a second shade in a slightly darker tone. Allow the surface to dry before curing according to the product instructions. This DIY works particularly well for rustic, Scandinavian, and modern organic kitchens. Pair several mugs with slightly different speckle patterns to create a coordinated handmade looking collection.
3. Paint a Soft Ombre Mug
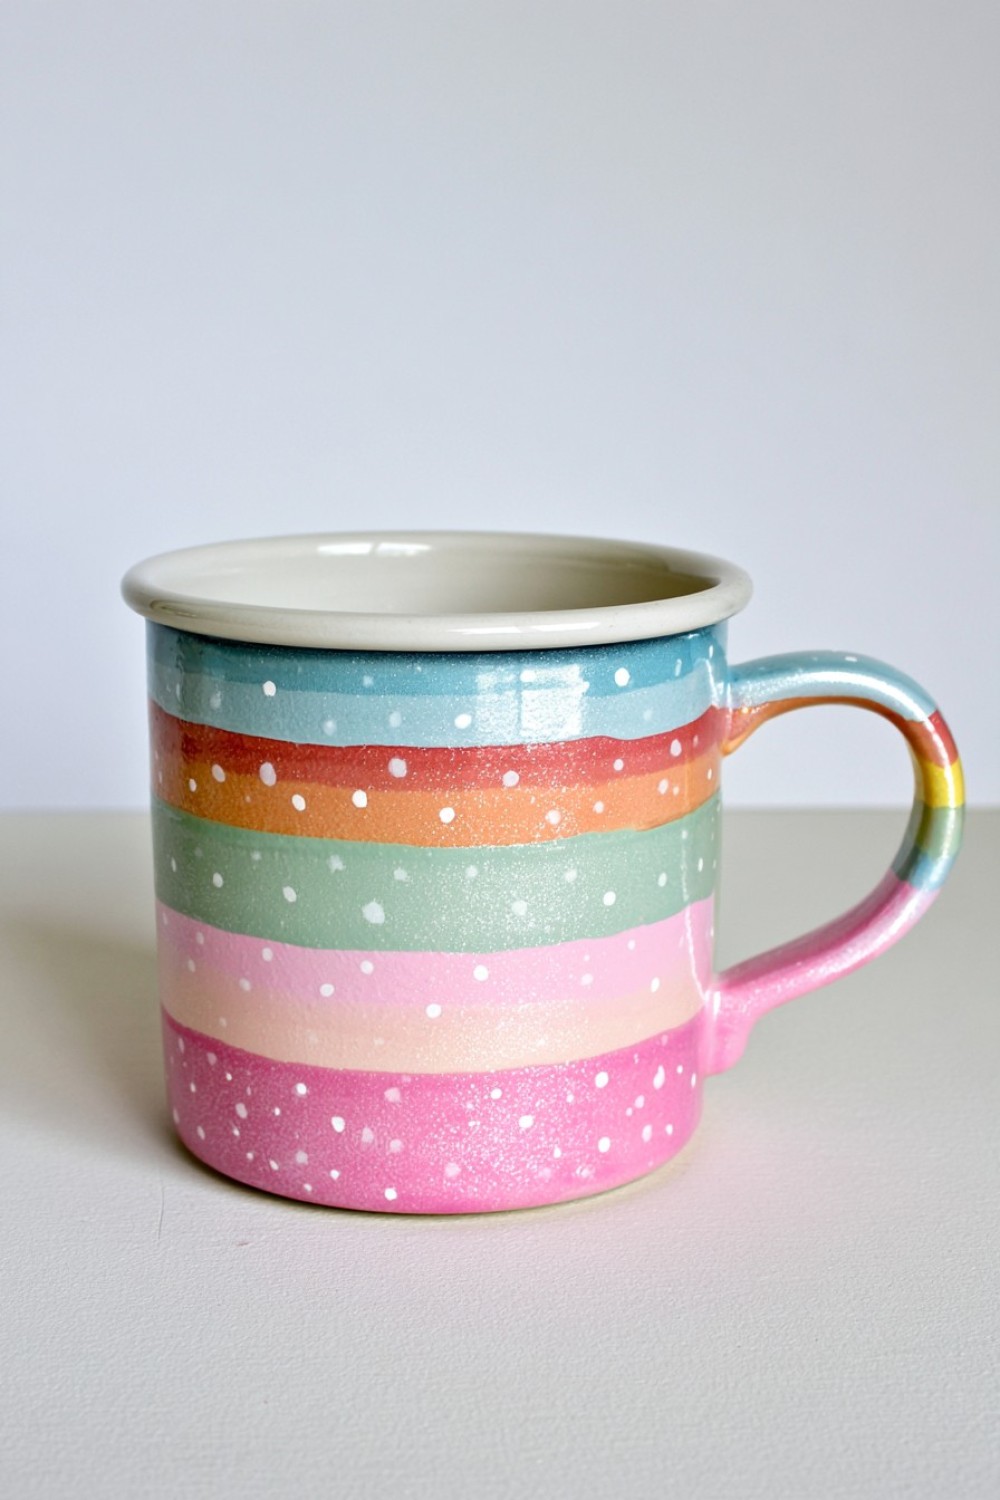
An ombre mug adds subtle color without overwhelming the design. Choose two related ceramic paint shades and begin with the darker color near the bottom. Gradually blend upward using a sponge, reducing the pigment as you approach the rim. Blue, terracotta, sage, lavender, and dusty pink work especially well for this technique. Keep the transition soft and slightly irregular so the finished result feels handmade. Avoid painting the drinking rim unless your product specifically allows it. Once dry, cure the mug according to the paint instructions. This style works beautifully in colorful coffee corners, bedroom drink stations, or coordinated kitchen shelf displays.
4. Add Botanical Leaf Motifs
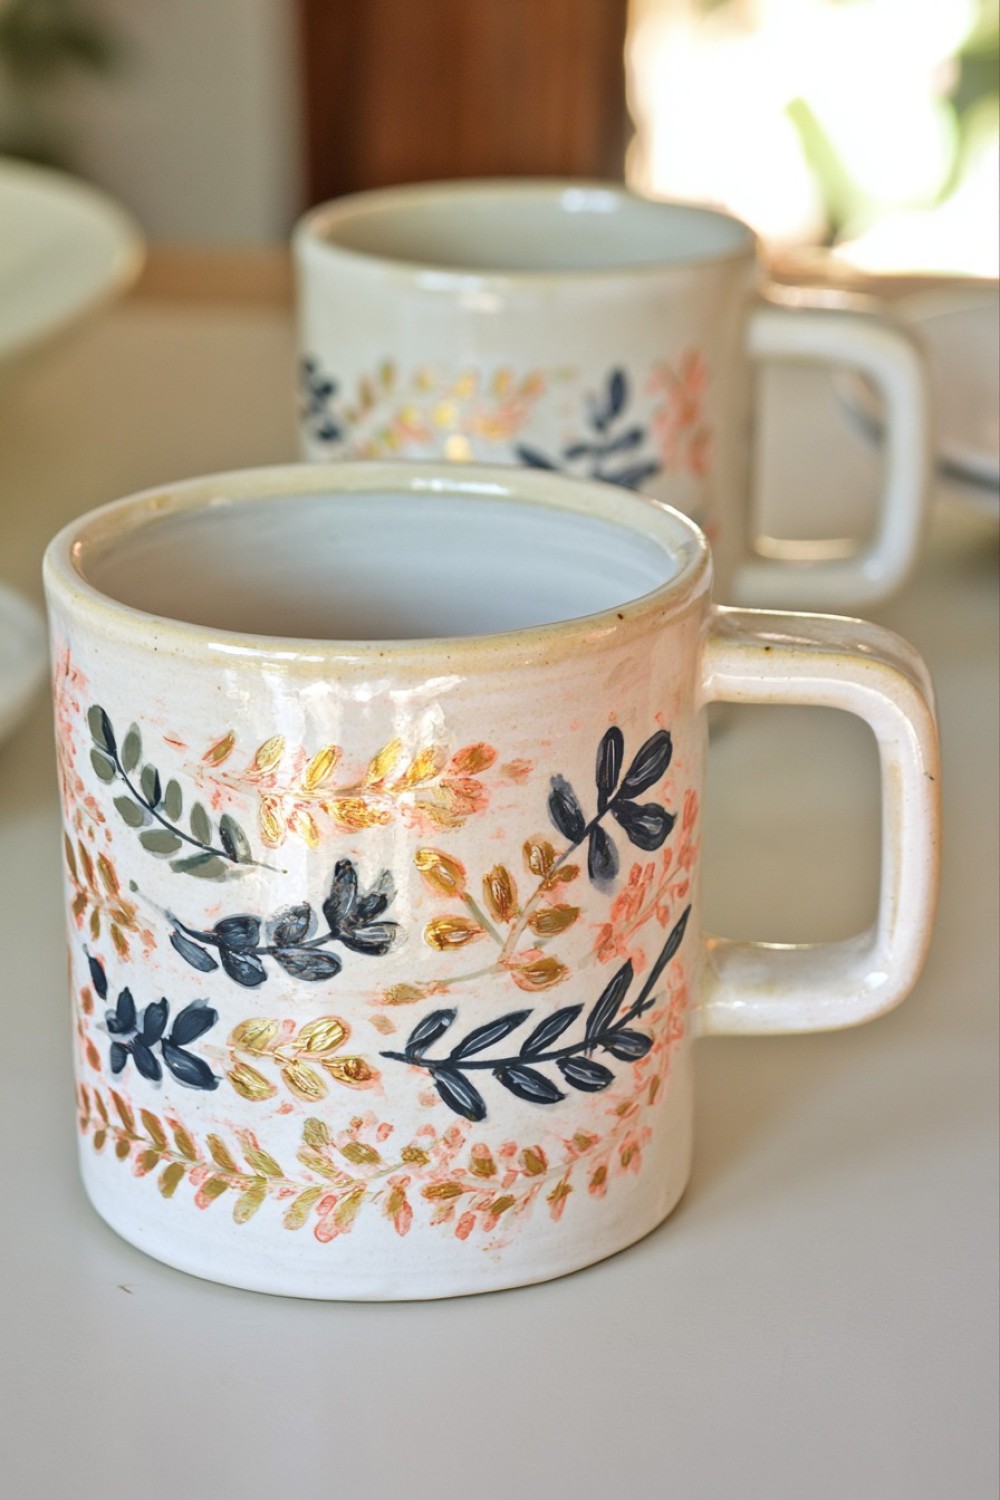
Botanical patterns are easy to adapt to almost any mug style. Use ceramic paint markers to draw small eucalyptus leaves, olive branches, fern shapes, or simple vines around one side of the mug. Keep the leaves spaced apart so the design remains clean and readable. Muted green, charcoal, terracotta, or deep navy can all create different moods. If freehand drawing feels difficult, lightly sketch the composition first with a removable guideline. Once the design is complete, let it cure fully. Botanical mugs fit naturally into nature inspired kitchens, tea corners, garden themed gift baskets, and relaxed interiors where organic details already play a decorative role.
5. Create a Color Block Mug
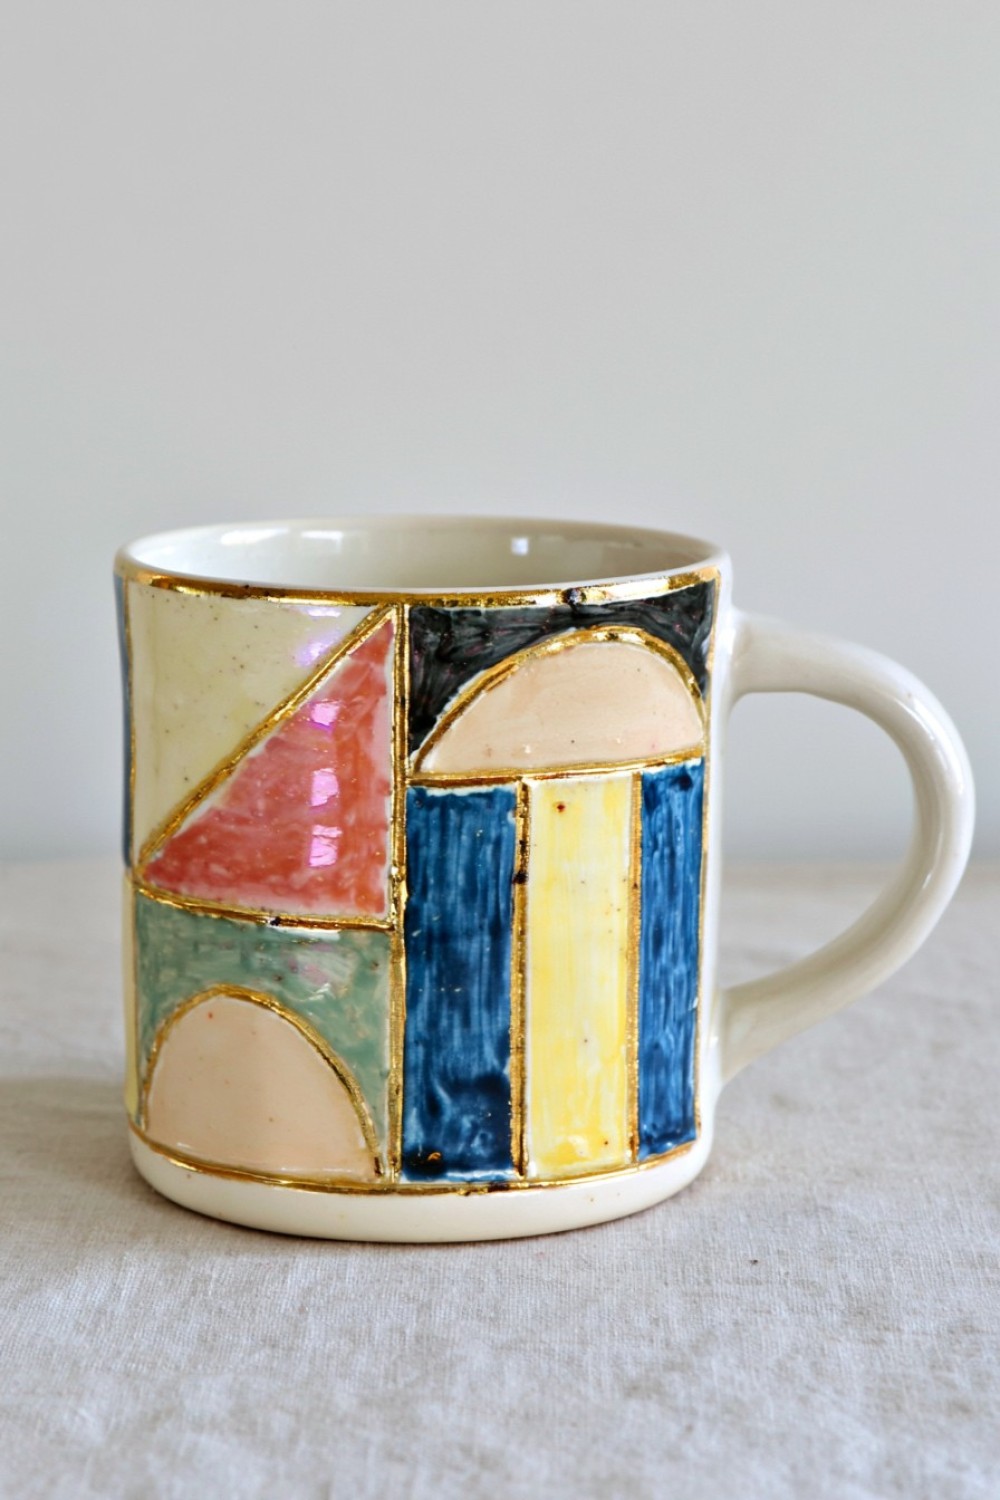
Color blocking is ideal if you prefer bold but simple decoration. Use painter’s tape to divide the mug into geometric sections, then apply ceramic paint in one or two contrasting colors. Diagonal lines, half painted sections, arches, and wide vertical bands all work well. Press the tape edges firmly so the paint does not bleed underneath. Remove the tape carefully before the paint becomes completely rigid if the product instructions allow it. Once cured, the crisp shapes create a contemporary look. This project is especially effective when several mugs use the same palette but different patterns, creating a coordinated set without making every piece identical.
6. Make a Terrazzo Pattern Mug
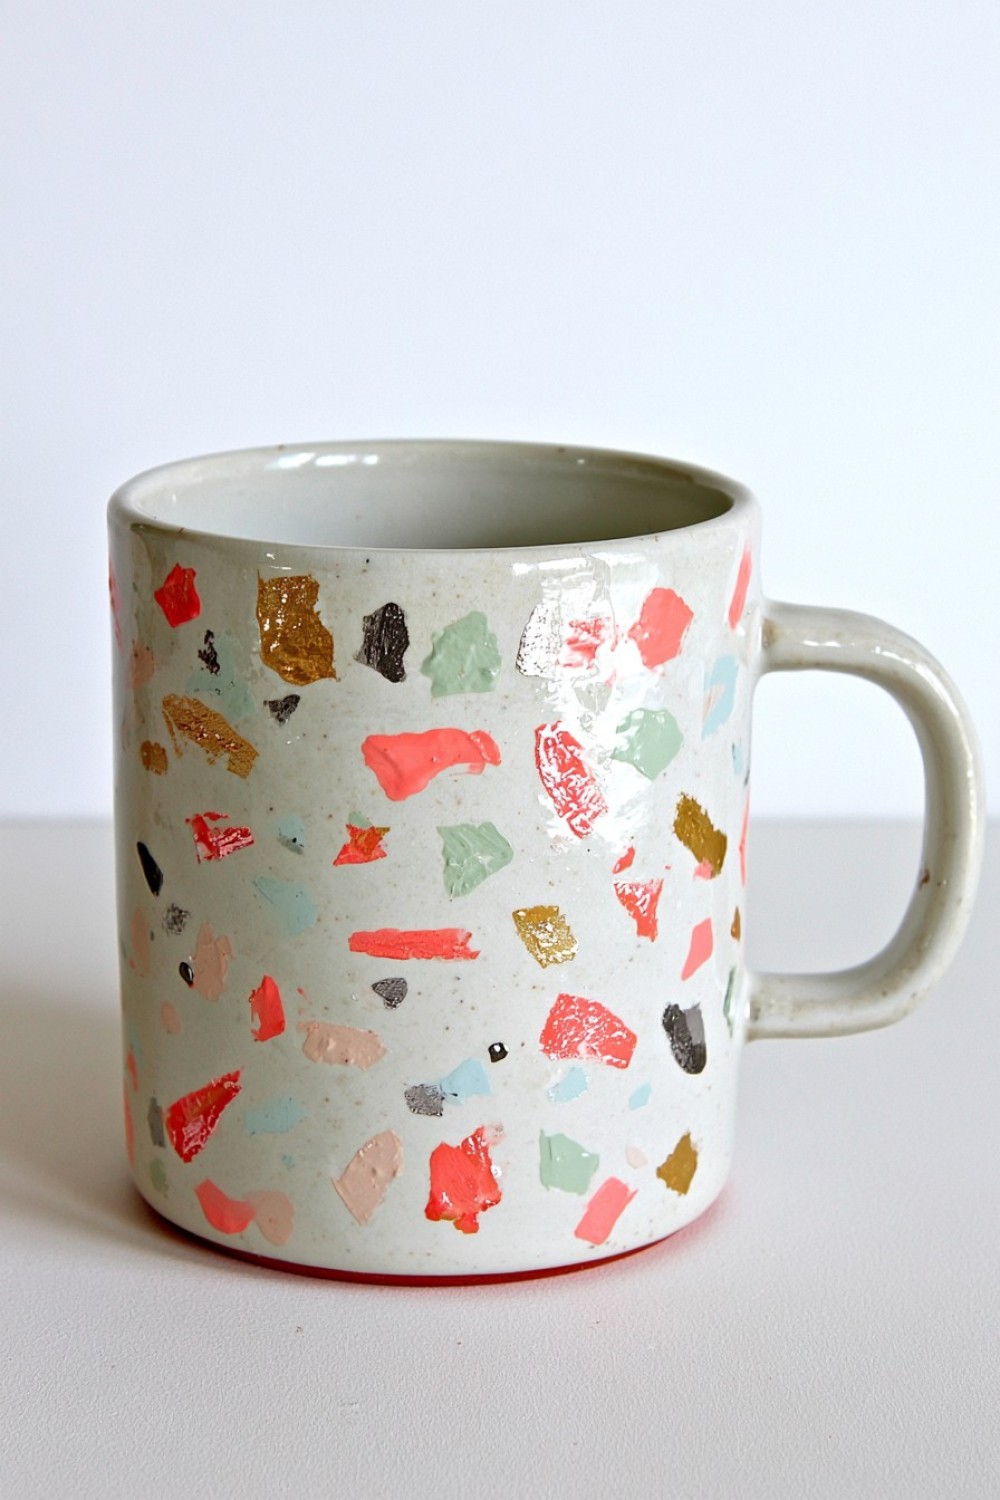
A terrazzo inspired mug can bring playful color to an otherwise simple kitchen shelf. Start with a plain light colored ceramic mug and use fine paintbrushes or ceramic markers to add small irregular chips in several complementary colors. Keep the shapes varied in size and direction rather than repeating one pattern. Soft coral, mustard, sage, blue, and charcoal can create a modern terrazzo palette. Leave enough blank space between the fragments so the design does not become visually heavy. After curing, the mug will resemble contemporary decorative ceramics. This technique works especially well for creative studios, colorful kitchens, and handmade gift sets.
7. Add Tiny Floral Details
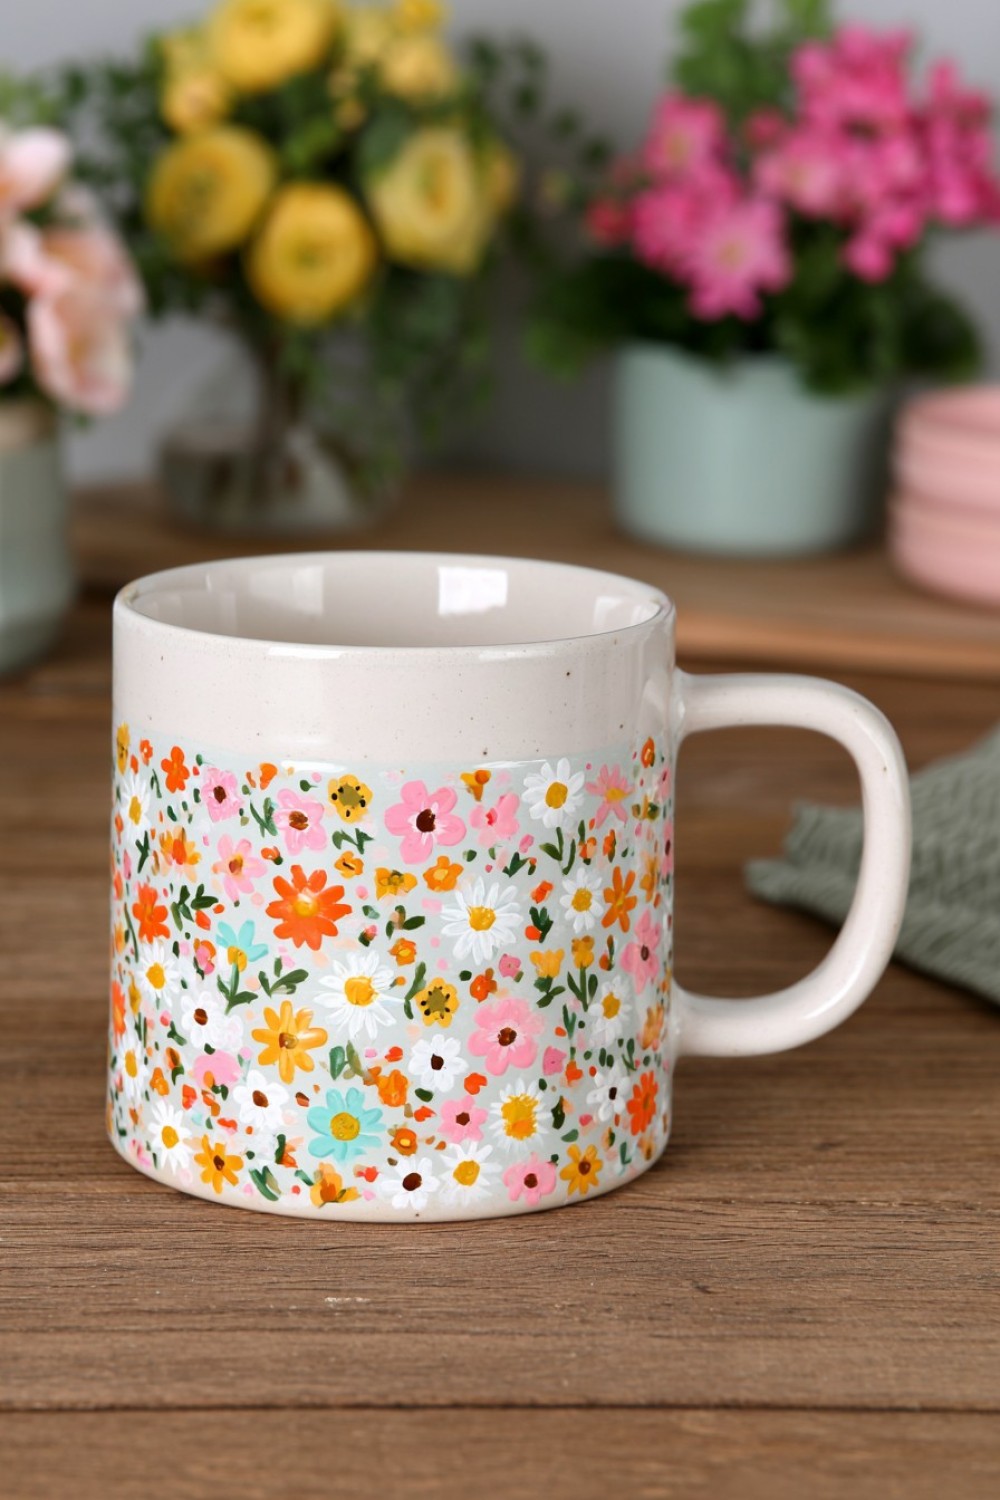
Small hand painted flowers can give a mug a delicate handmade character. Use a fine brush and ceramic paint to create tiny daisies, wildflowers, leaves, or simple petals around the lower half of the mug. Keep the flowers slightly irregular so they feel hand drawn rather than manufactured. Choose two or three main colors and repeat them across the design for consistency. A cream or white mug provides the clearest background, but muted pastel ceramics can also work beautifully. Once the paint is fully dry and cured, the mug becomes a charming addition to breakfast trays, tea shelves, cottage kitchens, or personalized gift boxes.
8. Create a Marbled Nail Polish Effect
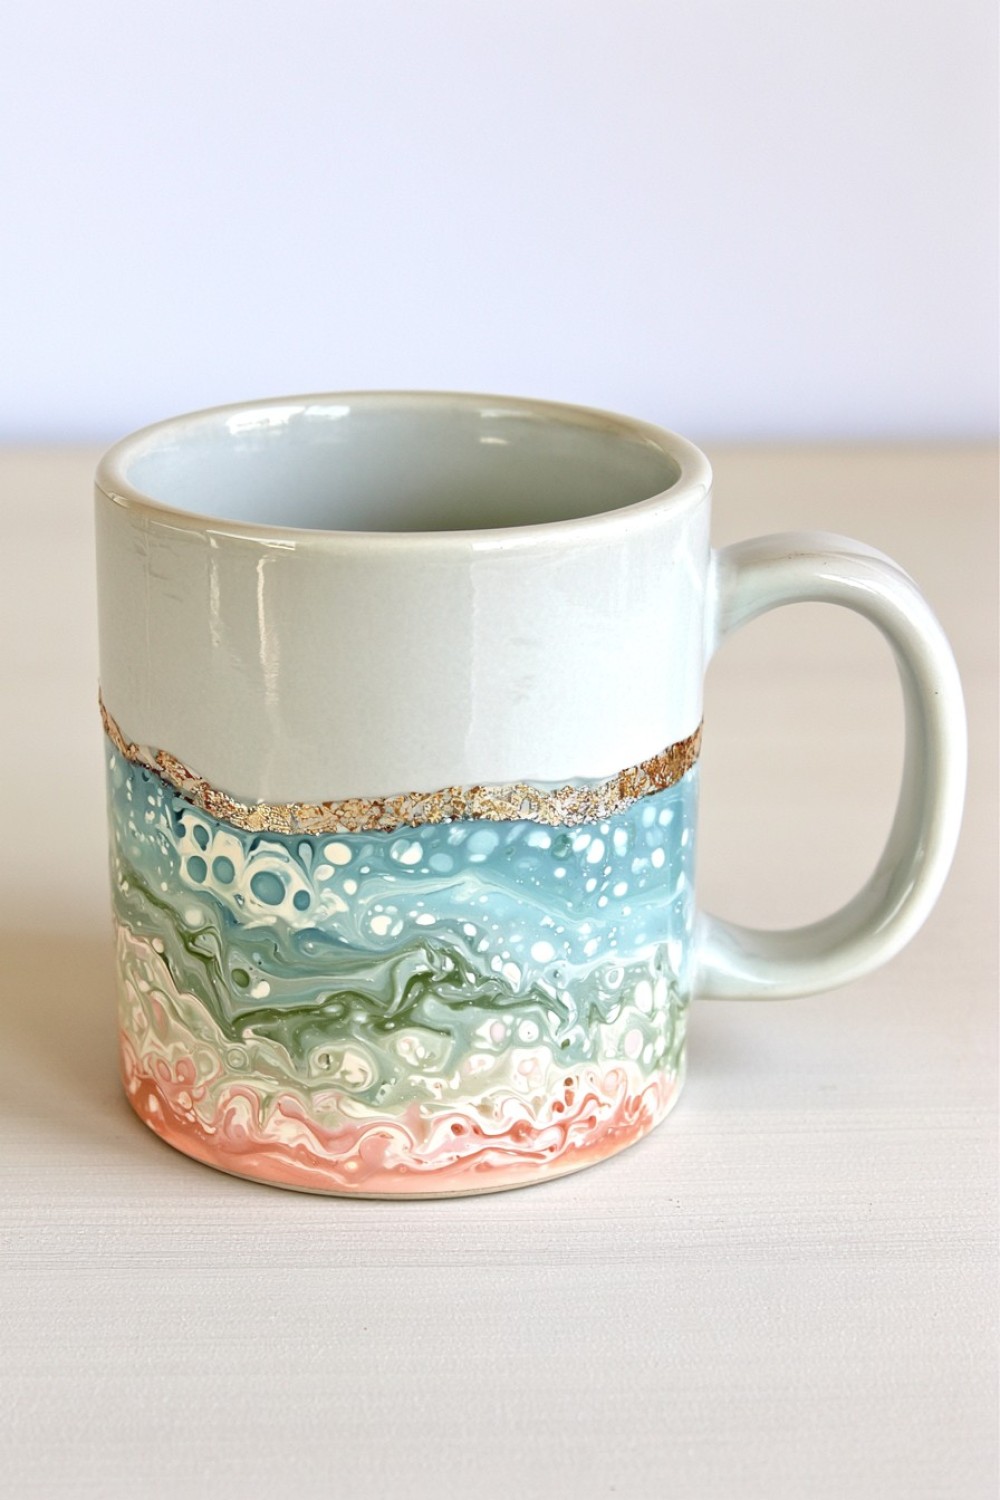
A marbled mug can be made using a water dipping technique with nail polish on the exterior surface only. Fill a disposable container with room temperature water and add a few drops of nail polish in coordinating colors. Swirl the surface gently with a toothpick, then dip the lower section of the mug through the pattern. Keep the rim and interior completely clear. Allow the mug to dry thoroughly and add a suitable clear protective coating if needed for decorative durability. Because this technique is best treated as exterior decoration, hand washing is generally preferable. The result works well for desk mugs, decorative displays, or gift projects.
9. Decorate with Gold Accent Details
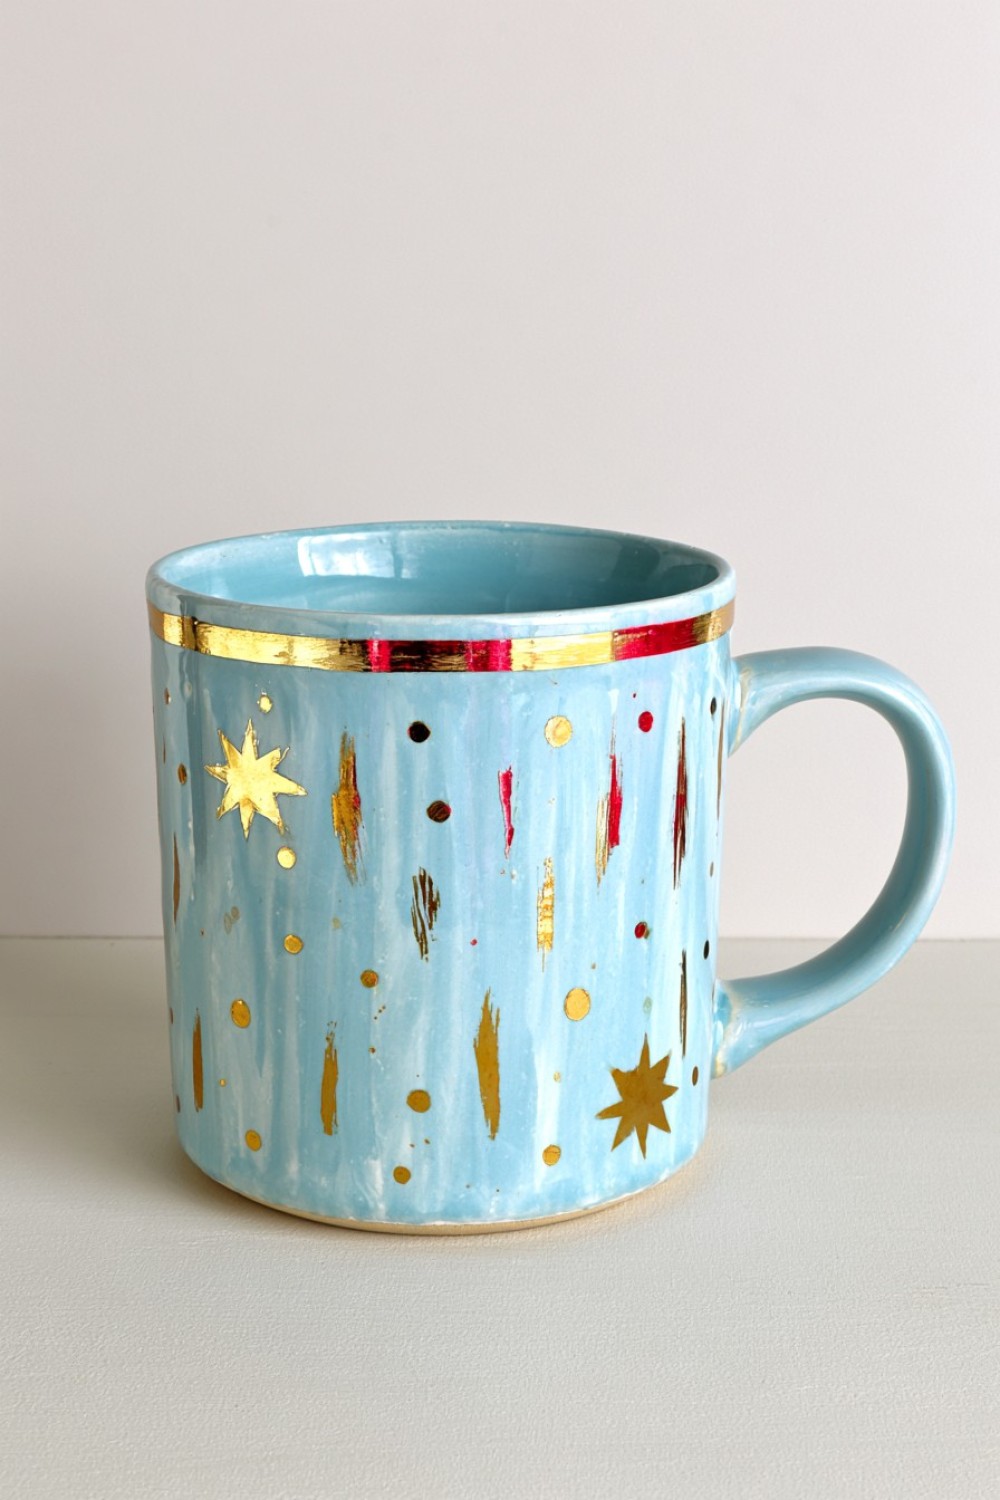
Metallic accents can make a basic mug feel more polished with very little effort. Use a ceramic safe metallic marker to add thin borders, scattered dots, abstract lines, or small geometric details. Instead of covering the whole mug, keep the metallic design concentrated around the handle, lower edge, or one side. Gold pairs beautifully with white, blush, navy, and forest green ceramics, while copper works well with warm neutral tones. Allow the paint to cure exactly as directed. This project suits elegant coffee corners, vanity drink stations, holiday gift sets, or modern kitchens where small reflective details can add visual interest without requiring a complicated design.
10. Make a Chalkboard Style Mug
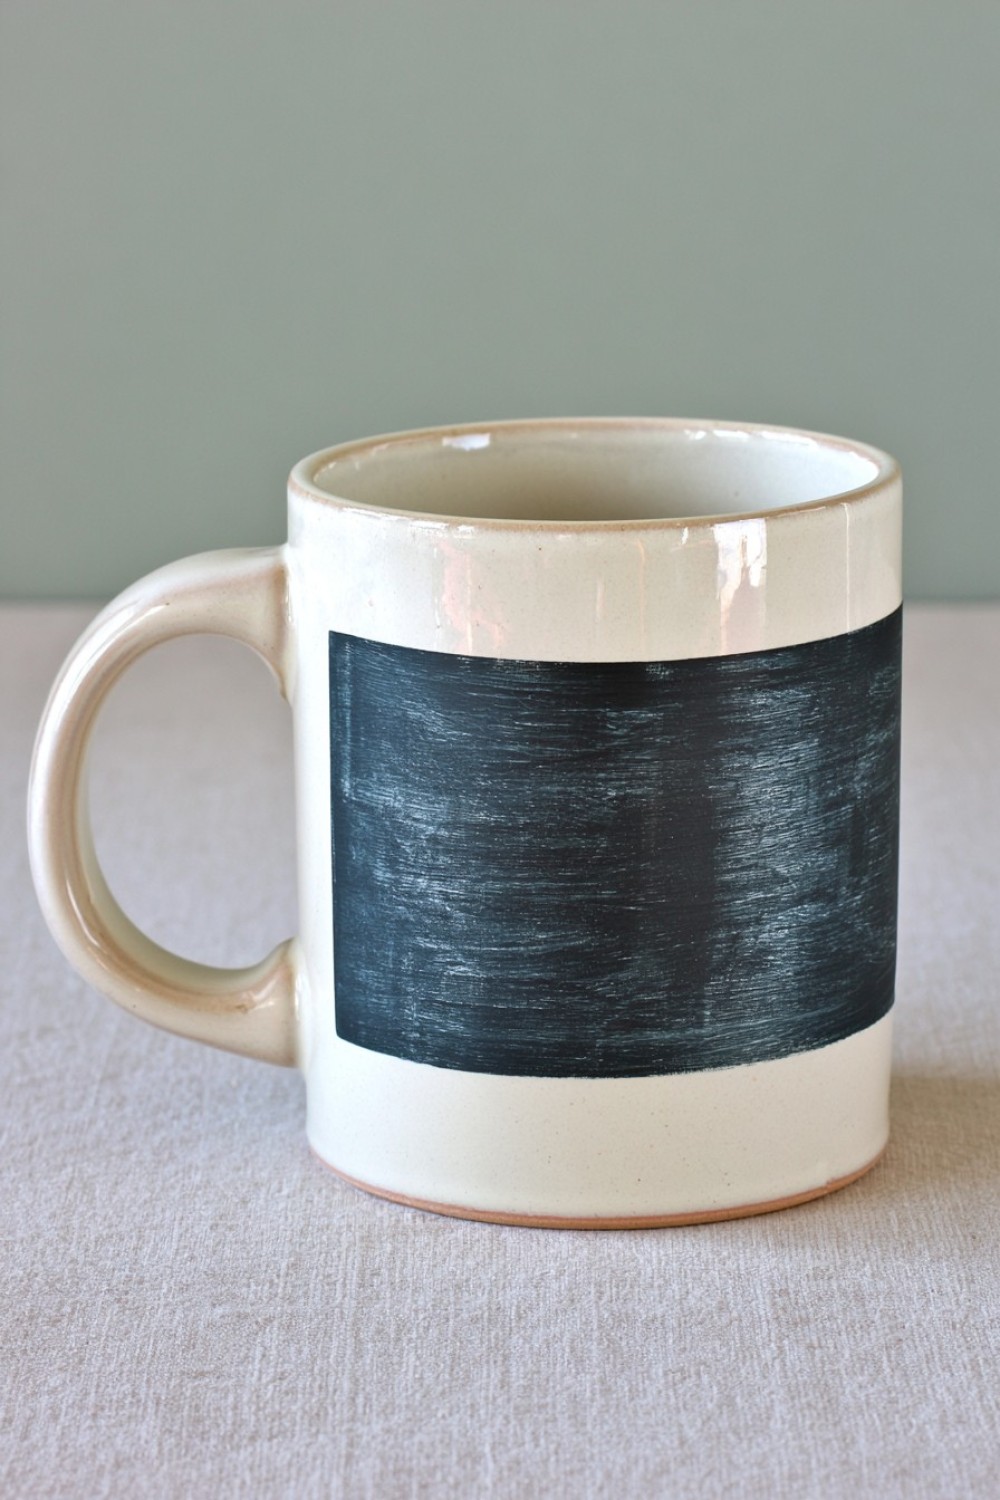
A chalkboard style finish can create a playful mug that changes over time. Apply a ceramic compatible chalkboard paint to a selected section of the mug, usually the lower half or one large panel. Keep the rim and handle clear for comfort. Once the coating has cured, use chalk or chalk markers to add temporary drawings, names, small reminders, or decorative patterns. The design can be updated whenever you want a different look. This project works well for family kitchens, casual breakfast areas, or handmade gifts. It is also a fun way to personalize matching mugs without permanently committing to one specific graphic design.
11. Add Raised Clay Decorations
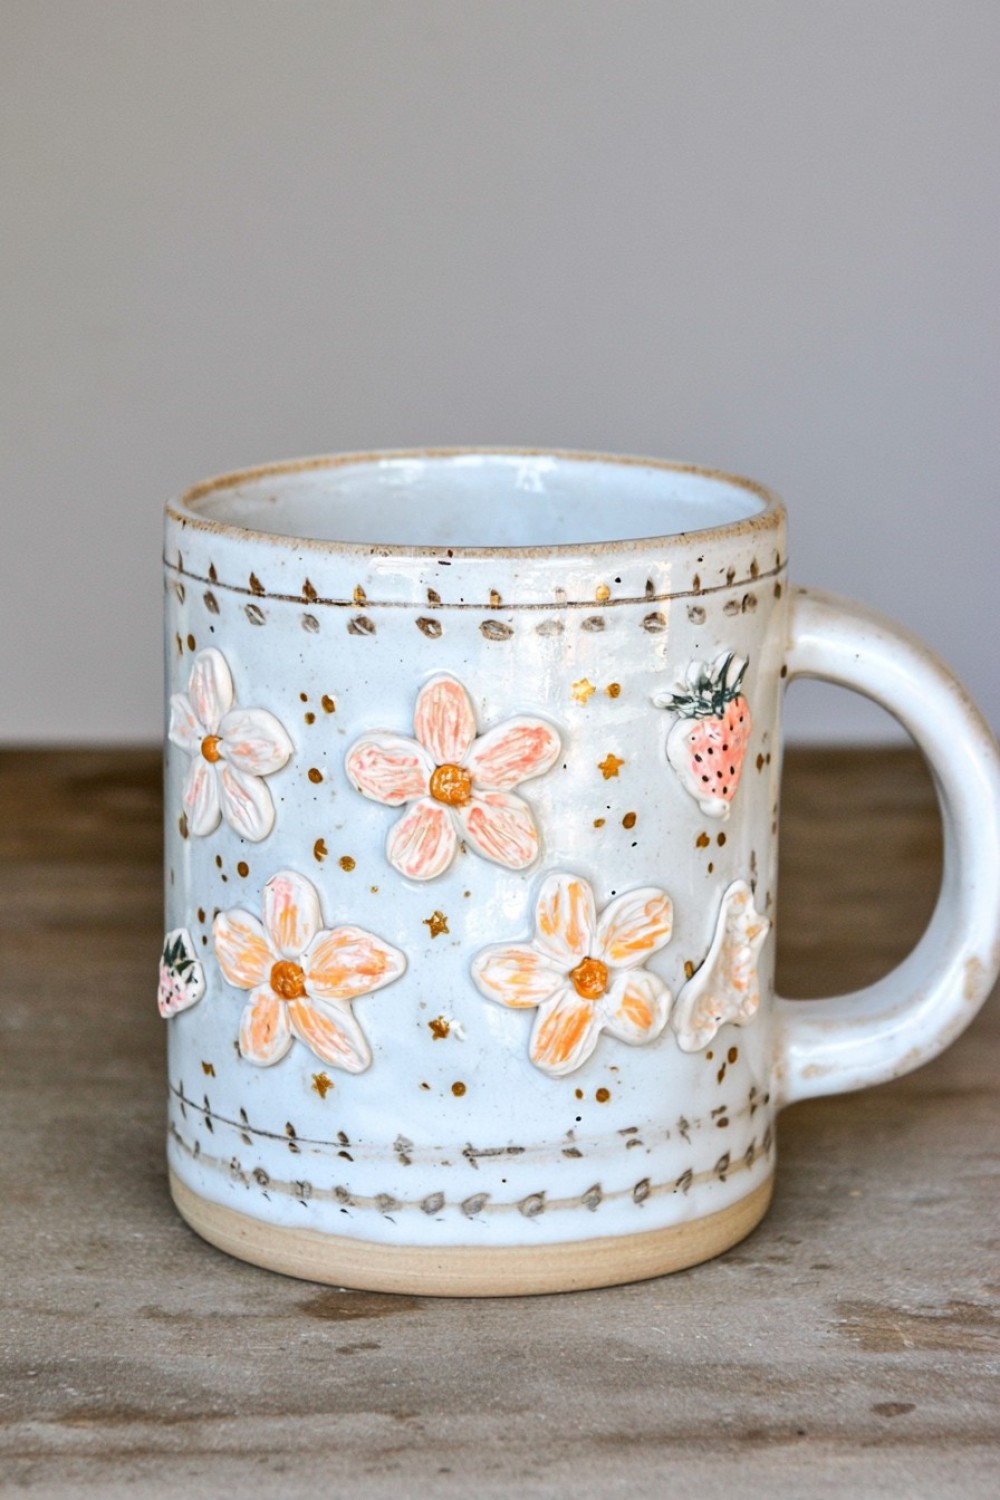
Polymer clay can be used to create small dimensional details for decorative mug projects. Shape tiny leaves, fruits, flowers, stars, or abstract pieces and cure them separately according to the clay instructions. Attach the finished pieces to the mug exterior using a strong adhesive suitable for ceramics and cured clay. Keep decorations away from the rim and areas that receive frequent contact. Choose a restrained number of embellishments so the mug remains practical to hold. This technique is especially useful for display mugs, pen holders, or gift pieces. The raised texture creates a sculptural effect that looks completely different from painted mug designs.
12. Create a Two Tone Dip Effect
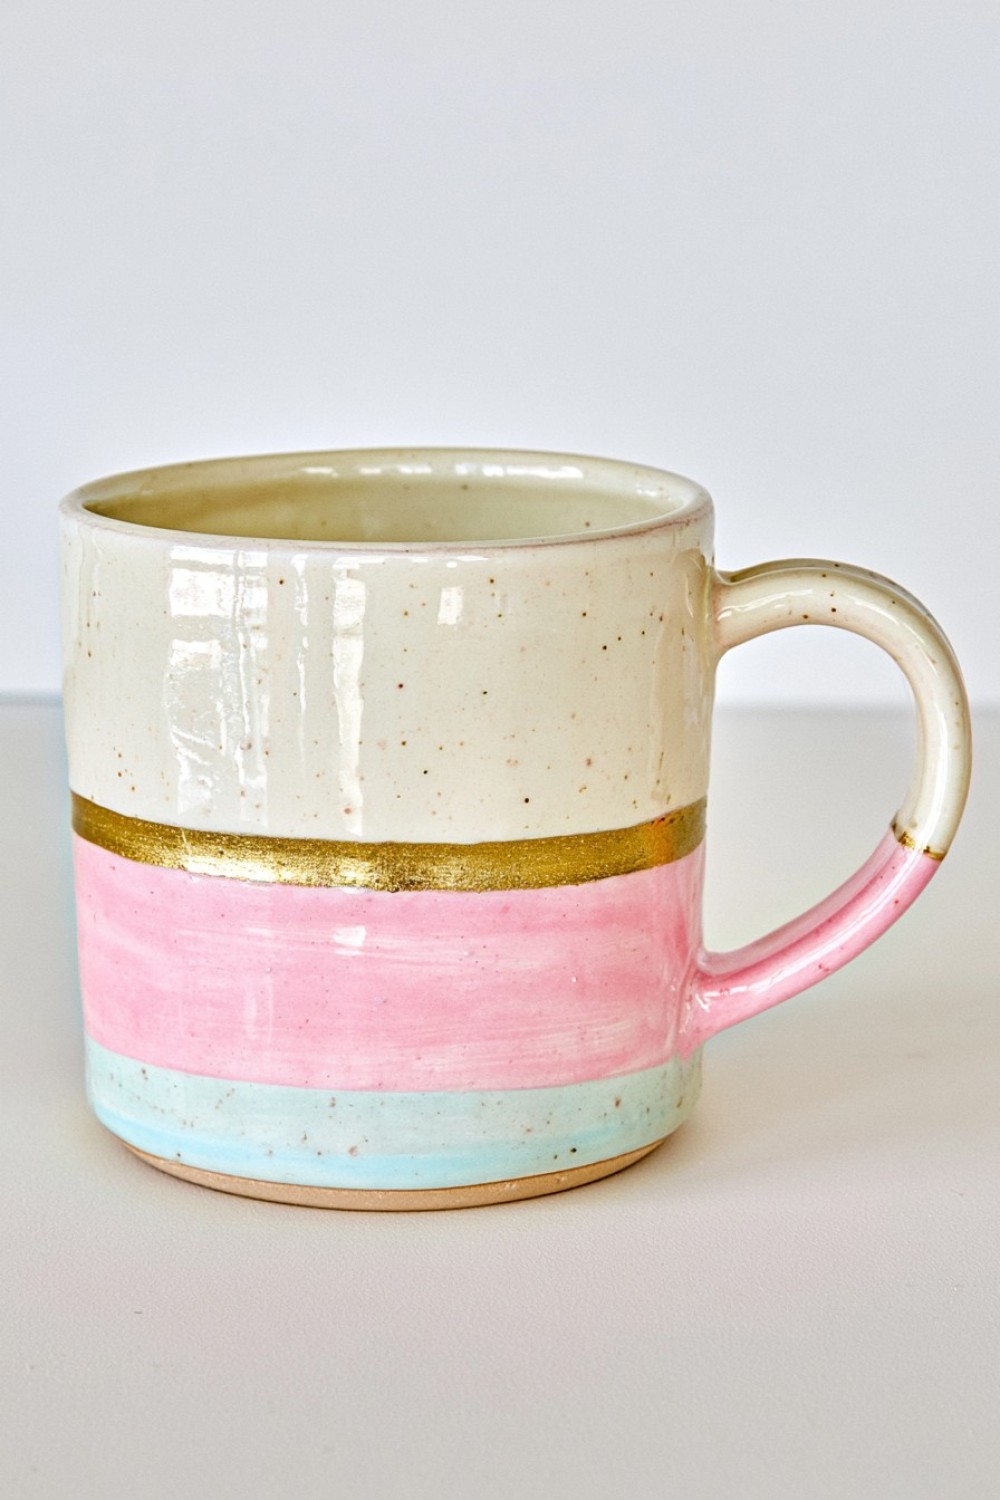
A faux dipped mug is easy to achieve with ceramic paint. Mark a straight or slightly angled line around the lower portion using painter’s tape, then paint everything below it in one solid color. Deep green, terracotta, cobalt, charcoal, or muted pink can create strong contrast against white ceramic. Apply multiple thin coats rather than one heavy layer for a smoother finish. Once the paint is set, remove the tape and cure the mug according to the instructions. This approach works beautifully for modern kitchens and matching coffee sets. Vary the height of the dipped section across several mugs for a coordinated but non identical collection.
13. Paint a Checkerboard Mug
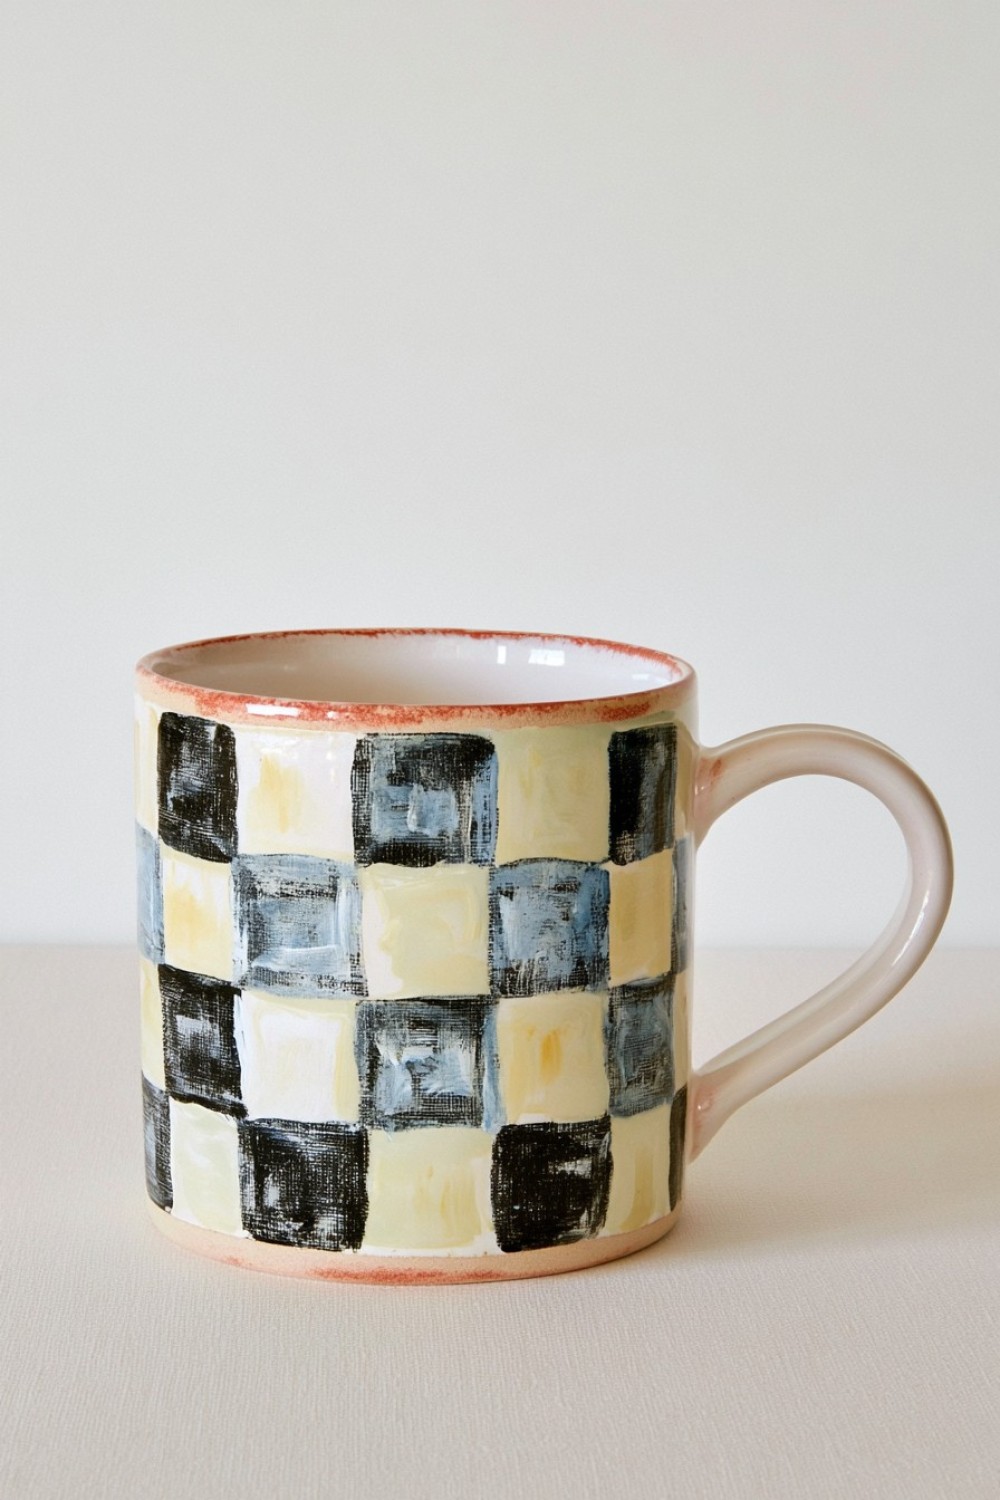
Checkerboard patterns can give mugs a bold graphic personality. Use narrow painter’s tape or lightly draw a grid across one section of the mug, then fill alternating squares with ceramic paint. Keep the pattern large enough to paint cleanly without making the process frustrating. Black and white creates a classic look, while sage and cream, terracotta and beige, or blue and pale gray feel softer. You can cover the entire body or use the checkerboard only around the lower half. After curing, the mug becomes a fun statement piece for contemporary kitchens, creative desks, or retro inspired coffee corners.
14. Make a Personalized Initial Mug
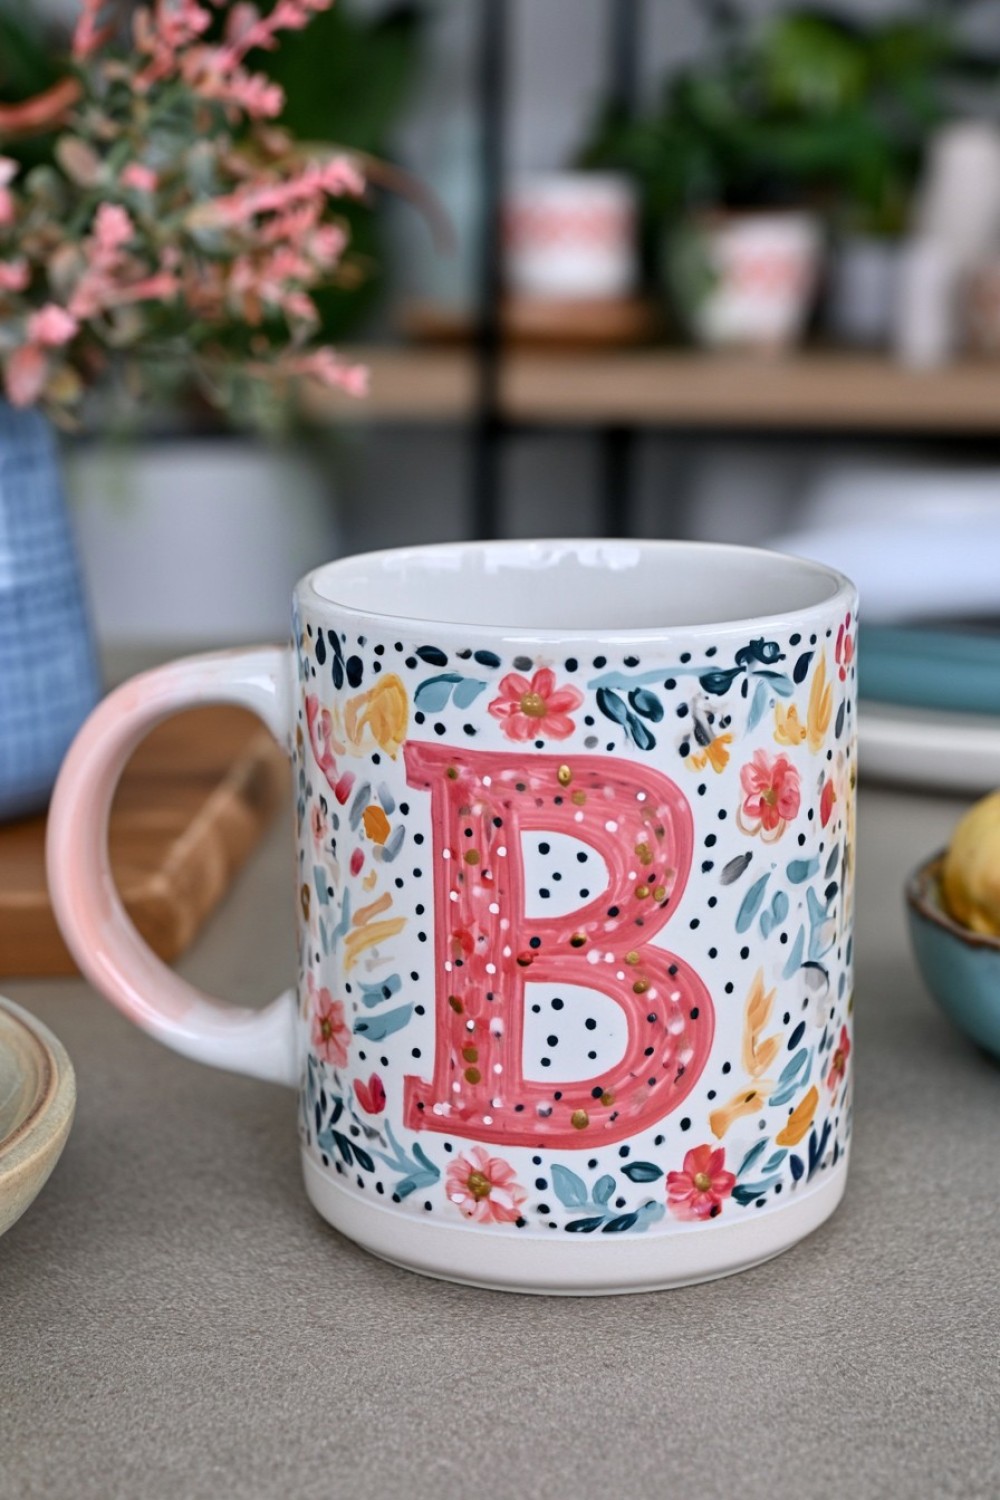
A personalized initial mug is simple, practical, and easy to customize as a gift. Choose a clean mug and add one large letter using a ceramic paint pen, stencil, or hand painted brushwork. Instead of leaving the initial plain, surround it with small dots, leaves, abstract strokes, or tiny flowers. Choose colors that reflect the recipient’s style rather than using the same palette for every project. Keep the design away from the rim and handle grip area. Once cured, the mug can be paired with coffee, tea, or homemade treats. This idea works especially well for birthdays, teacher gifts, housewarmings, or small personalized presents.
15. Create an Abstract Brushstroke Mug
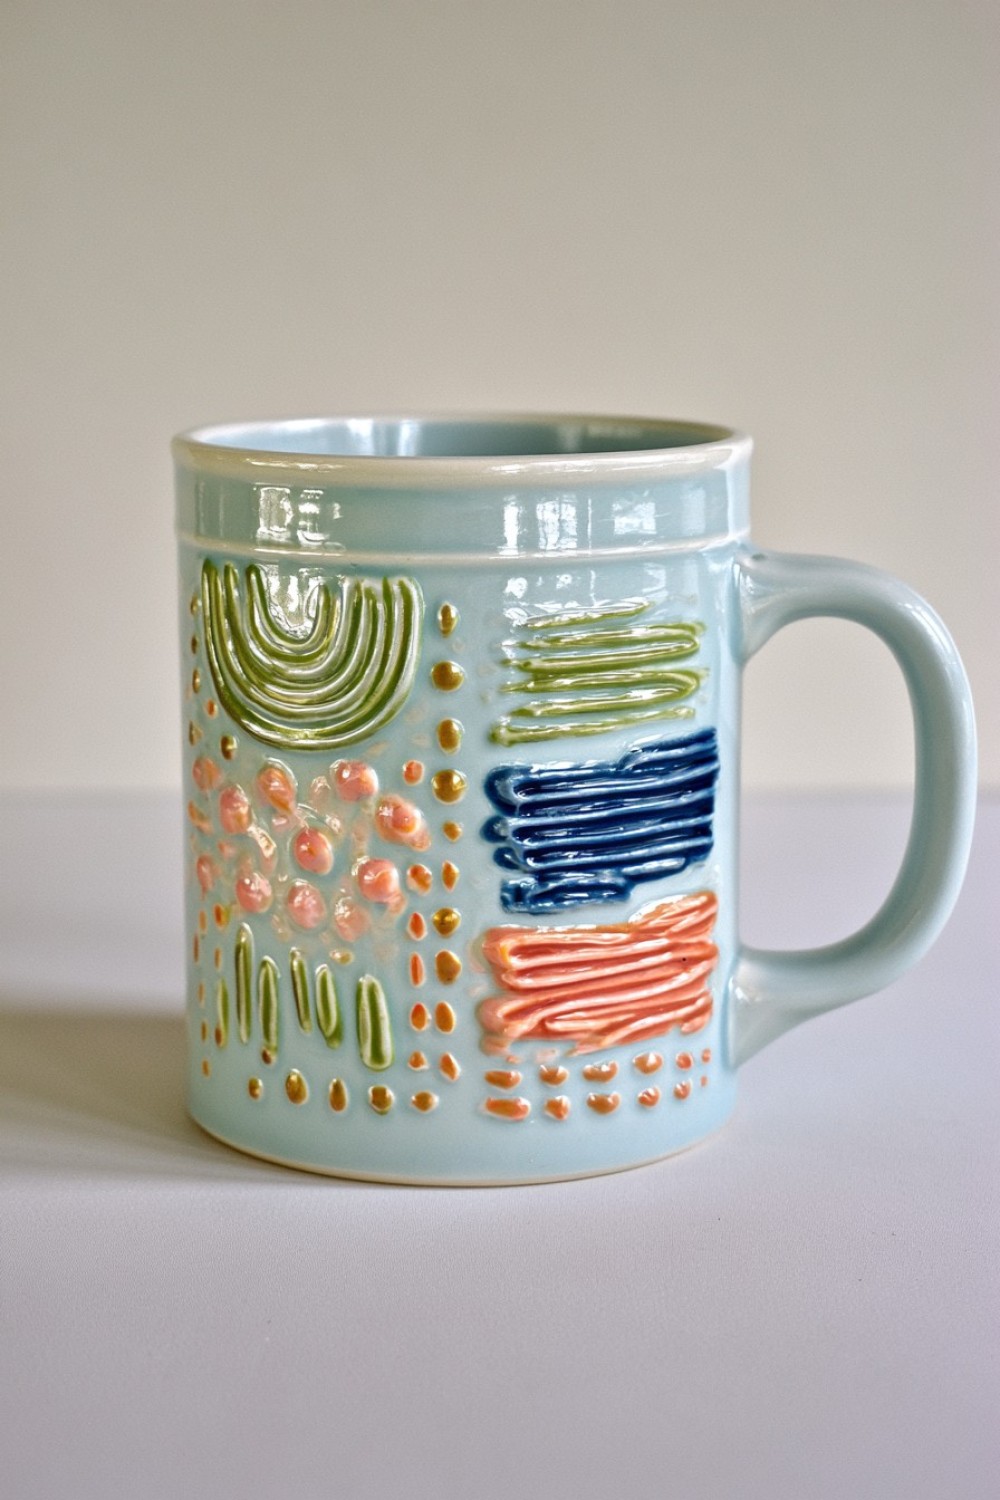
Abstract brushstrokes are ideal when you want a handmade mug without needing precise drawing skills. Use two or three ceramic paint colors and apply short strokes, curved shapes, dots, or overlapping marks across one side of the mug. Vary the brush pressure so each mark looks slightly different. Neutral tones create a sophisticated result, while stronger colors make the design more playful. Leave plenty of blank space between shapes so the composition feels balanced. After curing, the finished mug can become part of a modern kitchen display or creative gift set. Each piece will naturally look different, which makes this technique especially suitable for handmade collections.
MORE IDEAS


Share
What's Your Reaction?
 Like
0
Like
0
 Dislike
0
Dislike
0
 Love
0
Love
0
 Funny
0
Funny
0
 Angry
0
Angry
0
 Sad
0
Sad
0
 Wow
0
Wow
0