Reclaimed wood brings warmth, texture, and an unmistakable sense of character into a home. Weathered boards, old fence panels, salvaged flooring, barn wood, and leftover timber can all become decorative pieces instead of being discarded. Their scratches, faded colors, nail marks, and irregular grain make every DIY project naturally unique. Reclaimed wood also works with many decorating styles, from rustic farmhouse interiors to modern organic, cottage, industrial, coastal, and vintage inspired spaces. Before starting a project, clean the wood carefully, remove loose nails, sand rough edges, and check for damage. The following ideas combine practical DIY techniques with decorative possibilities for transforming salvaged timber into useful and attractive home accents.
1. Build a Reclaimed Wood Floating Shelf Display
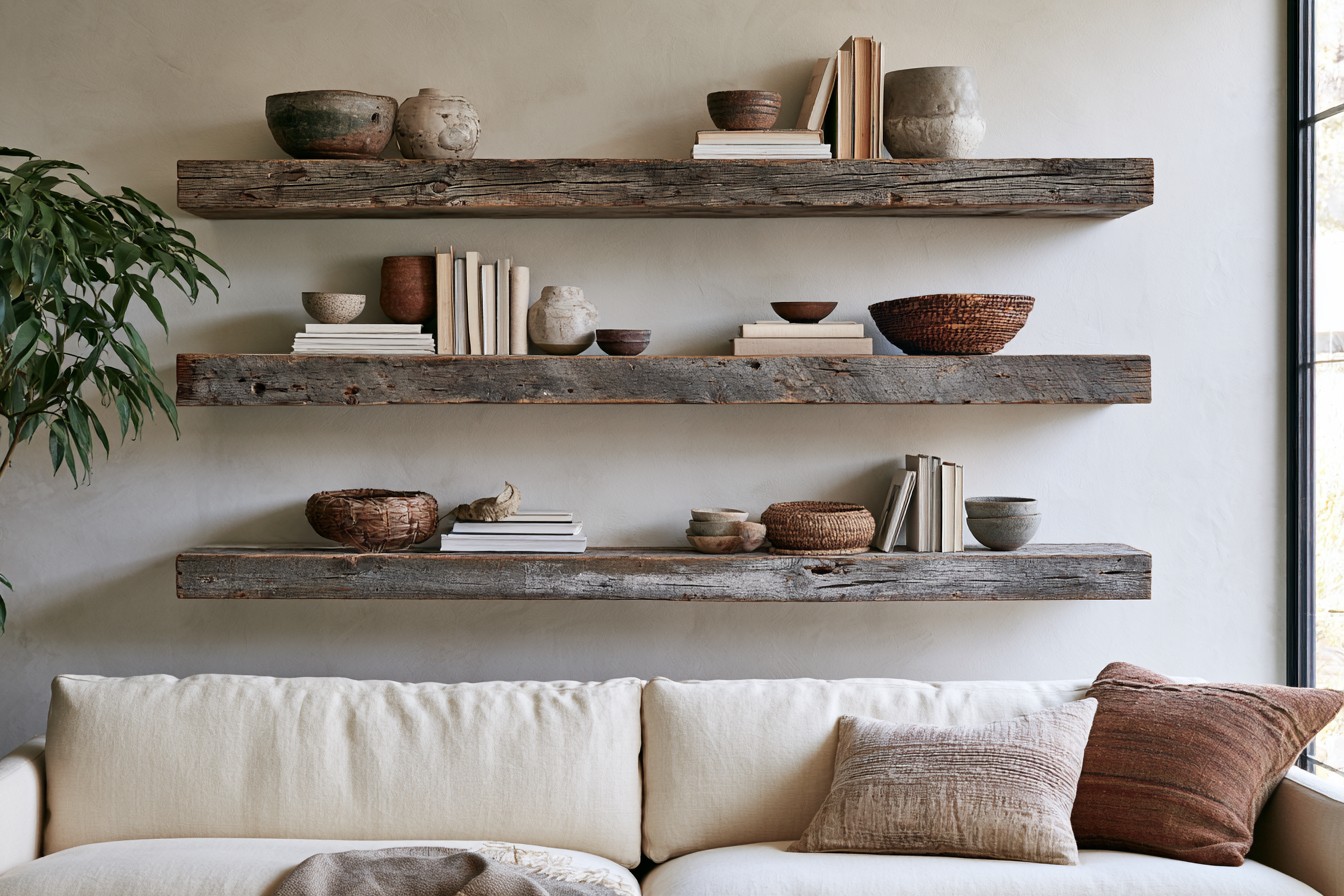
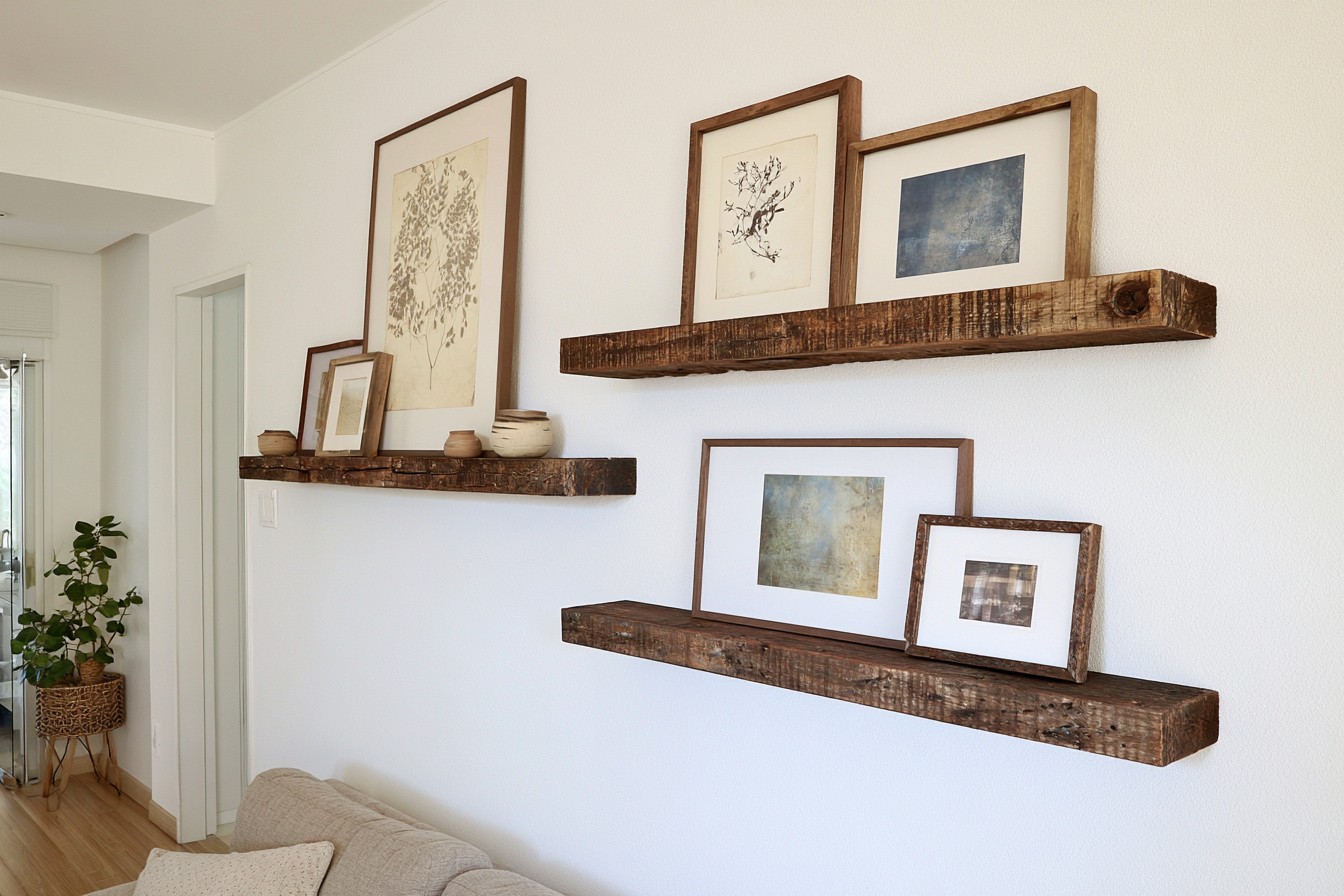
Floating shelves are one of the easiest ways to introduce reclaimed wood without making major changes to a room. Choose a thick, relatively straight board and remove dirt, splinters, loose nails, and unstable sections before sanding the edges. Preserve some surface imperfections so the shelf still looks naturally aged. Hidden floating shelf brackets create a cleaner appearance, while black metal brackets can emphasize a rustic or industrial style. Install several shelves vertically above a desk, sofa, kitchen counter, or bathroom cabinet. Decorate them with ceramic bowls, framed artwork, books, pottery, baskets, or small collections. Mixing reclaimed shelves with simple modern surroundings creates an especially appealing contrast between weathered texture and clean contemporary surfaces.
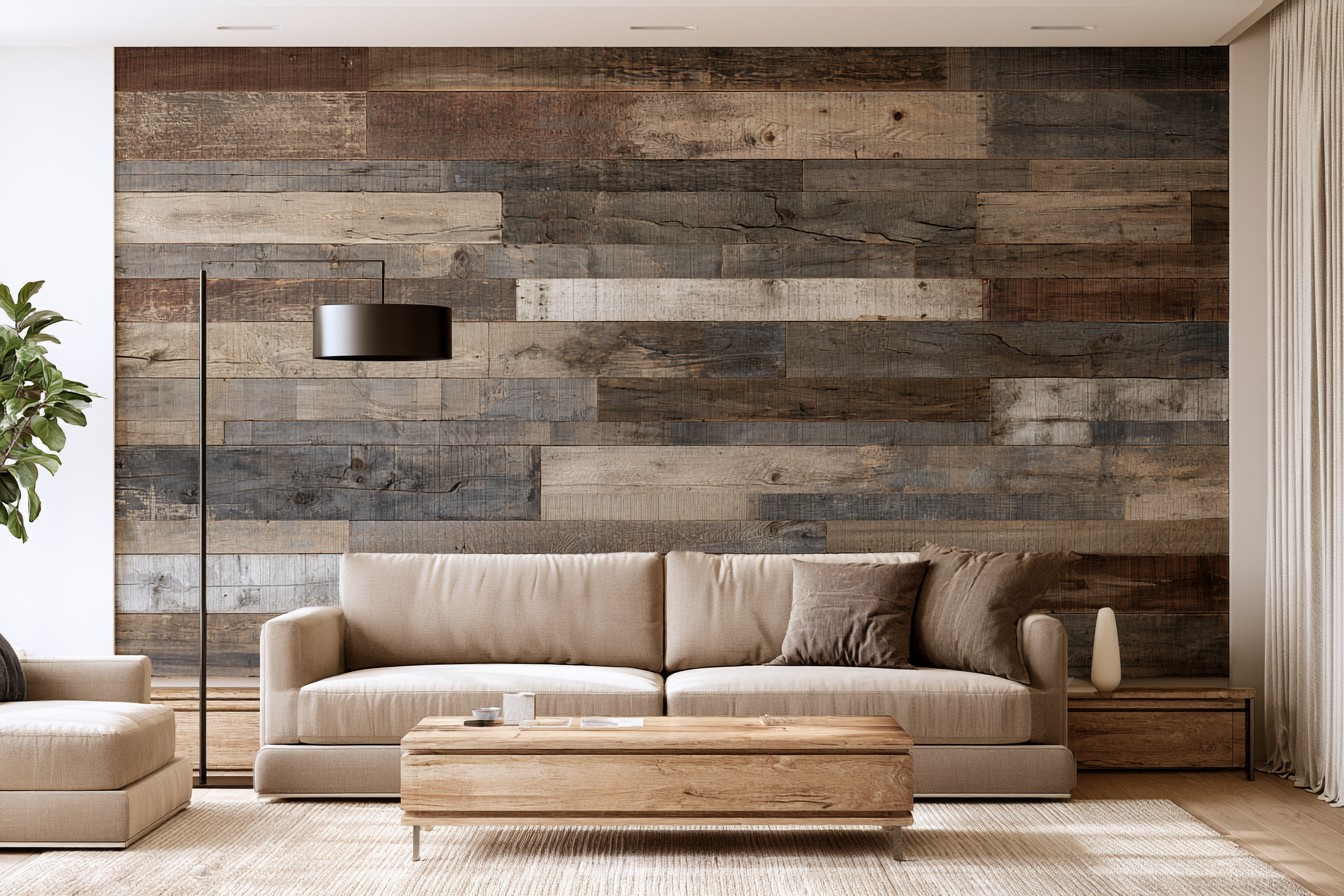
2. Create an Oversized Rustic Wood Wall Panel
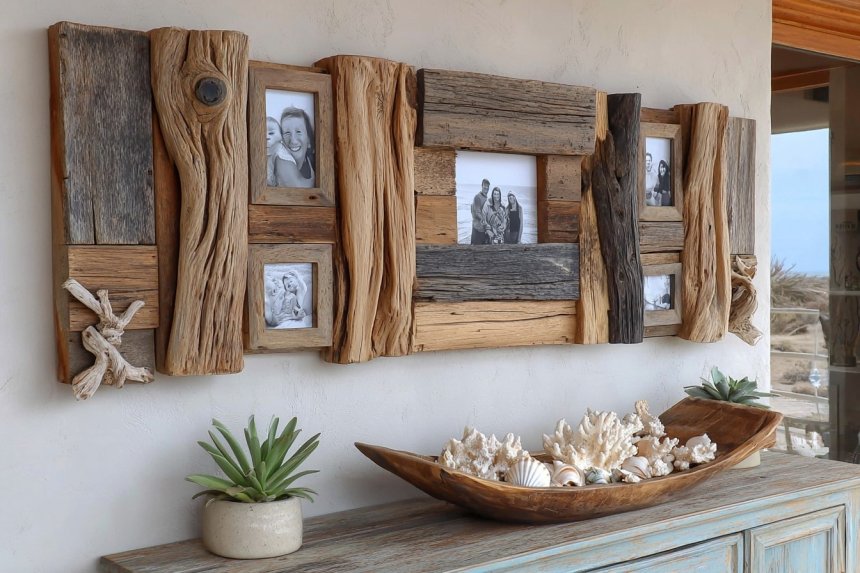
Instead of hanging many small decorations, use reclaimed boards to create one substantial wall feature. Collect boards with different grain patterns and subtle variations in tone, then arrange them horizontally, vertically, or in a simple geometric layout. Attach the pieces to a lightweight plywood backing so the entire panel can be installed more easily. Keeping several original saw marks and naturally worn areas gives the composition additional depth. An oversized panel works particularly well above a sofa, console table, bed, or dining bench. For a more refined look, keep the surrounding furniture understated and allow the wood to become the focal material. DIY builders can also create a smaller removable version for renters or compact rooms.
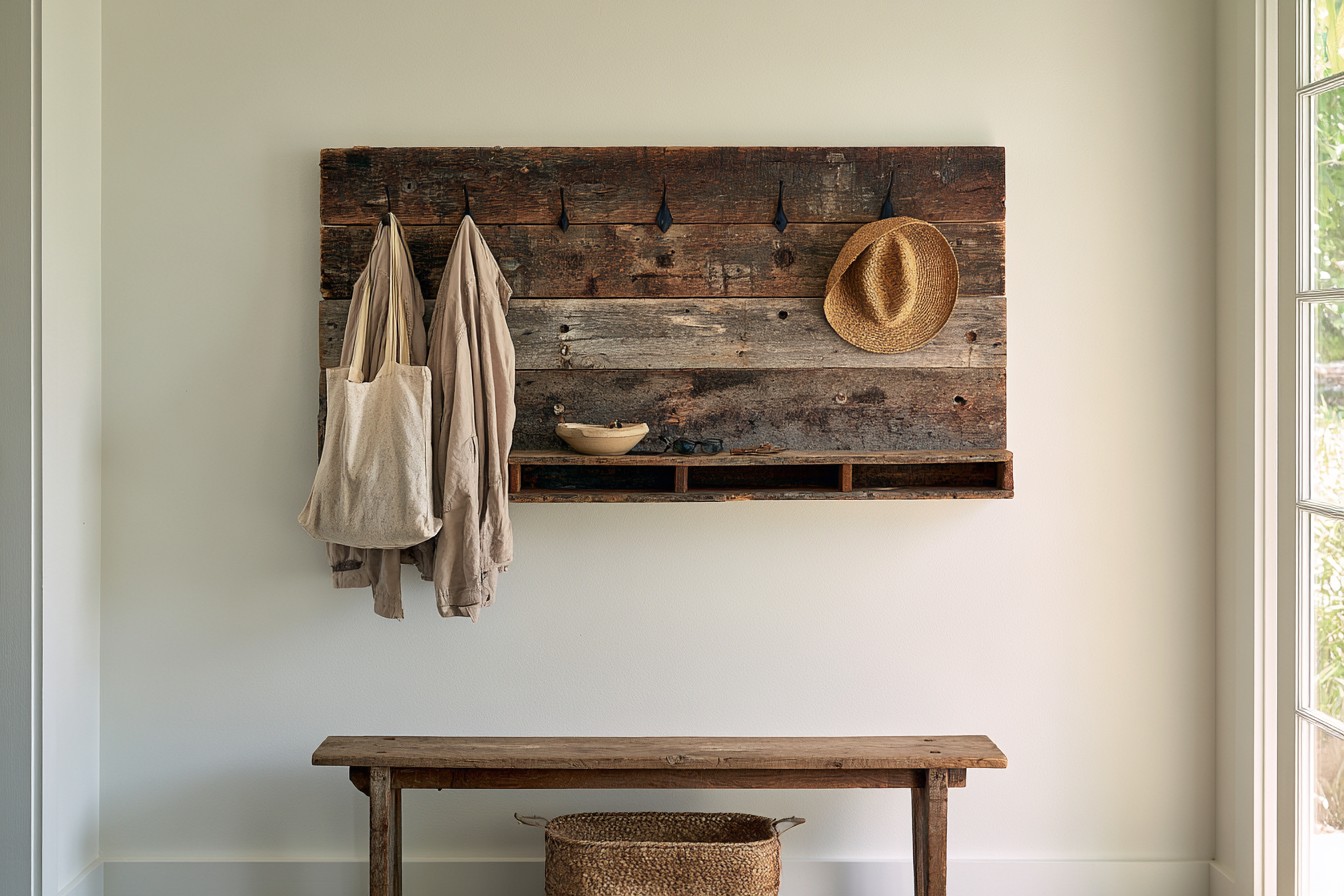
3. Turn Old Boards into a Rustic Entryway Organizer
A reclaimed wood entryway organizer combines decoration with useful everyday storage. Start with one wide board or join several narrower boards together to create a solid backing. After cleaning and sanding the timber, attach sturdy metal hooks for coats, bags, scarves, hats, or reusable shopping totes. A narrow wooden ledge along the lower portion can hold keys, sunglasses, wallets, or small storage containers. For additional organization, add a few individual wooden compartments made from leftover scraps. Mount the organizer beside the front door or above an entryway bench. Choose hardware that complements the wood rather than overpowering it. Dark iron creates rustic character, while simple brushed
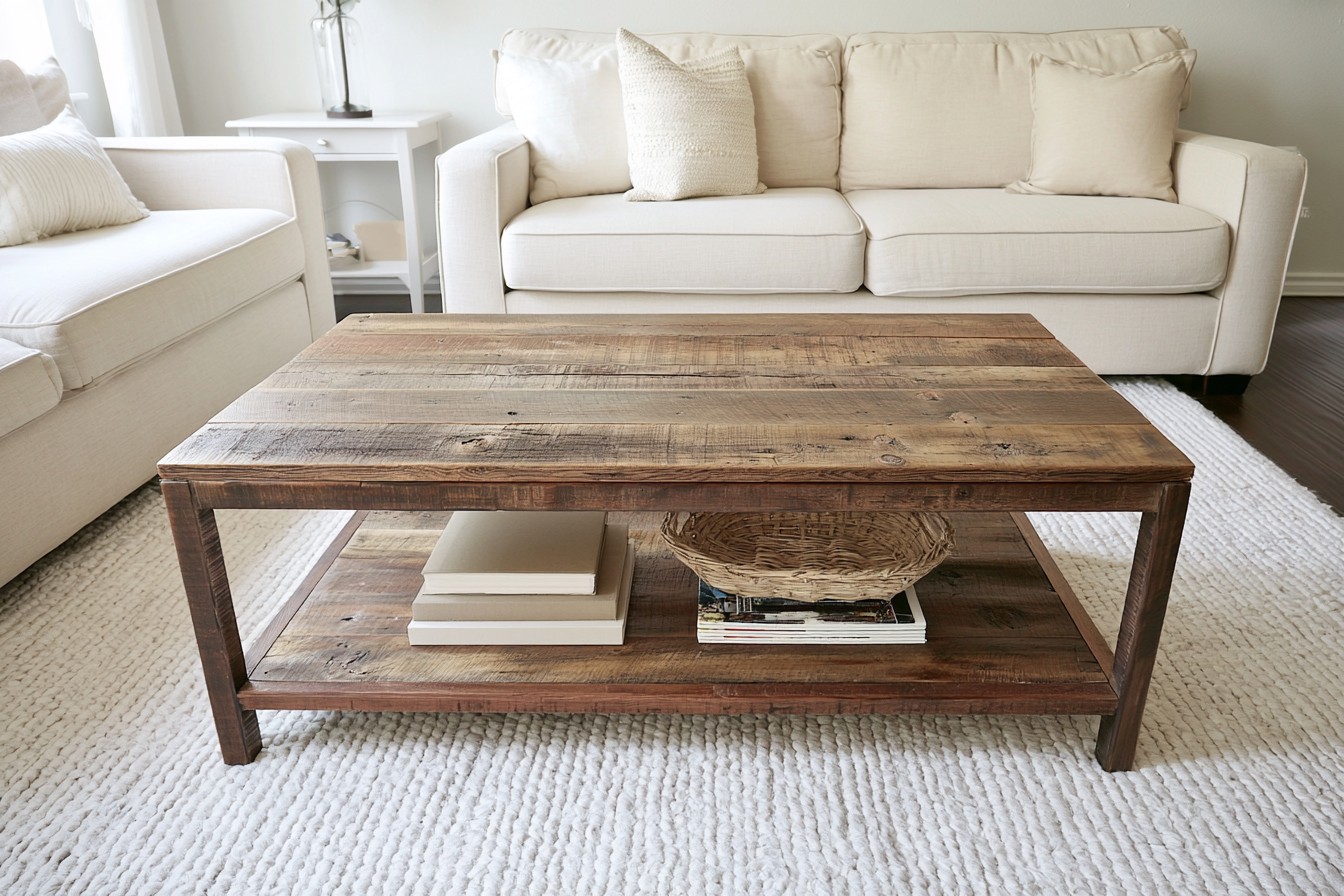
4. Make a Reclaimed Wood Coffee Table with Storage
Old timber can become a distinctive coffee table that adds both texture and function to a living room. Begin by selecting boards with similar thicknesses so the tabletop remains relatively level. Join them over a strong wooden frame, then sand areas that will frequently come into contact with hands. A lower shelf made from additional salvaged boards provides convenient space for books, baskets, magazines, or remote controls. Wooden legs create a traditional farmhouse appearance, while simple metal legs can move the design toward an industrial style. Protect the completed surface with an appropriate clear finish if the table will receive regular use. Avoid removing every stain and mark because those small irregularities are what give reclaimed furniture its individual character.
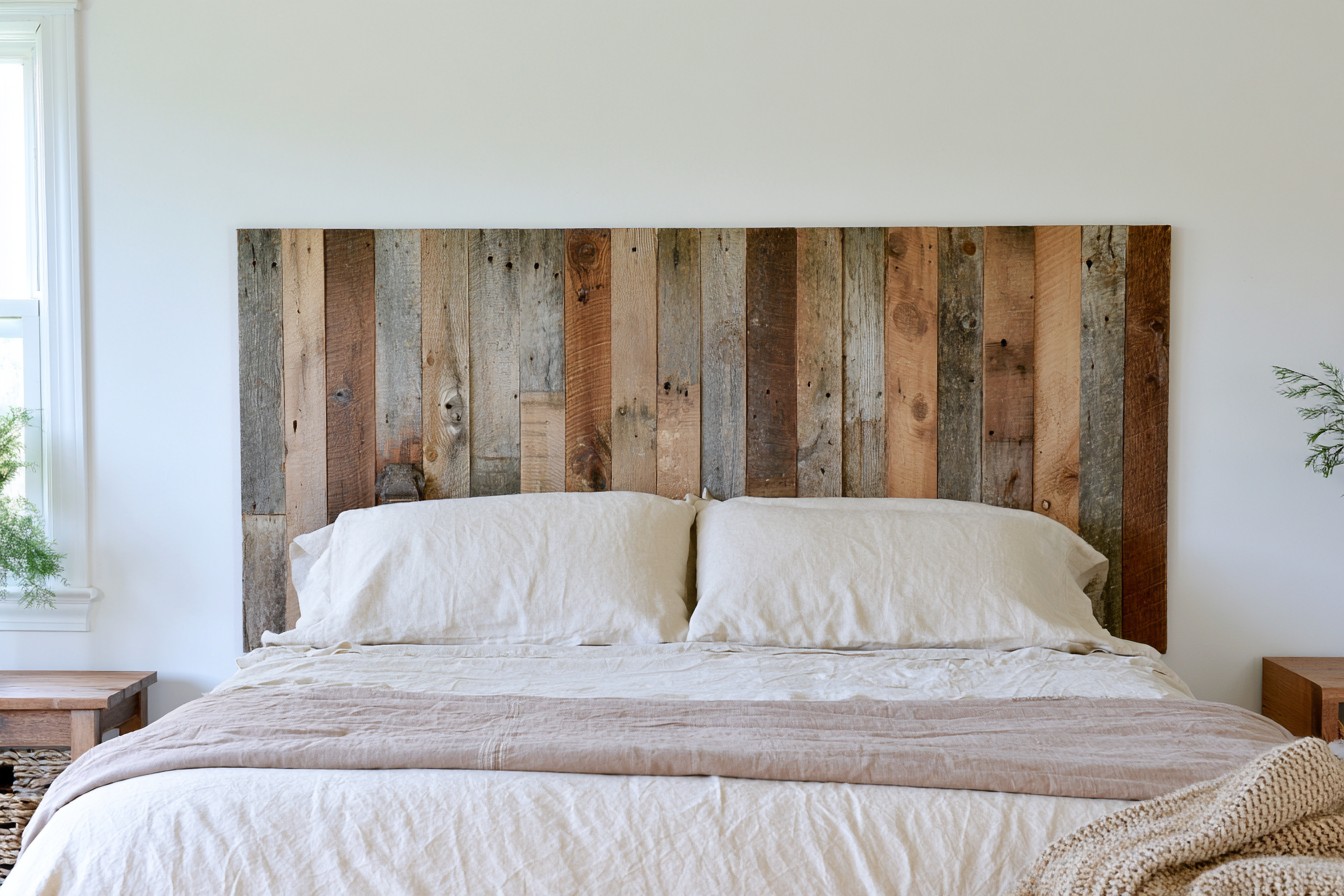
5. Design a Weathered Wood Headboard
A reclaimed wood headboard can completely change a bedroom without requiring an expensive furniture replacement. Choose boards that are clean, dry, structurally sound, and free from sharp edges. Arrange them horizontally for a calm, classic appearance or vertically to visually increase the height of the room. Boards with subtle differences in tone usually create a more interesting composition than perfectly matching pieces. Secure them to a sturdy backing rather than attaching every individual plank directly to the wall. The finished headboard works beautifully with neutral bedding, linen fabrics, woven textures, and simple bedside furniture. For smaller bedrooms, keep the headboard close to the width of the mattress, while larger rooms can accommodate an extended wall spanning design.
6. Craft a Rustic Reclaimed Wood Picture Ledge
A long picture ledge provides an easy way to change wall displays whenever the room needs a refresh. Use a narrow reclaimed board as the base and attach a shallow front lip to prevent frames from sliding. Another slim board along the back can create additional support against the wall. Sand the upper surfaces carefully while leaving some natural texture visible on the front edge. Once installed, layer artwork and photographs in different frame sizes instead of hanging everything individually. This technique looks particularly attractive in living rooms, hallways, home offices, and bedrooms. The same ledge can also display small pottery pieces or collected objects. Several shorter ledges arranged asymmetrically offer another DIY variation for smaller walls.
7. Build a Reclaimed Wood Console Table
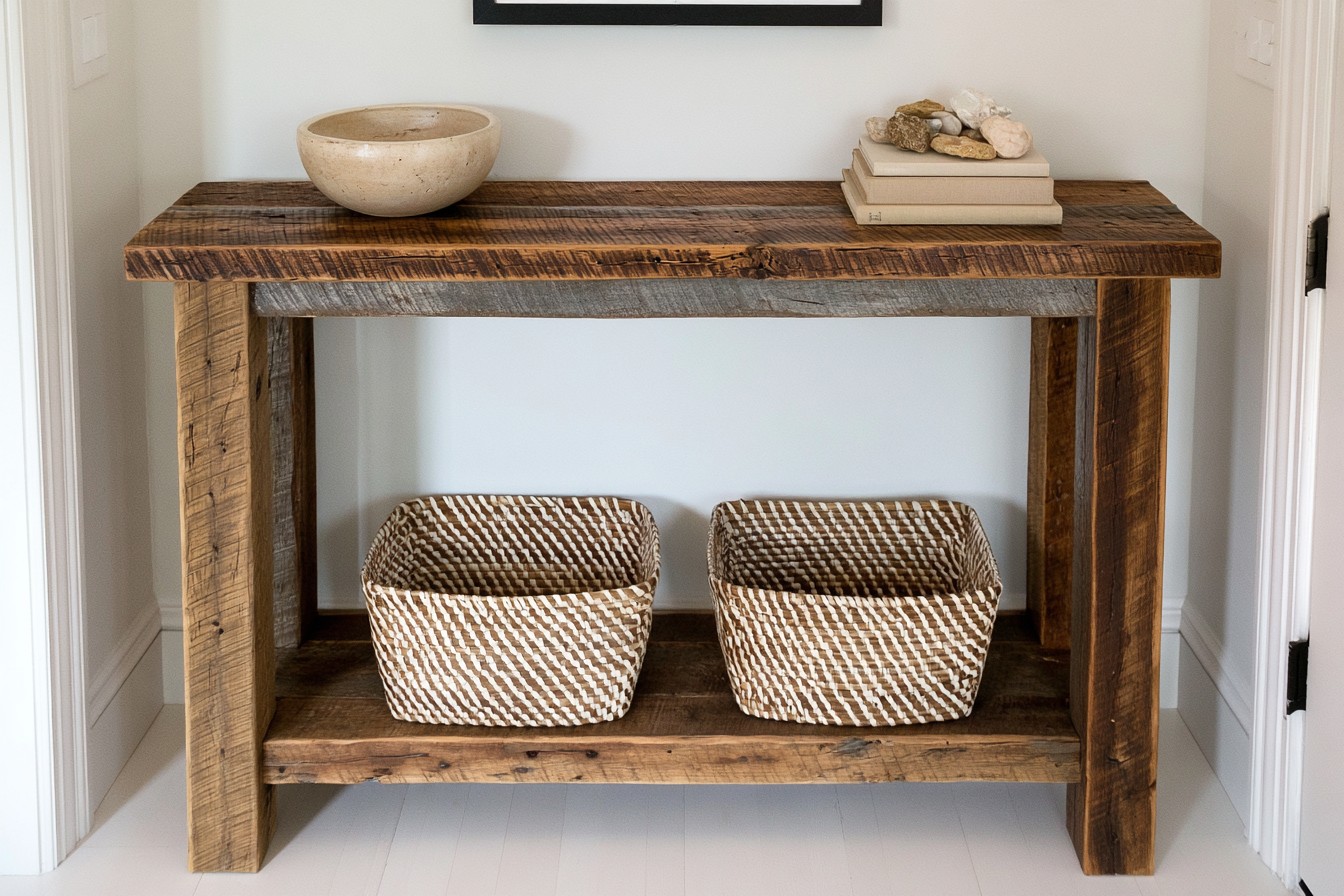
A slim console table is an excellent reclaimed wood project for entryways, hallways, or the space behind a sofa. Start with a substantial board for the top, then decide whether wooden or metal legs better suit the surrounding interior. Old beams can also be cut into strong legs when a heavier rustic appearance is desired. Keep the table relatively narrow so it does not obstruct walking areas. A lower stretcher or shelf can improve stability while creating room for woven baskets or storage boxes. Style the finished table with pottery, stacked books, a decorative bowl, or seasonal natural materials. When the wood has dramatic knots and grain, keep the arrangement simple so the table itself remains the main decorative feature.
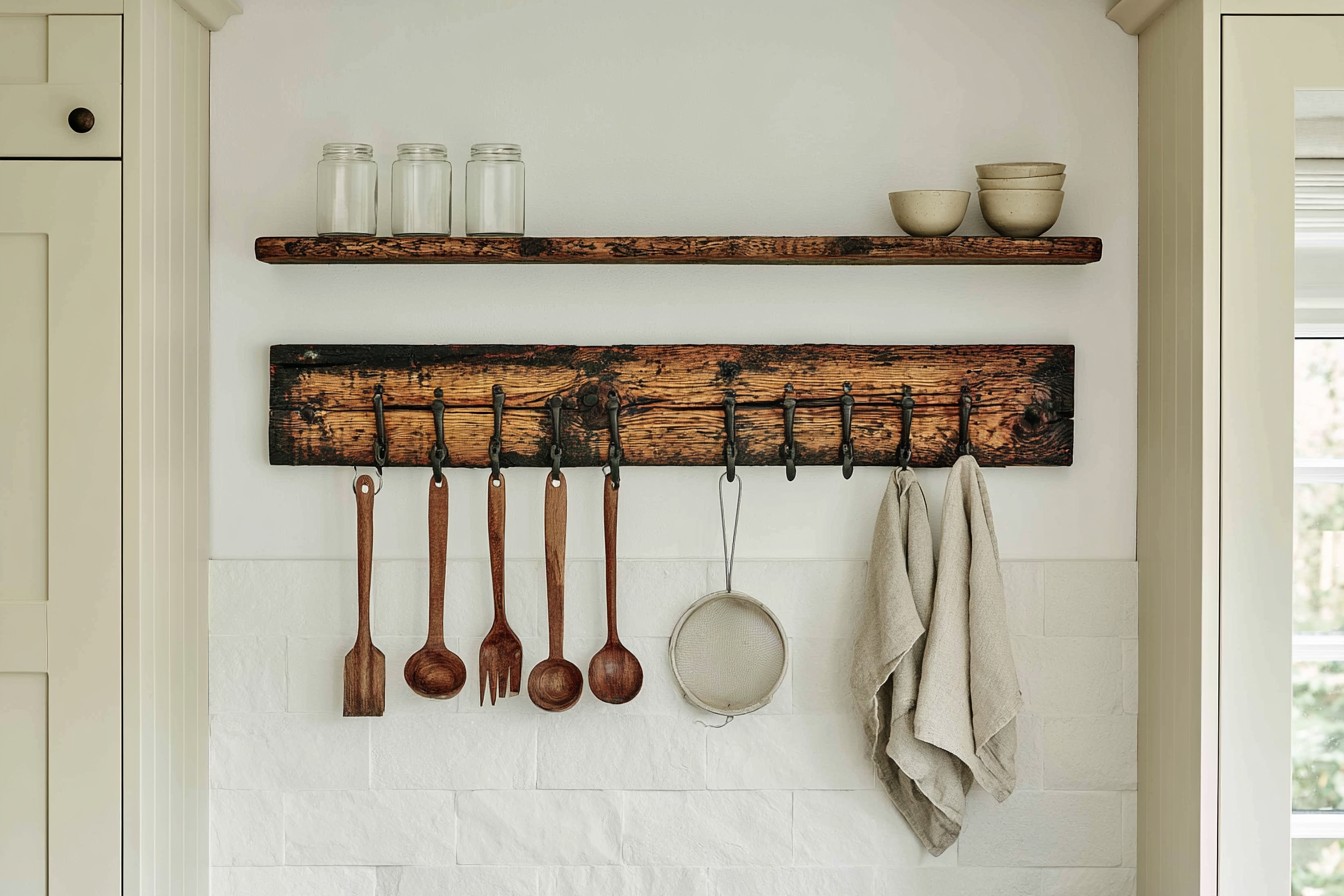
8. Create a Reclaimed
Unused wall space in a kitchen can become practical storage with a simple reclaimed wood rail. Select a narrow board that fits comfortably between cabinets or above a preparation area. Clean it thoroughly, smooth the edges, and install evenly spaced hooks strong enough for wooden spoons, measuring cups, lightweight pans, strainers, or kitchen towels. Another option is to attach a narrow shelf above the hooks for spice containers or frequently used cooking accessories. Reclaimed wood works particularly well in white, cream, olive, charcoal, and natural wood kitchens because its aged surface introduces warmth. Keep the layout organized rather than overcrowded. For an easy DIY update later, hooks can be repositioned as your kitchen storage requirements ch
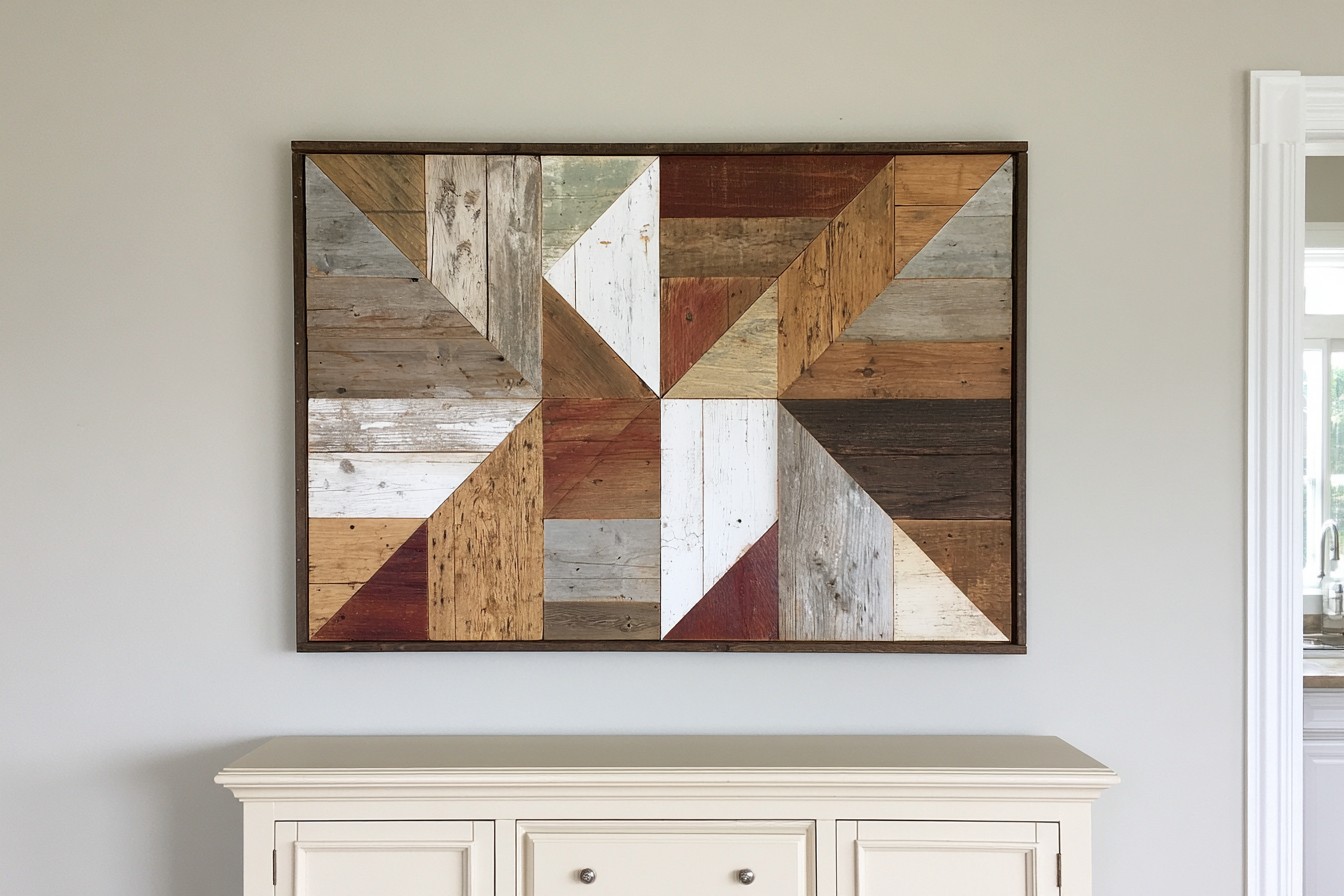
9. Asse
Small offcuts that seem unsuitable for furniture can be combined into striking geometric wall decor. Cut reclaimed wood scraps into rectangles, diamonds, triangles, or angled strips, then experiment with different arrangements before permanently attaching them to a plywood base. Vary the direction of the grain to create movement without relying on bright colors. Natural differences between weathered gray, warm brown, pale timber, and darker stained pieces can produce enough contrast on their own. This project is particularly effective above desks, sideboards, hallway furniture, or living room consoles. Beginners can start with a simple repeating pattern, while experienced DIY makers can create more complicated symmetrical layouts. Sand every cut edge before assembly so the finished piece looks intentional and professionally constructed.
10. Transform Salvaged Wood into a Bathroom Towel Rack
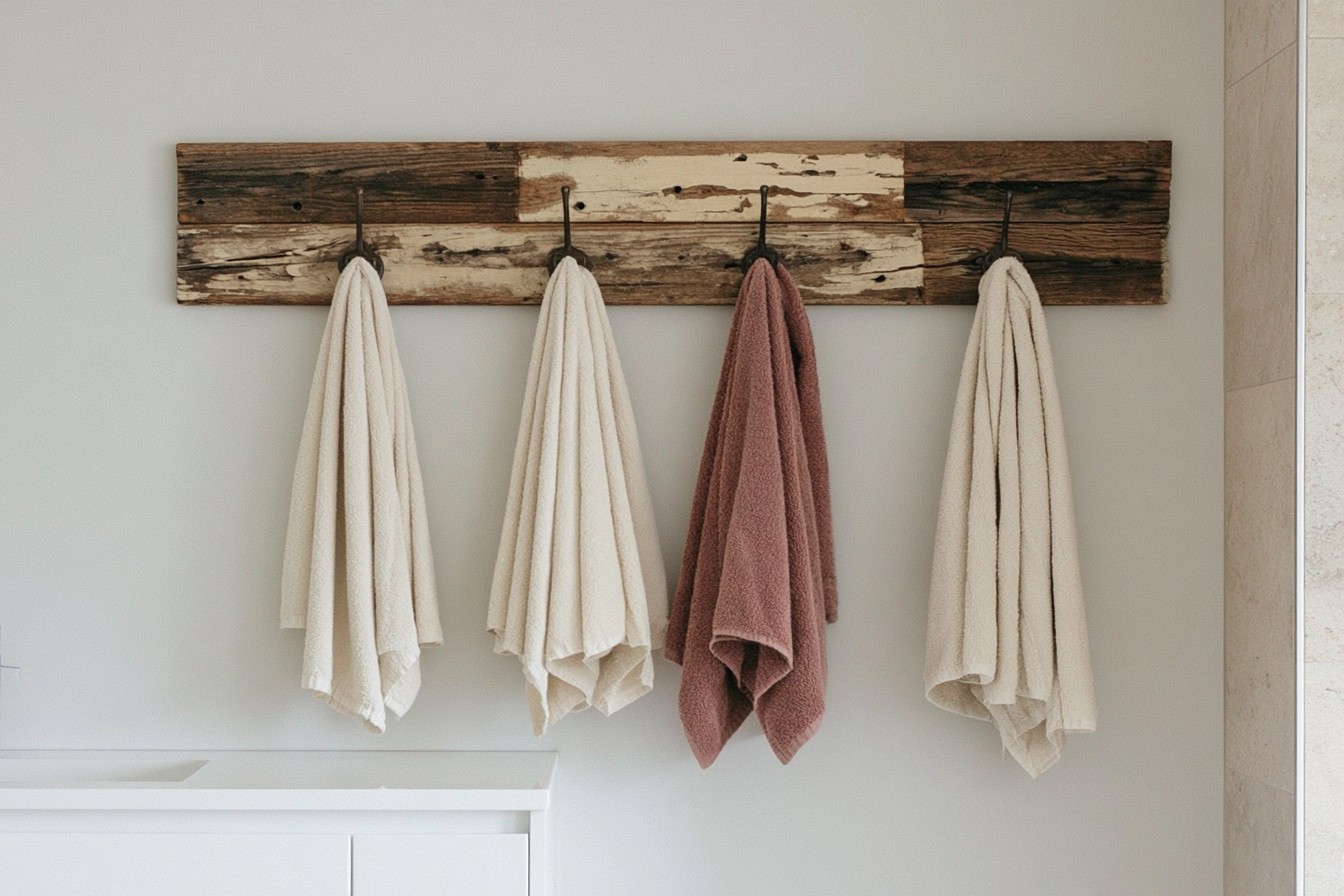
Reclaimed timber can soften the hard surfaces commonly found in bathrooms. A narrow salvaged board fitted with durable hooks makes an attractive towel rack beside a vanity or shower area. Because bathrooms experience frequent humidity, choose sound wood and allow it to dry completely before beginning the project. Sand rough areas carefully and apply a finish suitable for conditions where moisture may occasionally reach the surface. Space hooks widely enough for towels to dry rather than bunching them together. The same design can be adapted for robes or small fabric storage bags. Pair weathered wood with white tile, stone, plaster finishes, or simple cabinetry to create a balanced combination of natural texture and cleaner contemporary materials.
11. Make a Rustic Reclaimed Wood Plant Stand
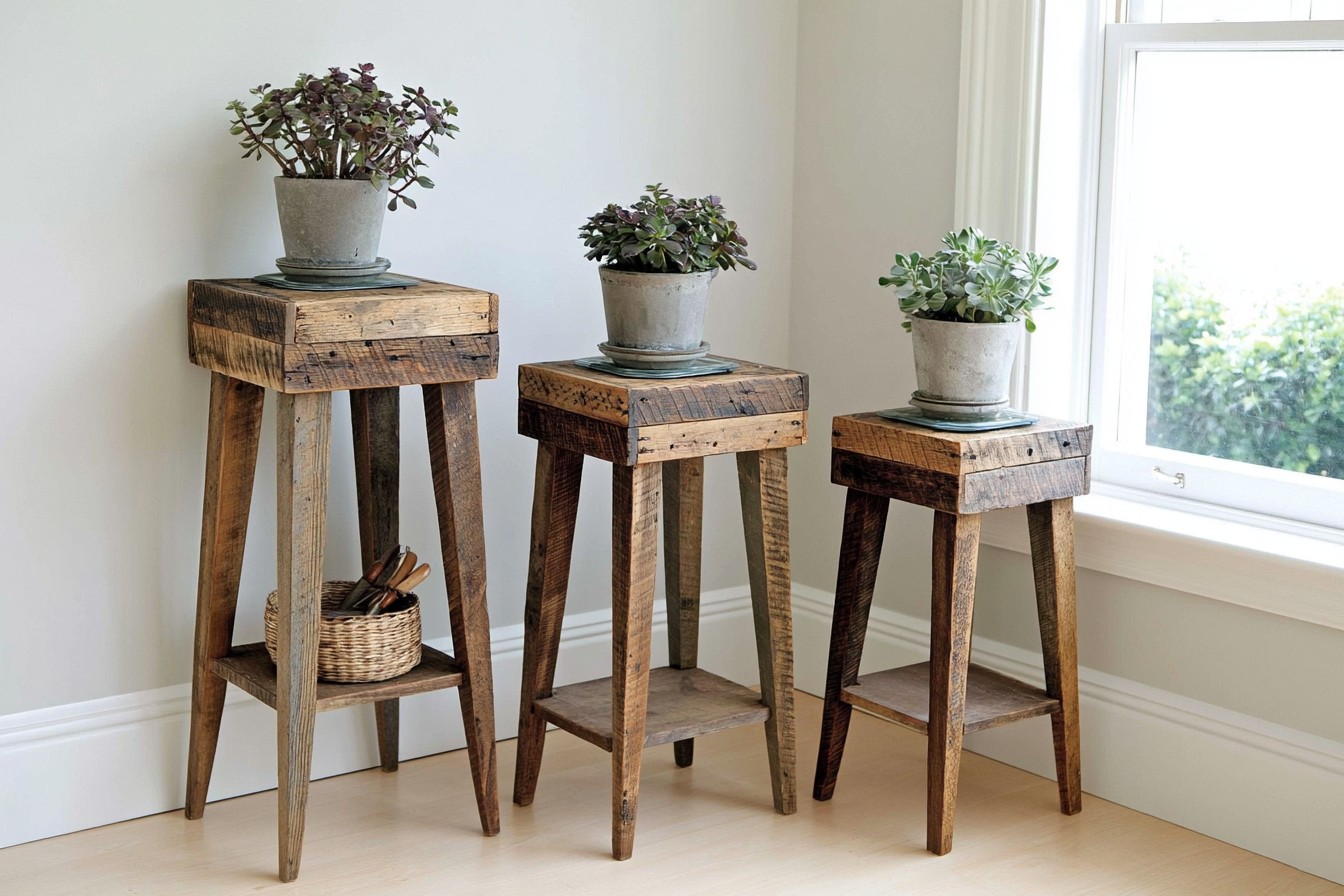
A compact plant stand allows reclaimed timber to become part of a layered interior arrangement rather than only appearing on walls. Build a simple square or rectangular top from several small boards and support it with sturdy wooden legs. Make sure the structure is level before adding any weight. A lower shelf can provide extra room for gardening supplies, baskets, or additional pots. Protect the top from accidental moisture using a suitable finish and always place containers on saucers or waterproof trays. Plant stands can be positioned beside windows, at the end of a console, on a covered porch, or in an unused living room corner. Creating several stands at different heights is another effective DIY option for producing a more dimensional display.
12. Build a Reclaimed Wood Blanket Ladder
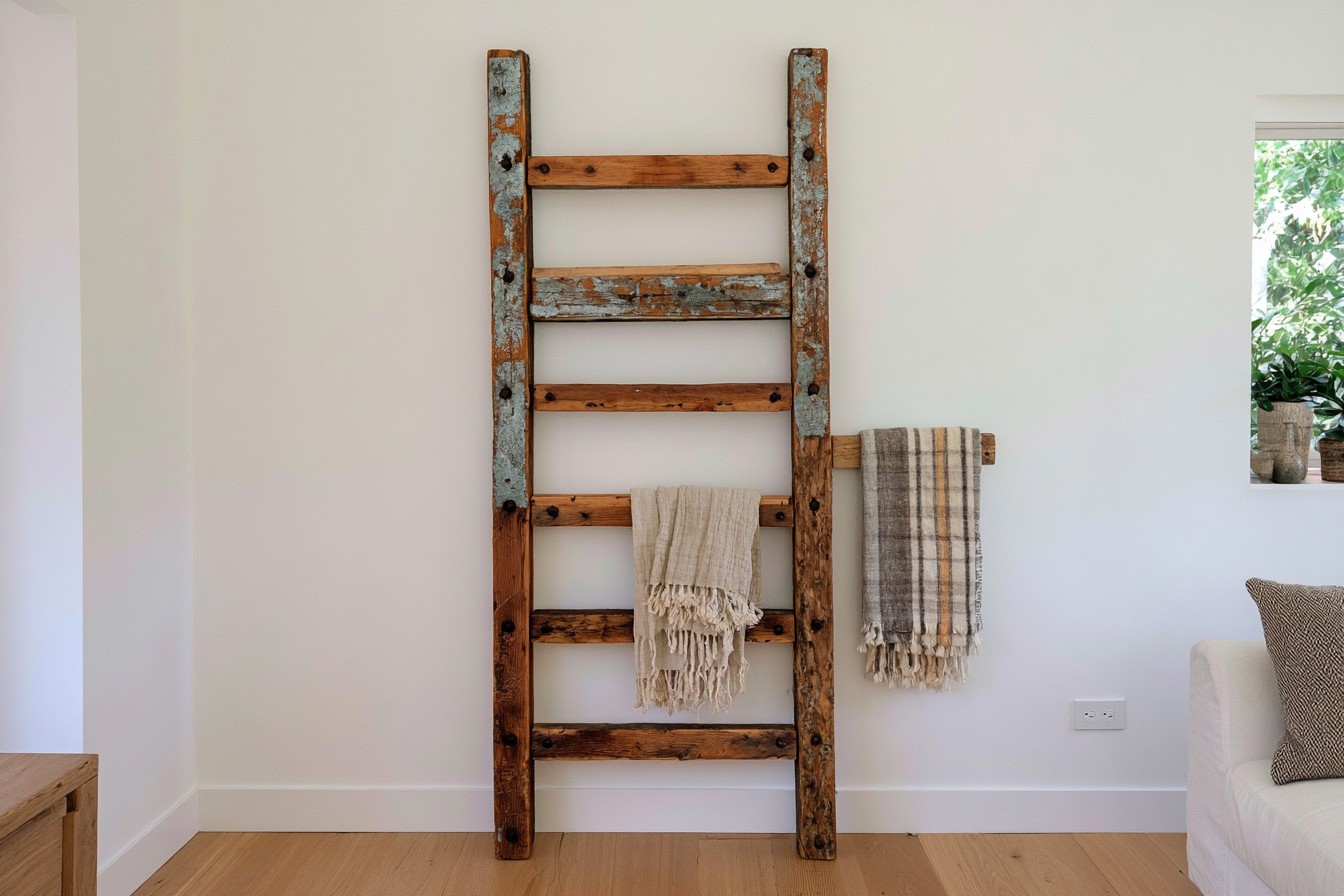
A decorative blanket ladder provides convenient textile storage while occupying very little floor space. Use two long reclaimed boards for the side rails and several shorter pieces for the horizontal rungs. Measure carefully so the spacing remains consistent, then secure every connection firmly with screws or strong joinery. Sand the areas where fabric will touch the wood particularly well to prevent blankets from catching on splinters. Lean the finished ladder securely against a bedroom or living room wall and arrange throws with different textures across the rungs. The same concept works for bathroom towels or lightweight textile collections. Choosing naturally weathered wood makes the piece visually interesting even when only one or two fabrics are displayed.
13. Create a Rustic Reclaimed Wood Dining Bench
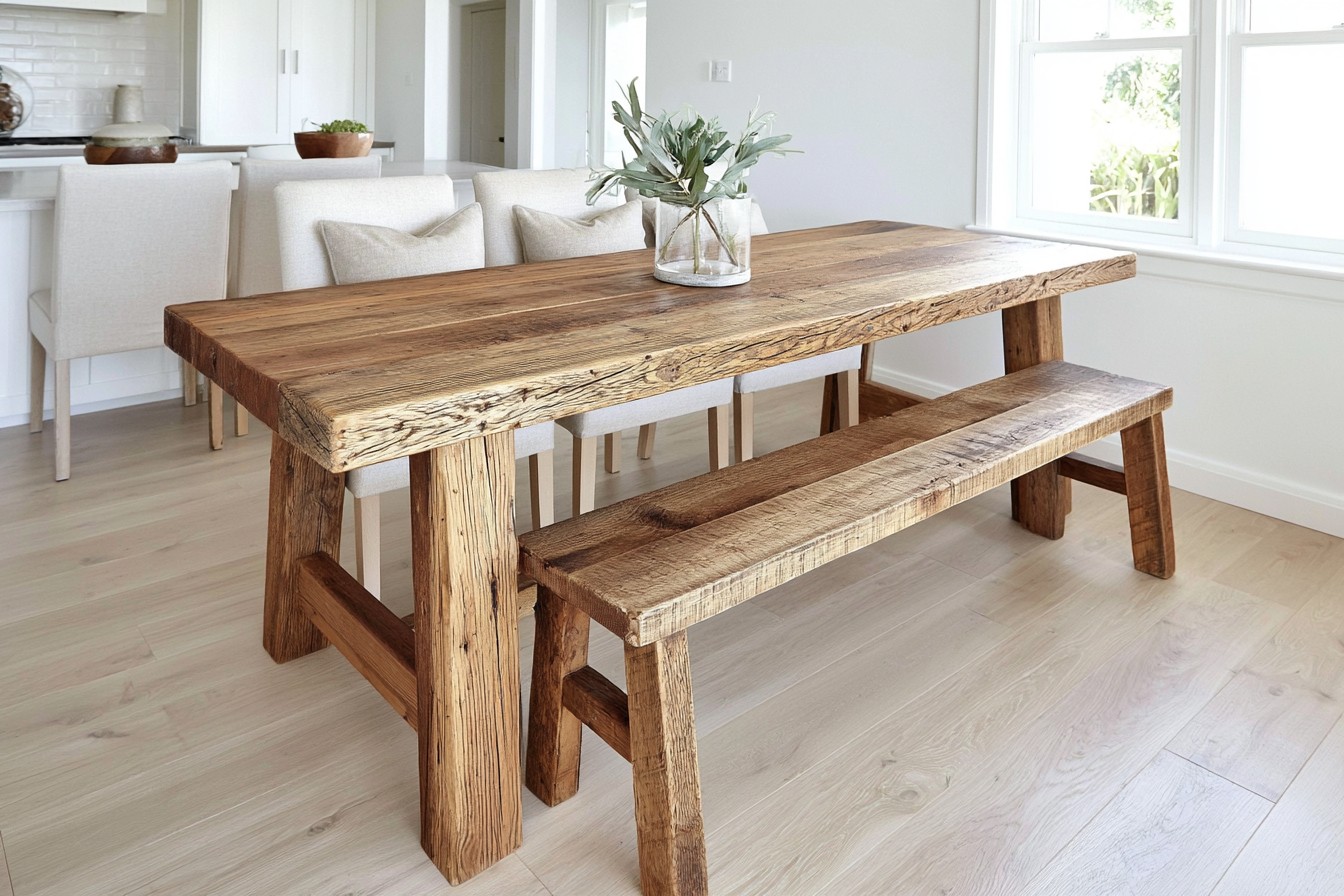
A dining bench offers an opportunity to use longer pieces of salvaged timber in a practical project. Select a thick, structurally reliable board for the seat and inspect it carefully for cracks, loose sections, or old fasteners. Sand the sitting surface smoothly while preserving more character along the sides. Construct strong wooden legs or attach appropriately rated metal supports, making sure the finished bench remains stable on the floor. Pairing a reclaimed bench with a simpler dining table can create a collected appearance without making the room feel excessively rustic. Add removable seat cushions when additional comfort is needed. The same bench design can also work in an entryway, mudroom, covered porch, or at the foot of a bed.
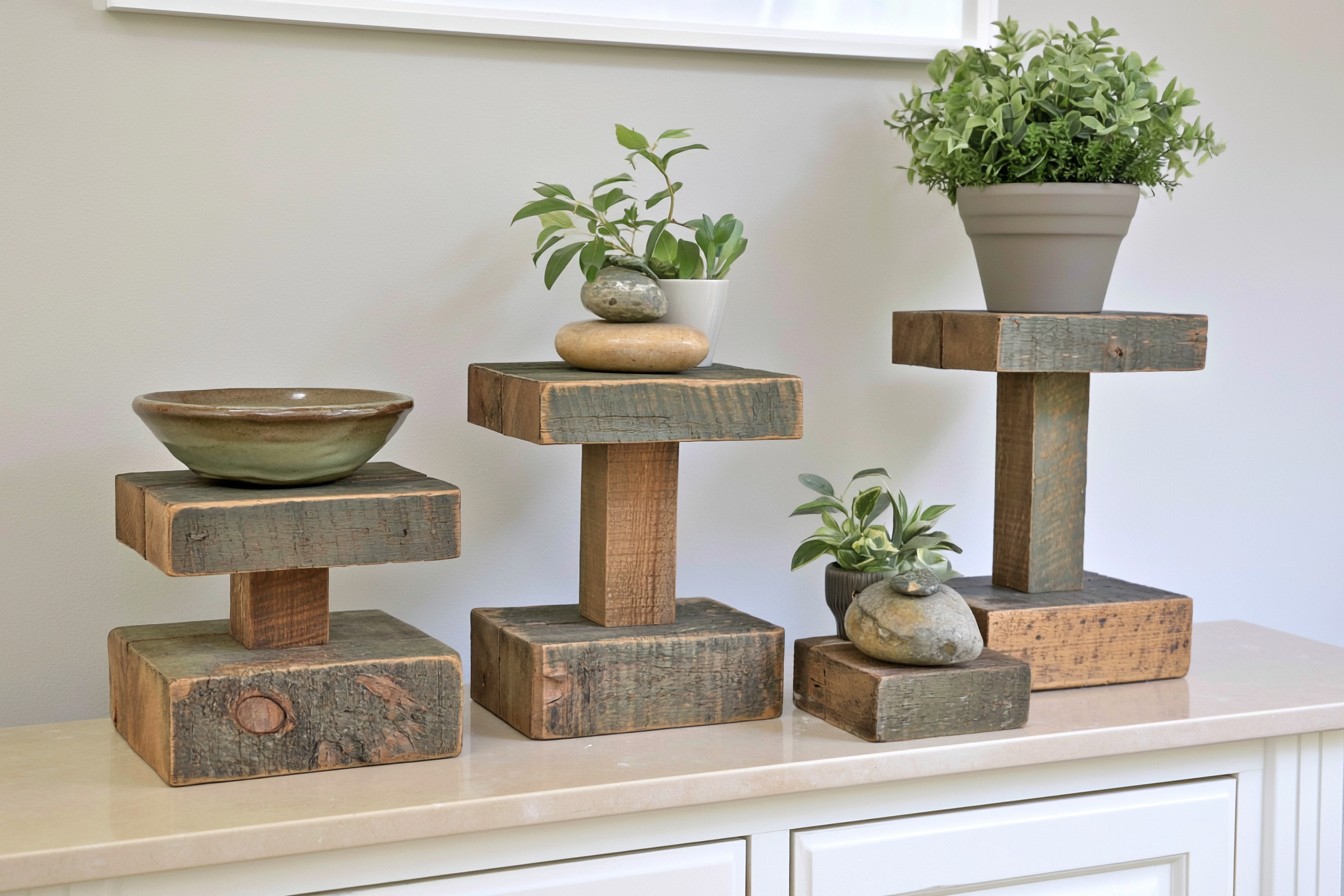
14. Turn Old Timber into Decorative Wooden Pedestals
Small reclaimed wood blocks can become decorative pedestals for creating height within tabletop arrangements. Cut leftover timber into several square or rectangular pieces, then stack and secure them to create low risers in different dimensions. Sand each piece enough to remove sharp edges without eliminating the naturally distressed surface. These simple platforms can elevate ceramic bowls, pottery, collected stones, small planters, or seasonal objects on coffee tables, open shelves, sideboards, and kitchen counters. Because pedestals require very little material, they are an excellent way to use scraps remaining from larger projects. Keep the design intentionally simple. The combination of varied heights and aged wood texture can make an ordinary collection look more thoughtfully arranged.
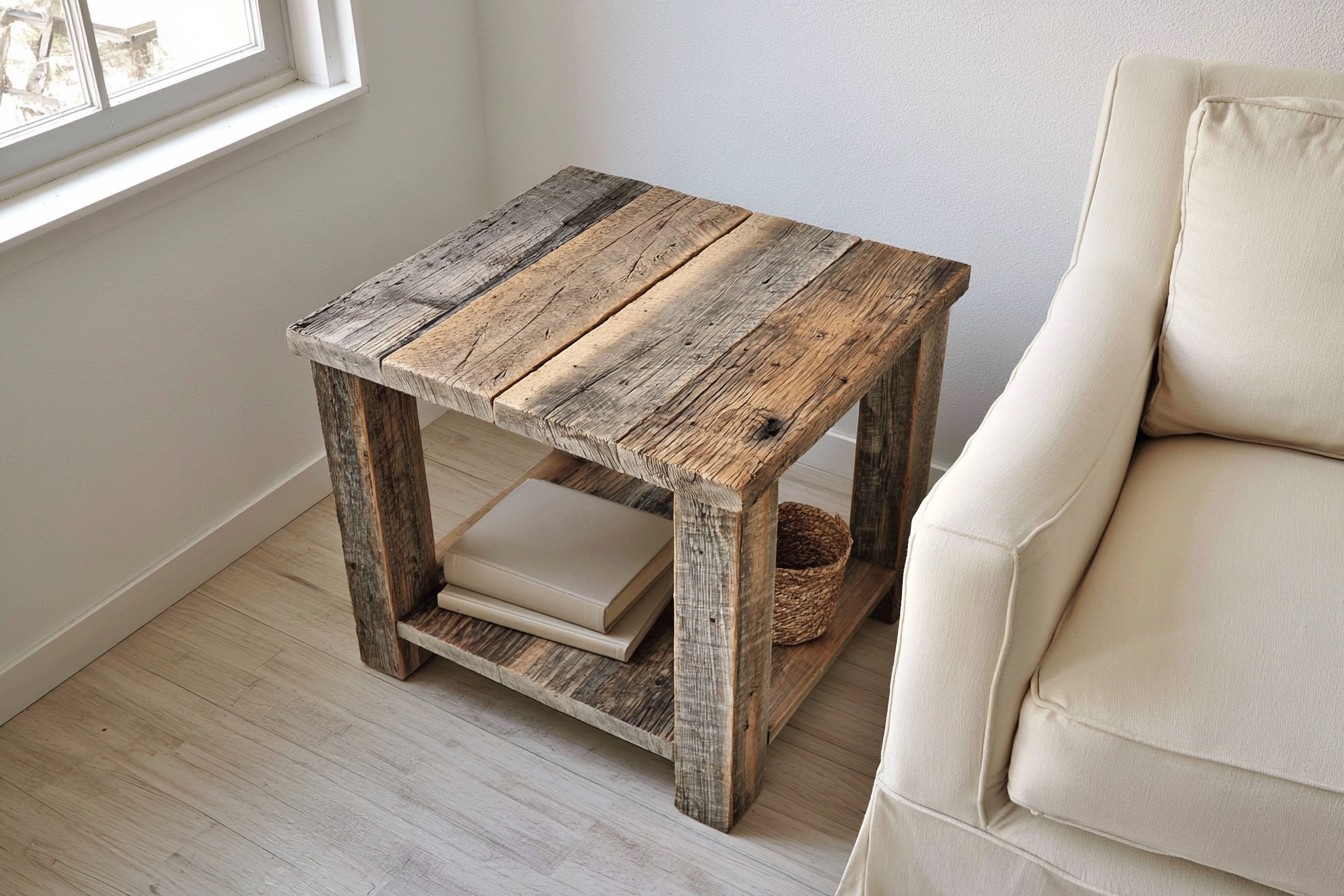
15. Build a Reclaimed Wood Side Table for Small Spaces
A compact side table is an approachable project for anyone experimenting with reclaimed wood furniture for the first time. Create the tabletop from one broad plank or join two narrower boards securely. Straight wooden legs provide a traditional appearance, while a simple box shaped base can make the construction easier for beginners. Keep the proportions suitable for the sofa, armchair, or bed beside which the table will be placed. A small lower shelf adds space for books or a basket without increasing the footprint significantly. Finish only as much as necessary to make the surface comfortable and practical. Preserving visible grain, faded coloration, and minor marks helps distinguish the piece from new mass produced furniture.
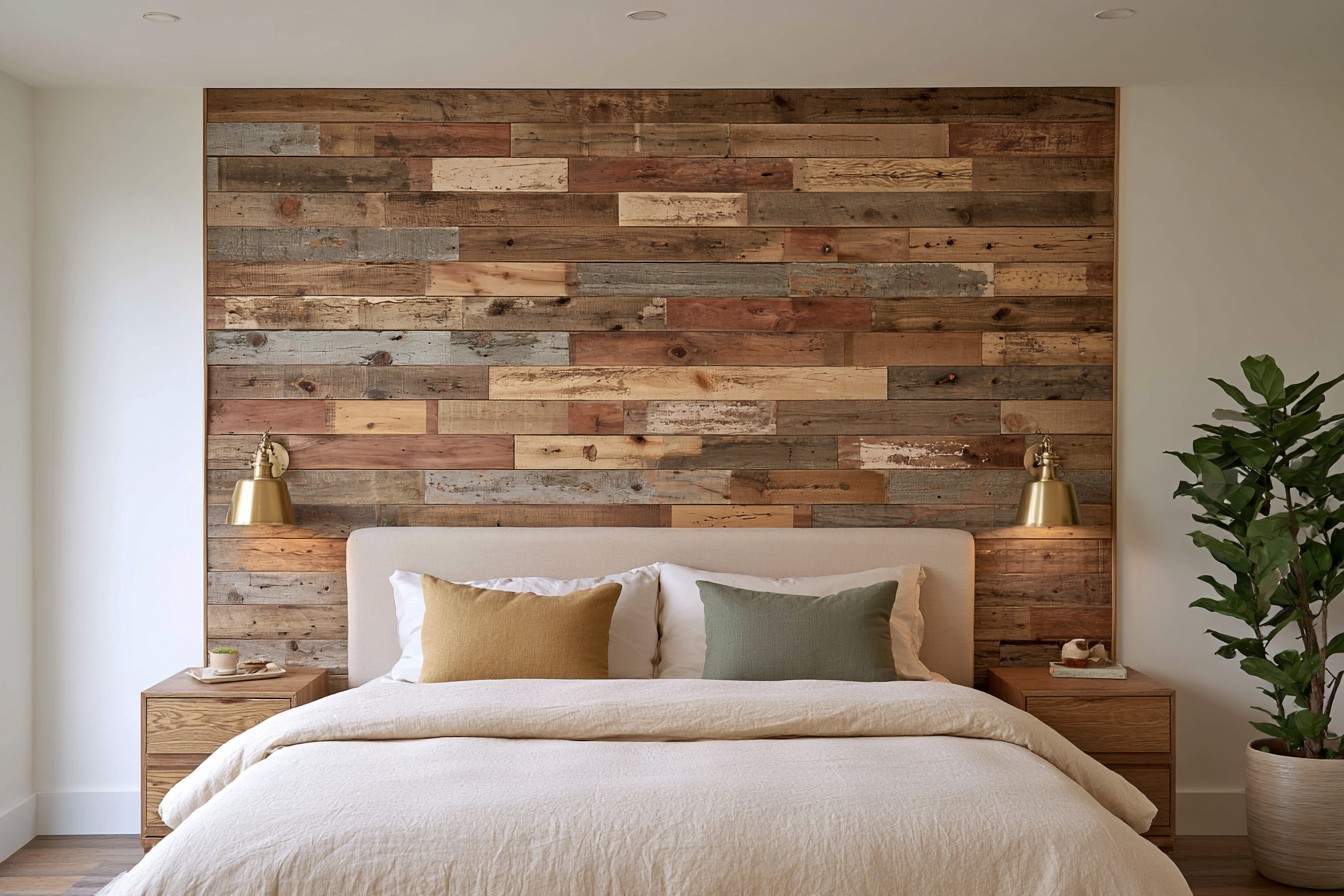
16. Create a Reclaimed Wood Feature Wall with Mixed Planks
For a more dramatic transformation, reclaimed boards can cover an entire accent wall. Begin by sorting the timber according to thickness, width, condition, and color. Lay several rows on the floor first to determine how the different boards will work together before installation. Alternating lengths prevents the joints from forming repetitive vertical lines and creates a more natural arrangement. A bedroom wall behind the bed, dining area, home office, or living room focal wall can all work well for this treatment. Keep adjacent furniture and accessories relatively restrained because the wood already contributes significant texture. Renters can recreate the concept on large removable backing panels rather than permanently fastening salvaged planks across the existing wall.
Daria Kuznetsova brings a thoughtful approach to interiors, handmade projects, and everyday living through her work at Decovive.com. She focuses on approachable ways to give rooms more character, improve organization, update furnishings, and make better use of both indoor and outdoor areas.
Her articles often explore clever makeovers, repurposed materials, decorative details, garden touches, and accessible projects that can be completed without advanced skills. Rather than following a single aesthetic, Daria draws from changing trends, practical needs, and personal expression.
Her goal is to offer readers useful starting points they can shape around their own taste, budget, and space, turning simple changes into homes that feel considered, comfortable, and individual.




 Like
0
Like
0
 Dislike
0
Dislike
0
 Love
0
Love
0
 Funny
0
Funny
0
 Angry
0
Angry
0
 Sad
0
Sad
0
 Wow
0
Wow
0