16 Inventive Recycled Milk Carton Projects for Everyday Living

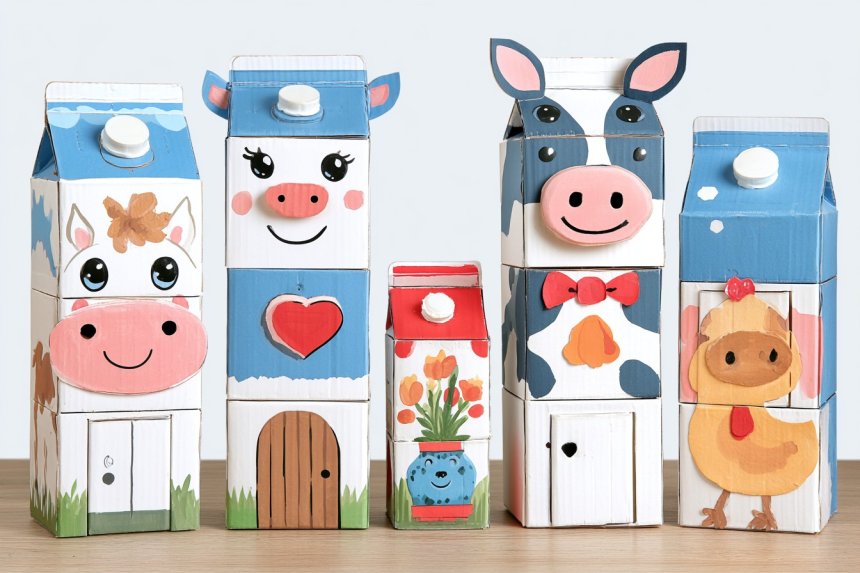
Empty milk cartons can support far more creative projects than their rectangular shape suggests. Once thoroughly washed and dried, these lightweight containers can become gardening tools, desk accessories, storage systems, decorative objects, and useful craft materials. Their coated surfaces resist brief contact with moisture, while the layered paperboard remains easy to score, fold, punch, and trim with household tools. Always remove lingering odors, reinforce stressed edges, and avoid using damaged cartons for projects involving valued belongings. Fabric scraps, paper, cord, paint, cork, and wooden offcuts can introduce color and texture, helping practical recycled pieces look intentionally designed for the home.
1. Mini Greenhouse Covers
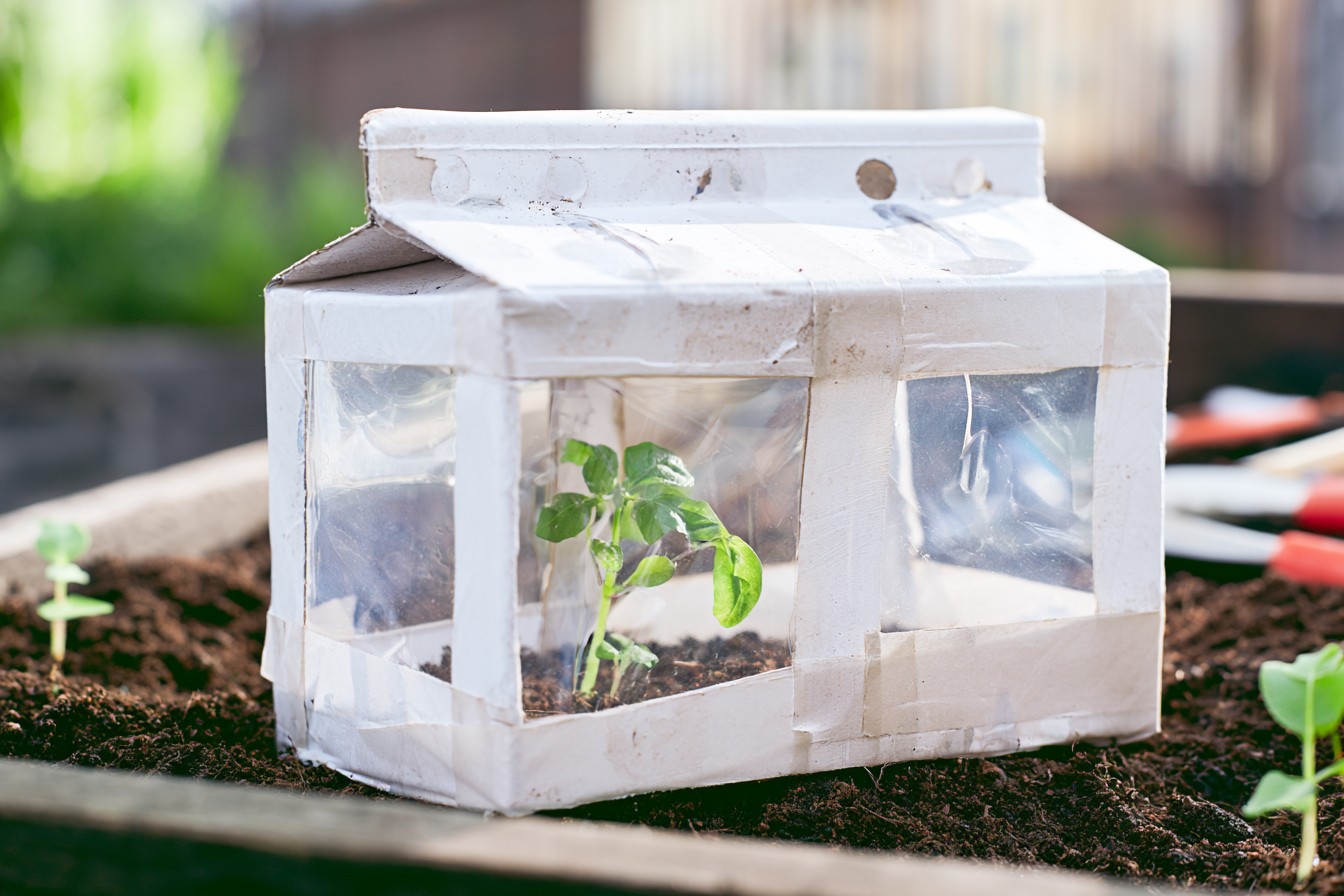
Use milk cartons as temporary greenhouse covers for young garden plants. Open the base completely, rinse the interior, and cut away the folded top to create a clear rectangular tunnel when the carton is placed sideways. Add several ventilation holes and reinforce the lower edges with waterproof tape. Because opaque cartons block sunlight, cut broad side windows and cover them with transparent packaging film secured from inside. Press the finished cover lightly into soil around a seedling. These compact protectors can reduce wind exposure and discourage light pests in raised beds, balcony containers, or nursery trays during unpredictable spring weather.
2. Slow Watering Reservoirs
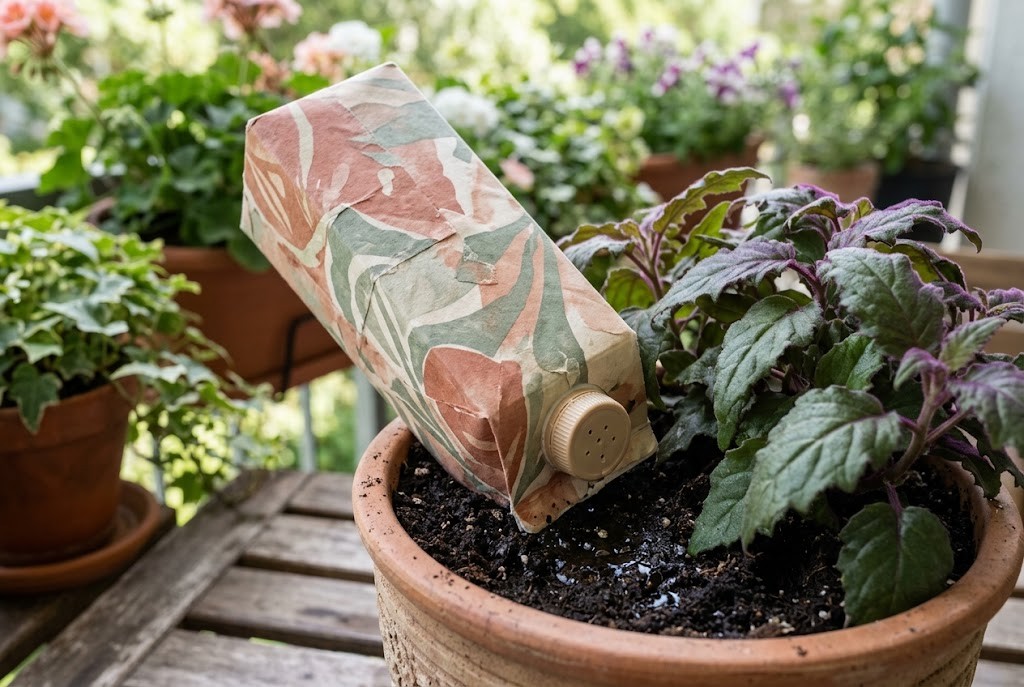
Create a slow watering reservoir for container plants using a carton with a screw cap. Wash the package thoroughly, then pierce two or three tiny holes through the cap with a fine awl. Fill the carton with water, replace the lid, and test the dripping speed over a sink. Bury the capped end slightly beneath the soil at an angle, leaving the carton accessible for refilling. Wrap the visible exterior with weather resistant paper or paint to coordinate with nearby pots. This system can help maintain moisture for balcony tomatoes, patio herbs, and houseplants during warm days or brief absences.
3. Drawer Divider Grid
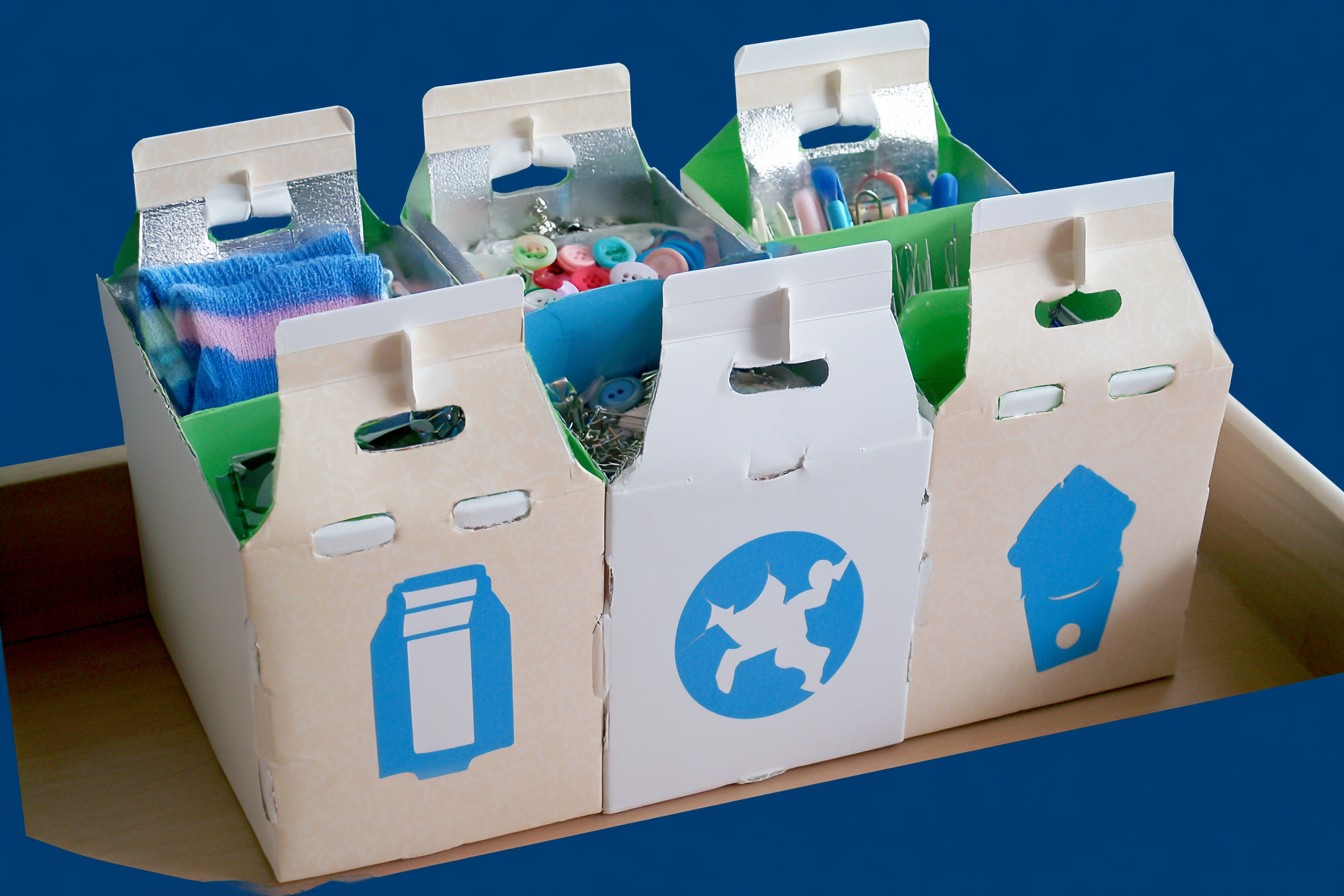
Flatten several clean cartons and turn their broad panels into drawer dividers. Measure the internal width, length, and height of the drawer before cutting straight strips. Cover each strip with thin decorative paper or leave the silver interior visible for a clean contemporary appearance. Cut halfway slots wherever two pieces intersect, then slide the strips together to create a stable grid. Reinforce loose intersections with narrow paper tape. The finished organizer can separate socks, office supplies, sewing notions, jewelry, makeup, or hardware. Because the layout is custom, compartments can be sized precisely for the objects that usually become mixed together.
4. Magazine File Holder
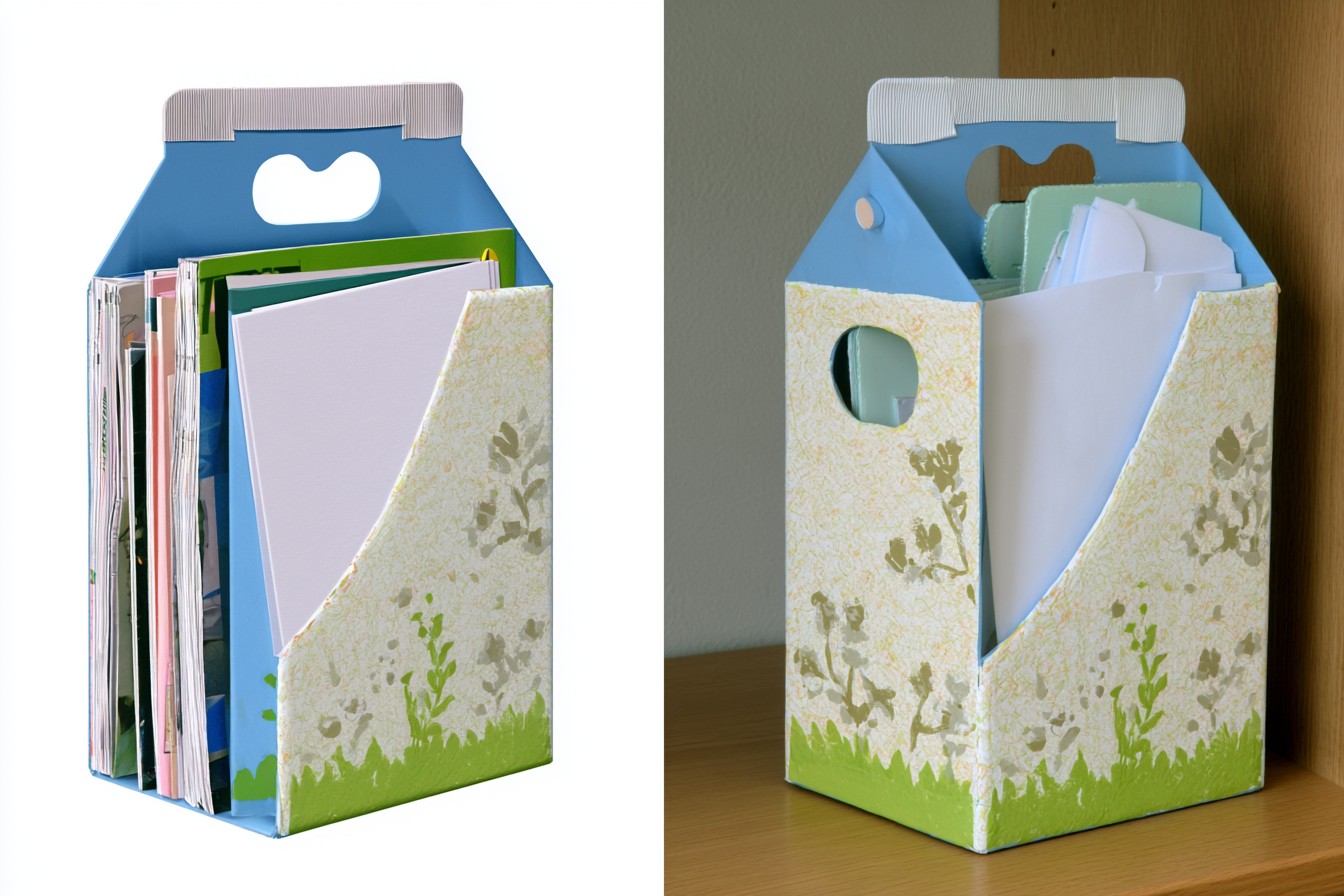
Convert a large milk carton into a file holder for notebooks, envelopes, or folded papers. Keep the base intact and draw a diagonal line from the upper back corner toward the middle of the front panel. Cut along the marked sides to create the familiar sloping profile of a magazine file. Reinforce the rim with bookbinding tape, then cover the exterior with wallpaper, fabric, or painted kraft paper. Add a finger opening near the lower back for easier shelf removal. Group several matching holders on a desk or bookcase to organize bills, recipes, project notes, craft patterns, or household documents.
5. Desktop Phone Stand
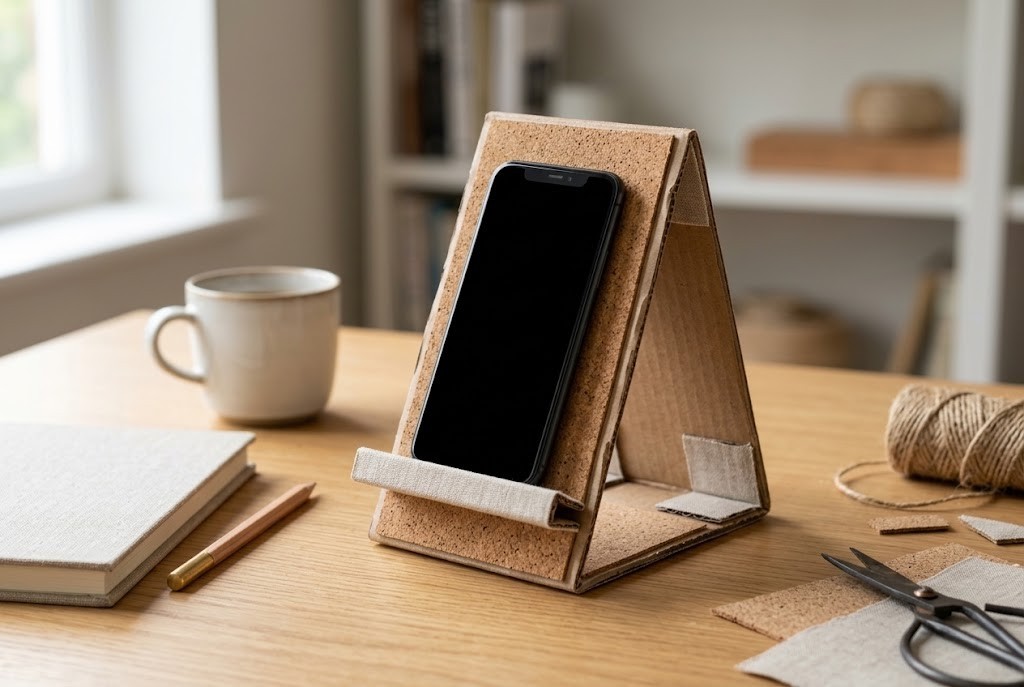
Make a lightweight phone stand from the strong folded corners of a milk carton. Open and flatten the package, then trace a triangular easel shape with a broad base, angled back, and narrow front ledge. Cut two matching pieces and join them with folded tabs for added strength. Cover exposed printing with cork sheet, fabric, or matte paper before assembly. Test the angle with the phone in both portrait and landscape positions, adjusting the ledge if necessary. This simple stand suits desks, kitchen counters, bedside tables, or craft areas where recipes, reference images, calls, or audio controls need convenient viewing.
6. Yarn Dispenser Box
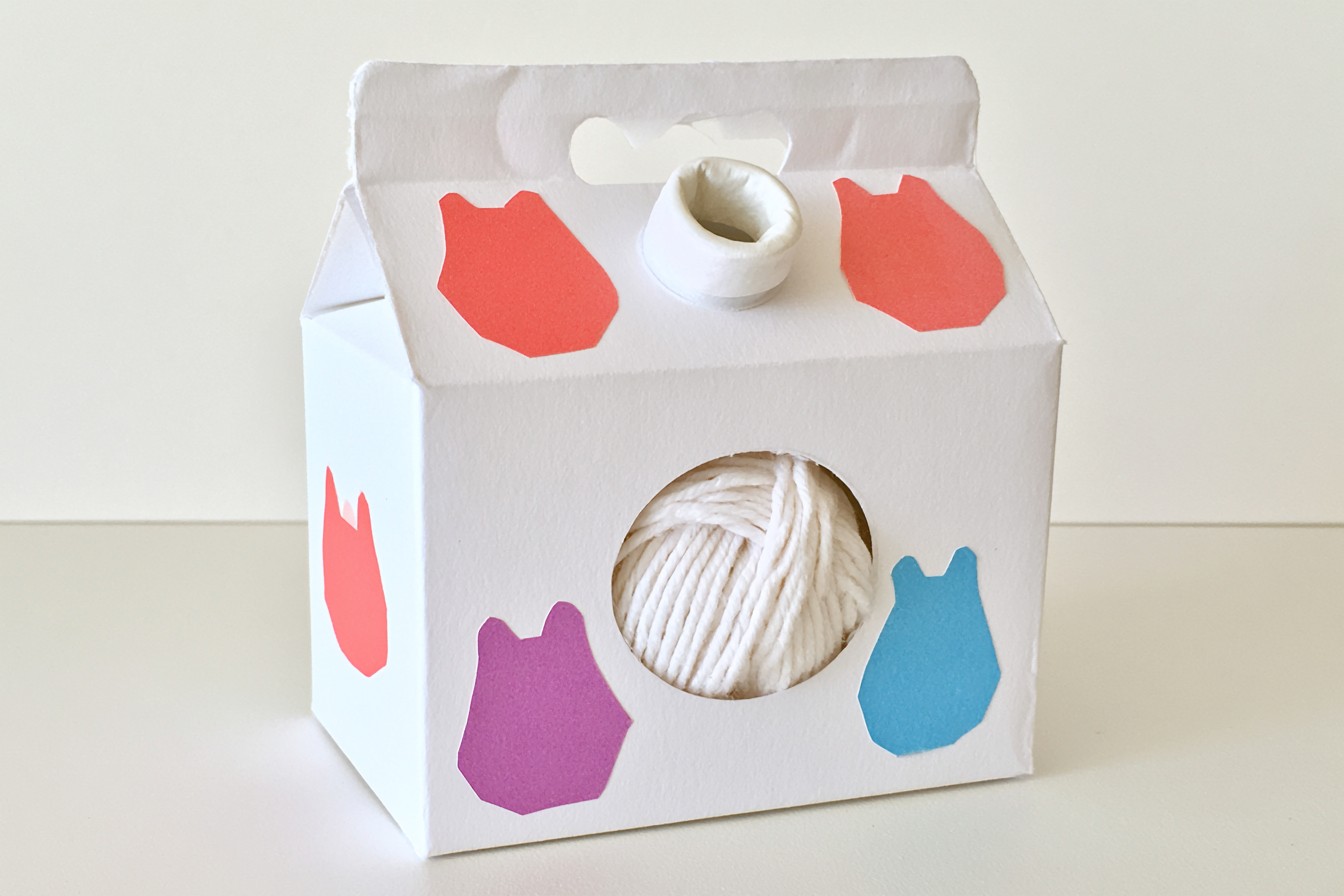
Turn a carton into a dispenser that prevents yarn from rolling across the floor. Carefully trim the package to a suitable height while preserving its base. Punch a hole near the upper front, then reinforce the opening with a metal eyelet or several layers of fabric tape. Place a ball of yarn inside and feed the loose end through the hole. Create a removable lid from the upper section so the yarn can be changed easily. Cover the exterior with knitted fabric scraps, patterned paper, or painted geometric shapes. Keep the dispenser beside an armchair, sewing basket, or craft table.
7. Paintbrush Rinse Station
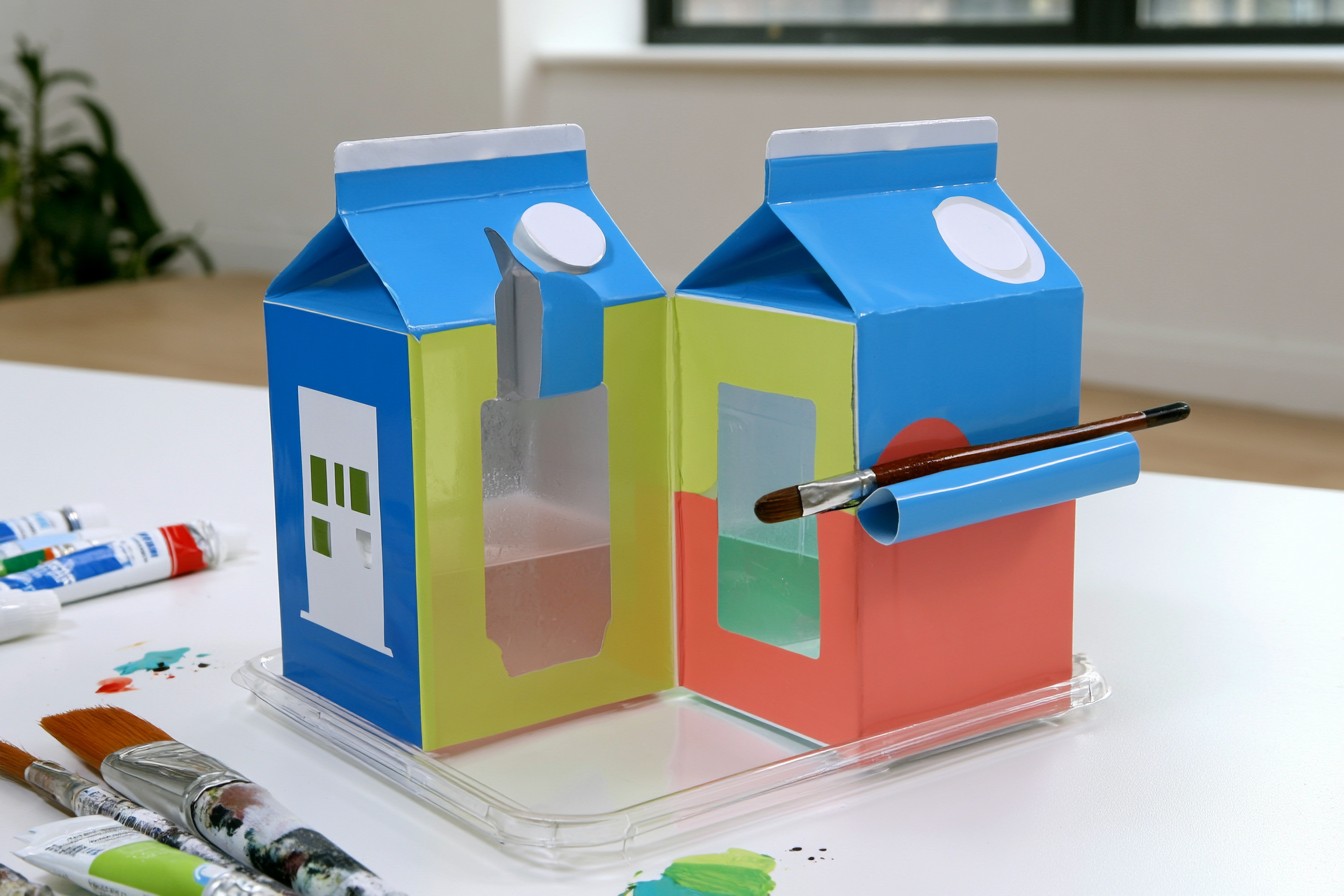
Create a divided rinse station for painting sessions by joining two short milk carton sections. Cut both containers to equal height, smooth the rims, and secure them side by side on a waterproof plastic base. Keep one compartment for initial rinsing and the second for cleaner water. Wrap the outside with vinyl offcuts or water resistant paper, avoiding materials that loosen when wet. Add a small folded ledge where brushes can rest horizontally between uses. This practical station suits acrylic, watercolor, and poster paint projects in home studios, classrooms, or craft rooms. Empty, rinse, and dry everything after each session.
8. Jewelry Sorting Tray
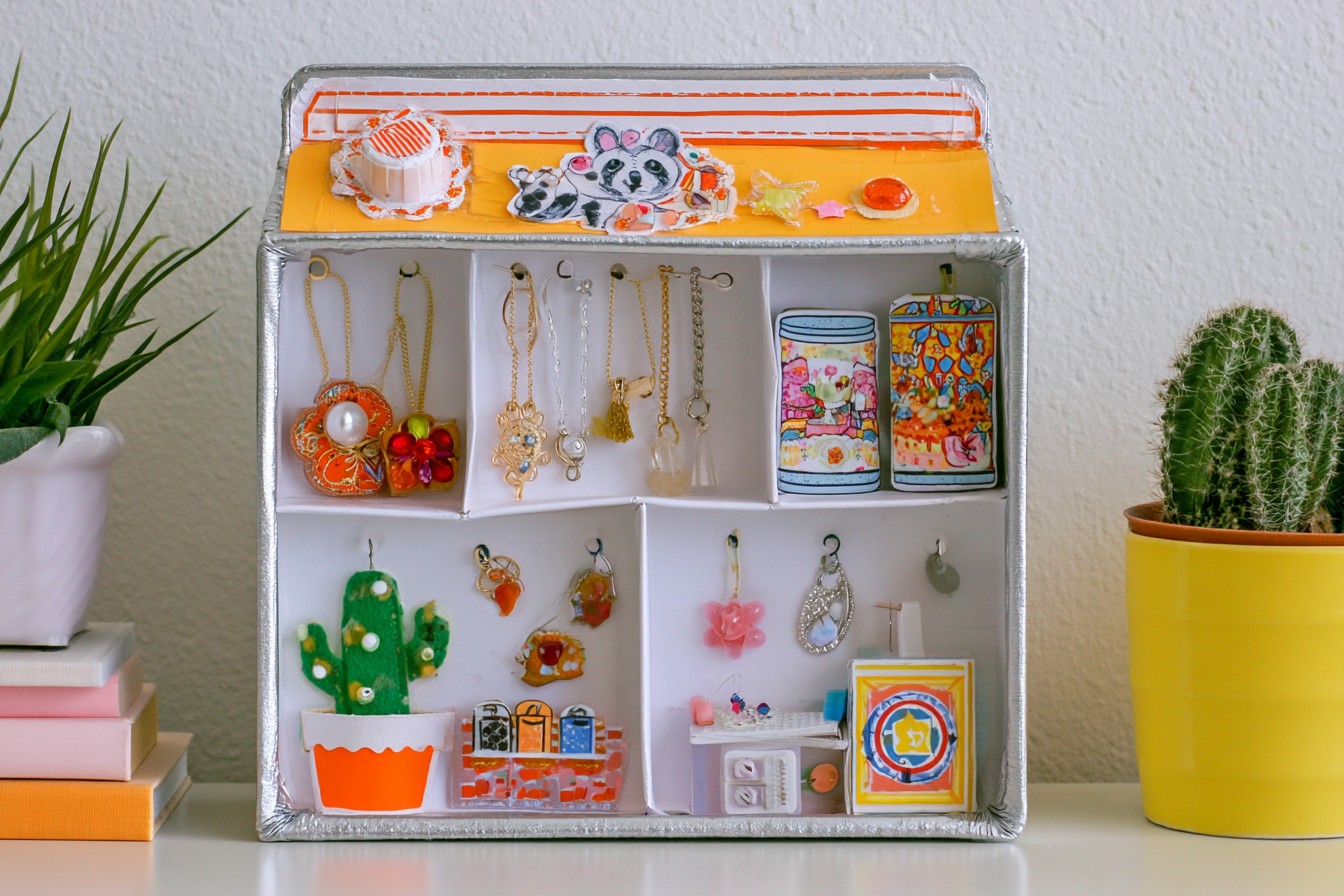
Make a jewelry tray with multiple compartments from carton bases and internal dividers. Cut one carton several inches above the bottom, then trim strips from another carton for separating rings, earrings, bracelets, or watch accessories. Cover the pieces with velvet, linen, or soft cotton before fitting them together. Fold fabric over every rim so metal jewelry never touches a rough edge. Add a thin cardboard base beneath the tray for rigidity and attach felt pads underneath. This customized organizer fits dressing table drawers, wardrobe shelves, travel cases, or boutique displays and can be made in colors that complement existing storage.
9. Mosaic Photo Frame
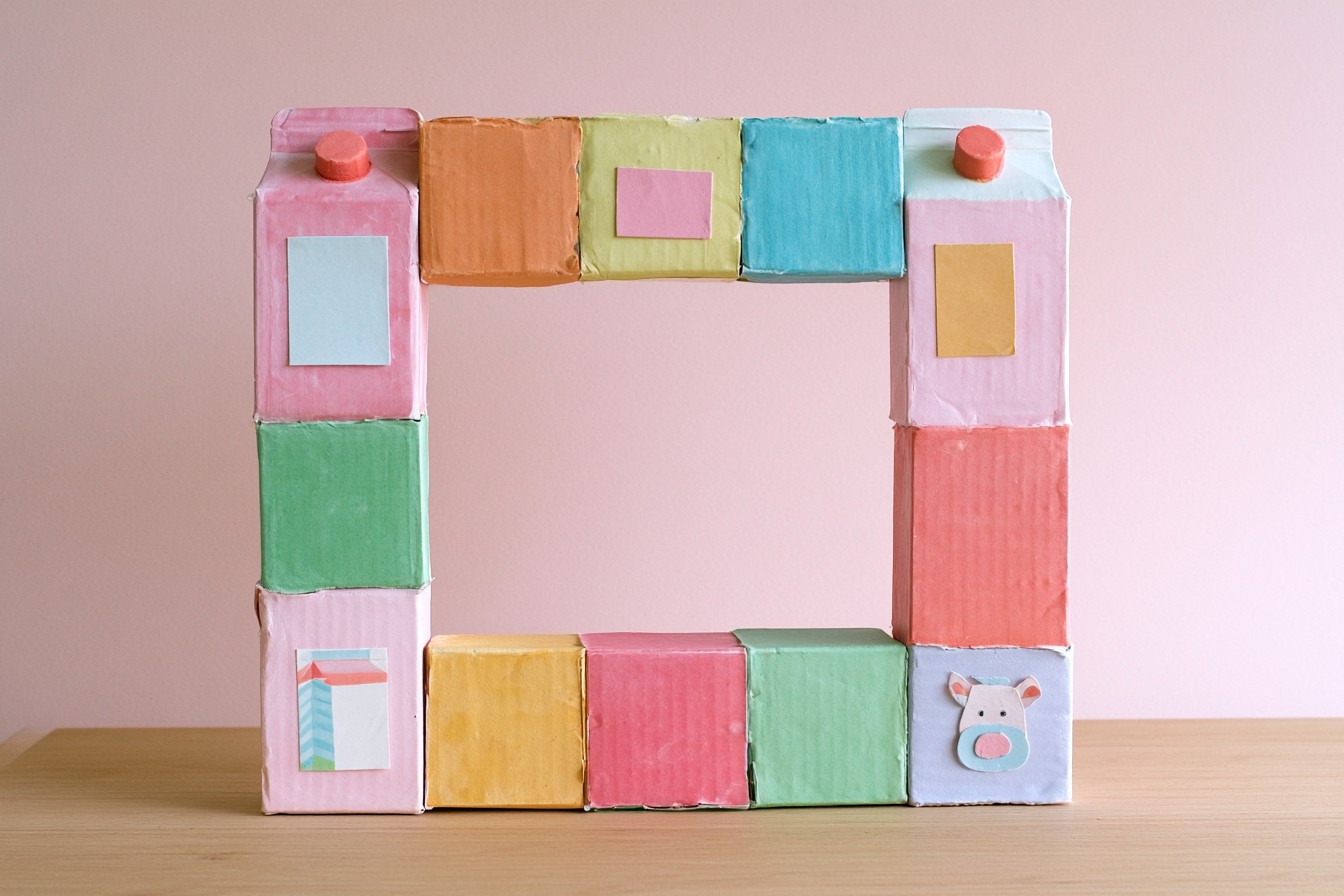
Use the printed and silver surfaces of milk cartons to create a mosaic frame. Cut a sturdy rectangular backing from layered carton panels and remove an opening sized for the chosen photograph. From additional packages, cut small squares, triangles, and irregular shapes. Paint selected pieces while leaving others metallic, then arrange them around the opening with narrow gaps. Glue everything securely and cover the back with plain paper for a finished appearance. Add a cardboard easel or hanging loop depending on the display method. This lightweight frame works for desks, gallery walls, craft rooms, celebration photos, or handmade gift collections.
10. Woven Table Coasters
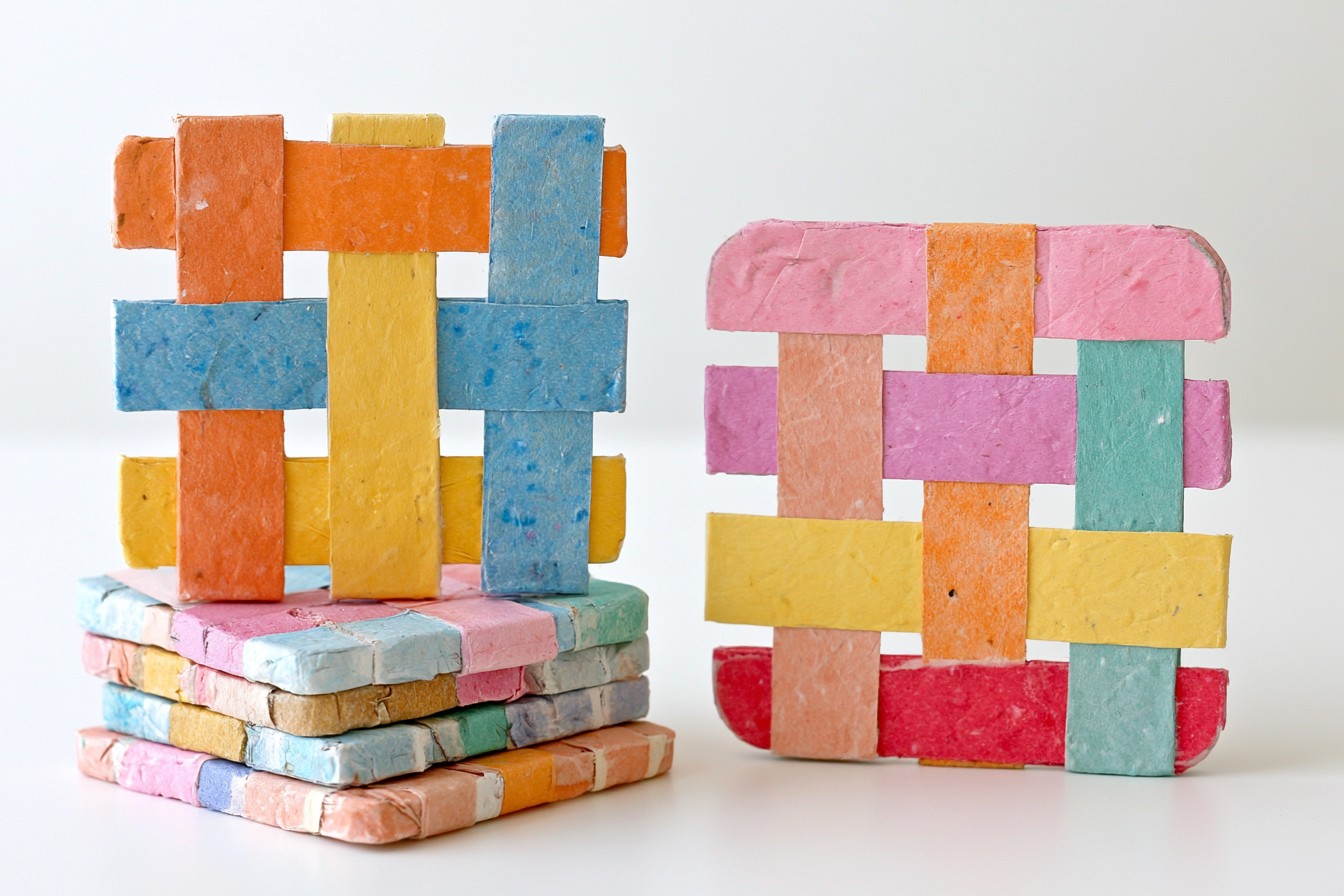
Transform flattened carton panels into durable, washable woven coasters with a graphic appearance. Cut long strips of equal width, fold each one lengthwise to conceal raw edges, and combine printed, painted, or silver surfaces. Arrange several strips vertically, then weave additional pieces across them with consistent tension. Apply adhesive at hidden intersections and trim the finished square evenly. Seal both faces with clear water resistant medium and attach thin cork underneath to protect furniture. Make sets using coordinated colors or contrasting patterns. These lightweight coasters suit casual dining tables, office desks, picnic baskets, craft fairs, or inexpensive handmade housewarming gifts.
11. Weatherproof Plant Markers
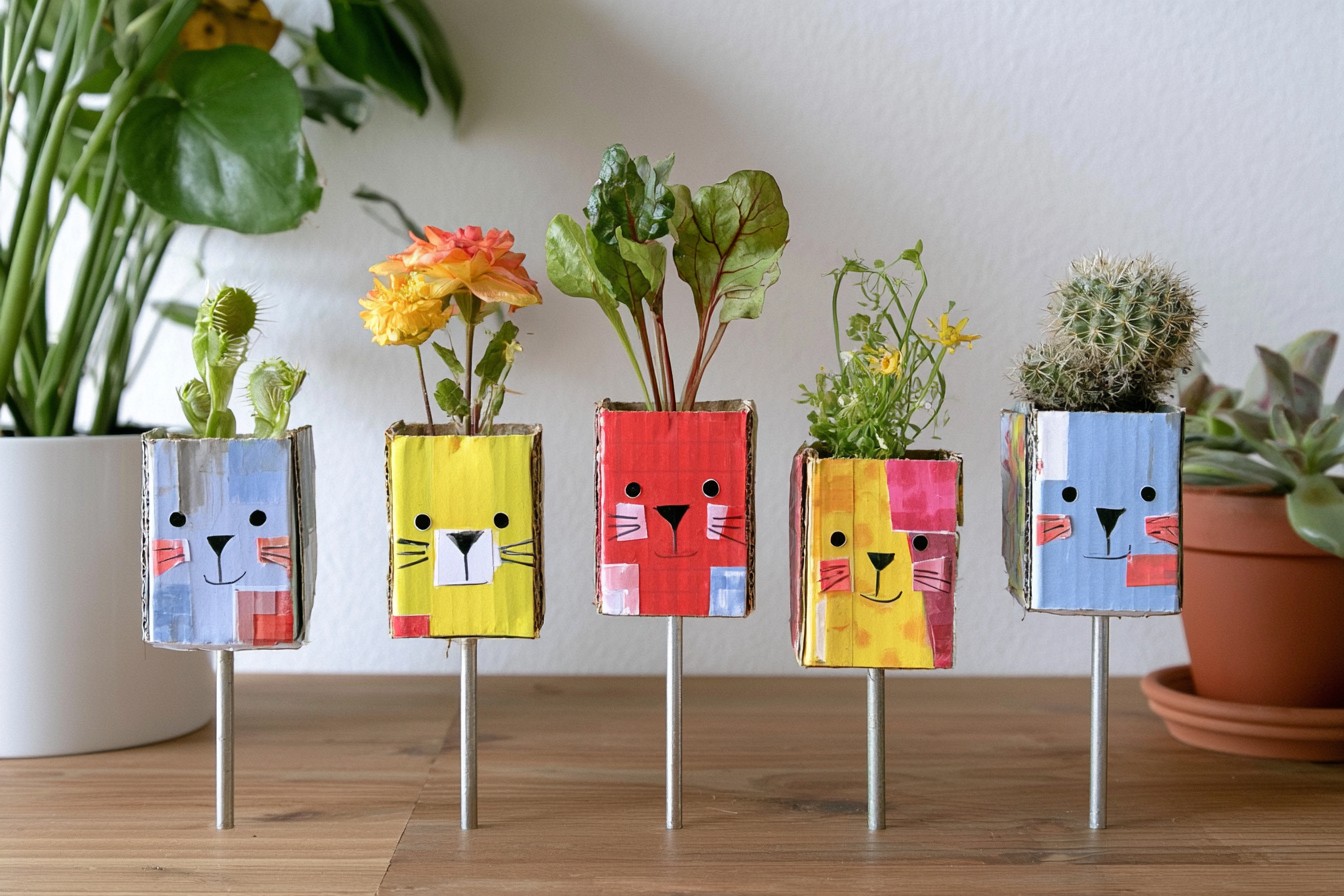
Create plant markers from the coated panels of clean milk cartons. Open the package flat and cut narrow tag shapes with pointed lower ends. Layer two pieces together for strength, keeping the plain silver surfaces facing outward. Write plant names with an outdoor permanent marker or add painted symbols for herbs and vegetables. Punch a hole near the top if the tags will hang from containers, or press the pointed ends directly into soil. A thin coat of weather resistant varnish extends their life. Use these markers in seed trays, balcony pots, herb gardens, raised beds, or plant exchange gifts.
12. Reusable Paint Palette
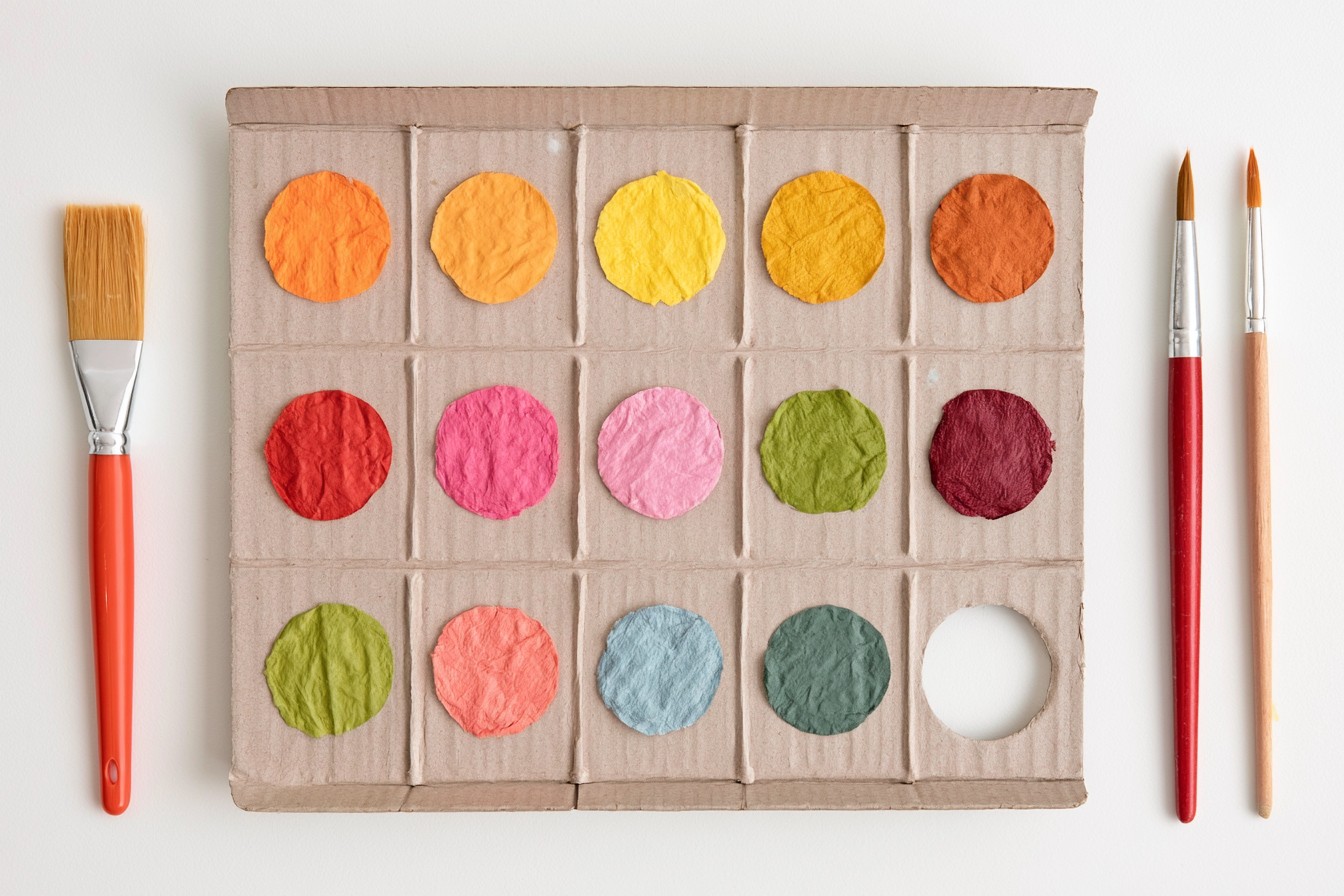
Use the flat coated sides of a milk carton as reusable palettes for painting projects. Open the carton along its seams, wash it thoroughly, and cut several oval or rectangular panels from areas without deep folds. Round the corners and smooth the edges with fine sandpaper. The nonporous silver surface can hold acrylic, watercolor, or poster paint and wipes clean after use. Draw mixing sections on the reverse side so the working face remains smooth. Stack the finished palettes inside a craft drawer or portable art box. Smaller offcuts can become individual color trays for classrooms, workshops, or group activities.
13. Decorative Bookmark Set
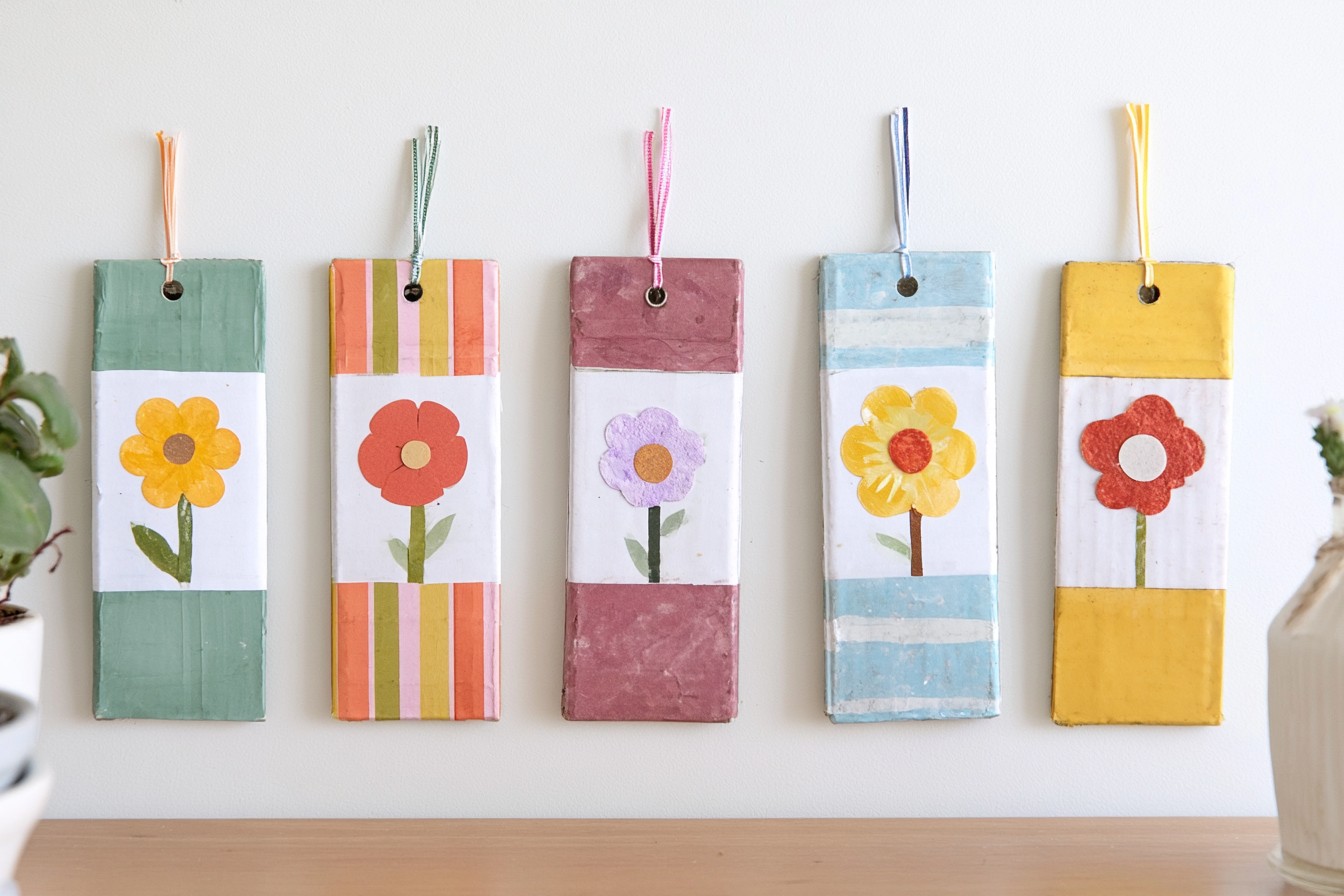
Turn narrow carton offcuts into attractive, durable bookmarks for readers and handmade gifts. Cut long rectangles, round the corners, and layer two pieces together with printed surfaces facing inward. Cover the front with marbled paper, fabric, pressed leaves, or a painted pattern, leaving the silver back exposed for contrast. Punch a hole near the top and add a short cotton tassel or braided thread loop. Seal paper decorations with a thin protective medium, keeping the finished bookmark flat enough for books. Create carefully coordinated sets for journals, cookbooks, study materials, or gift baskets, and package them inside recycled paper sleeves.
14. Modular Storage Cubes
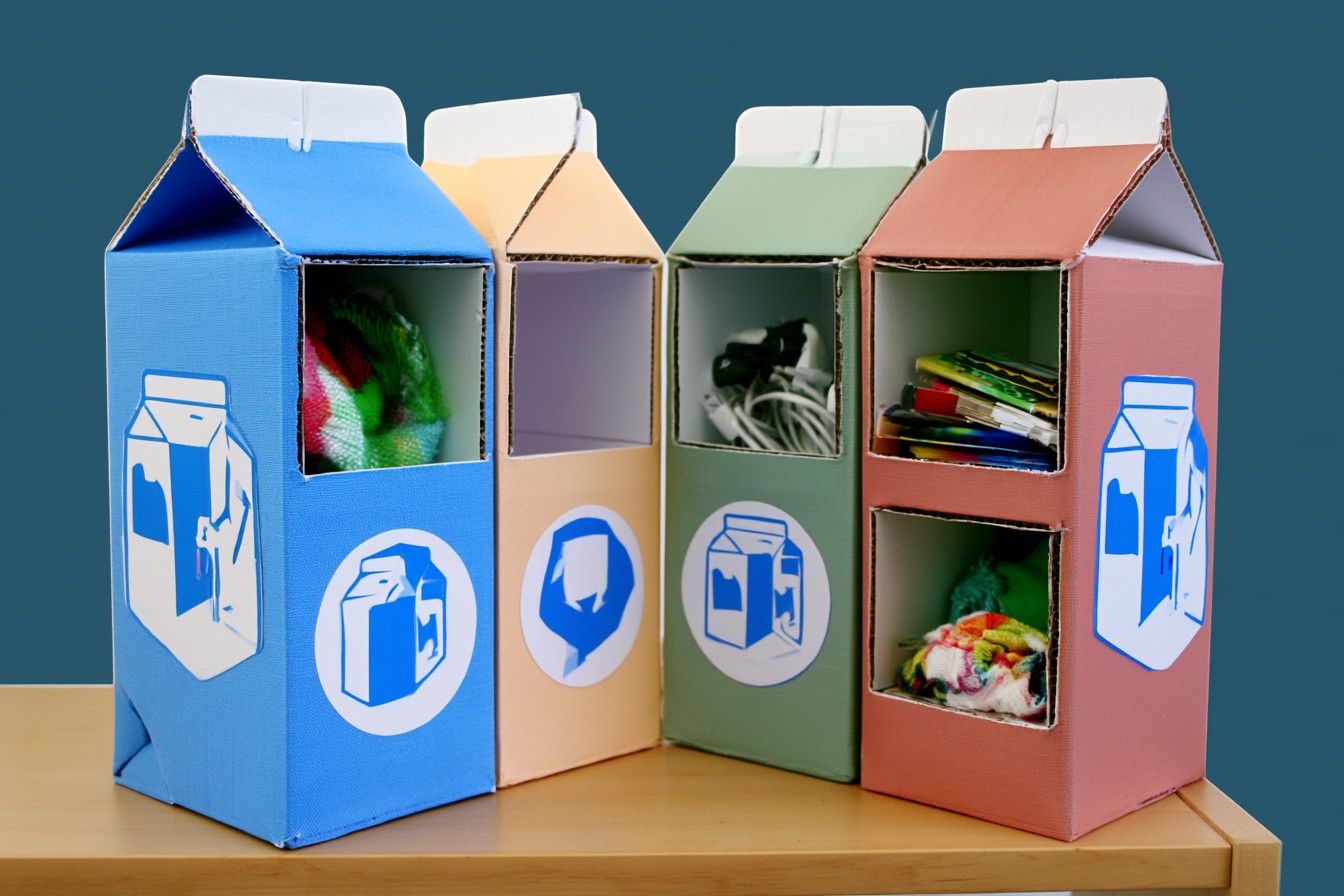
Build versatile, modular shelf storage by joining trimmed milk cartons into reinforced open cubes. Cut several cartons to equal depth, remove their tops, and strengthen each interior with an additional panel cut from another package. Cover individual units with fabric or heavyweight paper before gluing them side by side. Add a shared cardboard base and back panel to keep the arrangement square. Use two, four, or six compartments depending on the available shelf space. These lightweight cubes can organize rolled scarves, craft supplies, charging cables, stationery, or small toys. Matching colors help the recycled structure blend with existing room decor.
15. Stenciled Gift Tags
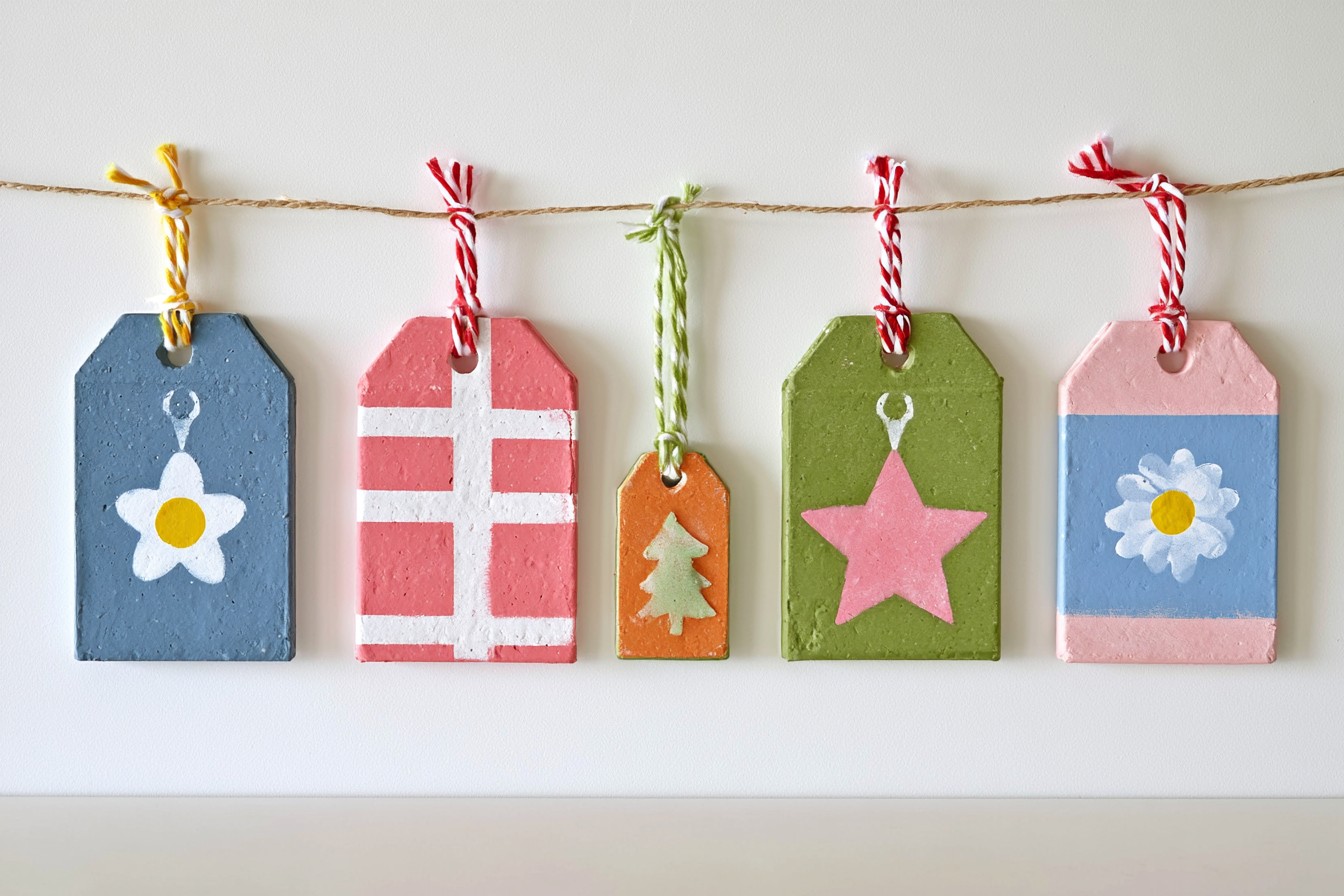
Create sturdy reusable gift tags from milk carton panels instead of purchasing new cardstock. Flatten the carton, cut simple rectangles, arches, circles, or luggage tag shapes, and round sharp corners. Cover the printed side with leftover wrapping paper while keeping the silver surface visible on the reverse. Decorate with stenciled botanical shapes, stamped patterns, fabric strips, or small punched paper details. Add a hole and thread cotton cord through it for attaching the tag to boxes, baskets, or reusable fabric wrapping. After the celebration, recipients can repurpose attractive tags as bookmarks, ornaments, jar labels, or decorative additions to memory albums.
16. Geometric Hanging Mobile
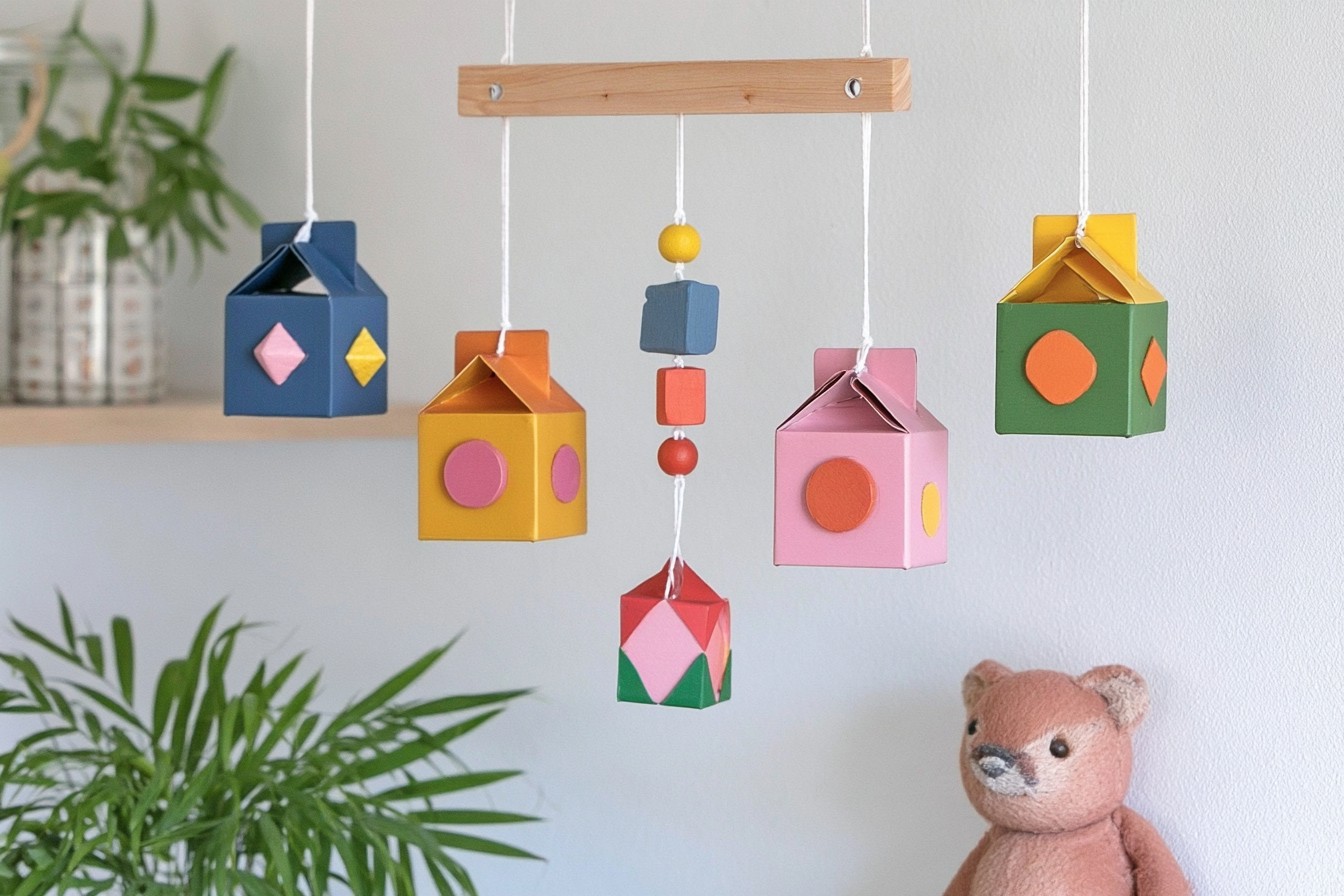
Create a lightweight decorative mobile from folded carton shapes and salvaged thread. Open several cartons, cut matching diamonds or triangles, and score central fold lines. Paint the outer surfaces in a coordinated palette while allowing occasional silver sections to provide contrast. Glue pairs of shapes around lengths of cotton thread, spacing them unevenly for movement. Suspend several strands from a small wooden ring, embroidery hoop, or smooth branch, then adjust their positions until the mobile balances. Hang the finished piece above a craft table, reading corner, covered balcony, or nursery shelf where gentle air movement can animate the geometric forms.
MORE IDEAS


Share
What's Your Reaction?
 Like
0
Like
0
 Dislike
0
Dislike
0
 Love
0
Love
0
 Funny
0
Funny
0
 Angry
0
Angry
0
 Sad
0
Sad
0
 Wow
0
Wow
0