17 Adult Gaming Room Design Ideas for a Refined Setup

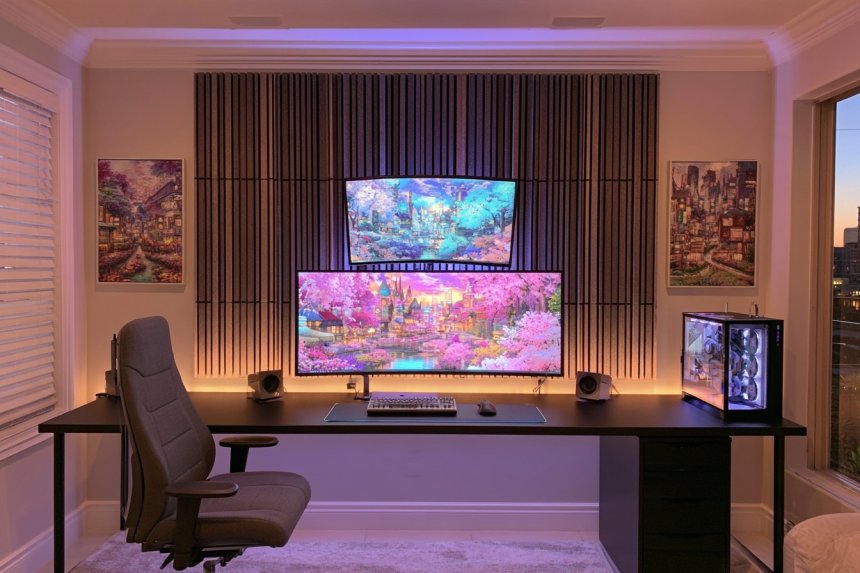
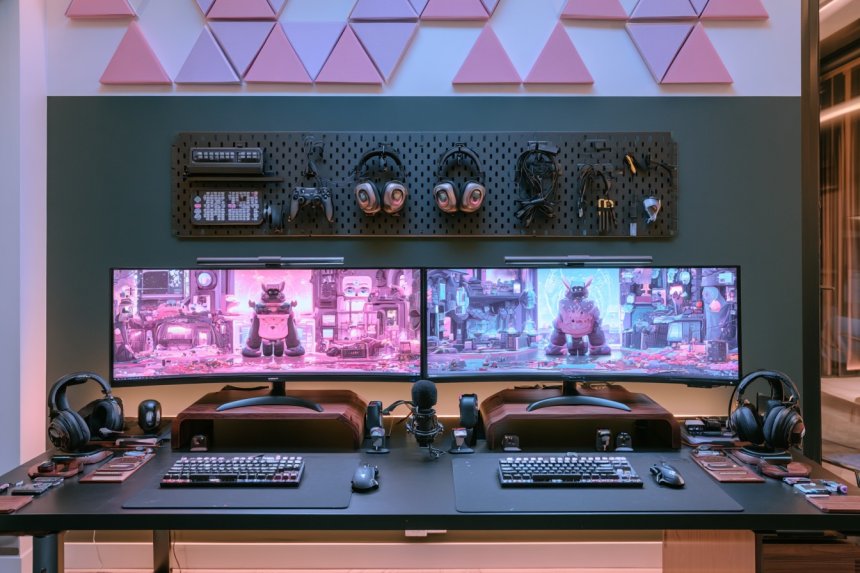
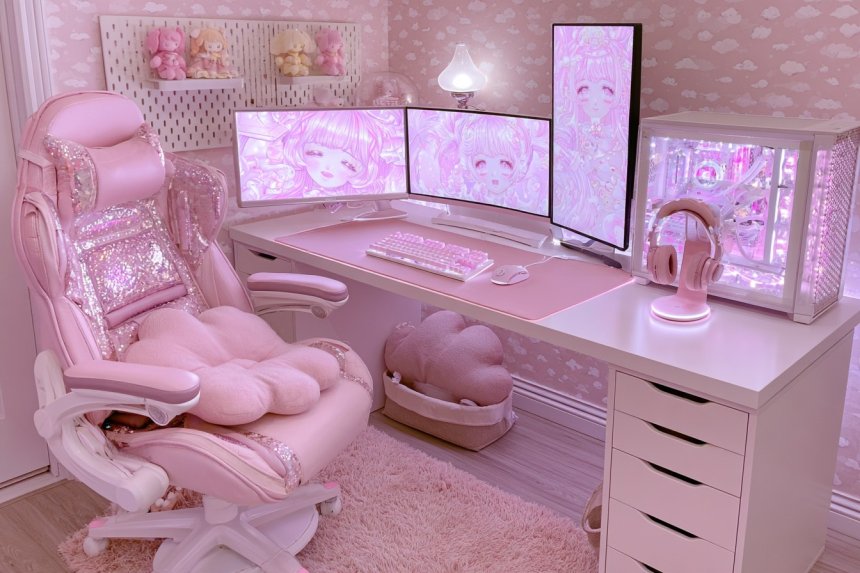
An adult gaming room can support entertainment, relaxation, work, and social time without looking disconnected from the rest of the home. The strongest designs begin with ergonomics, ventilation, electrical capacity, screen placement, and cable management before adding decorative features. Furniture should remain comfortable during long sessions, while storage needs to accommodate controllers, headsets, consoles, games, and charging equipment. A restrained material palette can make technology feel integrated rather than visually dominant. These adult gaming room ideas combine practical layouts with walnut, leather, stone, acoustic materials, curated displays, and flexible furniture to create a mature space that remains comfortable, organized, and adaptable as equipment changes.
1. Create a Walnut and Graphite Executive Gaming Room
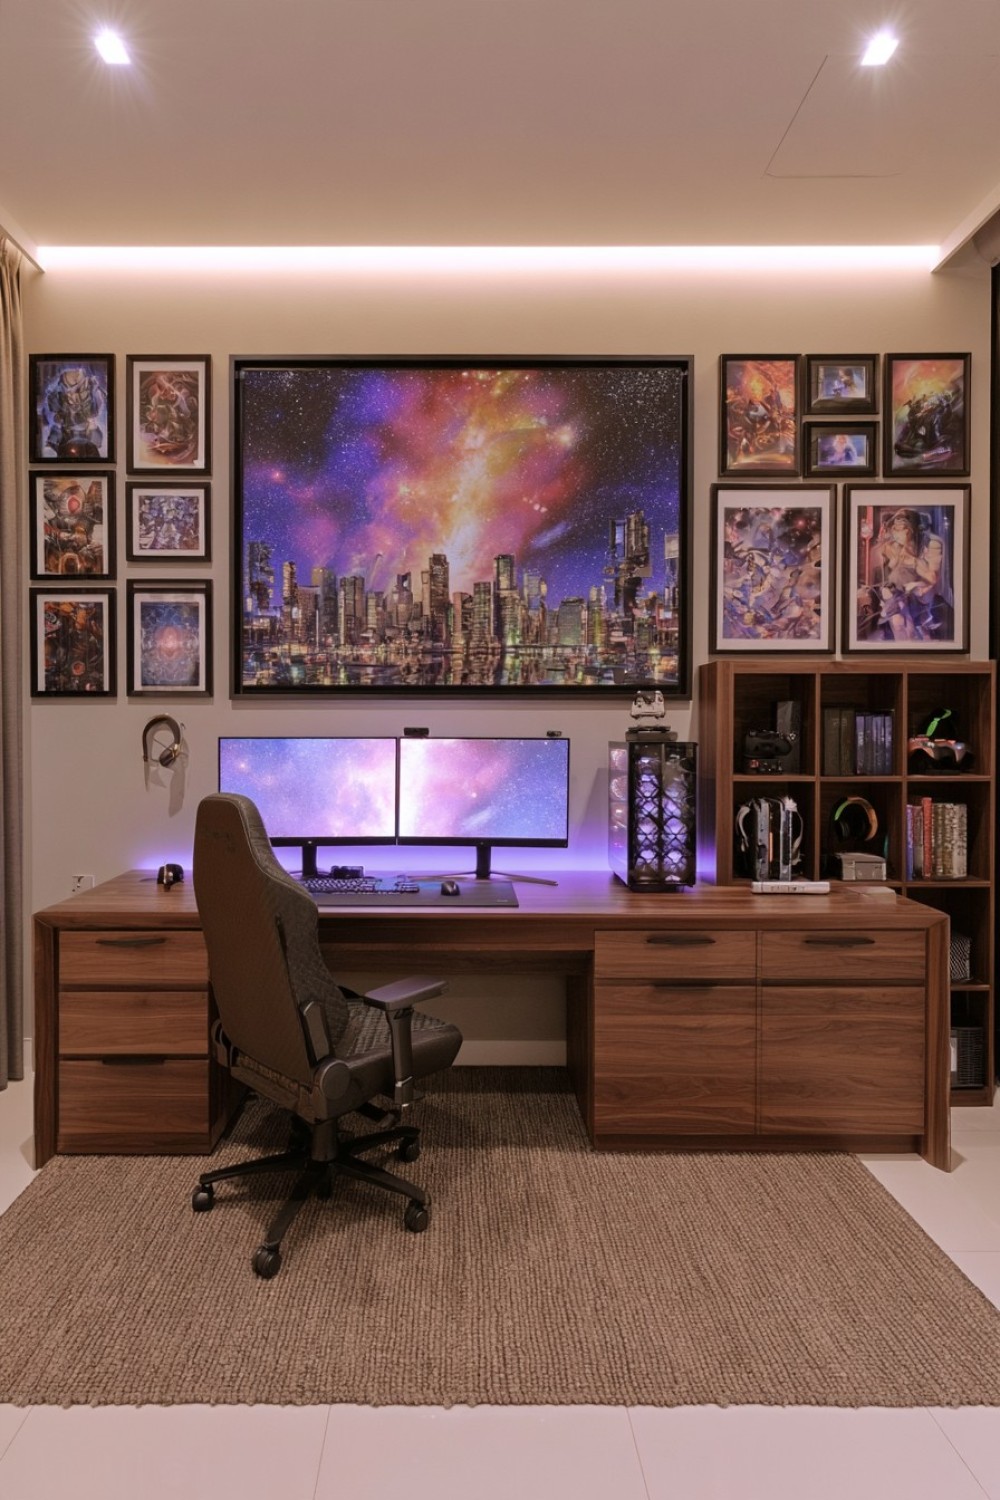
Walnut and graphite can give a gaming room the atmosphere of a refined study. Use walnut on the desk, shelves, or storage wall and reserve graphite for selected walls or cabinetry. Dark finishes work best when balanced with a pale ceiling, moderate flooring, and carefully distributed lighting. Keeping monitors, speakers, and accessories within a controlled black or dark gray palette further reduces visual clutter.
Choose a desk deep enough to maintain a comfortable viewing distance and wide enough for the intended monitor arrangement. A height-adjustable chair with lumbar support is more important than decorative executive styling. Dark rooms still require ambient and task lighting to reduce extreme contrast around bright screens. Provide ventilation around computers and consoles, and avoid enclosing heat-producing equipment inside unventilated walnut cabinetry.
2. Conceal the Gaming Setup Behind Custom Cabinetry
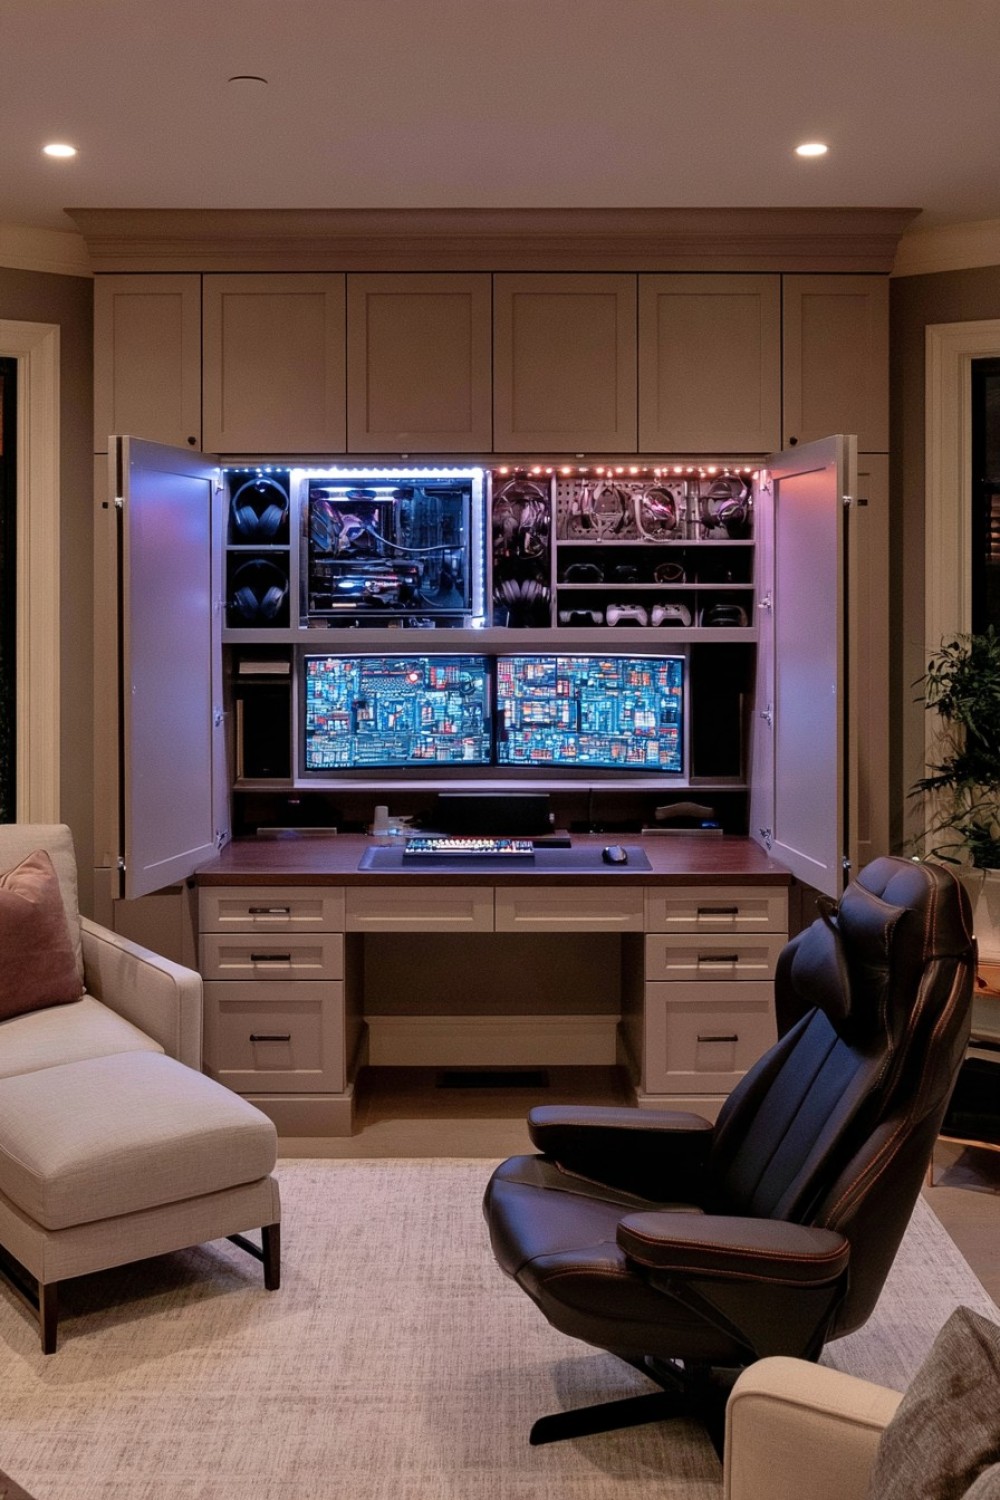
Custom cabinetry can hide screens, consoles, accessories, and cables when the room serves another purpose. Pocket, sliding, or folding doors generally require less operating space than wide hinged panels. Include adjustable shelves and removable cable-management sections so the storage can accommodate future equipment. A pull-out keyboard tray may be useful, but the main work surface should still provide adequate depth and legroom.
Technology must not operate inside a tightly sealed compartment. Add manufacturer-appropriate ventilation openings and leave clearance around cooling fans and power supplies. Electrical outlets should remain accessible rather than being buried behind fixed panels. Cabinet doors must not place pressure on screens, cables, or control sticks when closed. Custom units should be secured properly and planned by qualified tradespeople when they incorporate electrical or ventilation work.
3. Design a Leather and Dark Oak Console Lounge
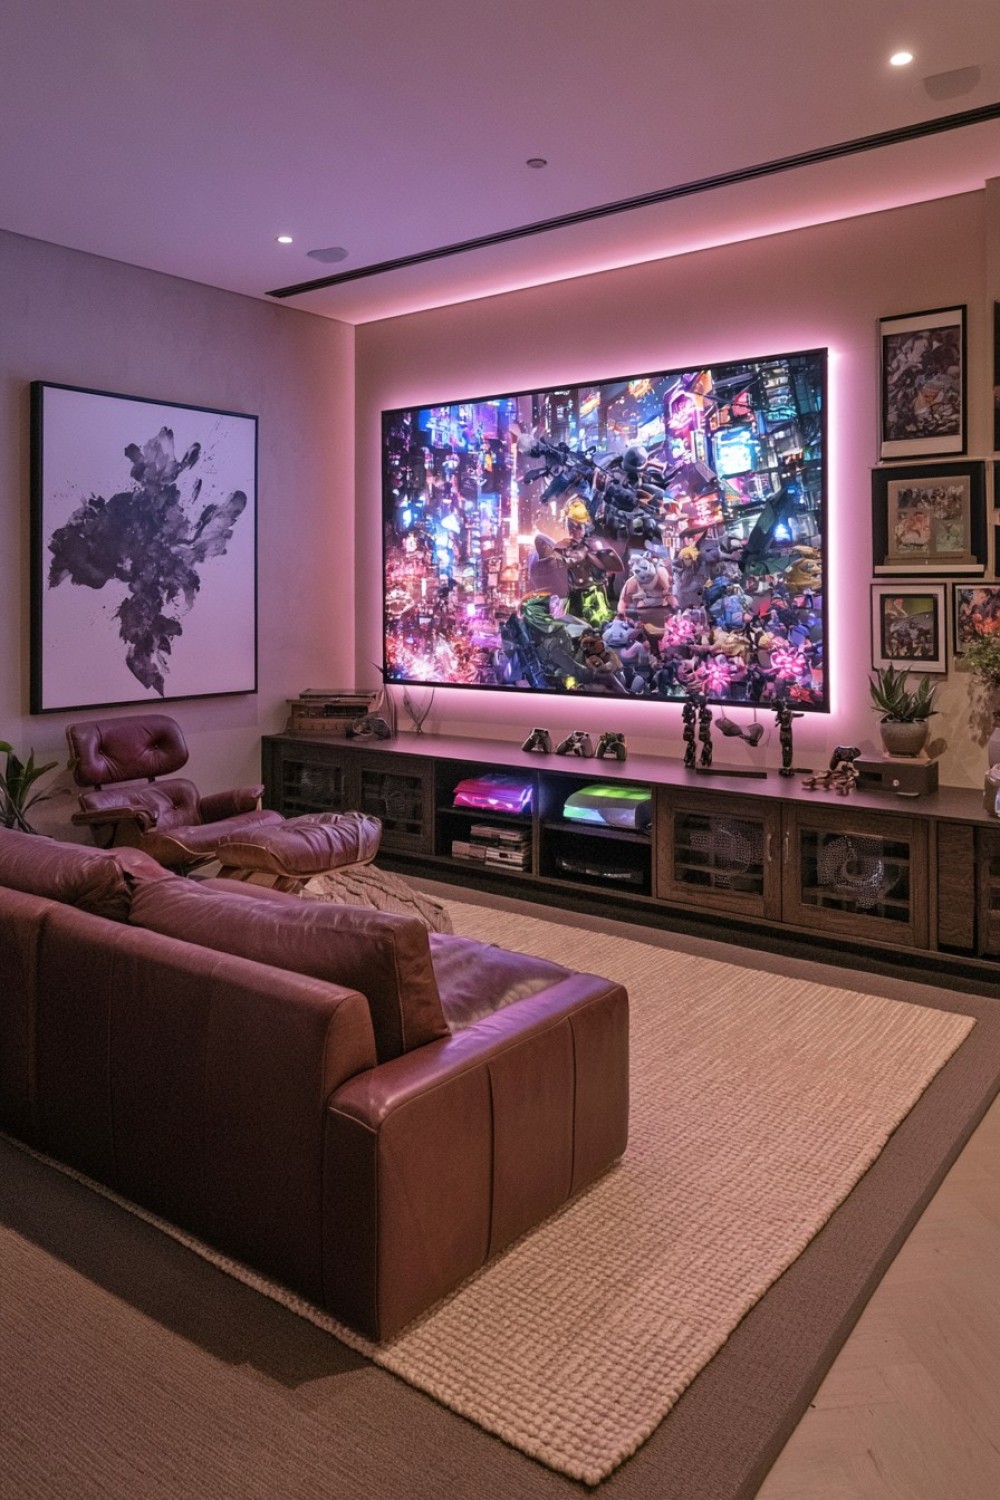
Leather seating and dark oak create a comfortable console lounge that feels more permanent than a temporary gaming corner. Position the sofa or chairs directly in relation to the screen and select a viewing distance appropriate for its dimensions and resolution. A low media unit can store consoles and controllers while preserving airflow. Use a movable table for drinks rather than placing liquids near electronic equipment.
Test seating before buying because deep lounge furniture may not provide sufficient back or neck support during longer sessions. Genuine leather develops patina but has specific cleaning needs, while high-quality performance upholstery may be easier to maintain. Do not place seating where it blocks doors or walking routes. Speakers should be positioned for balanced sound without producing excessive disturbance in adjoining rooms.
4. Build a Gaming Library With Integrated Media Storage
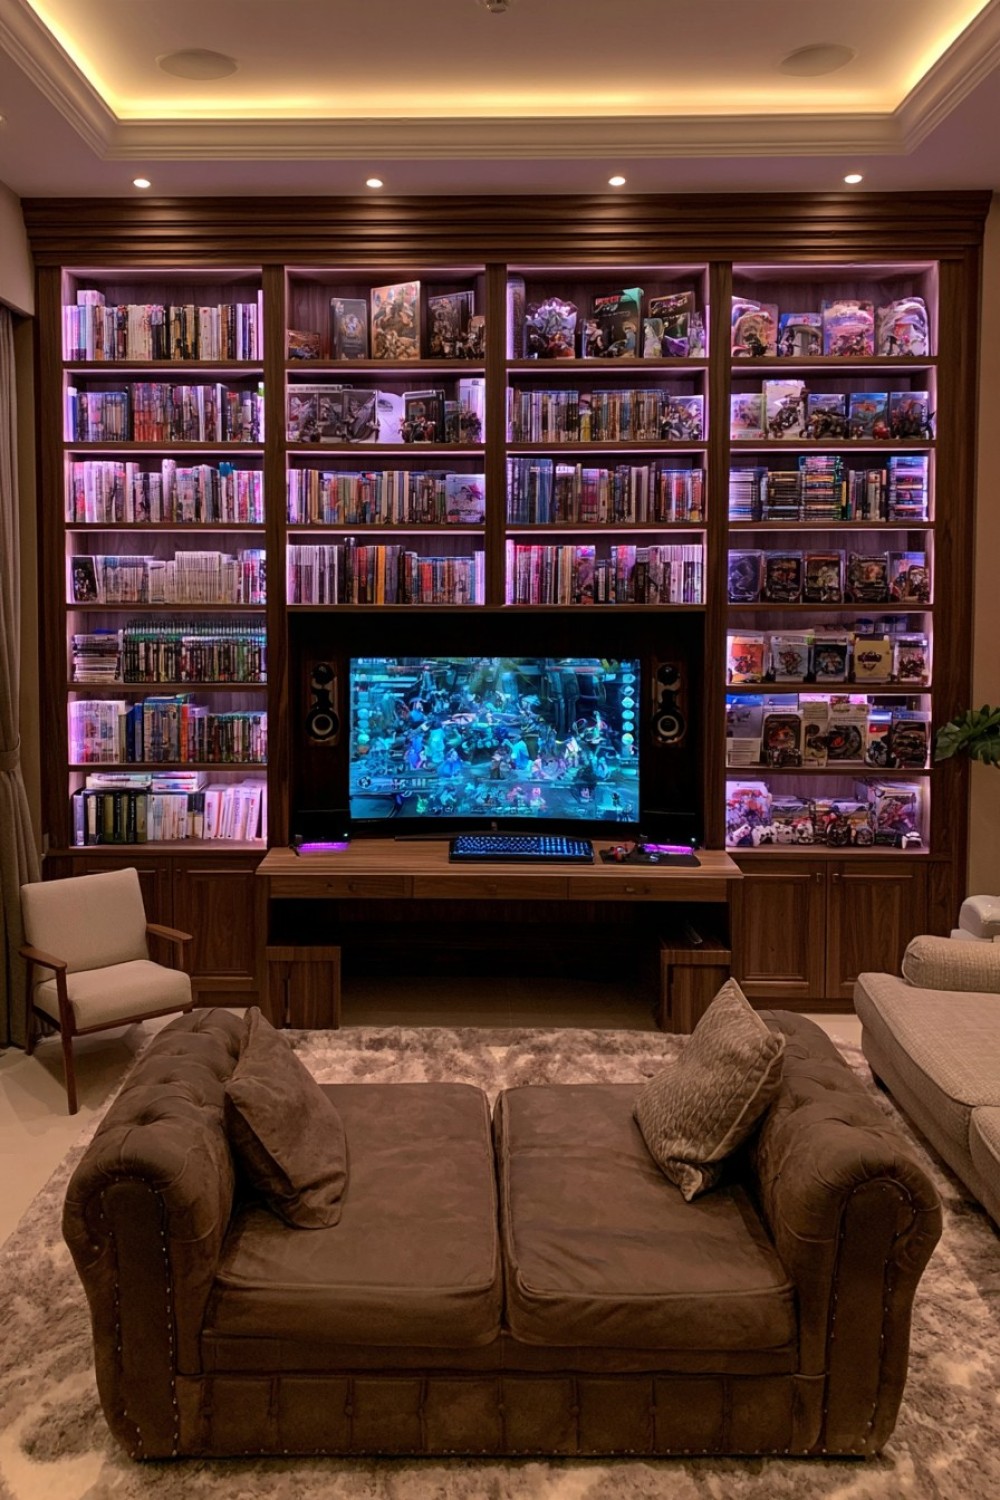
A gaming library can display physical games, art books, guides, and selected collectibles while hiding cables and less attractive accessories. Arrange shelves by platform, genre, or format and leave some sections open for future additions. Closed lower cabinets are useful for controllers, replacement cables, and packaging. Adjustable shelving prevents the furniture from becoming obsolete as the collection changes.
Tall bookcases and media units should be secured against tipping. Store heavy consoles, books, and equipment at lower levels and avoid placing fragile objects directly above seating. Strong sunlight, heat, and humidity can damage printed materials and collectible packaging. If lighting is incorporated into the shelving, use suitable low-heat fixtures and route all electrical connections safely without pinching cables behind fixed panels.
5. Use a Stone-Look Desktop in a Minimal Gaming Room
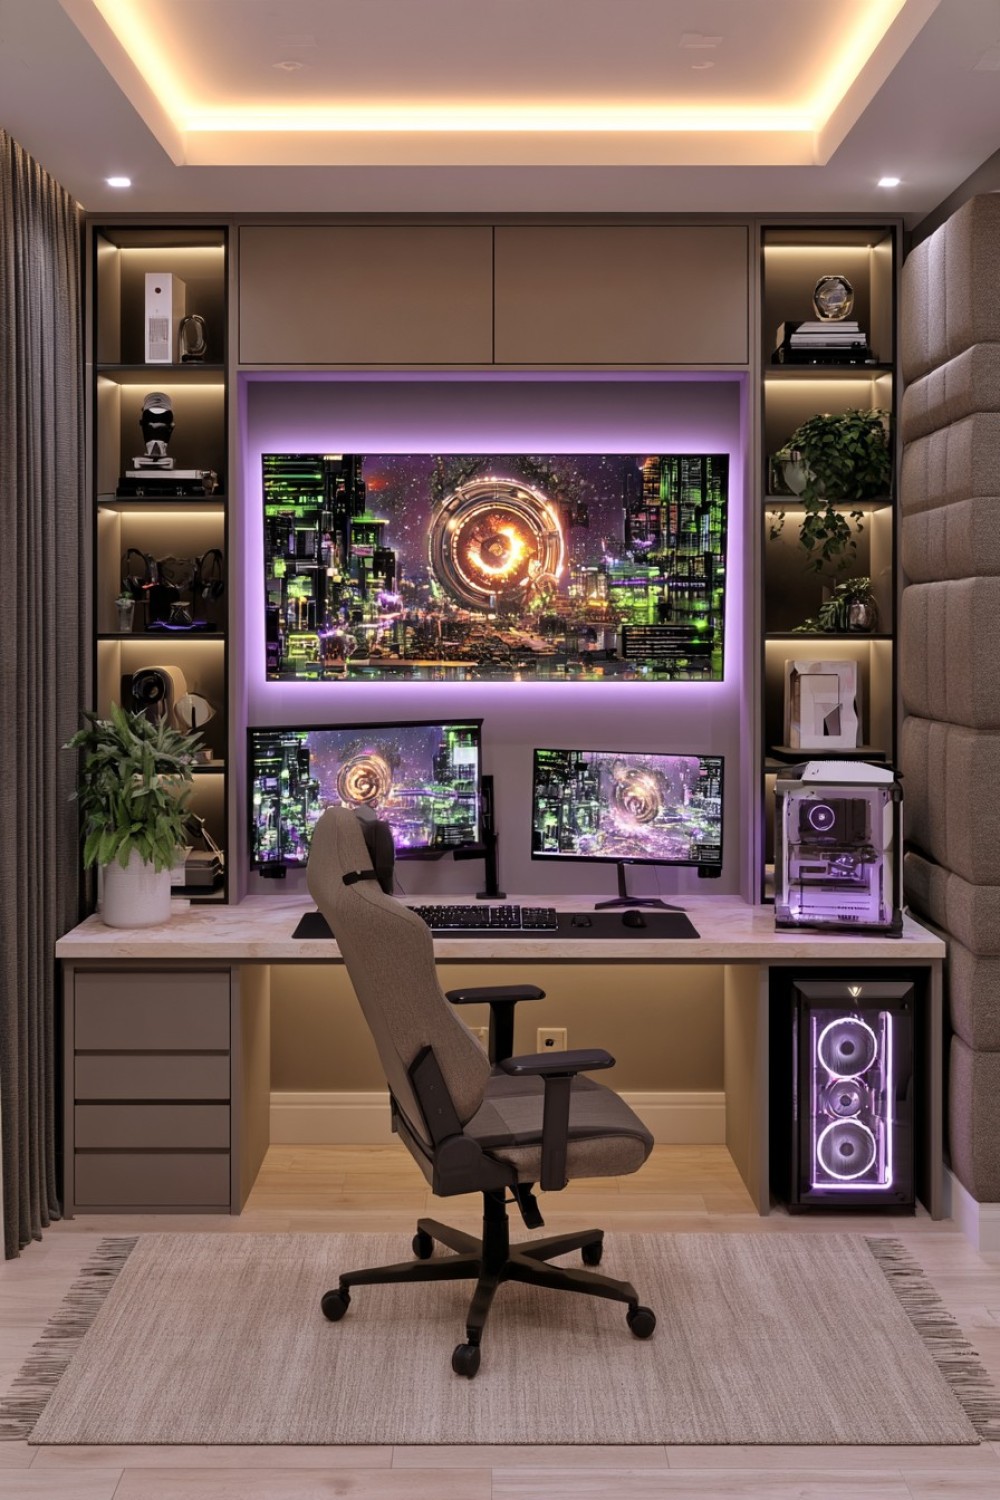
A stone or stone-look desktop introduces visual weight to a minimalist gaming setup without relying on multiple decorative objects. Pair it with simple cabinetry, one comfortable chair, and concealed cable routes. A matte or honed appearance generally produces less distracting reflection than a highly polished surface. Check the depth carefully so monitors can sit at a comfortable distance without leaving insufficient room for the keyboard and forearms.
Natural stone can be extremely heavy and may require a reinforced base or professional assessment. Porcelain, compact laminate, or stone-effect surfaces may provide a similar appearance with easier installation. Use an appropriate desk mat to protect delicate finishes from equipment and repeated movement. Plan cable openings before fabrication and smooth every edge that will contact wrists or arms during use.
6. Combine Retro Gaming With Mid-Century Furniture
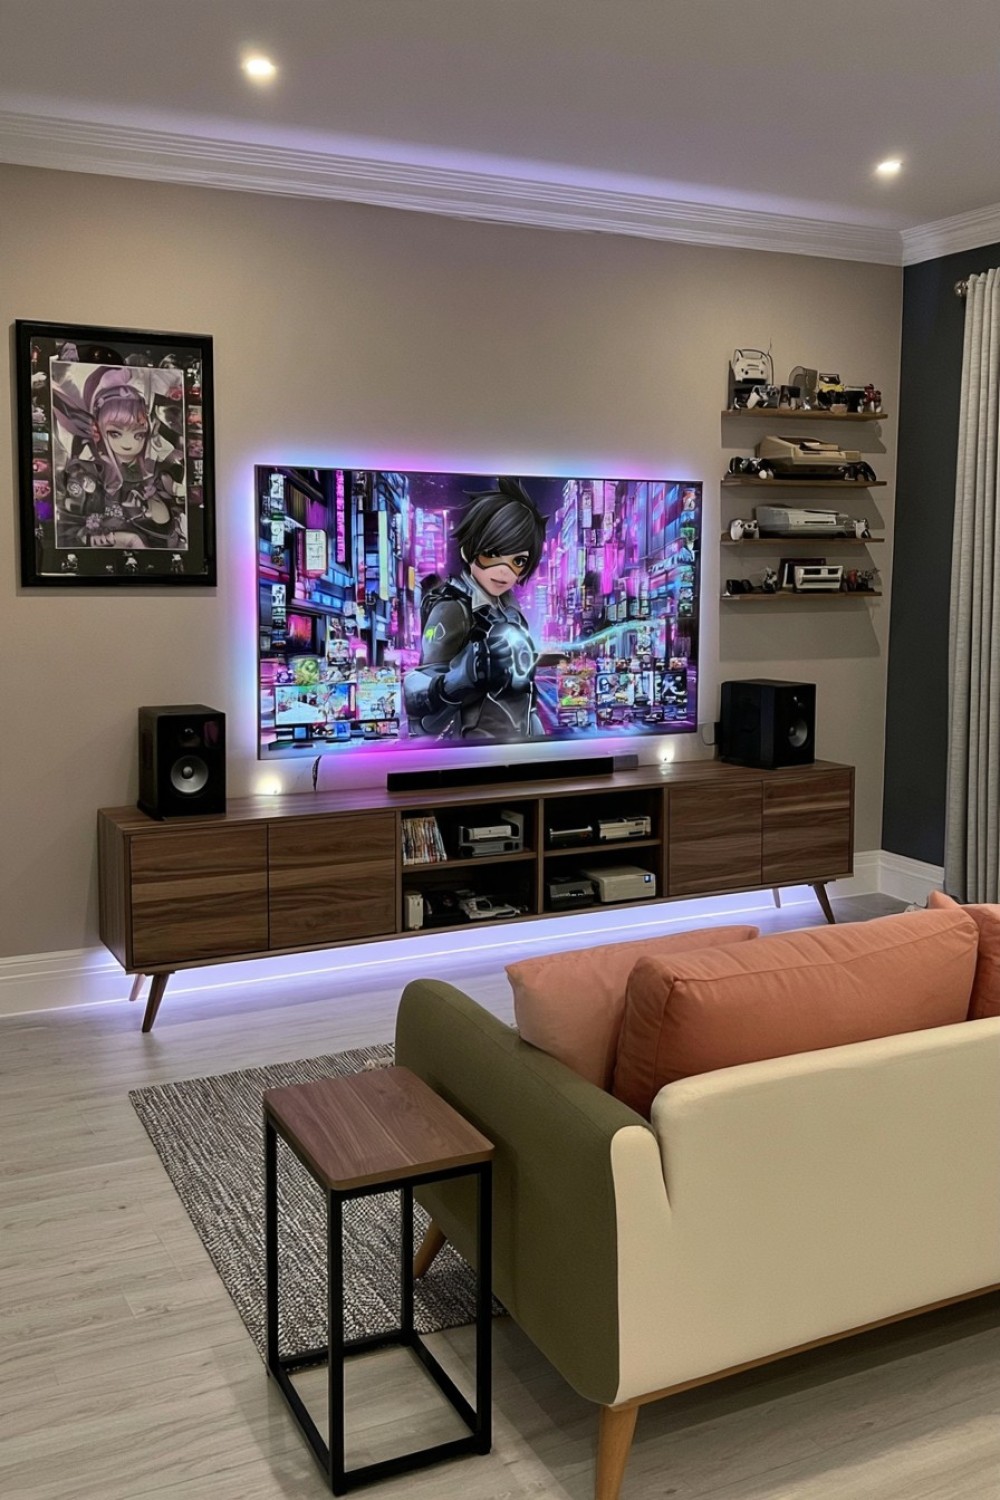
Mid-century furniture can give a retro gaming room warmth without turning it into a themed display. Use a low walnut media console, tapered-leg seating, and a restrained palette of olive, rust, mustard, or muted blue. Display only a few recognizable retro consoles or game covers, keeping the remainder in closed storage. This allows the room to reference gaming history while still feeling suitable for contemporary use.
Older consoles and televisions may require adapters, specialist cables, ventilation, or electrical inspection. Vintage furniture should be checked for weak joints, unstable legs, damaged veneer, and inadequate weight capacity before supporting electronics. Avoid overcrowding one power strip with devices from different eras. Equipment not used regularly can remain unplugged and stored safely to reduce heat, dust accumulation, and unnecessary energy use.
7. Add a Dedicated Simulation Corner With Built-In Storage
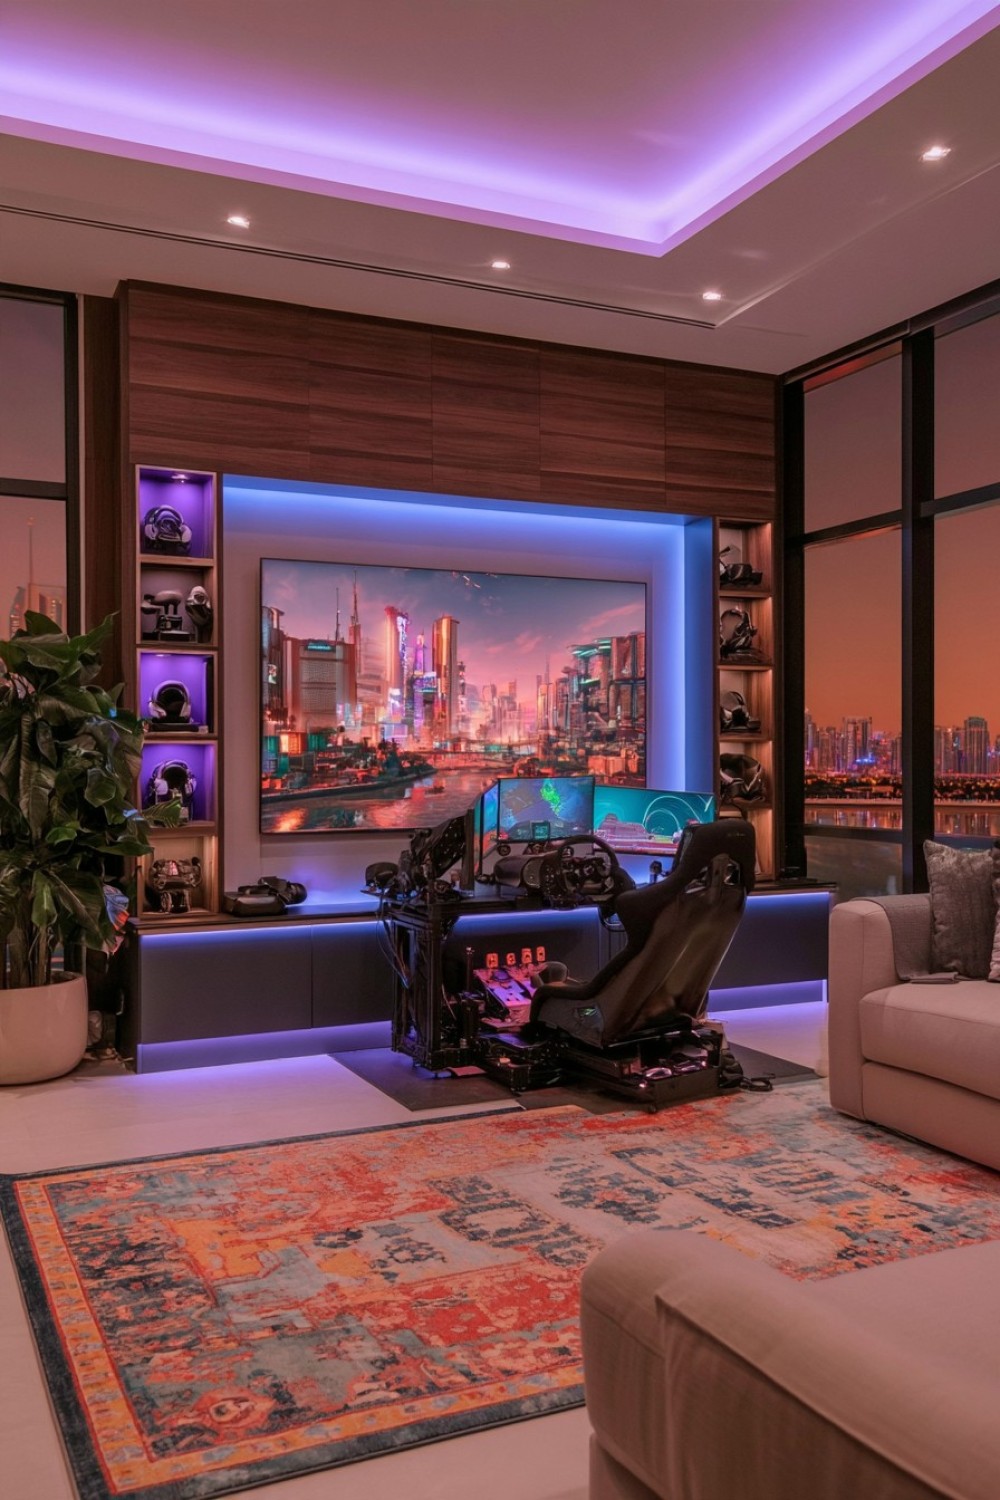
A racing or flight simulation setup works best in a defined corner where the seat, controls, and screens can remain calibrated. Surround the equipment with shallow cabinetry for wheels, pedals, controllers, and replacement parts. A dark backdrop can visually integrate the hardware, while a lighter floor boundary helps people see the platform and avoid tripping over its edges.
Confirm the simulator’s full operating footprint, including seat adjustment and entry clearance. Platforms and controls should not project into a main walkway. Equipment that produces movement or vibration requires a stable floor and suitable isolation from adjoining rooms. Use manufacturer-approved mounts and avoid improvised structural attachments. Provide ventilation around the computer and enough accessible power capacity for every component.
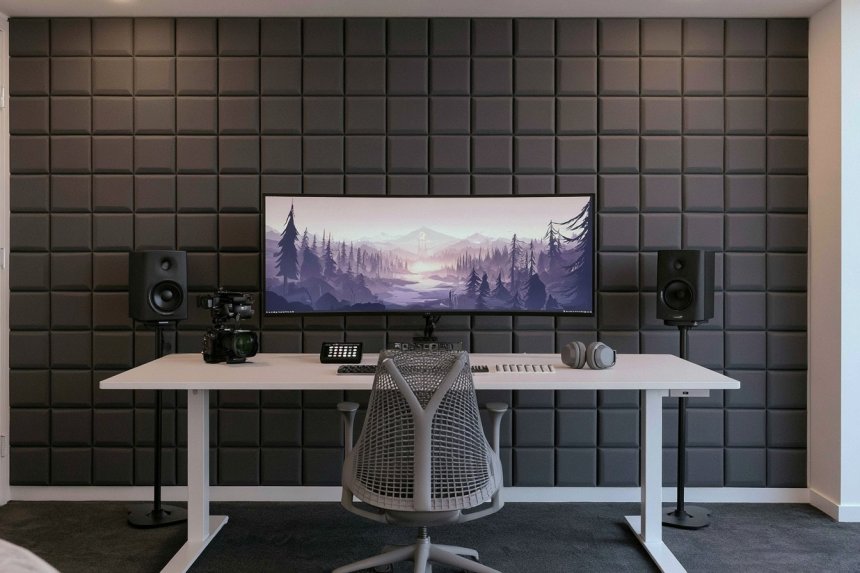
8. Improve Sound Control With Fabric Wall Panels
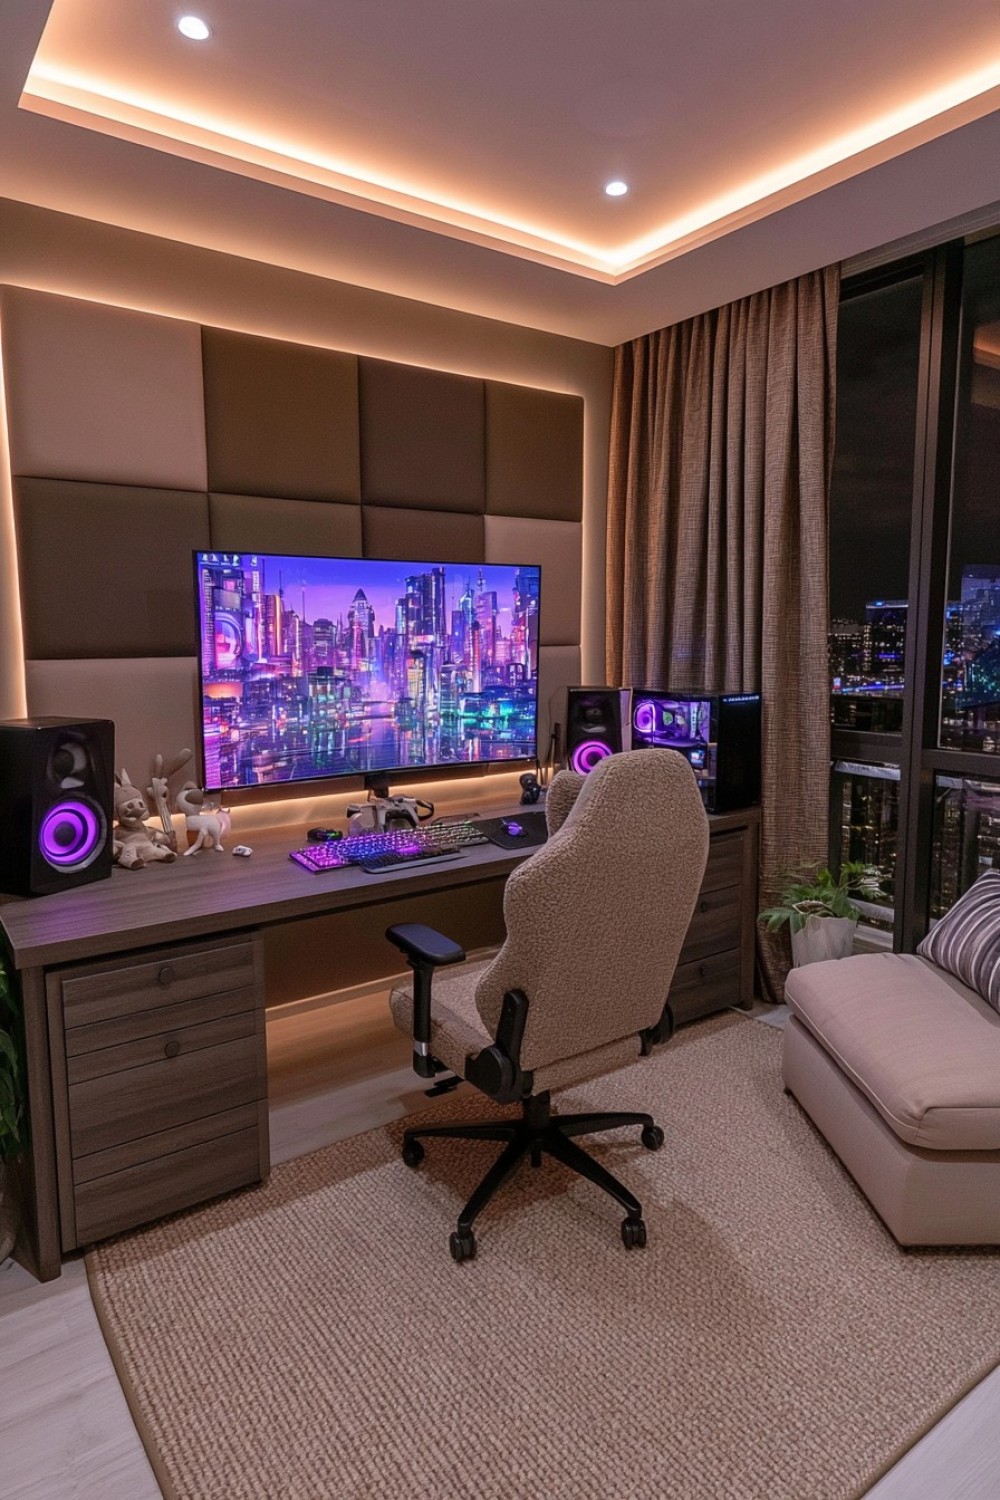
Fabric acoustic panels can reduce reflections within the room and make dialogue, music, and voice chat clearer. Place panels at key reflection points rather than covering every wall. Coordinating their fabric with the room’s upholstery allows them to function as decorative elements. Rugs, curtains, and upholstered furniture can contribute additional absorption when the room otherwise contains many hard surfaces.
Acoustic treatment is different from soundproofing and will not necessarily prevent noise from reaching adjacent rooms. Meaningful isolation may require changes to walls, doors, ceilings, and ventilation paths. Choose tested panels with appropriate fire-performance information and mount them according to the manufacturer’s instructions. Do not cover outlets, ventilation grilles, alarms, or electrical equipment with fabric.
9. Turn a Spare Bedroom Into a Convertible Gaming Suite
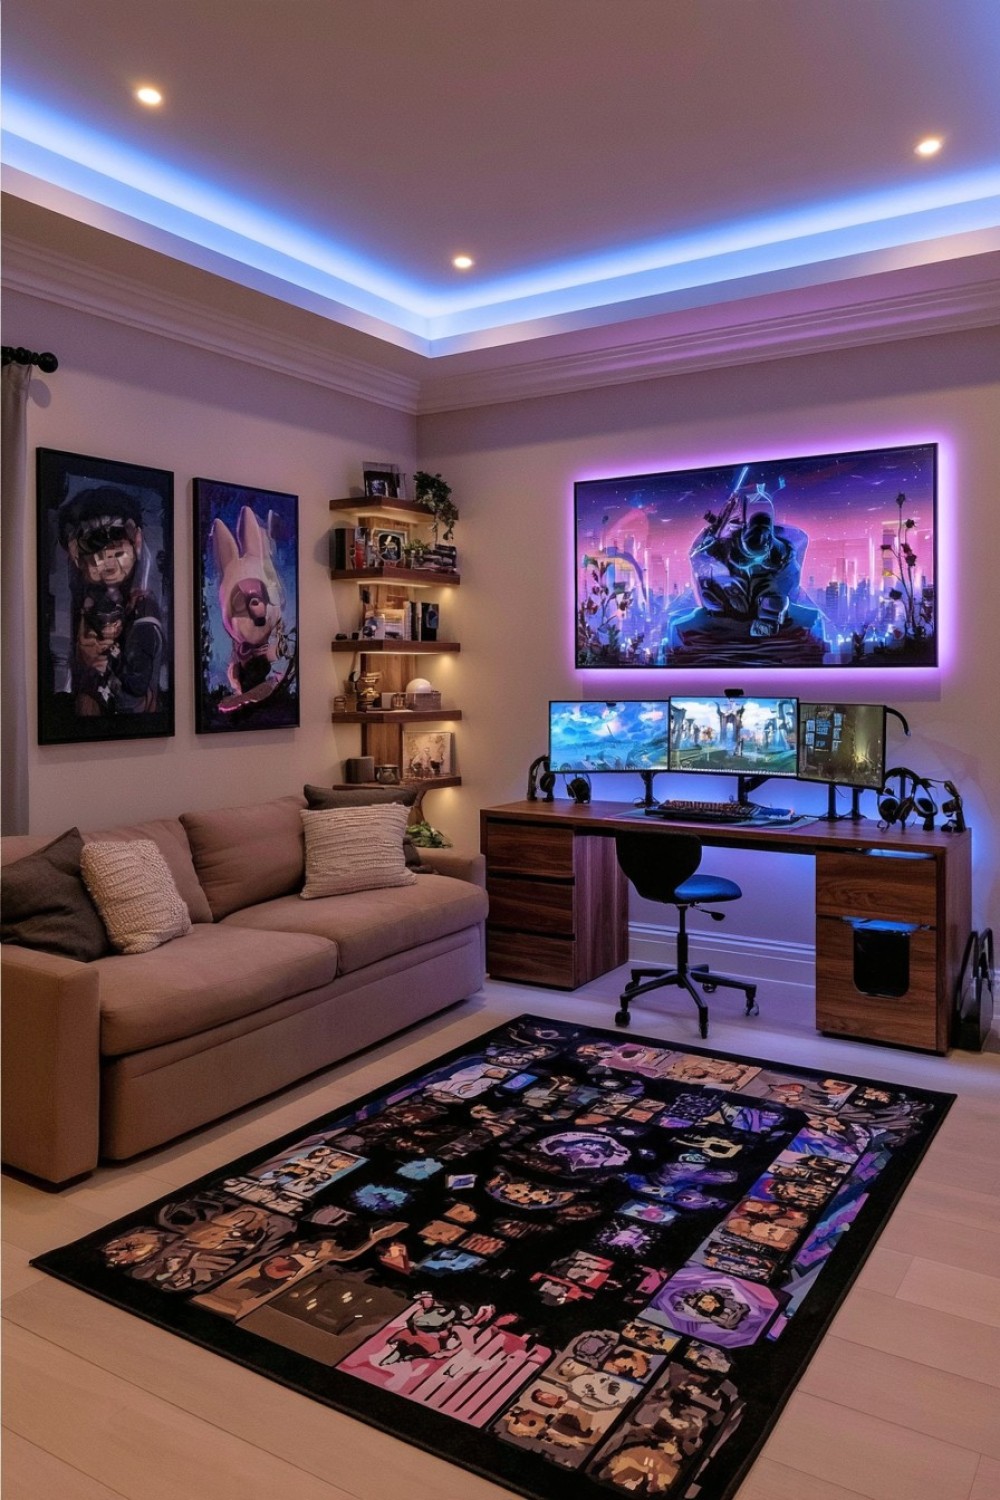
A spare bedroom can retain occasional sleeping capacity while functioning as a gaming room most of the time. Consider a wall bed, daybed, compact sleeper sofa, or standard bed with integrated storage. Position the desk so the chair and monitors do not prevent the bed from opening. Closed cabinetry can conceal gaming accessories and leave guests with an empty section for personal belongings.
Test the complete transformation process before finalizing the layout. Cables, chairs, tables, and floor lamps should not require extensive rearrangement whenever the bed is used. Wall beds must be professionally installed or secured according to their specifications. Maintain clear access to doors and any required escape opening. Provide comfortable general lighting and an accessible outlet near the sleeping area.
10. Create a Moody Green Gaming Study
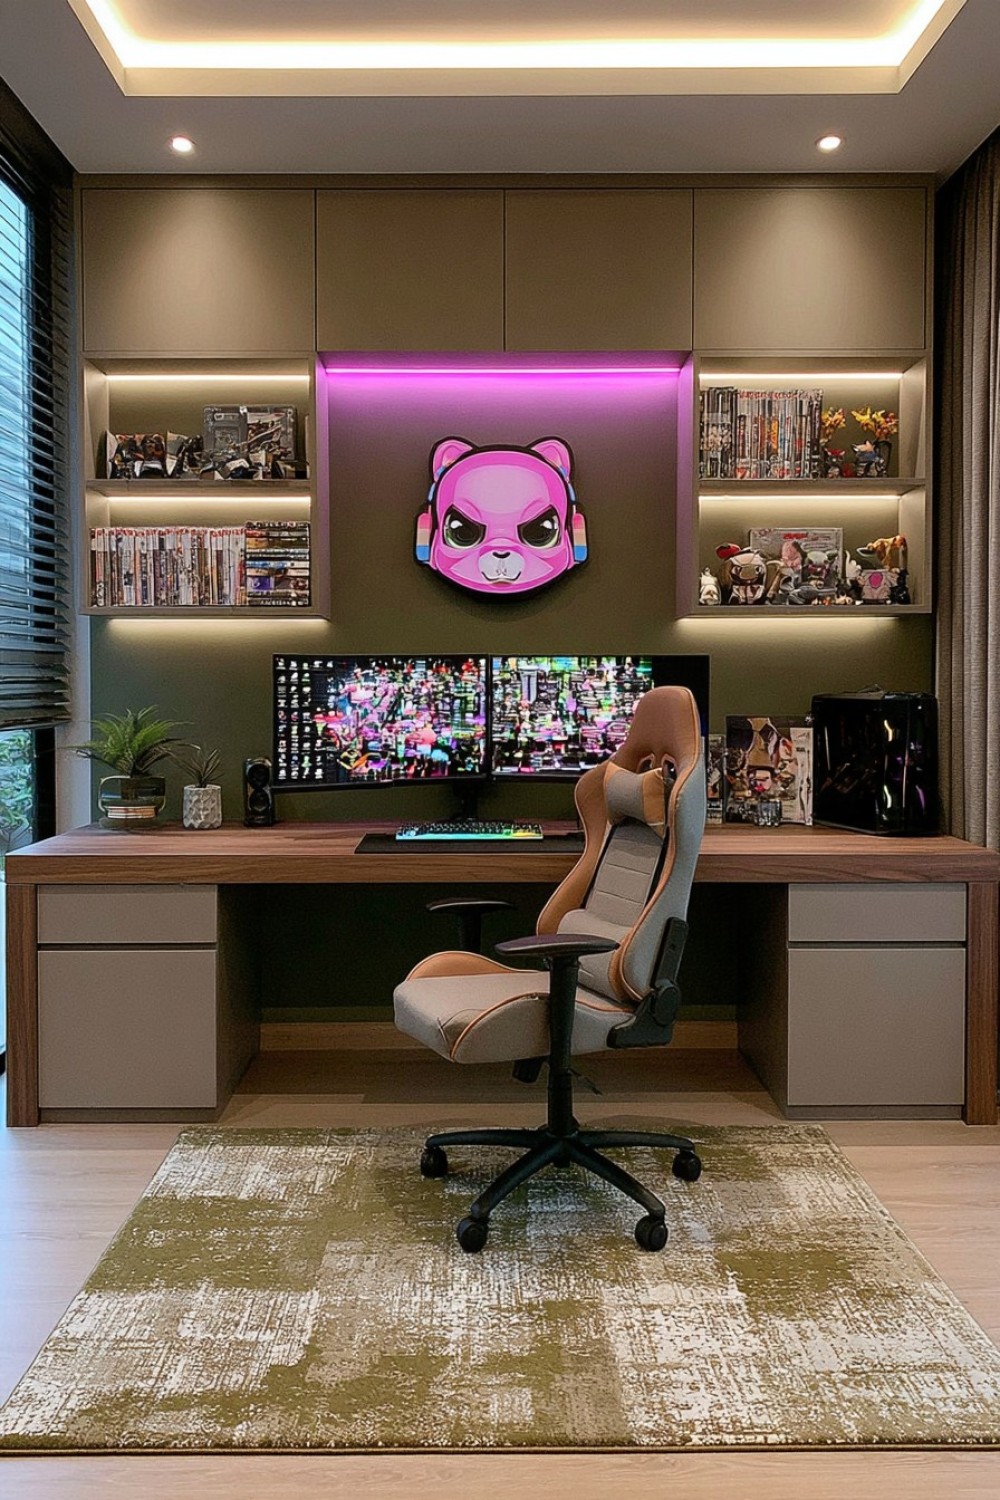
Deep olive, forest green, or muted blue-green can create a focused gaming study when paired with walnut, black metal, and warm neutral upholstery. Use the dark color on one wall or across fitted cabinetry, then retain lighter areas around the ceiling and work surface. A controlled palette helps screens and equipment appear integrated rather than surrounded by unrelated decorative colors.
Dark paint absorbs more light, so use several lighting layers instead of relying on a bright screen in a dim room. Indirect ambient light, desk illumination, and a reading lamp can serve different activities. Avoid strong reflections across monitors and glossy furniture. Test paint samples under the room’s actual lighting because green undertones can shift significantly throughout the day.
11. Add a Screen-Free Relaxation Zone Beside the Setup
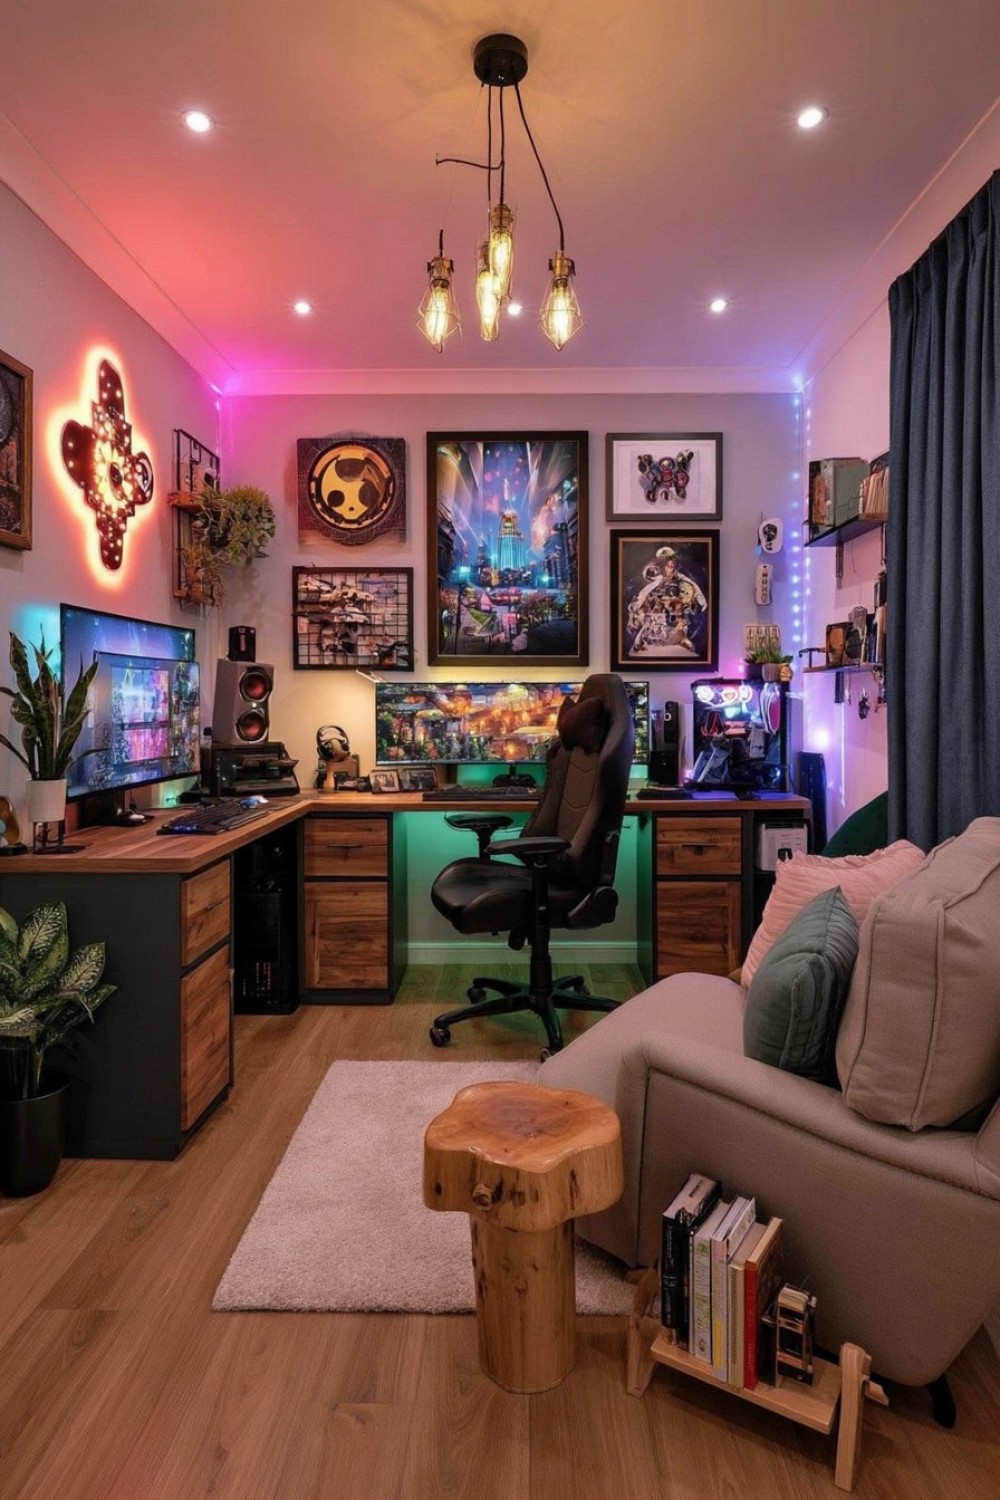
A separate chair, small sofa, or reading corner provides somewhere to rest away from the main screen. Furnish it with supportive seating, a side table, and focused lighting rather than another television. A shelf for books, magazines, or tabletop games gives the area a clear purpose. The visual separation can be established through a rug or different wall color without constructing a divider.
Leave enough space between the relaxation zone and desk chair so both can be used simultaneously. Drinks should remain on a stable table away from computers, consoles, and extension leads. If the room is compact, choose an armless chair or upholstered bench instead of an oversized recliner. A defined non-screen area also makes the room more welcoming to visitors who are not actively playing.
12. Display Collectibles Inside Museum-Style Cabinets
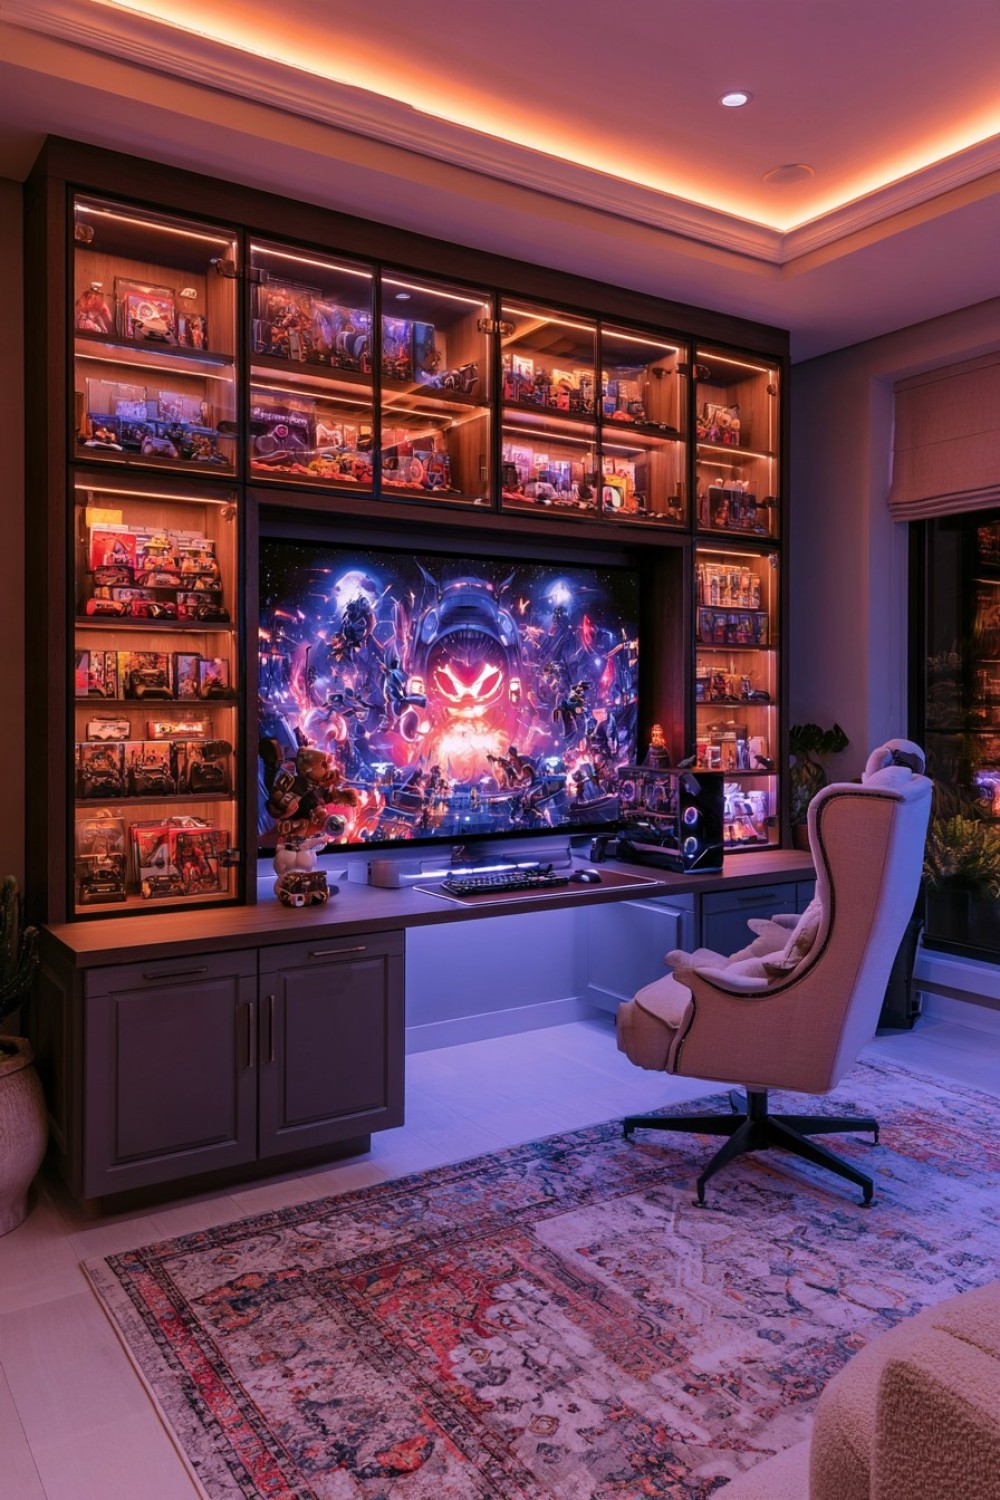
Glass-fronted cabinets protect figures, consoles, artwork, and limited-edition objects from casual handling and reduce dust. Group pieces by series, scale, or color and leave space between them so individual items remain visible. Adjustable shelves accommodate a changing collection, while a neutral interior finish prevents the display from competing with colorful packaging.
Secure tall cabinets against tipping and confirm that shelves can support the displayed weight. Heavy items should remain on lower levels. Use safety glass and reliable door hardware where possible. Lighting should produce minimal heat and follow the cabinet manufacturer’s installation guidance. Valuable or light-sensitive collectibles may require additional protection from direct sunlight, humidity, and prolonged illumination.
13. Add a Compact Counter for Players and Spectators
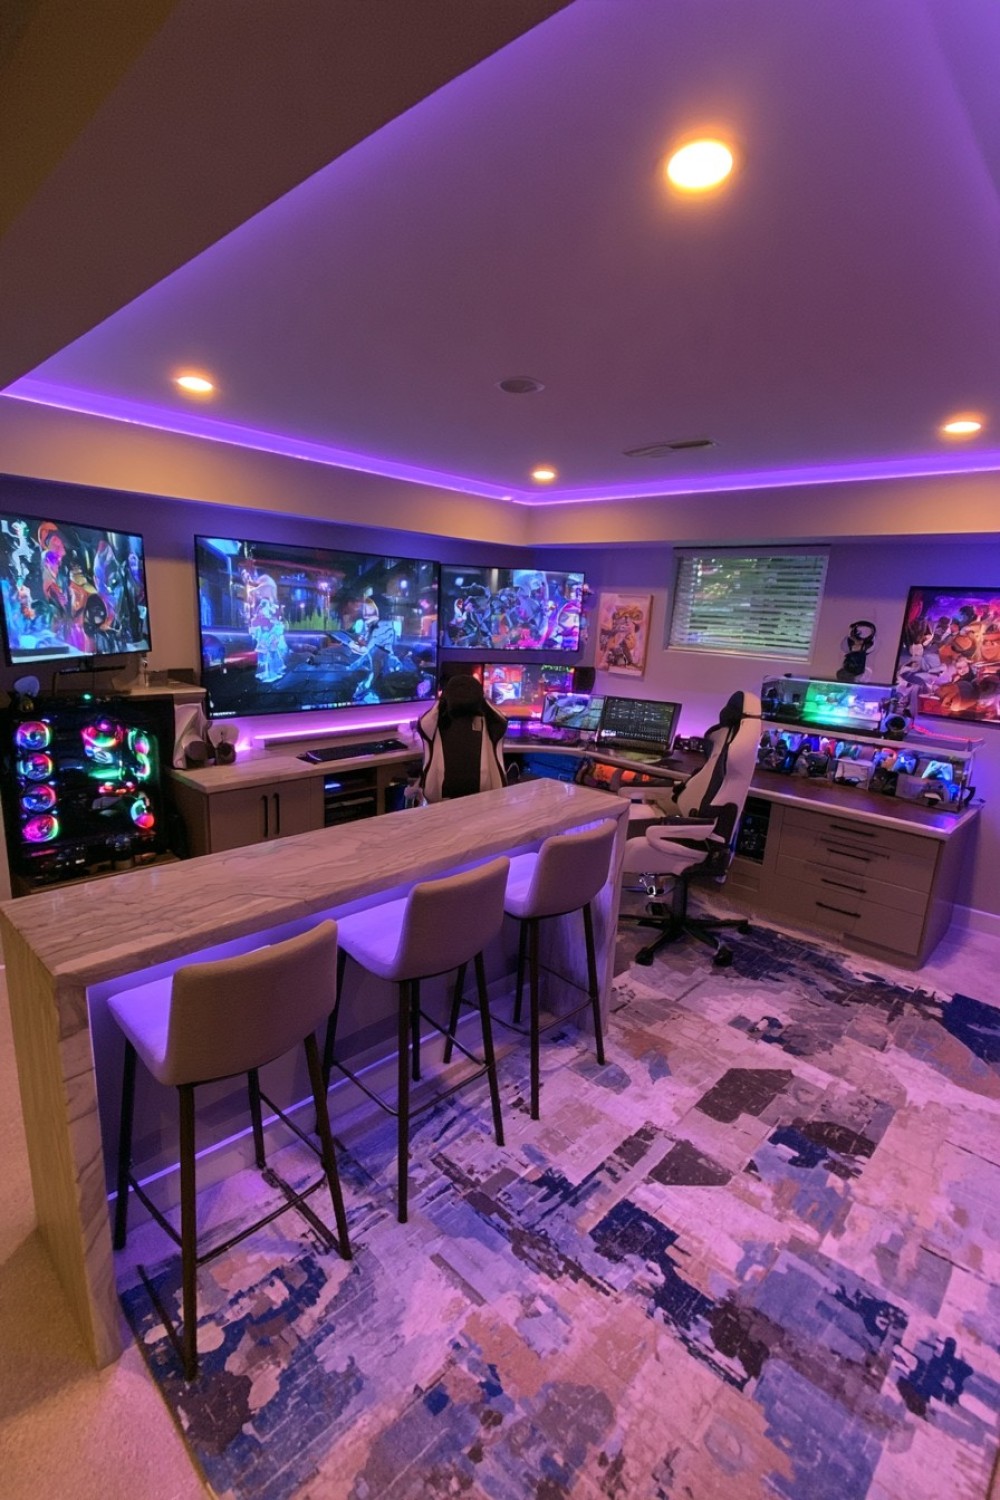
A narrow counter behind the primary seating can accommodate snacks, scorekeeping, board games, or spectators during multiplayer sessions. Choose a height that preserves a view of the screen without requiring an oversized structure. Stools that tuck underneath keep the floor open when the counter is not in use. Closed storage can hold glasses, napkins, and tabletop accessories.
Maintain adequate clearance behind seated players and keep food and drinks separated from electronic equipment. Stools require stable bases and should not obstruct exits when occupied. If a small refrigerator is included, provide manufacturer-specified ventilation and a suitable electrical connection. A counter with rounded corners is safer in a narrow room where people frequently move between seating zones.
14. Create a Refined VR Zone With Concealed Storage
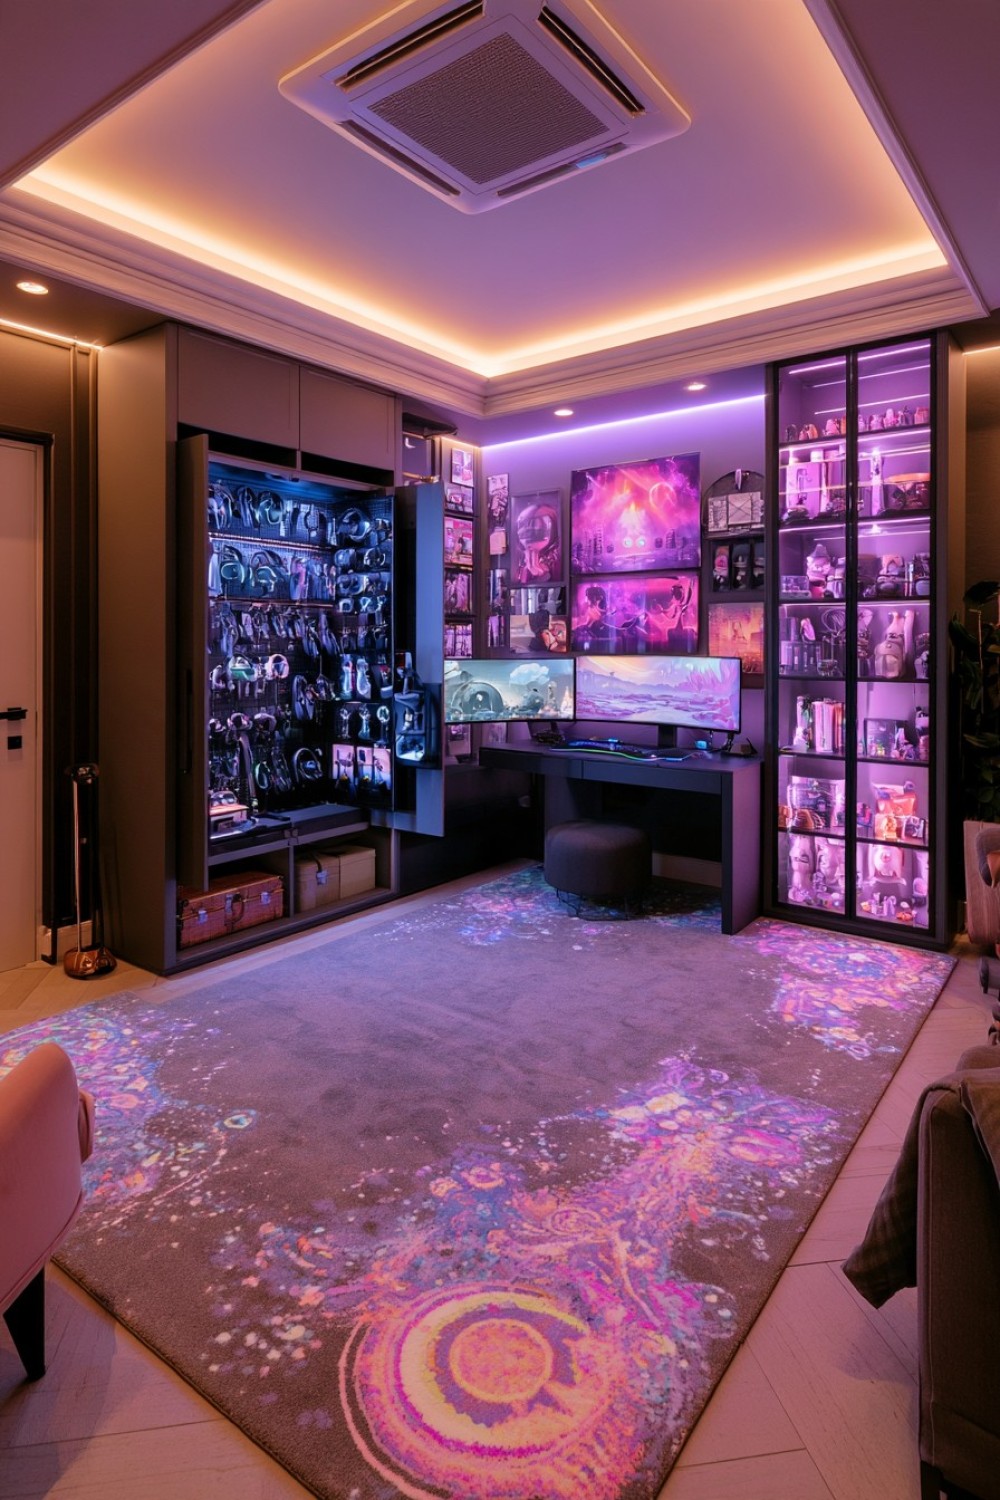
A dedicated virtual reality zone should begin with open floor space rather than decorative features. Keep the headset, controllers, charging equipment, and cleaning supplies in a ventilated cabinet near the play area. A plain wall treatment and visually quiet flooring make the zone easier to inspect before use. Movable furniture allows the space to return to other activities when VR equipment is stored.
Follow the equipment manufacturer’s recommended play-area dimensions and boundary settings. Remove low tables, rugs, ceiling hazards, fragile objects, and loose cables before every session. The user should remain away from stairs, doors, glass, and other people. Clean shared headsets appropriately, supervise younger users, and allow breaks according to product guidance. Never assume a digital boundary can replace a physically safe room.
15. Combine a Home Office and Gaming Room Without Clutter
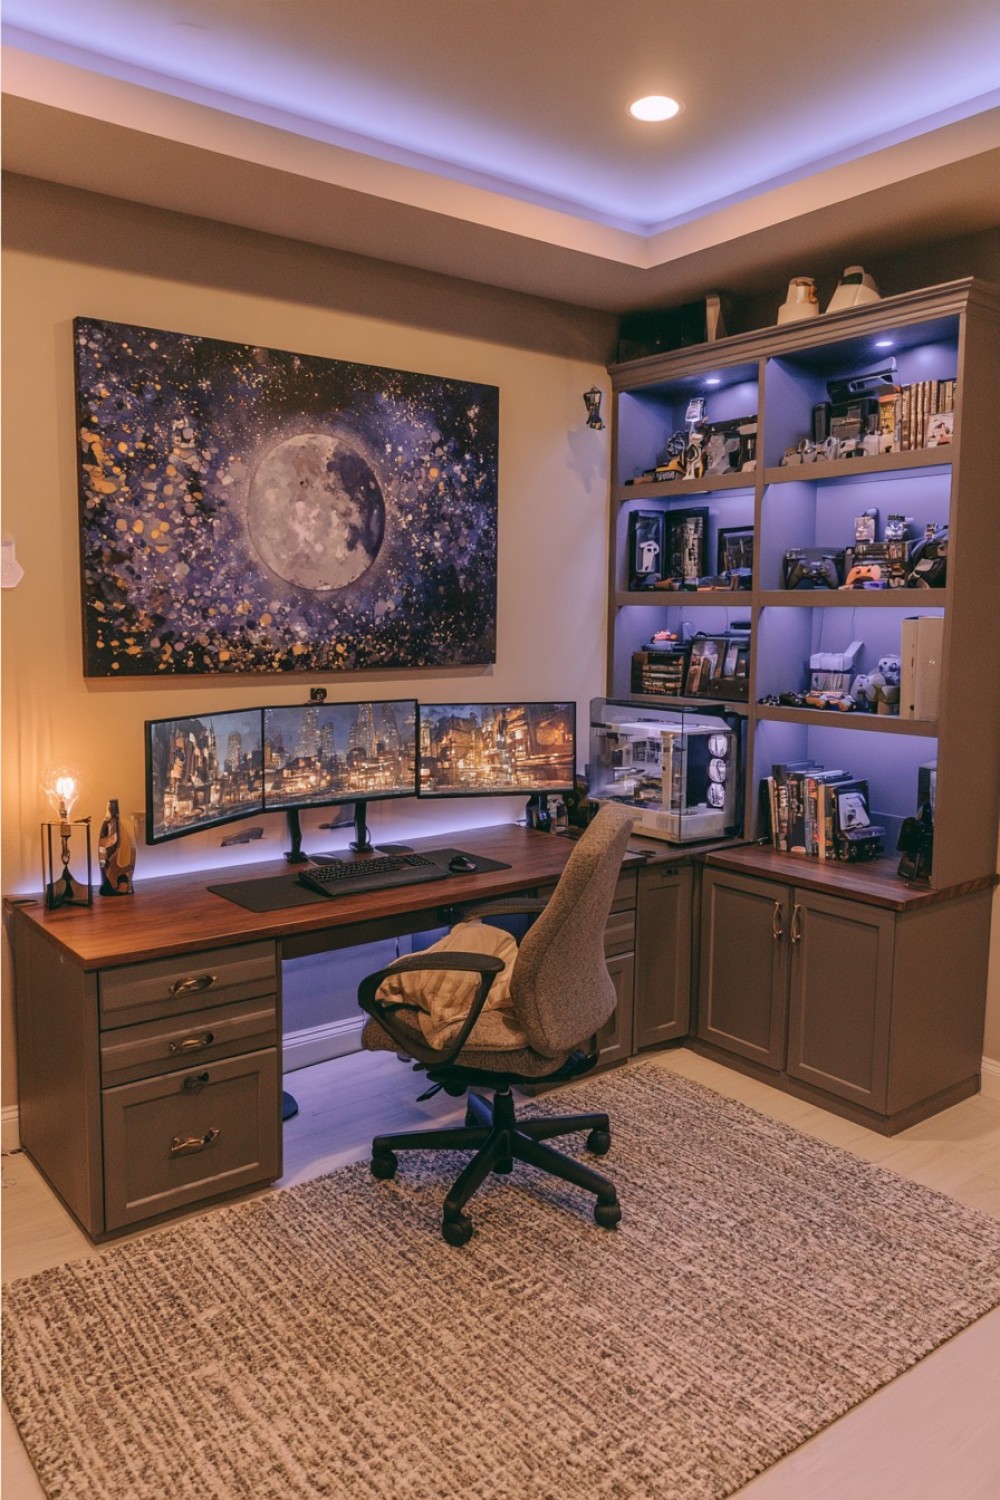
A combined office and gaming room can share the same desk when the monitor position, chair, and lighting support both activities. Use drawers or closed cabinets to separate work documents from controllers and gaming accessories. A monitor arm can release desk space and allow screen positioning to change between tasks. Keeping permanent decorative elements restrained helps the room transition visually at the end of the workday.
Select an ergonomic chair for extended sitting and adjust the desk, monitor, keyboard, and mouse to the user rather than following appearance alone. Provide task lighting for paperwork without creating screen glare. Route power and data cables separately where required and avoid daisy-chaining extension leads. A brief shutdown and storage routine can create a clearer boundary between working hours and recreation.
16. Create an Art-Focused Gaming Room With One Statement Wall
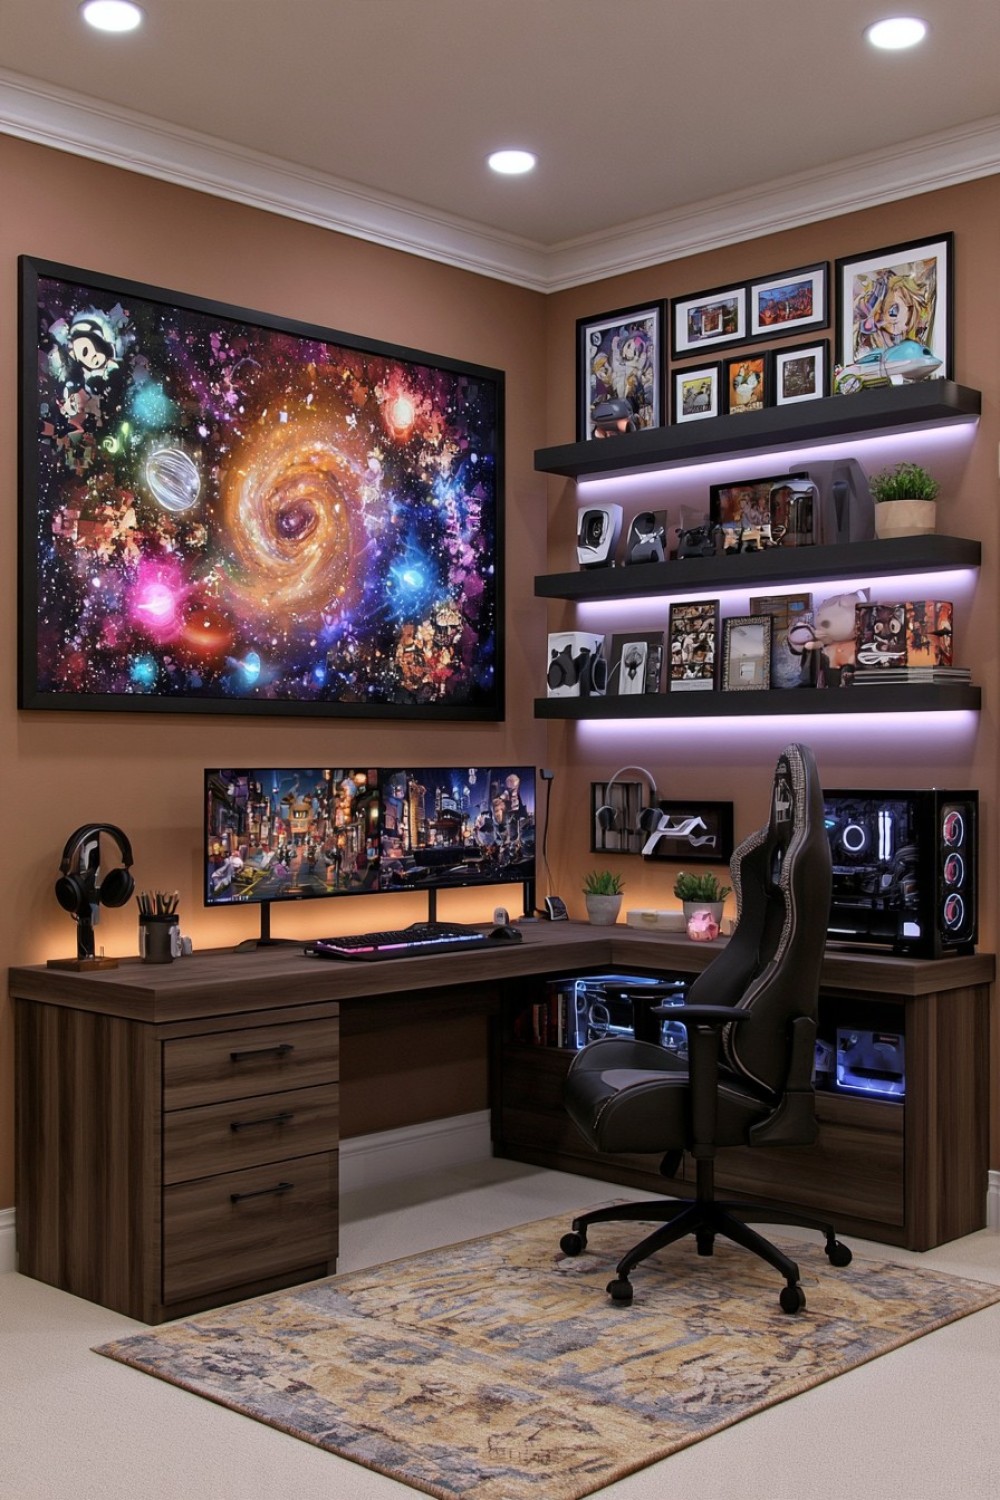
One statement wall can give a gaming room identity without covering every surface with themed objects. Use a single large artwork, framed print arrangement, sculptural panel, or restrained mural behind a seating area. Choose colors that connect with the furniture and equipment. Keeping the desk wall quieter may reduce visual distraction and reflections around the monitors.
Mount heavy artwork with hardware suited to its weight and the wall construction. Glass-fronted pieces should not hang where a moving chair or VR user could strike them. Confirm usage rights when printing game-related artwork or commercial designs. If the room may change purpose later, removable panels or properly framed artwork offer more flexibility than a permanent highly specific mural.
17. Divide a Private Entertainment Room Into Gaming and Movie Zones
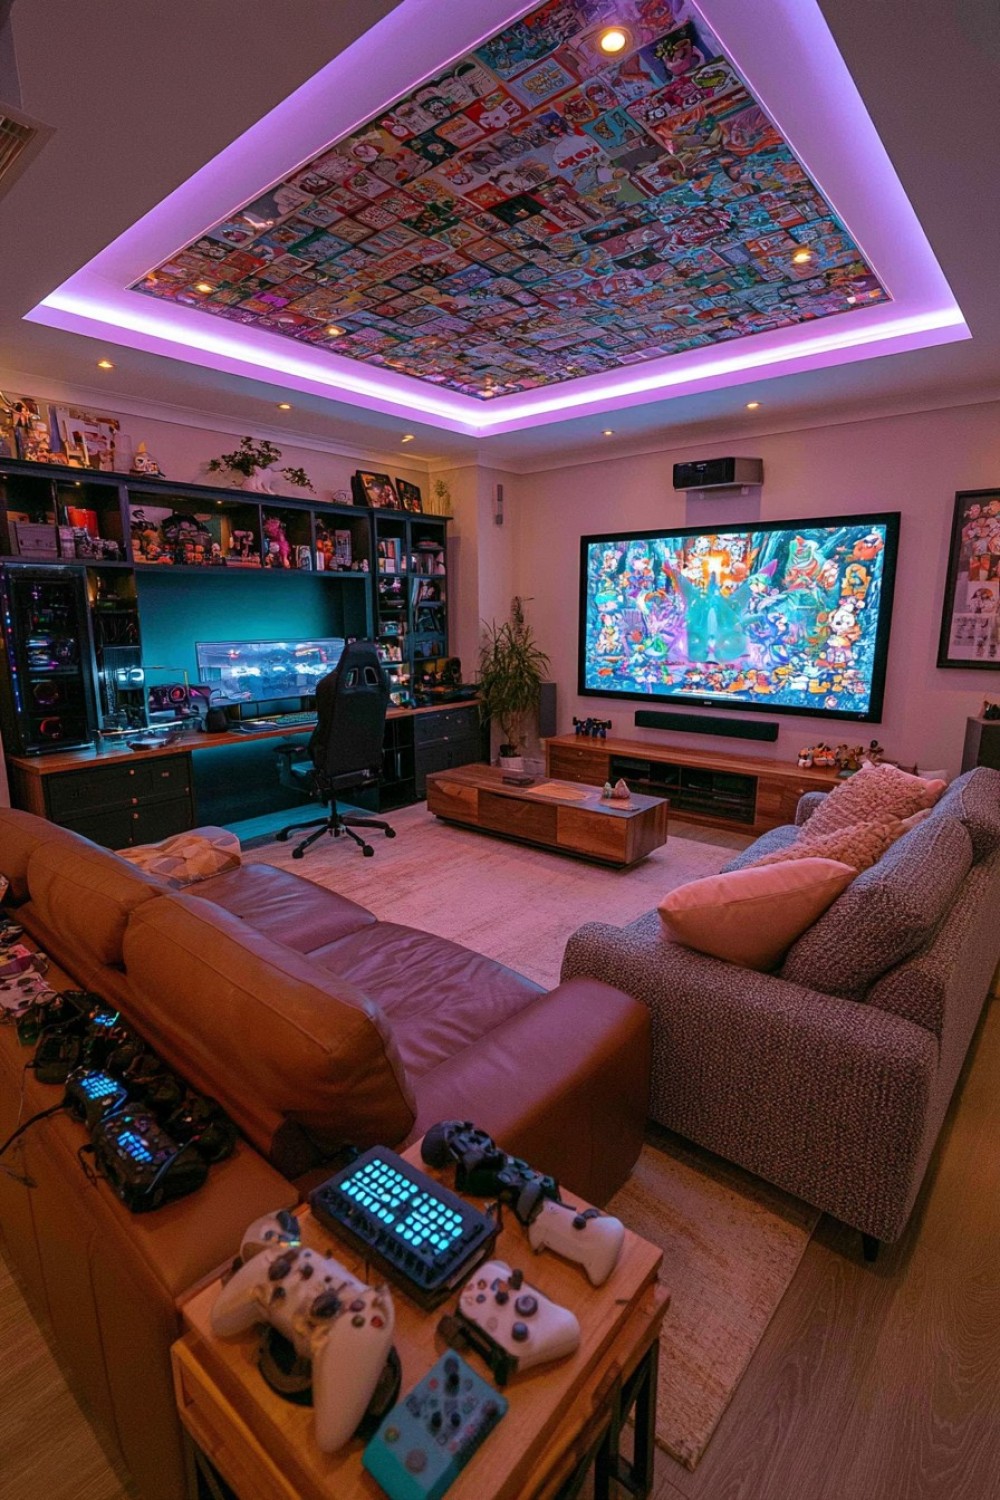
A larger room can support separate desk gaming and movie-viewing areas when each zone has a clear circulation path. Position computer screens away from the television to reduce competing reflections and light. A sofa, low media unit, and area rug can define the movie section, while the desk and storage wall establish the gaming area. Shared closed storage keeps controllers, films, cables, and accessories organized.
Plan speaker placement, ventilation, electrical capacity, and internet connections before fixing furniture. Maintain clear access to doors, windows, alarms, and heating equipment. Seating should not force viewers to turn sharply toward either screen, and volume levels should account for adjoining rooms. A lighting system with separate controls for the desk, movie area, and general circulation makes the multifunctional layout more comfortable and safer to use.
MORE IDEAS


Share
What's Your Reaction?
 Like
0
Like
0
 Dislike
0
Dislike
0
 Love
0
Love
0
 Funny
0
Funny
0
 Angry
0
Angry
0
 Sad
0
Sad
0
 Wow
0
Wow
0