
This easy red paper snail craft turns a few pieces of cardstock into a colorful three dimensional character that children can make with simple cutting, rolling, and gluing techniques. The design uses one long red paper strip for the body and spiral shell, cream eye stalks, large red and white eyes, pink cheeks, white shell spots, and a bright green leaf base.
The rolled shell is the most interesting part of the project. Instead of attaching a separate flat circle, the red strip is curled inward to form several visible layers. The finished snail can stand upright on its leaf and works well for spring crafts, garden themed activities, classroom projects, or creative time at home.
Table of Contents
- Project Preview
- Materials You Will Need
- 1. Cut the Red Snail Strip
- 2. Cut a Notch for the Eye Stalks
- 3. Build the Oversized Eyes
- 4. Create the Snail's Face
- 5. Roll the Red Spiral Shell
- 6. Check the Coil and Prepare the White Spots
- 7. Cut a Large Green Leaf
- 8. Attach the Snail to the Leaf
- 9. Add Final Character Details
- Why This Paper Snail Works Well for Kids
- Safety Note
Project Preview
Materials You Will Need
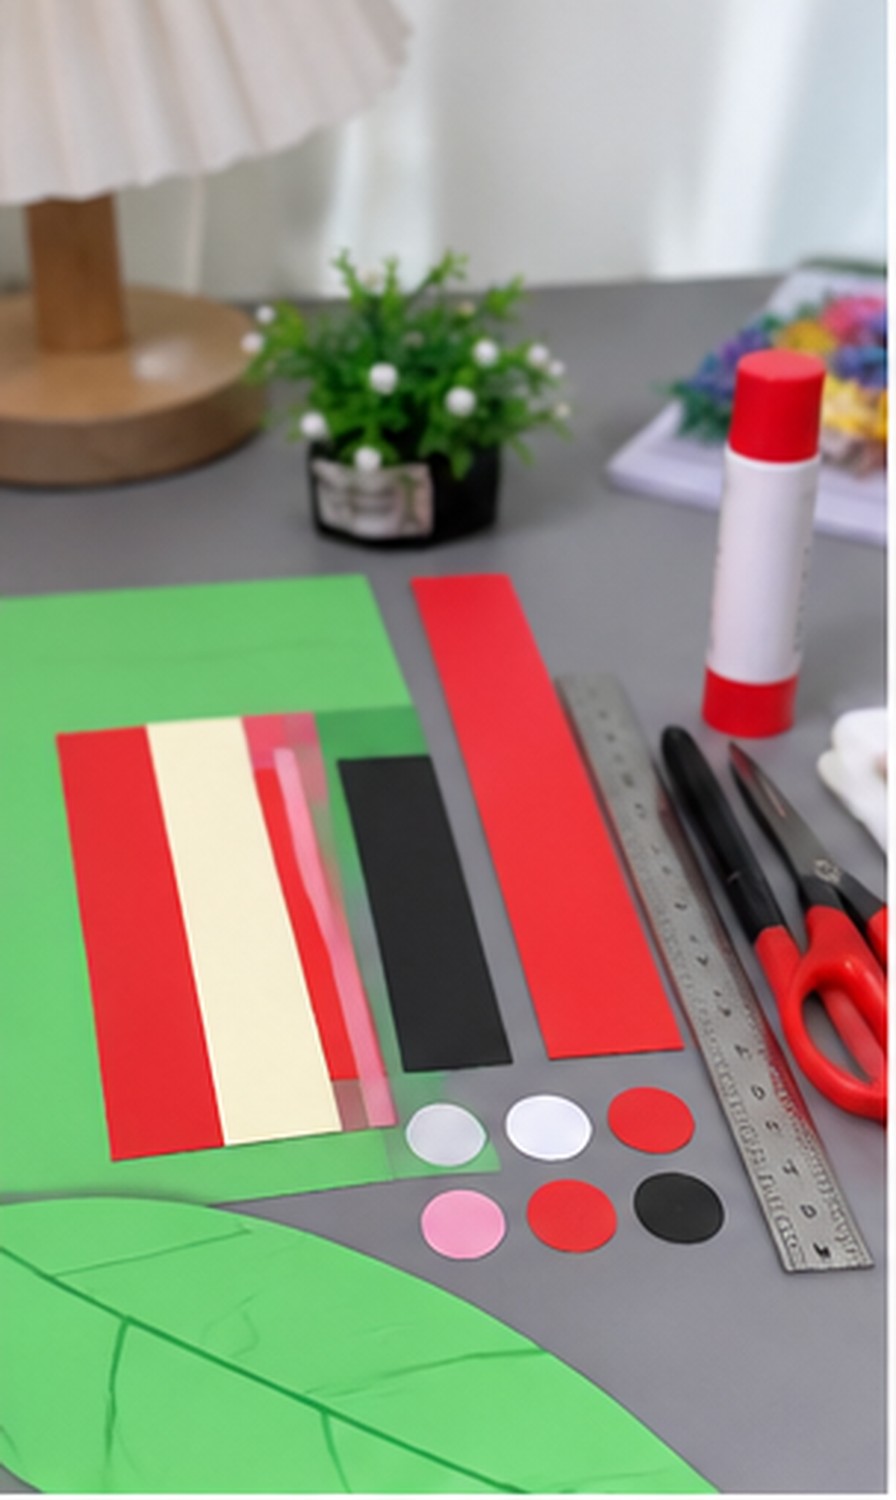
Prepare all of the pieces before beginning so children can move through the project without interrupting the assembly.
You will need:
- Red cardstock or sturdy red craft paper
- Green cardstock
- Cream or light beige cardstock
- White cardstock
- Small pieces of black cardstock
- Pink cardstock
- Glue stick
- Child safe scissors
- Pencil
- Ruler
- Black marker
- Dark green marker
For the main snail body, prepare a red strip approximately 5 cm wide and 28 to 30 cm long. The cream paper will become the two eye stalks. White, red, and black circles will be layered to make the oversized eyes.
Keep another piece of green cardstock uncut for the leaf base. It is easier to shape the leaf later after the snail's approximate size is known.
1. Cut the Red Snail Strip
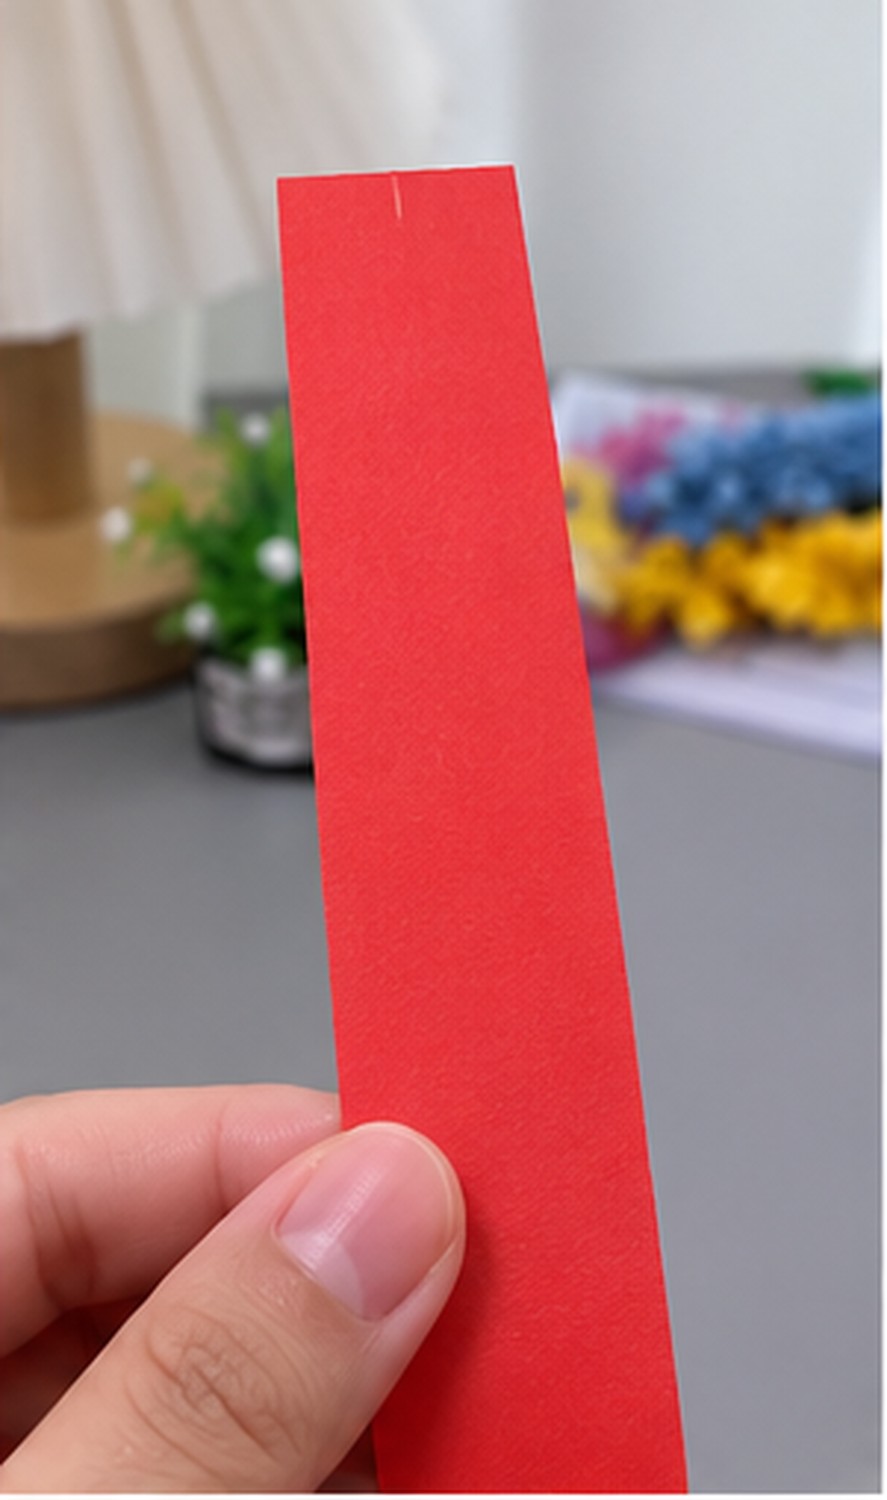
Start with a piece of red cardstock and use a ruler to mark a long rectangular strip approximately 5 cm wide.
Cut along the lines carefully so both long sides remain straight. A strip around 28 to 30 cm long provides enough paper for a visible spiral without making the finished snail unnecessarily large.
This one piece of paper will form most of the project, including the upright head, curved body, and spiral shell.
Place the strip vertically on the work surface. Reserve approximately 8 to 10 cm at the upper end for the head. The remaining lower portion will eventually be rolled inward.
Avoid folding the strip at this stage. The paper should remain smooth because hard creases can make the shell look angular instead of rounded.
2. Cut a Notch for the Eye Stalks
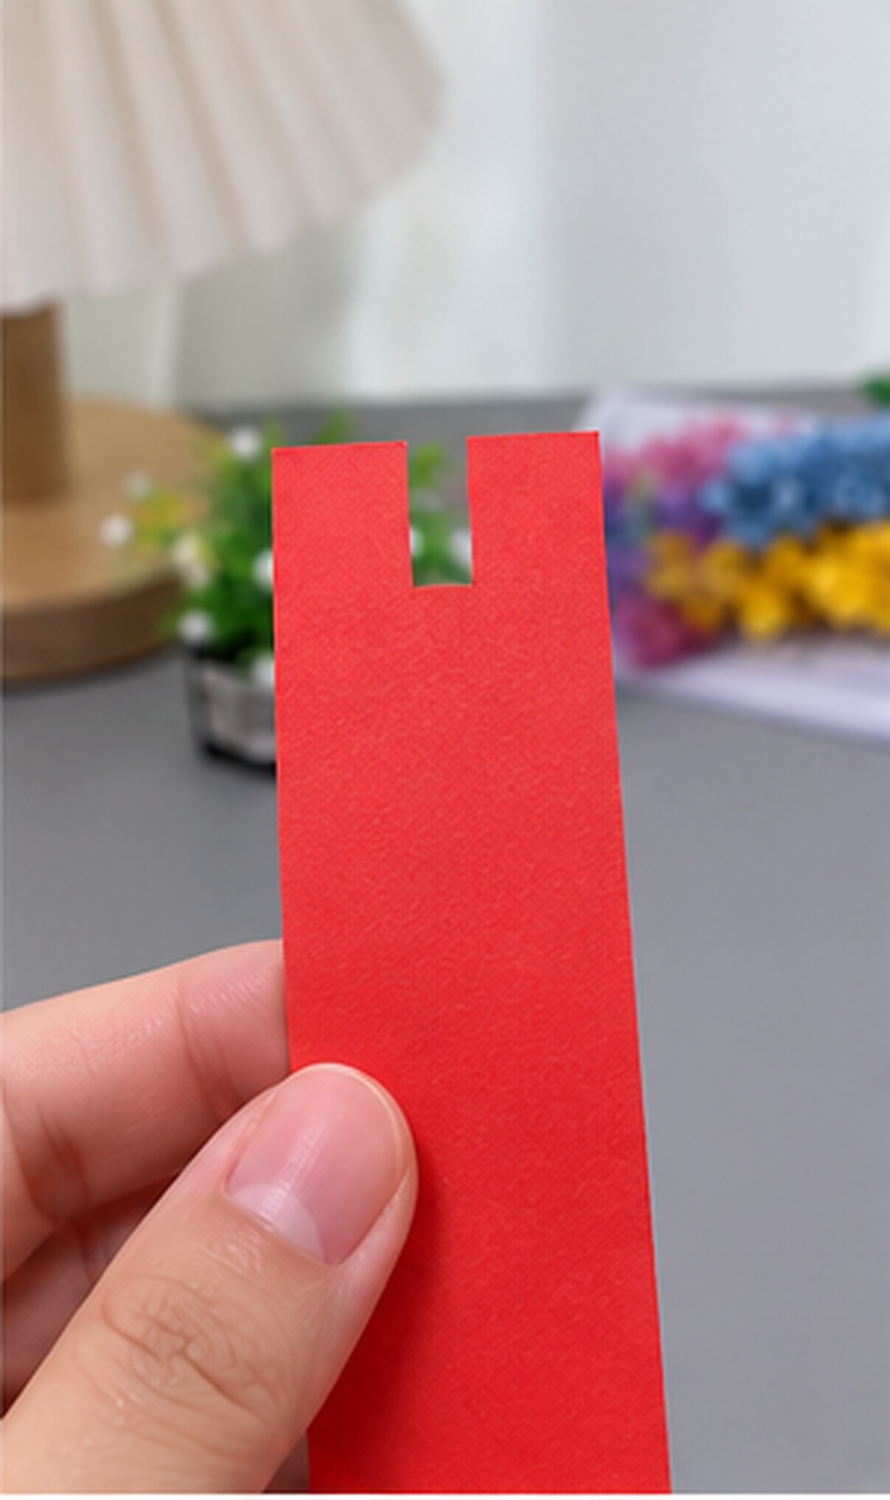
Mark a small rectangular notch in the center of the strip’s top edge. Leave a sturdy red section on each side.
Cut down each side of the marked rectangle, then across its base to remove the small piece. An adult can prepare this cut for younger children.
Make the notch wide enough to position both narrow cream eye stalks side by side. Keep the red strip below it intact so the stalks have a surface for gluing.
3. Build the Oversized Eyes
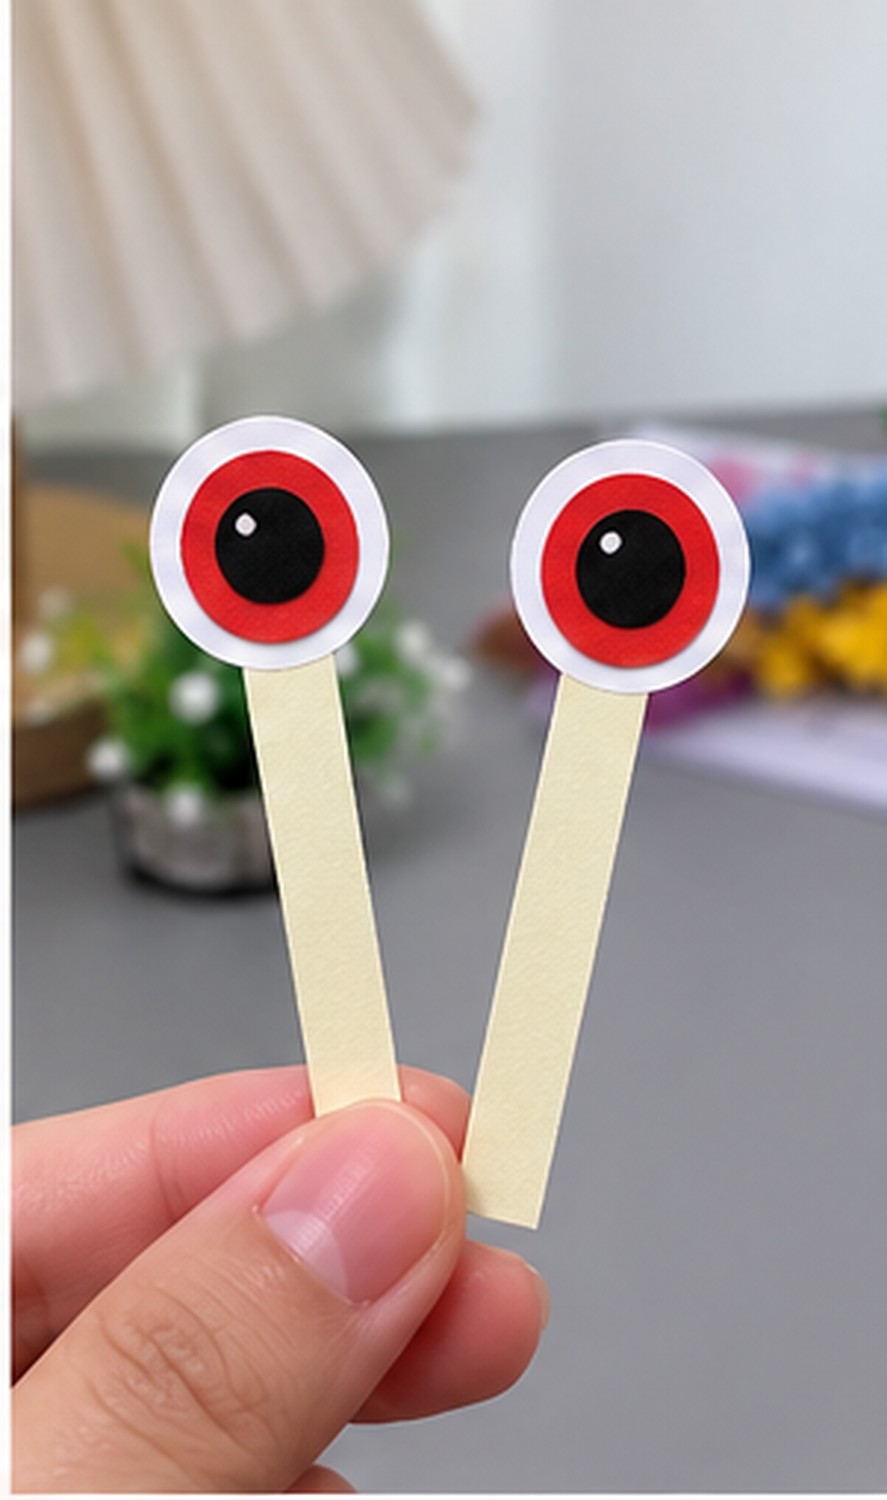
Cut two narrow cream cardstock strips approximately 0.8 to 1 cm wide and about 4 to 5 cm long.
These pieces will become the eye stalks.
For each eye, prepare:
- One large white circle
- One slightly smaller red circle
- One black pupil
- One tiny white highlight
Glue the red circle in the center of the white circle. Add the black pupil over the red layer, then place a small white dot near the upper edge of the pupil.
Repeat the process for the second eye.
Glue each completed eye onto the upper end of a cream strip. Allow the pieces to set briefly before attaching them to the body.
Using the same red tone found in the body keeps the eyes visually connected to the rest of the snail.
4. Create the Snail's Face
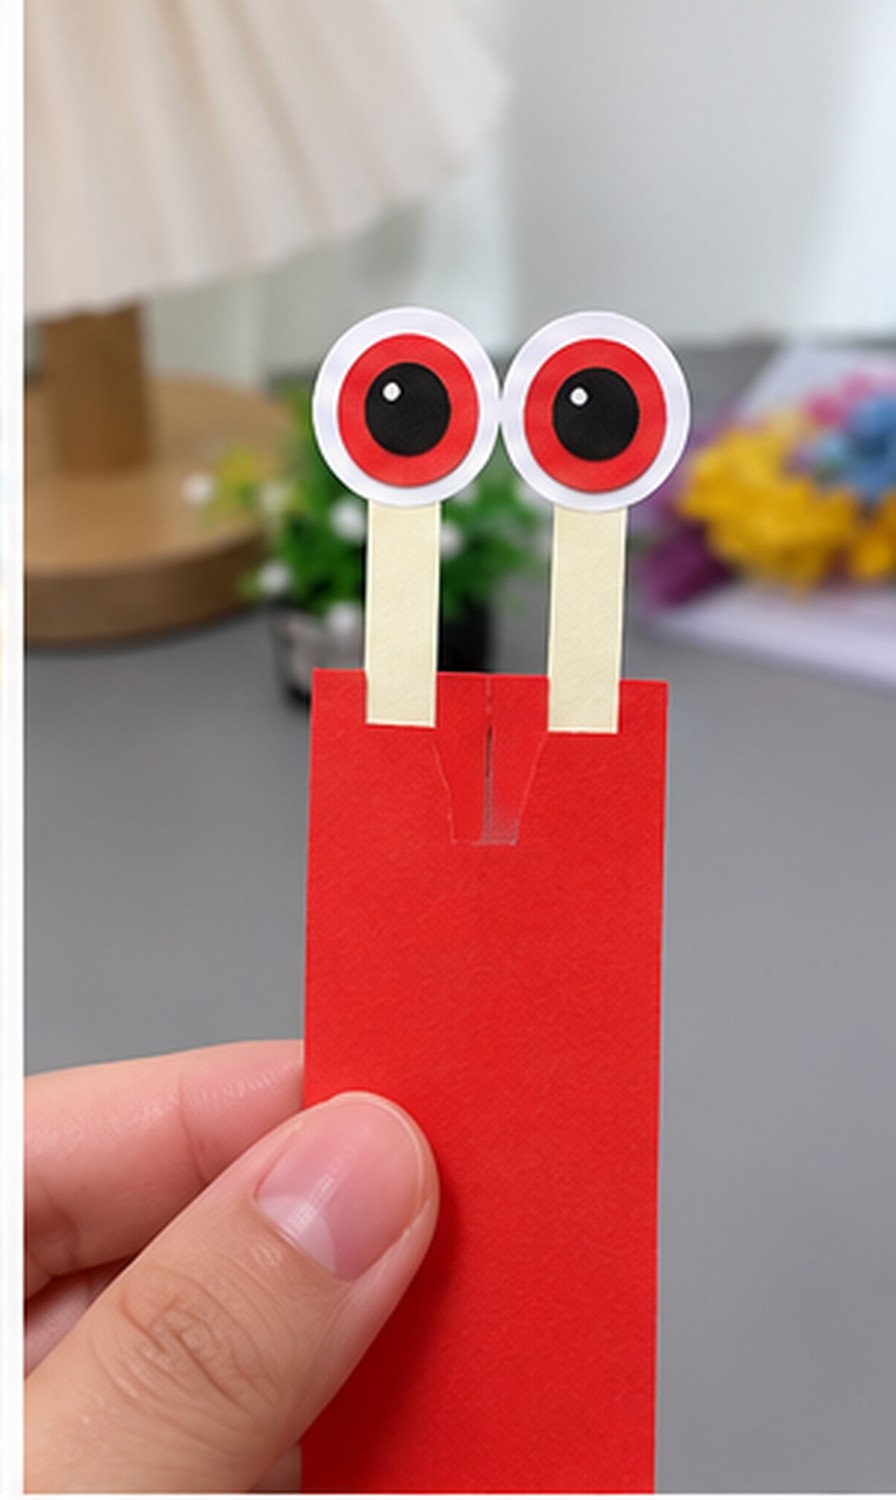
Place both cream eye stalks behind the central notch, with the eyes projecting above the red body.
Adjust them until both eyes sit at approximately the same height. The stalks can angle very slightly outward to give the snail a friendlier expression.
Secure the bottom of each stalk to the back of the red cardstock with glue.
Cut two small pink circles for the cheeks and place them on the front of the head. Leave enough space between them for a smile.
Using a black marker, draw a simple curved mouth between the cheeks.
Keep the facial details uncomplicated. The oversized eyes already create a strong focal point, so a small smile and two pink cheeks are enough to give the snail personality.
5. Roll the Red Spiral Shell
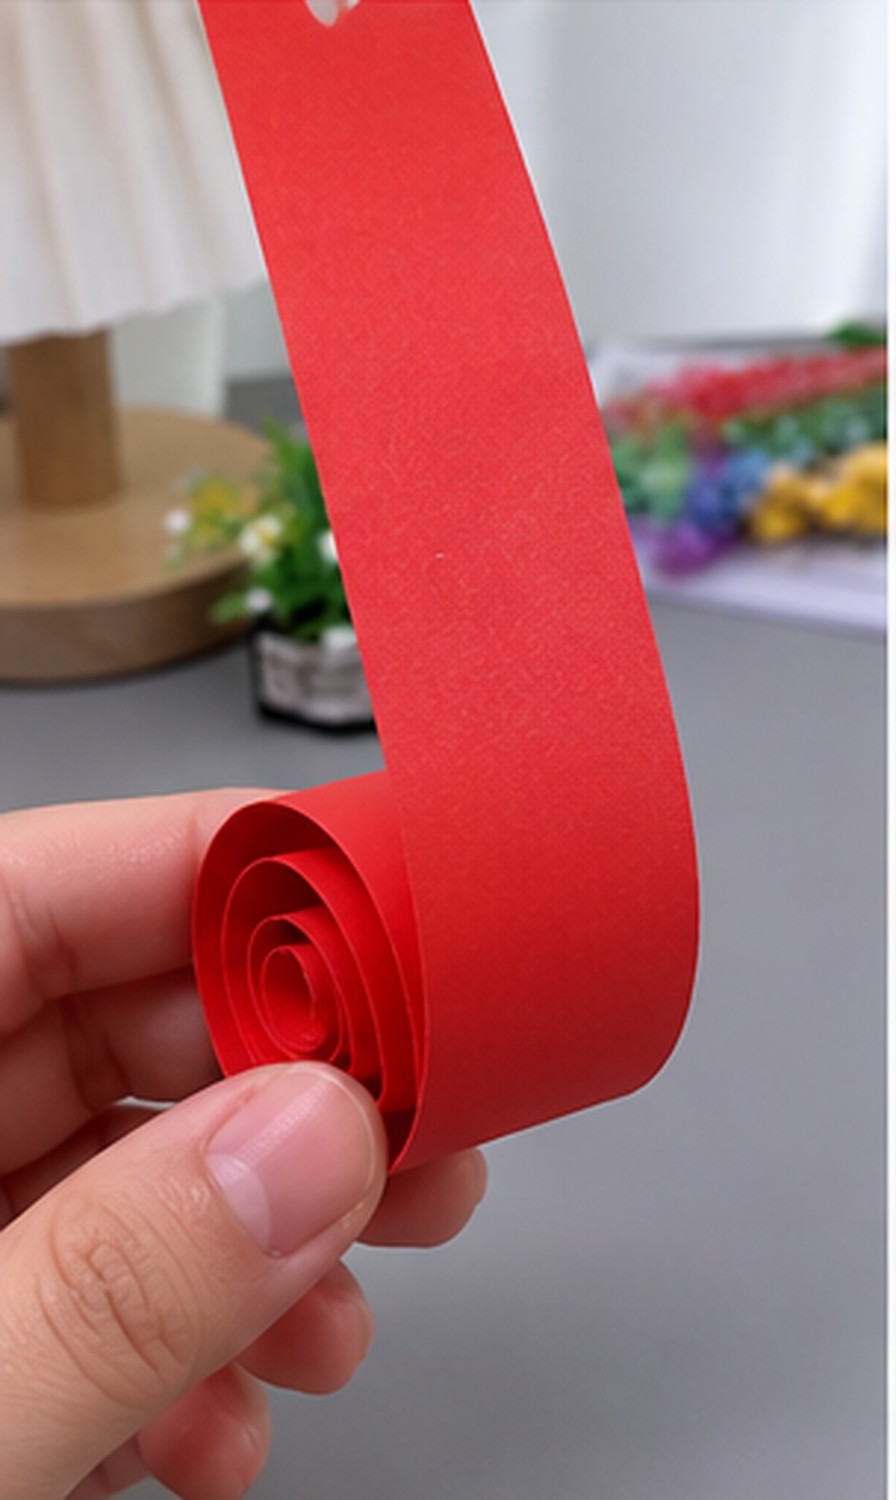
Once the face is complete, begin shaping the long remaining section of the red strip.
Start at the lower end and roll the paper inward using your fingers. Make the first turn fairly tight because this forms the center of the spiral.
Continue rolling while gradually allowing each new layer to become slightly larger than the previous one.
The finished coil should show several distinct concentric layers when viewed from the side. Do not compress the paper into a solid tube.
Continue rolling until the spiral reaches the lower portion of the upright head.
The red strip should now create one continuous form: the front section curves upward into the head while the back portion forms the large circular shell.
Adjust the coil with your fingers until it rests naturally on the table. Add a small amount of glue where necessary to keep the outer layer from opening.
6. Check the Coil and Prepare the White Spots
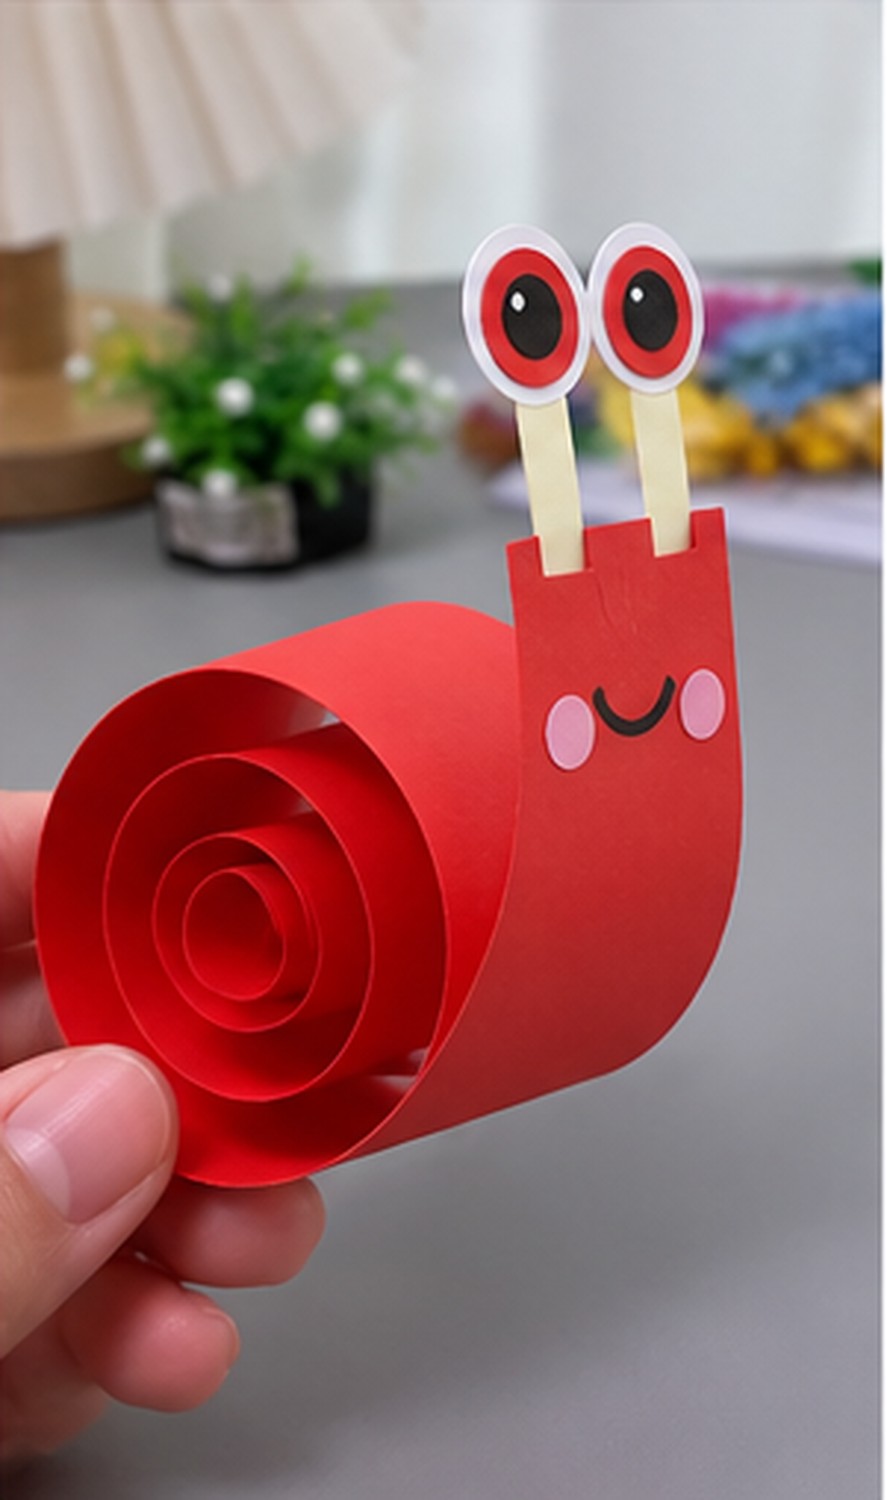
Check that the coil stays round and the head stands upright. Add a small dot of glue at the outer turn if it starts to unroll.
Cut a few white paper circles in different sizes and set them aside for the outer shell.
Leave the inner spiral visible; it gives the snail its layered shape. Add the spots when attaching the body to the leaf in step 8.
7. Cut a Large Green Leaf
Place the finished snail temporarily on a piece of green cardstock to estimate how large the base needs to be.
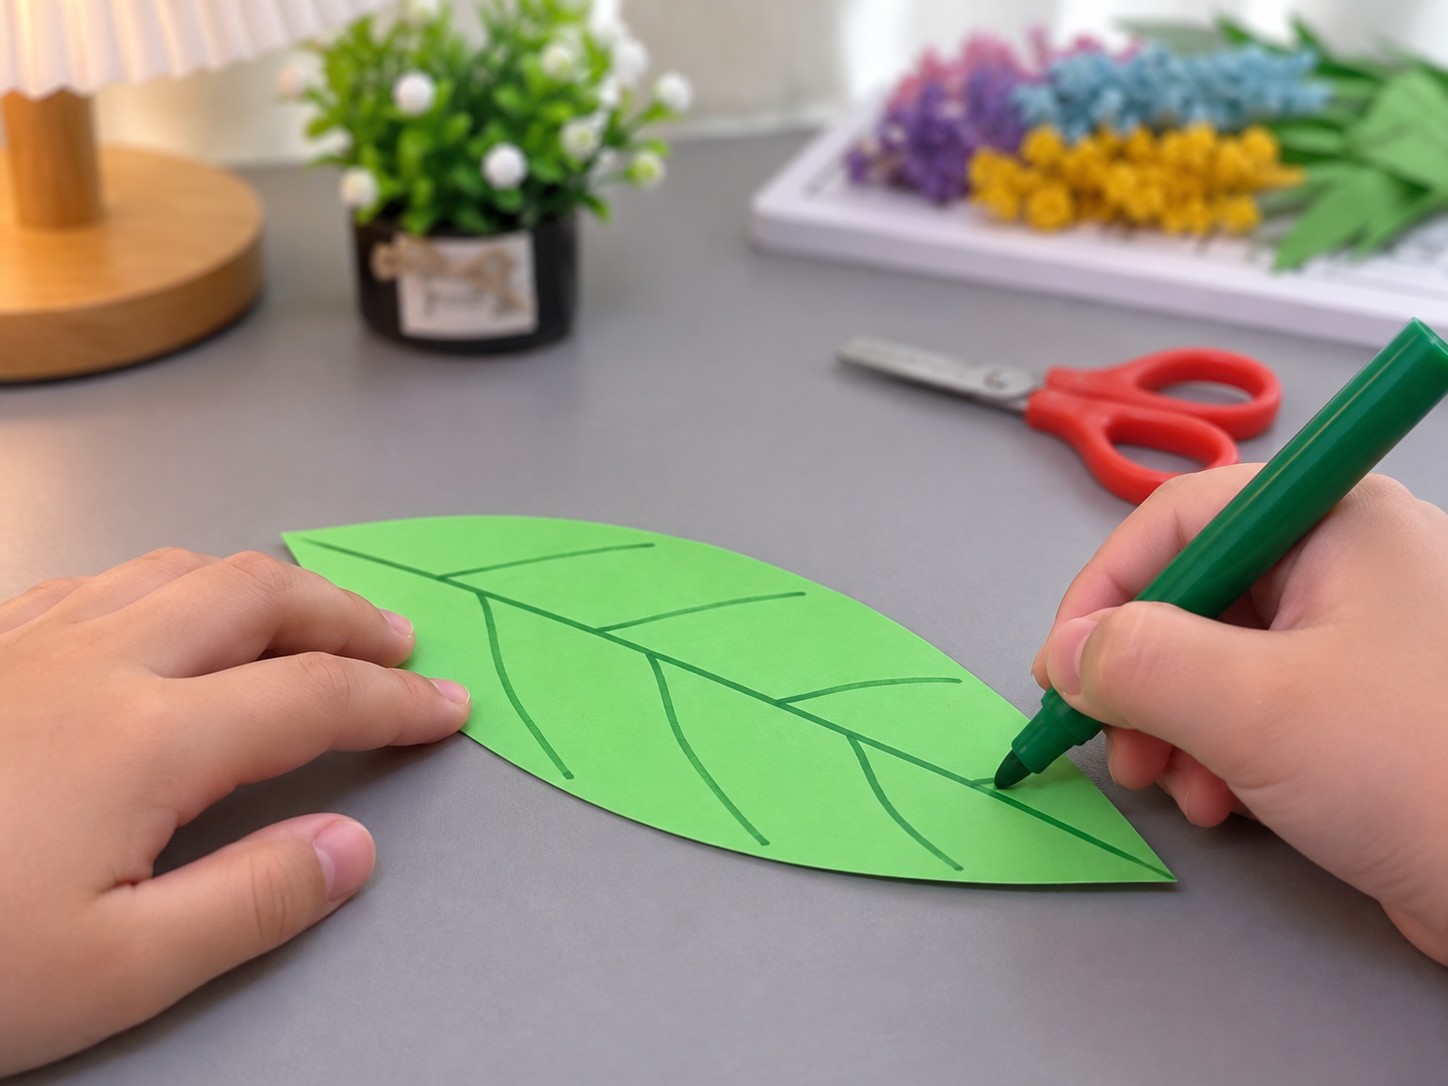
Draw a broad leaf shape approximately 15 to 18 cm long. Make the center wide enough to support both the spiral shell and the front of the snail.
Cut around the outline with scissors.
Use a dark green marker to draw one main vein from the base toward the pointed end. Add several smaller curved veins extending toward the sides.
The lines can remain slightly irregular. Hand drawn leaf veins fit the simple craft style better than perfectly symmetrical patterns.
Before gluing the snail down, place it on the leaf once more and make sure the entire figure sits comfortably inside the edges.
8. Attach the Snail to the Leaf
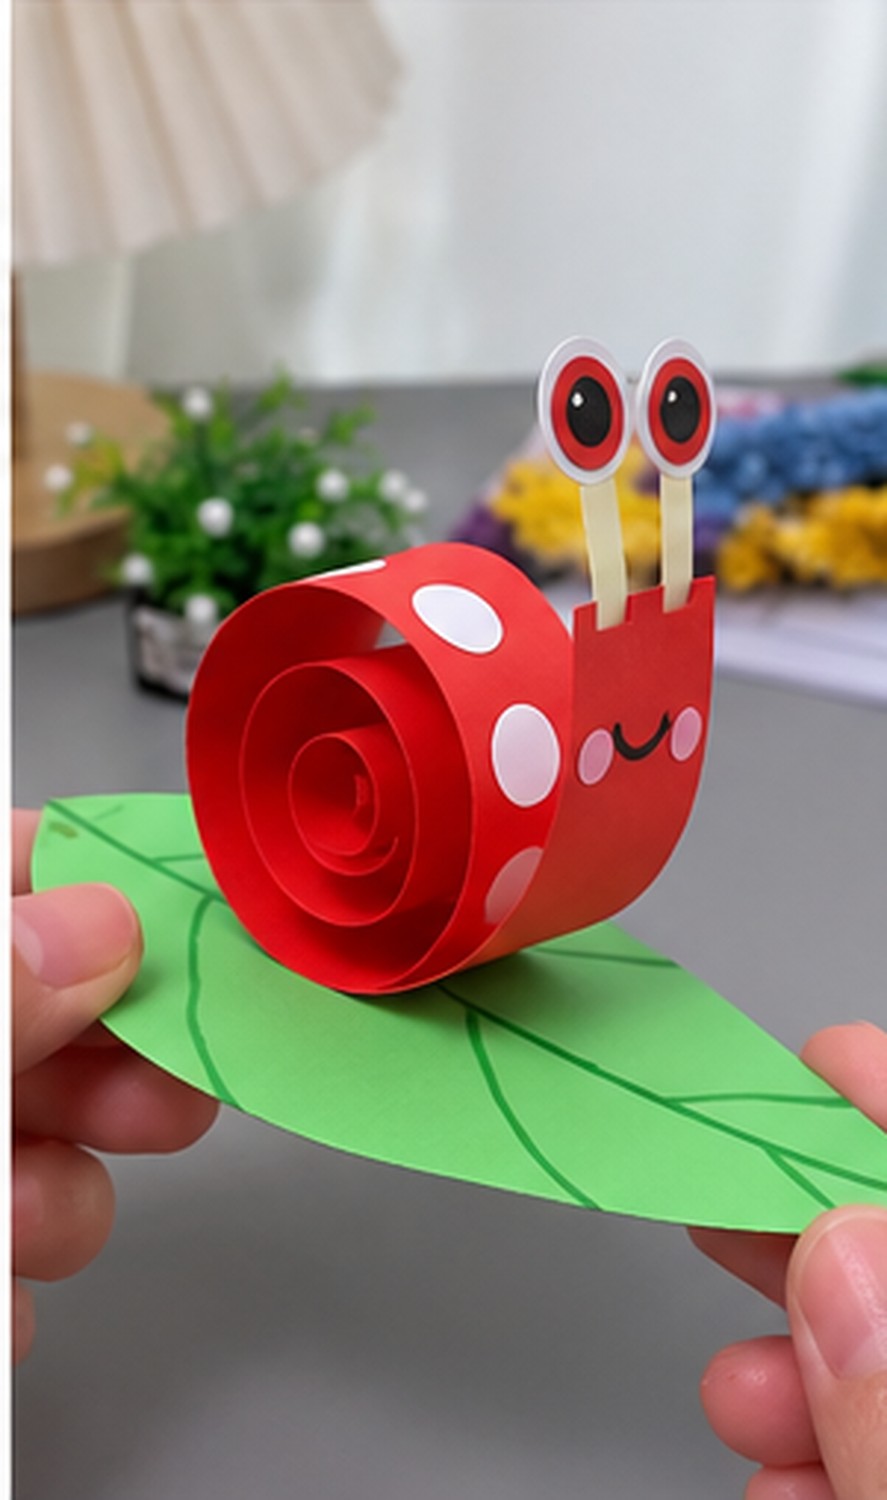
Glue the prepared white circles onto the outer red shell, pressing their edges against the curve. Then position the snail near the center of the green leaf.
The head should face forward while the spiral shell remains upright behind it. Leave some green cardstock visible around all sides of the snail so the leaf reads clearly as a separate base.
Apply glue to the underside of the red body wherever it touches the green cardstock.
Press the snail gently onto the leaf. Avoid pushing against the spiral itself because excessive pressure can flatten the shell.
Hold the body in place for several seconds until the adhesive begins to grip.
Check the project from the front and side. The eyes should remain upright, the shell should maintain its circular shape, and the leaf should lie reasonably flat beneath the figure.
Allow the glue to dry before picking up the project.
9. Add Final Character Details
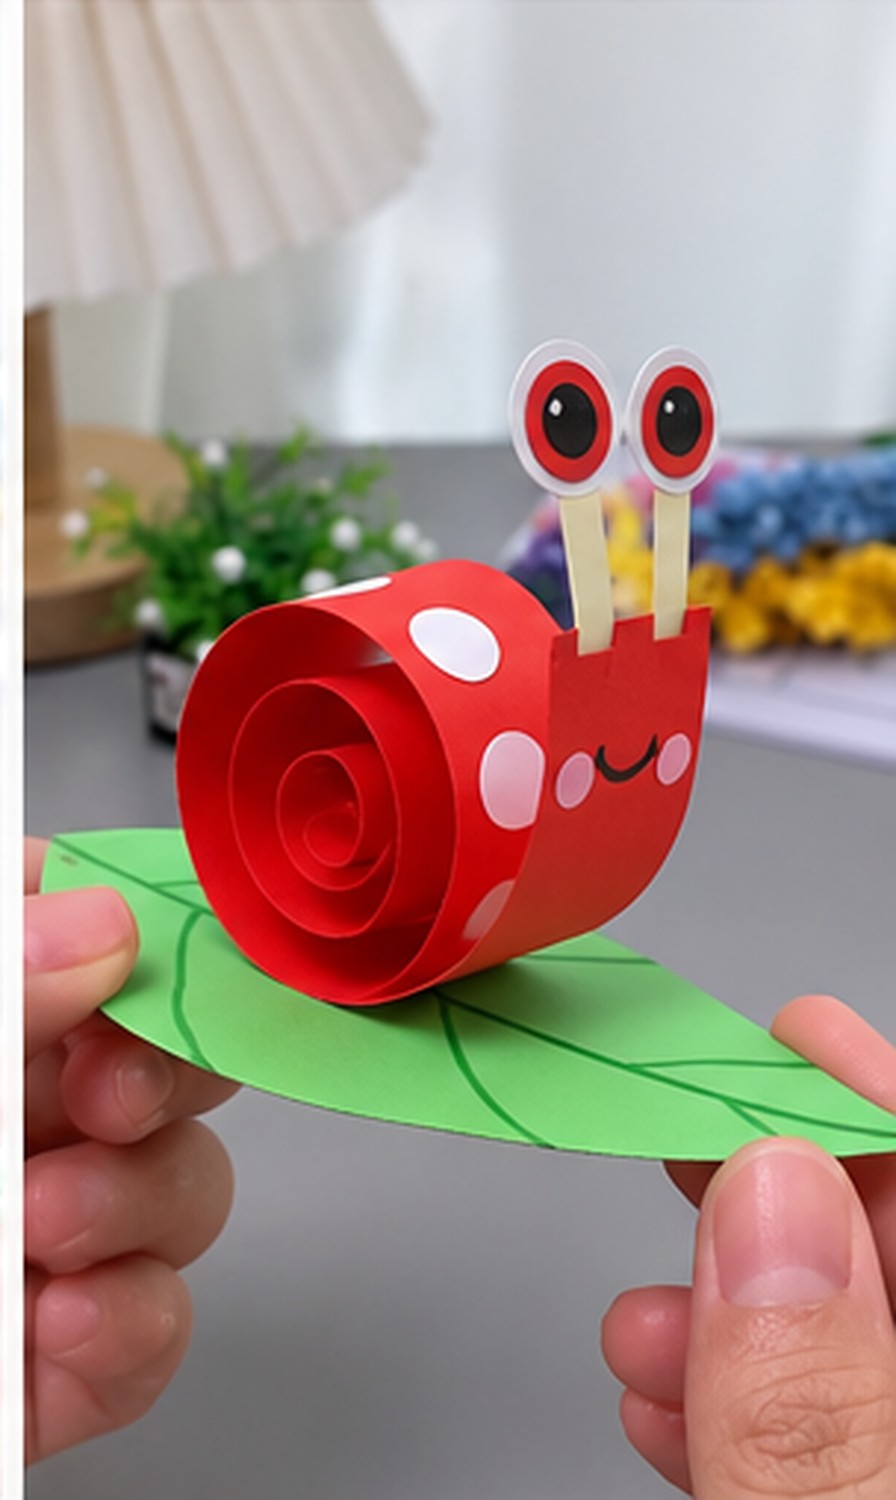
Inspect the completed snail and make any small adjustments needed to keep the design consistent.
Straighten the cream eye stalks if one has shifted. Check that both large eyes use the same white, red, black, and white highlight layers.
Make sure the pink cheeks remain firmly attached and that the black smile is clearly visible.
Look over the spiral shell and press down any loose white spots. The outer roll should stay rounded while the center of the coil remains clearly visible.
The finished craft should have:
- A bright red paper body
- A layered red spiral shell
- White shell spots
- Two cream eye stalks
- Oversized white and red eyes
- Black pupils with white highlights
- Pink cheeks
- A simple black smile
- A large green leaf base with dark green veins
Once the adhesive has completely dried, the project can be moved by holding the leaf underneath rather than lifting the snail by its eyes or shell.
Why This Paper Snail Works Well for Kids
This project introduces several basic craft techniques without requiring complicated materials. Children practice measuring a paper strip, making controlled cuts, layering small shapes, rolling cardstock into a three dimensional form, and combining several pieces into one finished character.
The spiral also demonstrates how a flat sheet of paper can change shape simply through rolling and tension. Children can see the individual layers while still recognizing the form as a snail shell.
Using one dominant red color keeps the construction visually clear, while the white spots, pink cheeks, large eyes, and green leaf provide enough contrast to make the finished piece lively.
For younger children, an adult can prepare the narrow eye openings and small circular pieces beforehand. Older children can measure, cut, and assemble most of the project independently. For a follow-up craft with a movable paper element, explore this paper cup dragon tutorial.
Safety Note
Adult supervision is recommended whenever children are using scissors, particularly while making the narrow eye stalk openings. Use child safe glue and age appropriate scissors. Small paper circles should be kept away from very young children who may put craft pieces in their mouths. Allow all glued sections to dry fully before the finished snail is handled or displayed.

Leave a Reply