16 Creative Upcycling Ideas for Old Pants

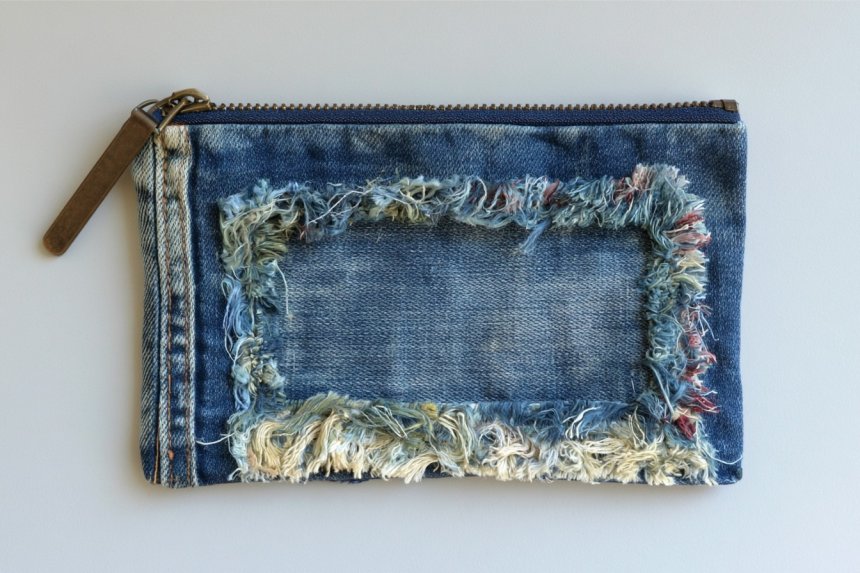
Old pants provide surprisingly versatile material for practical sewing projects, decorative accessories, and refreshed clothing. Denim offers strength, while corduroy, cotton, linen, and patterned trousers introduce distinctive texture and color. Before cutting, wash each garment, inspect worn areas, remove damaged fasteners, and decide which features deserve saving. Waistbands, pockets, seams, belt loops, cuffs, and zippers can become useful details rather than waste. A basic sewing machine helps with thicker cloth, although several projects can be hand stitched or adapted with fabric adhesive. These upcycling ideas encourage thoughtful making while producing personal items for everyday use, gifting, organizing, and home decoration.
1. Convertible Waistband Market Tote
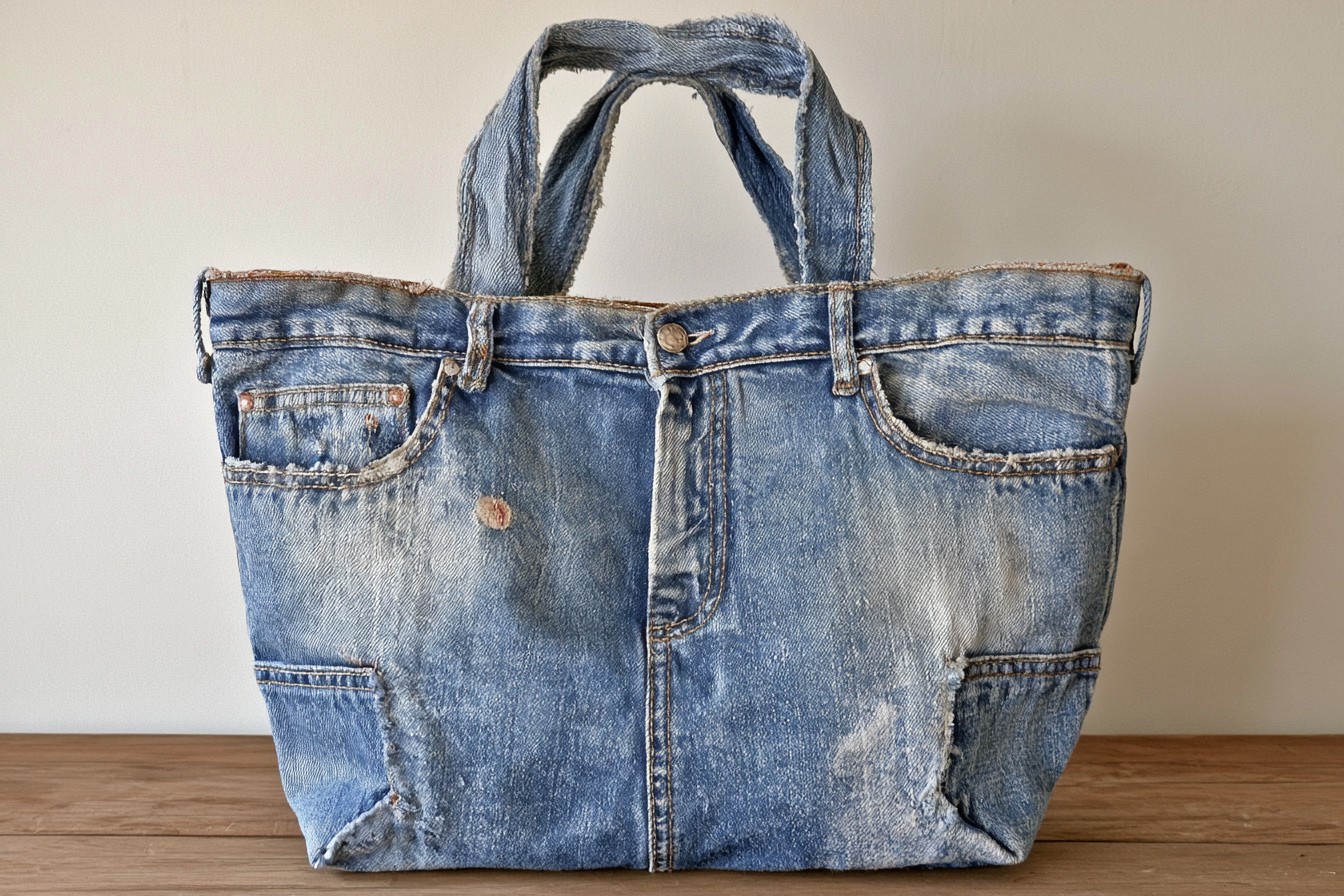
Transform sturdy jeans or chinos into a roomy market tote while keeping the original waistband and pockets visible. Cut straight across below the crotch, open the inner leg seams, and arrange the fabric into a rectangular body. Add matching panels from the legs if extra depth is needed. Stitch the lower edge twice, box the corners, and cover raw seams with cotton binding. Make handles from folded trouser legs or a contrasting webbing strap. Decorate the front with embroidery, fabric patches, or a preserved ticket pocket. A removable shoulder strap can turn the finished bag into a practical weekend carryall.
2. Wide Leg Wrap Skirt
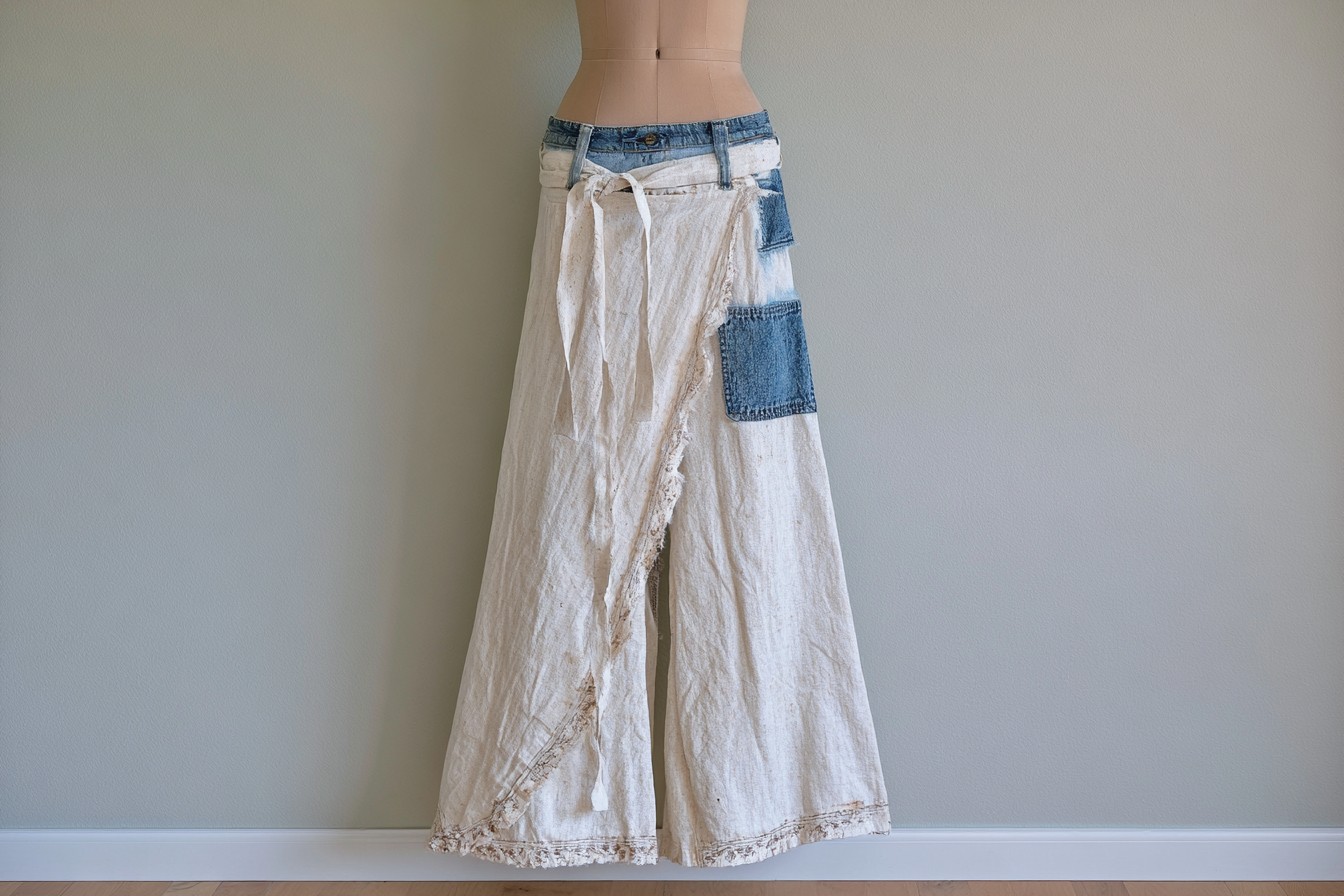
Give loose trousers a wearable second life by converting their legs into a wrap skirt. Open the inner seams and remove the damaged crotch section, then overlap the remaining panels until they provide suitable coverage. Use the original waistband where possible, or create ties from fabric cut along each leg. Finish exposed edges with narrow hems or bias binding. Add a contrasting patch pocket for keys and decorate the hem with simple embroidery, block printing, or fabric remnants. Test movement before final stitching. Lightweight linen and cotton pants work best, while heavy denim may need a stronger needle and machine.
3. Pocketed Gardening Apron
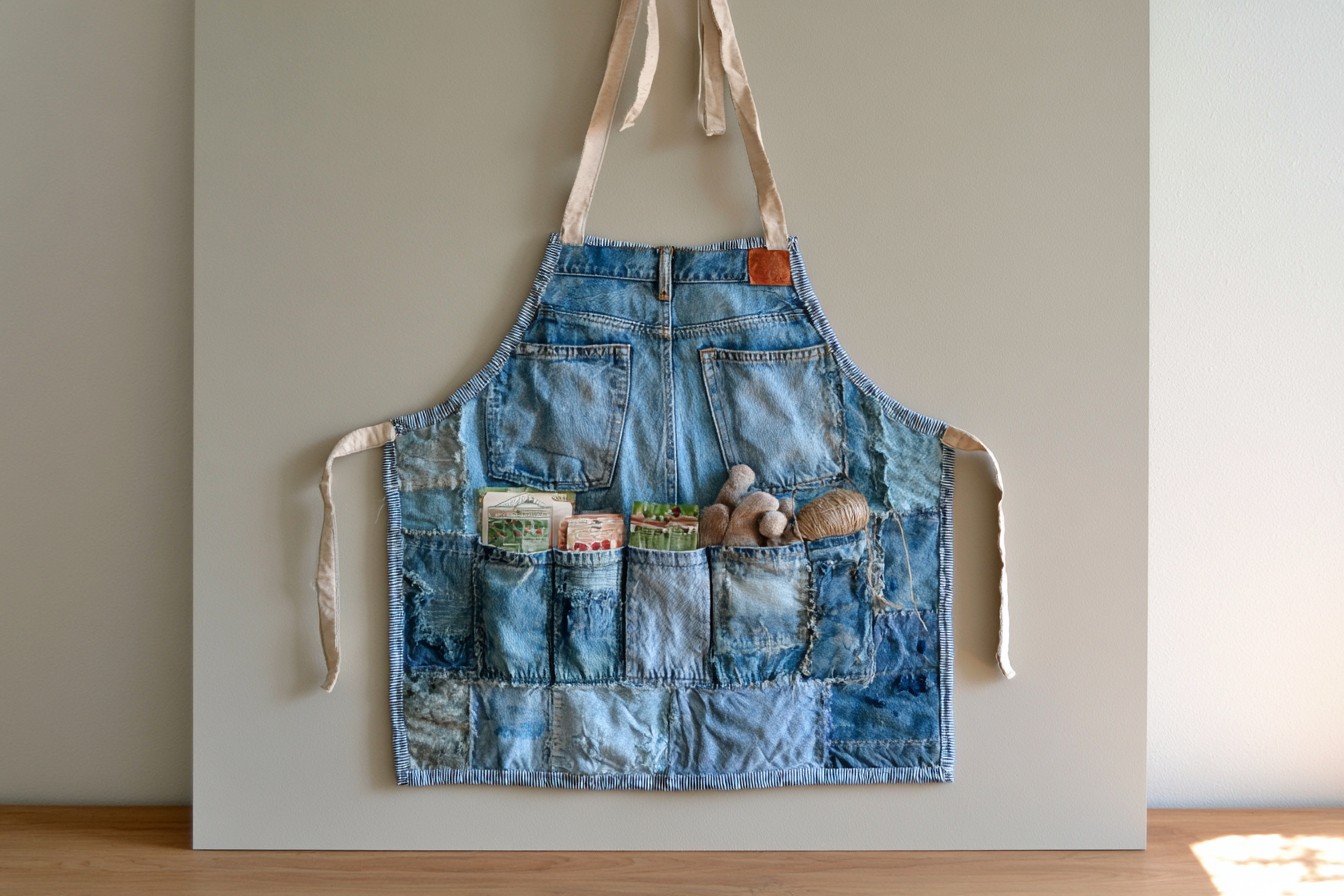
Use the upper section of old work pants to create a durable gardening apron with ready made storage. Cut around the waistband, back pockets, and enough fabric below them to protect clothing. Finish the curved lower edge with bias tape, then extend the waistband using cotton ties so it fastens comfortably. Reinforce pocket corners before filling them with seed packets, gloves, labels, or lightweight tools. Add narrow loops made from belt loops for twine and pruning shears. Decorate the apron with leaf shaped patches or contrasting topstitching. Wash soil away promptly, and never carry sharp tools without fitted protective covers.
4. Multi Pocket Wall Organizer
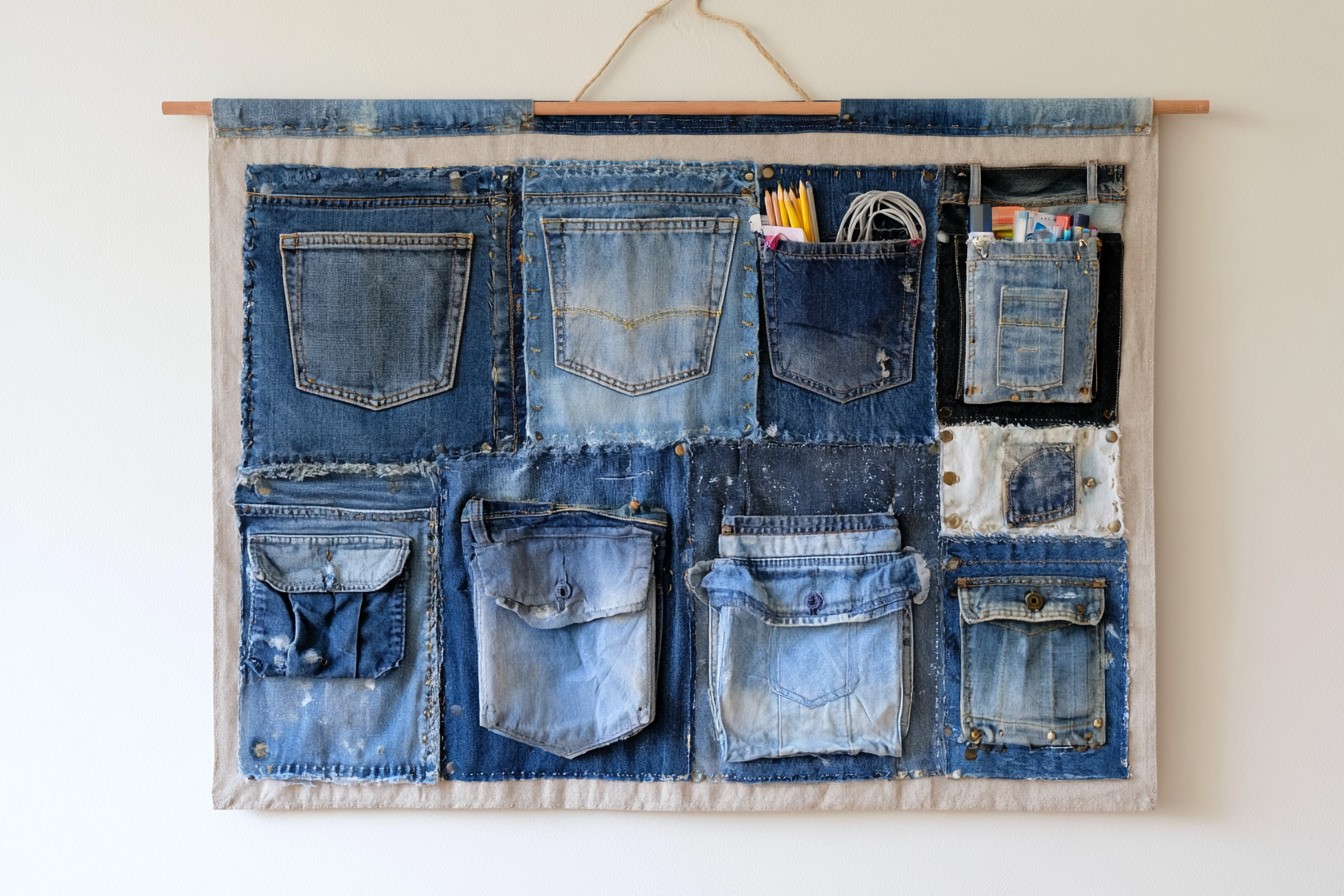
Collect pockets from several unwanted pants and arrange them across a strong fabric backing for flexible wall storage. Cut each pocket with a generous seam allowance, fold the raw edges underneath, and stitch around the sides and bottom while leaving the opening free. Mix cargo, coin, and back pockets to hold different items. Attach the backing to a wooden dowel with a sewn channel, then add a sturdy hanging cord. Decorate it with coordinated topstitching, appliqué shapes, or fabric labels. Use the organizer for art materials, gardening accessories, mail, or charging cables, keeping heavy and sharp objects elsewhere for safety.
5. Patchwork Reading Cushion
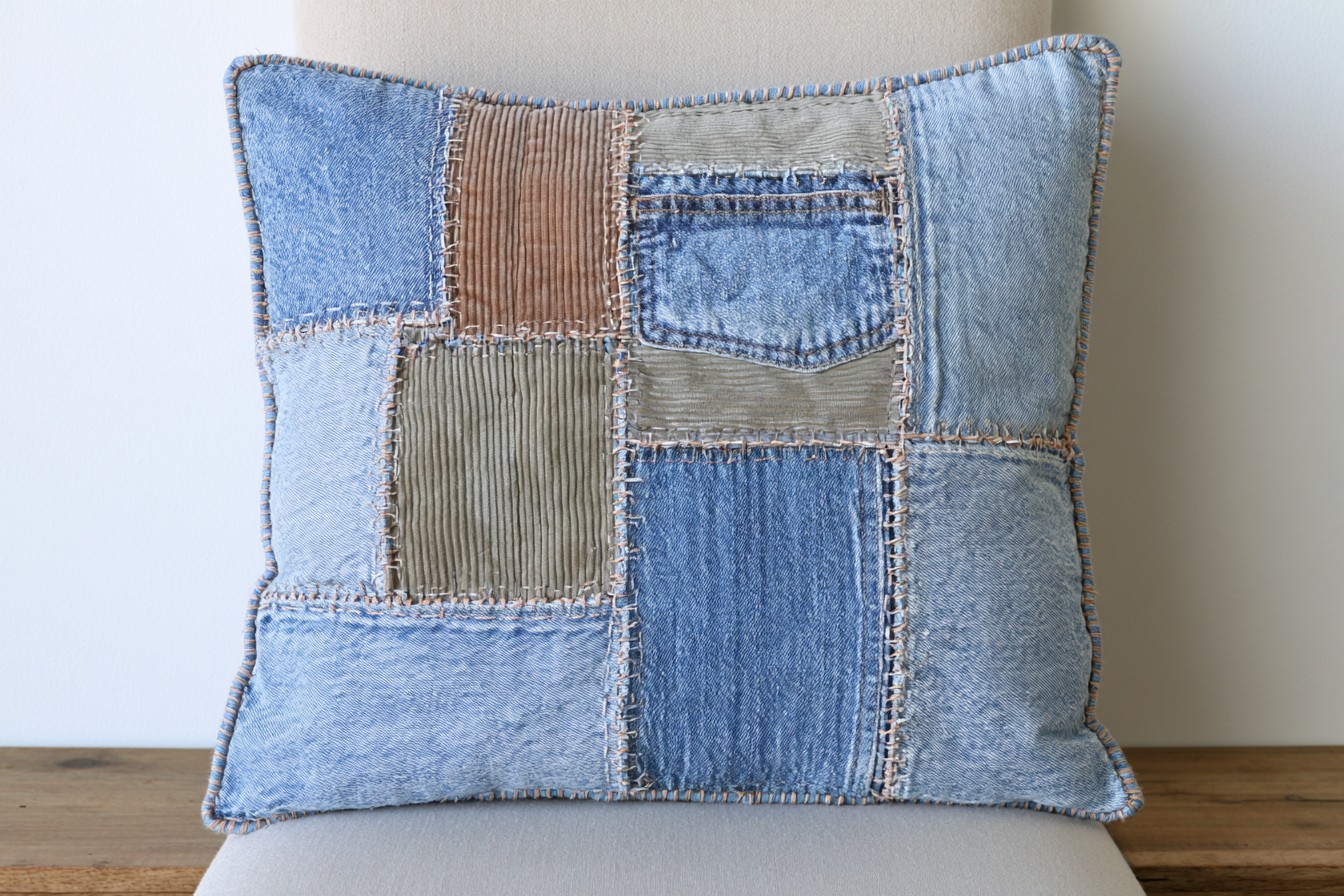
Combine sections from corduroy, denim, and cotton trousers into a cushion cover for a reading corner. Cut equal squares or rectangles, arrange colors across a flat surface, and join them row by row with seam allowances. Press seams open to reduce bulk, then add a solid fabric backing with an envelope closure or zipper. Retain one clean pocket on the front for a bookmark or television remote. Decorative running stitches, contrasting piping, and small embroidered motifs can personalize the design. Insert a washable cushion pad, check every reclaimed zipper for damage, and place softer fabrics where the cushion touches skin.
6. Braided Trouser Seam Floor Mat
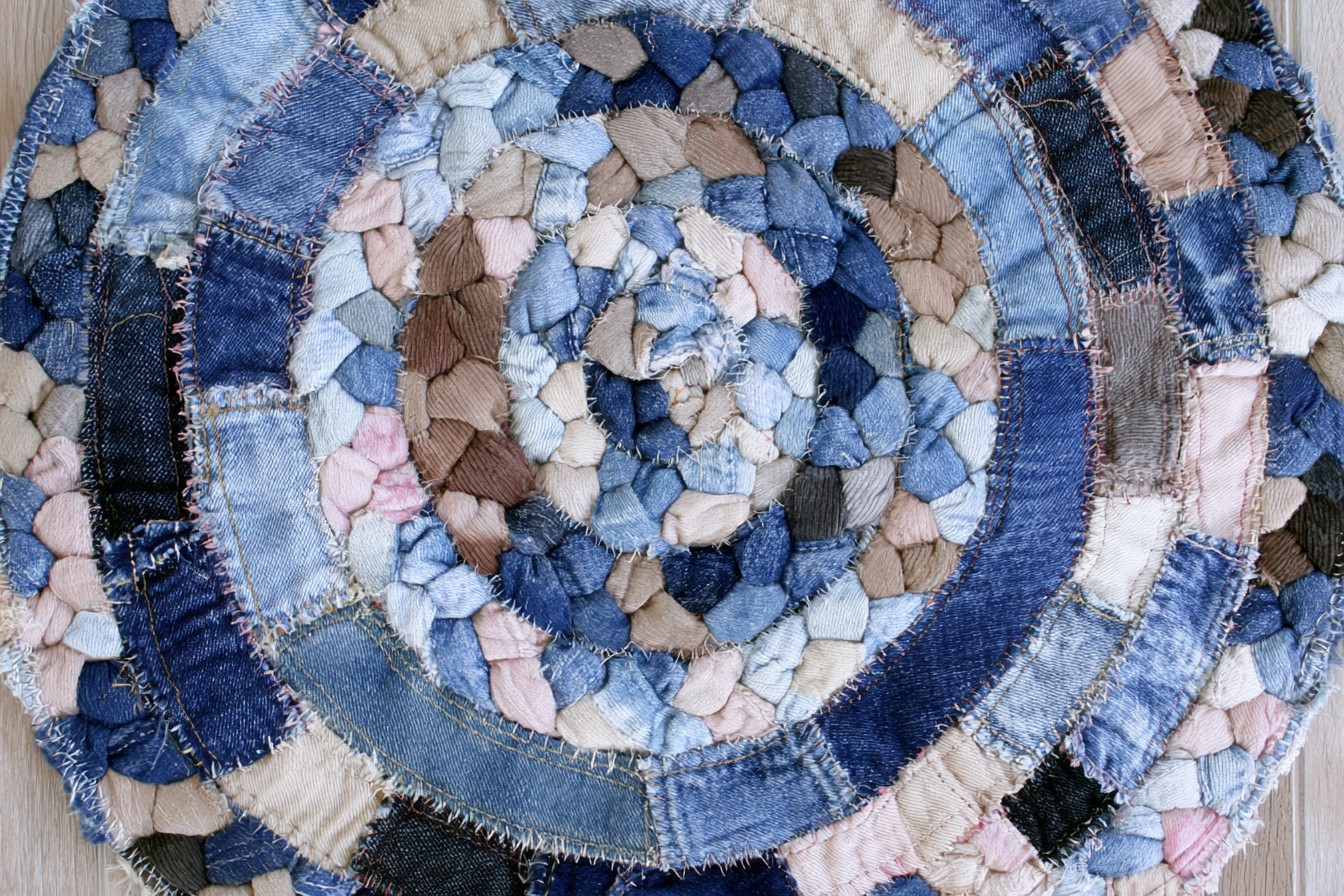
Save long leg strips and outer seams to build a braided mat for a bedside, craft room, or covered entry. Cut fabric into consistent widths, join short pieces securely, and fold raw edges inward before braiding three strands together. Coil the braid on a flat surface, stitching neighboring rows by hand with thread or by machine using a wide zigzag. Alternate denim washes, corduroy ribs, and khaki tones for a subtle circular pattern. Add a commercial nonslip backing before floor use. Smaller coils become trivets for cool serving dishes, while larger versions require extra stitching to remain flat and durable.
7. Insulated Reusable Lunch Bag
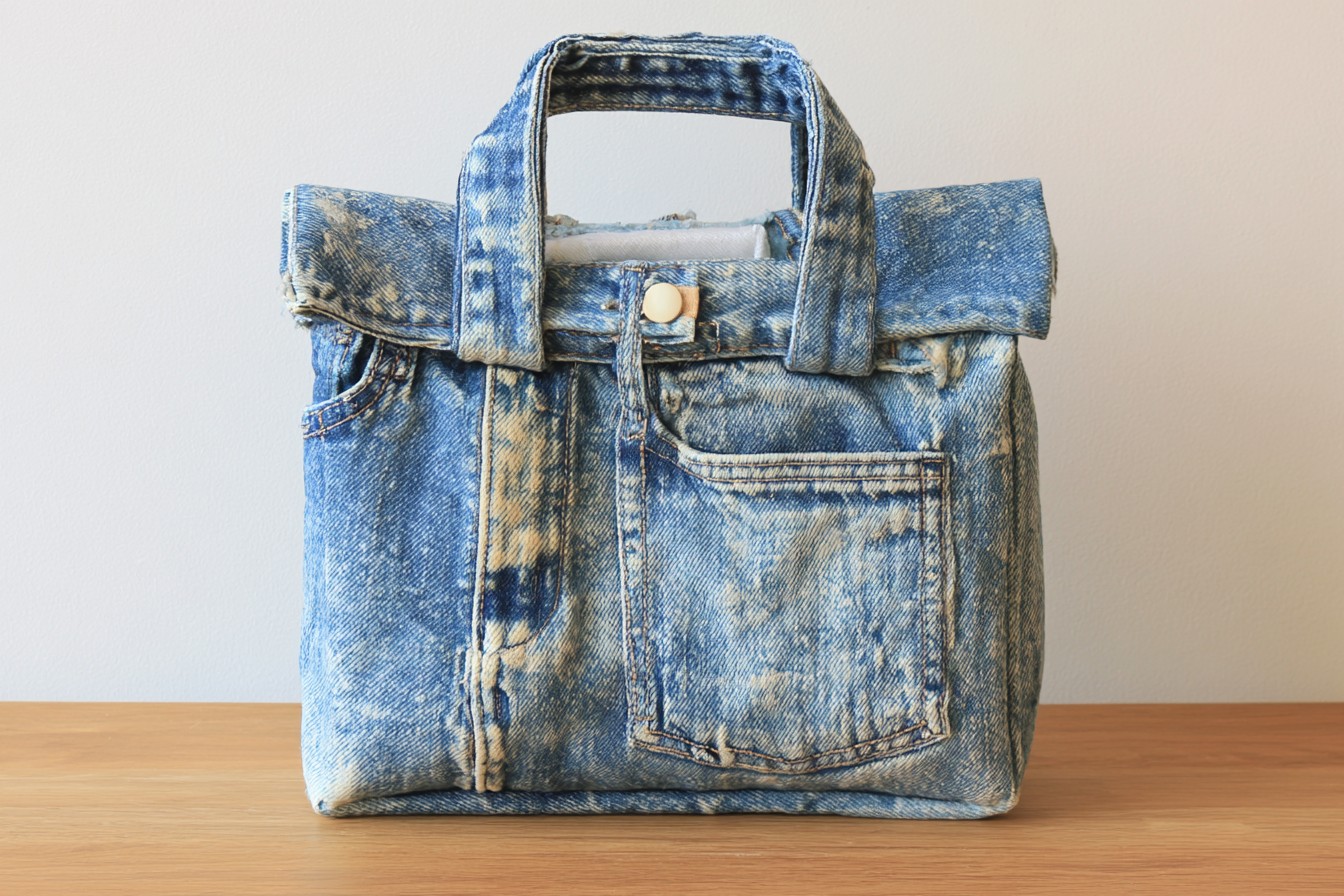
Turn a trouser leg into a lunch bag by using its shape as the starting structure. Cut a section long enough to fold over at the top, then sew and box the base corners. Create a removable lining from washable food safe fabric and add insulating batting between the layers. A strip cut from the waistband can form a carrying handle, while a button and elastic loop keep the flap closed. Decorate the exterior with contrast stitching, patches, or a clean original pocket for napkins. Wipe the liner after use, air it thoroughly, and avoid placing leaking containers directly inside.
8. Fabric Plant Pot Sleeve
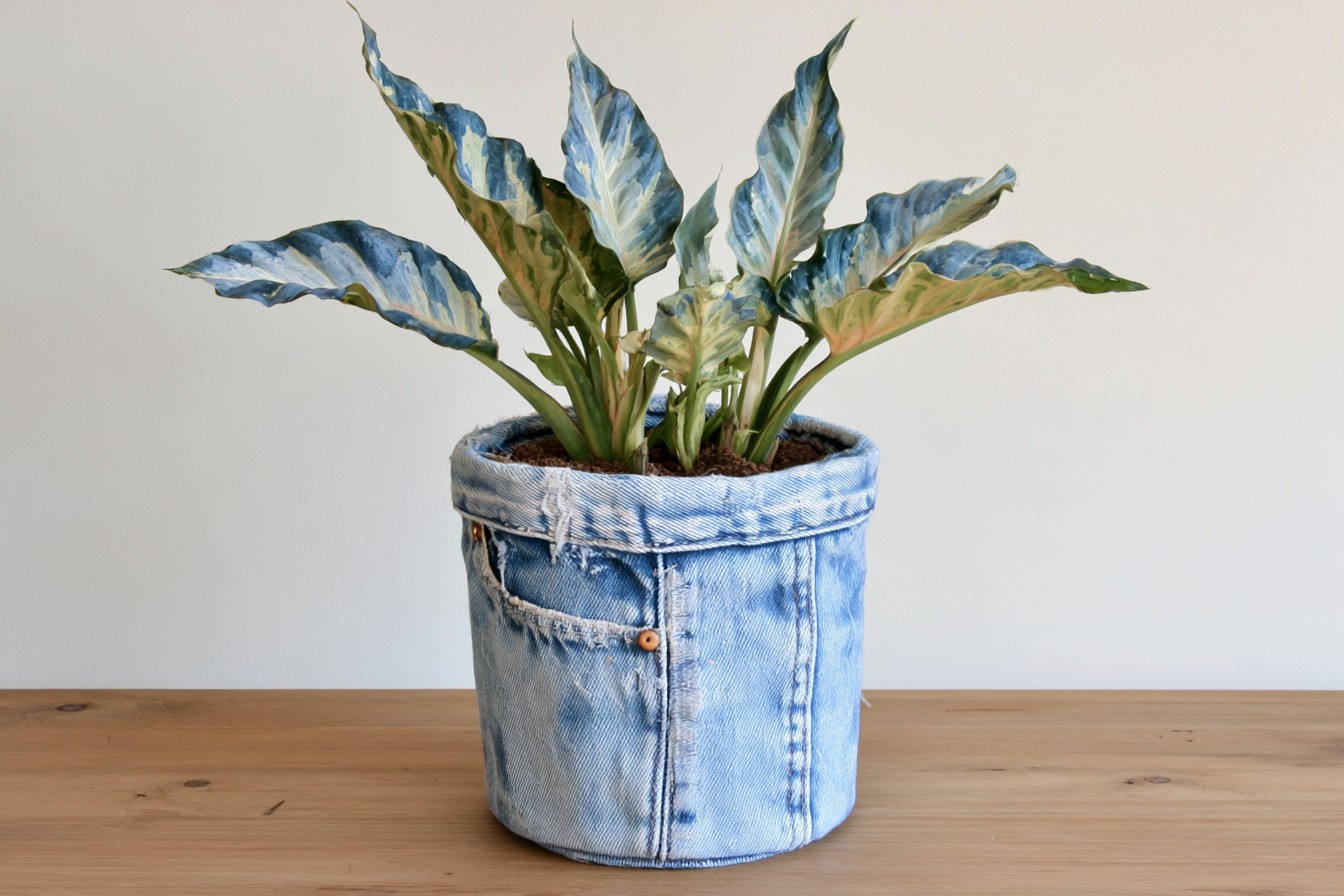
Make a sleeve for a plant pot using the lower leg of old trousers. Measure the pot circumference and height, allowing extra fabric for seams and a folded top edge. Cut the leg section, adjust its width, and stitch the side and base into a fitted cover. Keep the original cuff visible for an effortless finished rim. Add an inner layer of waterproof fabric, but always place the plant in a saucer so moisture cannot damage furniture. Embellish the sleeve with simple sashiko stitches, wooden buttons, or small patches. Remove it before heavy watering and wash when soil marks appear.
9. Padded Journal and Tablet Sleeve
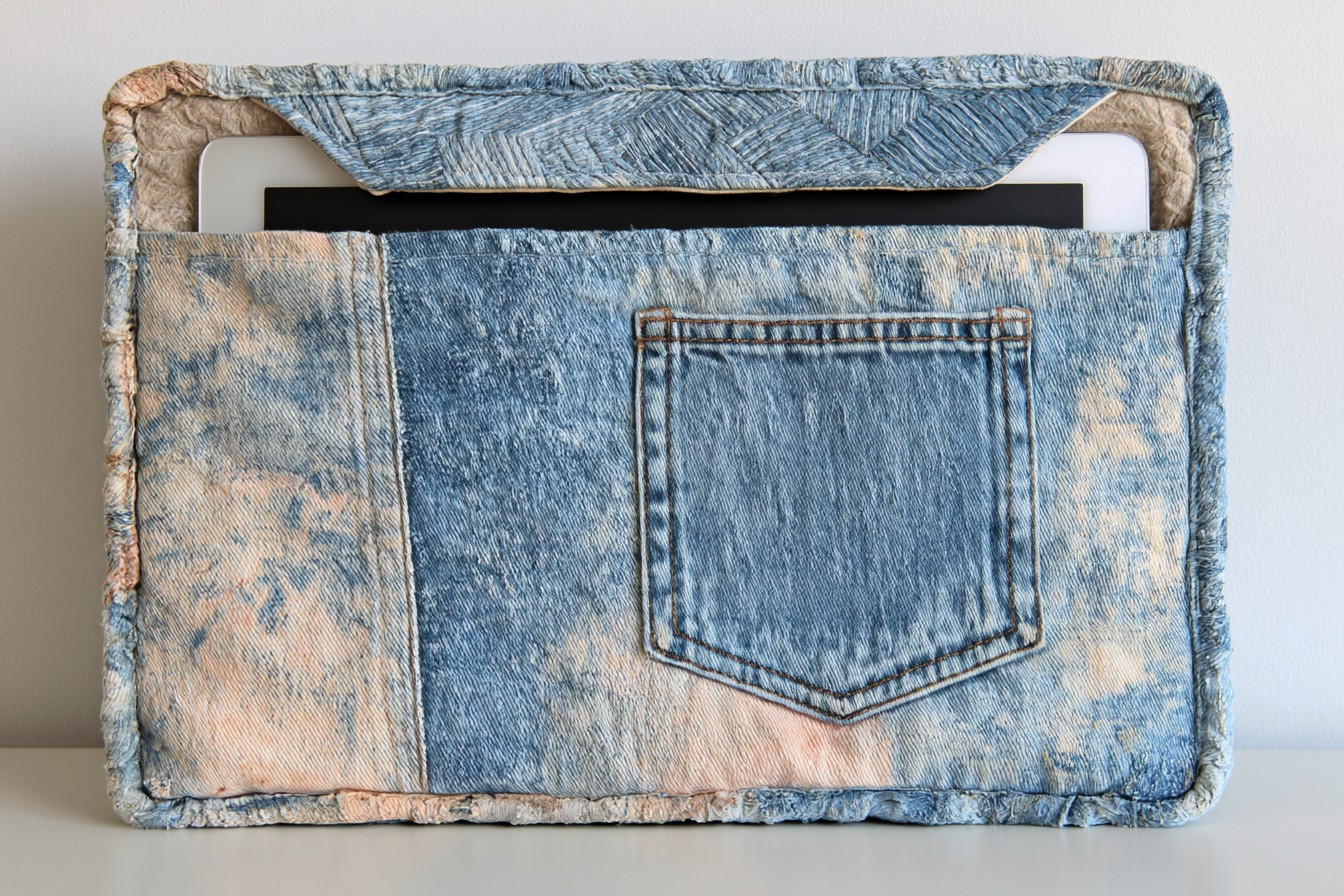
Protect a journal or tablet with a padded sleeve made from a trouser leg and rescued pocket. Measure the item, add room for batting and seams, then cut matching outer and lining rectangles. Sandwich padding between the layers and stitch around three sides, trimming bulky corners before turning. Attach the pocket outside for cables, pens, or bookmarks. Close the top with a button loop, zipper, or fabric flap depending on sewing experience. Decorate with geometric quilting lines, embroidered initials, or a strip of patterned waistband. Confirm that metal rivets cannot scratch devices, and remove them when their placement creates contact.
10. Structured Fabric Storage Basket
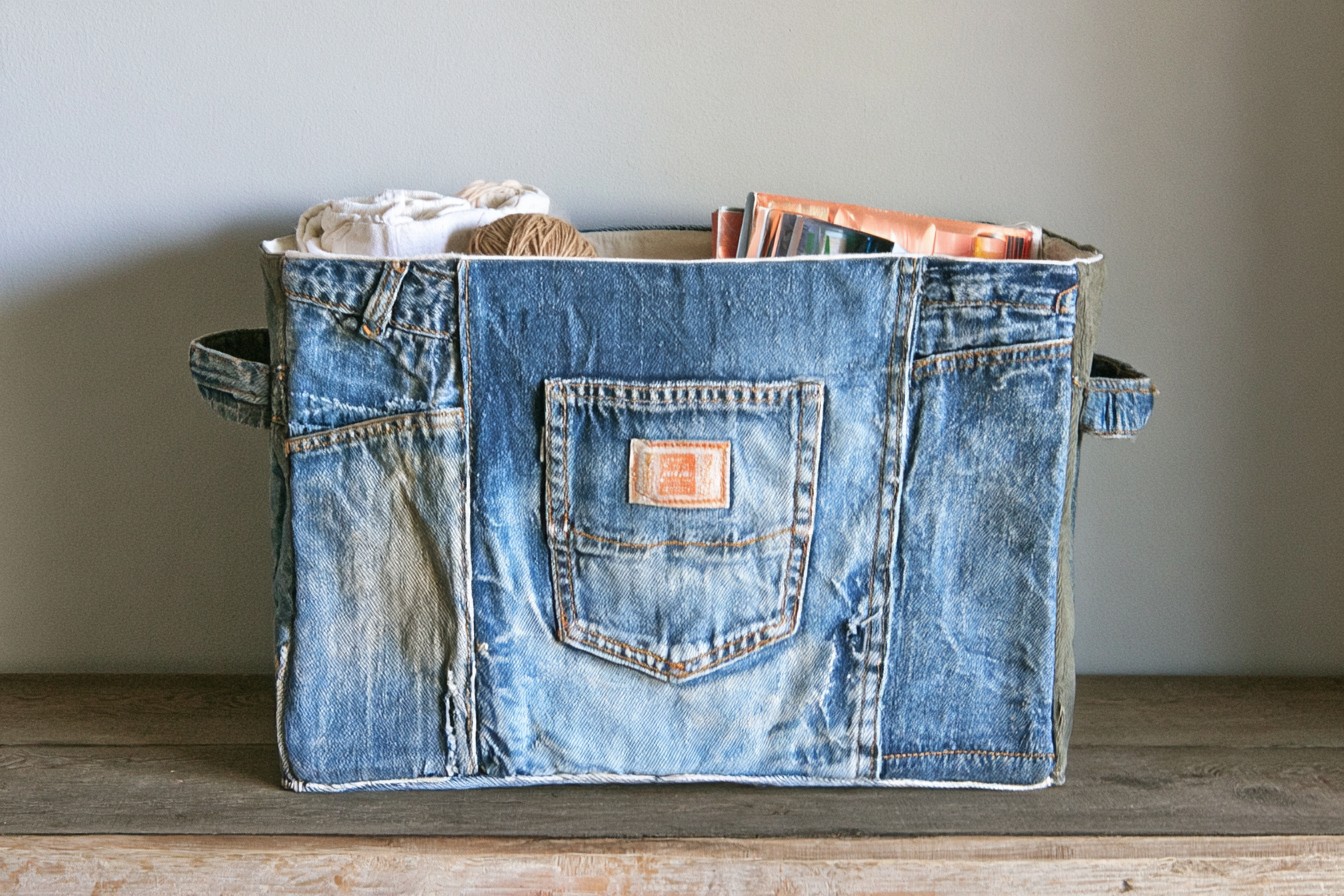
Create a storage basket from heavyweight pants by combining leg panels with interfacing. Cut four side pieces and a rectangular base, fuse or baste interfacing behind each section, then sew the outer shell together. Repeat the shape in cotton lining and join both layers along the upper edge. Boxed corners create stability, while folded belt loops make compact side handles. Feature an original back pocket for labels or used supplies. Decorative options include patchwork panels, contrast binding, or visible mending stitches. Use the basket for yarn, towels, toys, or magazines, but avoid overloading it because recycled fabric handles have limits.
11. Quilted Denim Oven Mitts
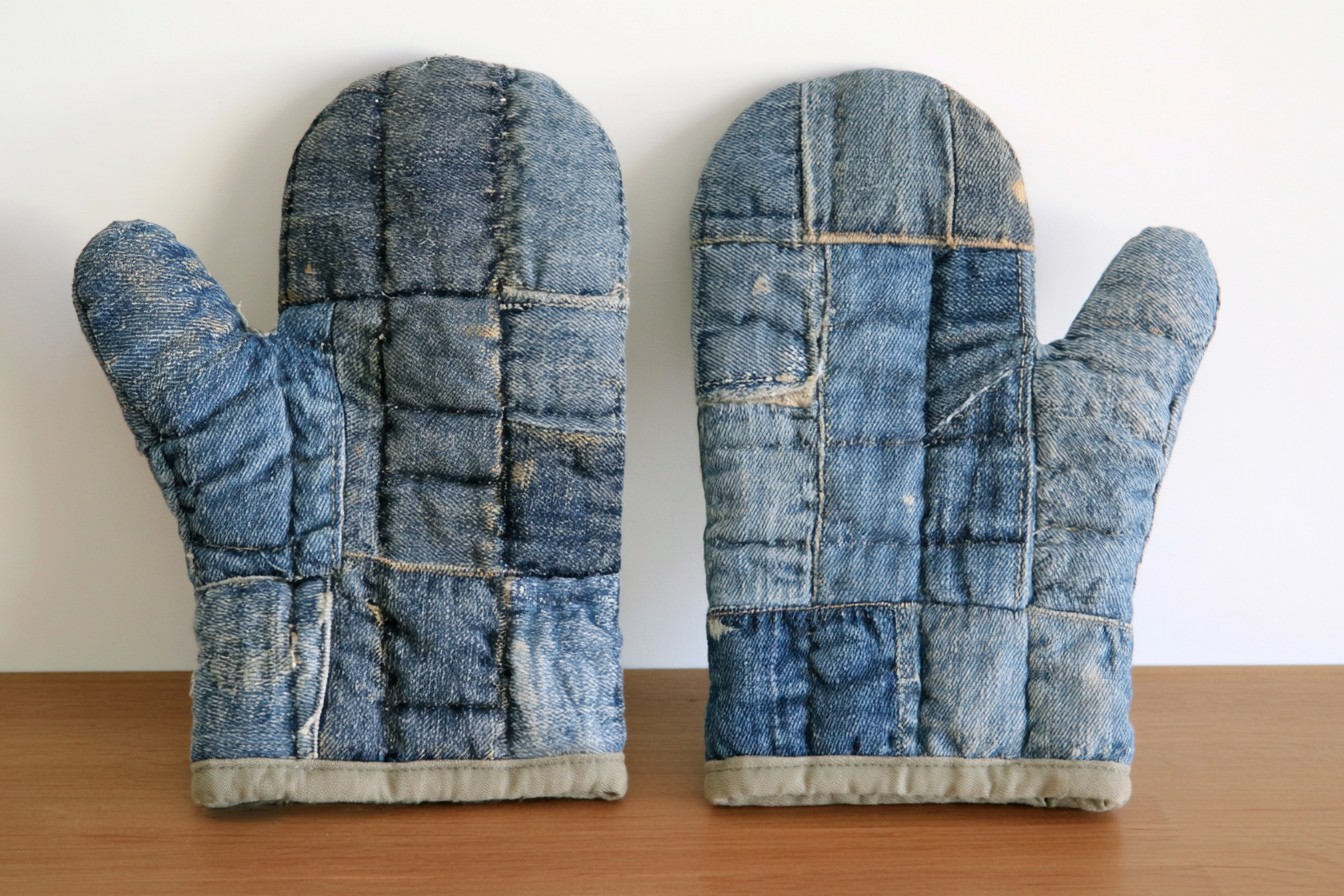
Denim can become oven mitt exteriors, but insulation must come from heat resistant batting. Trace a roomy mitt pattern, cut mirrored denim, lining, and insulating layers, then quilt each layered panel to prevent shifting. Join the mitt pieces with sturdy stitching and finish the opening with cotton binding. Keep metal rivets, zippers, and synthetic embellishments away from every heated area. Decorate only the outer surface with cotton embroidery or contrasting pocket fabric. Test the mitt carefully according to the batting instructions before regular use. If suitable thermal materials are unavailable, adapt the same pattern into decorative kitchen utensil holders instead.
12. Patchwork Bucket Hat
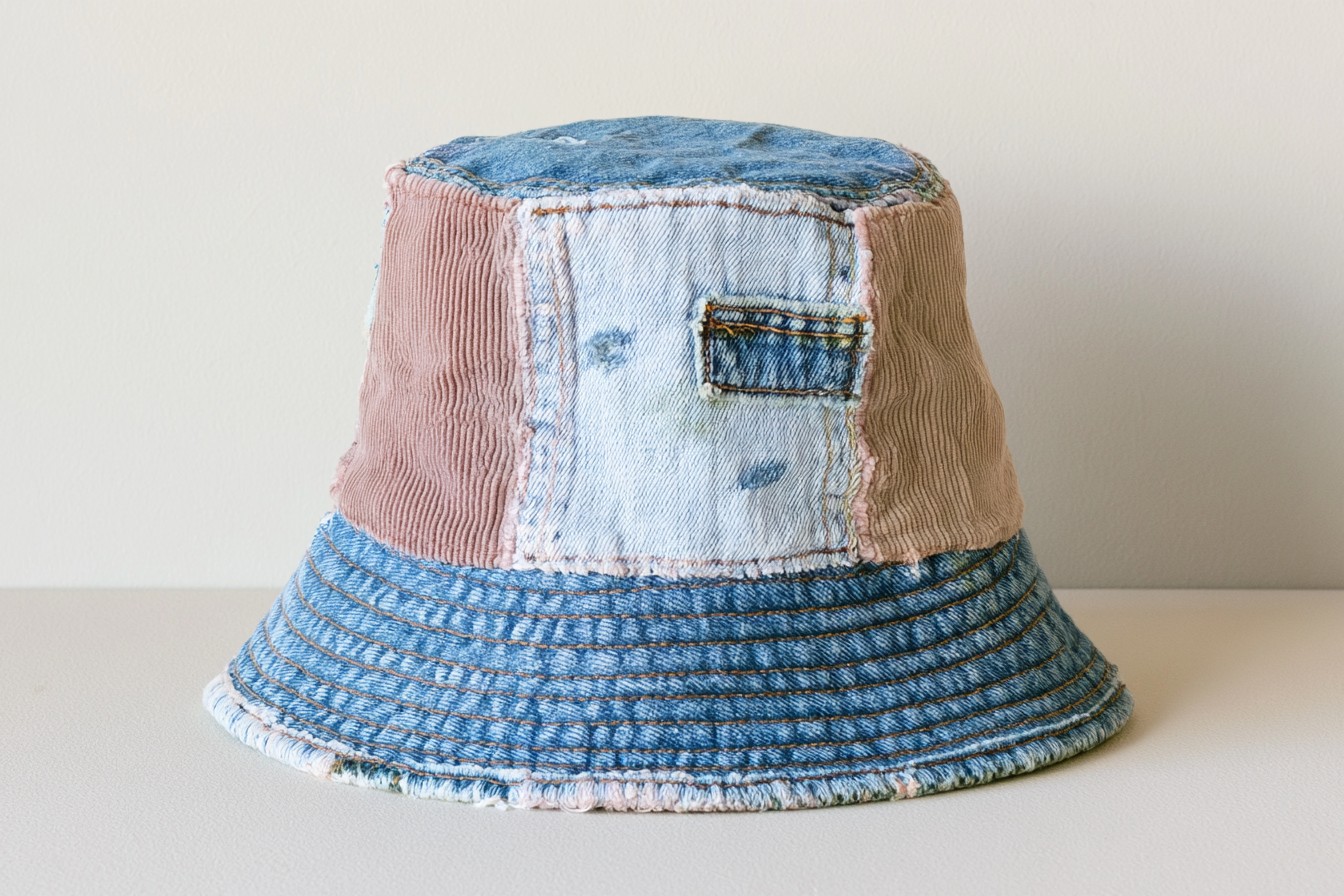
Use lighter trouser fabrics to sew a bucket hat with character and practical sun coverage. Select a hat pattern, measure the wearer, and cut crown, side, and brim pieces from stable sections without worn knees. Join small remnants first if creating patchwork, then treat each assembled area as one pattern piece. Add a cotton lining and several rows of topstitching around the brim for structure. Embroider flowers, use contrasting thread, or preserve a small coin pocket as decoration. Press every seam carefully and check fit before completing the lining. Heavy denim works best for brims, while cotton suits the crown.
13. Soft Denim Whale Toy
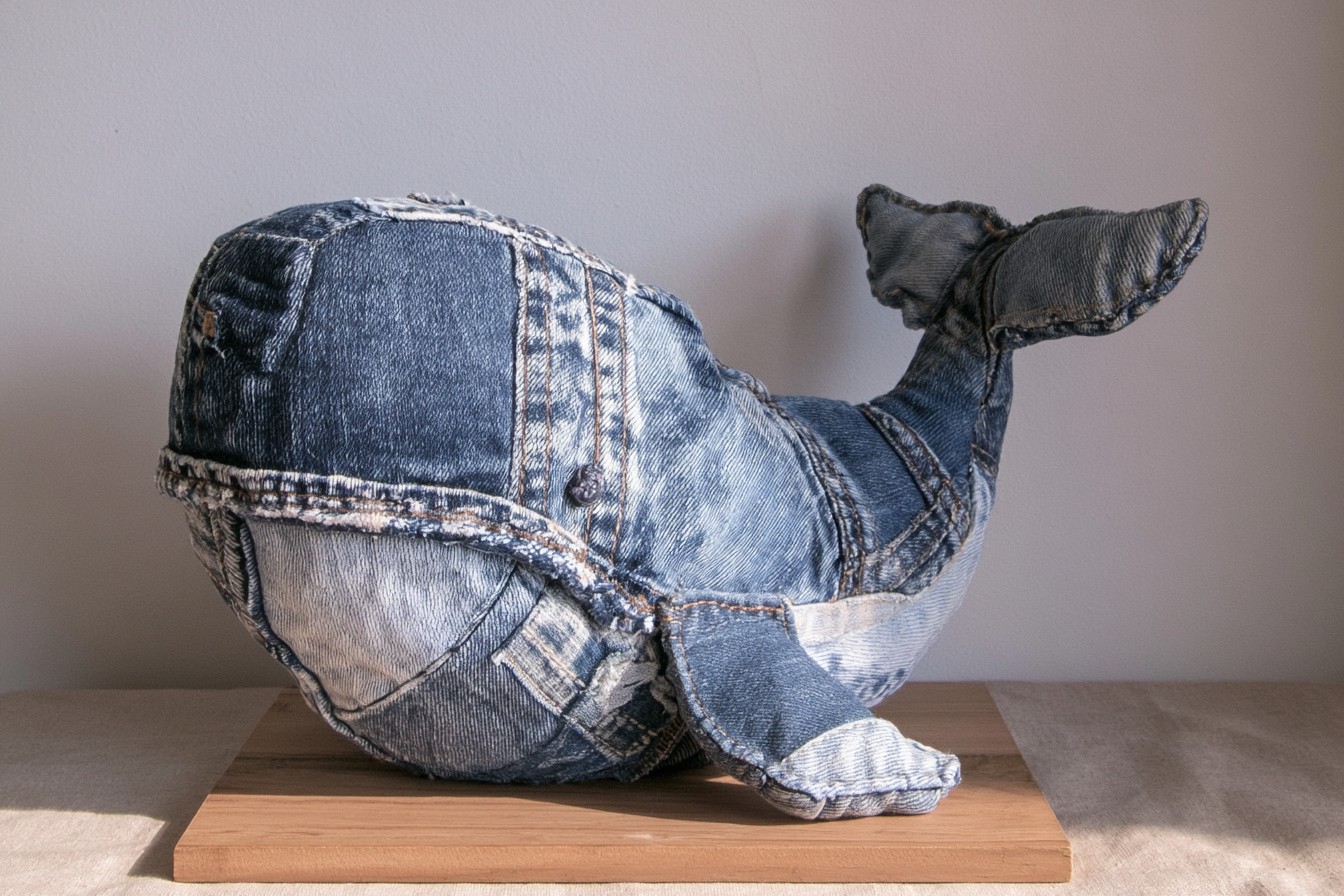
Turn soft, well washed trouser fabric into a whale shaped toy or decorative shelf companion. Draw a simple side profile template, cut two mirrored body pieces, and prepare separate fins from doubled fabric. Stitch fins first, position them inward, then sew around the body while leaving a turning gap. Clip curved seam allowances, turn, and fill with washable stuffing made for toys. Close the opening using ladder stitch. Add embroidered eyes rather than buttons when making it for children. Mix denim shades for the belly and back, or decorate with visible mending. Check seams regularly and repair loose stitching promptly.
14. Pieced Dining Table Runner
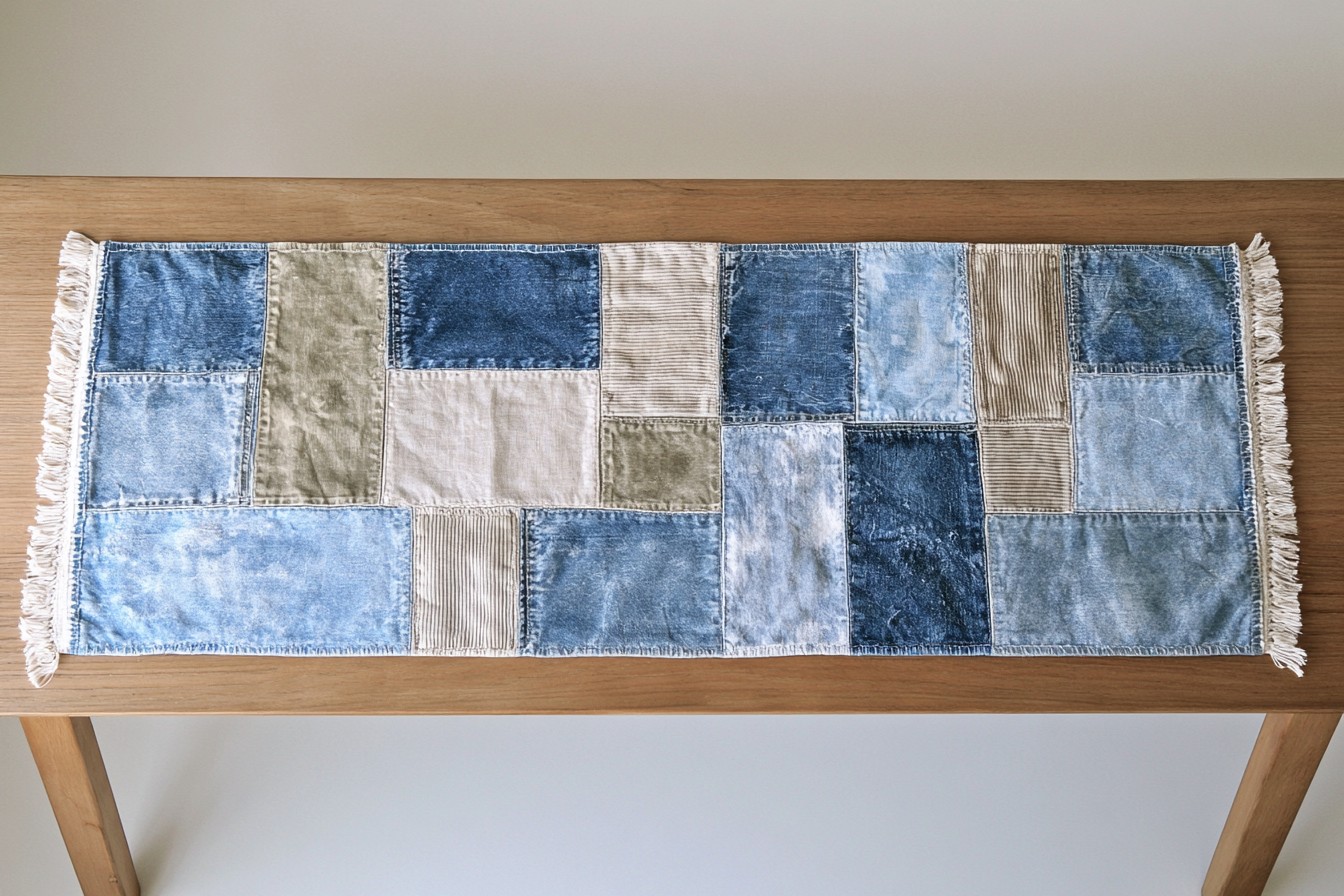
Create a table runner from trouser legs in coordinating shades of denim, khaki, linen, or corduroy. Cut long rectangles, remove worn areas, and arrange the pieces into stripes or an offset geometric layout. Sew sections with even allowances and press bulky intersections carefully. Add a lightweight cotton backing, stitch around the perimeter, then turn and topstitch the edges. Original seams can become raised decorative lines if they lie flat enough for tableware. Finish with fabric tassels or hand stitched borders at both ends. Use the runner beneath cool serving pieces only, and wash it before stains have time to set.
15. Drawstring Travel Shoe Bags
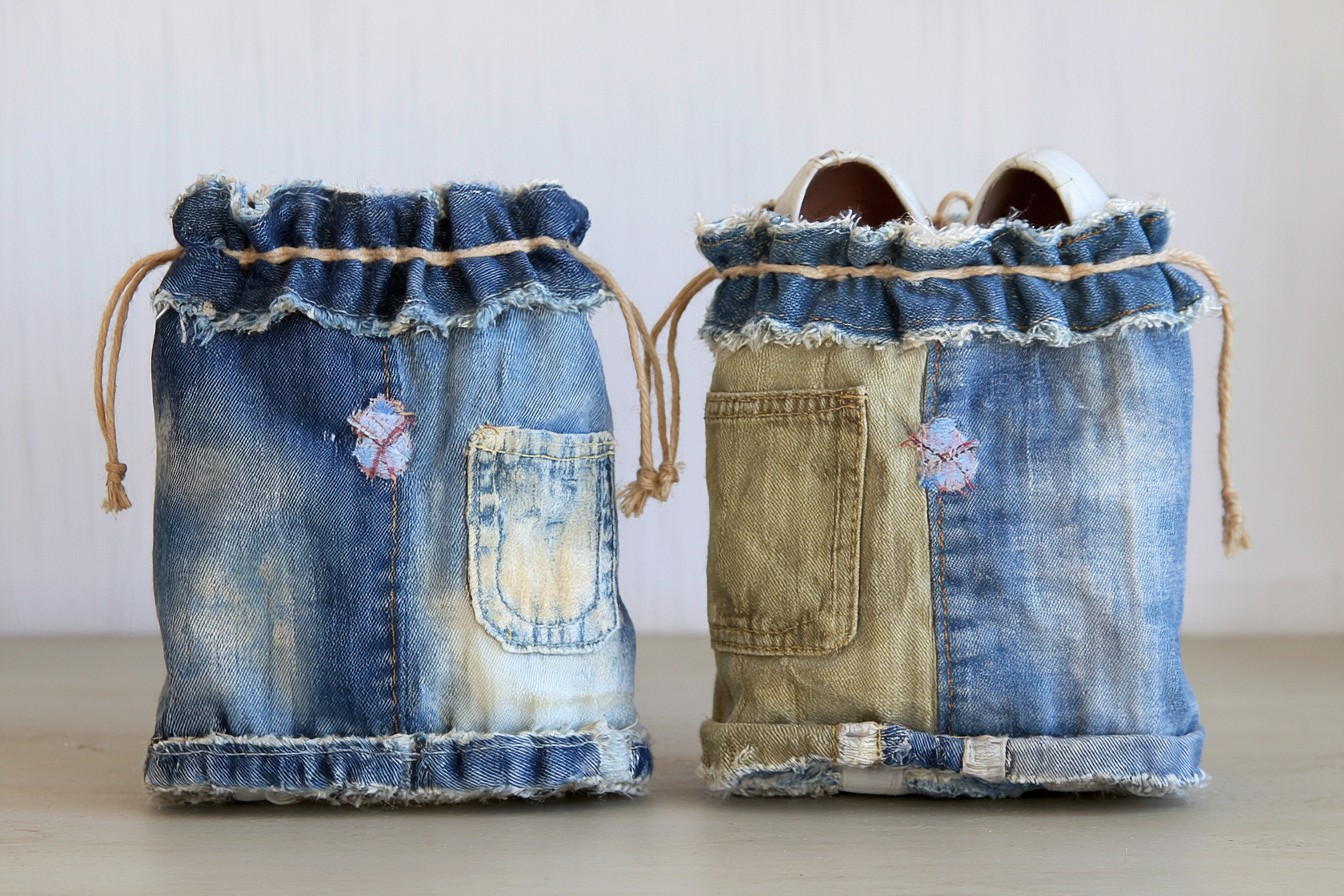
Protect packed clothing by turning lightweight trouser legs into travel shoe bags. Cut each leg longer than the largest shoe, close the lower end with a seam, and finish the top with a folded drawstring channel. Thread cotton cord through the channel using a safety pin, knot the ends, and add a loop for carrying. Use different fabric colors or appliqué symbols to identify each pair without written labels. A clean pocket can hold socks or spare laces. Choose washable fabrics, avoid decorative metal pieces that may catch clothing, and launder the bags after trips before storing them completely dry.
16. Belt Loop Charg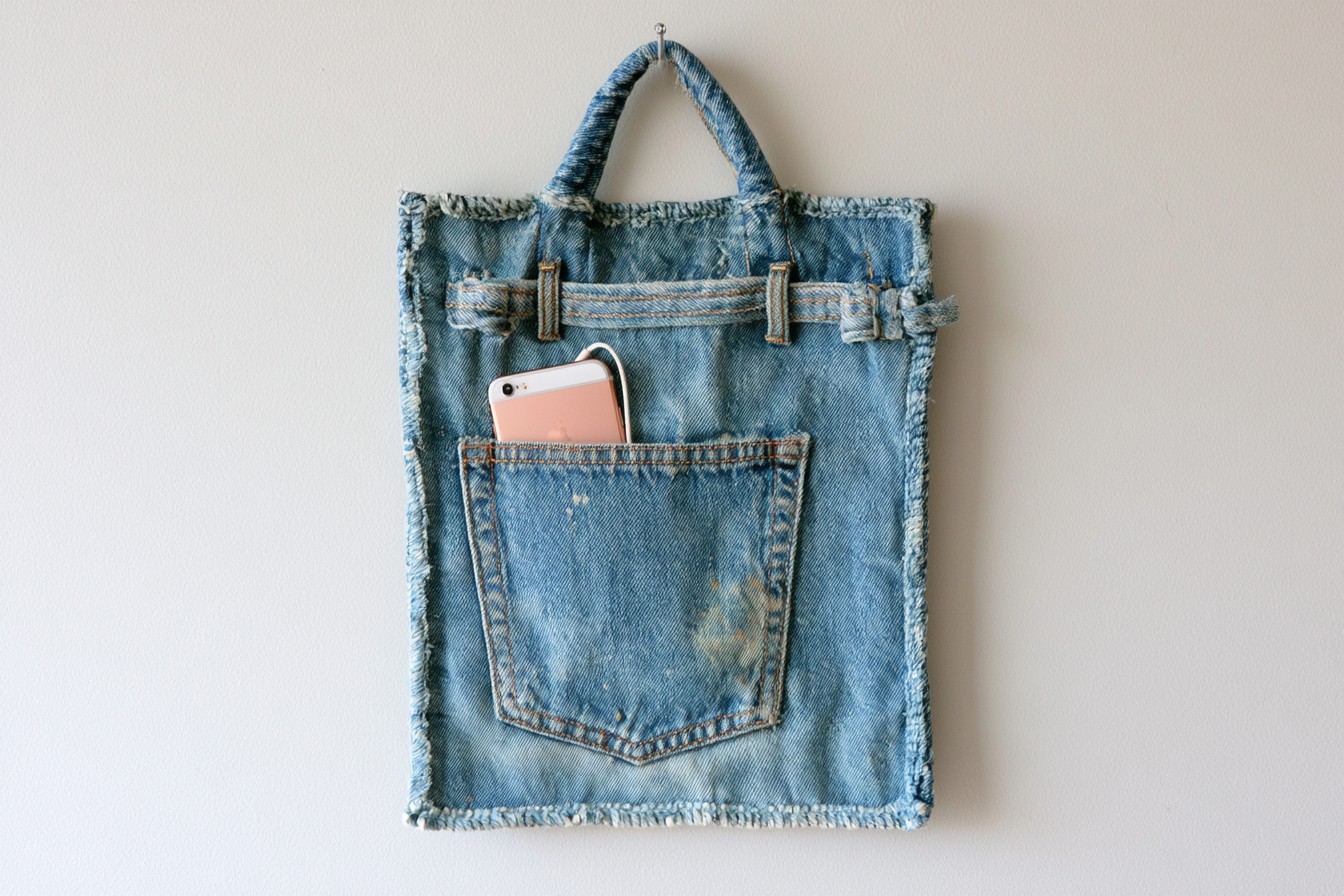 ing Pocket
Create a hanging pocket that holds a phone near an outlet while it charges. Cut a wide rectangle from a trouser leg and preserve a pocket section for the front. Fold and bind every raw edge, then stitch the pocket securely onto the backing. Form the top into a loop that fits over a charger block without covering its vents or stressing the plug. Alternatively, hang the organizer from a hook for better safety. Decorate it with contrast stitching, a fabric stripe, or belt loops for cable control. Never place fabric against hot adapters, and discontinue use if equipment overheats.
MORE IDEAS


Share
What's Your Reaction?
 Like
0
Like
0
 Dislike
0
Dislike
0
 Love
0
Love
0
 Funny
0
Funny
0
 Angry
0
Angry
0
 Sad
0
Sad
0
 Wow
0
Wow
0