17 Creative DIY Piggy Bank Ideas for Adults

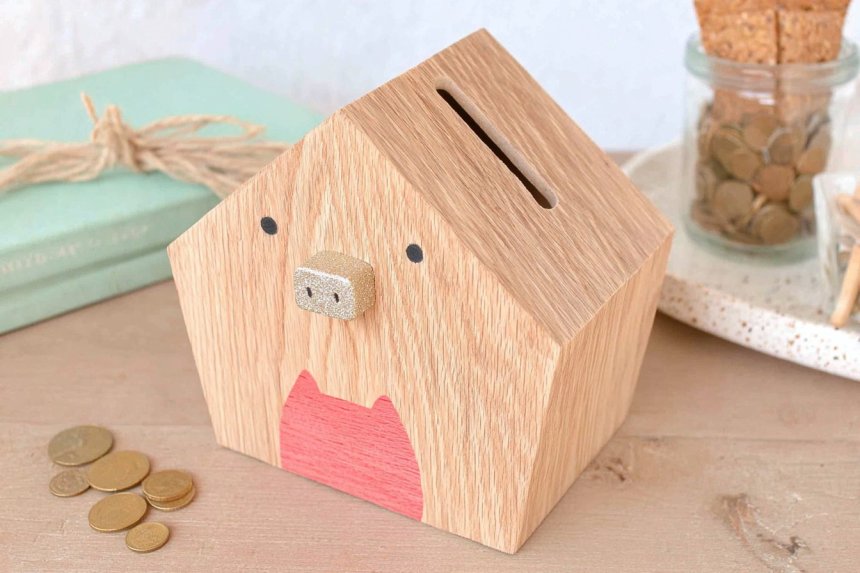
DIY piggy banks for adults can turn everyday saving into a visible, motivating habit while contributing to home decor. Instead of relying on childish shapes, mature designs can use glass, wood, concrete, leather, metal, clay, or repurposed containers with refined finishes. Begin by deciding whether the bank should hold coins, folded notes, or both, since this determines the slot size and internal capacity. Include a removable panel, stopper, or lid for easy access unless the goal requires a sealed container. Coordinated colors, subtle personalization, and clear savings categories make each project practical, attractive, and meaningful for long term financial goals.
1. Minimalist Jar Bank
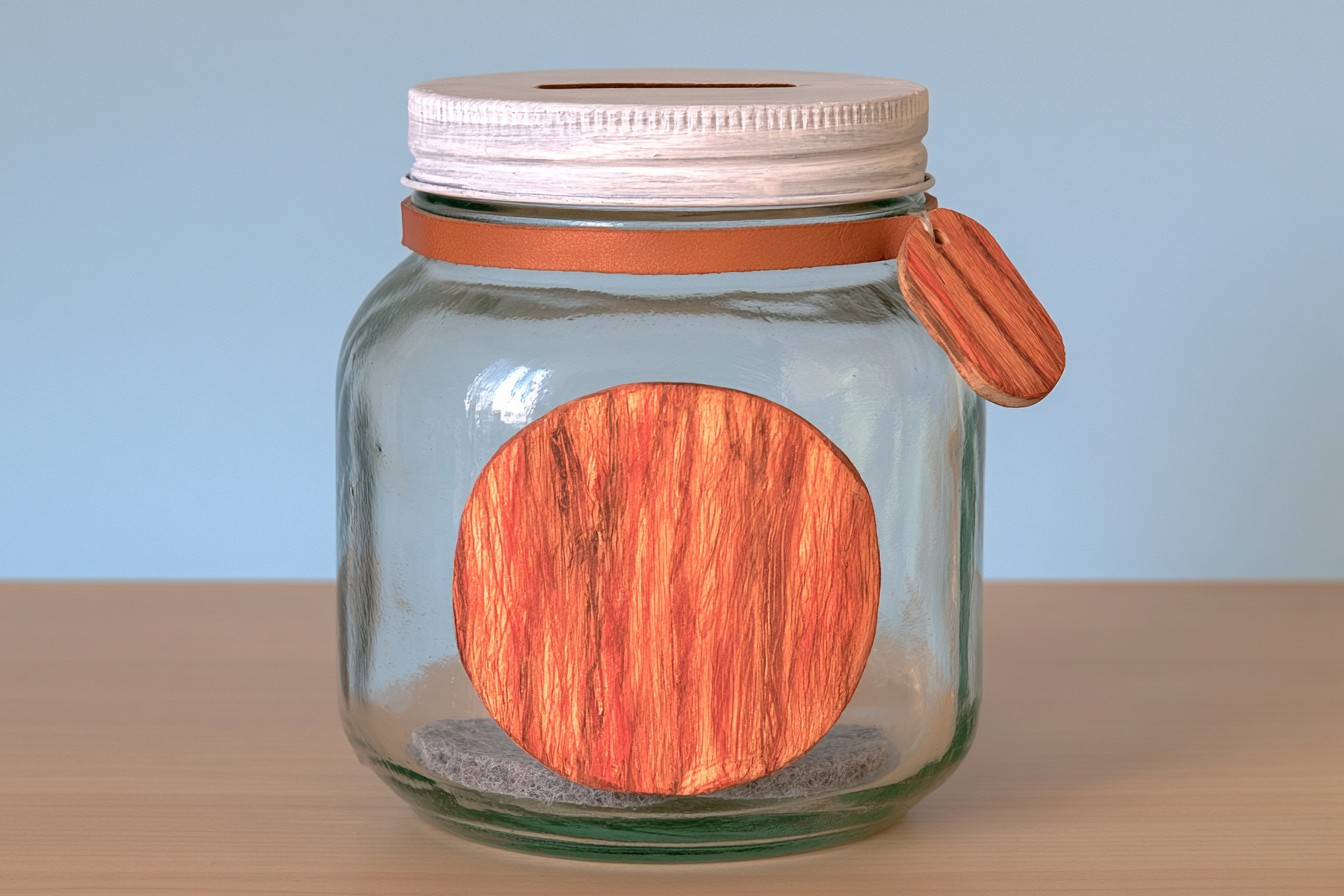
Transform a wide glass jar into a clean, modern savings bank for an elegant desk or bedroom shelf. Remove the label, clean away adhesive, and cut a smooth slot in the metal lid using a drill and file. Paint the lid matte black, warm white, or brushed gold while leaving the jar transparent so progress remains visible. Wrap a narrow leather strip around the neck or add a small wooden tag identifying the savings purpose. Felt pads beneath the jar protect furniture. This design works well for collecting loose change, travel money, emergency cash, or contributions toward a special purchase.
2. Travel Shadow Box
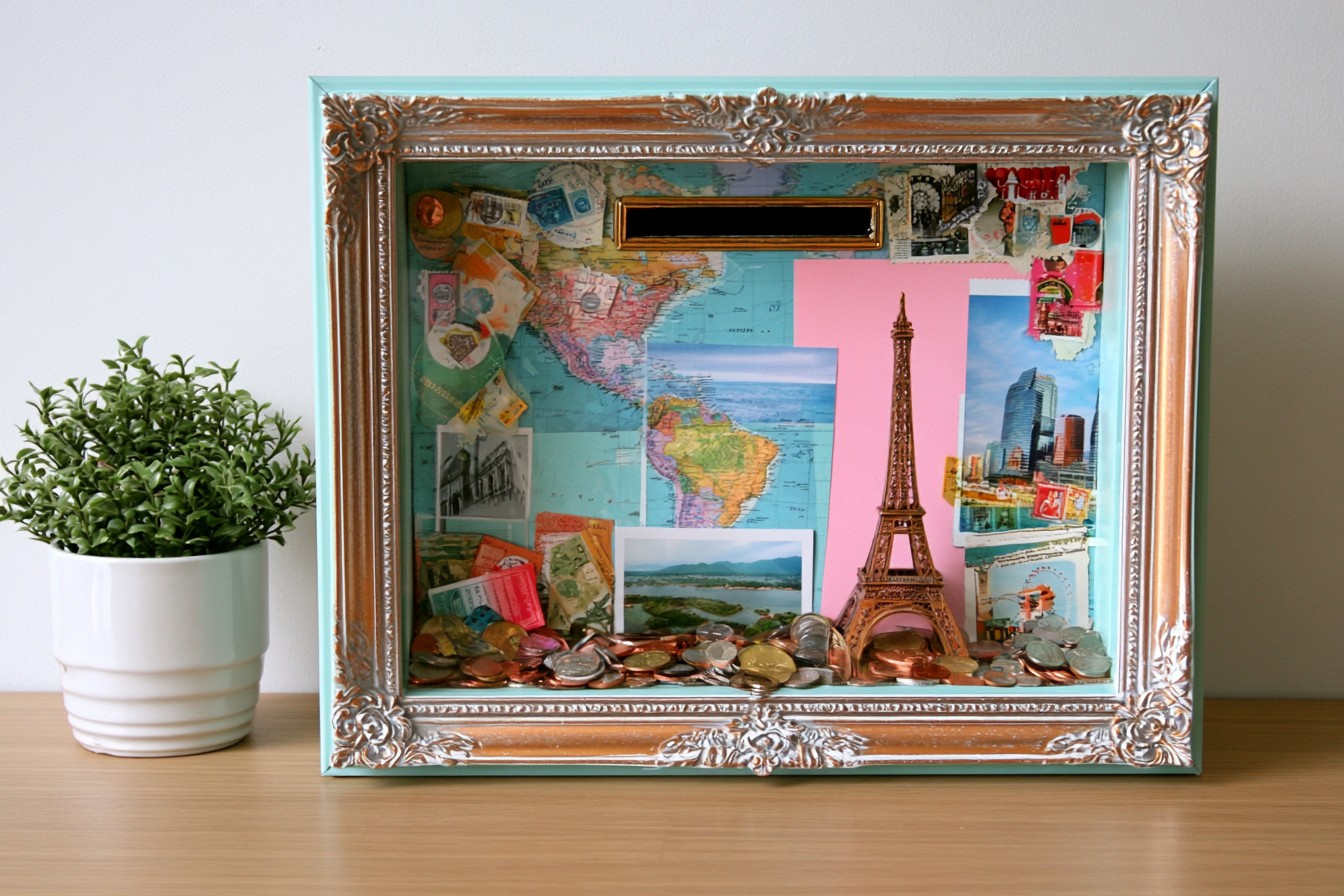
Create a travel fund bank from a deep shadow box with a clear front panel. Remove the backing and cut a coin slot through the upper frame using a rotary tool. Sand the opening carefully, then insert a map, landscape photograph, or color blocked paper as the background. Add a removable back so notes and coins can be retrieved without damaging the display. Paint or stain the frame to coordinate with the room, keeping the front uncluttered enough to see savings accumulate. Place it in a home office, hallway, or bedroom where the future destination remains a daily visual motivation.
3. Wooden Cube Bank
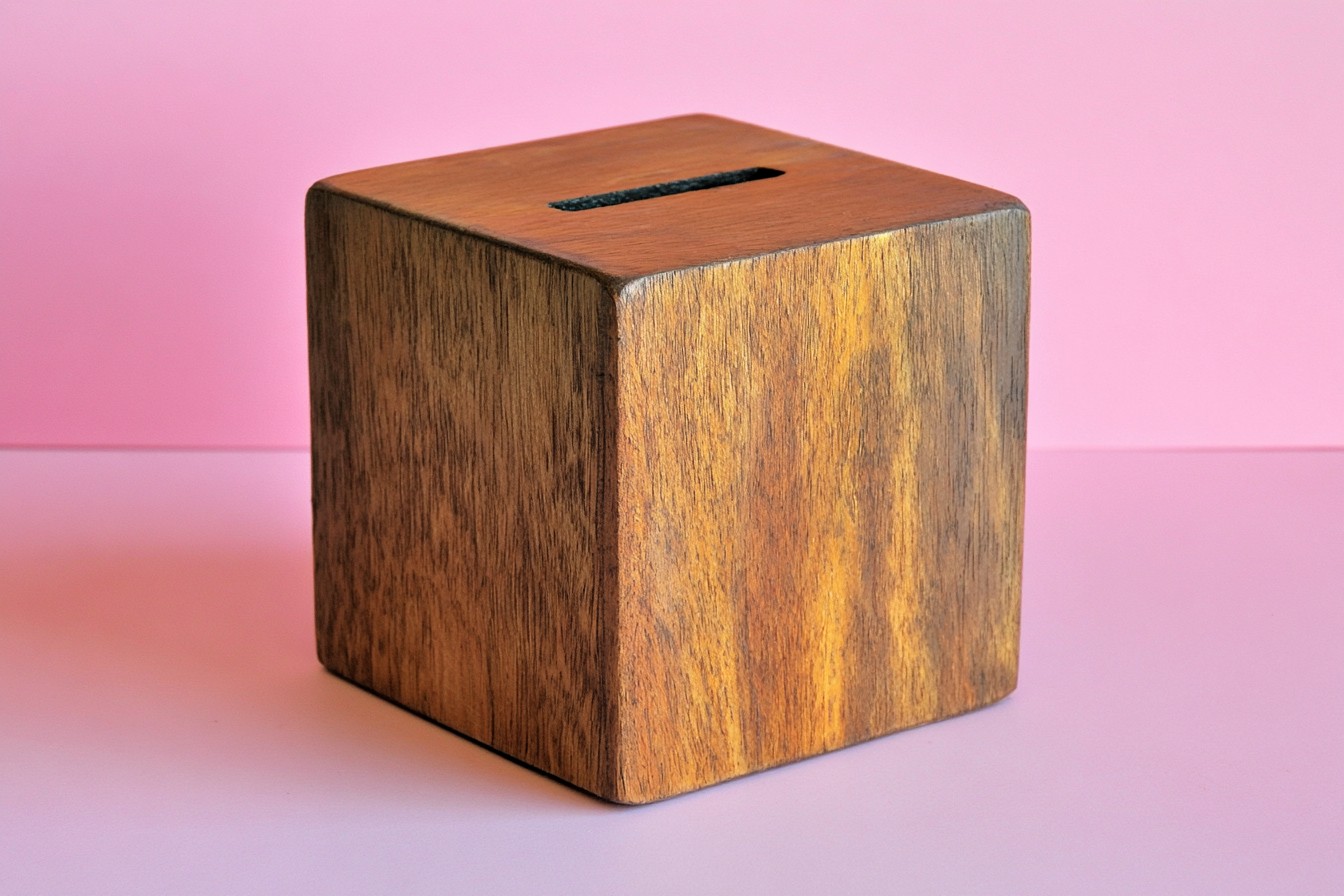
Build a durable cube bank from plywood or reclaimed hardwood for a warm, understated accessory. Cut six equal panels, then drill a slot into the top piece before assembly. Join five panels with wood glue and small brads, leaving the base removable with discreet screws. Sand every corner smooth and apply natural oil, dark stain, or muted paint. A contrasting inlay strip can add detail without making the design busy. Add felt underneath and position the bank on a bookcase, bedside table, or office shelf. The large, generous interior suits coins, folded notes, or savings collected for shared household goals.
4. Concrete Coin Bank
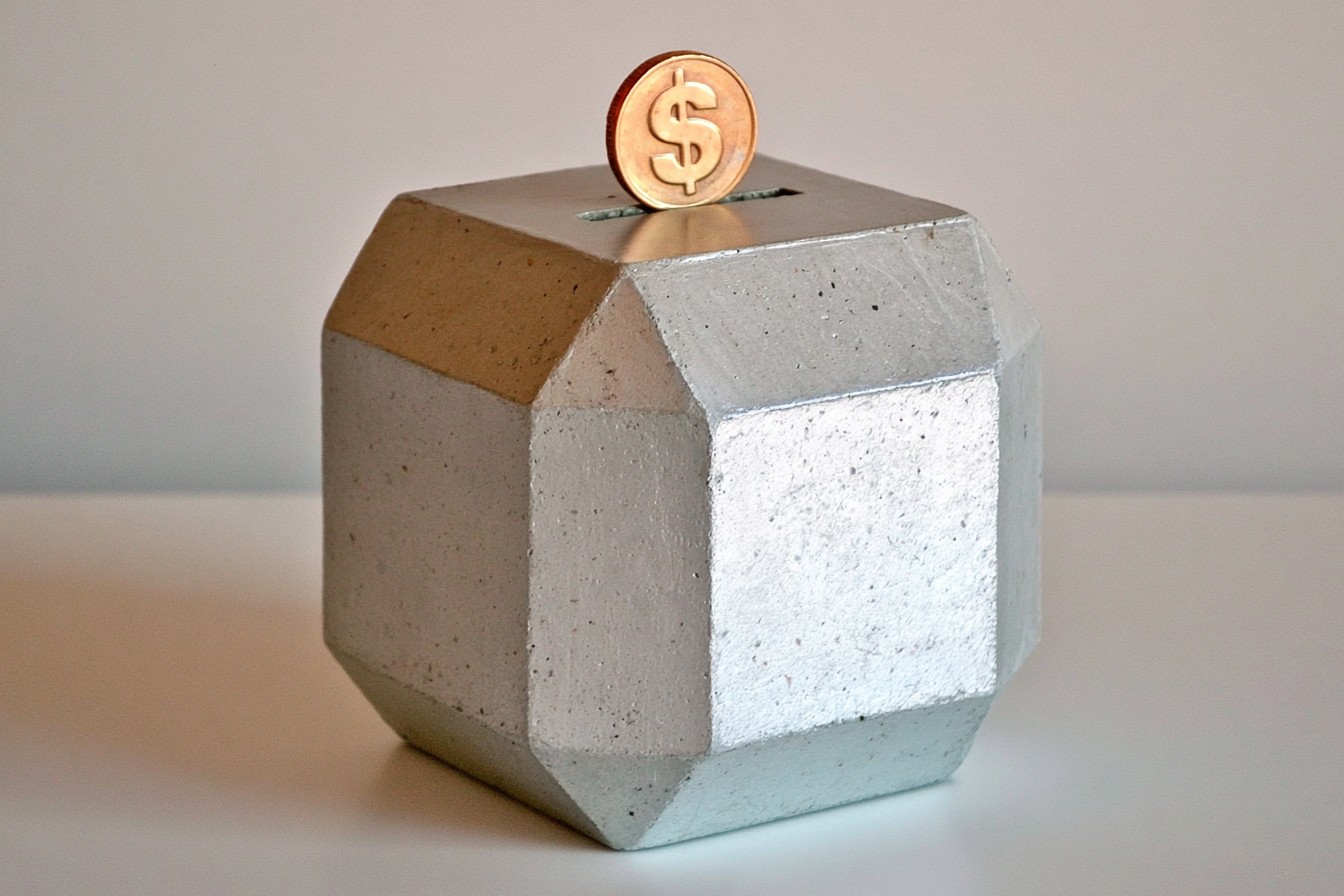
Cast a sculptural concrete bank using a plastic container as the outer mold and a smaller insert to create the cavity. Coat both molds lightly with release agent, position a spacer for the coin slot, and pour fine concrete mixture around the insert. Tap the sides to release bubbles and allow the form to cure completely before unmolding. Sand rough areas and attach a cork stopper beneath for access. Leave the concrete natural or add restrained terrazzo chips, a color dipped base, or metallic leaf detail. This substantial bank suits industrial offices, minimalist interiors, console tables, or modern gift collections.
5. Leather Wrapped Tin
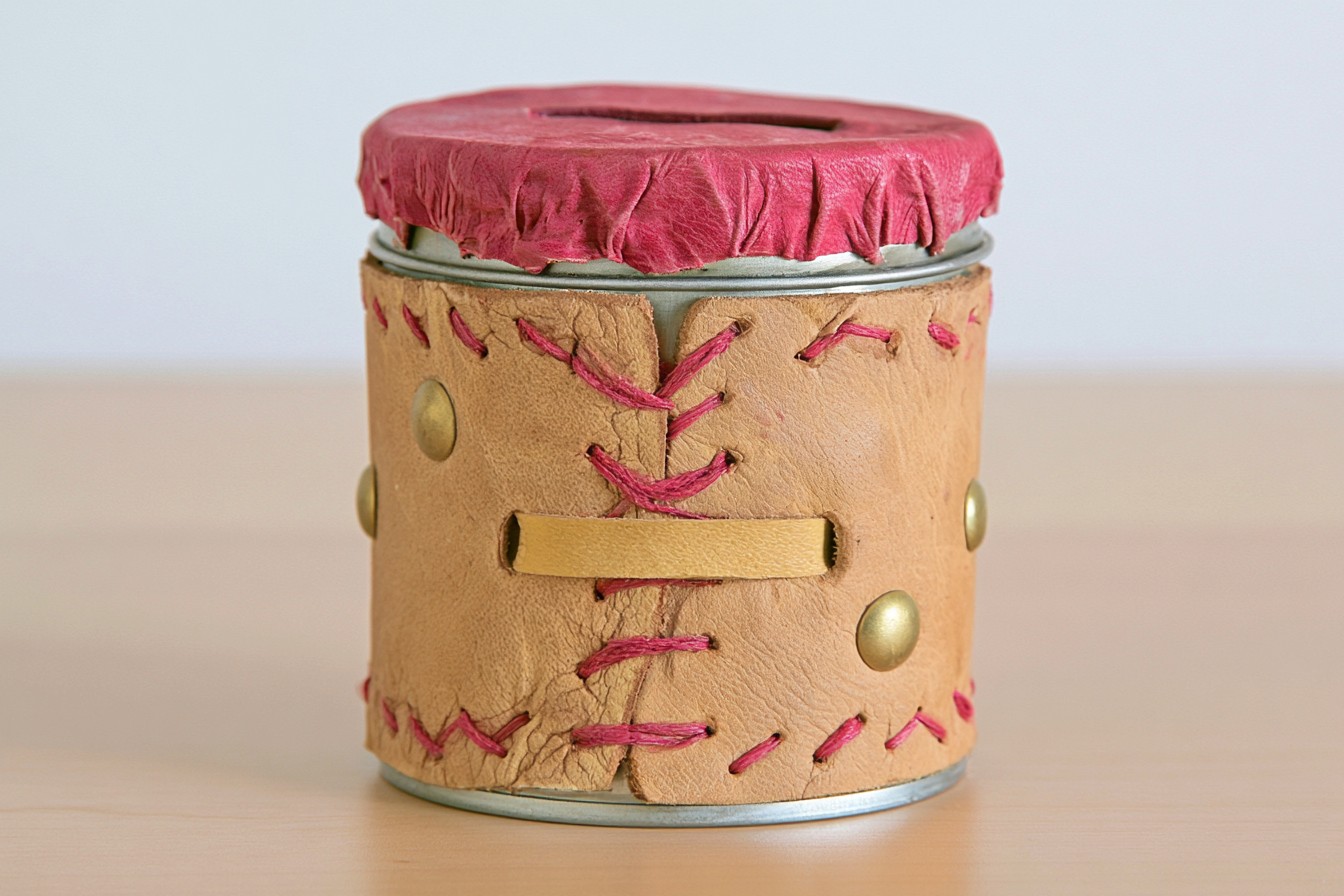
Repurpose a sturdy coffee tin into a sophisticated bank by covering it with leather offcuts. Clean the container, check that the lid fits securely, and create a slot with a metal punch or rotary tool. File the opening until smooth, then wrap the exterior with one measured piece of leather, fixing the overlap neatly at the back. Add saddle stitching, brass studs, or a narrow contrasting strap for decoration. Line the base with felt to prevent scratching. This compact design fits office shelves, bedside tables, or wardrobe storage and can collect coins, spare notes, or cash reserved for personal treats.
6. Glass Block Bank
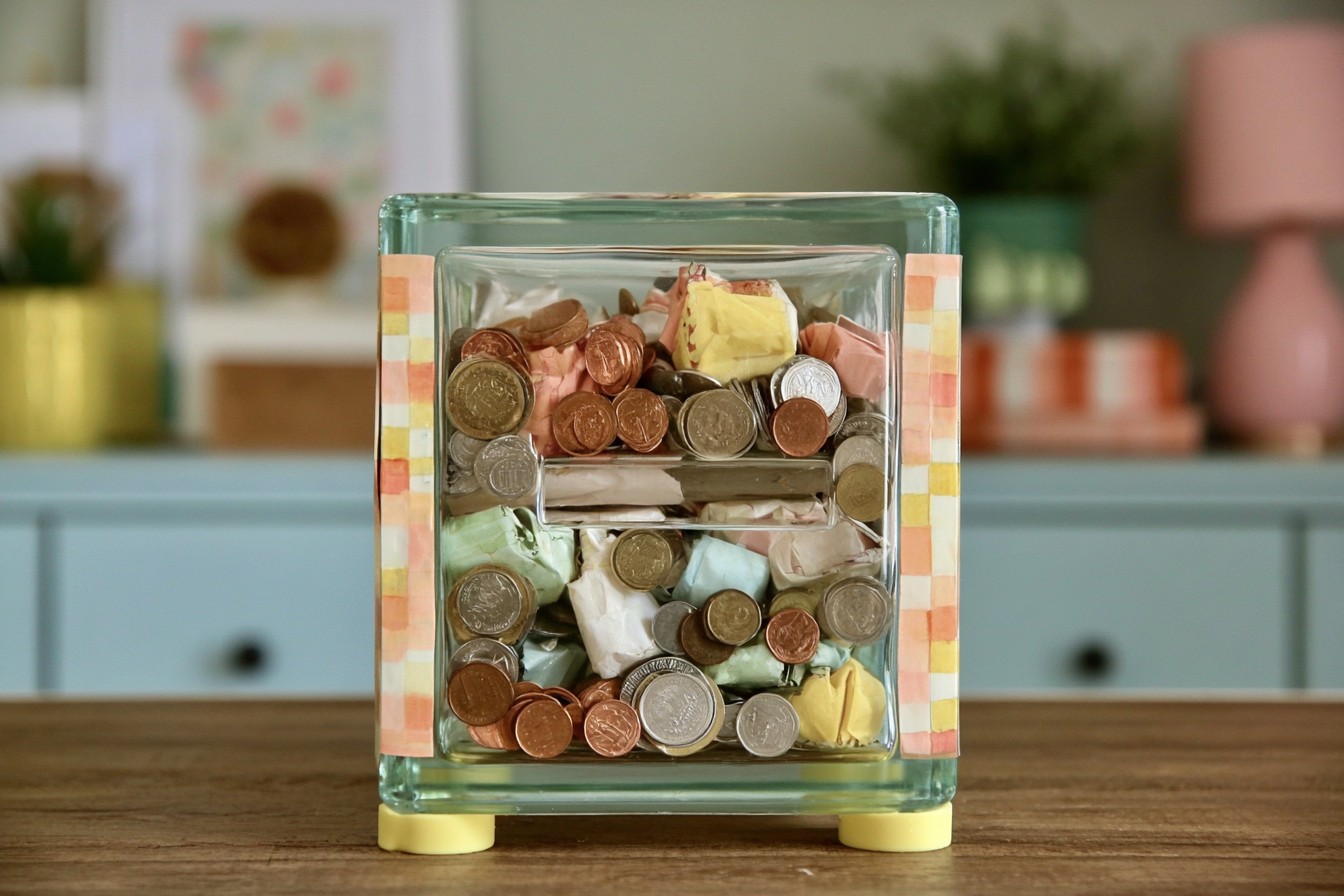
A glass craft block creates a contemporary bank that displays every contribution. Choose a block with a removable plastic access panel, then cut a suitable slot into that panel rather than drilling the glass. Smooth the plastic opening and test it with coins and folded notes. Decorate one side with translucent geometric film, frosted spray, or a simple painted border while keeping most of the surface clear. Rubber feet stabilize the finished piece and protect furniture. Display it on a console, office cabinet, or open shelf, where the rising contents provide a satisfying measure of progress toward a larger goal.
7. Hidden Book Bank
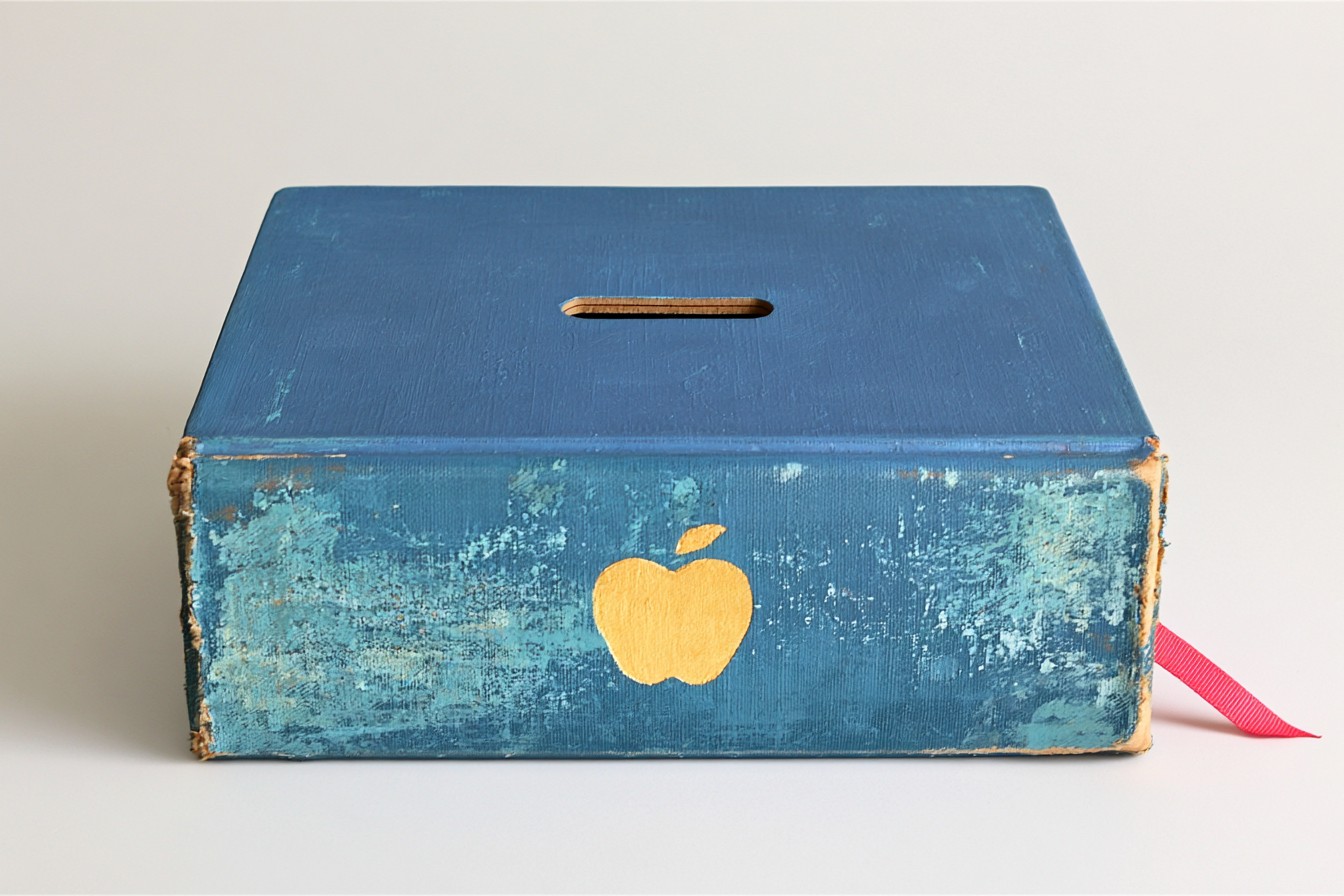
Turn a damaged hardback book into a savings compartment for a bookcase. Open several pages from the front, brush diluted glue around the remaining page edges, and press the book beneath heavy weights until dry. Mark a rectangle in the center and cut through the glued pages gradually with a sharp craft knife. Line the cavity with felt or decorative paper, then create a narrow coin slot through the top cover. A ribbon tab can help open the compartment when needed. Choose a cover that suits surrounding books, making this bank useful for private savings, emergency notes, or small valuables.
8. Industrial Pipe Bank
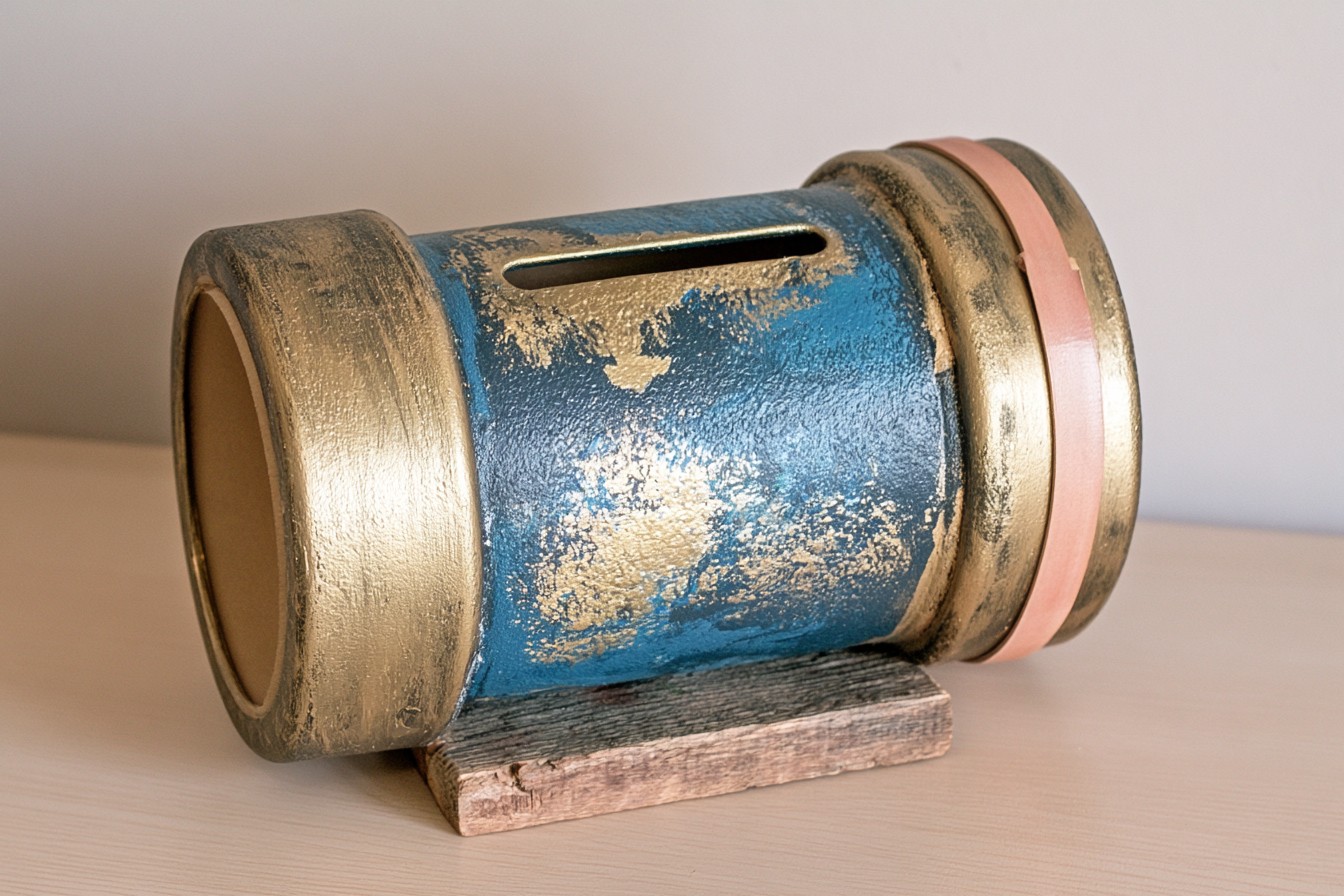
Construct an industrial style bank from a length of wide PVC pipe and two fitted end caps. Cut the pipe square, sand it thoroughly, and create a slot along the upper surface before assembly. Glue one end cap permanently while leaving the other removable for access. Apply plastic primer, followed by charcoal, bronze, or aged copper paint for a convincing metal effect. Wrap a narrow leather band around one end or mount the cylinder on a reclaimed wood base. This sturdy design complements workshops, home offices, gaming rooms, or loft interiors and holds a substantial mixture of coins and banknotes.
9. Ceramic Savings Pot
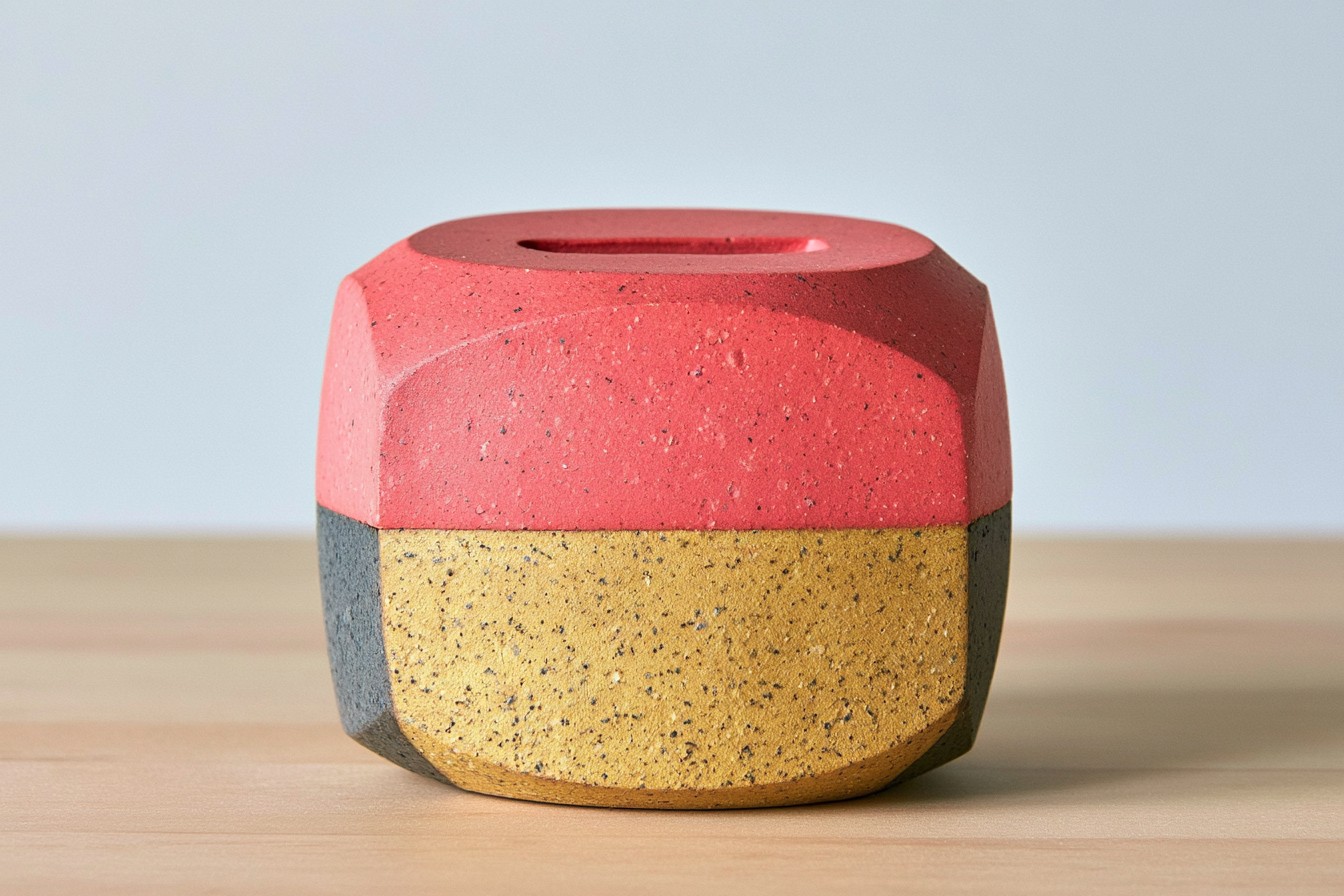
Shape a ceramic savings pot from stoneware clay using the coil or slab building method. Form a rounded vessel, compress every joint, and add a narrow slot while the clay remains leather hard. Create a fitted cork opening underneath or design a removable lid for retrieving money. After bisque firing, decorate the surface with speckled glaze, simple carved lines, or a two tone matte finish. Fire according to the clay and glaze requirements. The completed piece can resemble modern pottery rather than a conventional piggy bank, making it suitable for living room shelving, adult bedrooms, studios, or meaningful handmade gifts.
10. Bottle Savings Bank
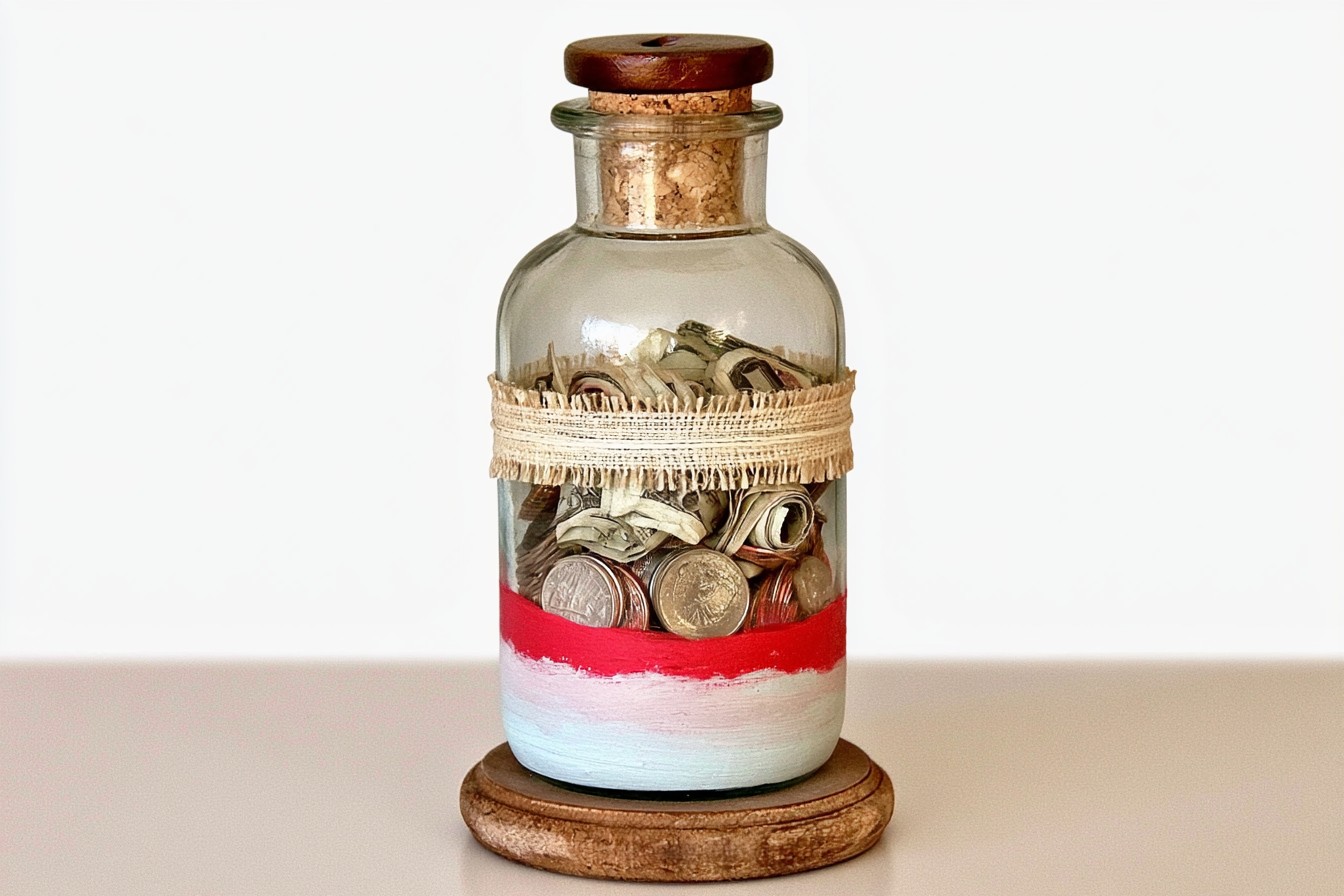
Reuse a wide glass bottle as a tall savings bank for coins and rolled notes. Remove labels, clean the interior completely, and choose a secure cork or wooden stopper. Cut or drill a slot through the stopper, smoothing the opening so paper money cannot tear. Decorate the bottle with a painted lower section, wrapped cane webbing, or a narrow band of linen around the center. Keep enough glass visible to monitor progress. A stable wooden coaster underneath reduces the chance of tipping. Use this bank for vacation spending, dining funds, annual subscriptions, or other goals that benefit from regular contributions.
11. Divided Savings Box
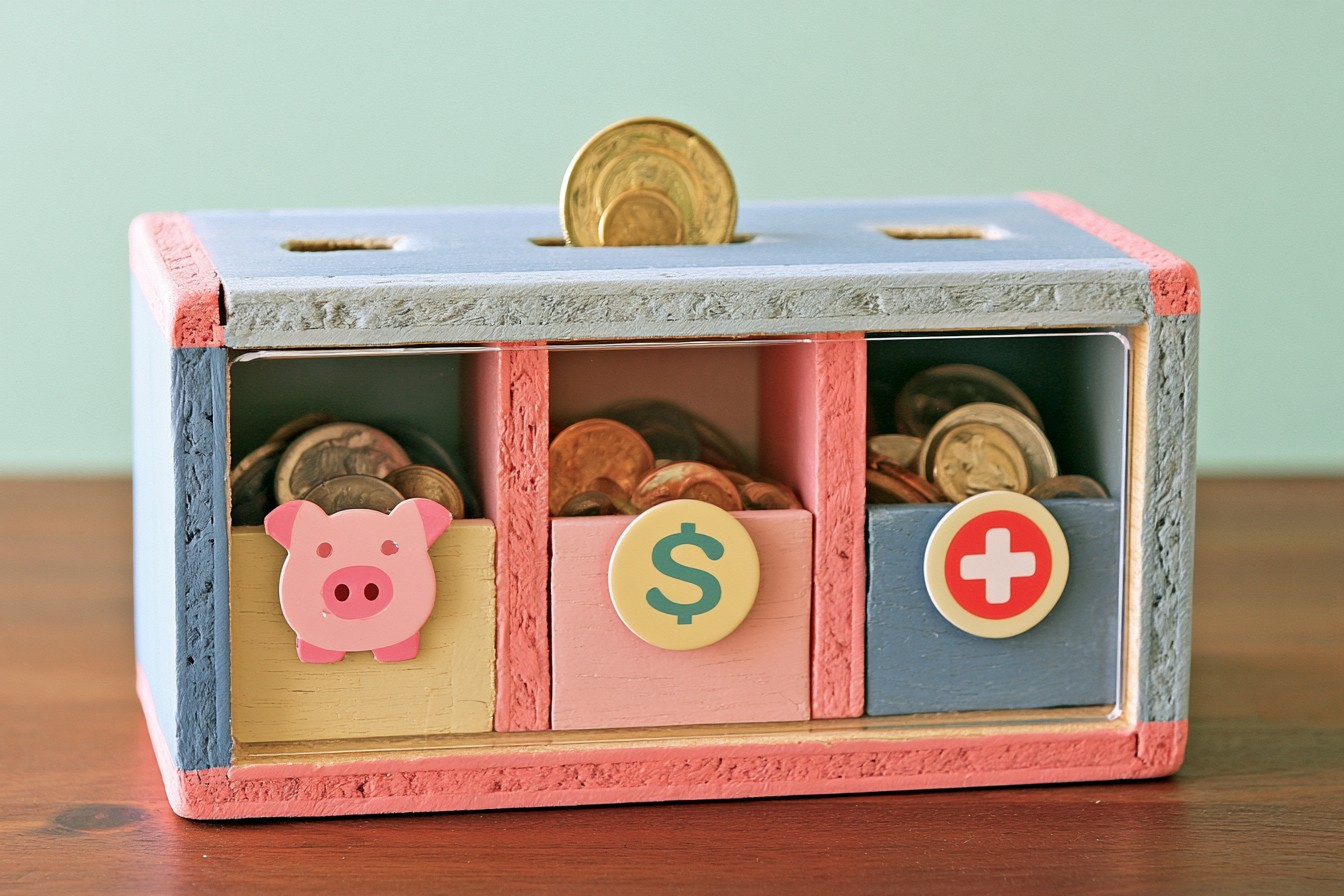
Make one wooden bank with separate compartments for several financial priorities. Build a rectangular plywood box, then install internal dividers before attaching the clear acrylic front. Cut three slots across the top, aligning each opening with its own section. Add a removable back panel secured with small screws so every category can be emptied independently. Stain the wood, paint the edges, or apply contrasting veneer for a polished appearance. Small symbols beneath each compartment can distinguish spending, saving, investing, travel, or emergency goals. This organized design works particularly well on home office shelves and supports a more intentional budgeting routine.
12. Geometric Cardboard Bank
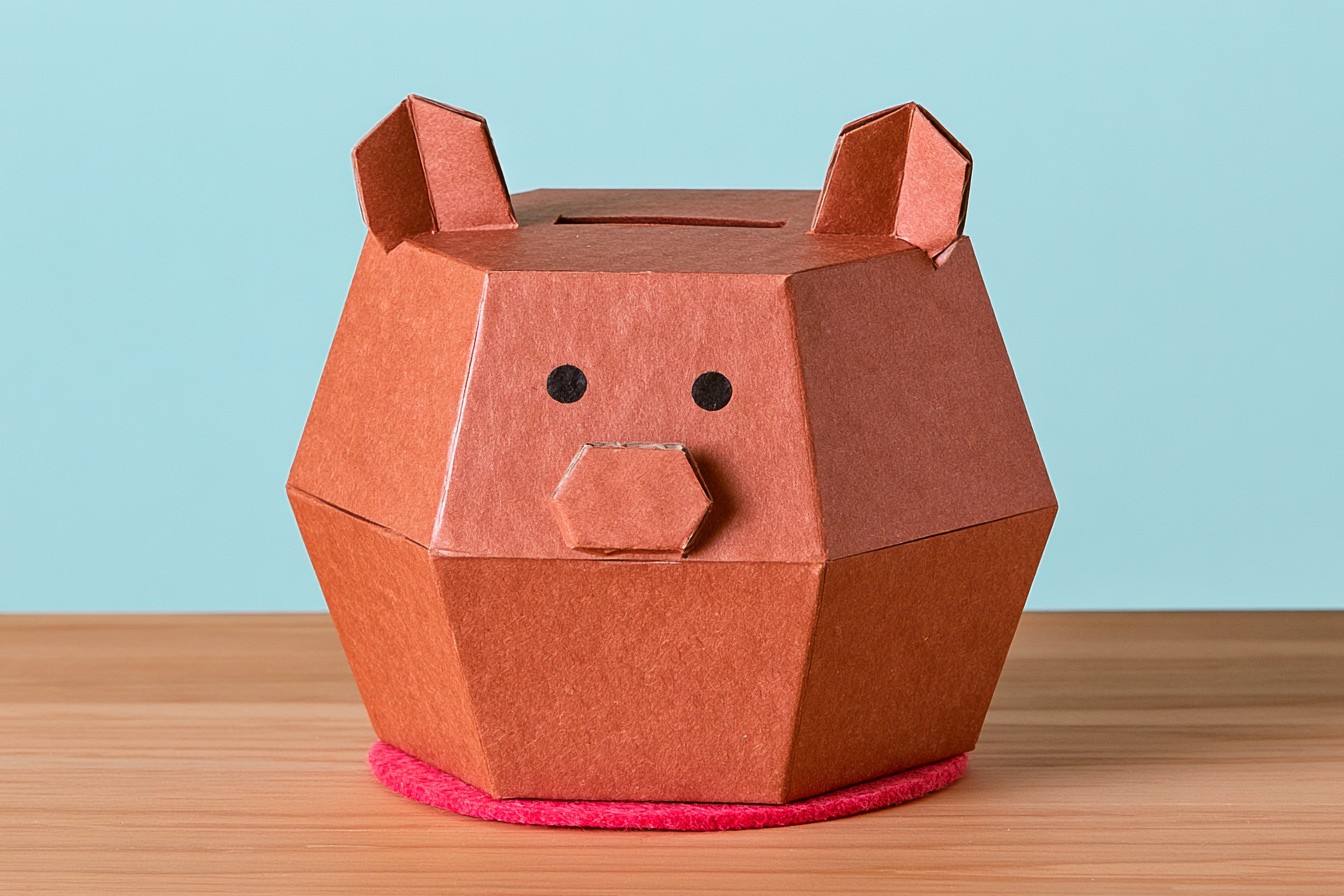
Create an inexpensive geometric bank from corrugated cardboard and decorative paper. Draft a faceted template, cut the panels, and score every fold before assembly. Reinforce the interior seams with kraft tape, leaving one hidden flap that can reopen when savings are needed. Cut a narrow slot into the top panel, then cover the exterior with leftover wallpaper, marbled paper, or linen fabric. Keep patterns aligned across adjoining faces for a professional result. A cardboard base covered with felt improves stability. This lightweight bank suits rental homes, temporary savings challenges, craft desks, or anyone wanting a stylish project without specialist tools.
13. Reclaimed House Bank
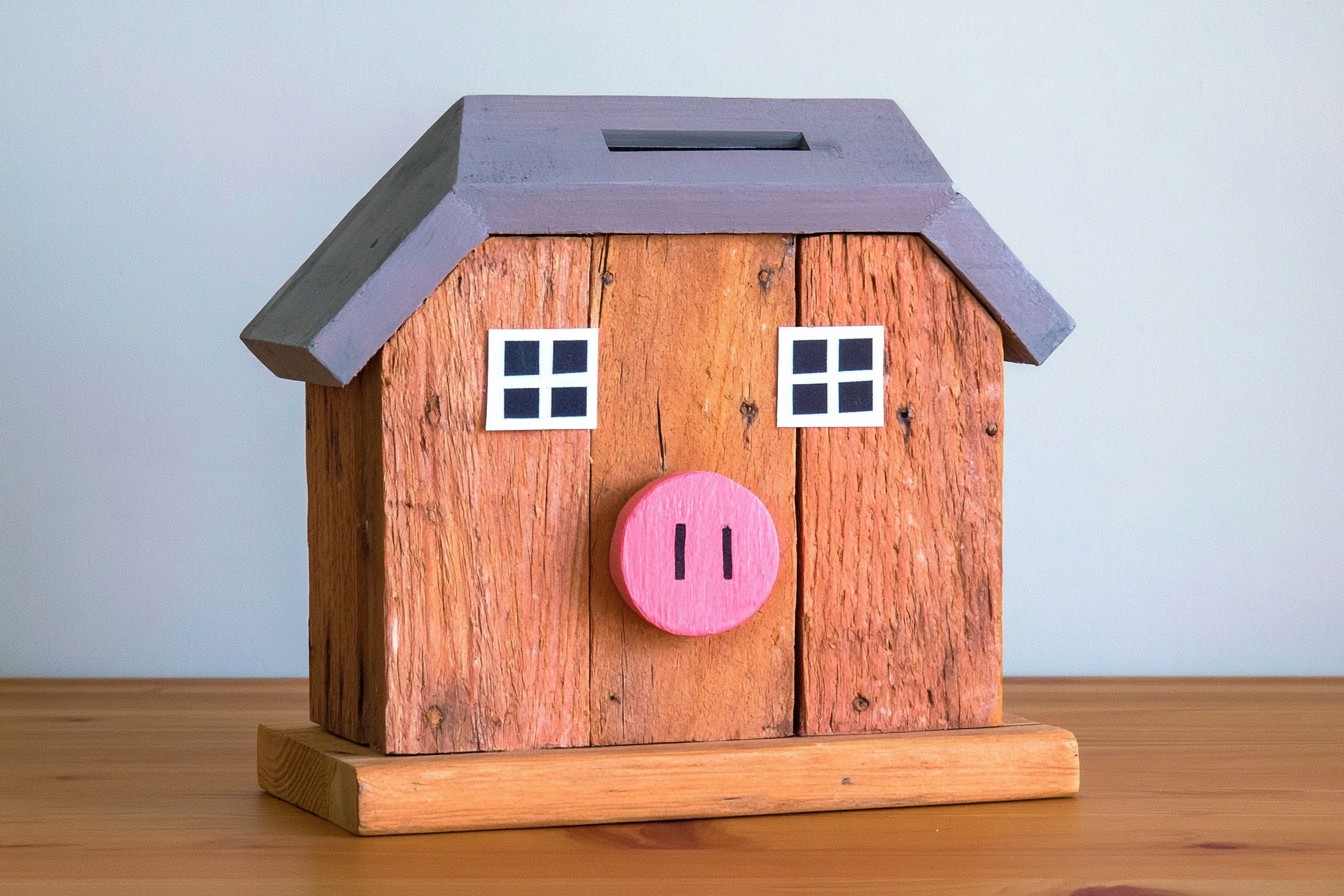
Build a compact house shaped bank from reclaimed wood for rustic or Scandinavian interiors. Cut two side panels, a base, front, back, and angled roof pieces, checking that every joint meets neatly and cleanly. Add a slot along the roof before gluing the structure together. Secure the base with screws so it remains removable, then sand splinters while preserving beautiful natural grain and nail marks. Finish the wood with clear wax, whitewash, or muted gray stain. Small brass details can define the roofline without overwhelming the design. Display it on an entryway console, bookshelf, or mantel as functional architectural decor.
14. Suitcase Travel Fund
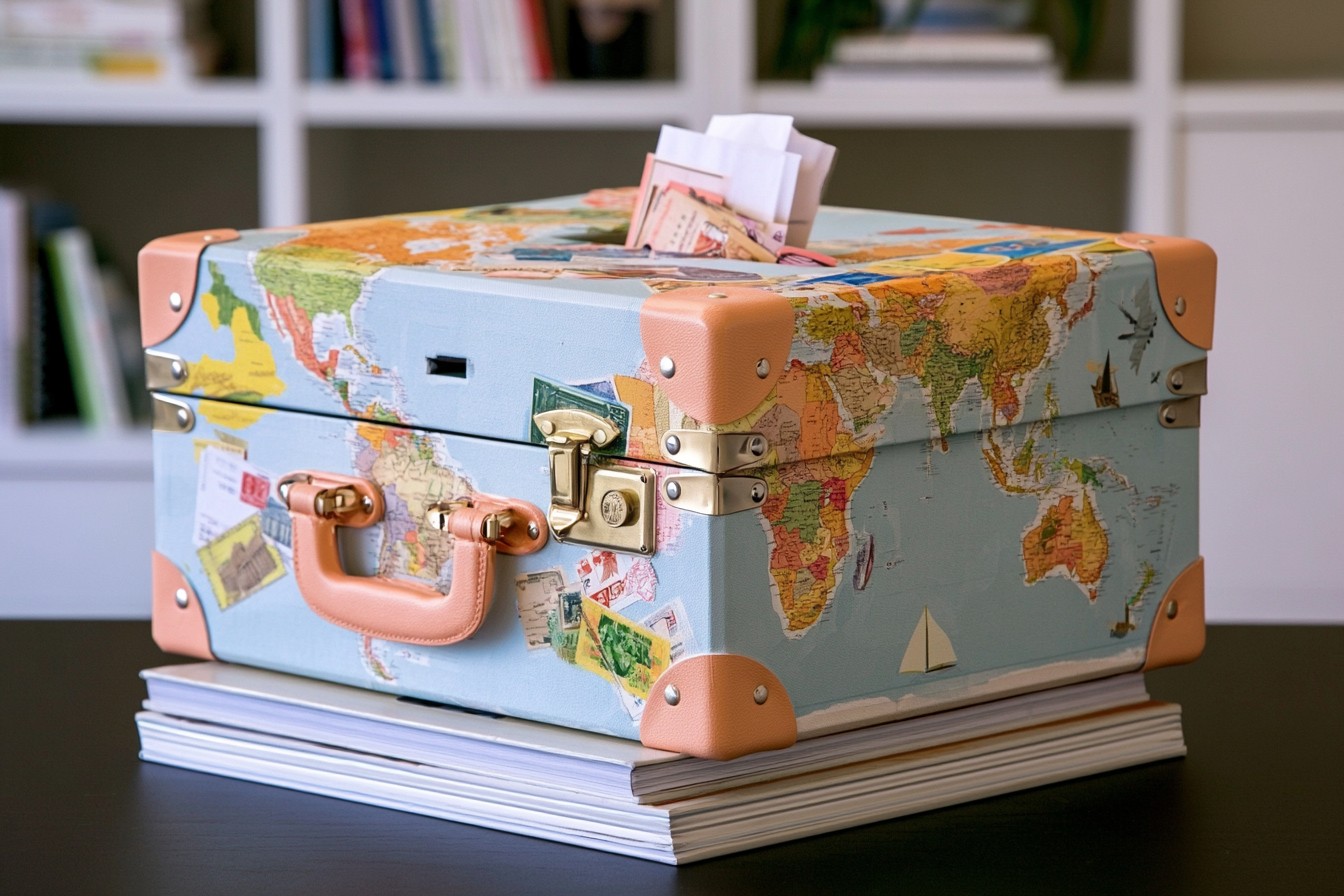
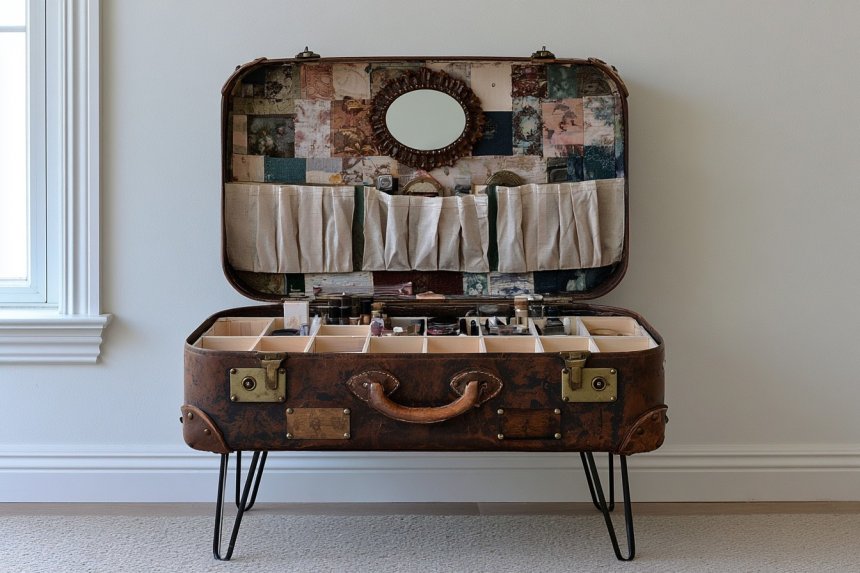
Convert a vintage style suitcase or rigid storage case into a dedicated travel fund. Mark a slot in the upper panel, cut it with the appropriate tool, and reinforce the edges from inside. Preserve an existing worn finish or recover the case with map fragments, linen, or faux leather. Add metal corner protectors and a comfortable handle if the originals feel weak. The working latch provides easy access to notes, coins, tickets, and travel documents. Display the bank on stacked books, a bedroom shelf, or an office cabinet. It also makes a thoughtful gift for couples planning a journey together.
15. Fabric Covered Bank
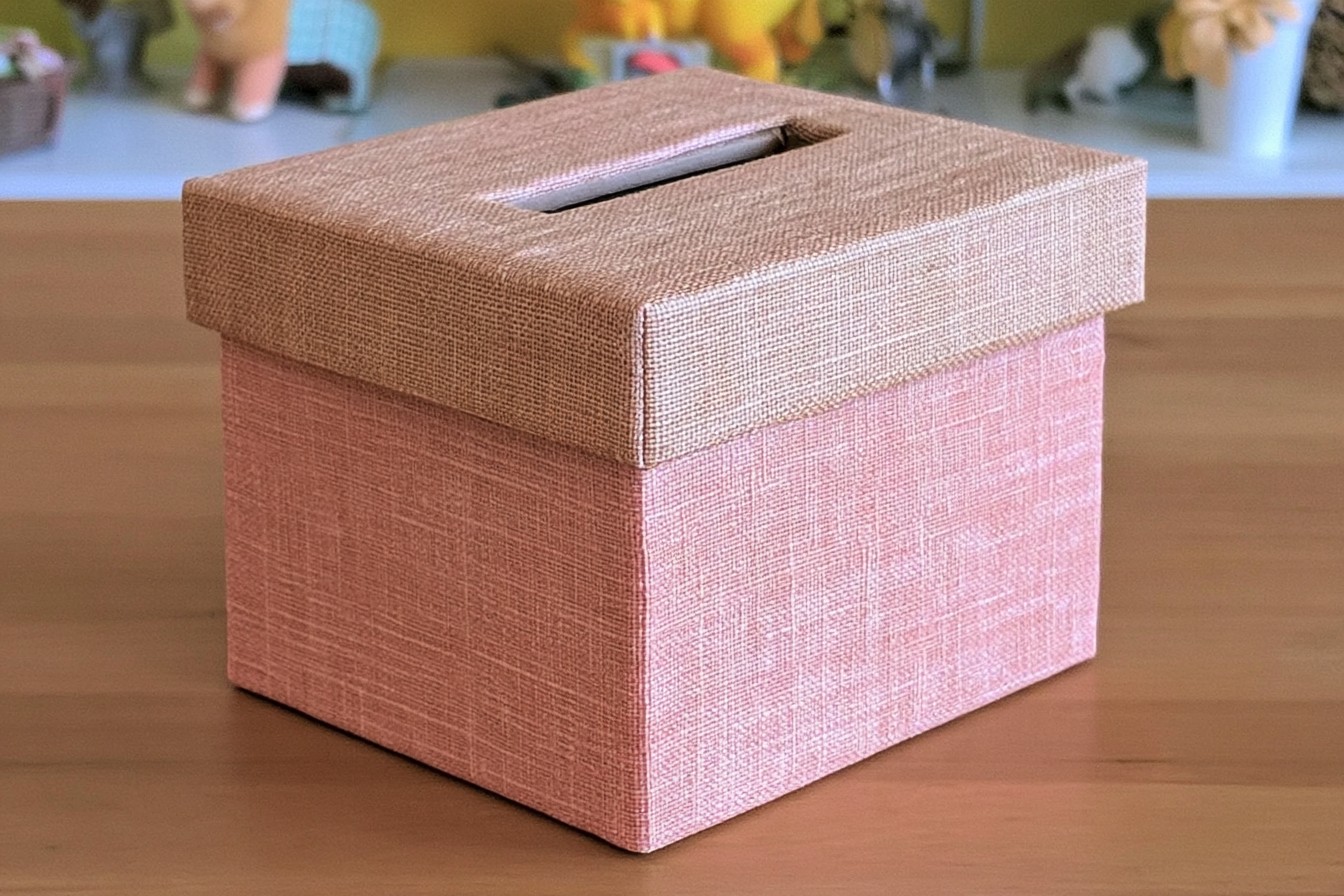
Turn a strong, durable lidded box into a soft tactile bank using leftover upholstery or clothing fabric. Cut a slot through the lid, reinforce its underside with cardboard, and cover both box and lid separately so access remains easy. Apply fabric adhesive in thin layers, smoothing from the center outward to prevent wrinkles. Fold corners carefully and conceal raw edges with cotton tape or narrow trim. Linen, tweed, denim, or geometric cotton can coordinate the bank with existing decor. Add a small button, leather tab, or embroidered symbol. This project suits dressing rooms, bedrooms, sewing spaces, or handmade gift baskets.
16. Copper Tube Bank
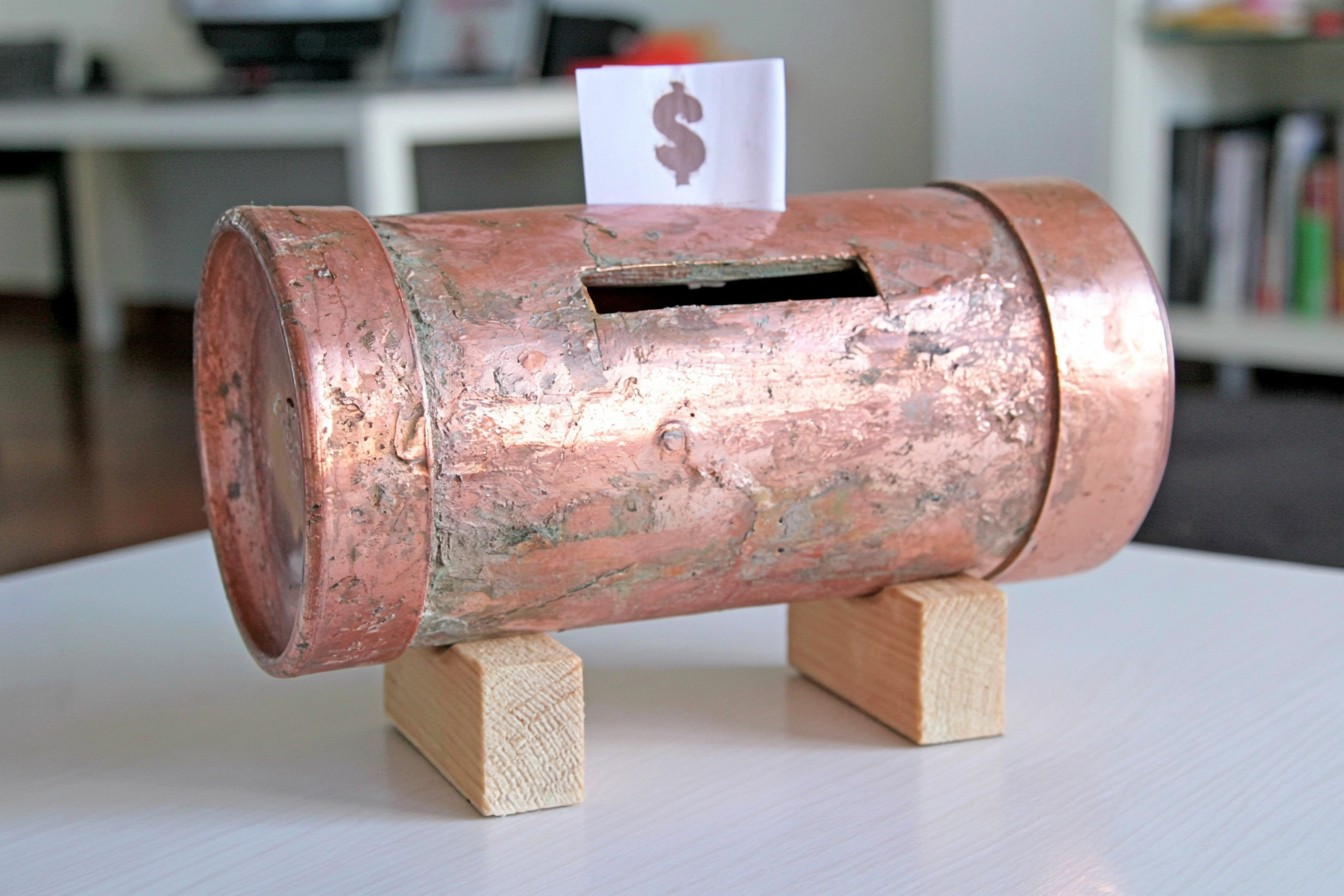
Create a bank with an aged metal appearance using wide copper plumbing tube. Cut a short section with a pipe cutter, deburr both ends, and form a coin slot using a rotary tool suitable for metal. Fit one permanent cap and one removable cap, adding a thin rubber ring if necessary for grip. Polish the copper for a bright finish or encourage a controlled patina for deeper color. Mount the tube horizontally on two small wooden supports to prevent rolling. This distinctive bank complements industrial desks, masculine bedrooms, workshops, or contemporary shelves while providing durable storage for heavier coin collections.
17. Wall Savings Tracker
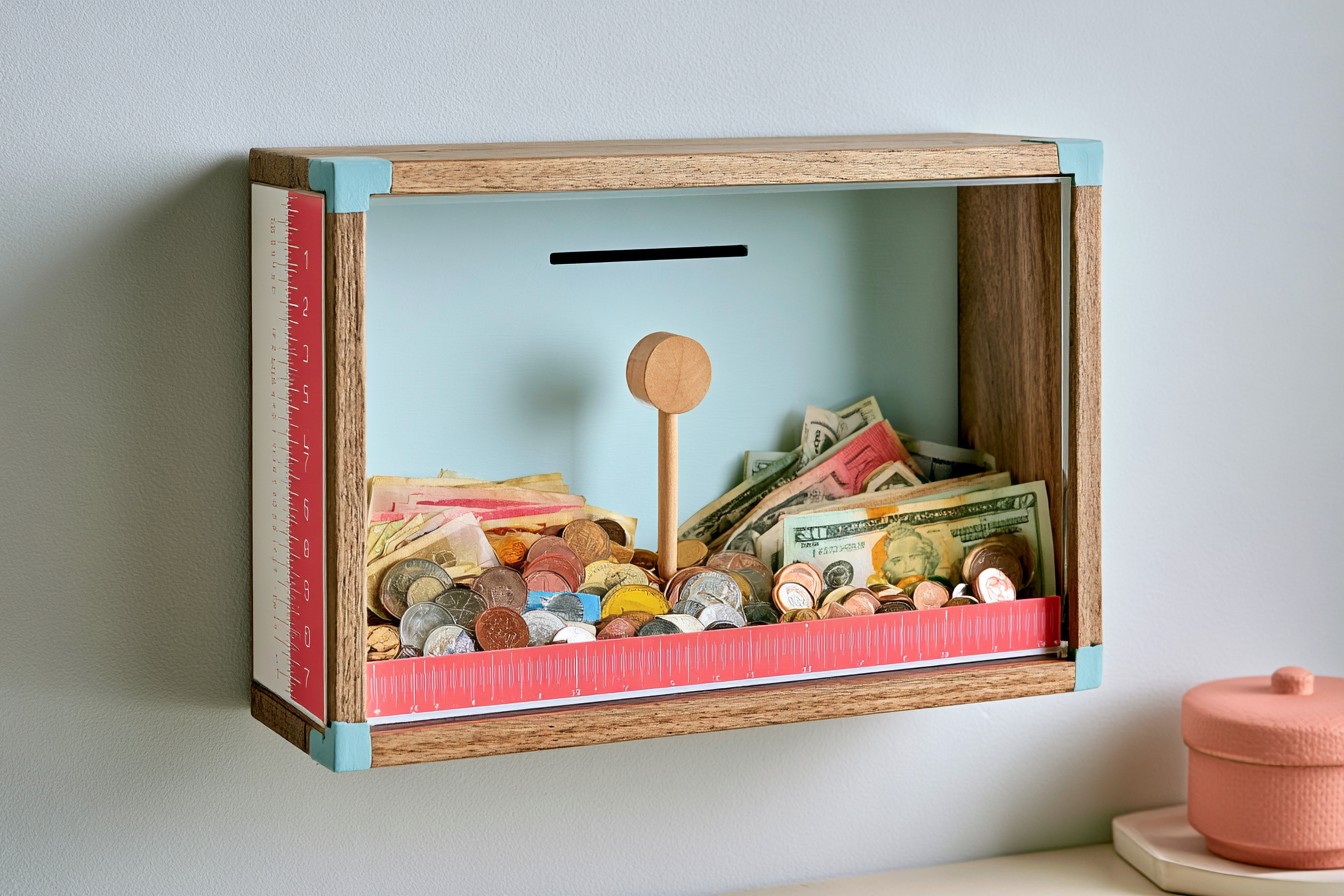
Combine a wall mounted money bank with a visible progress tracker for a motivating financial display. Build a shallow wooden box with a clear acrylic front, removable base, and slot along the top. Mark a vertical scale on a separate side strip rather than covering the transparent panel. As coins or notes accumulate, move a wooden marker upward to record the saved total. Finish the frame with natural stain, matte paint, or contrasting corners. Hang it securely near a desk, budgeting station, or bedroom dresser. This interactive design works especially well for home deposits, travel plans, renovations, or milestone purchases.
MORE IDEAS


Share
What's Your Reaction?
 Like
0
Like
0
 Dislike
0
Dislike
0
 Love
0
Love
0
 Funny
0
Funny
0
 Angry
0
Angry
0
 Sad
0
Sad
0
 Wow
0
Wow
0