11 Retro 1970s Kitchen Details With Color, Warmth, and Function

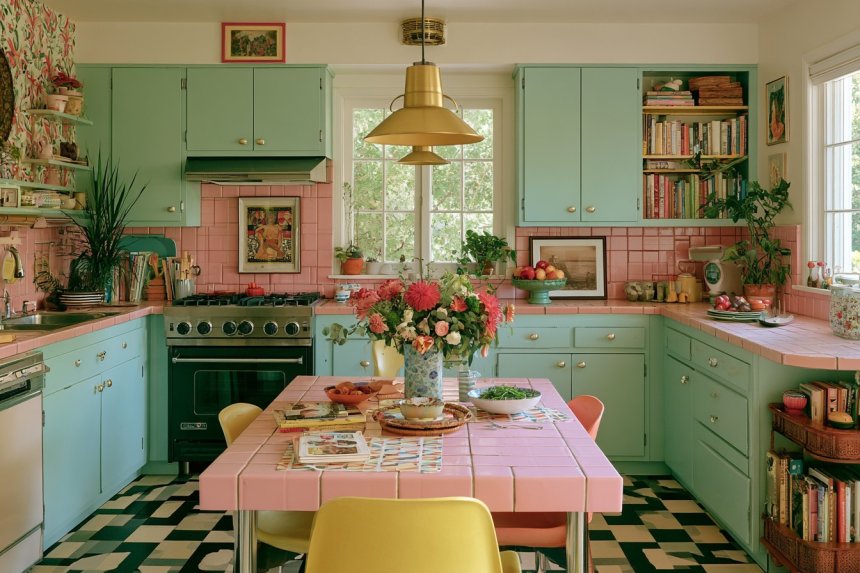
A 1970s-inspired kitchen can feel warm and expressive without reproducing every feature of the decade. Earthy green, burnt orange, walnut, geometric pattern, smoked glass, and curved furniture provide recognizable character when used selectively. Begin with the room’s permanent elements and choose one or two period references rather than applying a different retro treatment to every surface.
Modern function should remain the priority. Cabinets need durable finishes, worktops must tolerate food preparation, ventilation should suit the cooking equipment, and appliances require safe electrical connections and service access. Authentic vintage pieces can add personality, but old wiring, damaged finishes, unstable furniture, and worn materials should be assessed before use. These approaches combine seventies color and texture with practical storage, manageable maintenance, and a kitchen layout suited to contemporary routines.
1. Build the Palette Around Avocado Green and Walnut
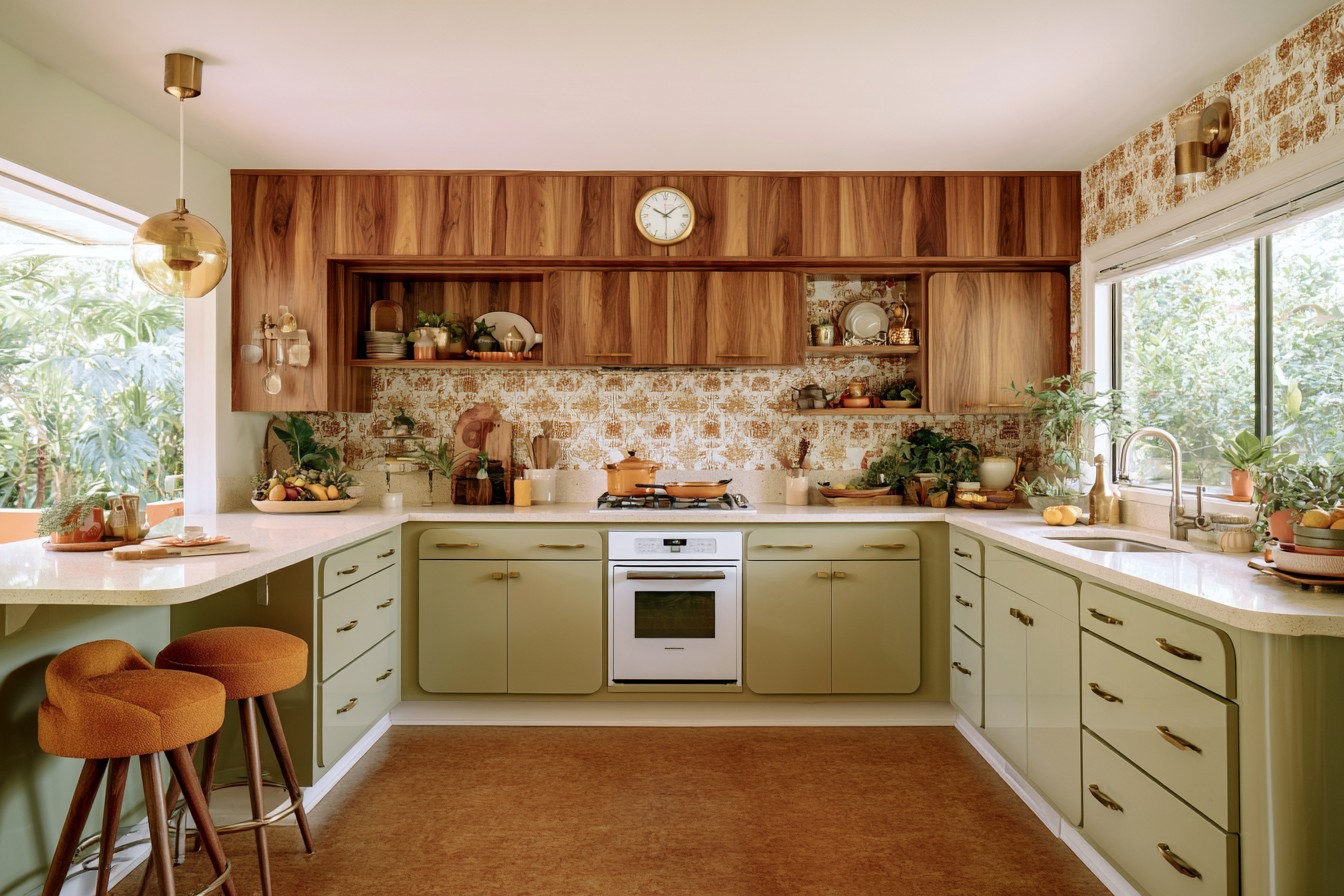
Avocado green and walnut create an immediate seventies reference because the muted color balances the warm grain of the timber. Use green on base cabinets, a pantry wall, or a tiled backsplash, then allow walnut to appear through selected cabinet fronts, shelving, or dining furniture. Cream or warm white can separate the darker elements and keep the room from feeling overly enclosed.
Test the green beside the actual timber sample under daylight and installed lighting. Some avocado shades lean yellow, while others contain gray or olive undertones that react differently with wood. Use a durable washable finish on cabinet doors and cooking-area walls. If the kitchen is compact, limit walnut to one section rather than covering every tall cabinet. Small black, bronze, or brushed metal details can define the palette without introducing another dominant color.
2. Create One Geometric Backsplash as the Main Pattern
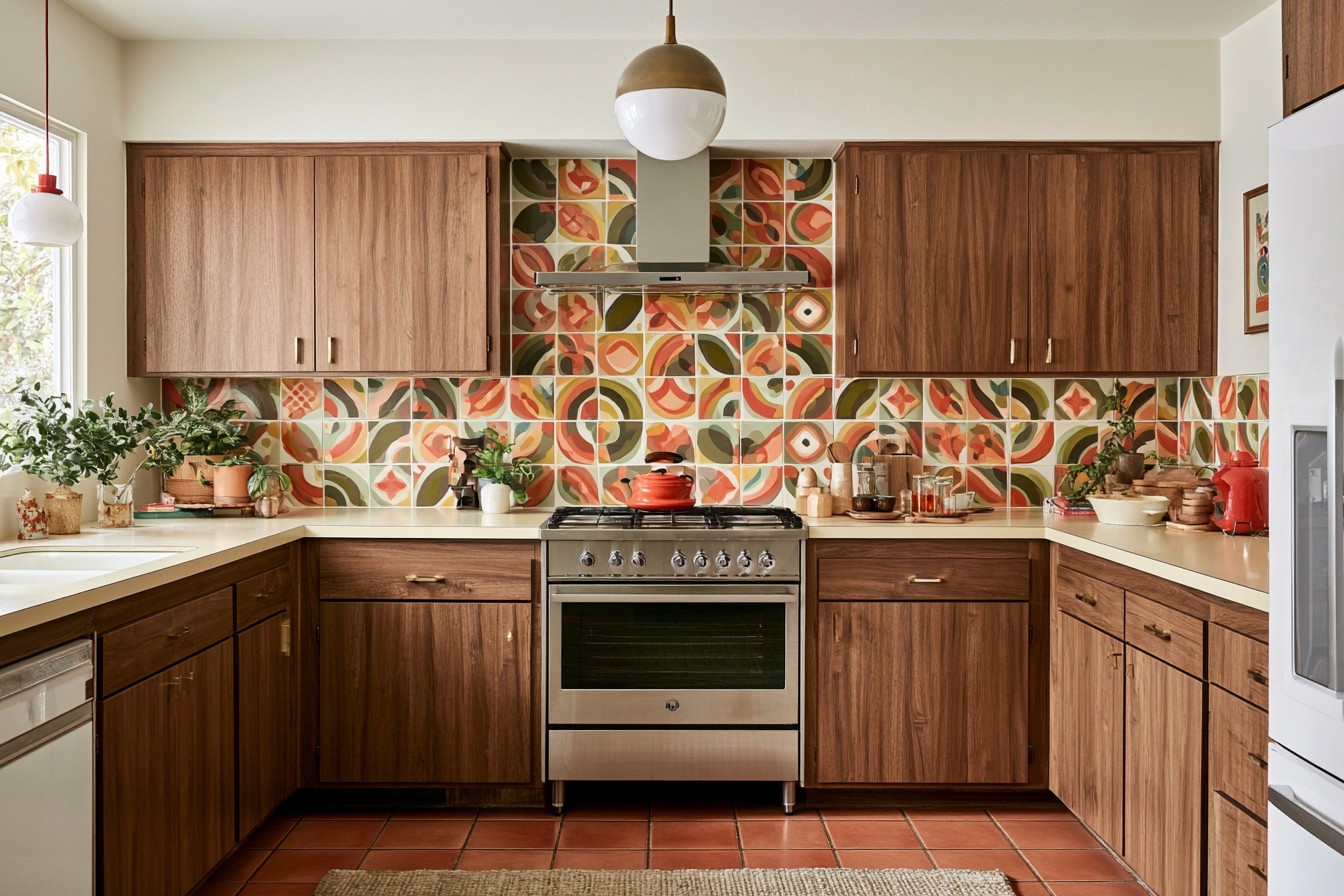
A geometric backsplash can introduce seventies energy without committing the floor, walls, and cabinetry to multiple patterns. Choose a design that repeats two or three colors already present in the room, such as olive, cream, brown, ochre, or burnt orange. Applying it to one uninterrupted preparation wall usually creates a clearer effect than scattering small patterned sections around the kitchen.
Select a surface appropriate for heat, moisture, food splashes, and regular cleaning. Intricate grout layouts may require more maintenance than large panels or bigger-format tiles. Plan the pattern around outlets, cabinet edges, the range, and corners before installation so narrow cuts do not interrupt the design. Keep surrounding cabinet fronts relatively plain. A strong backsplash will have more impact when it is not competing with patterned worktops, curtains, and flooring at the same time.
3. Introduce Walnut-Style Cabinetry With Modern Construction
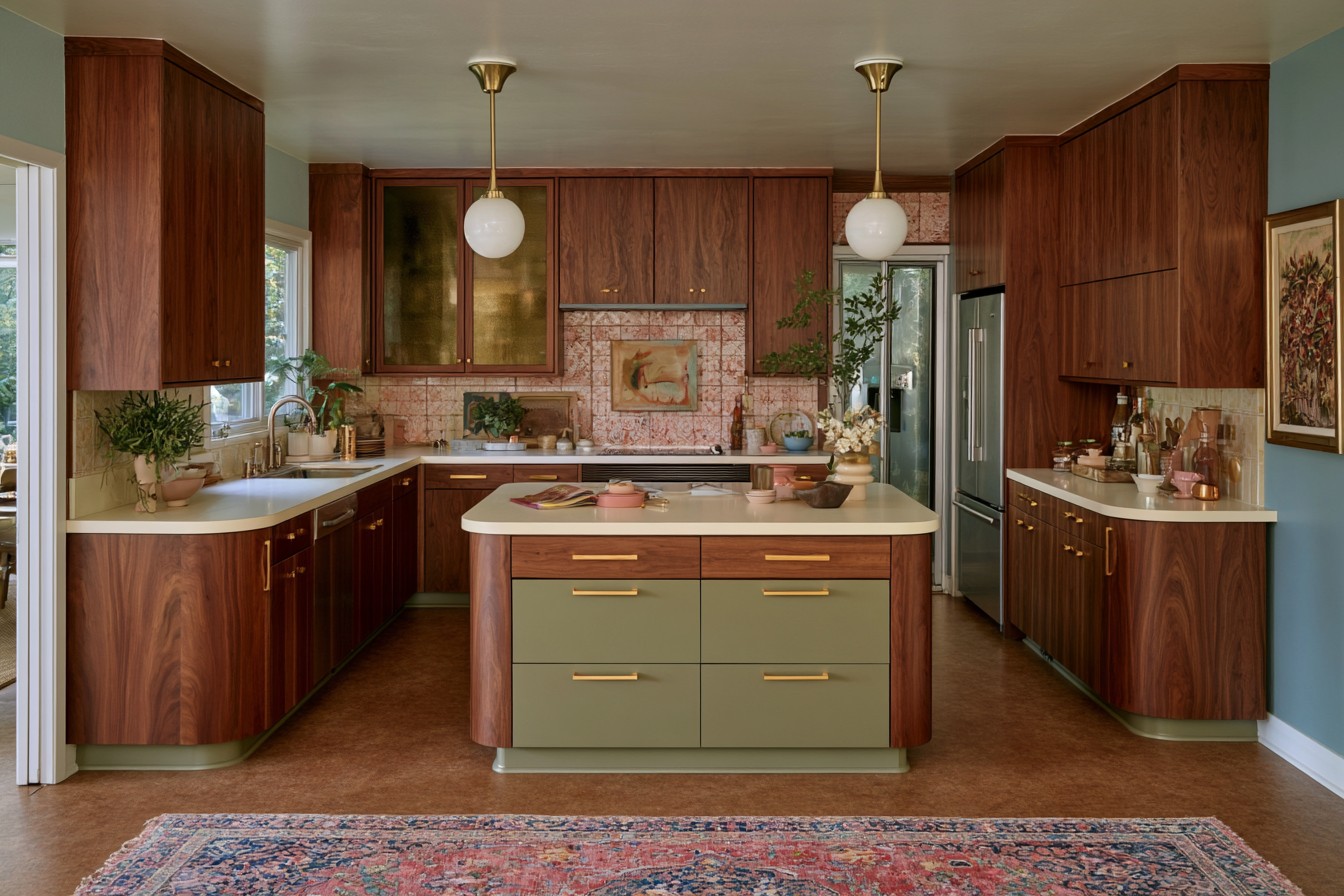
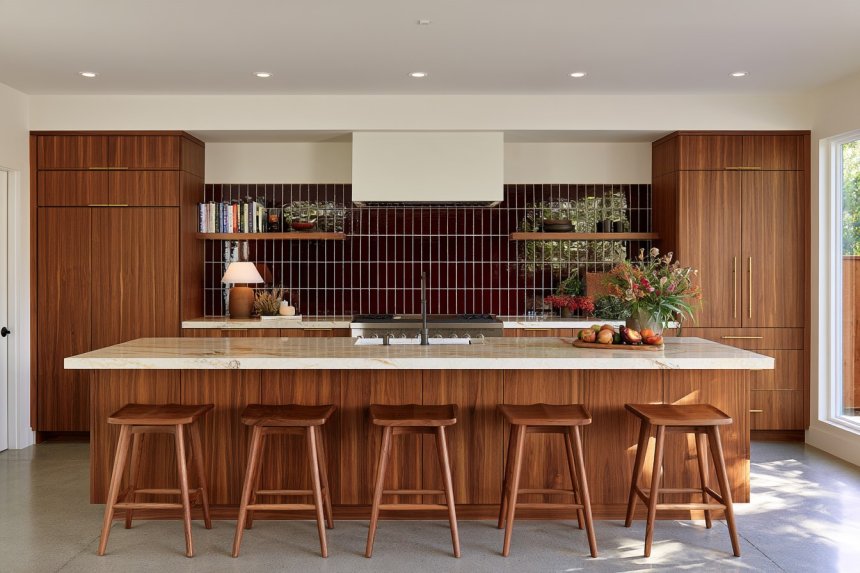
Flat walnut-style doors can recreate the warm horizontal appearance of seventies cabinetry while using contemporary hinges, drawers, and internal storage. Natural veneer, engineered panels, and high-quality timber-effect finishes offer different price points and maintenance needs. Continuous grain across neighboring fronts creates a refined look, although it requires more careful fabrication.
Dark timber can absorb light, so combine it with a pale worktop, reflective backsplash, or lighter upper cabinets where needed. Integrated pulls or slim handles maintain the clean front, but they should remain comfortable to use with wet hands. Protect veneer edges from repeated moisture and confirm that appliance housings provide required ventilation. If updating existing cabinets, inspect the boxes and hinges before investing in replacement doors; damaged or poorly aligned structures may need more extensive work.
4. Design a Practical Retro Breakfast Nook
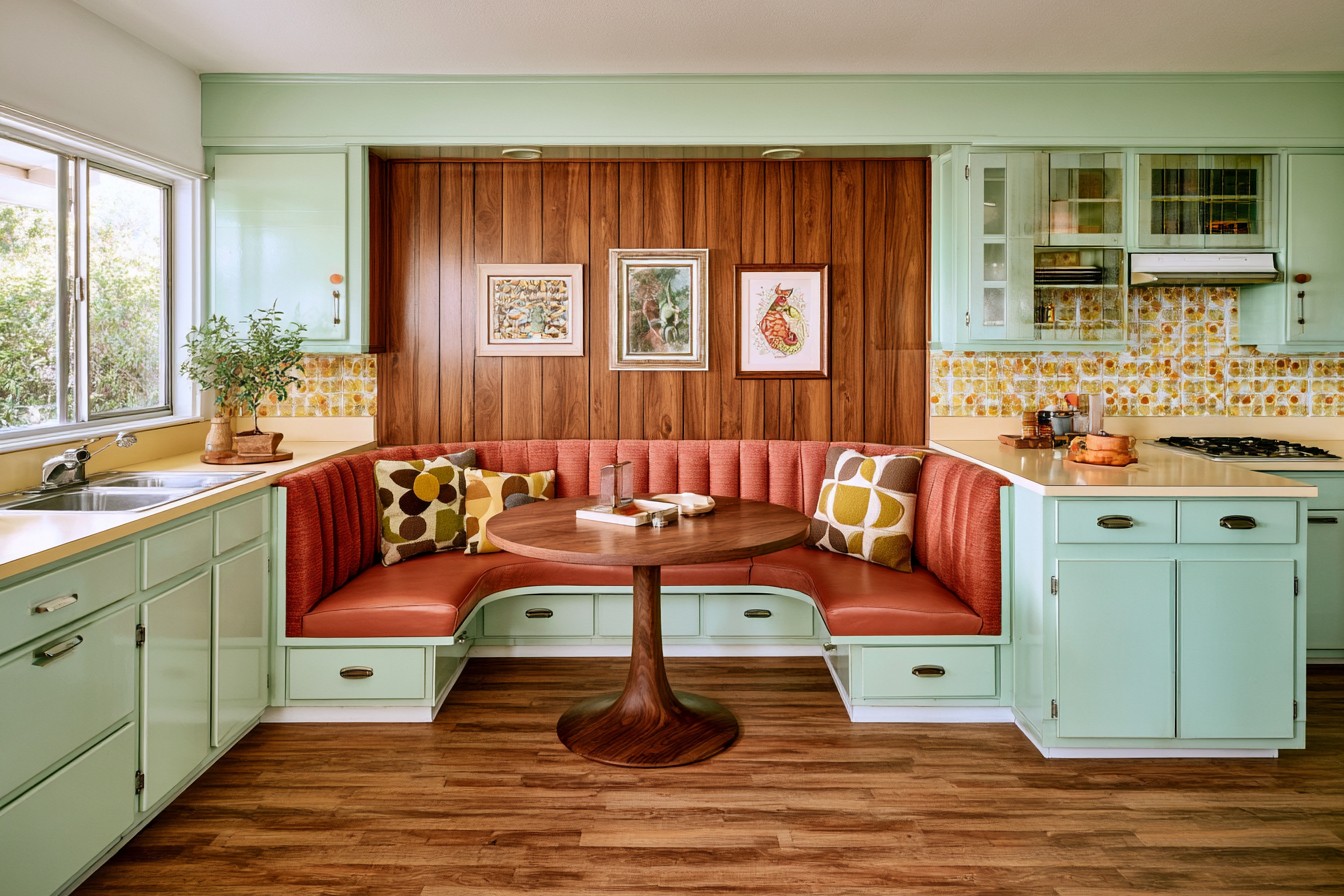
A compact breakfast nook can bring curved upholstery and sociable seating into a kitchen without requiring a formal dining room. Use an L-shaped banquette or two rounded chairs around a pedestal table. A table with a central base often provides easier legroom than one with four corner legs in a confined arrangement.
Measure the finished seat height, cushion depth, table position, and space needed to enter the nook. Upholstery should tolerate food spills and regular cleaning, while removable covers may simplify maintenance. Storage beneath the bench can hold table linens or occasional serving pieces, provided lids and drawers open safely. Burnt orange, olive, mustard, or brown can introduce retro color through upholstery without covering the entire kitchen. Keep the route between the nook and working cabinets unobstructed.
5. Rework Checkerboard Flooring in Earthy Colors
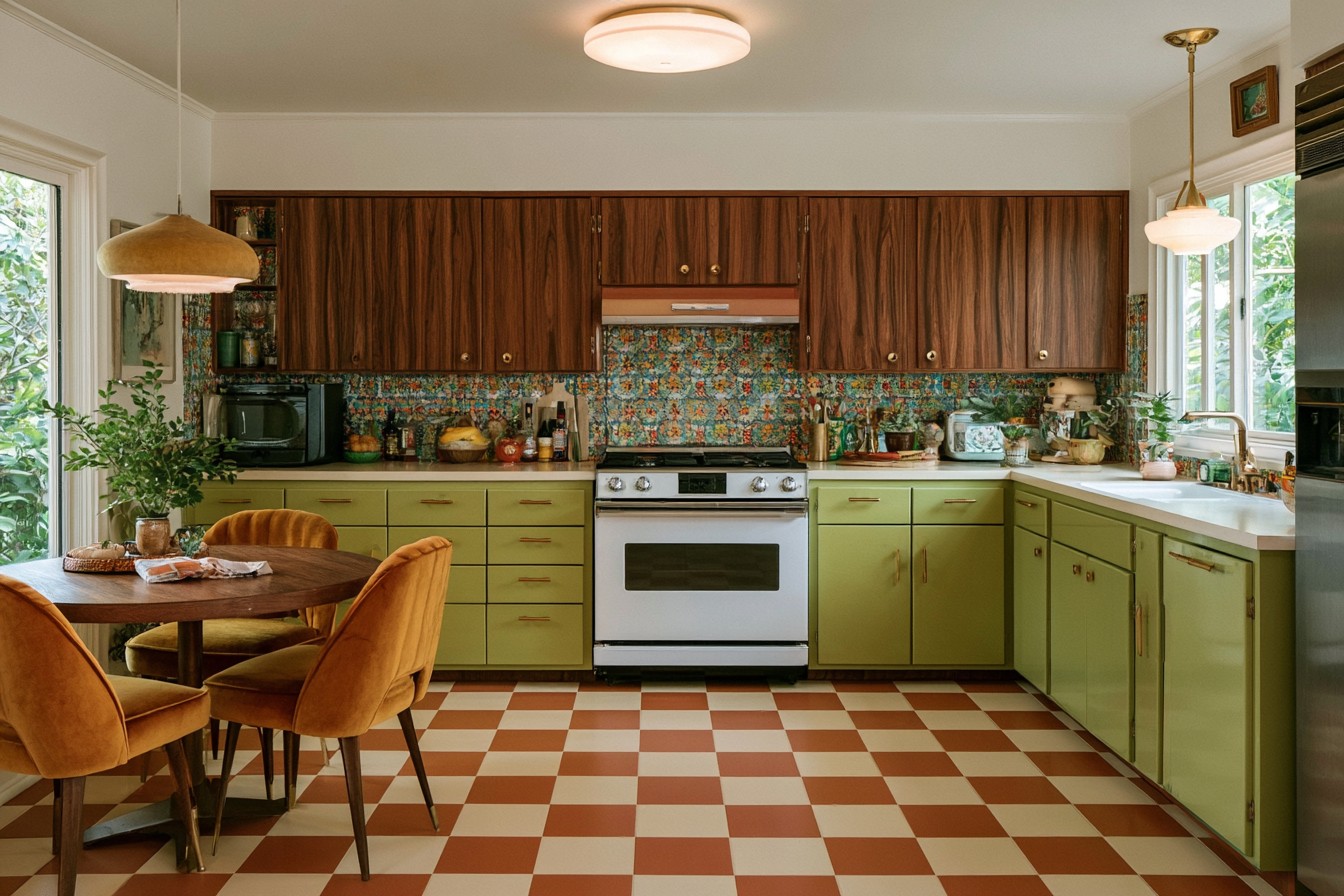
A checkerboard floor does not have to rely on sharp black and white. Olive and cream, clay and beige, or brown and warm gray can create a softer seventies interpretation. The pattern works best when cabinet doors and the backsplash remain comparatively restrained. Larger squares create a bold graphic effect, while smaller formats can feel busier in an already detailed room.
Choose flooring designed for kitchen use with appropriate durability, cleaning performance, and grip. The subfloor must be suitable for the product and sufficiently level for installation. In an older property, existing flooring and adhesives of uncertain age should be assessed before sanding, cutting, or removal. Plan the checkerboard alignment from the main entrance and visible cabinet run. Avoid narrow fragments around the room edges where possible, and keep transitions to neighboring floors flat and secure.
6. Soften the Layout With a Rounded Kitchen Island
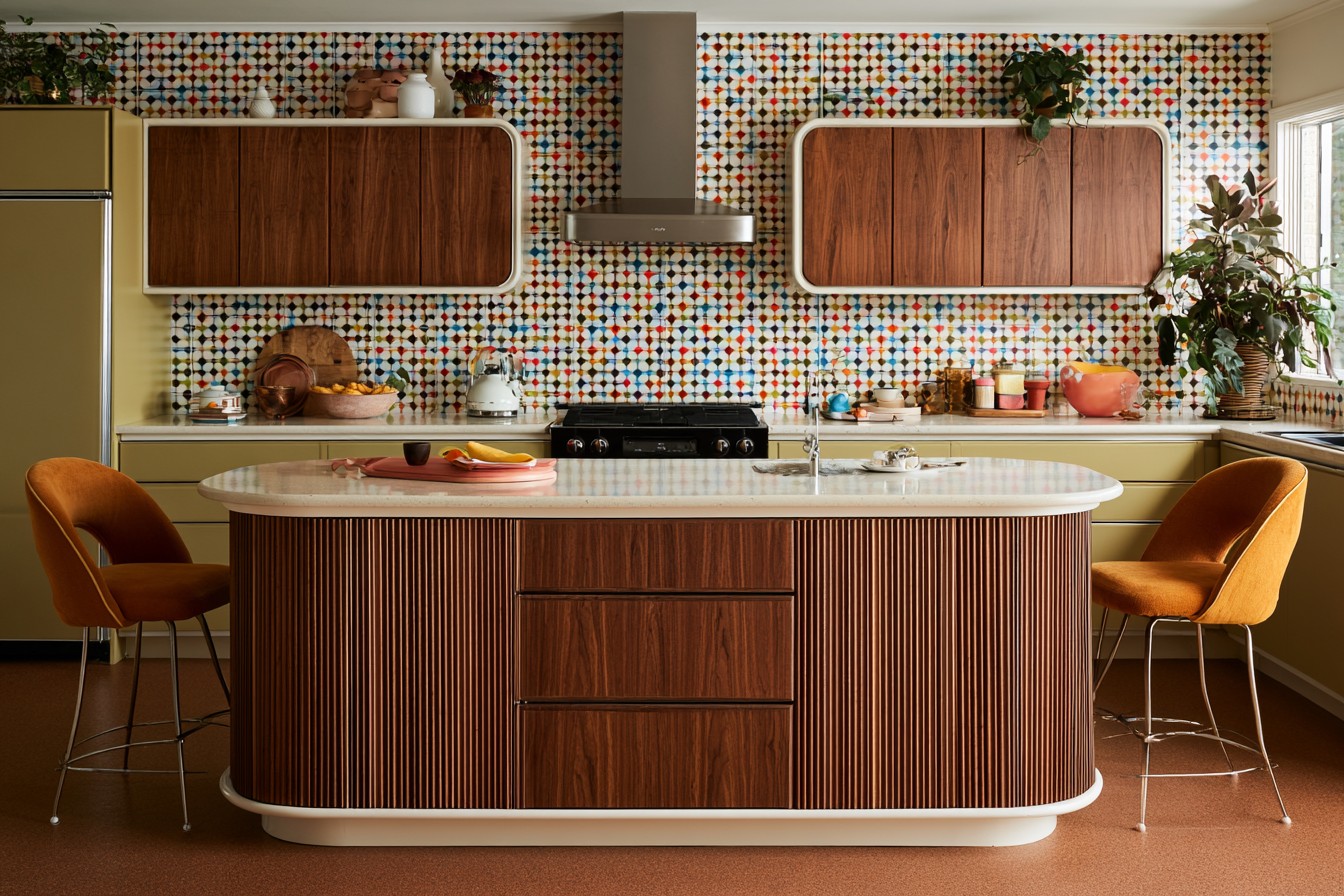
A rounded island can soften a kitchen dominated by straight cabinet runs and introduce the curved forms associated with the decade. One curved end may provide seating, open shelving, or a display surface while the working side remains straight enough for drawers and appliances. This shape can also reduce the severity of a projecting corner in a busy route.
Mark the island footprint and required circulation on the floor before fabrication. Curved cabinetry and counters may be more expensive and can reduce straightforward internal storage. Seating overhang, knee room, drawer movement, and appliance clearances must be planned together. Electrical or plumbing connections require professional coordination where included. A plain worktop allows the island shape to remain visible, while a restrained orange or green base can reinforce the retro palette.
7. Display Vintage Ceramics on Limited Open Shelving
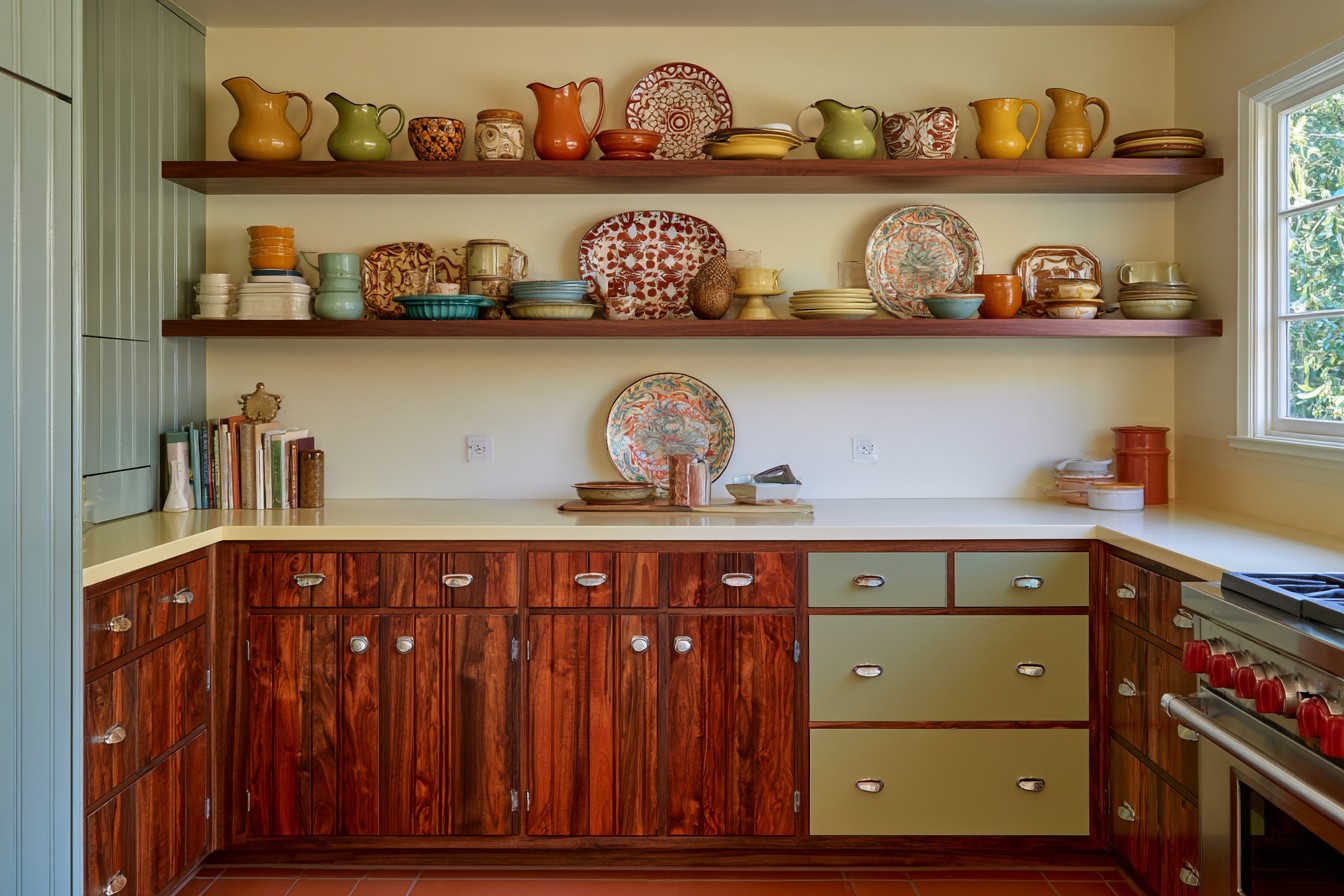
Vintage ceramics can introduce authentic color and shape when displayed as a small edited collection. Group pieces by glaze, color, or function and leave open space between them. One or two shelves near the dining area may be easier to maintain than open storage across the entire cooking wall.
Shelves must be securely fixed and rated for the combined weight of ceramic objects. Heavy pieces belong at lower levels, and fragile items should not sit above frequently used seating or preparation surfaces. Inspect older ceramics for cracks, unstable bases, and damaged glaze. Do not assume decorative or vintage pieces are suitable for food or drink unless their material and intended use are known. Keep them away from heavy grease and steam, where textured surfaces become harder to clean.
8. Use Smoked Glass as a Controlled Cabinet Detail
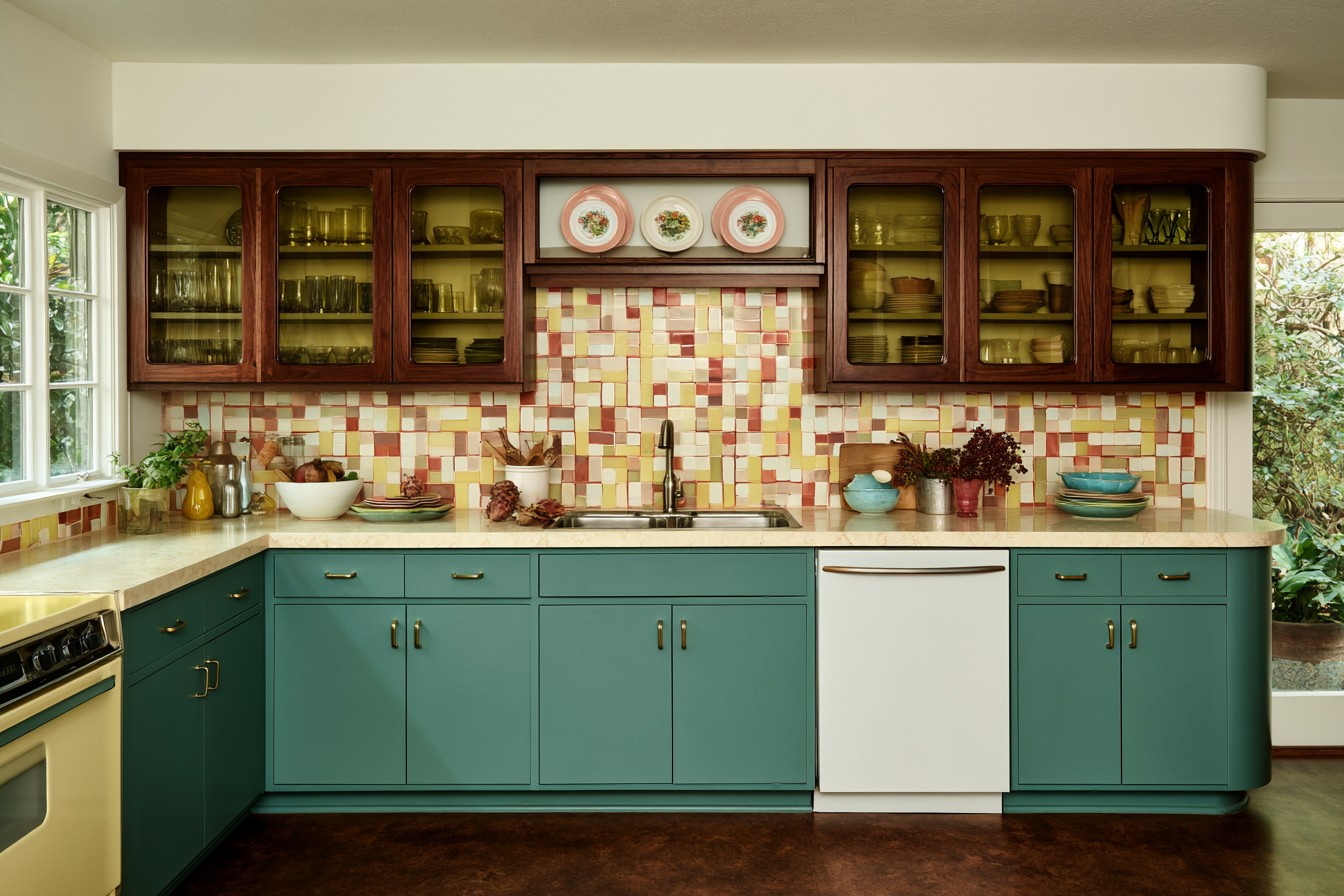
Smoked glass can bring depth to upper cabinets, a pantry display, or a room divider while partially concealing the contents. Pair it with walnut, dark metal, or warm painted cabinetry. Use the material on a limited number of doors so the kitchen does not become too dark or reflective.
Cabinet glazing should use an appropriate safety product and be installed in frames designed to support it. Dark glass still reveals outlines, so the interior needs reasonable organization. Fingerprints and cooking residue may be more visible under direct lighting, making regular cleaning necessary. Internal cabinet lights should not create excessive heat or expose sensitive products. Avoid placing glass doors where open cabinet fronts can collide with walls, appliances, or other doors.
9. Give the Pantry a Distinct Retro Identity
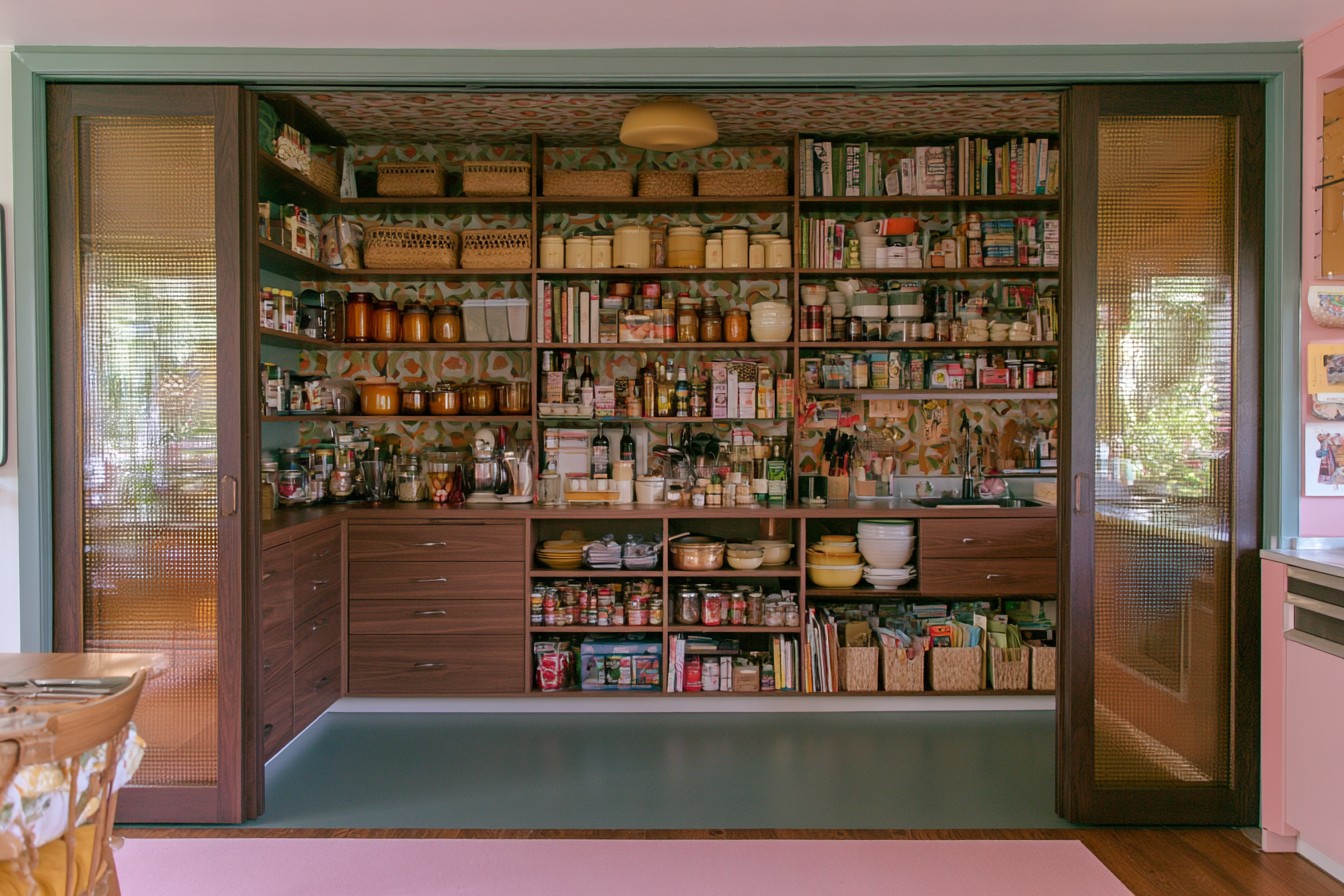
A pantry can carry a stronger retro color or pattern than the main kitchen because it occupies a smaller enclosed area. Use olive shelving, geometric liner, warm timber, or color-coded storage while keeping food organization clear. Adjustable shelves accommodate packages of different heights and reduce wasted vertical space.
Store heavy containers below shoulder level and keep frequently used ingredients near the entrance. Food should remain in suitable sealed packaging with dates and labels visible. Provide ventilation and avoid locating heat-sensitive supplies beside appliances or warm service lines. Lighting should illuminate shelf depths without creating hot spots. Decorative jars can support the period look, but they must be food-safe when used for ingredients and should not replace clear identification of the contents.
10. Bring Burnt Orange Into Durable Upholstery
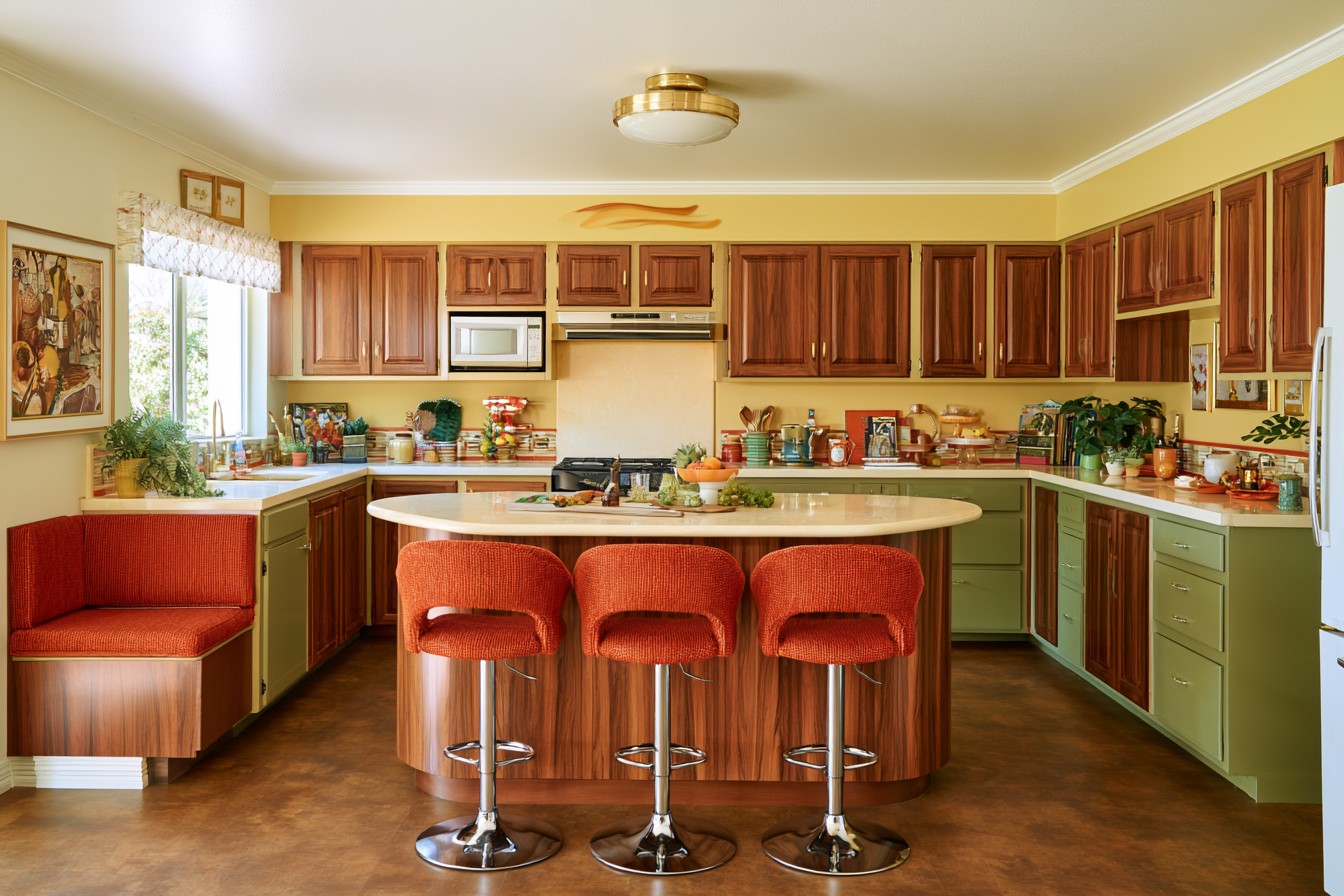
Burnt orange can add warmth through bar stools, breakfast-nook cushions, or a compact dining chair set. Using the shade on one upholstery group creates a clearer statement than repeating small orange accessories across the room. Walnut, cream, olive, and dark brown provide natural companions without turning the palette into a costume.
Kitchen upholstery needs a finish suited to frequent use, food spills, and cleaning. Obtain a sample and test how the color looks beside cabinet and flooring materials. Removable covers or commercial-grade performance textiles may be practical for family seating. Keep upholstered pieces far enough from cooking heat and splashes. If using vintage chairs, inspect frames, joints, foam, and existing fabric before reupholstering. One consistent orange textile can unify mismatched chair shapes.
11. Combine Seventies Character With Modern Internal Storage
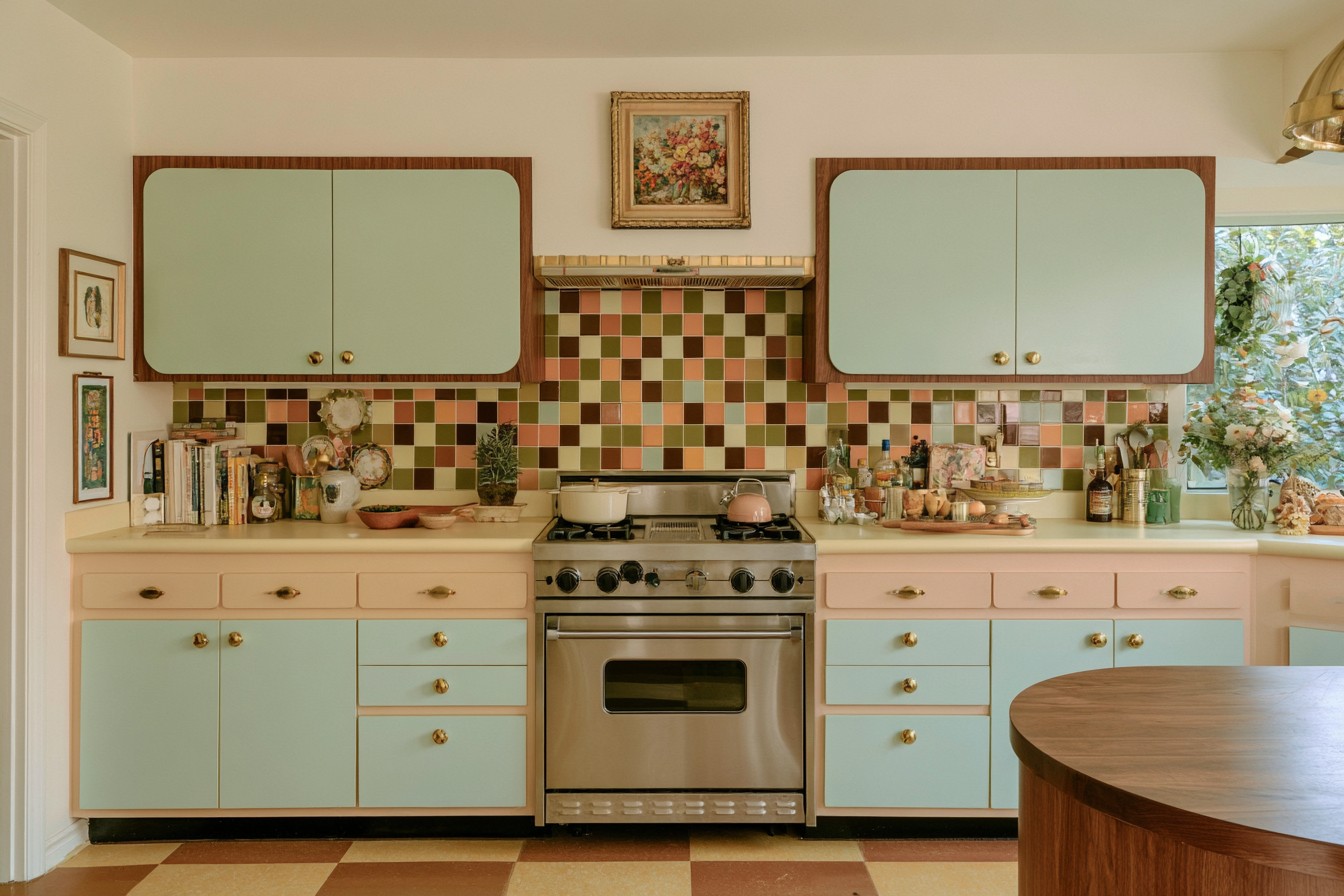
A kitchen can present flat walnut fronts, earthy color, curved details, and geometric accents while using contemporary storage behind the doors. Deep drawers, tray dividers, pull-out pantry fittings, recycling compartments, and corner mechanisms can improve daily function without altering the retro appearance. Plan each cabinet around actual contents rather than adding organizers indiscriminately.
Hardware should be rated for the expected load and leave enough clearance for neighboring doors and appliances. Frequently used cookware belongs close to preparation and cooking zones, while occasional serving pieces can occupy less accessible cabinets. Integrated handles and concealed hinges support clean lines, but they still need comfortable operation. Modern ventilation, safe wiring, efficient lighting, and serviceable appliance installations should take priority over preserving outdated systems merely because they are original. The strongest retro kitchen captures the period’s warmth while functioning like a well-planned contemporary room.
MORE IDEAS


Share
What's Your Reaction?
 Like
0
Like
0
 Dislike
0
Dislike
0
 Love
0
Love
0
 Funny
0
Funny
0
 Angry
0
Angry
0
 Sad
0
Sad
0
 Wow
0
Wow
0