16 Small Bathroom Remodels That Improve Space, Storage, and Comfort

A successful small bathroom remodel depends on more than making the room appear larger. Plumbing locations, waterproofing, ventilation, fixture clearances, storage, lighting, and safe movement must work together within limited floor space. Begin by recording accurate measurements and identifying structural walls, pipework, electrical points, drains, windows, and door movement. Keeping major fixtures near existing services can sometimes reduce complexity, but the final decision should still support comfortable daily use.
Materials must be suitable for humid and wet conditions rather than selected only for color or pattern. Floor finishes need appropriate slip resistance, shower assemblies require correctly designed drainage and waterproofing, and electrical work must follow the requirements applicable to bathroom zones. Some changes will require qualified trades and local approvals. The following remodeling approaches show how thoughtful layouts and carefully selected features can improve storage, maintenance, and visual balance without overcrowding a compact bathroom.
1. Create a Continuous Walk-In Shower Zone
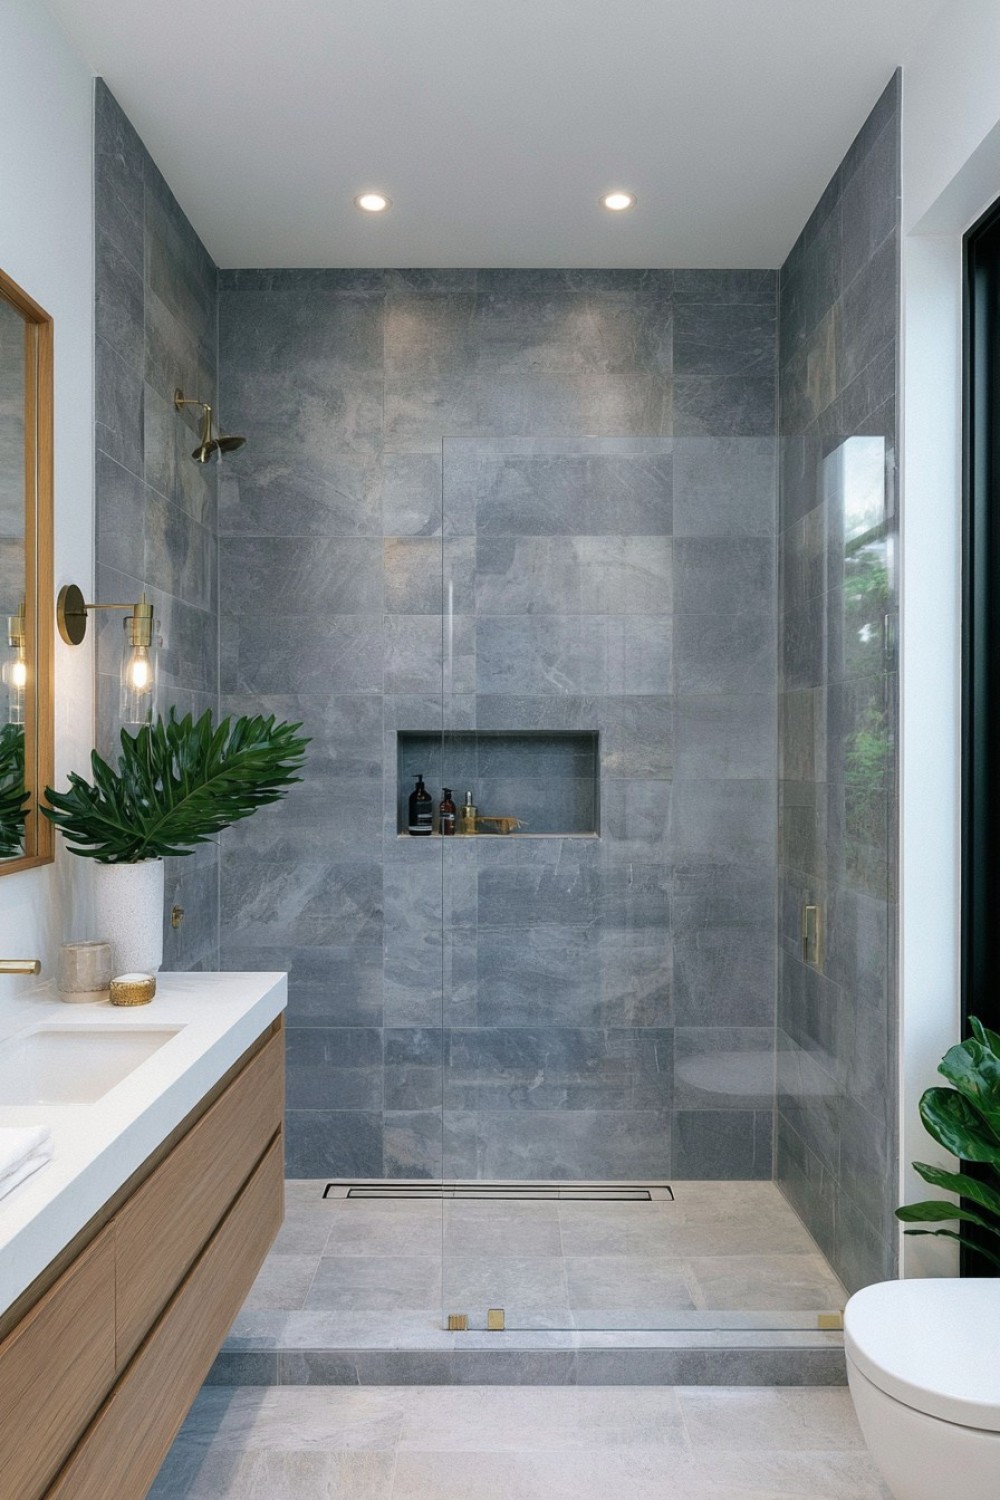
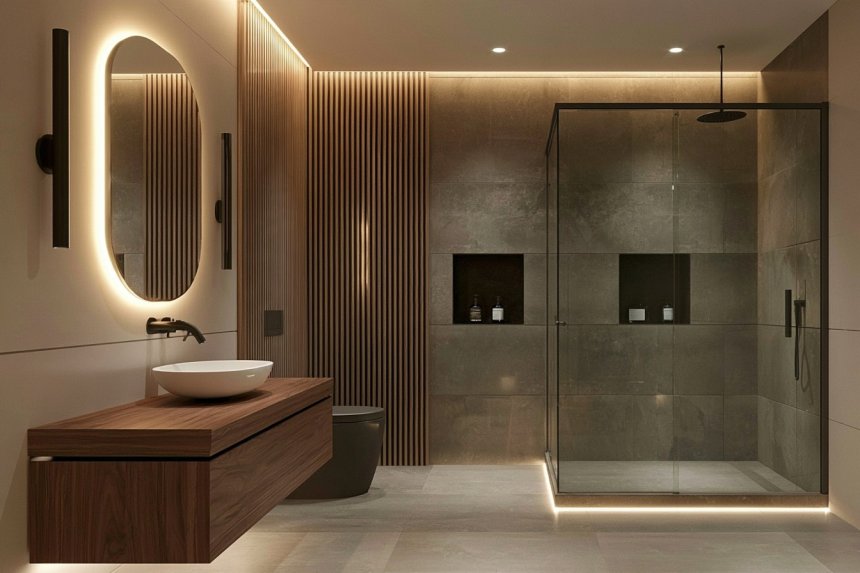
A walk-in shower with a visually continuous floor can reduce the interruptions created by a raised tray or bulky enclosure. Using related finishes across the main floor and shower zone may make the room feel calmer, but visual continuity must not compromise drainage or slip resistance. The shower floor needs an appropriate slope toward the drain and a surface suited to wet barefoot use.
Waterproofing should extend across all required areas as part of a complete tested system rather than relying on tile and grout alone. A fixed glass panel can contain splashes while preserving sightlines, although its width and position should be tested against the shower spray. Make sure the entrance does not direct water toward the door, vanity, or toilet. Shower controls should be reachable without standing directly beneath cold water. Professional planning is especially important when changing floor levels or relocating the drain.
2. Fit the Vanity Into a Shallow Wall Recess
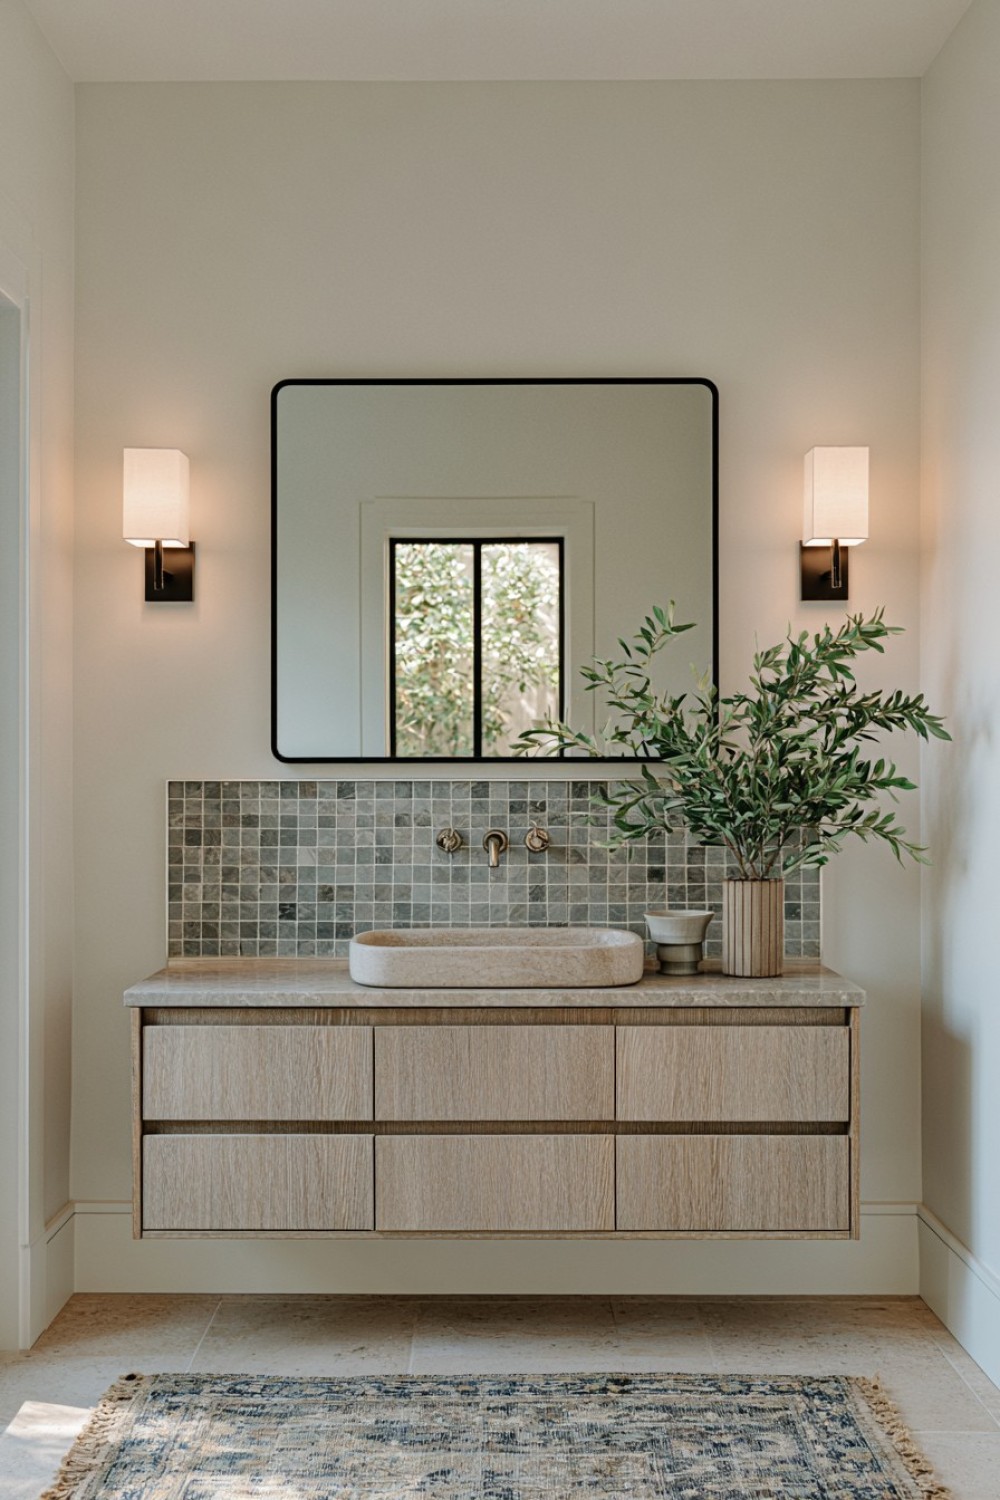
A recess can reduce how far the vanity projects into a narrow bathroom while giving the sink area an integrated appearance. Before modifying the wall, identify its construction and check for framing, plumbing, wiring, ventilation, or structural elements. Even a modest reduction in vanity depth can improve the route between the door, toilet, and shower.
Select a basin designed for a shallow cabinet so it does not leave an impractically narrow strip of countertop. Drawers often provide easier access than deep cupboards, but their internal layout must accommodate the waste pipe and water connections. Use moisture-resistant cabinet materials and seal vulnerable edges around the basin. A recessed mirror cabinet above can add storage without expanding the vanity footprint. Keep outlets, lighting, and plumbing service points accessible rather than enclosing them permanently behind decorative panels.
3. Improve Circulation With a Rounded Corner Vanity
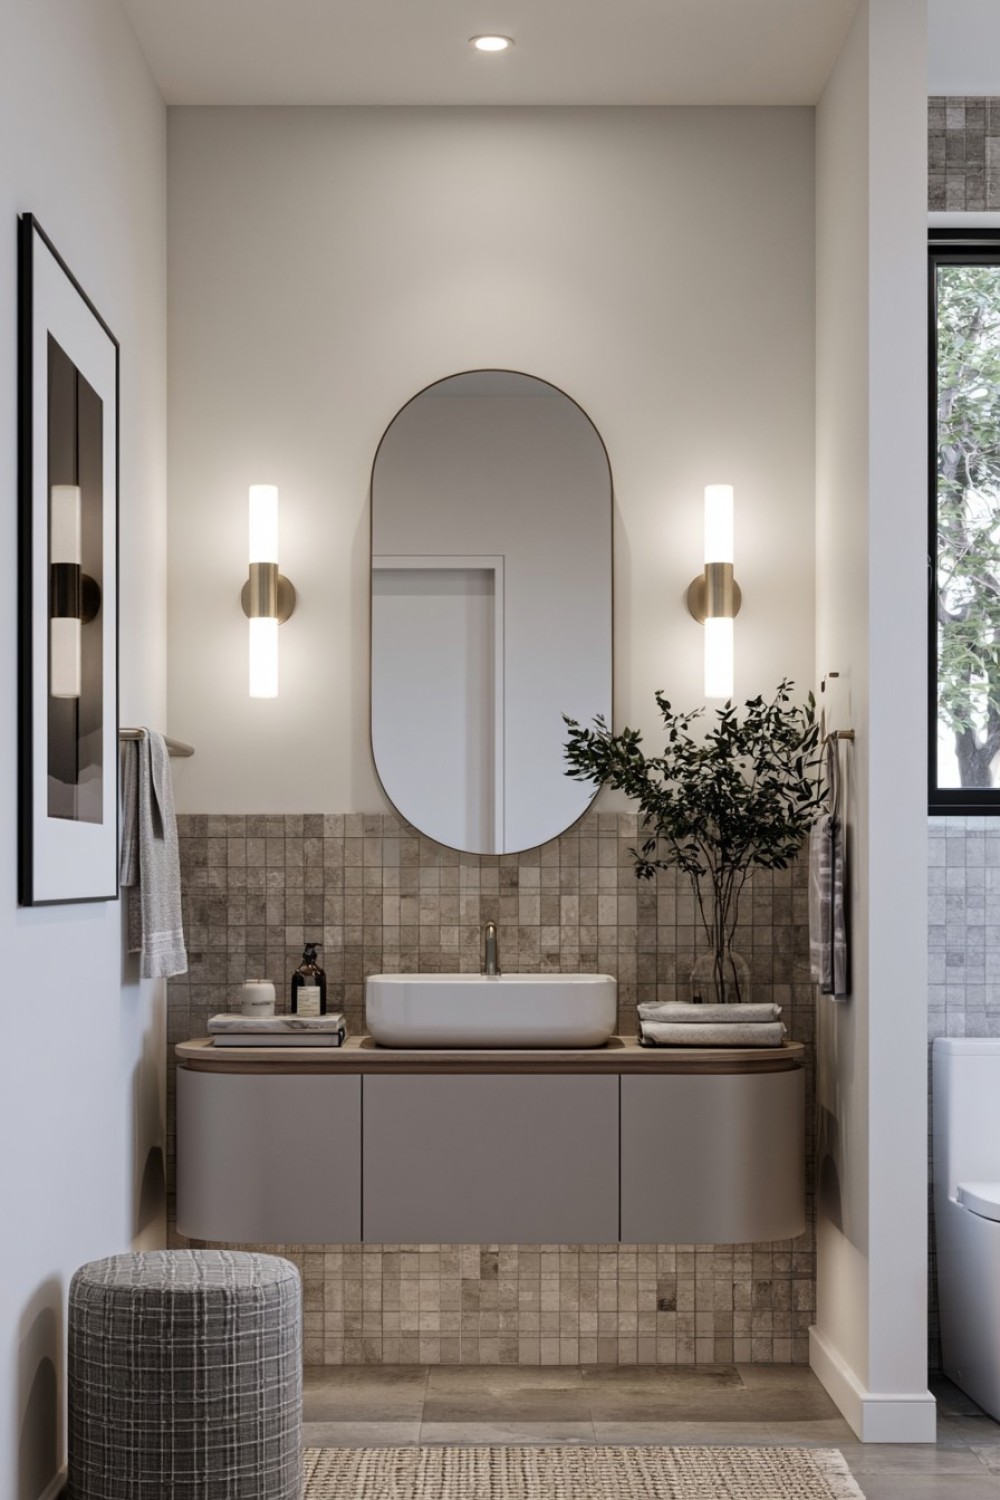
A vanity with a curved or clipped corner can ease movement where a standard rectangular cabinet projects into the main path. This is particularly useful beside an inward-opening door, narrow shower entrance, or toilet. The softened front also creates a less abrupt transition between fixtures without necessarily reducing all available storage.
Test the basin and counter layout to ensure the rounded shape still provides comfortable handwashing space. Custom curved doors and stone fabrication may cost more than a standard cabinet, so a simple angled corner can offer a practical alternative. Drawers and hinges need enough internal clearance to work within the changing cabinet depth. Avoid creating a narrow pointed section that is difficult to clean or too small to use. Wall-mounted versions can reveal more floor, but their support must be designed for the expected load.
4. Continue One Durable Material From Floor to Wall
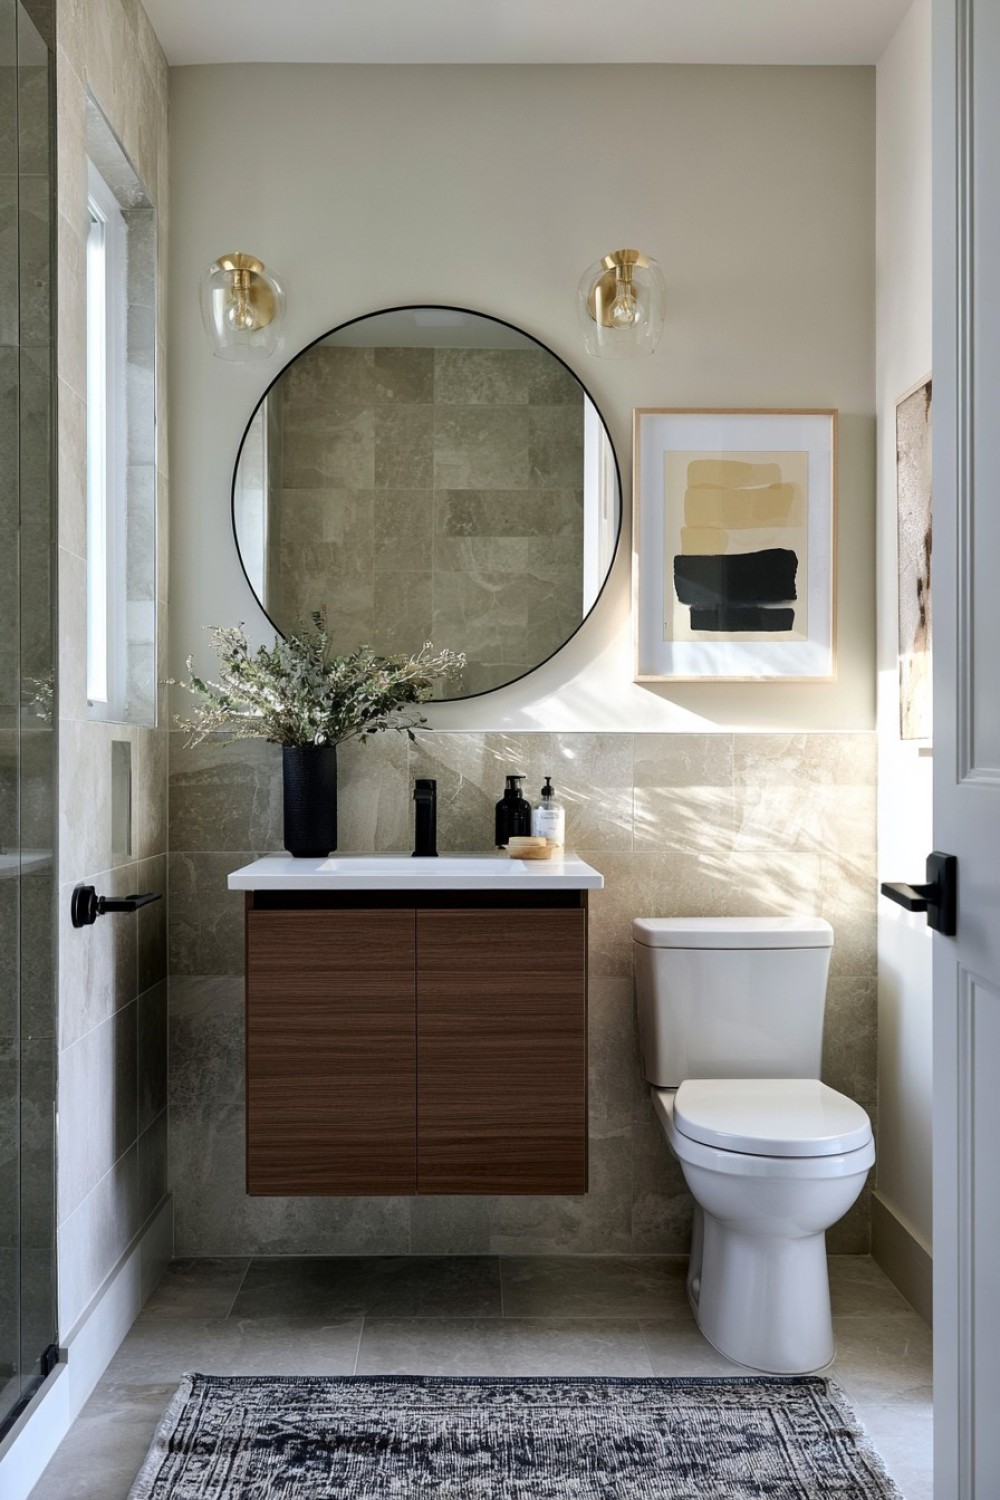
Repeating one surface across the floor and a selected wall can reduce visual fragmentation. Porcelain tile, stone-look tile, or another bathroom-rated finish may create this continuous effect, but the same product is not automatically suitable for every location. A polished wall tile may lack the required grip for a wet floor, while a heavily textured floor tile may be difficult to clean when used across an entire wall.
Choose products according to their specific installation area and coordinate color and pattern rather than assuming they must be identical. Larger formats reduce grout lines but demand a sufficiently flat substrate and careful cutting in compact areas. Plan joints around fixtures and niches before installation to avoid narrow fragments at visible edges. Waterproofing remains necessary beneath finishes in wet zones. A quieter ceiling and vanity can balance a strongly patterned surface so the bathroom does not feel enclosed.
5. Use the Sink Wall for Layered Storage
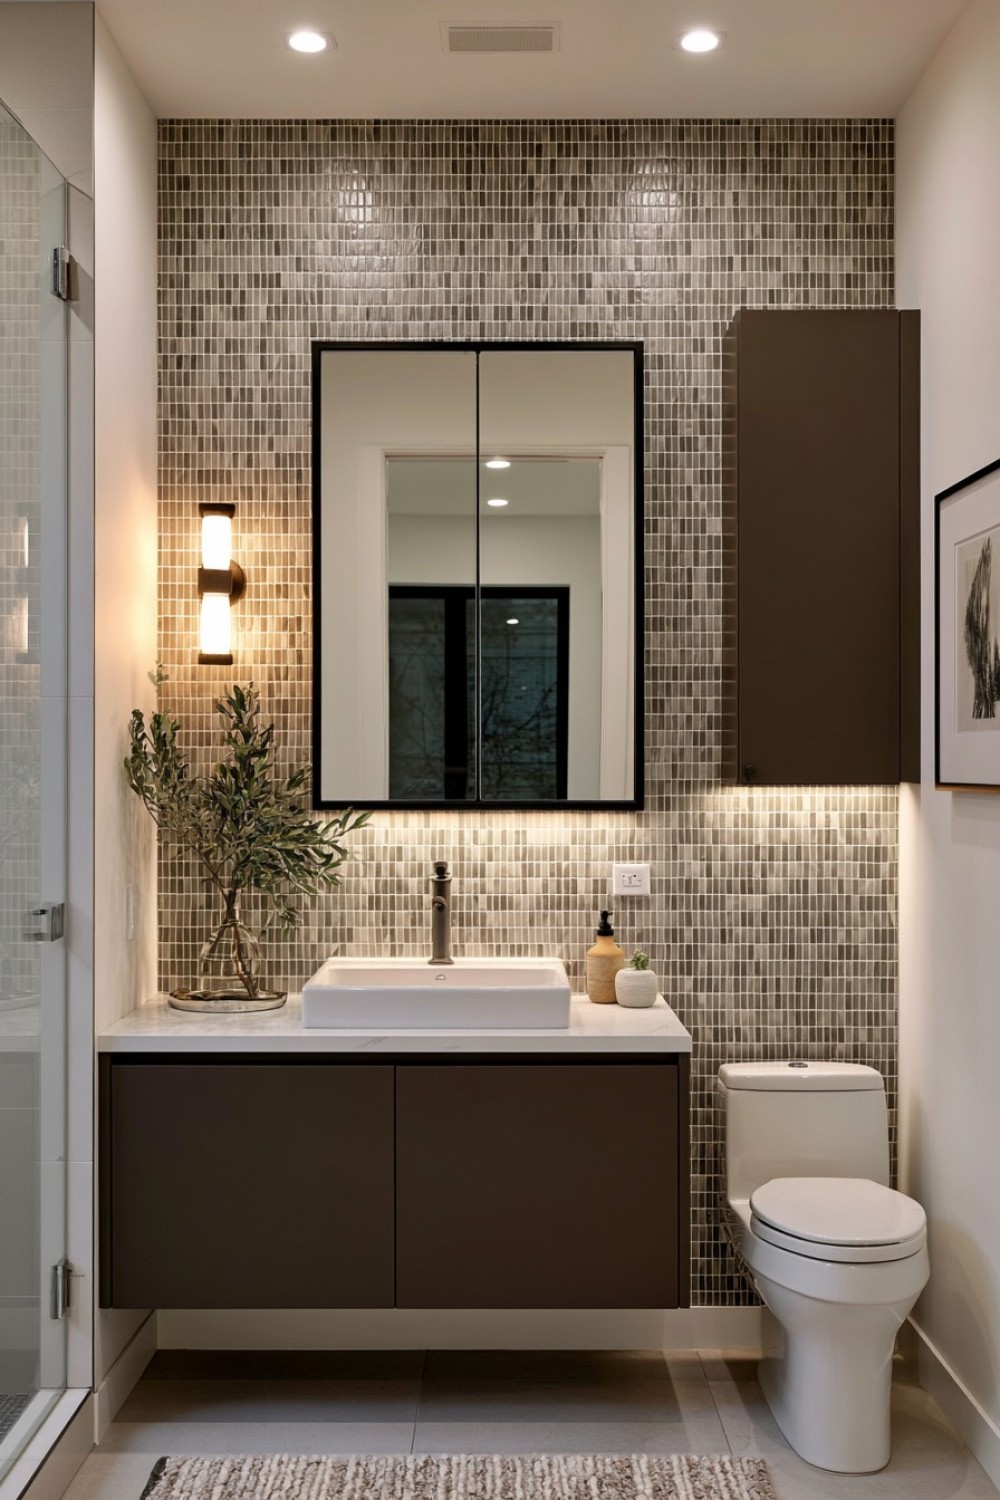
The vanity wall can combine drawers, a mirrored cabinet, shallow side storage, and one open shelf without requiring additional furniture elsewhere. Assign each area a clear purpose: daily toiletries near eye level, towels or cleaning supplies below, and rarely used items in less accessible compartments. Closed storage prevents a compact room from appearing crowded.
Do not build cabinetry so deep that it projects over the basin or restricts head movement. Mirrored doors need enough clearance to open without striking lighting, side walls, or shelving. Use bathroom-suitable materials and ventilate cupboards where damp items might otherwise remain enclosed. Heavy cabinets require appropriate wall support, particularly when mounted above the sink. Electrical outlets and illuminated mirrors must be selected and installed according to the requirements that apply to their bathroom location.
6. Recover Floor Space With a Pocket Door
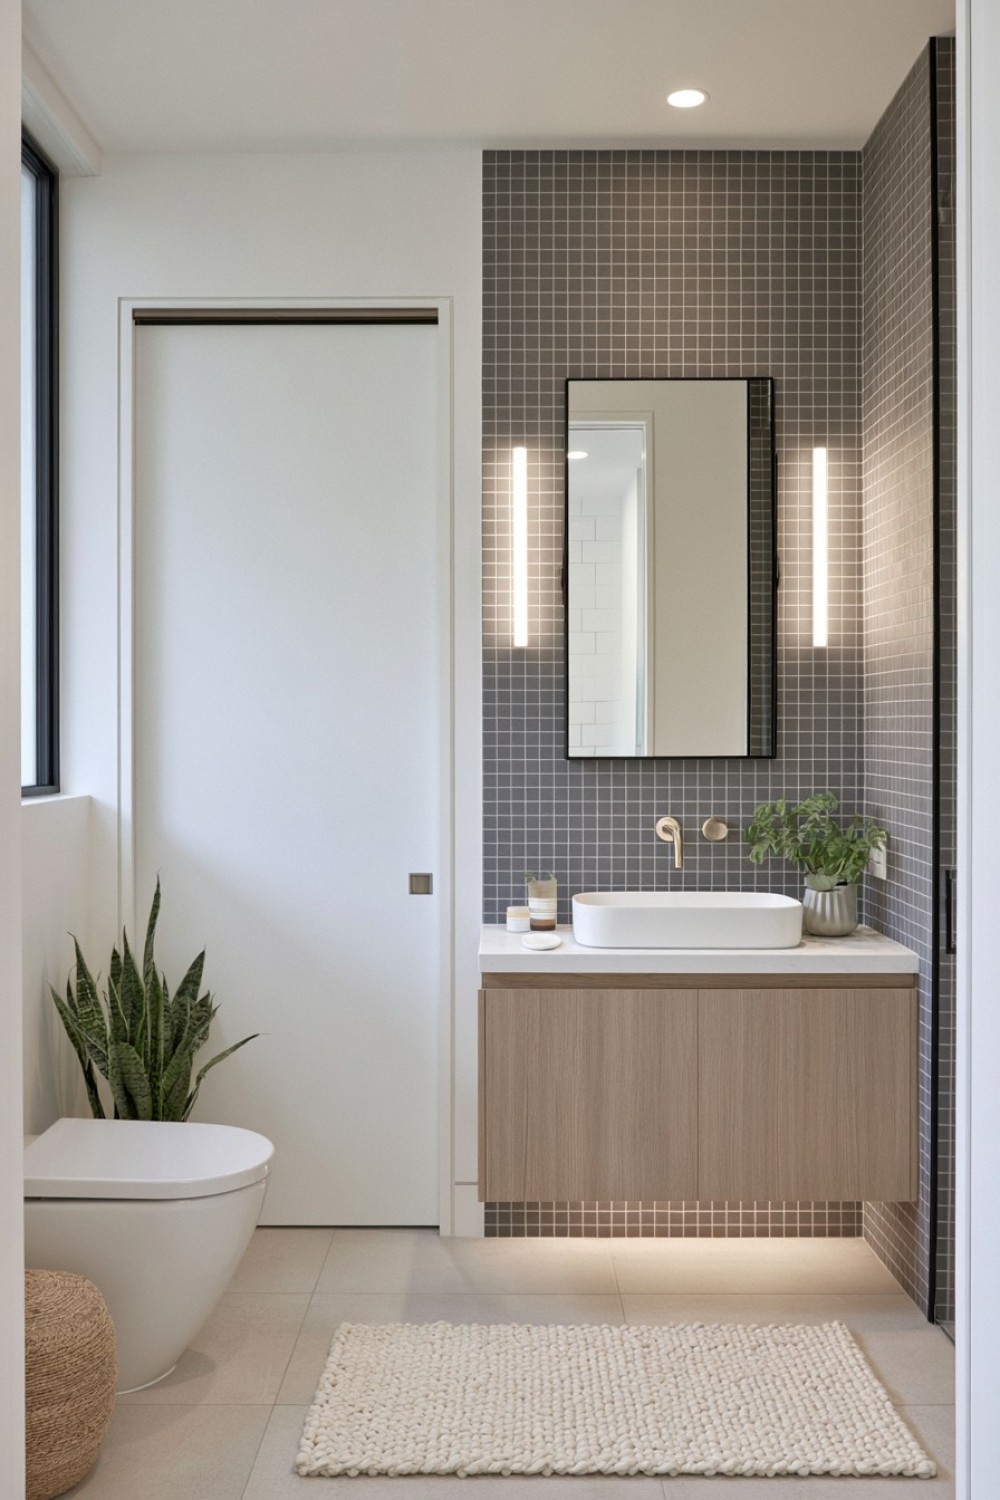
A pocket door can remove the swing area required by a conventional bathroom door, making room for a larger vanity, clearer access, or improved fixture placement. The wall cavity must be wide and unobstructed enough to receive the door. Plumbing, electrical wiring, structural framing, and wall-mounted accessories may prevent installation in the preferred location.
Choose quality hardware that allows the door to move smoothly and provides an accessible pull when fully open. Bathroom privacy requires suitable closing and locking hardware, while seals or brush strips may improve sound control. Pocket doors can be harder to repair when inexpensive mechanisms fail inside the wall, so service access and component quality matter. If altering the wall is impractical, an outward-opening or surface-mounted sliding door may be considered where it does not obstruct the adjacent hallway or compromise privacy.
7. Replace a Full Vanity With a Floating Stone Shelf
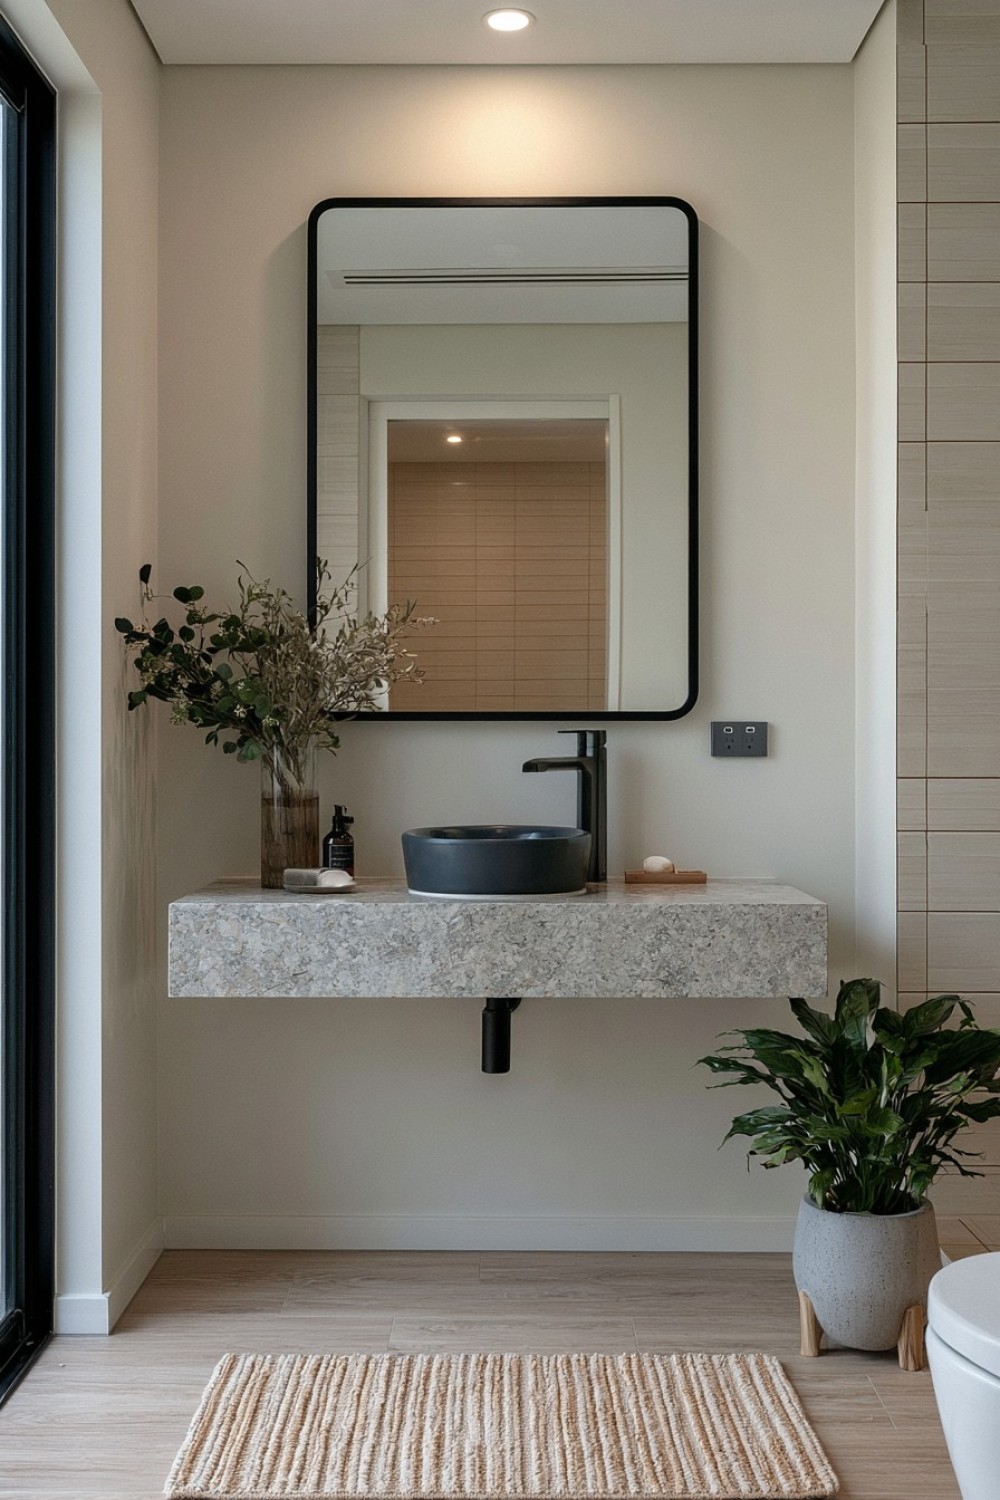
A floating shelf supporting a basin can make a narrow bathroom feel more open by revealing the floor beneath it. The design works best when storage needs are modest or can be handled by a mirrored cabinet and a few organized drawers elsewhere. Choose a shelf depth that supports the basin and provides a small usable landing area without narrowing circulation.
Stone, engineered surfaces, and large-format porcelain require properly designed supports; concealed brackets must carry the combined weight of the shelf, basin, water, and everyday use. Wall construction should be assessed before installation. Exposed plumbing can be finished neatly or concealed within an accessible service zone. Seal junctions around the basin according to the surface requirements and select a material resistant to bathroom products. A shelf without lower cabinetry also exposes more pipework and demands regular floor cleaning, so the minimal appearance carries practical tradeoffs.
8. Introduce a Half-Height Shower Divider
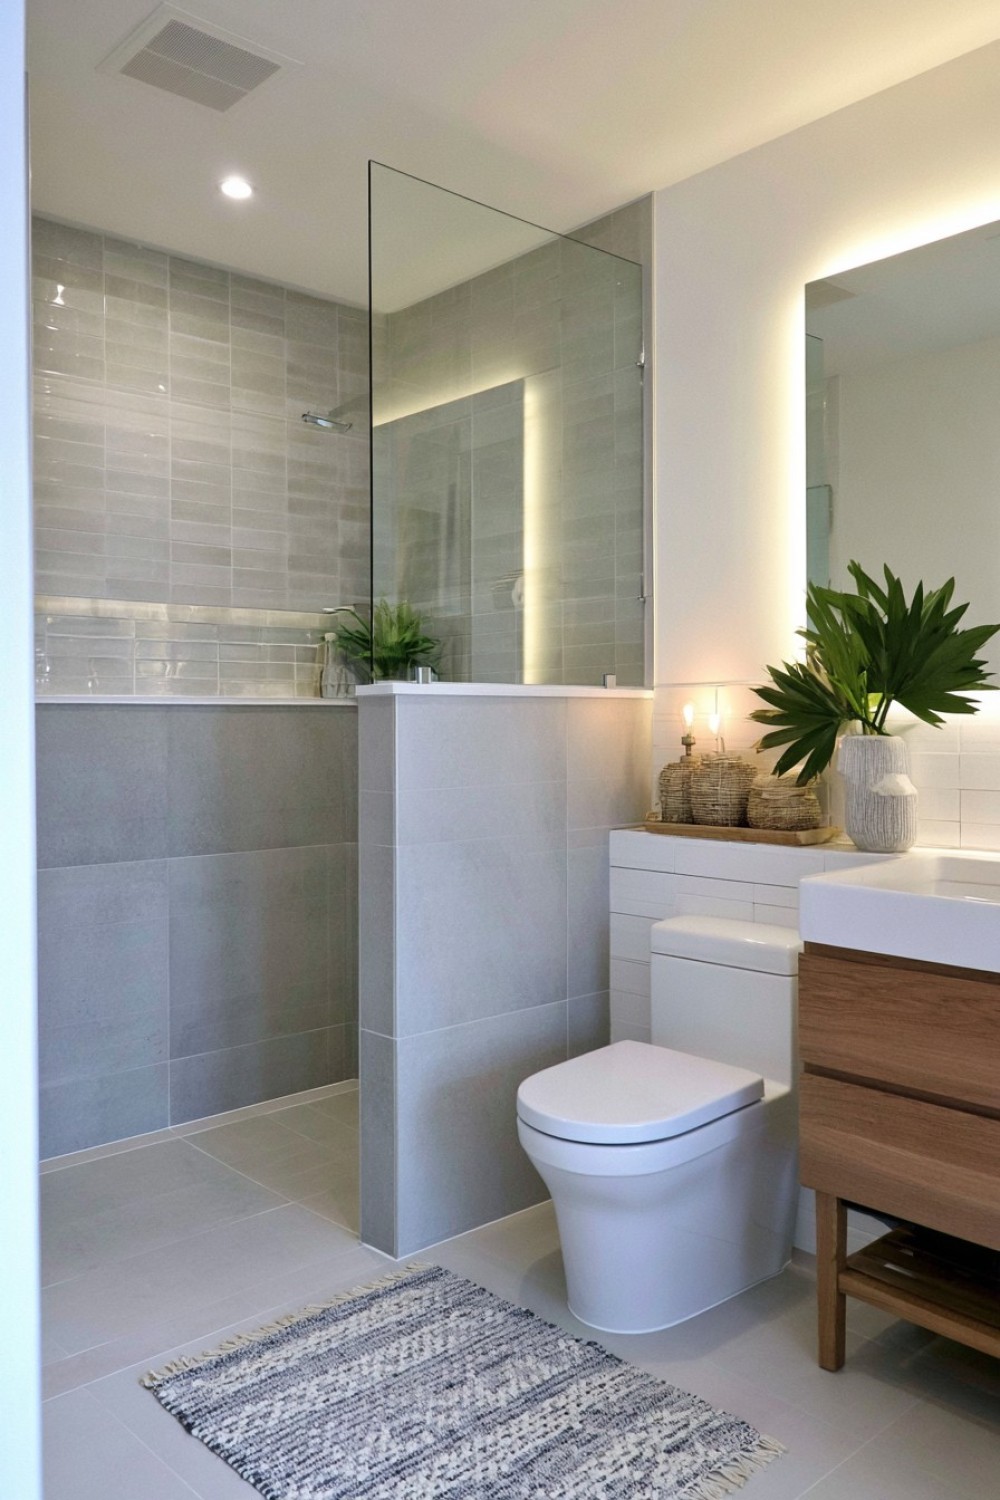
A half-height wall can separate the shower from the toilet or vanity while allowing light and views to continue across the upper part of the room. The top may support a fixed glass panel for additional splash control, or it can remain solid where the shower orientation keeps water contained. Its depth can sometimes accommodate a niche or narrow ledge.
The divider must be securely constructed and fully waterproofed where it enters the wet zone. Horizontal surfaces require careful detailing so water does not collect or penetrate joints. Confirm that the wall does not create a cramped shower entrance or prevent access for cleaning. A glass extension should use bathroom-appropriate safety glazing and suitable fittings. Position shower controls and accessories before construction so plumbing does not conflict with the internal framing or waterproofing system.
9. Consider a Wall-Mounted Toilet With Service Access
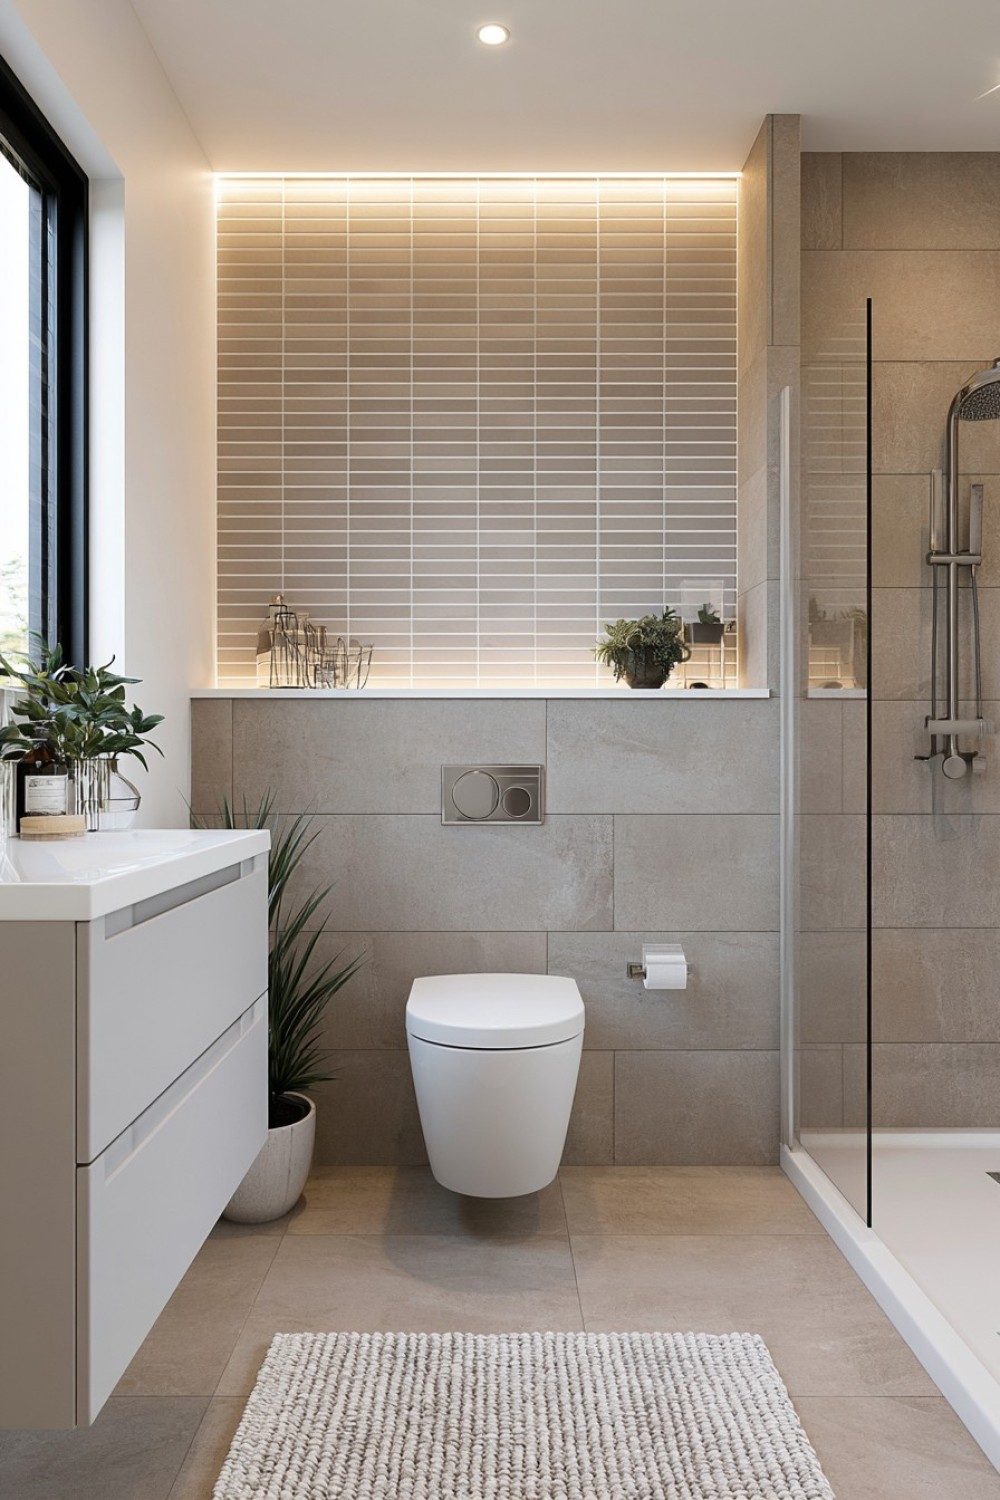
A wall-mounted toilet can reveal more floor and allow the visible bowl height to be selected during installation. The concealed support frame and cistern require wall or boxed-out depth, so the design does not always save as much physical space as its appearance suggests. It may still improve cleaning and create a streamlined room.
Use a compatible support system installed according to its specifications, and preserve access to serviceable components through the flush plate or another designed opening. Plumbing changes and frame installation should be handled by appropriate professionals. The boxed section above the cistern can form a useful ledge or shallow cabinet, but storage should not prevent future servicing. Confirm clearances around the bowl and check that the selected height suits household users. Wall and floor finishes should be planned around the complete frame before installation begins.
10. Set Tiles Vertically to Emphasize Room Height
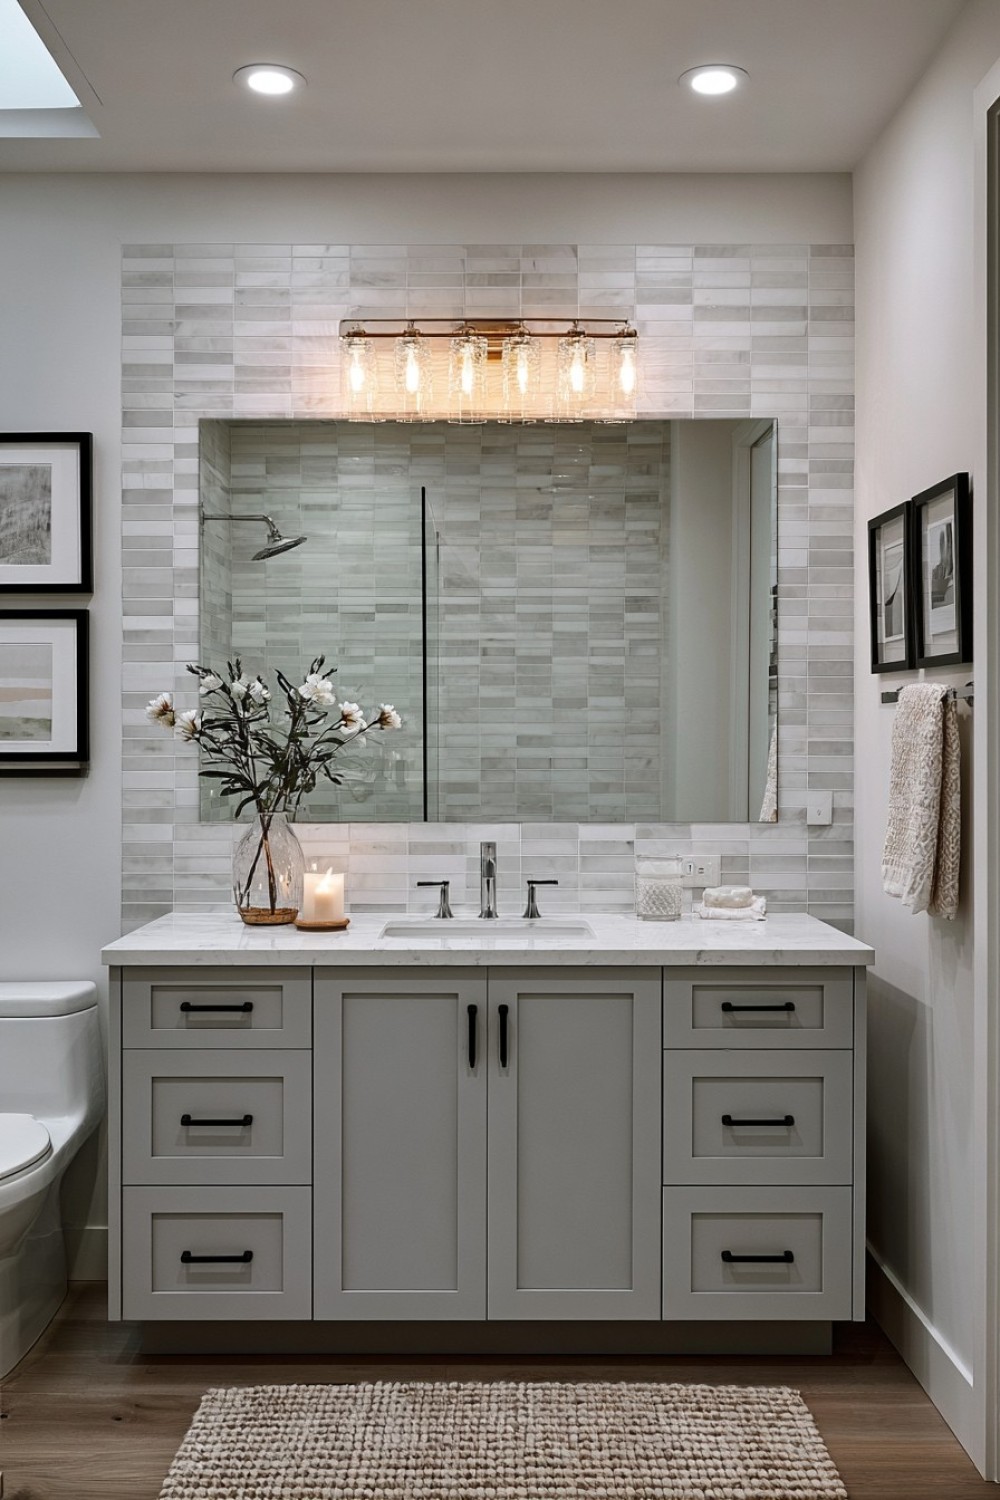
Vertical tile placement draws attention upward and can give a small bathroom a taller visual rhythm. Rectangular tiles may be stacked, offset, or arranged in a restrained vertical pattern. Continue the layout through the shower or across one complete wall so the effect appears intentional rather than confined to a narrow decorative strip.
Plan the tile grid from the room’s most visible points, considering niches, mirrors, fittings, and ceiling edges. Narrow cuts at corners or around fixtures can weaken an otherwise clean arrangement. Grout close to the tile color produces a quieter surface, while contrasting grout emphasizes every joint and installation variation. Tile direction changes appearance but does not replace proper substrate preparation, waterproofing, or movement joints. Select a finish appropriate to the wall or floor location and consider how textured surfaces will be cleaned.
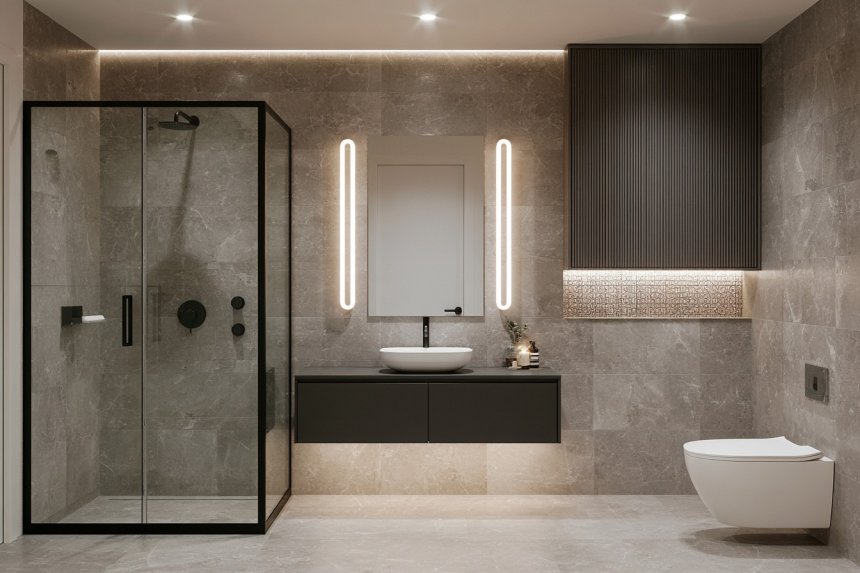
11. Install a Full-Width Mirror Above the Vanity
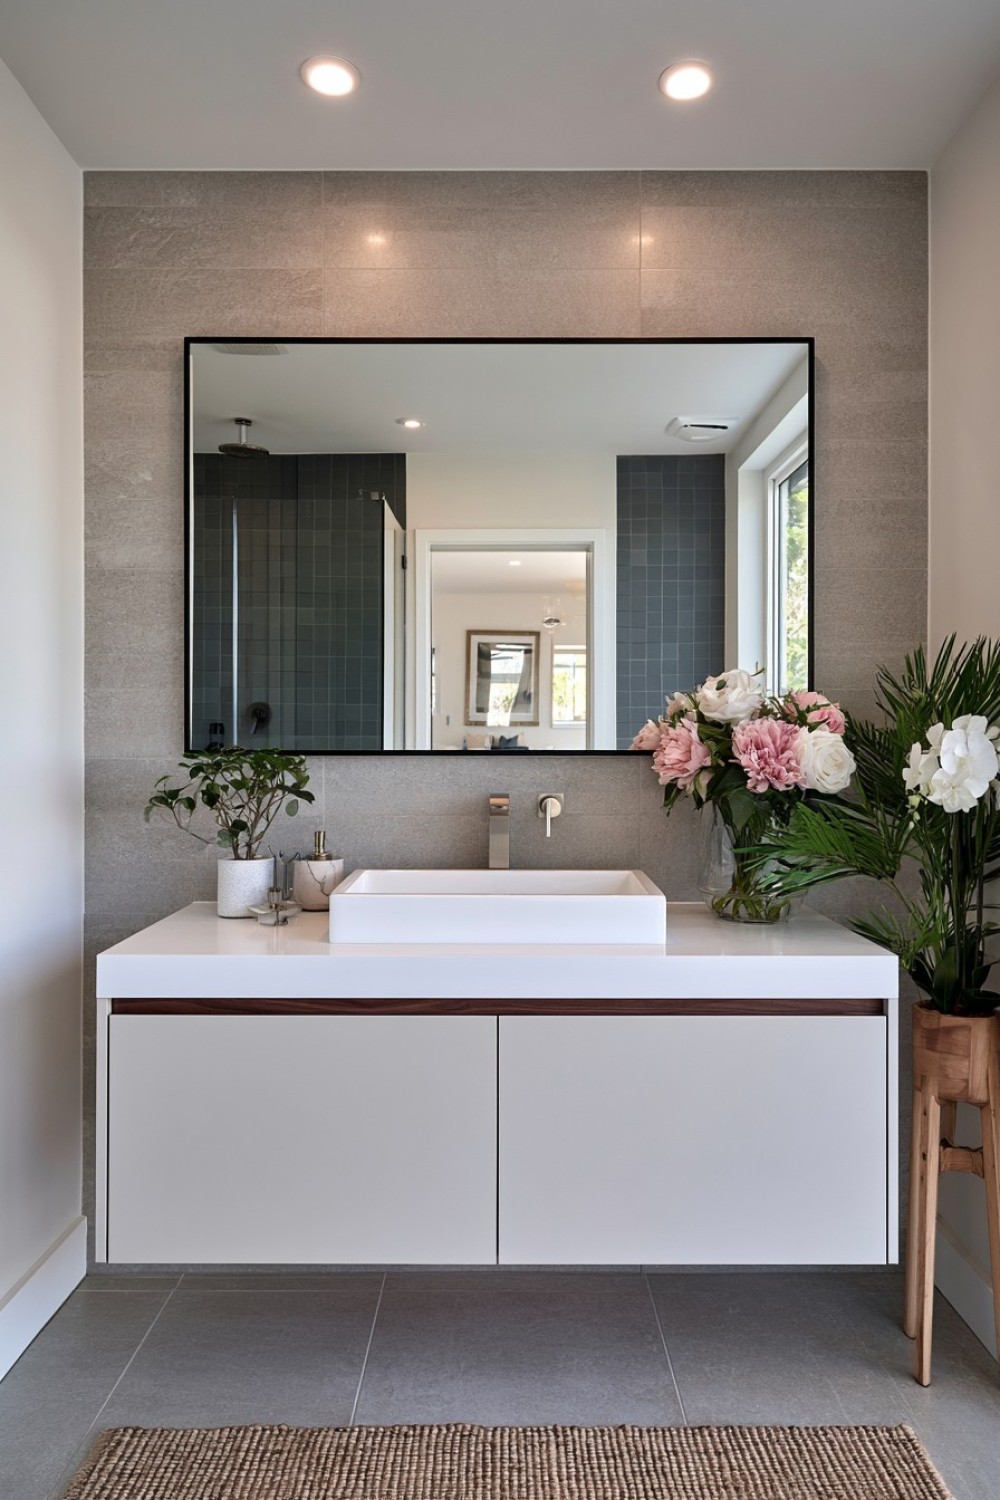
A mirror extending across the vanity wall can distribute light and reduce the visual interruption created by several smaller frames. It may also serve more than one user and reflect a carefully finished section of the room. Check what will appear in the reflection before choosing the final size; an untidy doorway or exposed storage may become more prominent.
Bathroom mirrors require secure installation and edges appropriate for the environment. Large panels should be measured and fitted professionally where weight, outlets, lighting, or wall irregularities complicate the work. Side lighting can provide more even facial illumination than one strong fixture directly overhead. Electrical fittings must be suitable for their location. Leave access to outlets, switches, and service points, and avoid positioning unsupported shelves where they can strike or place pressure against the mirror.
12. Recess Storage Between Suitable Wall Studs
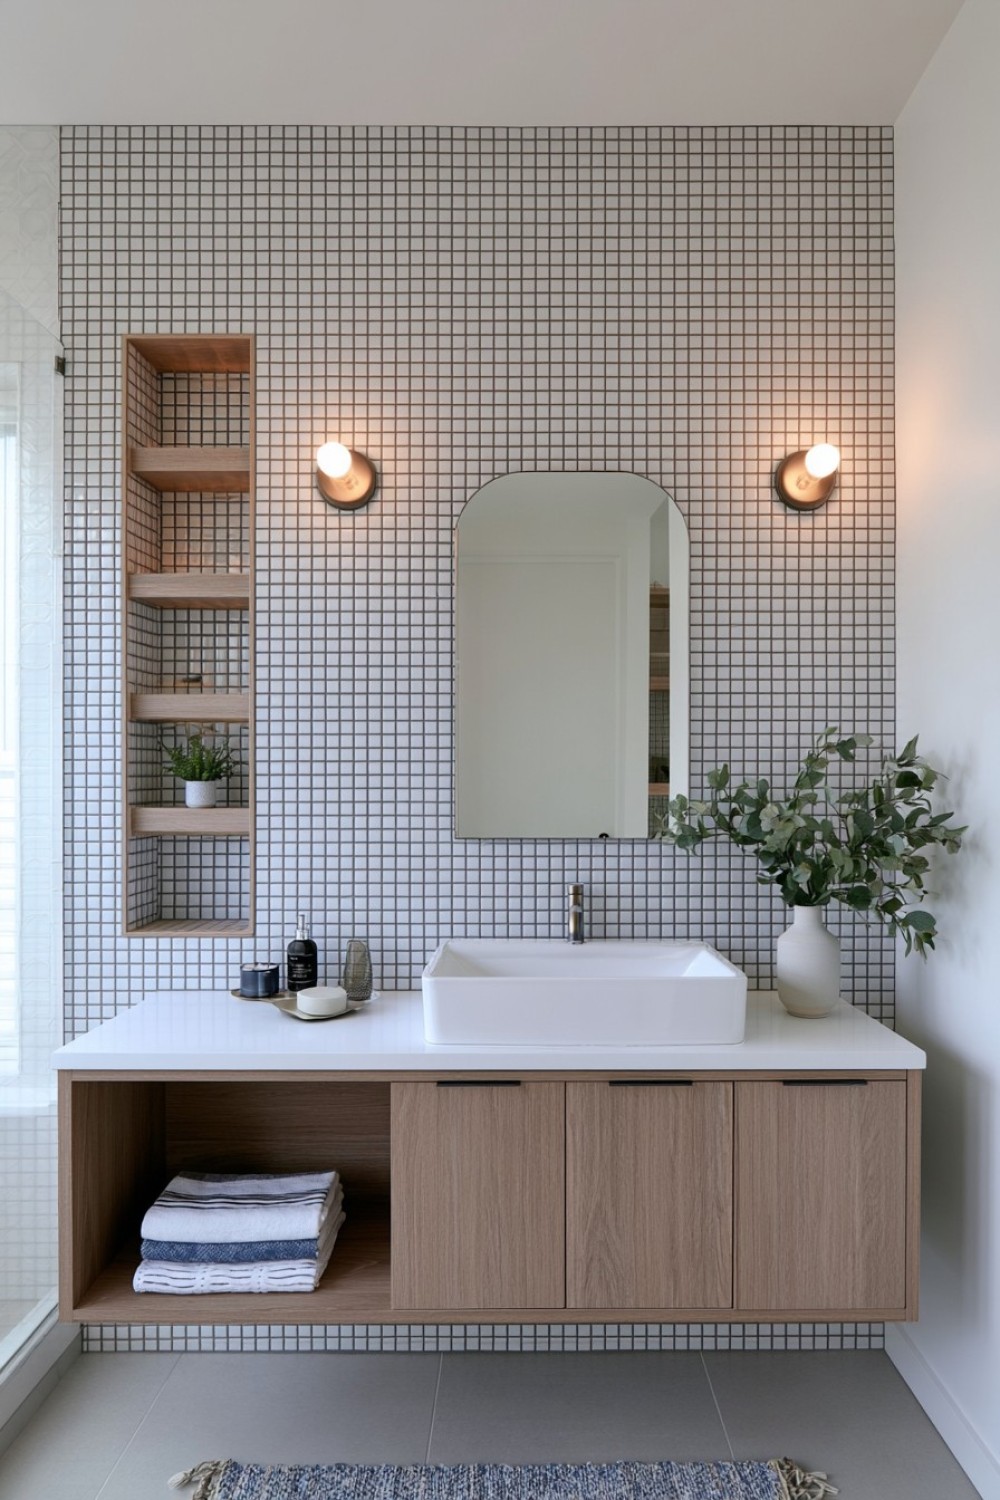
Recessed shelves can store toiletries without projecting into a narrow shower or vanity area. Their feasibility depends on the wall structure and the location of plumbing, wiring, insulation, ducts, and structural components. Inspect the cavity before cutting and avoid assuming every partition contains usable empty space.
Shower niches require sloped horizontal surfaces, appropriate waterproofing, sealed transitions, and a position that does not receive unnecessary direct spray. Size the shelves around actual bottles rather than choosing proportions only for appearance. A niche outside the wet zone may be simpler and can hold towels or everyday items. Avoid creating numerous small recesses that increase joints and cleaning. Integrated lighting requires suitable bathroom-rated components and careful coordination with waterproofing and electrical work.
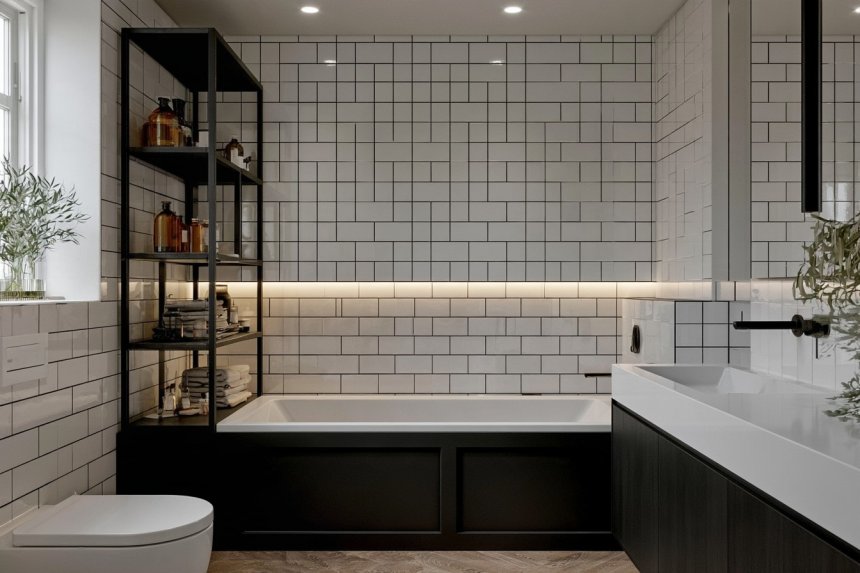
13. Fit a Compact Bathtub With a Tiled Front
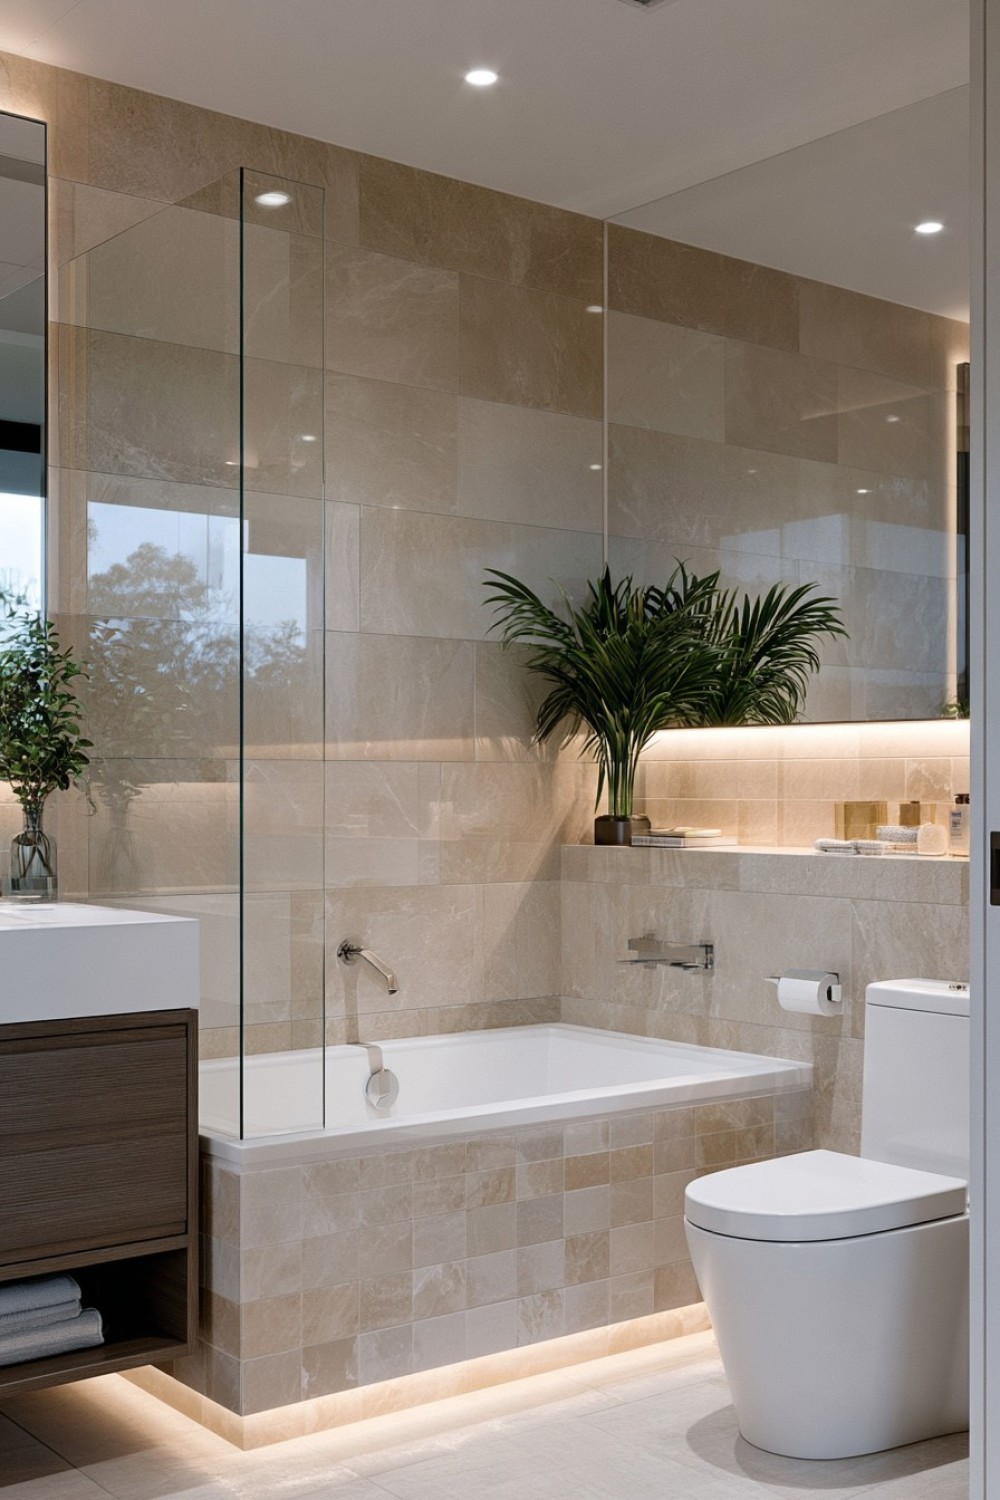
A shorter or more compact tub may preserve bathing functionality where a full-size model overwhelms the floor plan. Internal bathing dimensions can differ significantly between products with similar external lengths, so test the shape and compare specifications rather than choosing by length alone. The surrounding layout must still provide safe entry and enough space for cleaning.
A tiled front can visually connect the tub to the floor or walls, but it must not eliminate access to plumbing and components that may require servicing. Use a removable or discreet access panel where necessary. The tub needs manufacturer-approved support, correctly designed drainage, and waterproofed surrounding walls. Choose tiles and trim that tolerate frequent splashing and cleaning. If the tub also functions as a shower, plan splash containment, grab support where appropriate, and safe entry rather than treating the enclosure as a decorative afterthought.
14. Wrap the Room in One Controlled Color Family
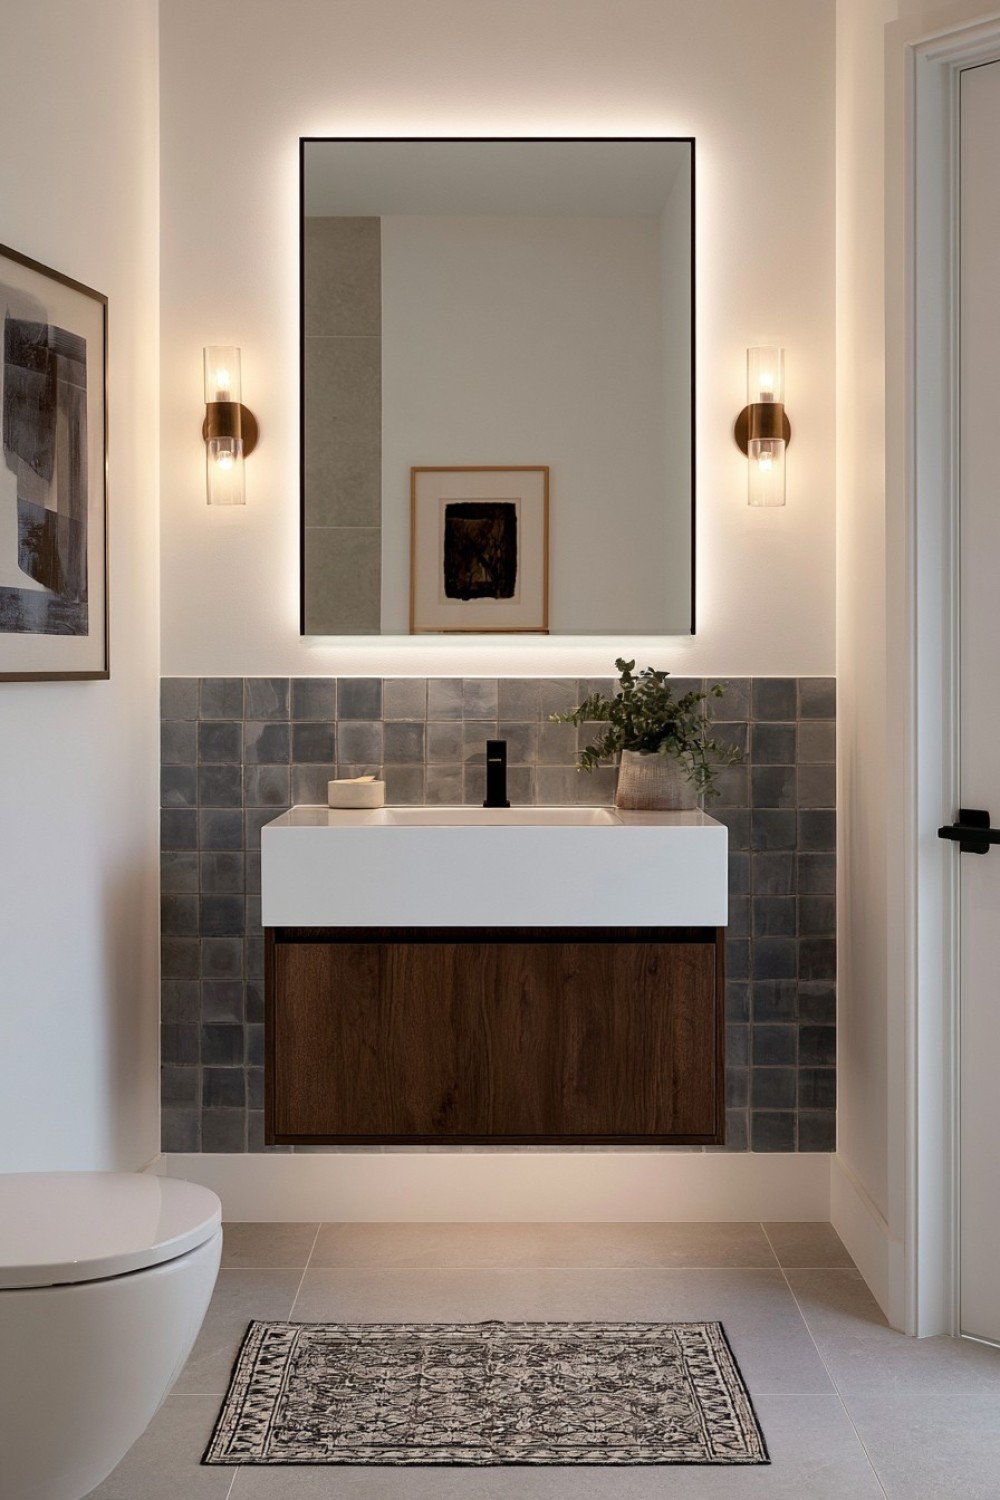
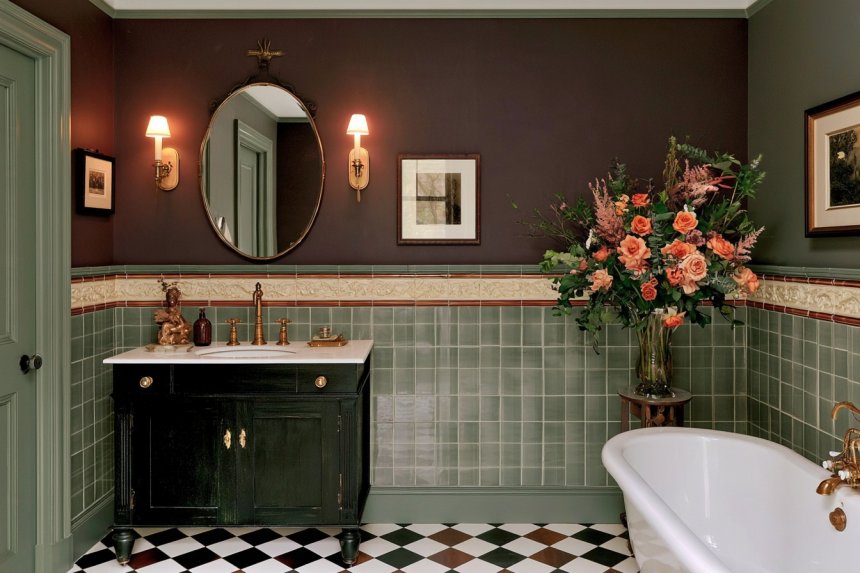
Using related tones on walls, cabinetry, tile, and trim can reduce abrupt visual boundaries in a compact bathroom. The surfaces do not need to match exactly. Combining lighter and deeper versions of green, blue, clay, warm gray, or cream provides enough contrast to identify fixtures while maintaining a continuous atmosphere.
Vary sheen and texture according to function. A wall paint, glazed tile, matte cabinet, and stone surface can share a color family while meeting different maintenance requirements. Test samples under the bathroom’s actual lighting because enclosed rooms can shift color dramatically. Include sufficient contrast around steps, edges, controls, and fixtures where visibility matters. A limited amount of timber, metal, or off-white can prevent the monochromatic scheme from becoming flat without disrupting its overall direction.
15. Fit a Custom Shower Into an Awkward Corner
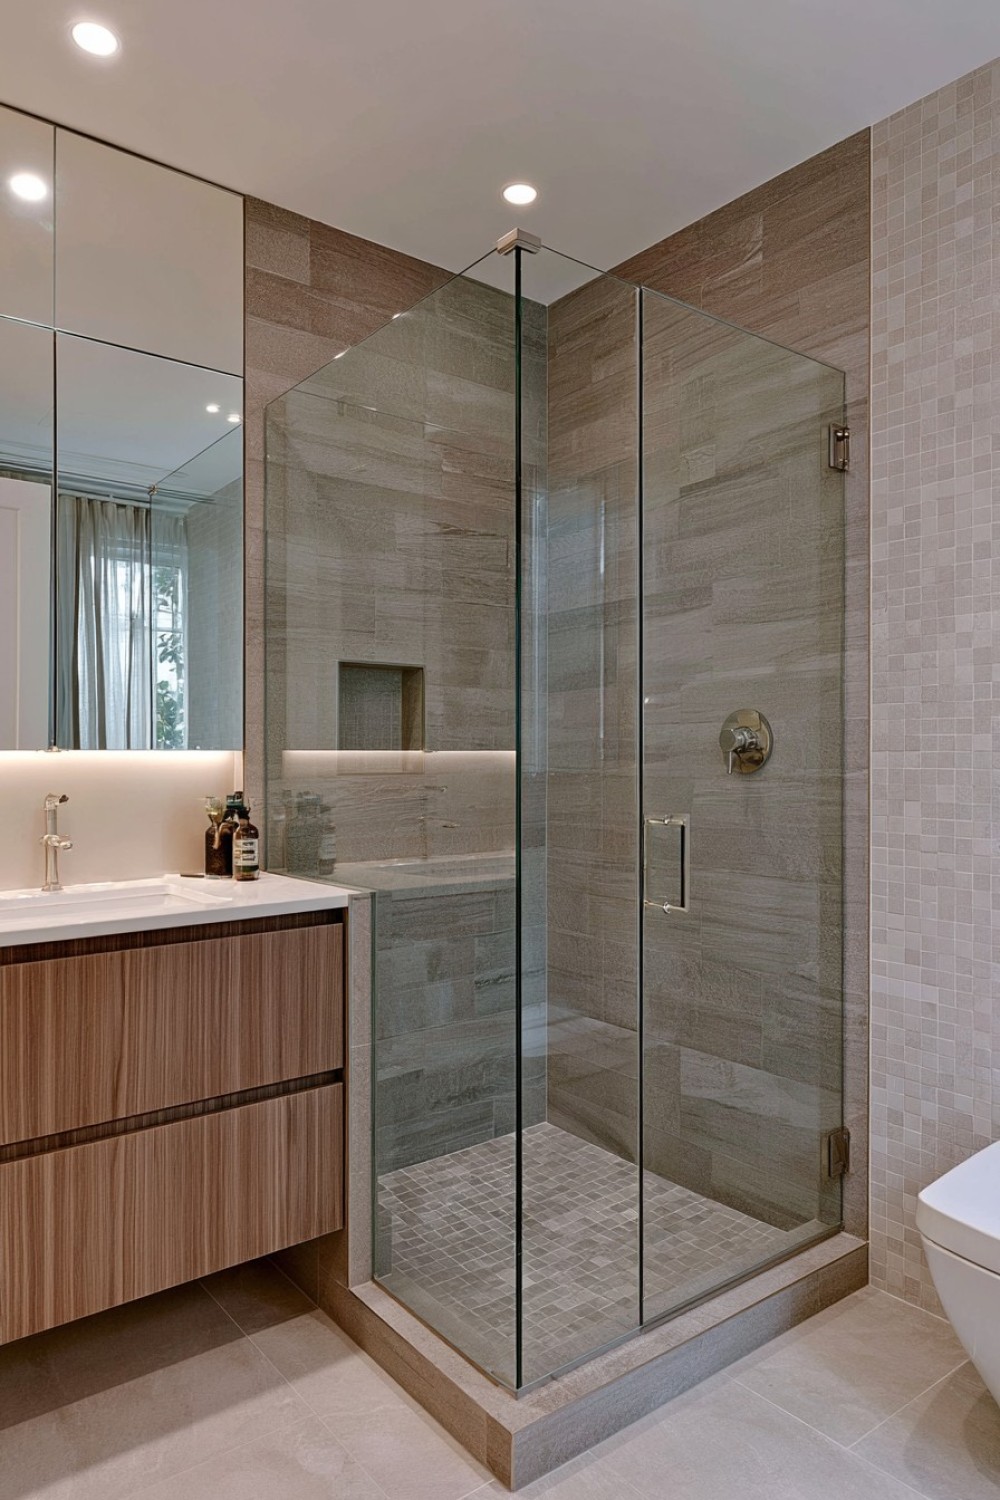
An irregular corner, sloped ceiling, or offset wall can sometimes accommodate a custom shower more effectively than a standard enclosure. Begin by confirming adequate standing height and a comfortable entrance. Place the showerhead where the ceiling and glass can contain spray without forcing the user into the narrowest section.
Custom glazing should be measured after the surrounding surfaces are completed because small deviations affect the final fit. Use bathroom-appropriate safety glass and fittings suitable for the panel size. The drain location, floor slope, waterproofing, door movement, and cleaning access must be coordinated before construction. Avoid creating a tiny triangular floor area simply to claim unused space. If the corner cannot provide comfortable dimensions, it may be more valuable as storage while the shower occupies a more practical rectangular zone.
16. Make the End Wall a Focused Design Feature
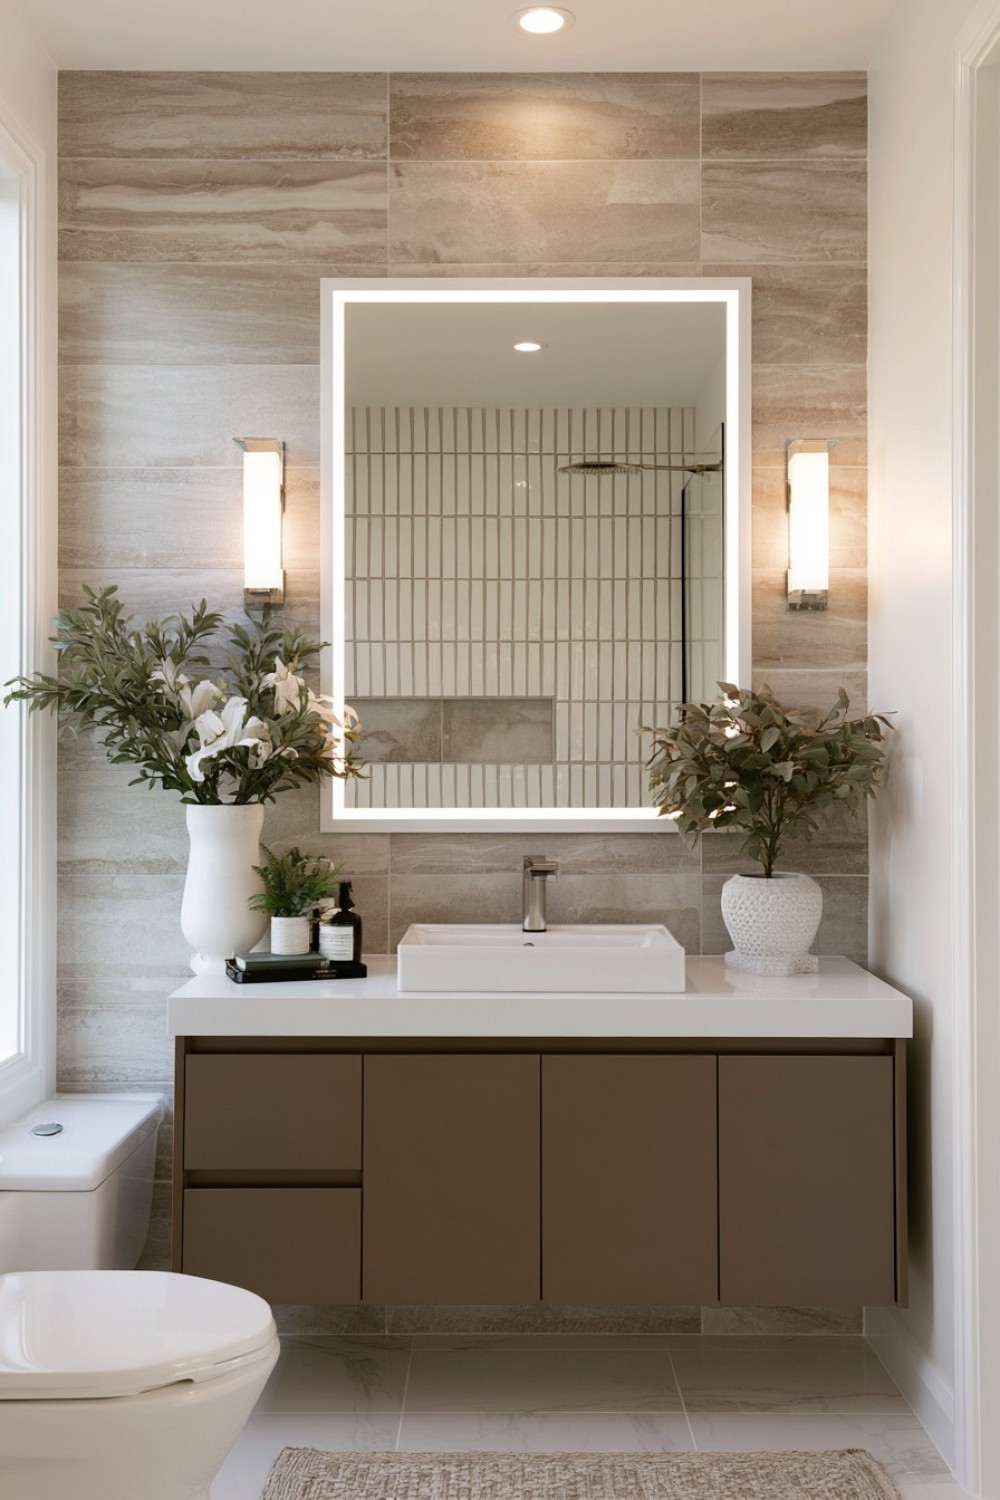
Highlighting the wall at the end of a narrow bathroom can draw the eye through the room and give the layout a clear destination. Use patterned tile, deeper color, textured stone, or a distinctive vanity on this surface while keeping the side walls calmer. The feature should reinforce an existing fixture rather than occupy valuable space as decoration alone.
Select a finish suited to its exposure. A wall inside the shower requires different waterproofing and cleaning considerations from a painted wall behind the vanity. Strong patterns need careful alignment around corners, niches, outlets, and fittings. Dark colors may require additional lighting to keep the area practical. Limit competing accents elsewhere so the focal wall remains effective. When material, lighting, and storage work together, the end feature can add character without making the small bathroom feel cluttered.
MORE IDEAS


Share
What's Your Reaction?
 Like
0
Like
0
 Dislike
0
Dislike
0
 Love
0
Love
0
 Funny
0
Funny
0
 Angry
0
Angry
0
 Sad
0
Sad
0
 Wow
0
Wow
0