17 Contemporary Bathroom Styles Shaped by Material and Form

Contemporary bathroom design is defined less by one decorative style than by careful relationships between materials, proportions, storage, and light. Oak can soften concrete, ribbed glass can introduce privacy, and large porcelain panels can simplify visual lines. These choices still need to withstand water, humidity, cleaning products, and frequent use. Before selecting finishes, plan waterproofing, drainage, ventilation, lighting, electrical zones, and access to concealed plumbing. Floor materials should provide suitable slip resistance, while vanities and storage must support everyday routines. The following contemporary bathroom styles examine how architectural forms and contrasting surfaces can create a refined room without sacrificing maintenance, safety, or long-term functionality.
1. Combine Warm Oak With Soft Concrete Surfaces
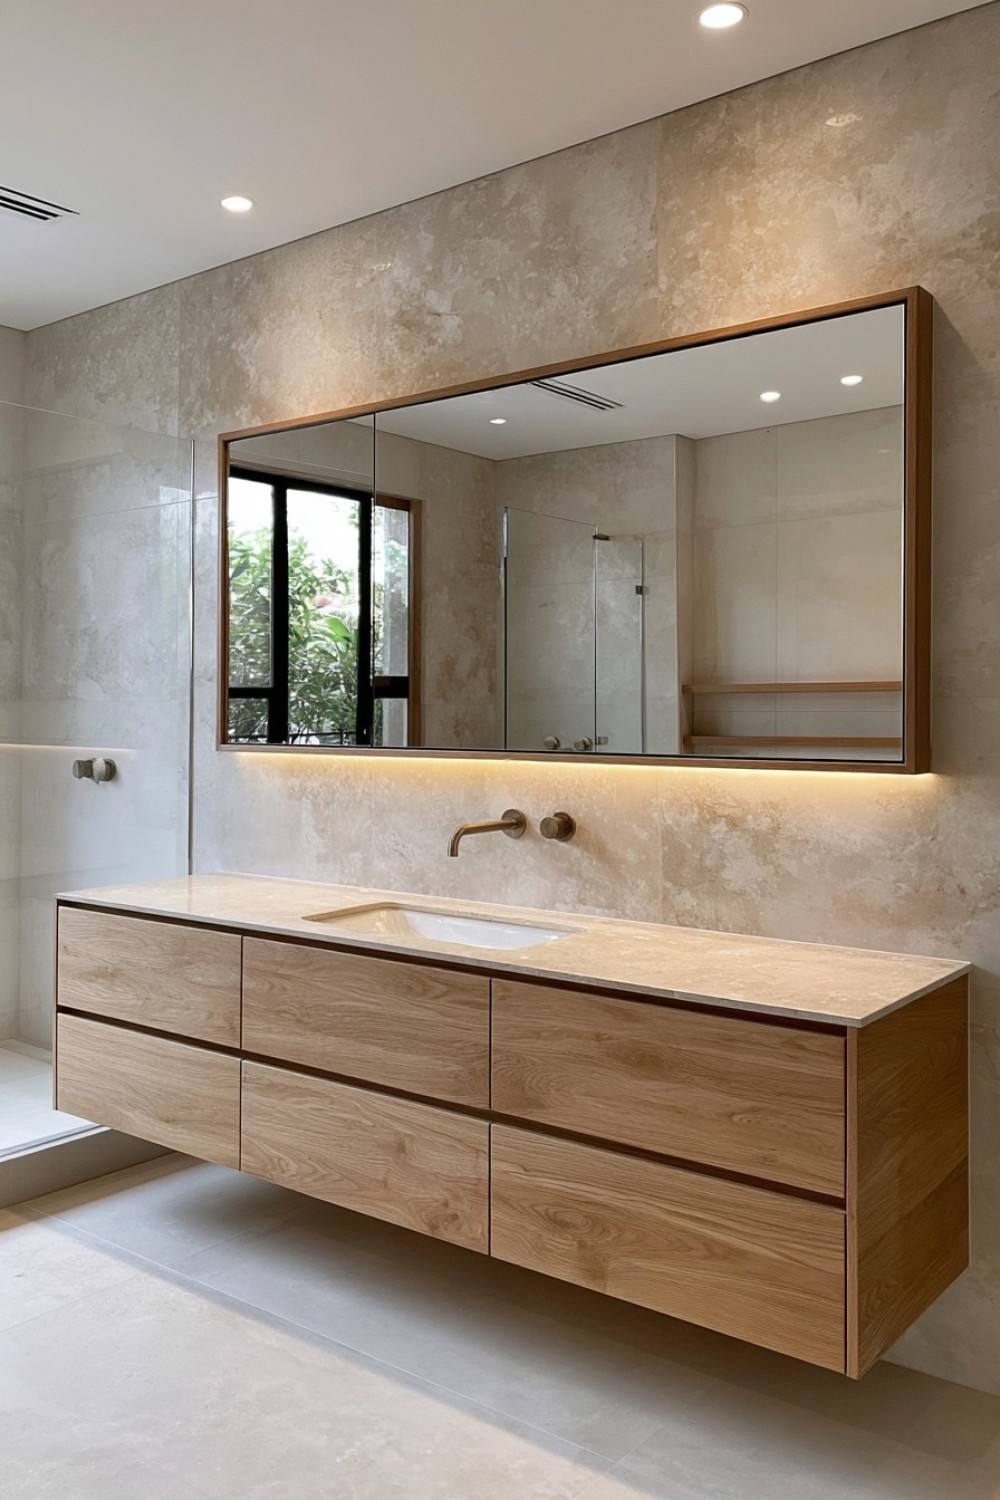
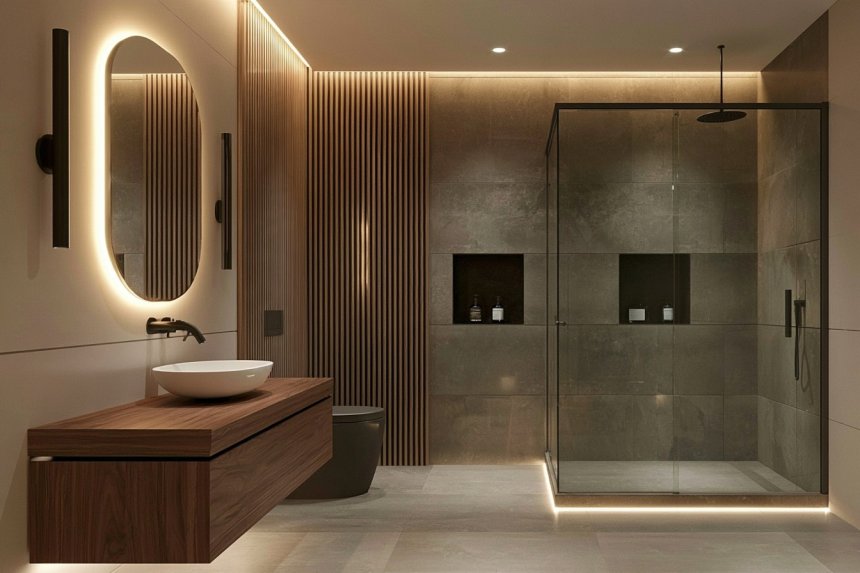
Oak introduces warmth to a bathroom dominated by concrete-look walls, floors, or counters. Use timber on the vanity, tall storage, or a limited shelving section rather than surrounding every surface. Pale or medium oak usually provides enough contrast against gray and taupe finishes. Repeating the wood tone through one small detail can connect the composition without creating a matching furniture set.
True concrete, microcement, porcelain, and decorative coatings have different water resistance and maintenance requirements. Confirm where the selected system can be installed and what waterproof substrate it needs. Timber cabinetry should use moisture-resistant construction and protected edges. Good ventilation and prompt removal of standing water remain essential even when surfaces are described as suitable for bathrooms.
2. Make a Monolithic Stone Vanity the Main Feature
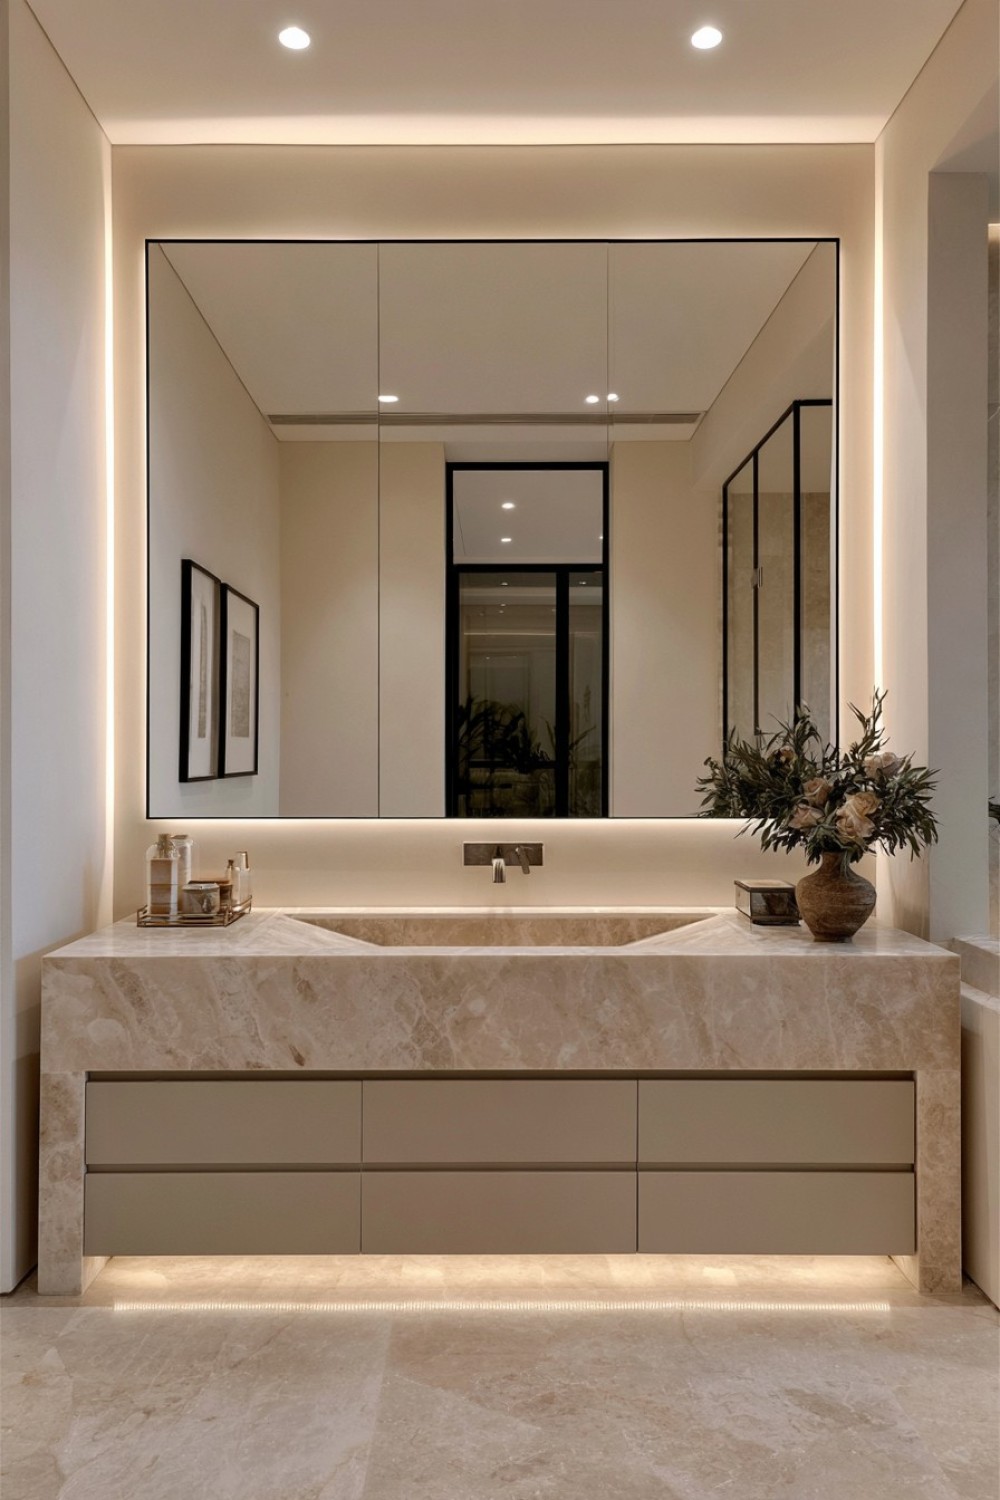
A vanity formed from one visually continuous stone can make the bathroom feel architectural. Integrated basins, mitred edges, and concealed drawers preserve the solid appearance while providing practical storage. Keep the mirror and surrounding walls relatively simple so the stone’s color and veining remain visible. Verify basin depth and tap projection to prevent excessive splashing.
Natural and engineered stone products vary in weight, porosity, stain resistance, and cleaning requirements. The supporting floor, wall, and cabinet structure must carry the completed vanity safely. Request full slab images or inspect the material in person before cutting. Plumbing connections and drainage should remain accessible so future repairs do not require destroying the entire installation.
3. Use Deep Green as an Architectural Color
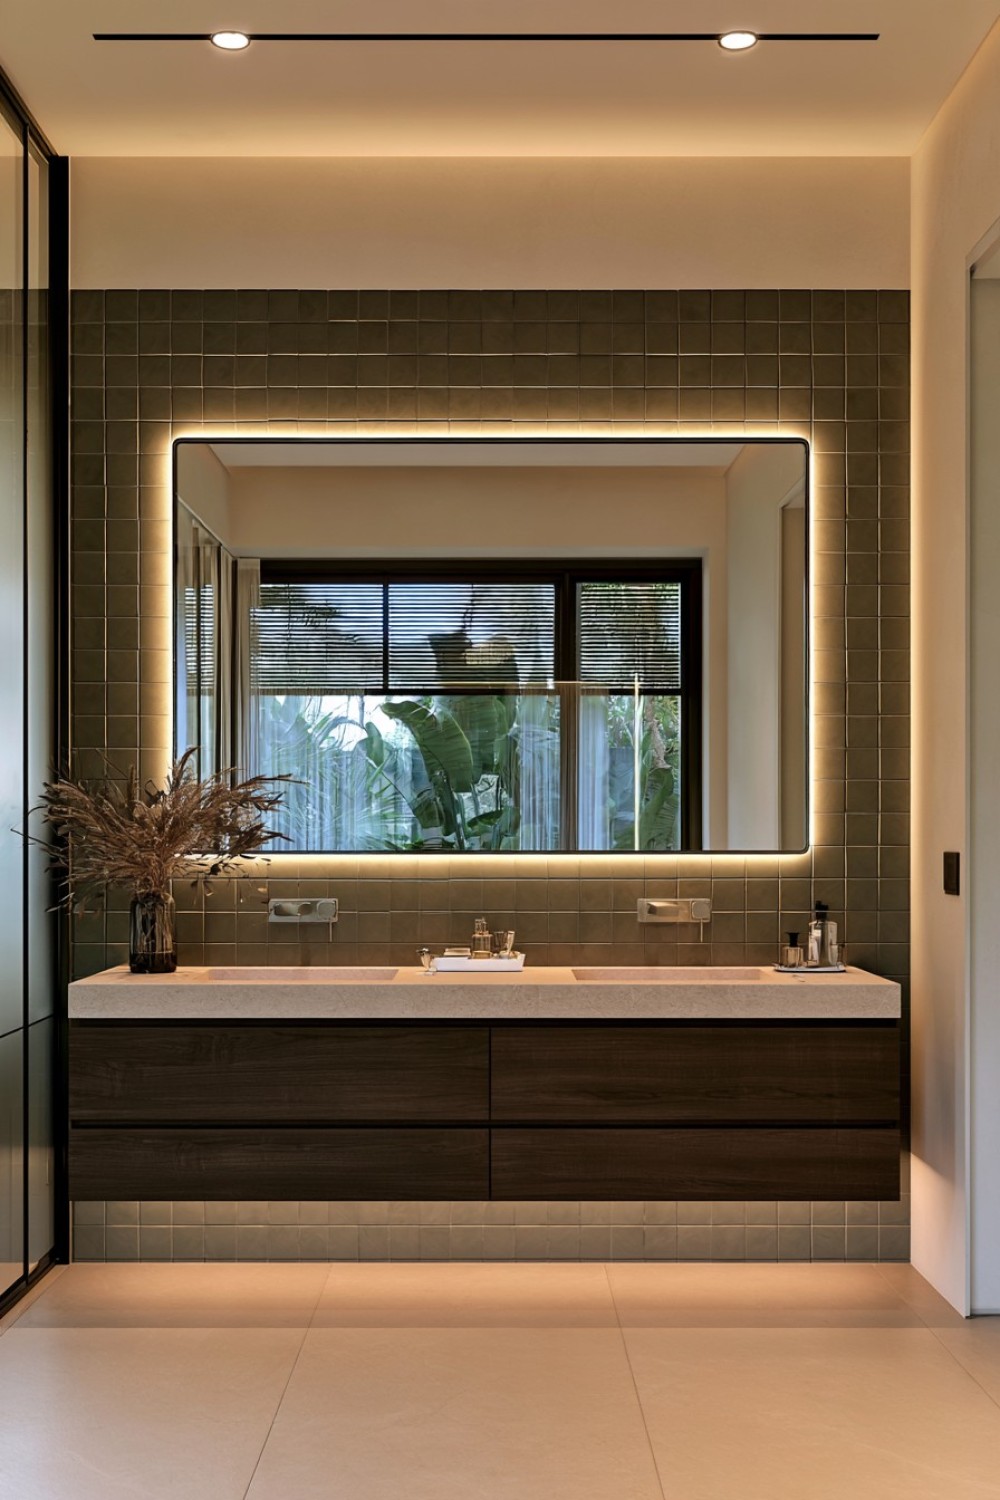
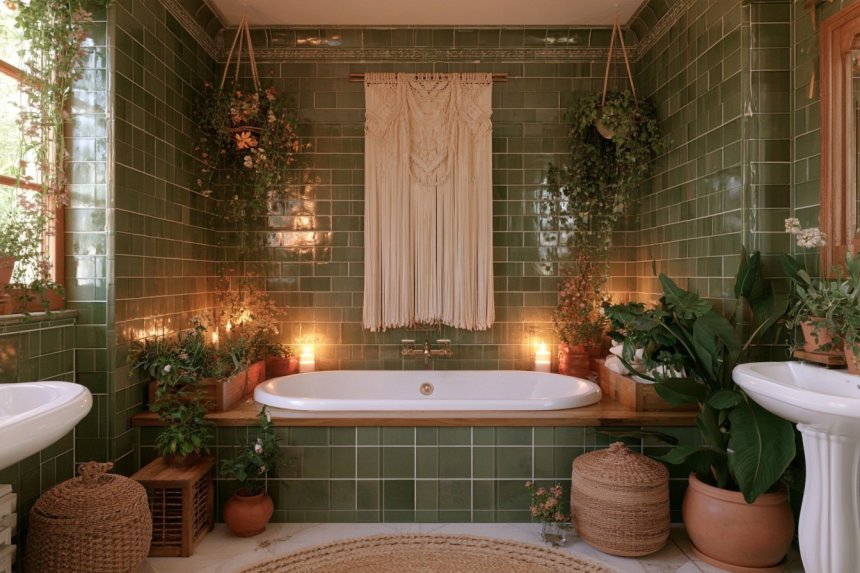
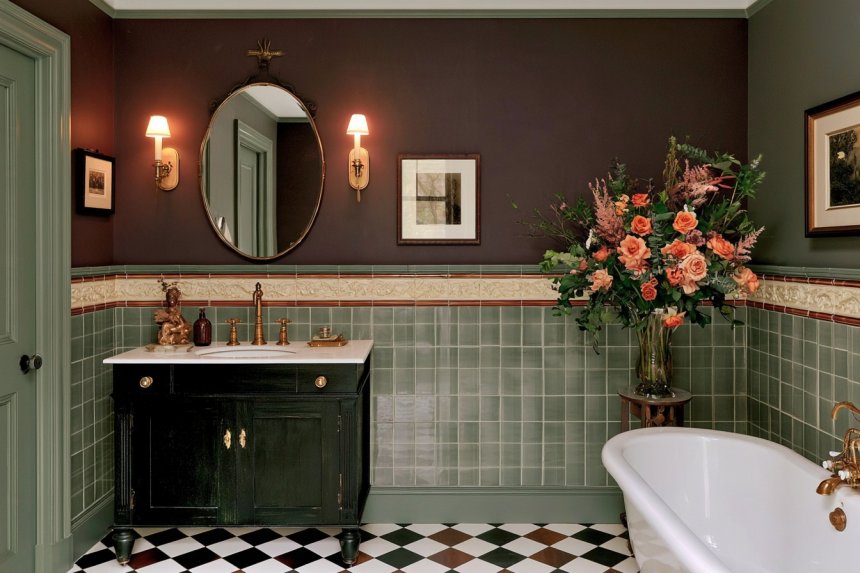
Deep green can define a vanity wall, shower volume, or full-height cabinet without making every accessory colorful. Pair it with warm white, pale stone, oak, or restrained metal finishes. Using the shade on one architectural area produces a stronger result than scattering unrelated green objects around the room. Matte and satin surfaces create a quieter effect than high gloss.
Dark colors can reduce reflected light and reveal mineral residue, dust, or soap marks. Test finish samples under the installed lighting and choose products approved for the intended wet area. Use accurate task lighting around the mirror so the color does not distort grooming conditions. Strong permanent color is easier to live with when surrounding tile and sanitary fixtures remain comparatively neutral.
4. Introduce Texture Through Fluted Cabinet Fronts
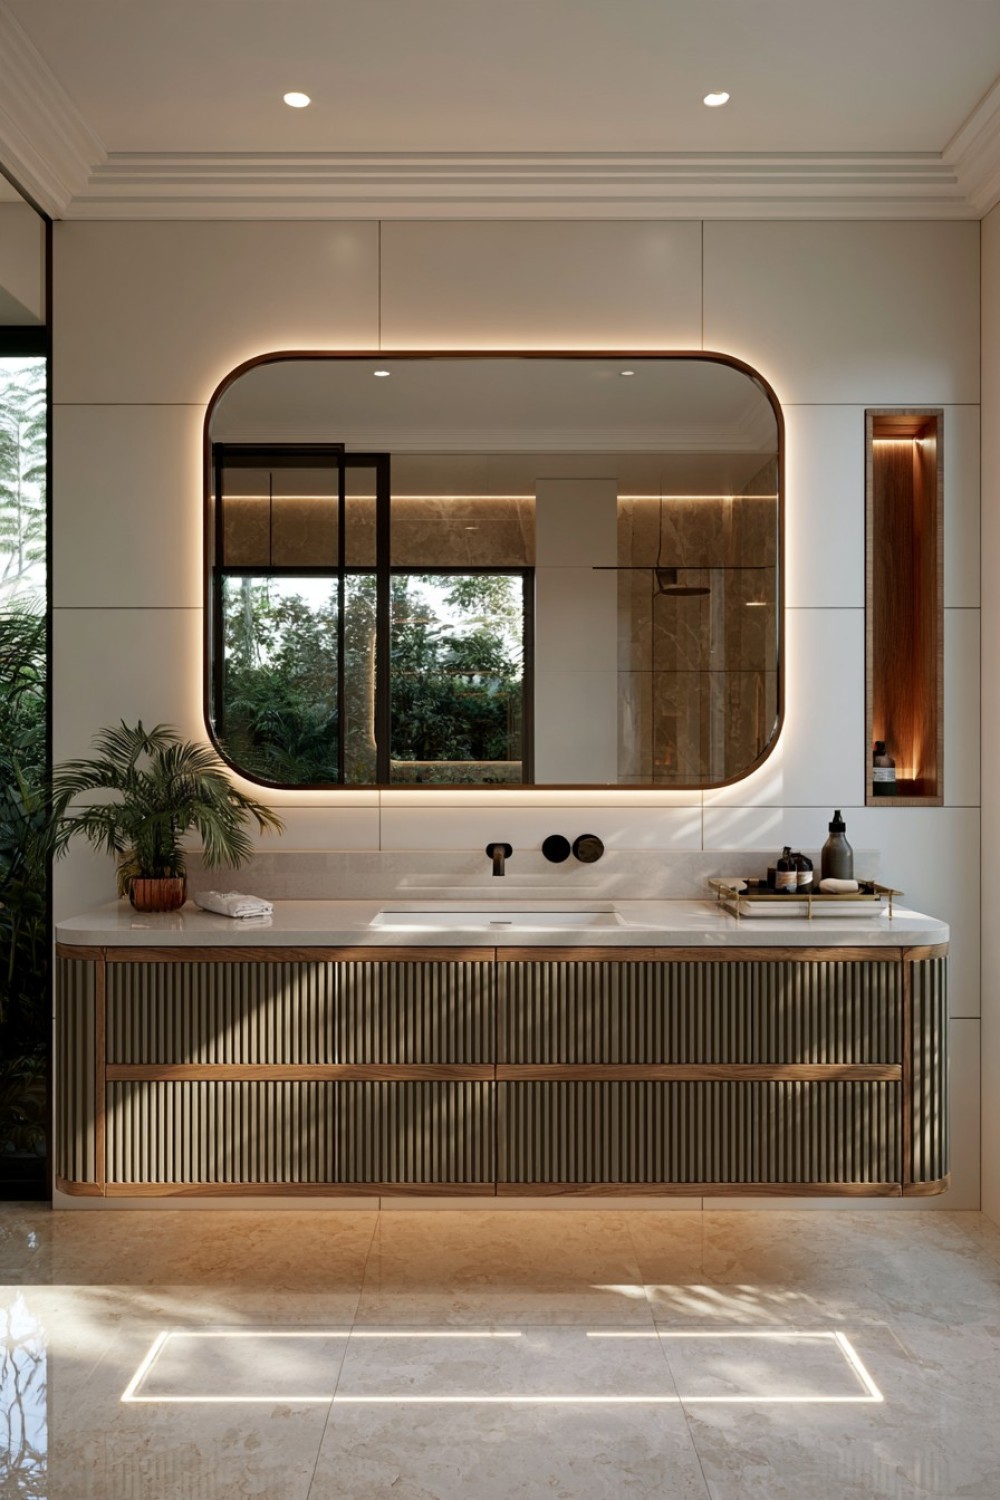
Fluted vanity fronts add repeated shadow lines while allowing the overall cabinet form to remain simple. Use the texture across drawer or door faces and keep the countertop comparatively quiet. Vertical fluting can make a low vanity appear taller, while broad rounded profiles produce a softer effect. Concealed handles preserve the pattern when they remain comfortable to use.
Grooved surfaces collect more dust and residue than flat cabinetry. Choose a sealed, washable finish and a profile that can be cleaned without specialist tools. Confirm that doors and drawers open without fluted edges rubbing together. Timber, painted MDF, and molded synthetic fronts respond differently to bathroom humidity, so the material should be specified for its actual location.
5. Balance Black and Cream in a Minimal Bathroom
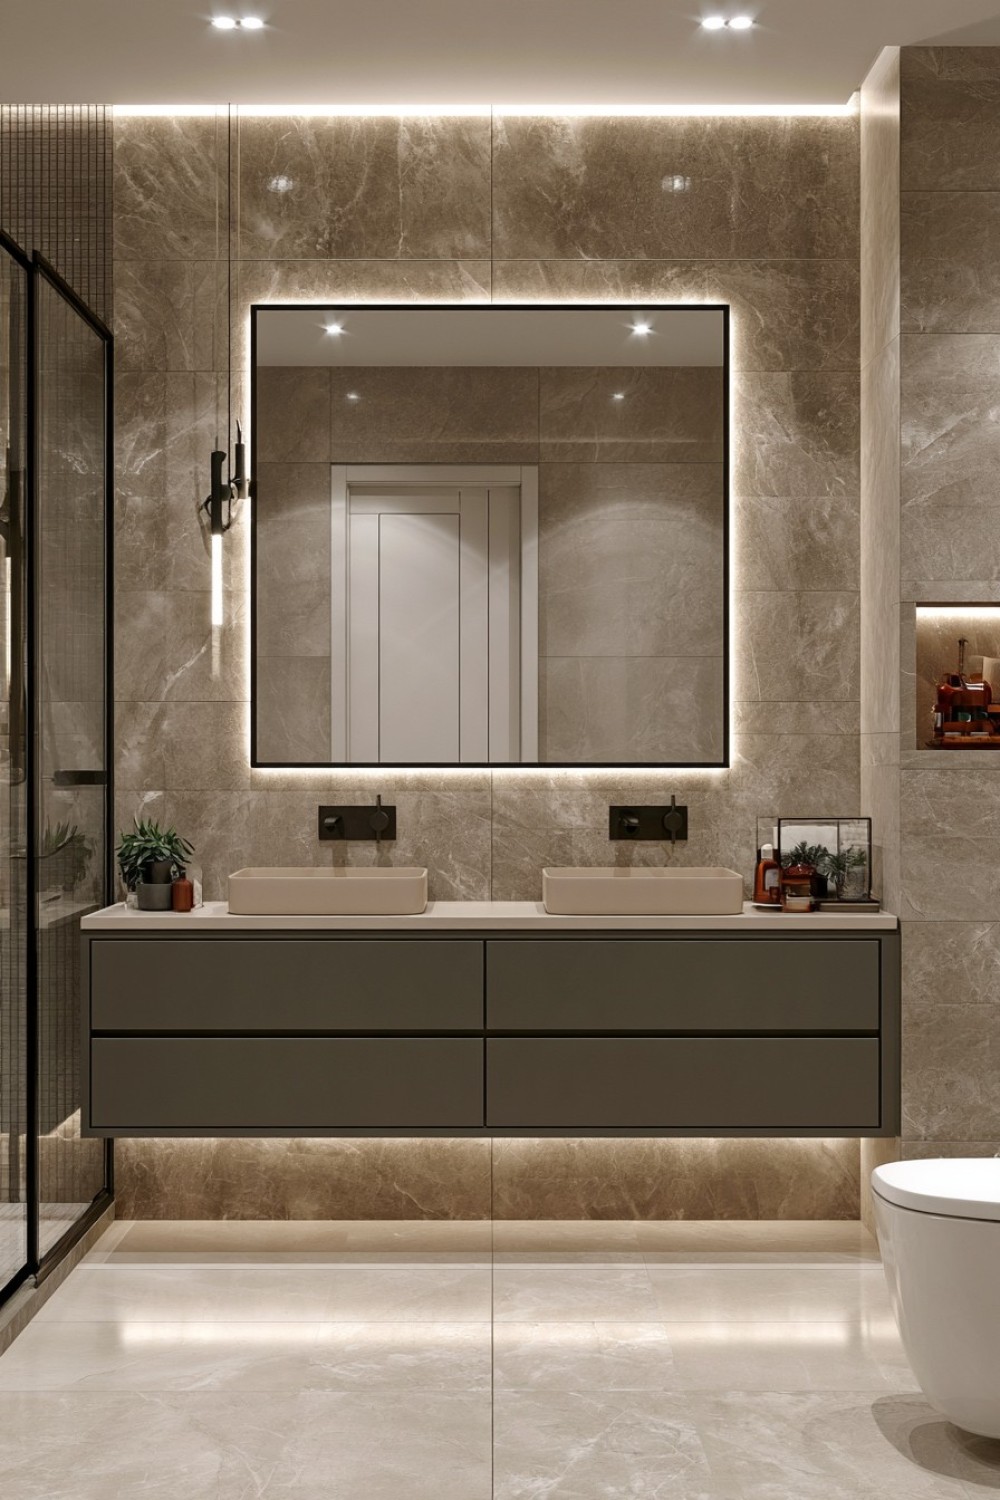
Warm cream can replace stark white in a black-and-light contemporary scheme. Use cream across the largest wall surfaces and introduce black through the vanity, mirror frame, shower profile, or selected fixtures. Restricting black to a few structural lines keeps the room defined without making it visually fragmented. Closed storage supports the calm minimal appearance.
Black products from different manufacturers may vary in undertone and sheen. Compare samples when fixtures will appear close together. Matte coatings can show mineral marks and may be damaged by abrasive cleaning products. Cream surfaces should remain light enough to support visibility and cleaning. Practical storage is essential because minimal design quickly reveals toiletries left across the counter.
6. Wrap the Shower in Large-Format Porcelain
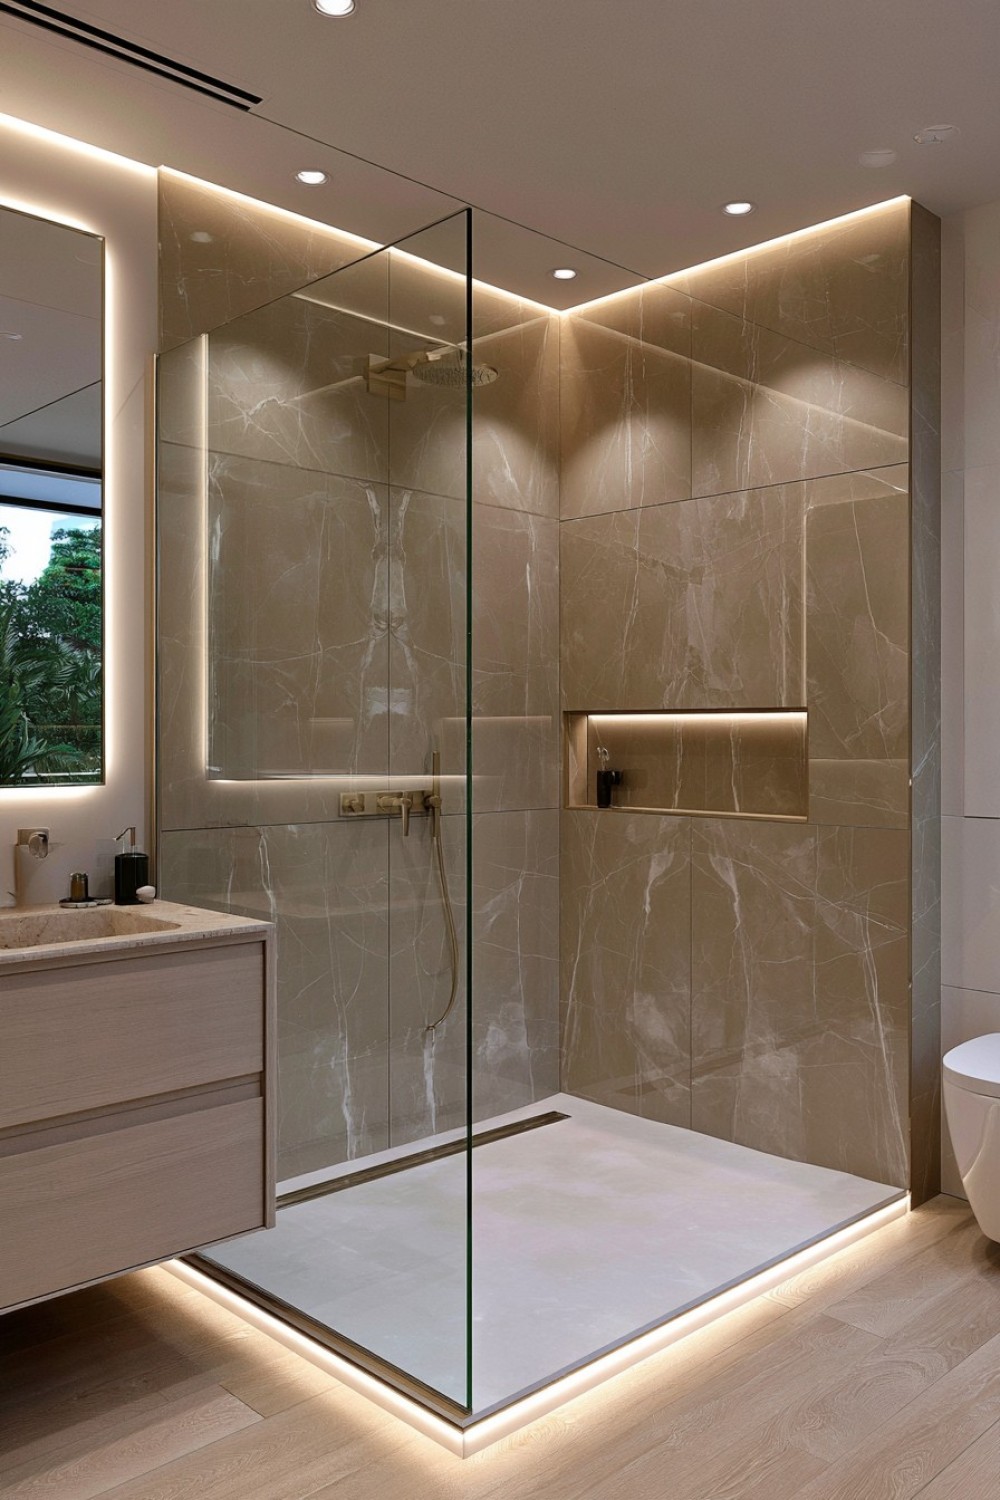
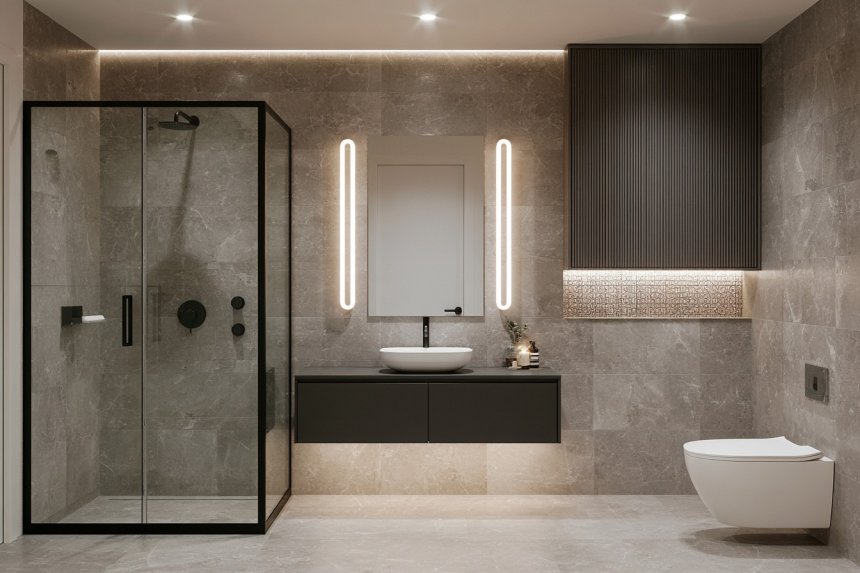
Large-format porcelain reduces the number of visible grout joints and can give a shower a continuous stone-like appearance. Plan panel positions so veining or patterns align deliberately across corners. A recessed niche can be integrated into the same surface, although its edges and joints require precise fabrication. Surrounding floors may use a smaller compatible tile where additional grip or slope flexibility is needed.
Large panels are heavy and require suitable substrates, adhesives, handling equipment, and experienced installation. Porcelain and grout are not substitutes for a complete waterproofing system. Confirm slip resistance before using the same finish on the floor. Future plumbing access should be considered before covering large areas with expensive panels that are difficult to remove intact.
7. Soften a Modern Bathroom With Terracotta Tones
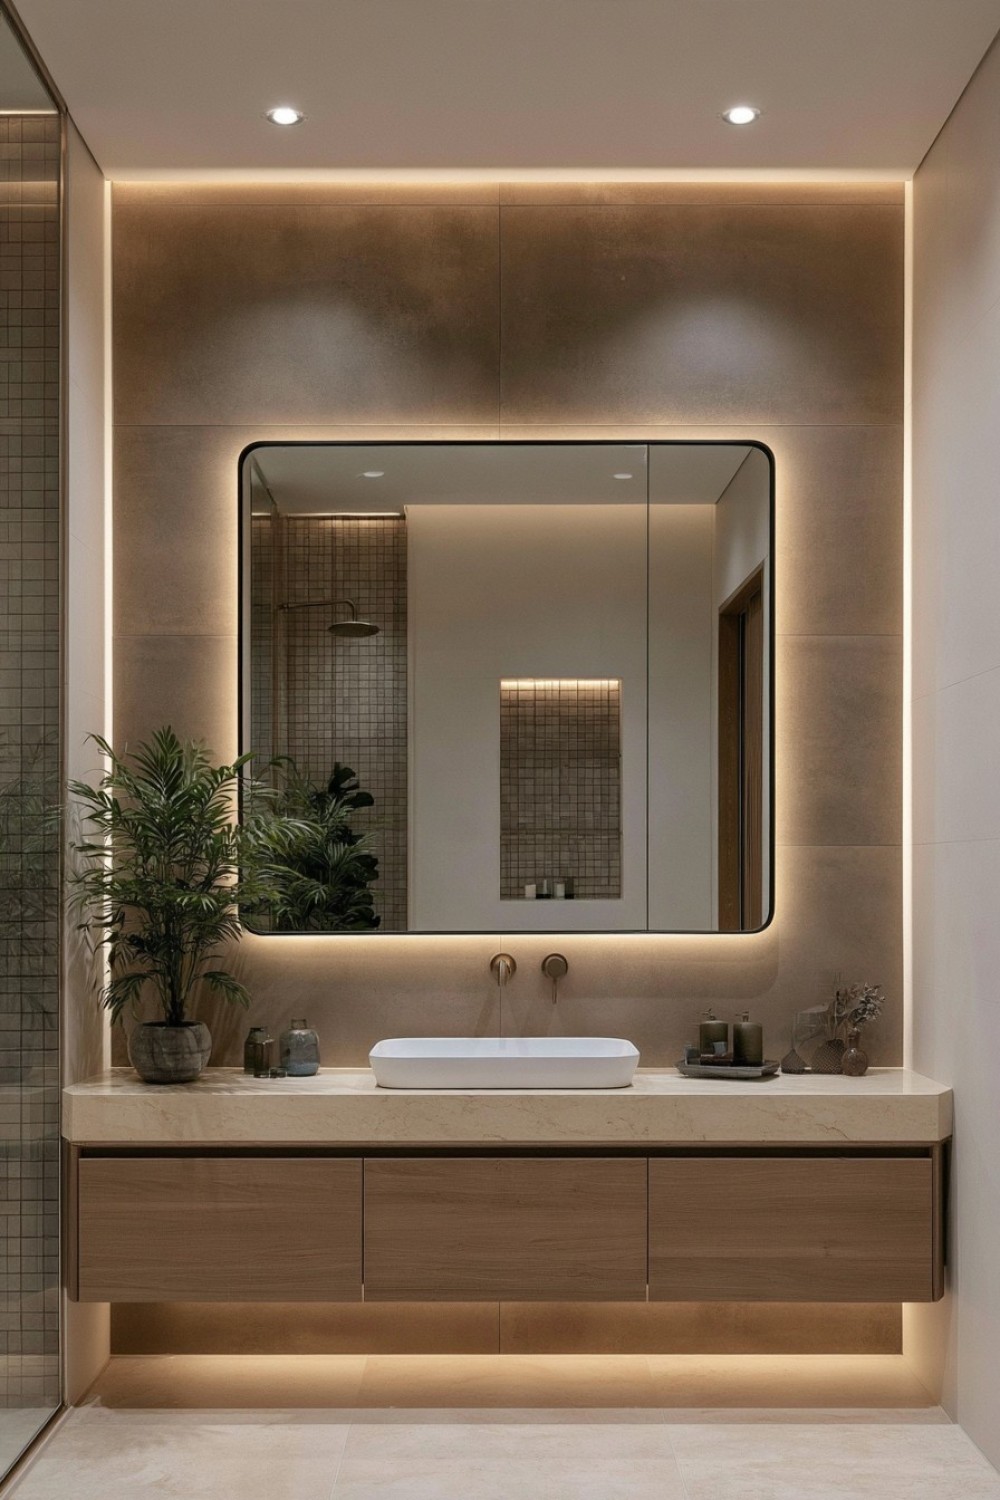
Muted terracotta can warm clean-lined cabinetry, simple basins, and contemporary metal fixtures. Introduce it through wall tile, a painted vanity, or one large surface rather than numerous small accessories. Sand, warm white, charcoal, and oak can support the color without making the room feel overtly rustic. A softly desaturated shade is generally easier to combine with permanent finishes.
Traditional terracotta and terracotta-colored porcelain require very different maintenance. Porous clay may need sealing and careful cleaning, while porcelain typically behaves differently. Confirm suitability for wet floors and walls before purchasing. Test samples beside artificial lighting because orange and red undertones can intensify. Replaceable towels provide a lower-commitment way to assess the palette before installing tile.
8. Install a Floating Double Vanity With Open Space Beneath
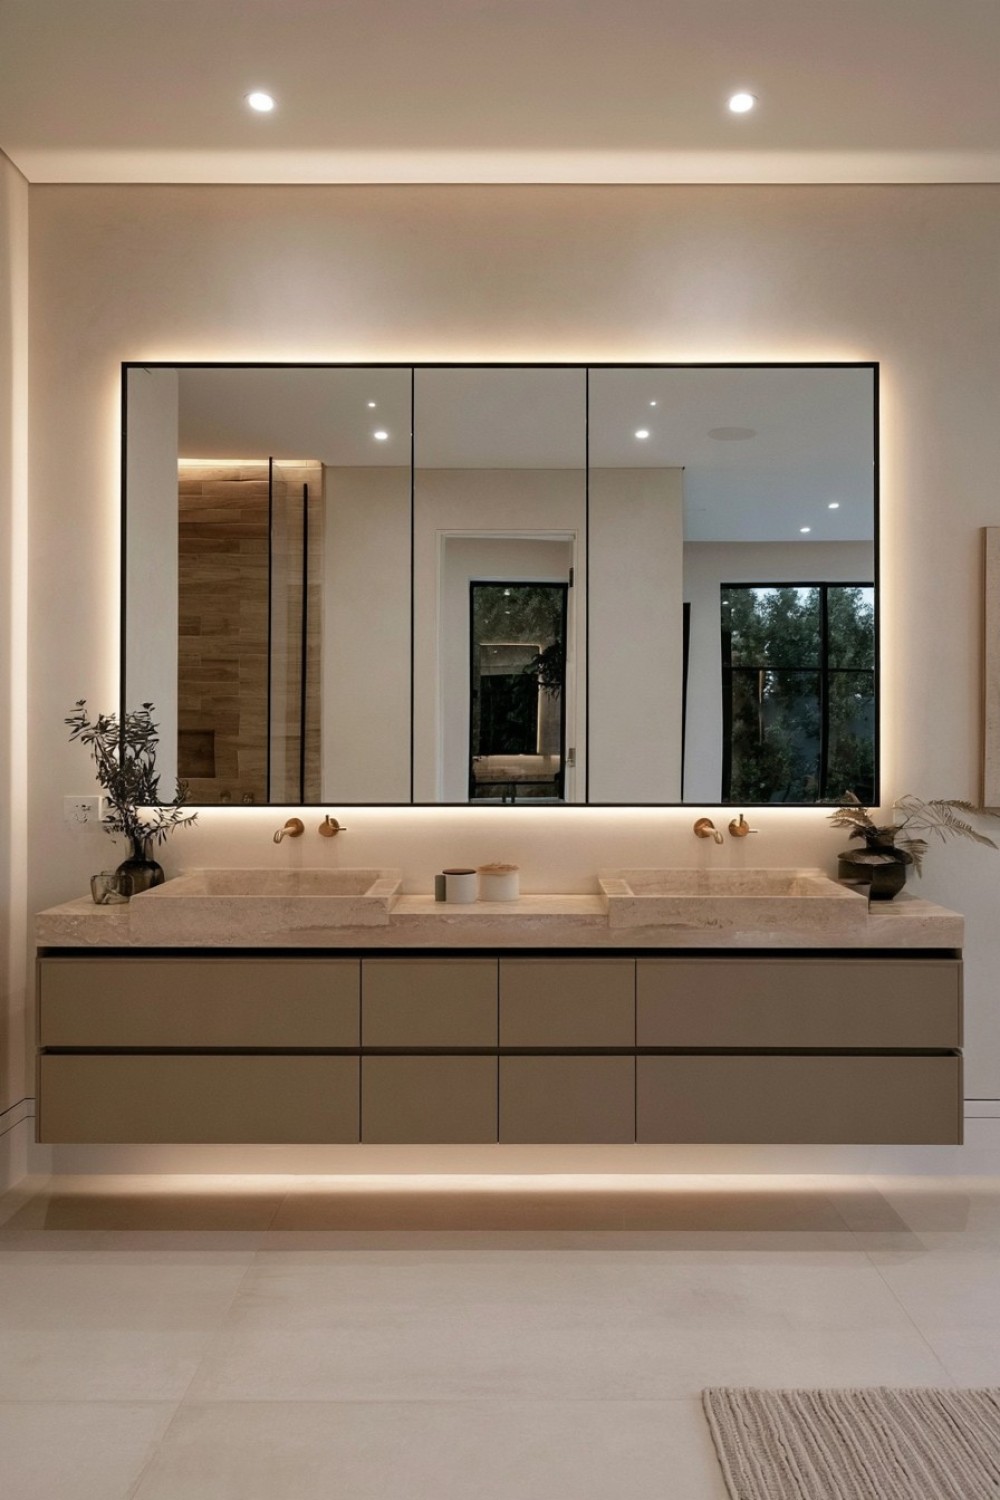
A floating double vanity keeps more flooring visible and can make a shared bathroom feel less crowded. Allocate useful drawer space to each basin and include a central section for common supplies. The counter should provide enough separation between users without forcing the vanity to dominate the entire wall. Concealed handles preserve its uninterrupted contemporary form.
The wall and fixings must support the vanity, counters, basins, plumbing, and stored items. Installation height should reflect the household’s needs and applicable accessibility requirements. Check drawer clearance around waste pipes before ordering cabinetry. Open space beneath simplifies floor cleaning, but the underside and wall junction still require moisture-resistant finishes and careful sealing.
9. Use Ribbed Glass for Filtered Privacy
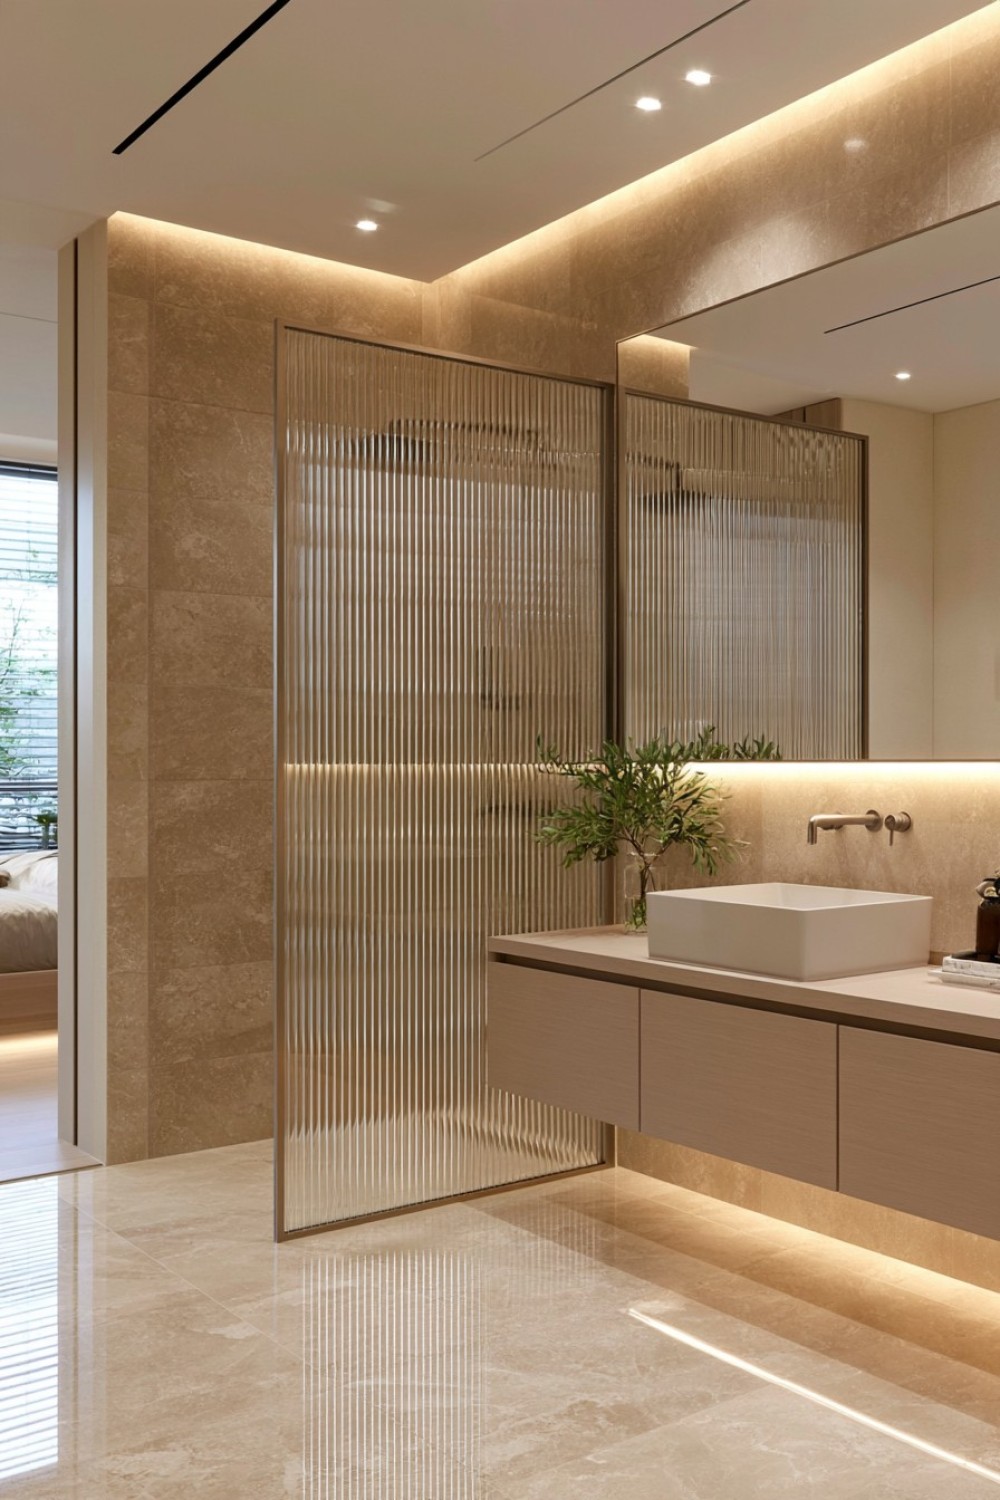
Ribbed glass can separate a shower, toilet area, or dressing zone while allowing light to pass through. Vertical texture reinforces height and produces a softer boundary than an opaque wall. Frame the glass in black, brushed metal, or a color matched to nearby fittings. Test a sample because privacy changes according to viewing distance, lighting, and which side is illuminated.
Use safety glass specified for the exact application and installed by qualified professionals. Textured surfaces may retain soap and mineral deposits, so orient the easier-to-clean face toward the wettest area when the system permits. Frames, channels, seals, and glass edges need regular inspection. Ribbed glass provides visual screening but should not be assumed to create complete privacy.
10. Introduce Muted Blue Through Stone or Porcelain
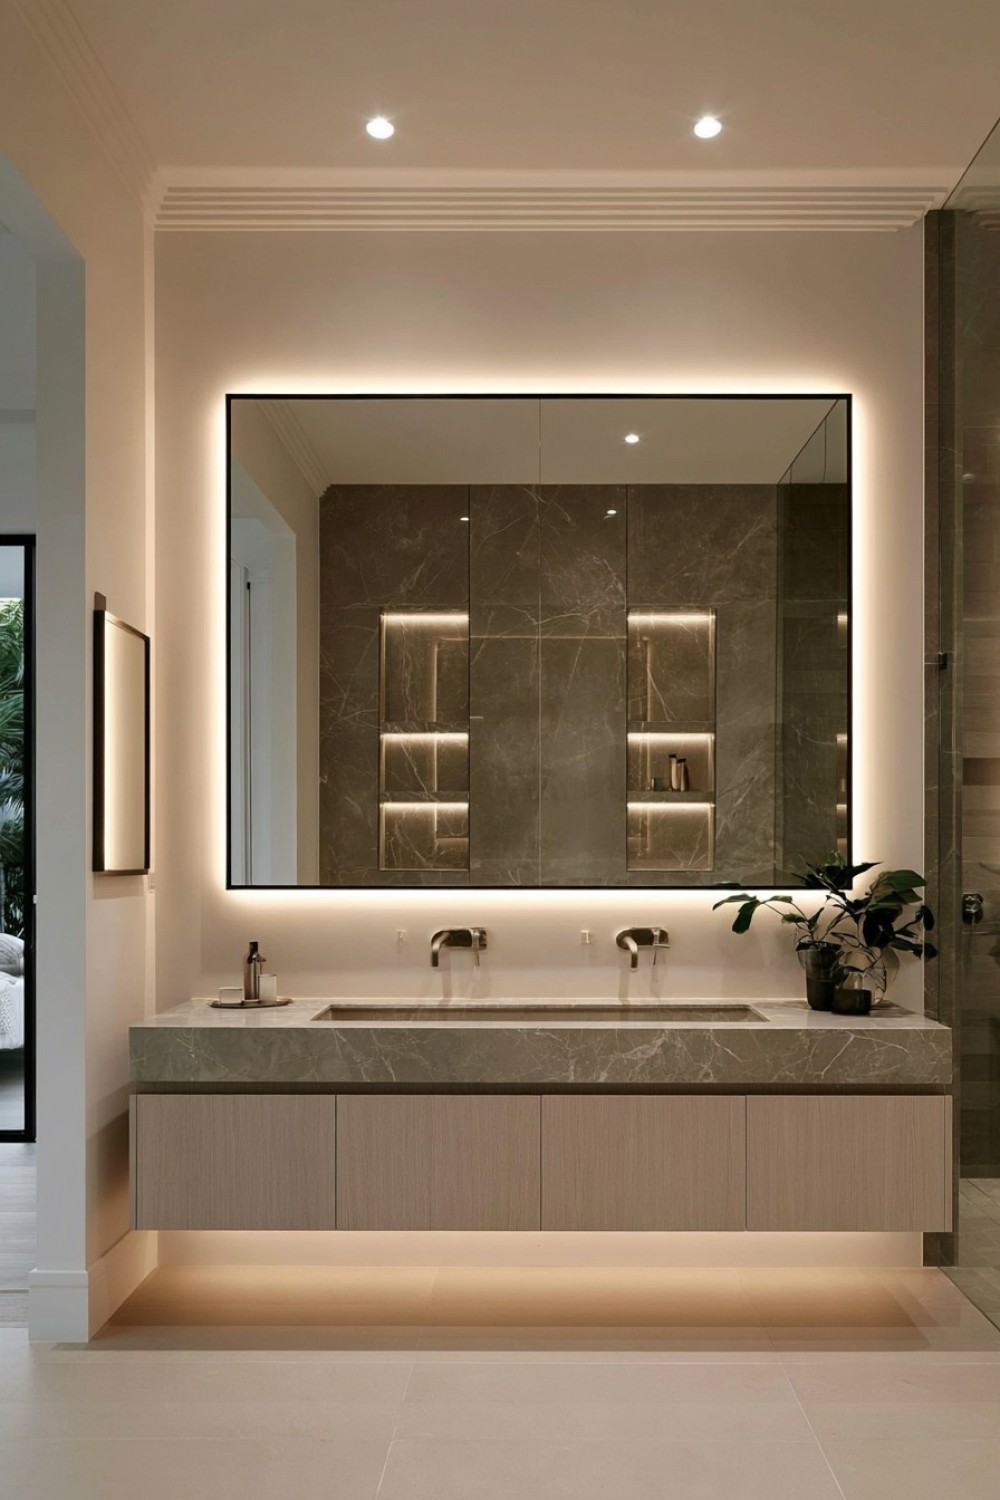
Muted blue-gray stone can introduce color while retaining the visual weight of a neutral material. Use it on a vanity counter, shower wall, or floor and surround it with pale oak, warm white, and restrained metal. Natural variation may provide enough movement without additional patterned tile. Porcelain alternatives can offer a related appearance with different care requirements.
Review full slabs or several tile samples because blue undertones and veining can vary widely. Natural stone may require sealing and protection from acidic cleaning products. Floor surfaces need suitable wet-area slip resistance. Coordinate grout and joint colors carefully so they support the material rather than dividing the installation into visually unrelated sections.
11. Treat a Built-In Bathroom Bench as Architecture
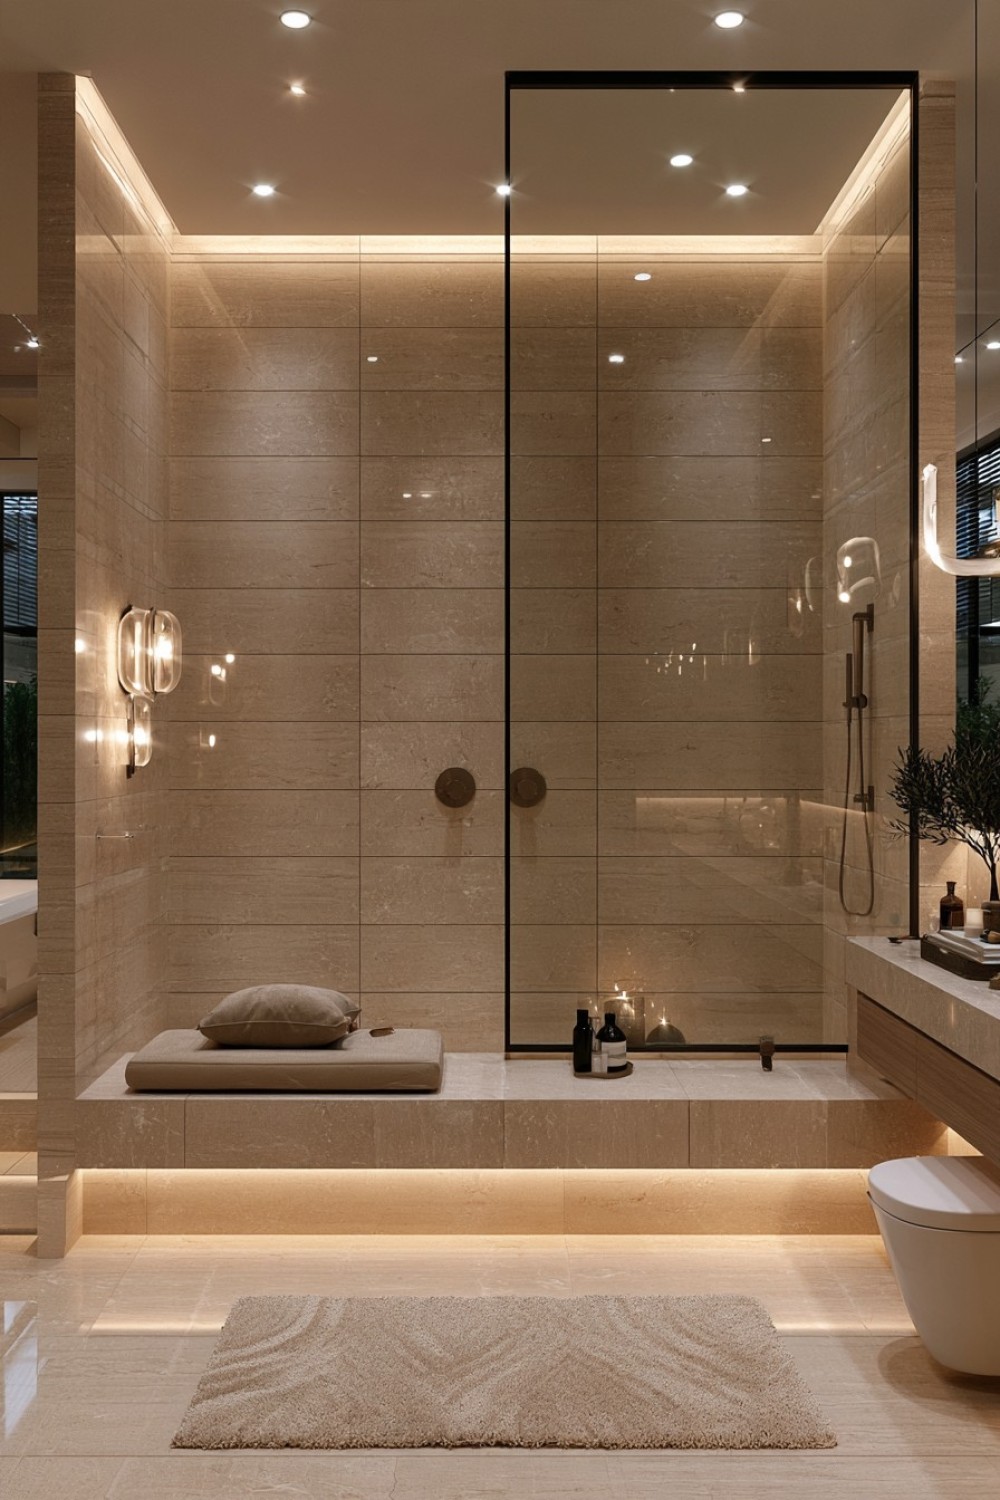
A built-in bench can support dressing, towel storage, or shower use depending on its location and construction. Continuing the wall or floor material across the bench gives it a monolithic appearance. Outside the shower, drawers beneath the seat may add storage. Inside a wet zone, a slightly sloped surface prevents water from remaining on top.
Bench dimensions, structural support, waterproofing, edge treatment, and accessibility should match its intended purpose. Shower benches require a complete waterproof substrate and surfaces suitable for wet use. Avoid sharp projecting corners in narrow circulation areas. Concealed plumbing and drains must remain serviceable, and heavy stone benches may require additional structural assessment.
12. Add an Industrial Edge With Brushed Stainless Steel
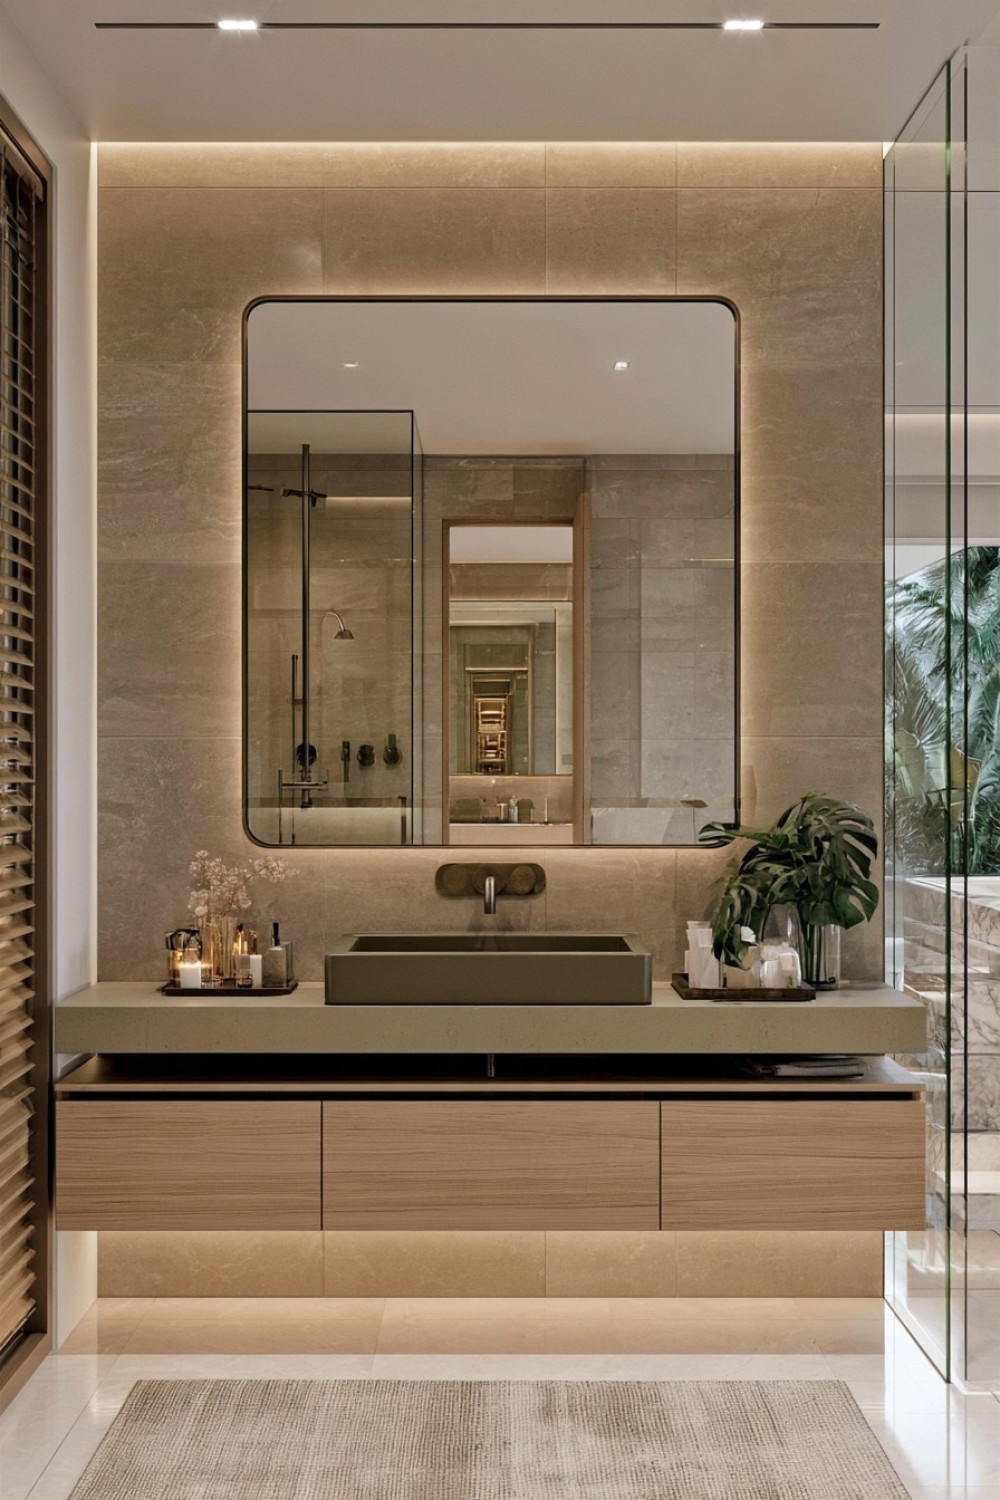
Brushed stainless steel can create a controlled industrial element through taps, shelving, a vanity frame, or selected wall panels. Its directional finish feels softer than mirror-polished metal and combines well with concrete, oak, charcoal, and pale stone. Repeat the material in a limited number of places to make the choice appear intentional.
Stainless steel grades differ in corrosion resistance, making appropriate specification important in humid or coastal environments. Brushed surfaces should be cleaned in the direction of the grain using compatible products. Avoid mixing metals that may react when exposed to moisture. Fabricated edges, seams, and corners need smooth finishing so they remain safe and easy to maintain.
13. Design an Asymmetrical Vanity Composition
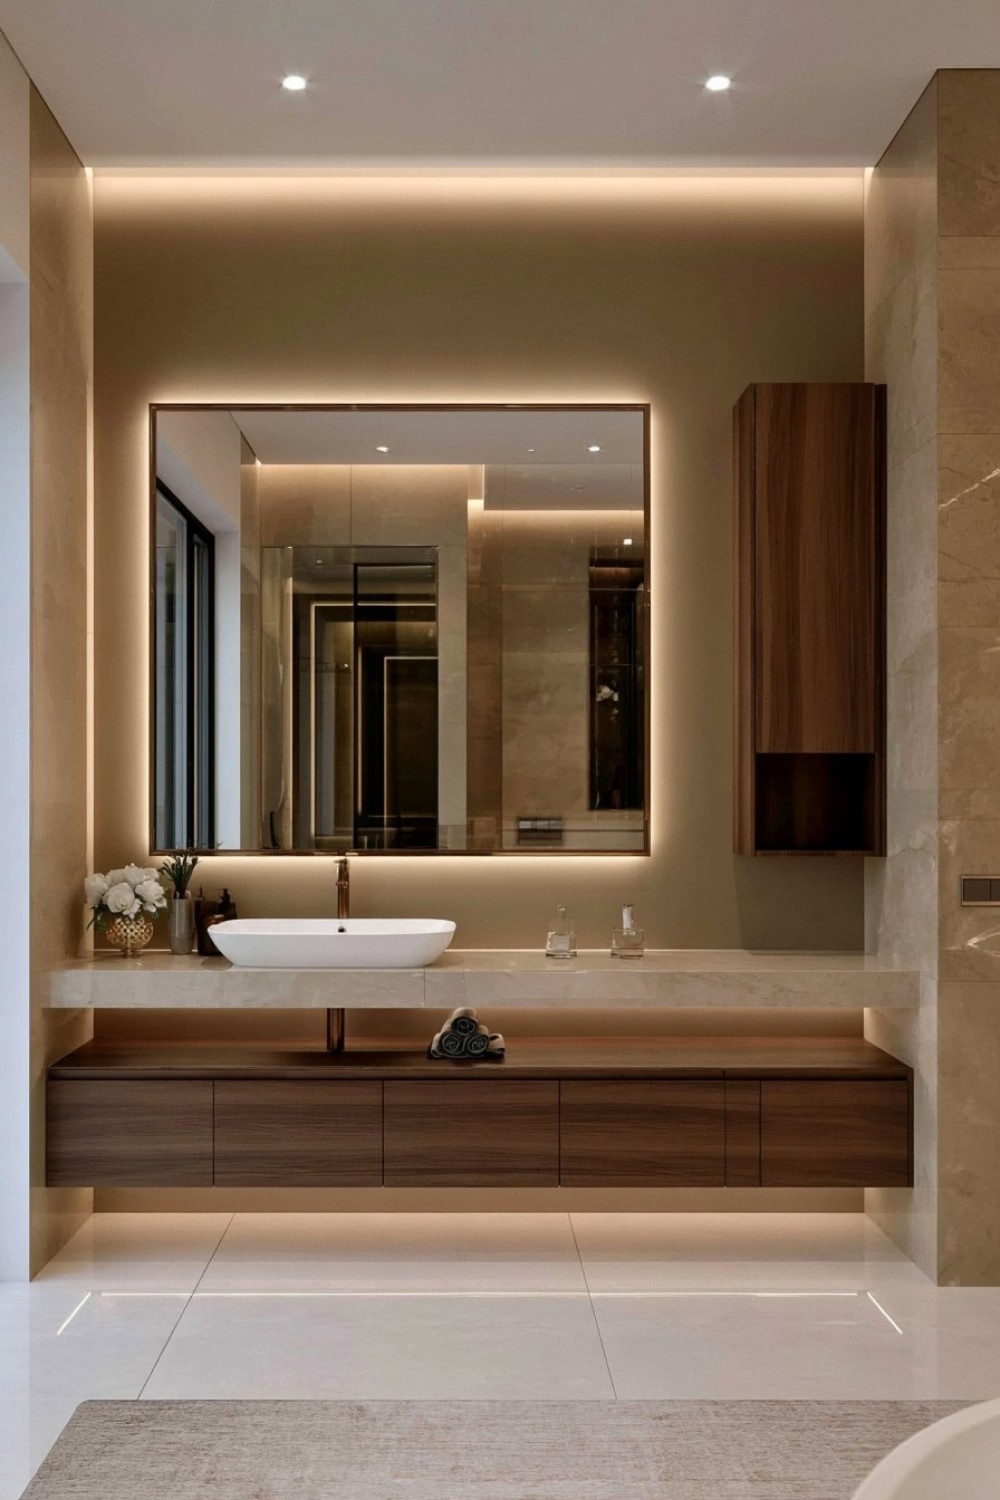
An offset basin can leave a larger uninterrupted preparation surface on one side of the vanity. Balance the arrangement with drawers, a vertical cabinet, or an asymmetrically positioned mirror. This layout works particularly well when plumbing occupies one side or when two users need different types of storage. Keep the material palette restrained so the composition remains easy to understand.
Confirm that the mirror still serves the basin comfortably and that task lighting illuminates the user evenly. Drawer openings must avoid waste pipes and nearby doors. Asymmetry should improve function rather than forcing inconvenient reaches or leaving unusable gaps. Mark the full arrangement on the wall and counter before ordering custom components.
14. Bring Travertine Into a Clean Modern Setting
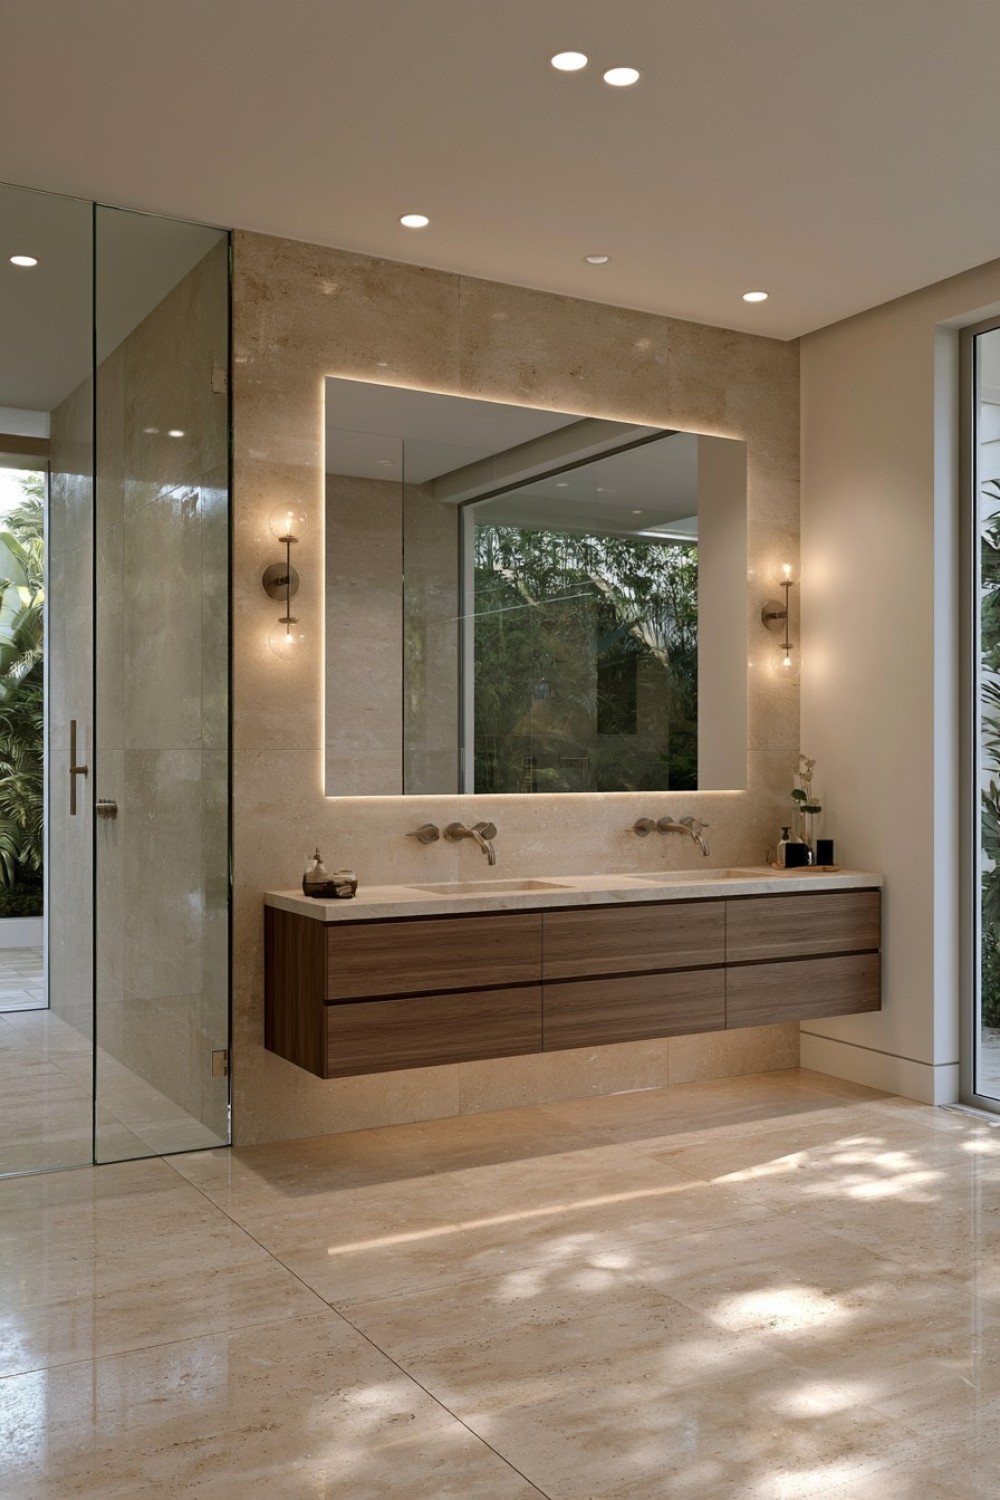
Travertine introduces warm variation and subtle linear movement to a contemporary bathroom. Use it across one major surface and pair it with simple cabinetry, plain plaster-look walls, and restrained fixtures. The stone’s fill, cut direction, and finish influence whether it appears rustic or refined. Vein-cut slabs generally create stronger directional lines than cross-cut material.
Travertine is porous and requires appropriate sealing and cleaning. Filled areas, natural holes, and edges should be specified for the intended wet location. Confirm floor slip resistance rather than choosing a finish solely for appearance. Travertine-effect porcelain may be an alternative where easier maintenance is preferred, but its printed repetition should be reviewed across the full installation.
15. Introduce a Sculptural Freestanding Basin
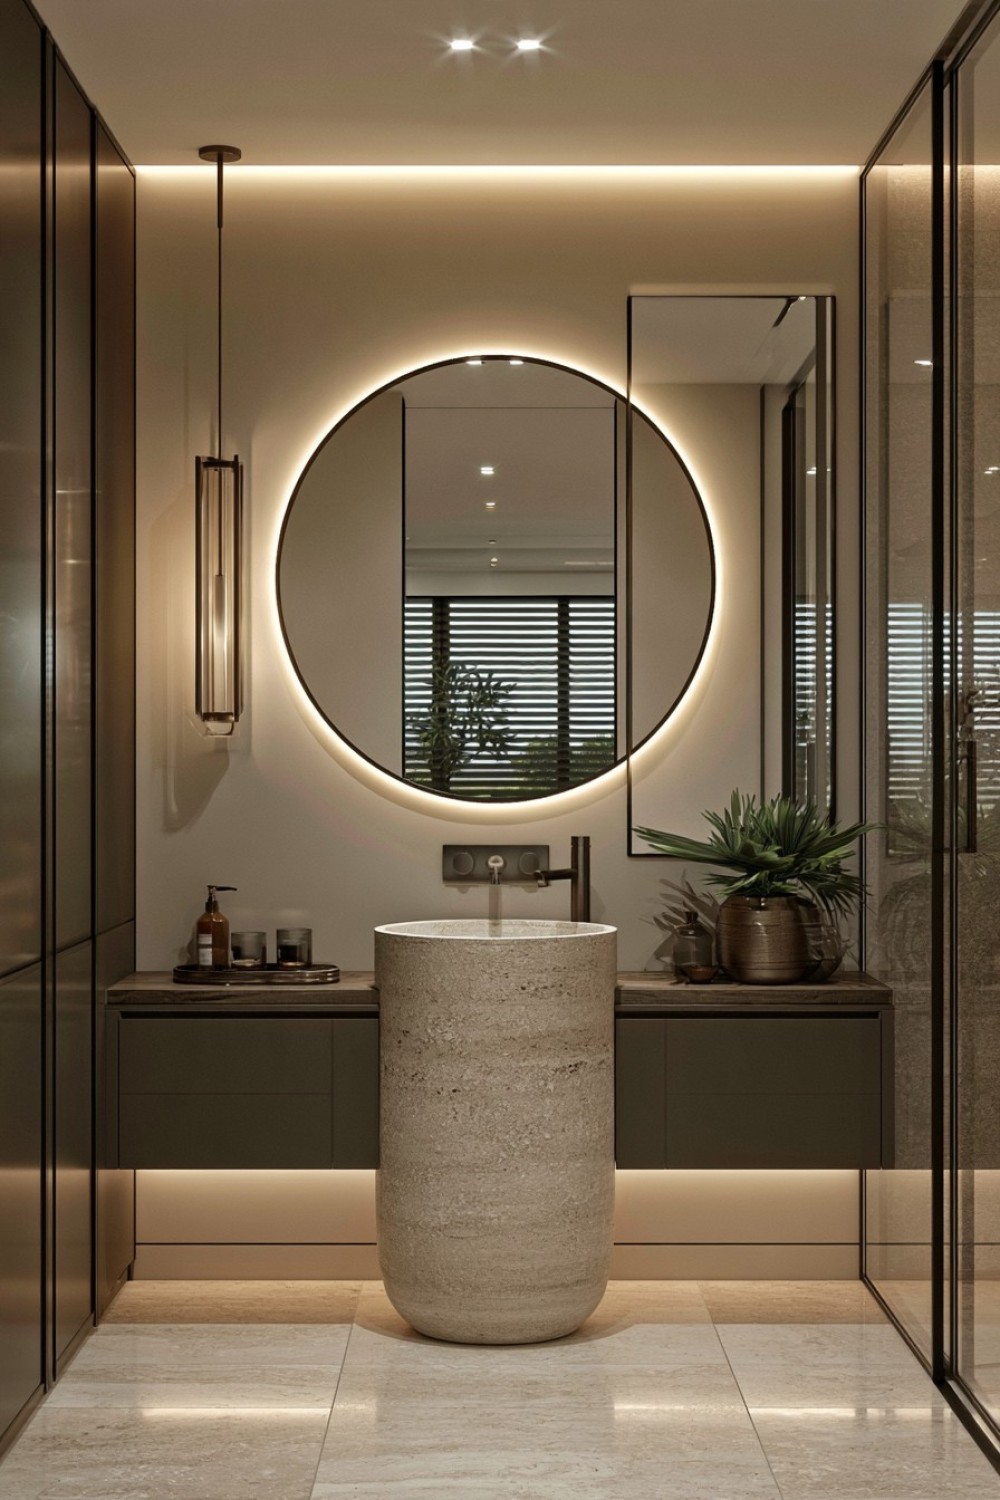
A freestanding basin can become a functional sculpture in a powder room or spacious bathroom. Cylindrical, faceted, and softly curved designs each create a different focal point. Leave enough open floor around the basin for its form to remain visible, and provide nearby concealed storage so toiletries do not gather on its limited surface.
Check basin height, bowl depth, tap projection, splash behavior, weight, and plumbing requirements before ordering. Floor-mounted models may need concealed supply and waste connections planned early in construction. Heavy stone or composite basins require suitable structural support. Cleaning access around the back and base should remain practical after installation.
16. Shape the Room With Soft Curved Walls
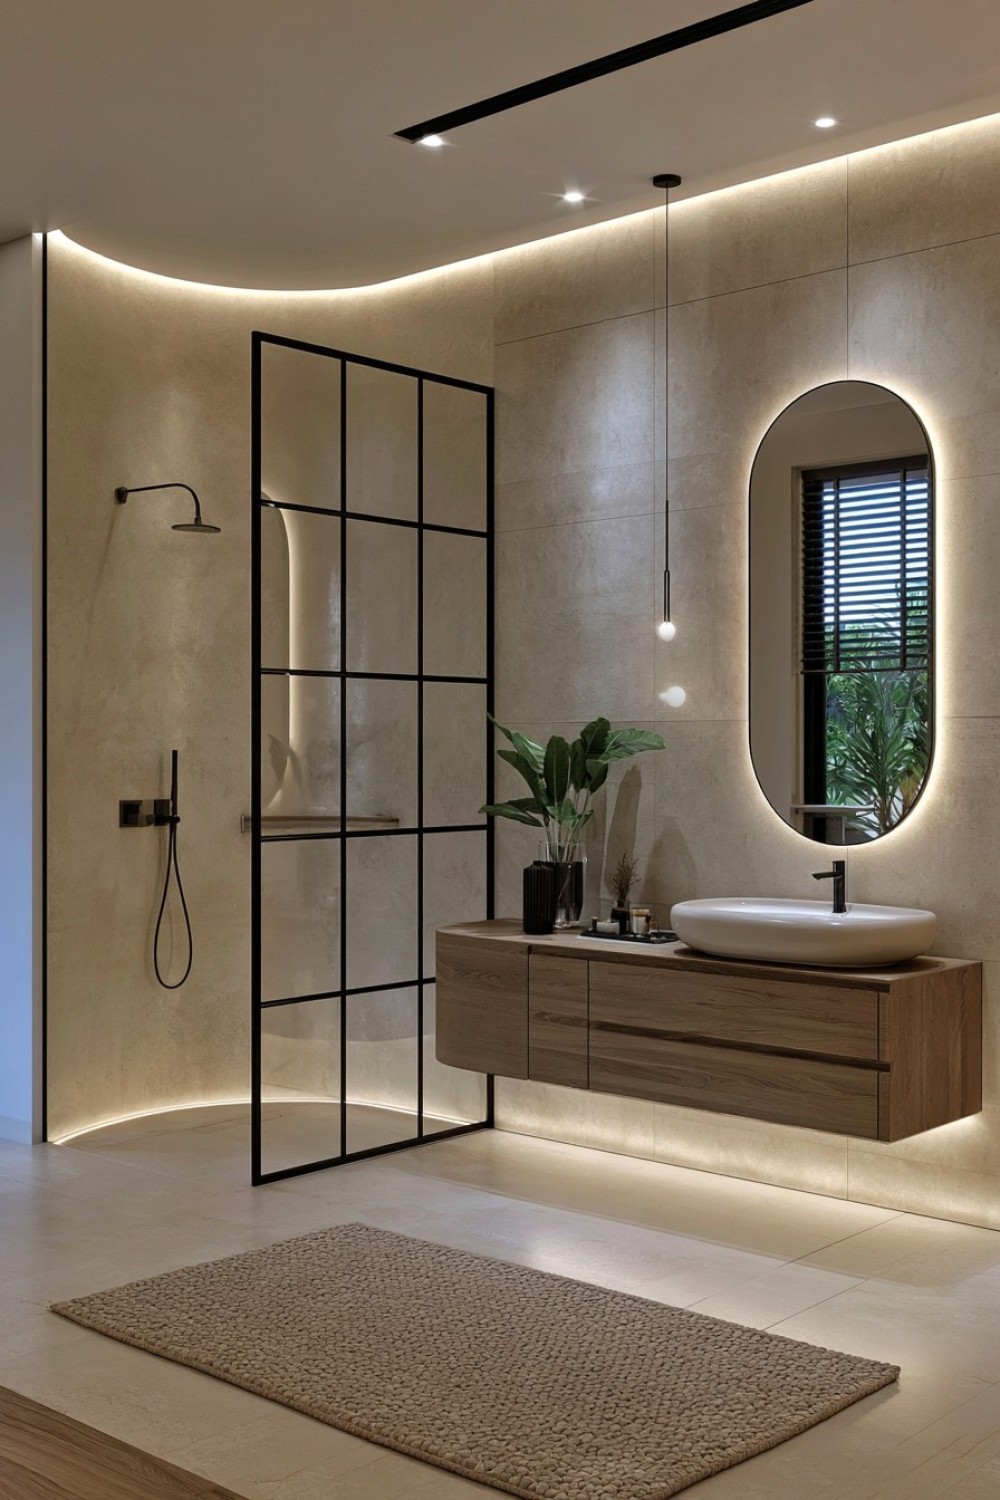
Curved walls can improve circulation around a shower, vanity, or entrance while softening the bathroom’s geometry. Use one meaningful curve rather than applying arches to every opening and cabinet. Continuous plaster-look finishes or small-format tiles can follow the surface more naturally than large rigid panels. Concealed lighting may emphasize the curve without adding decorative clutter.
Curved wet-area construction requires accurate framing, substrates, waterproofing, and finish selection. Confirm that the shape preserves headroom, accessible routes, door clearance, and usable interior dimensions. Plumbing and electrical services should be coordinated before the wall is closed. Complex curves can also increase fabrication and future repair costs, making full-scale planning valuable.
17. Mix Matte and Glossy Surfaces Within One Palette
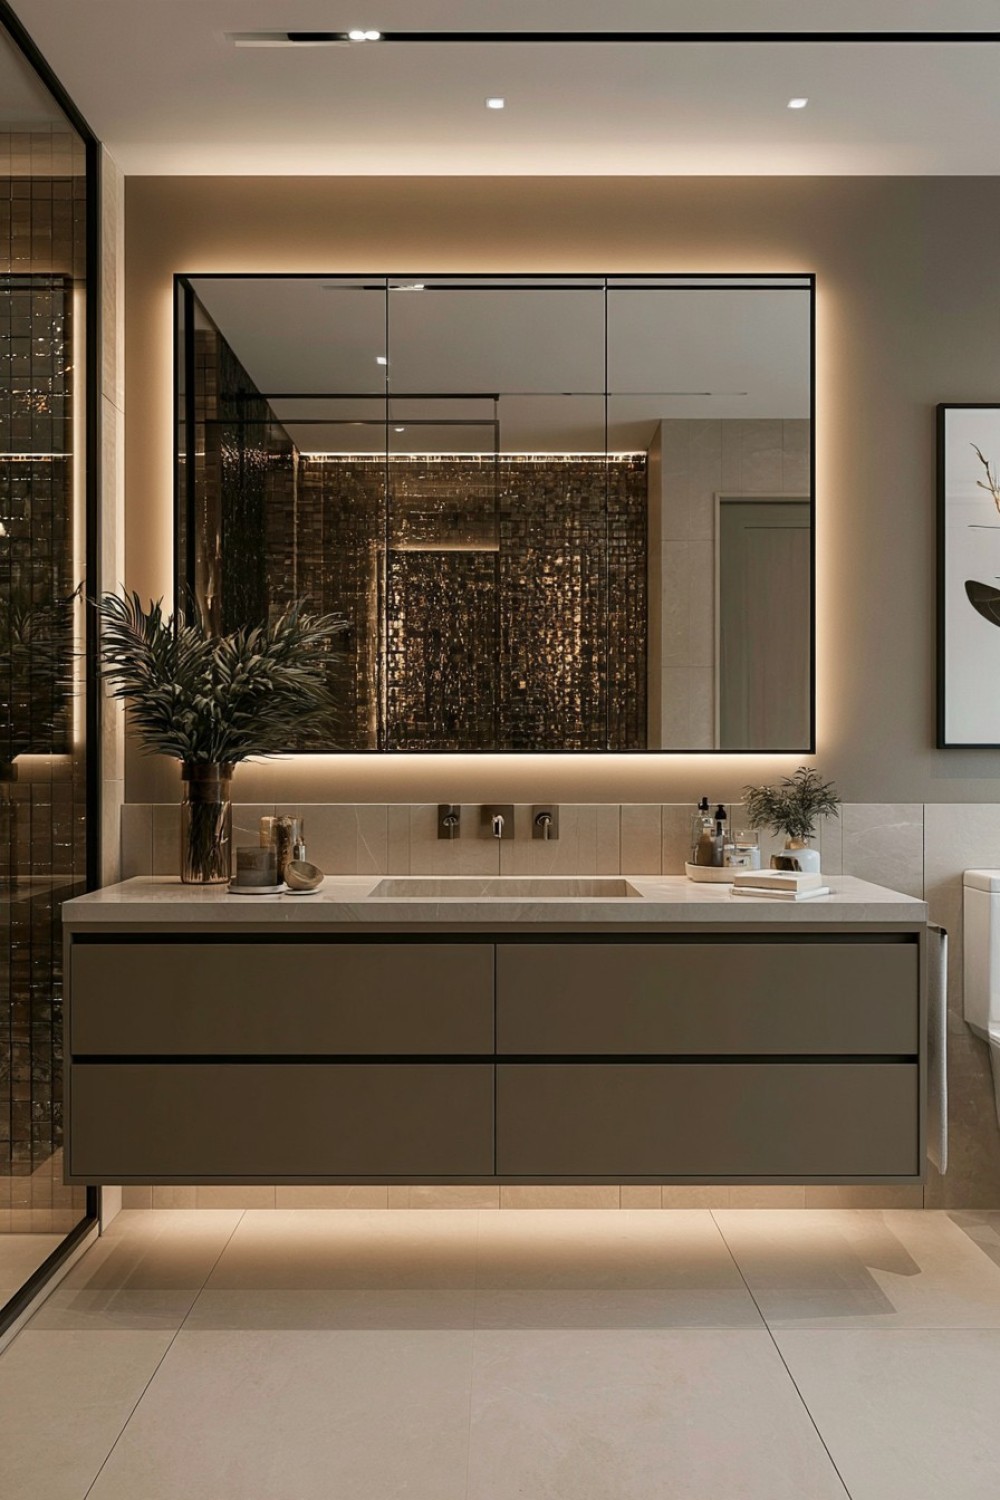
Using matte and glossy versions of one color can create depth without introducing another hue. A matte vanity may sit against lightly reflective tile, while a glossy basin contrasts with a softer counter. Keep the sheen changes connected to functional surfaces so they appear intentional. Similar undertones are more important than achieving an exact color match.
Glossy floors may be unsuitable where they become slippery, while very matte dark surfaces can reveal mineral deposits and cleaning marks. Request technical information and physical samples before choosing finishes for wet areas. Lighting should reveal the material difference without producing harsh glare. Follow separate cleaning guidance for each surface rather than applying one abrasive product throughout the room.
MORE IDEAS


Share
What's Your Reaction?
 Like
0
Like
0
 Dislike
0
Dislike
0
 Love
0
Love
0
 Funny
0
Funny
0
 Angry
0
Angry
0
 Sad
0
Sad
0
 Wow
0
Wow
0