16 Black and White Bathroom Ideas for Timeless Style

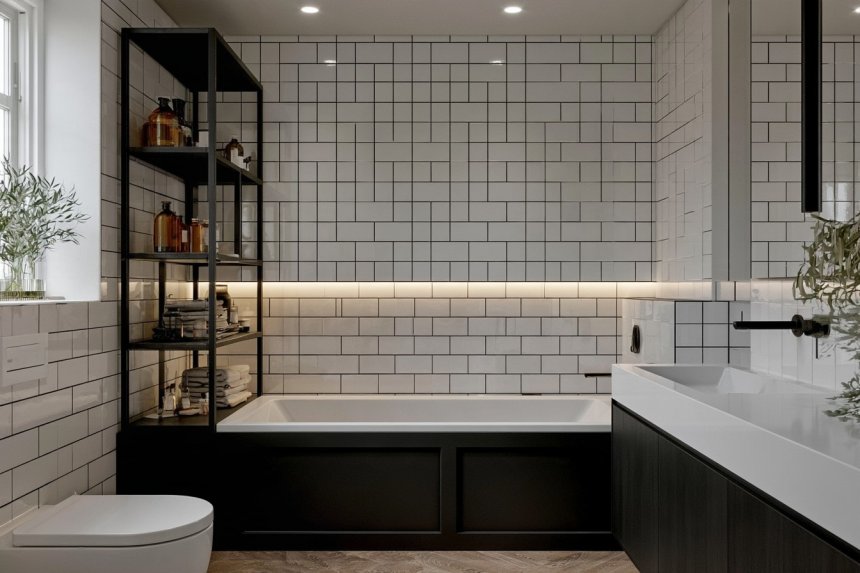
A black and white bathroom can feel timeless, dramatic, or quietly minimal depending on how the two colors are distributed. Successful monochrome design involves more than selecting contrasting tiles. Surface texture, lighting, grout, fixture finishes, storage, and cleaning requirements all affect the final result. White can visually open a compact room, while carefully placed black elements add definition and architectural depth. Because dark surfaces may reveal water spots and pale grout can require additional maintenance, materials should be chosen for everyday use as well as appearance. These ideas explain how to create a balanced black and white bathroom without sacrificing comfort, durability, or practical storage.
1. Create a Graphic Checkerboard Floor With Quiet Walls
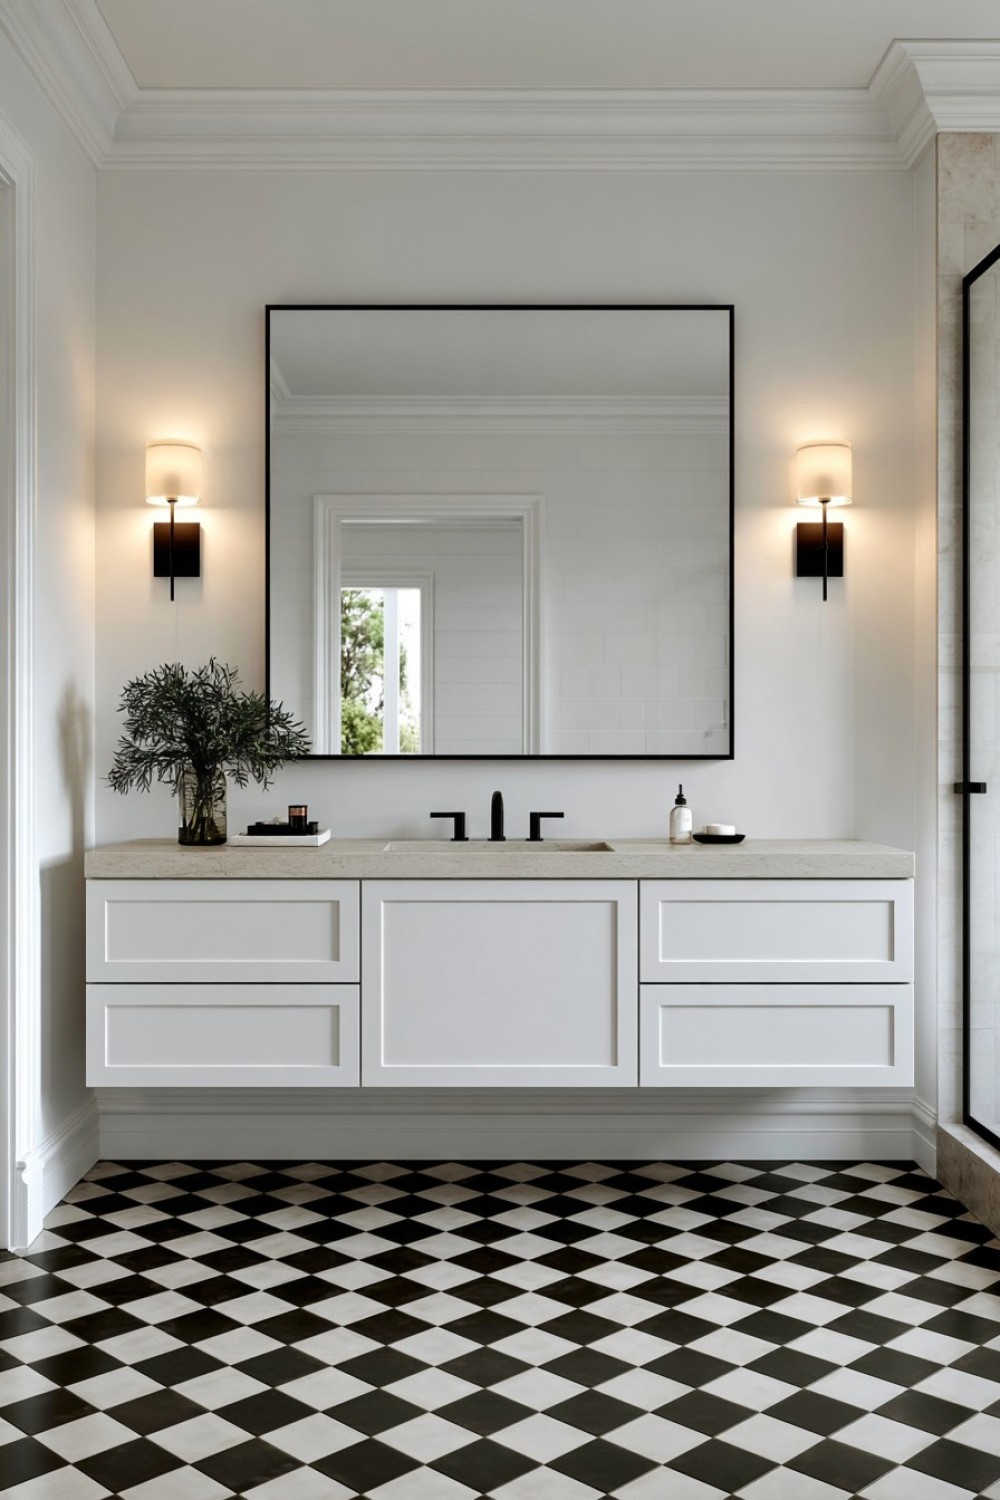
A checkerboard floor creates an immediate focal point, so the surrounding surfaces can remain restrained. Pair black and white floor tiles with warm white walls, a simple vanity, and minimal accessories to keep the pattern from overwhelming the room. Larger squares generally produce a calmer effect, while smaller tiles introduce more grout lines and visual movement. Before choosing a size, lay several sample tiles on the floor to see how the pattern relates to the room’s dimensions and fixed fittings.
Tile selection should also account for bathroom safety. Choose a floor-rated product with suitable slip resistance rather than using glossy wall tile underfoot. Dark grout can reduce visible staining, although it may sharpen the pattern further. Check where cuts will fall around the doorway, toilet, and vanity before installation. A centered or deliberately aligned layout usually looks more considered than one ending in narrow, uneven tile fragments along a prominent wall.
2. Place a White Floating Vanity Against Matte Black Walls
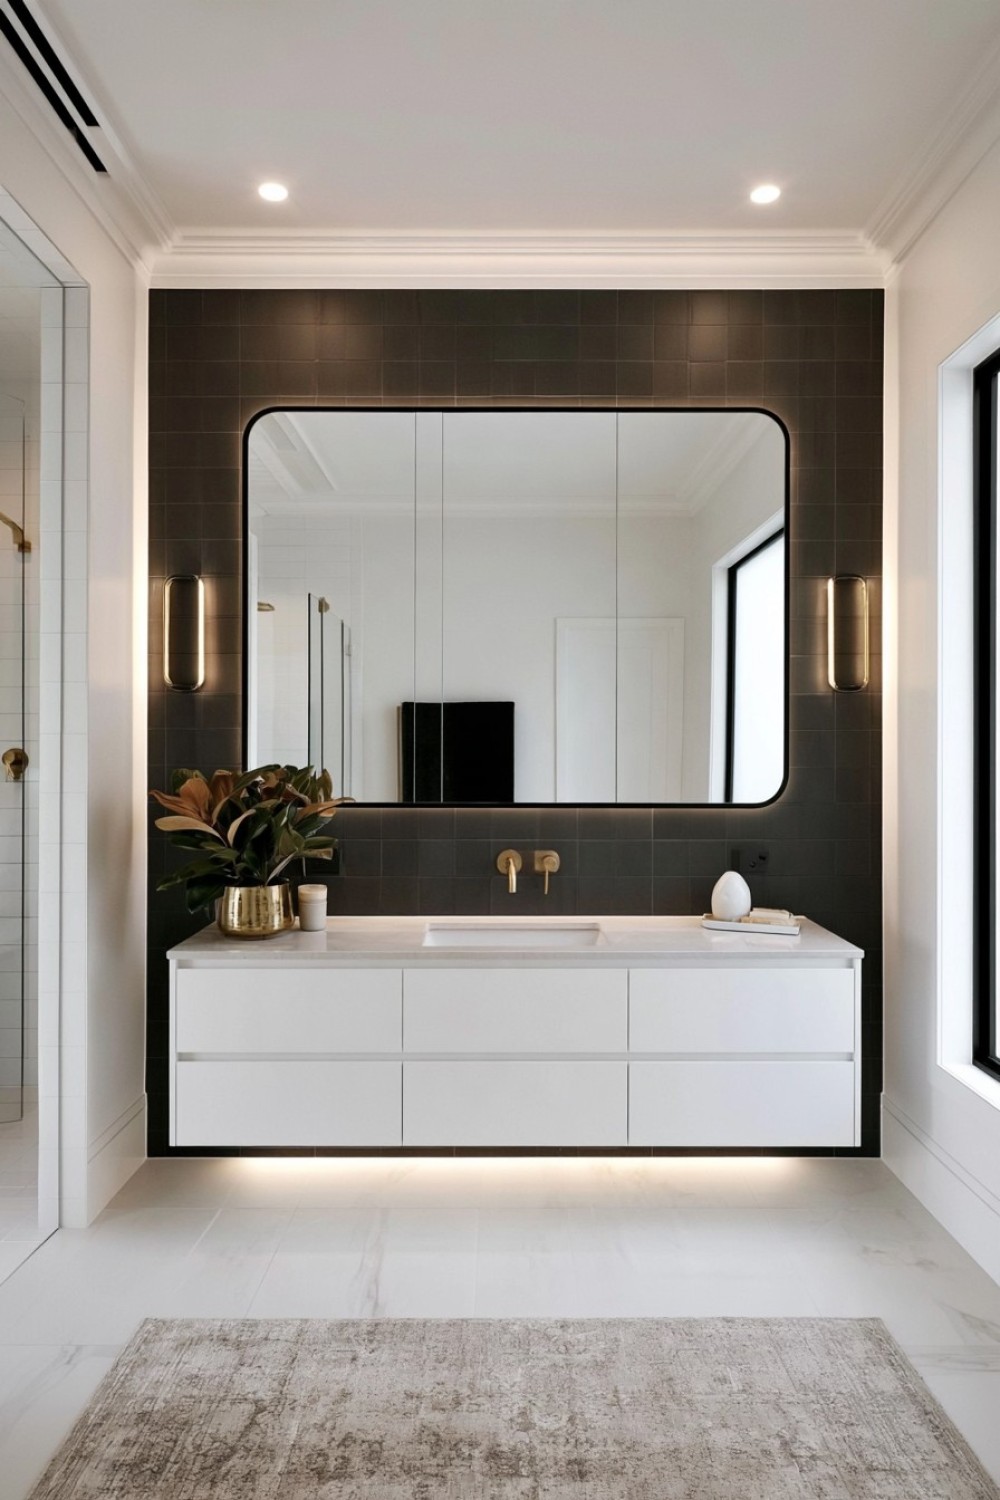
A white floating vanity creates a crisp visual break against matte black walls while exposing more of the floor. This can make a compact bathroom feel less crowded despite the dark background. Select a vanity depth that leaves a comfortable passage in front of the unit, and verify that the internal drawers will not conflict with plumbing. Concealed storage helps keep toiletries off the counter so the strong color contrast remains visually organized.
Matte black finishes can show soap marks, dust, and mineral deposits, particularly around the basin. Use moisture-resistant bathroom paint or a suitable wall covering and follow its cleaning instructions. Warm lighting can prevent the room from feeling harsh, but task lighting around the mirror still needs to render skin tones accurately. Before installation, confirm that the wall structure can support the combined weight of the floating vanity, basin, counter, and stored items.
3. Combine White Subway Tile With Contrasting Black Grout
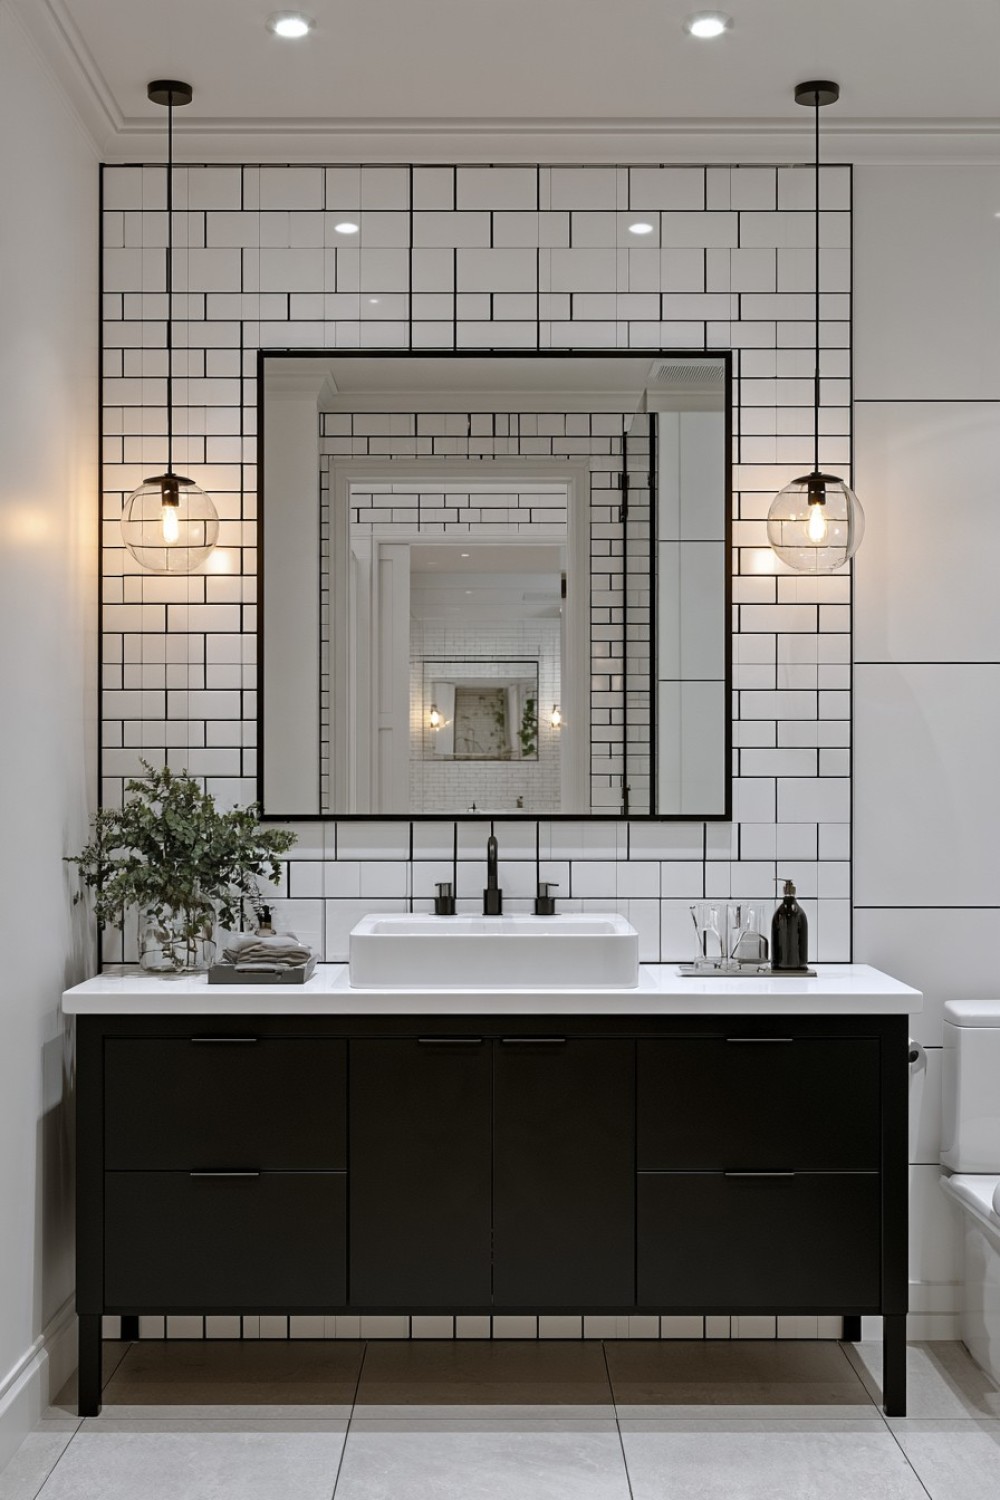
Black grout emphasizes the shape and arrangement of white subway tiles, turning a familiar material into a graphic design feature. A traditional horizontal brick pattern feels classic, while vertical or stacked layouts create a cleaner contemporary appearance. Use the treatment on one main wall, inside the shower, or behind the vanity rather than automatically covering every surface. Limiting the visible grid can help a smaller bathroom remain calm.
High contrast grout exposes inconsistent spacing and imperfect cuts, making careful installation especially important. Use tile spacers, plan corners in advance, and test the grout on spare tiles to check for staining. Grout requirements vary between dry and wet areas, so select a product appropriate for its location. Regular cleaning is still necessary because dark grout does not eliminate soap residue or mildew; it only makes certain discoloration less visible.
4. Define a White Bathroom With Thin Black Architectural Lines
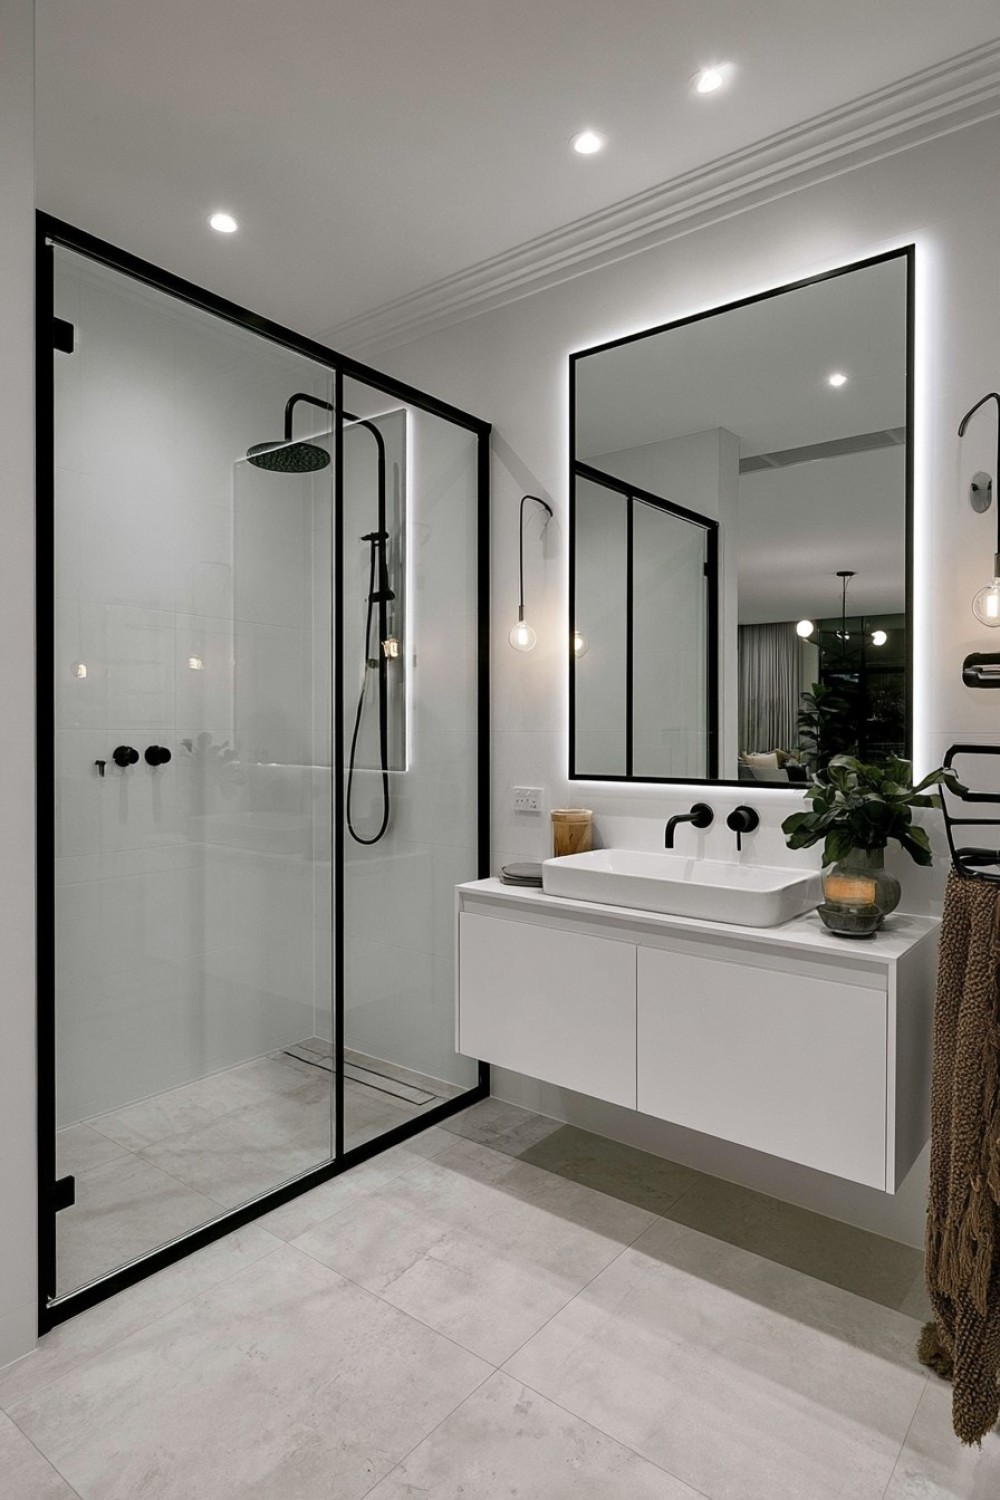
A predominantly white bathroom can gain structure through slim black details such as shower framing, mirror edges, tapware, shelf brackets, or tile trims. Repeating the finish in a few deliberate locations creates continuity without dividing the room into heavy color blocks. Keep the line thickness reasonably consistent so the separate features appear connected. This approach is useful when a bright, open atmosphere is preferred but an entirely white scheme feels unfinished.
Avoid adding black to every accessory, since excessive repetition can make the room look rigid. Choose two or three permanent anchor points and support them with a small number of removable accents. Black finishes from different manufacturers may have noticeably different undertones and sheen levels, so compare samples when fixtures will sit close together. Powder-coated and plated surfaces also require appropriate cleaning products to prevent scratching or premature wear.
5. Introduce Black Marble With Expressive White Veining
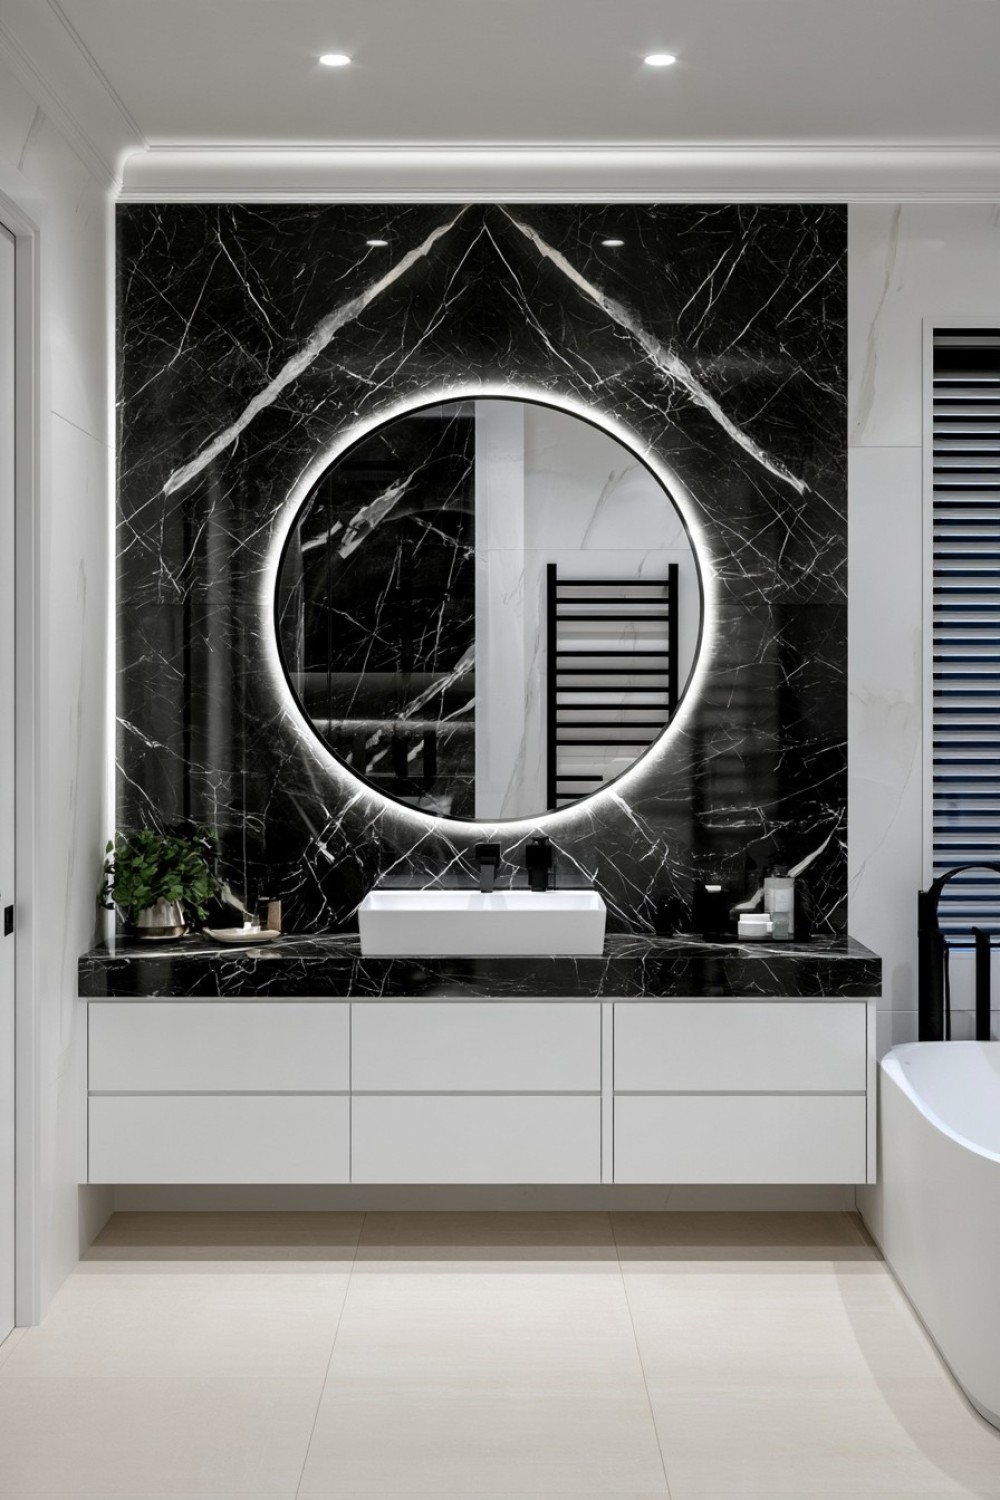
Black marble or a marble-effect surface can become the main decorative feature without relying on additional color. Use it for a vanity top, shower wall, recessed niche, or a single floor section where its veining can remain visible. Pairing the stone with simple white surfaces gives the pattern room to stand out. When selecting natural slabs, view the complete pieces and decide where prominent veins should meet before cutting begins.
Natural marble can react to acidic products and may develop etching, staining, or patina over time. Ask the supplier about sealing and daily maintenance before specifying it for a heavily used bathroom. Porcelain and other engineered alternatives can offer a similar appearance with different care requirements. On floors, confirm slip resistance because a polished finish may become hazardous when wet. Avoid abrasive cleaning products that could dull either natural or manufactured surfaces.
6. Set a Black Vanity Against Vertical White Tile
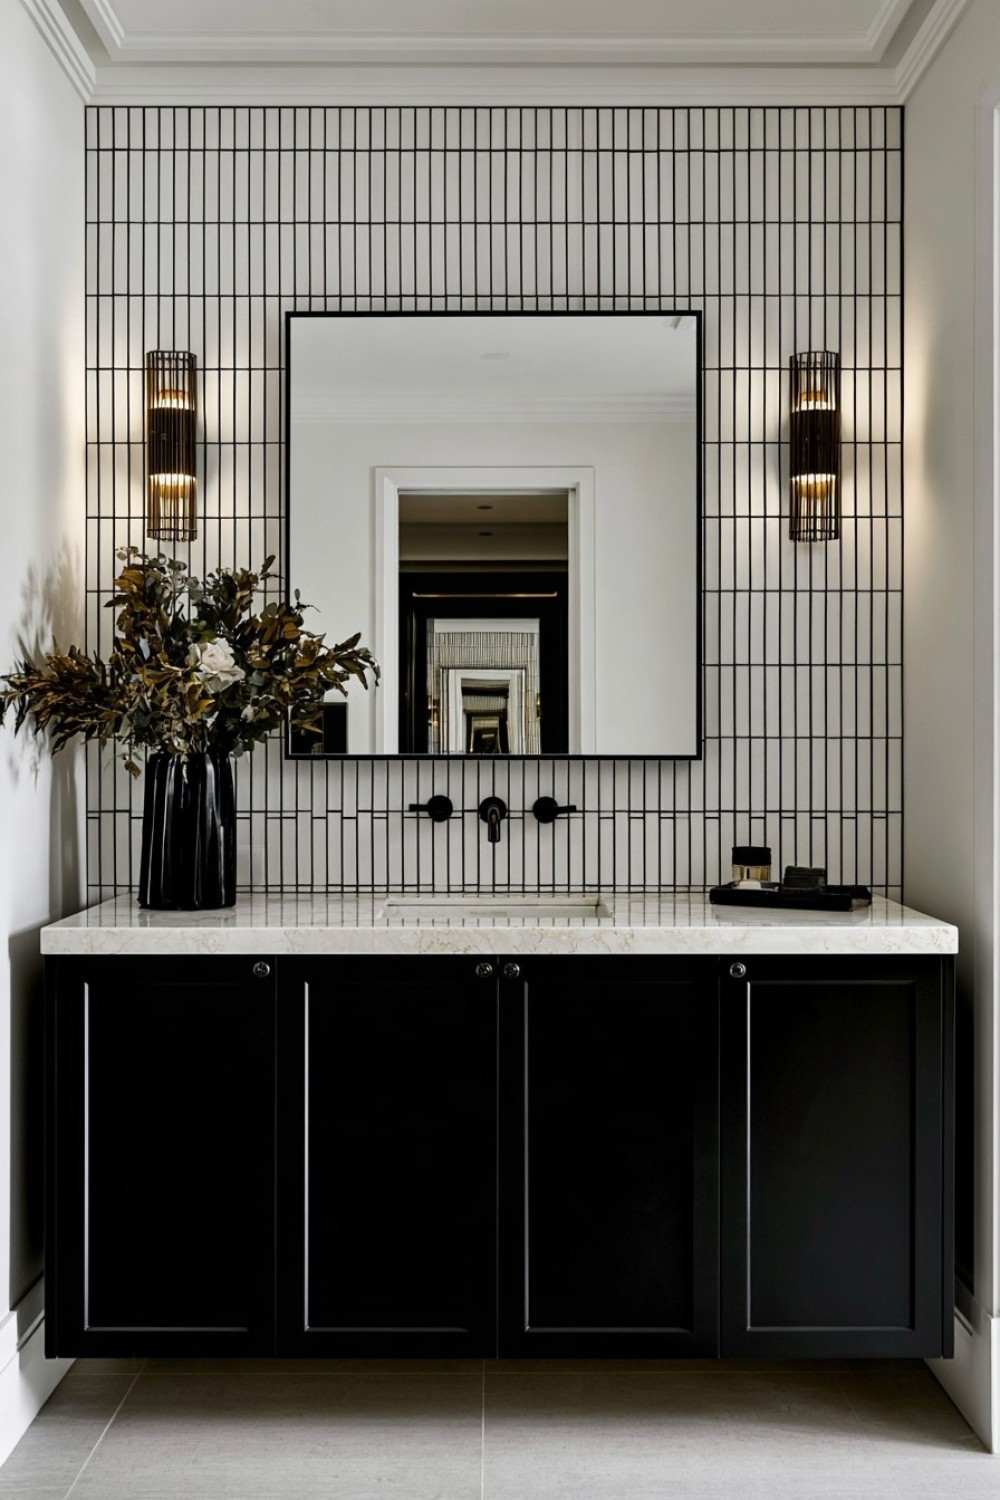
A black vanity grounds a bright bathroom and creates useful contrast beneath the basin. Vertical white tiles behind it draw the eye upward and can give a low room a greater sense of height. A wall-mounted model keeps more flooring visible, while a floor-standing vanity may provide additional storage. Compare internal drawer space, plumbing position, and counter width before choosing between visual lightness and maximum capacity.
Dark cabinet fronts can reveal water spots and fingerprints, particularly with flat matte finishes. A slightly textured or satin surface may be easier to maintain in a family bathroom. Leave adequate space between the tap and backsplash so the area can be wiped comfortably. If the vanity is wide, use balanced lighting on both sides of the mirror or an evenly illuminated mirror to reduce shadows during grooming.
7. Use Penny Tile to Add Texture Without Introducing Color
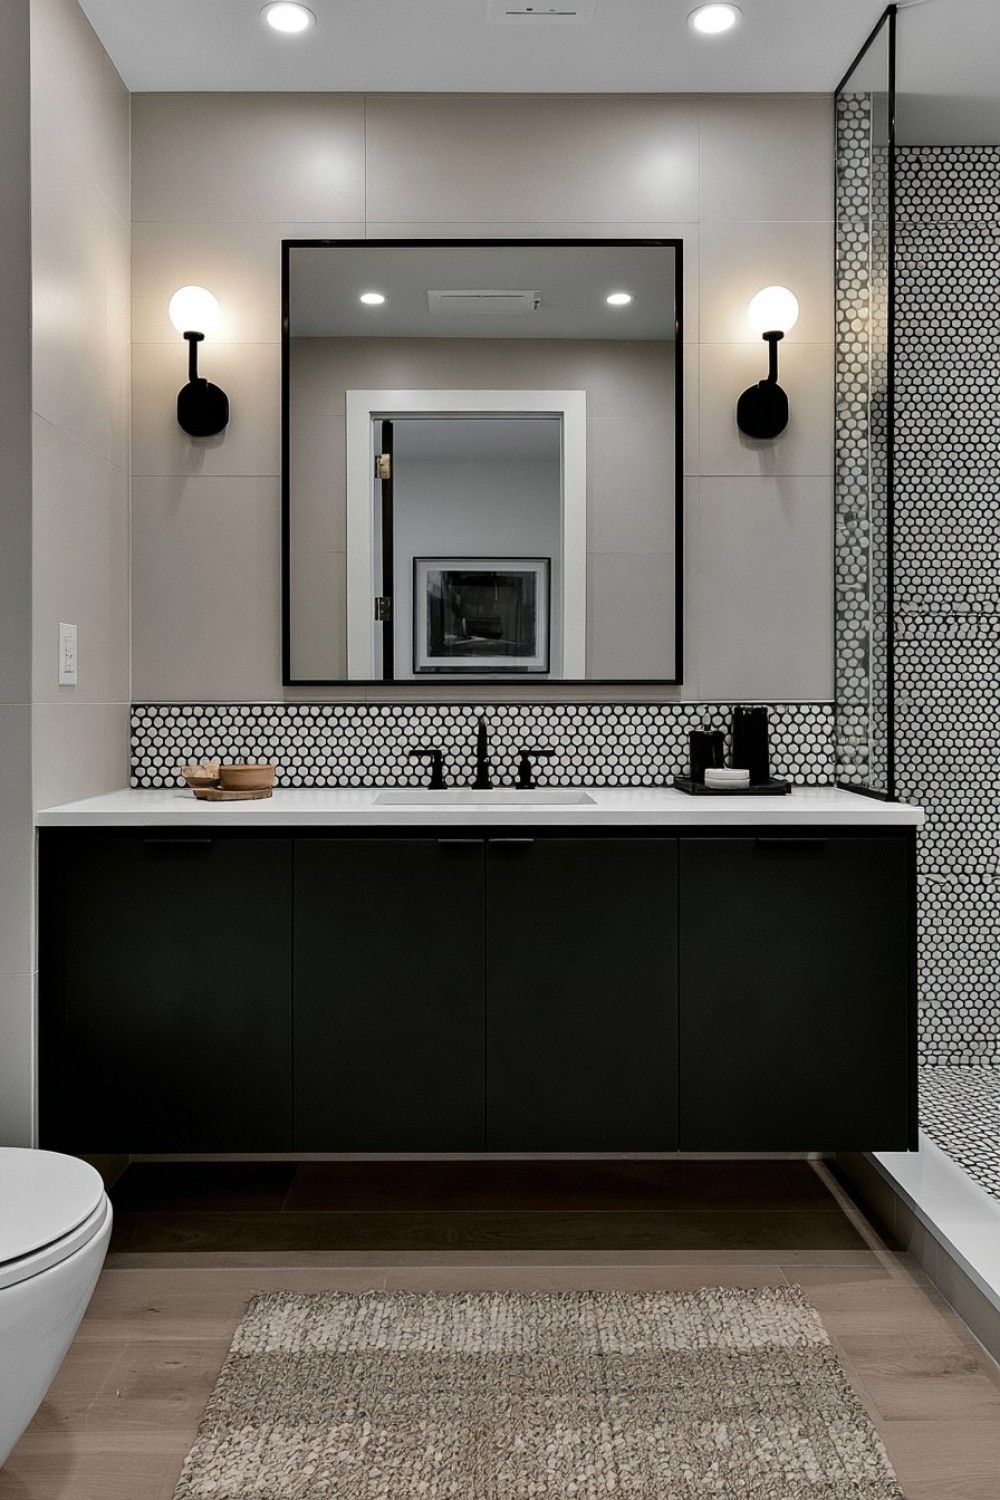
Penny tiles introduce texture through their small scale and repeating circular form. Use black penny tile on a shower floor, white tile across a backsplash, or a controlled mixture inside a niche. Their numerous grout joints can provide useful grip when an appropriate floor-rated tile is installed. However, the pattern is visually active, so pairing it with larger plain tiles can prevent the room from becoming overly busy.
Mesh-backed sheets require careful alignment because visible seams between sheets can disrupt the continuous pattern. Dry-lay several sections and inspect the spacing before applying adhesive. Small tiles also create more grout to clean, making grout color and product quality significant practical decisions. In wet areas, correct waterproofing and floor slope must be completed beneath the decorative surface; tile and grout alone do not form a dependable waterproofing system.
8. Divide the Walls With Black Below and White Above
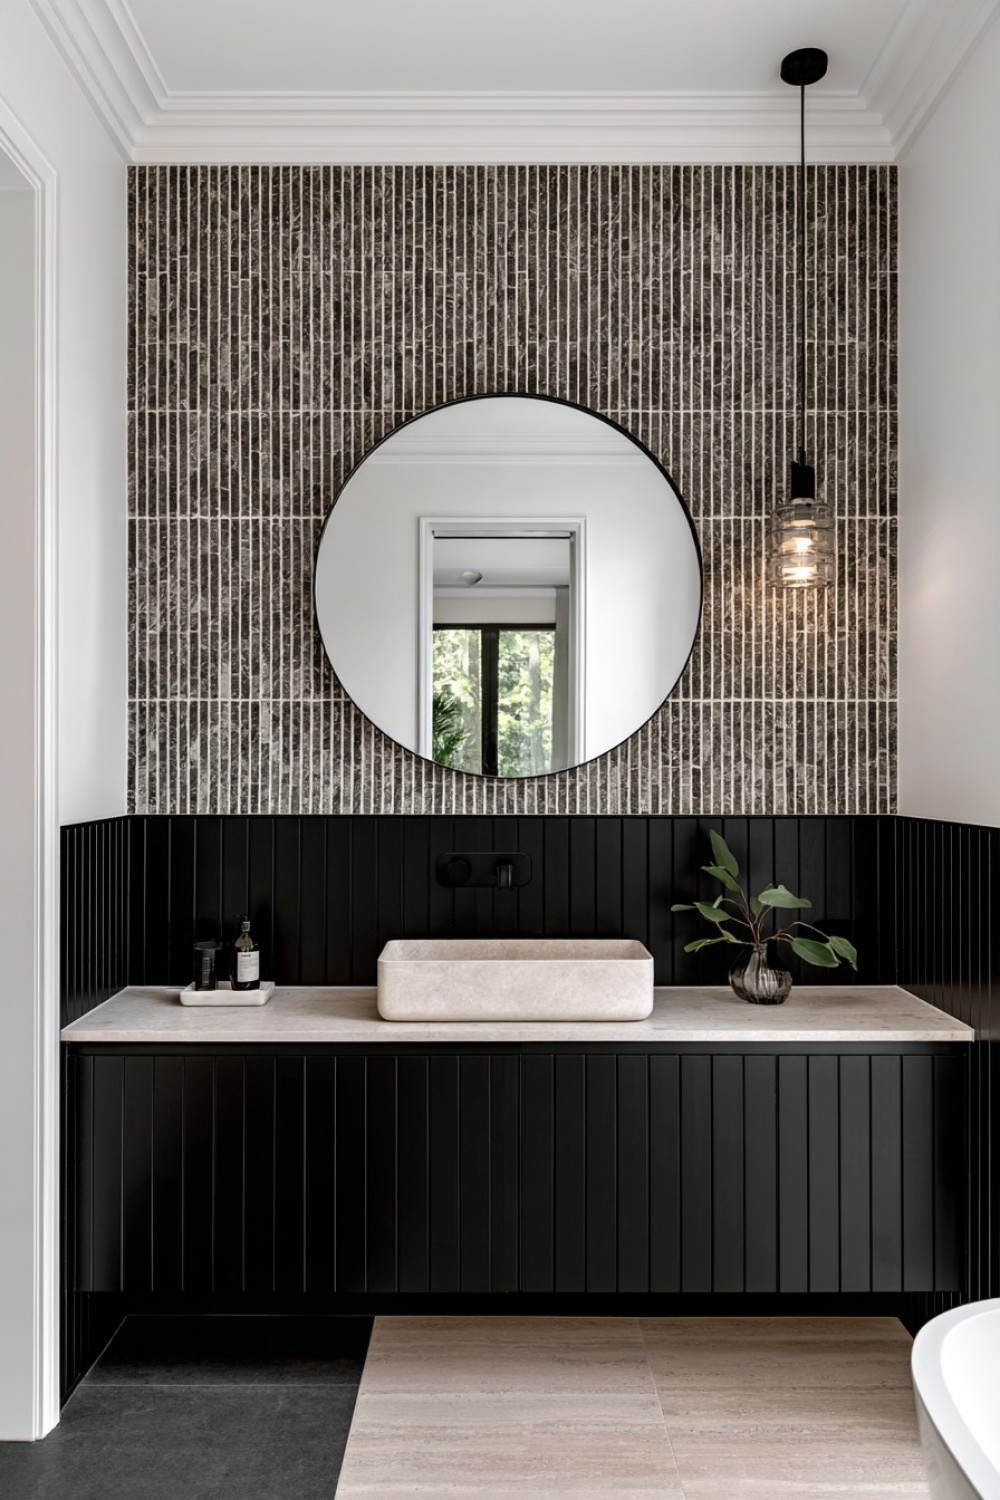
A horizontally divided wall gives a black and white bathroom a clear sense of structure. Use black paint, tile, or paneling on the lower section and a softer white finish above. Keeping the darker color below can make the design feel grounded while preserving brightness near eye level. Align the transition with a meaningful feature such as the vanity backsplash, shelf, or top of a half-height wall rather than choosing an arbitrary height.
In splash-prone areas, select materials rated for bathroom use. Traditional timber paneling needs suitable preparation and ventilation, while tile offers greater resistance around basins and showers. A slim trim can create a clean boundary between the two surfaces, but it should not trap water. Test the black finish under the room’s lighting because very cool black and very warm white can produce an unintended mismatch.
9. Build a Dark Shower With a Bright White Exterior
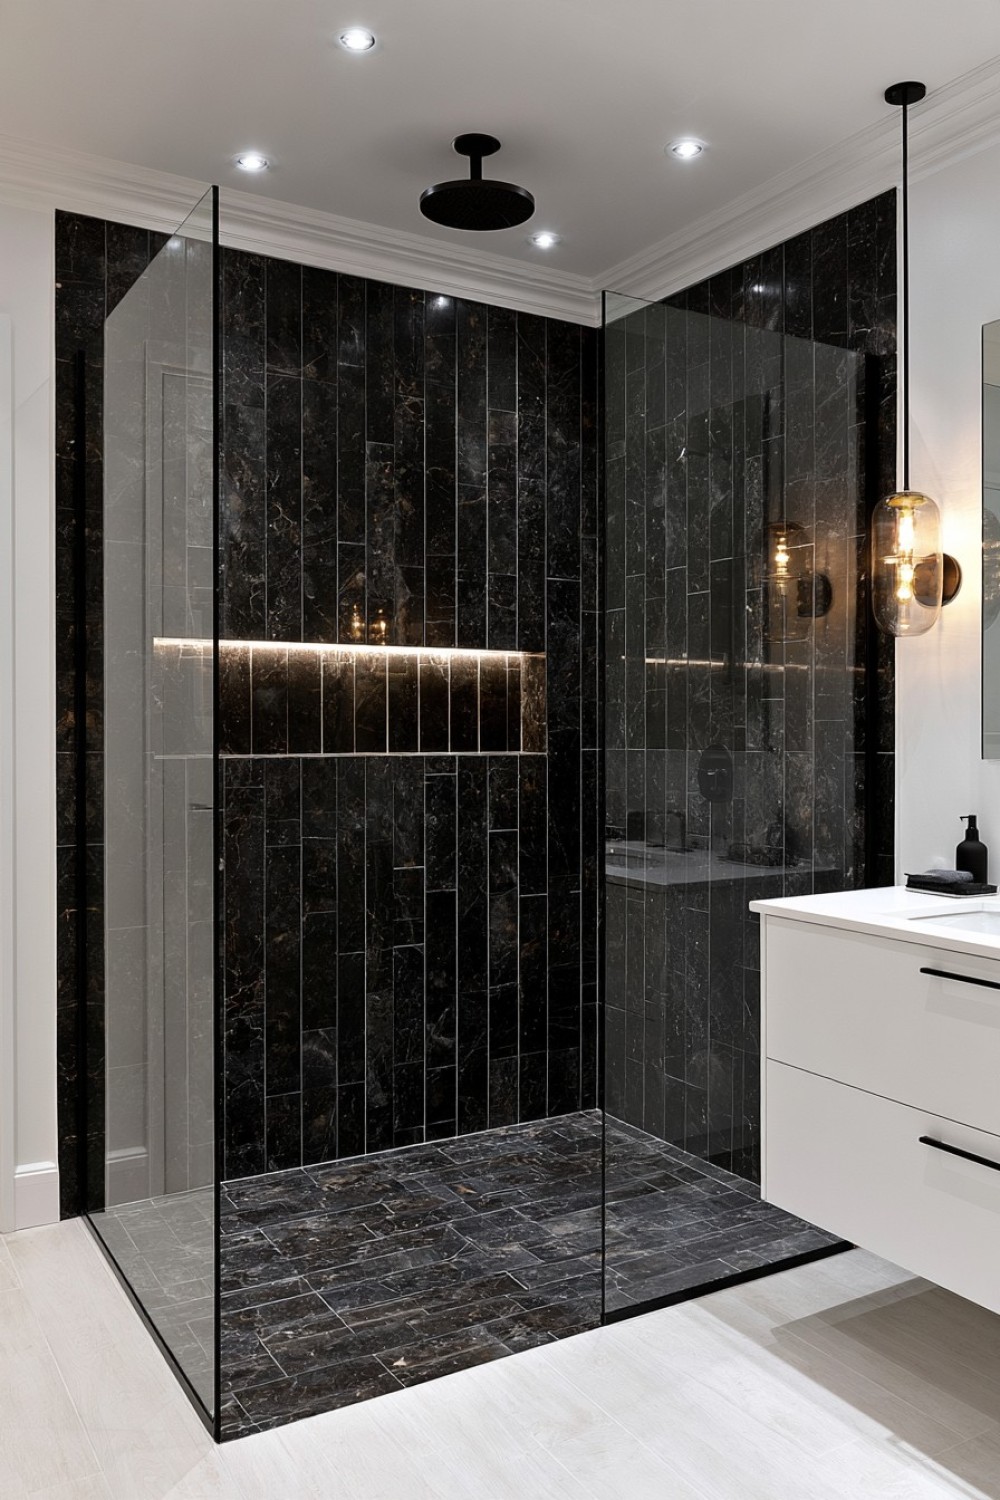
Using black tile inside the shower and white finishes throughout the remaining bathroom creates a defined bathing zone. A clear glass enclosure preserves the contrast while preventing the dark interior from visually reducing the entire room. Larger tiles create fewer grout joints and may be easier to maintain, whereas mosaics can accommodate slopes and curved details more readily. Add a recessed niche in the same finish for toiletries rather than relying on hanging storage.
Dark shower surfaces often show mineral deposits, dried droplets, and soap residue. Consider local water hardness and cleaning habits before committing to a completely black enclosure. Good ventilation and suitable lighting are essential because shadows can make maintenance issues harder to notice. Waterproofing, drainage, glass specification, and electrical work should follow local building requirements and be completed by appropriately qualified professionals where required.
10. Contrast Glossy White Tile With Matte Black Fixtures
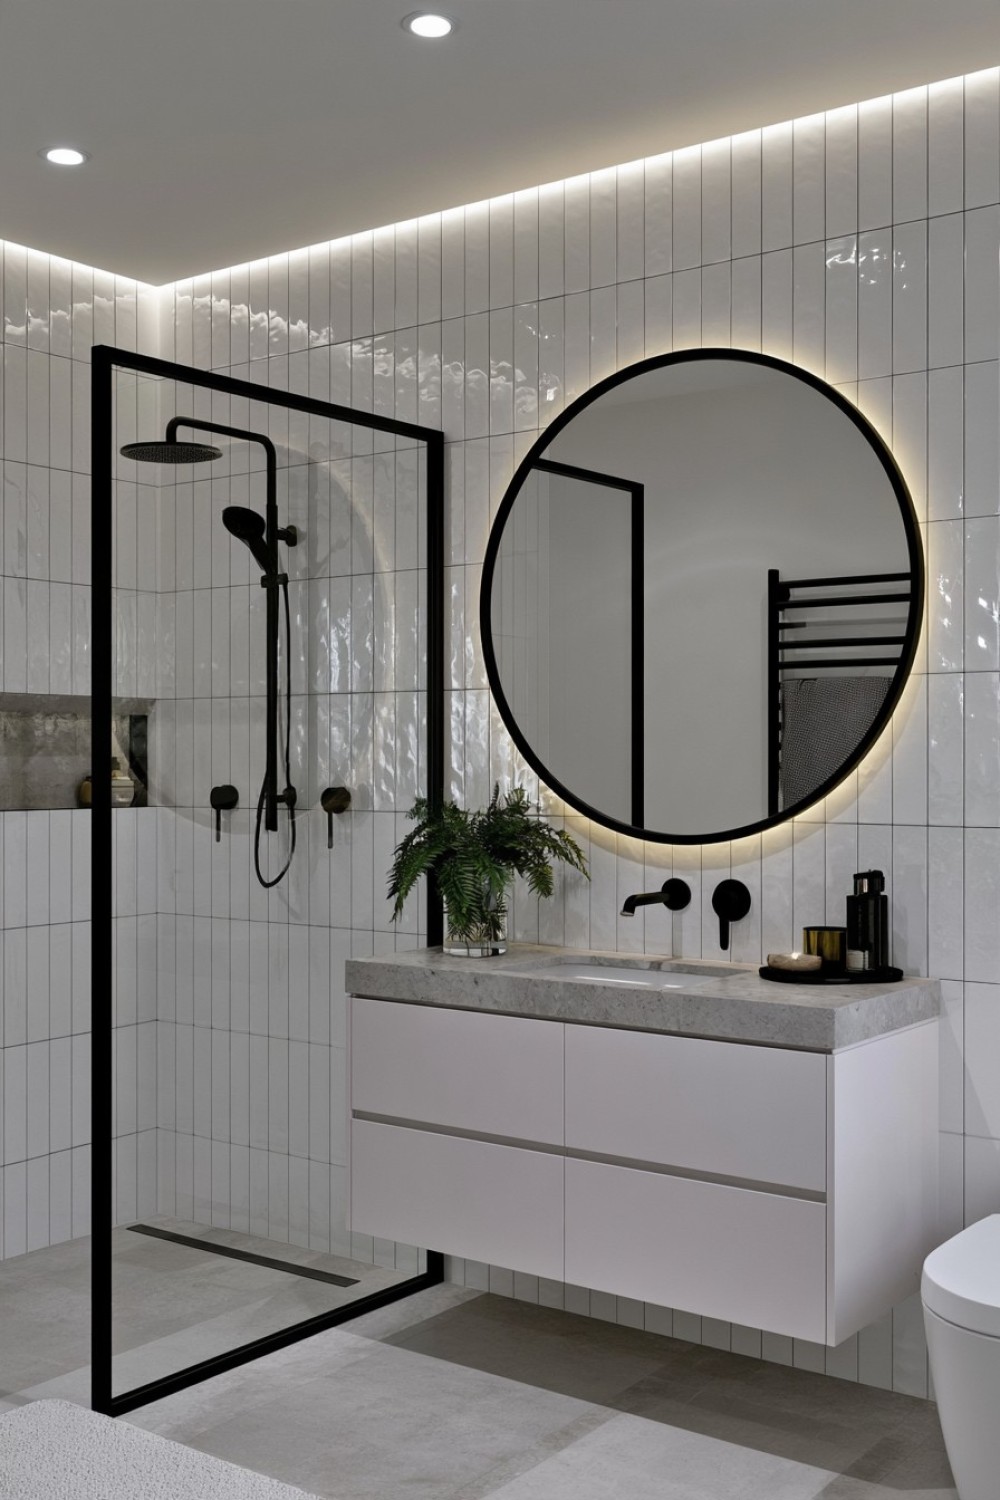
Glossy white tile reflects light and creates a clean backdrop for matte black taps, shower controls, towel rails, and accessories. The difference in sheen adds depth even though the palette contains only two colors. Limit the black fixtures to functional pieces that form a balanced visual path around the room. This keeps the contrast purposeful and avoids turning every small object into an isolated focal point.
Matte black coatings vary considerably in durability. Review the manufacturer’s cleaning guidance and warranty before choosing fixtures for frequently handled areas. Harsh chemicals, rough sponges, and prolonged contact with cleaning products may damage some finishes. Water spots can also remain visible, so wiping fixtures with a soft cloth helps preserve their appearance. Confirm that concealed plumbing parts will remain serviceable and that replacement components are available.
11. Paint the Ceiling Black for an Unexpected Focal Point
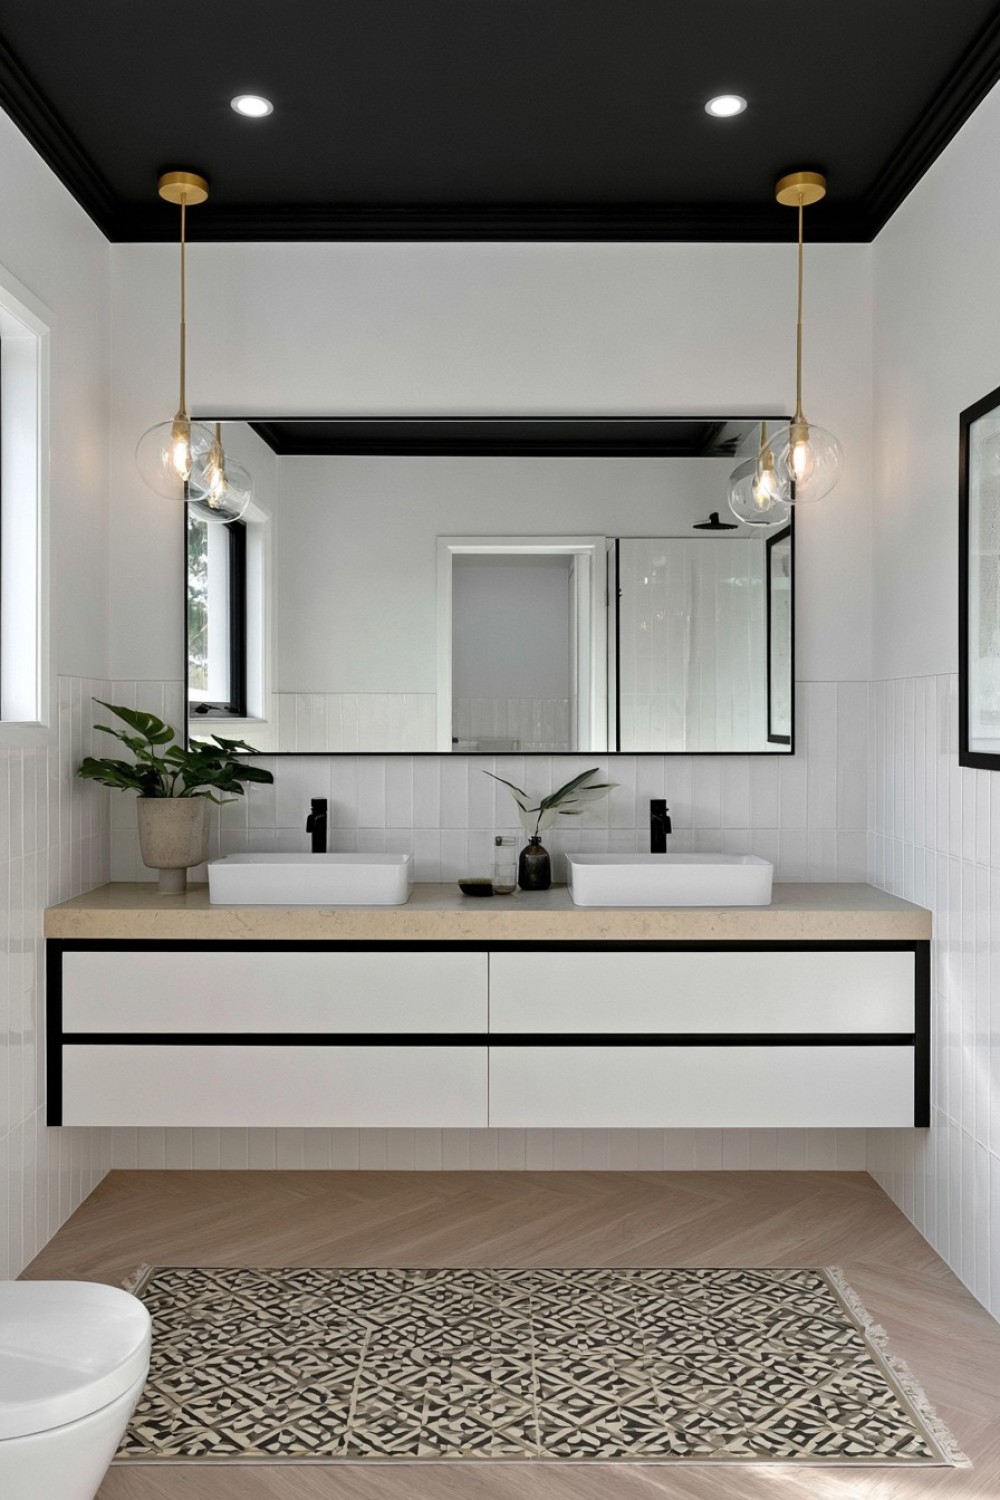
A black ceiling can make a tall bathroom feel more intimate and give a simple monochrome scheme an unusual focal point. It works best when the walls, major fixtures, and floor contain enough pale surfaces to balance the overhead color. Continuing black onto a narrow cornice or upper trim can produce a deliberate transition. Test a large painted sample because ceiling colors often appear darker than the same shade viewed vertically.
Bathrooms require paint suitable for humidity and repeated temperature changes. Repair imperfections before painting because dark colors may highlight uneven plaster under direct lighting. Ventilation remains essential for managing condensation, regardless of the paint’s moisture-resistant label. Consider the placement and brightness of ceiling fixtures carefully: a dark surface reflects less light, so the room may require more carefully distributed illumination than it did with a white ceiling.
12. Use Black and White Terrazzo as the Main Surface
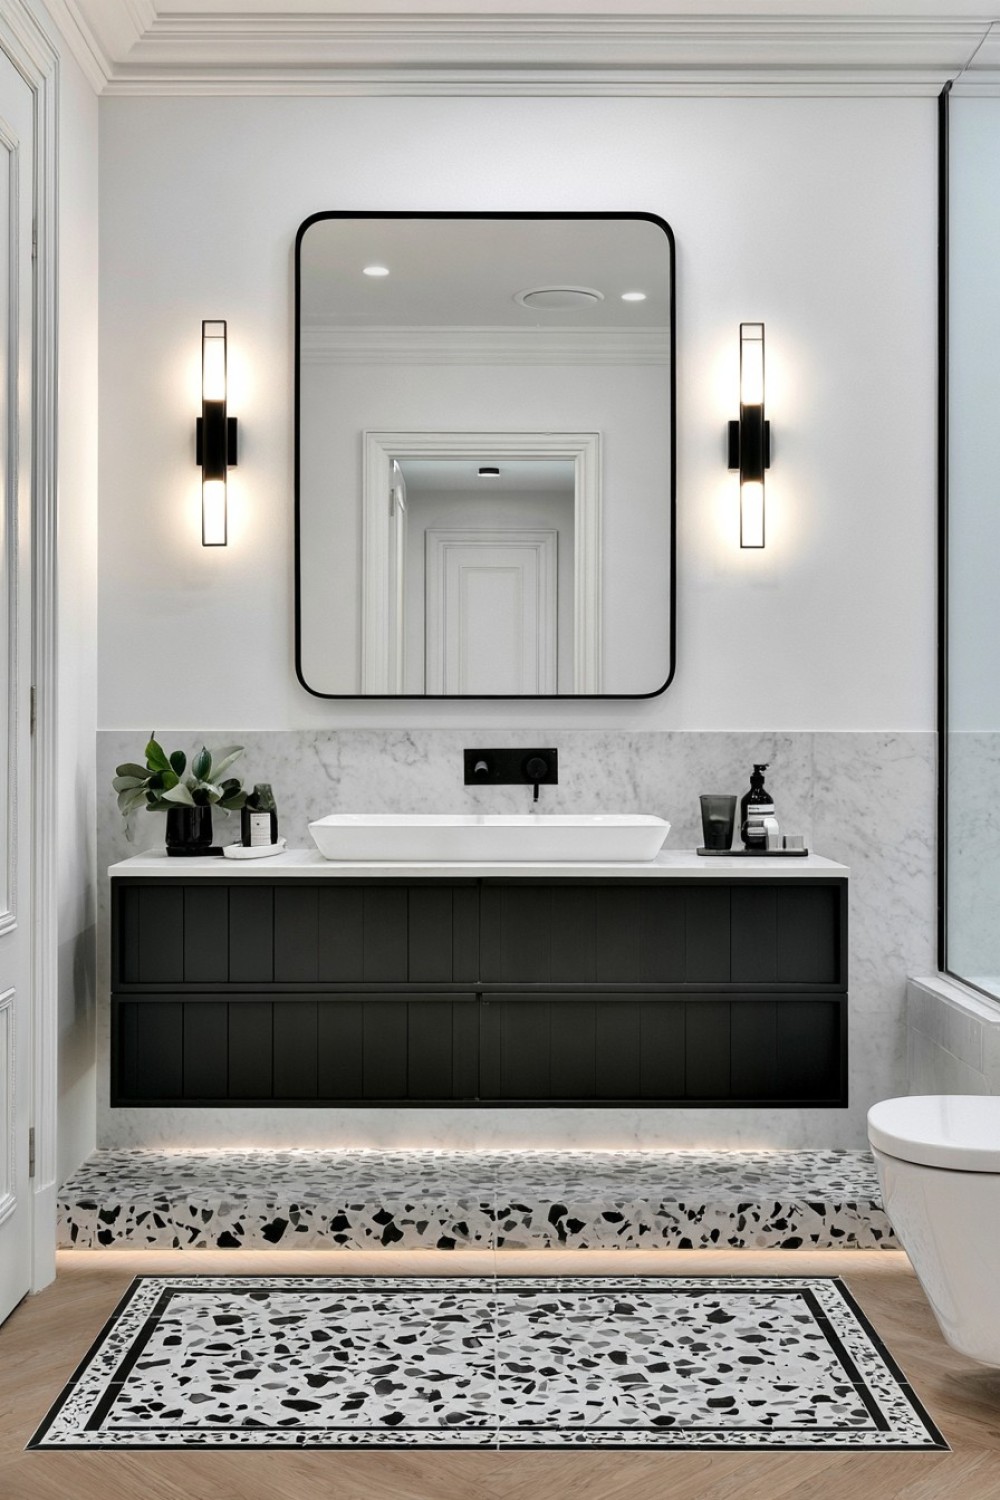
Black and white terrazzo adds movement while keeping the palette controlled. Use it across the floor, on a vanity counter, or as a feature wall, then surround it with plain surfaces that allow the fragments to remain the focus. Large-scale chips feel bold and contemporary, while smaller aggregate produces a more finely textured appearance. Bring samples into the room because pattern density can look very different across a large installed area.
Traditional poured terrazzo, terrazzo slabs, and terrazzo-effect porcelain have different installation and maintenance requirements. Some materials require sealing, specialist installers, or reinforced substrates, while porcelain alternatives may be simpler to maintain. For bathroom floors, confirm that the chosen finish offers appropriate slip resistance. Coordinate grout or joint colors with the background of the terrazzo so installation lines do not interrupt the pattern unnecessarily.
13. Create an Art Deco Inspired Black and White Bathroom
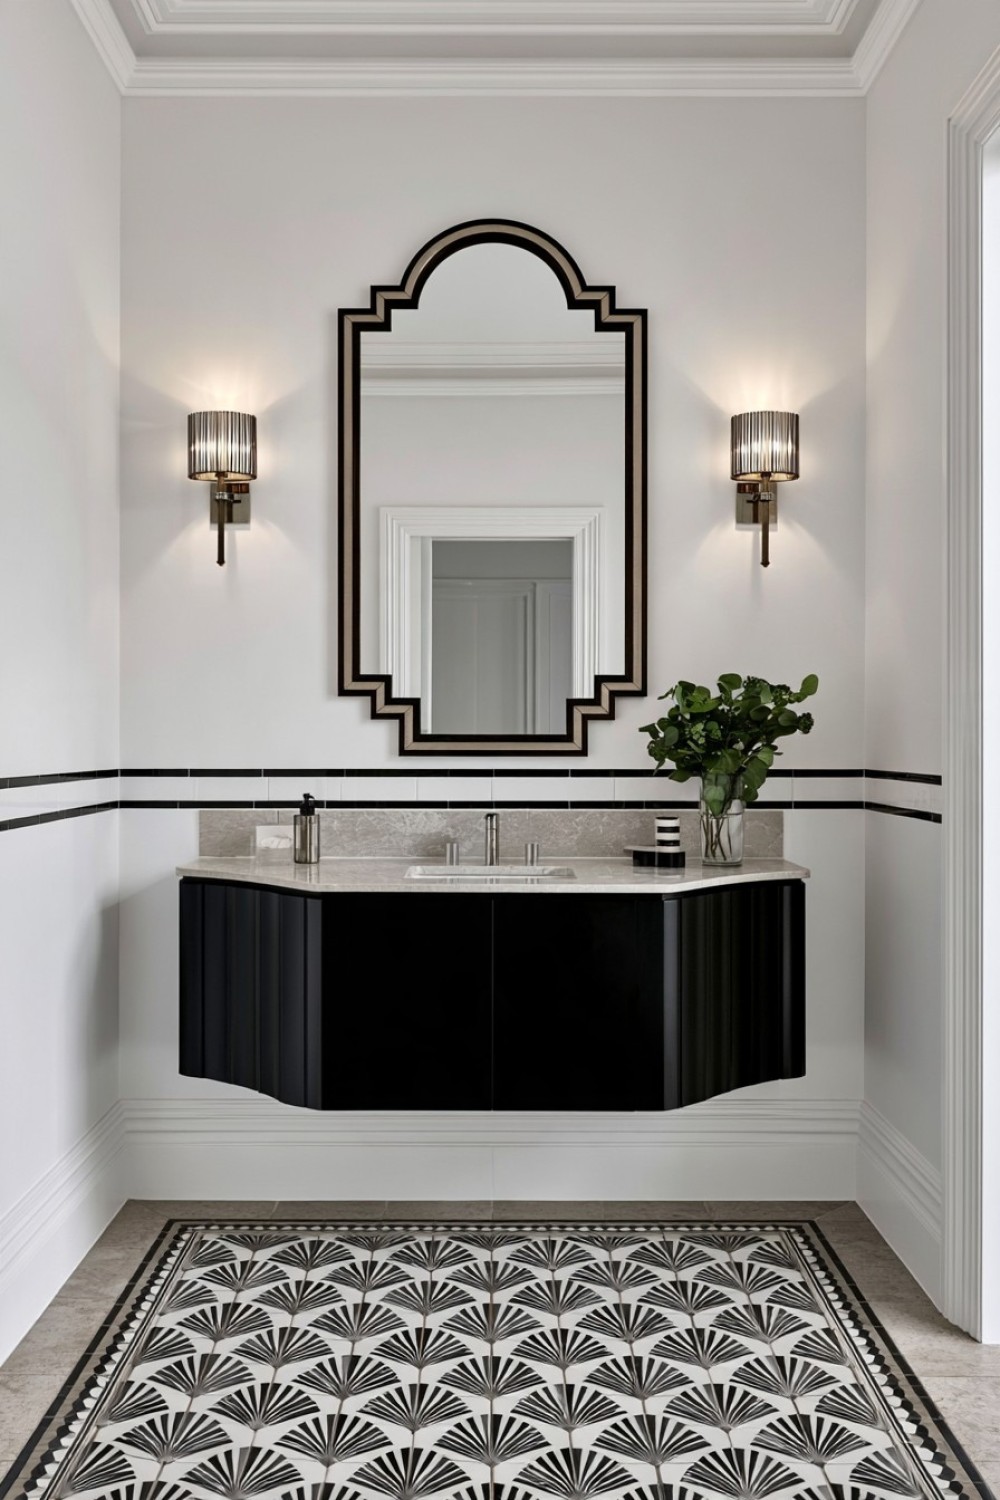
An Art Deco inspired bathroom can combine geometric tile, stepped mirror shapes, fluted cabinetry, and refined metal details. Choose one or two recognizable elements rather than placing a pattern on every surface. For example, a geometric floor can be paired with plain walls and a shaped mirror, while a fluted black vanity can sit against simple white tile. This selective approach keeps the room elegant and easier to update.
Chrome, nickel, brass, and black finishes can all support the style, but too many competing metals may weaken the design. Repeat one primary finish across the taps, shower fittings, and main hardware. Decorative lighting must be rated for its bathroom zone and installed according to local electrical requirements. Storage should remain part of the plan; concealed drawers and mirrored cabinets prevent everyday toiletries from competing with the strong architectural details.
14. Place a White Freestanding Tub Against a Black Backdrop
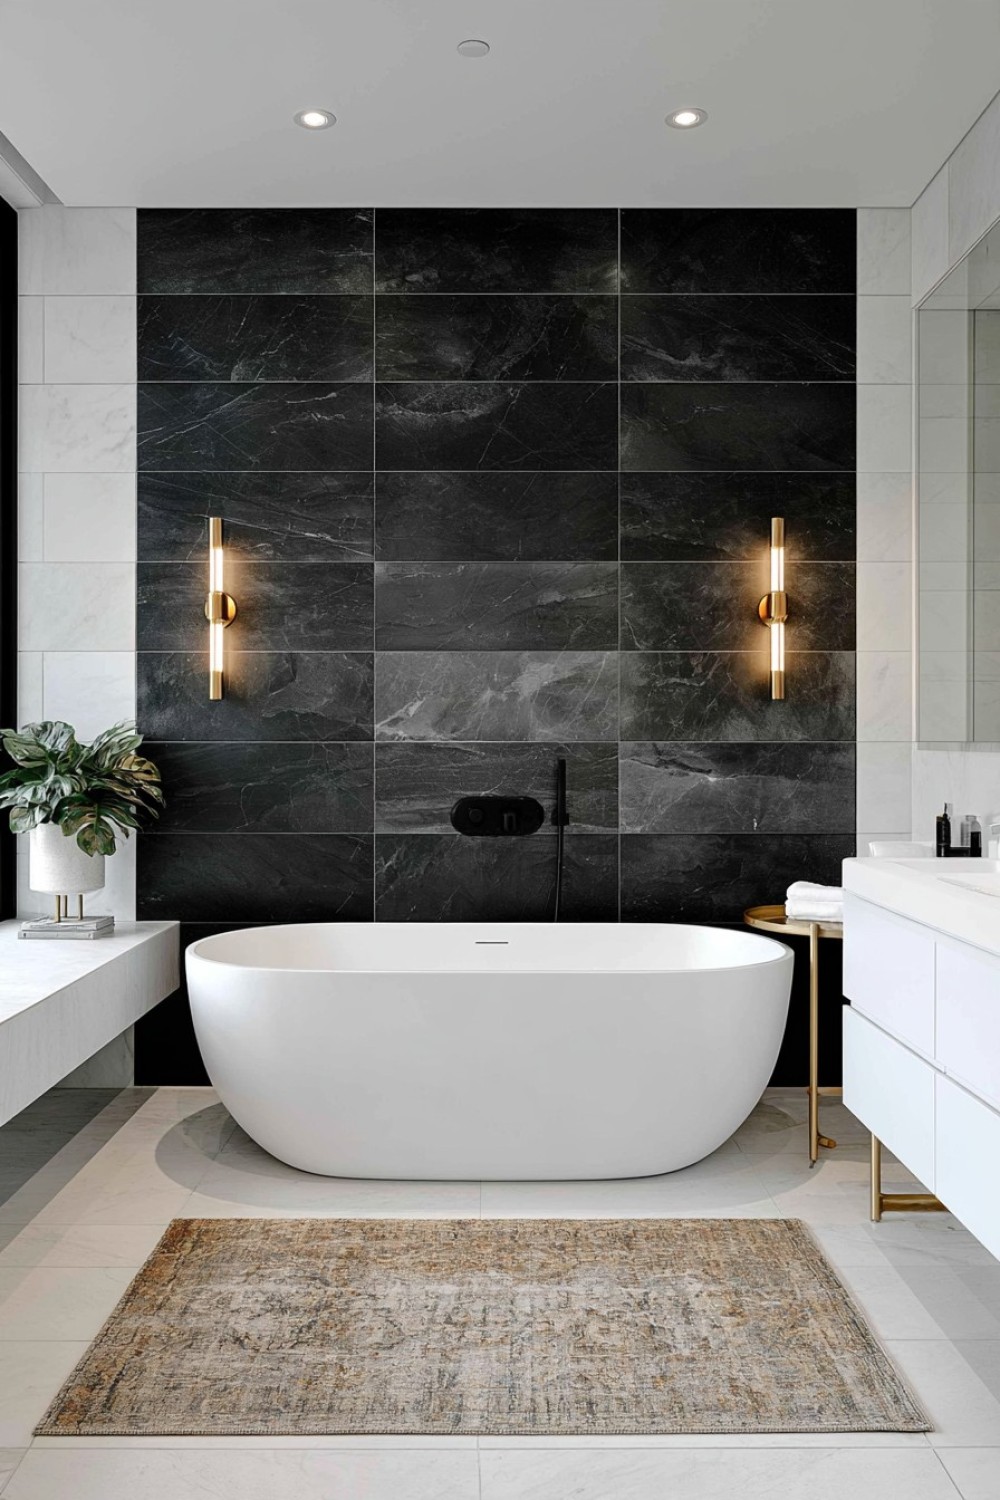
A white freestanding bathtub becomes more sculptural when placed against a dark wall. Keep the surrounding decoration minimal so the contrast remains the main feature. Before selecting a tub, measure the room, doorway, circulation space, and access required for cleaning around its exterior. A model that looks appropriately scaled in a showroom may dominate a smaller bathroom once installed.
Confirm the filled weight of the bathtub and whether the floor structure needs assessment or reinforcement. Tap placement should allow comfortable use without creating difficult-to-reach areas behind the tub. A painted backdrop needs suitable protection from splashes, while tile or stone may offer easier maintenance. Provide accessible drainage and plumbing connections so future repairs do not require unnecessary damage to finished surfaces.
15. Anchor a Minimal White Bathroom With One Black Stone Sink
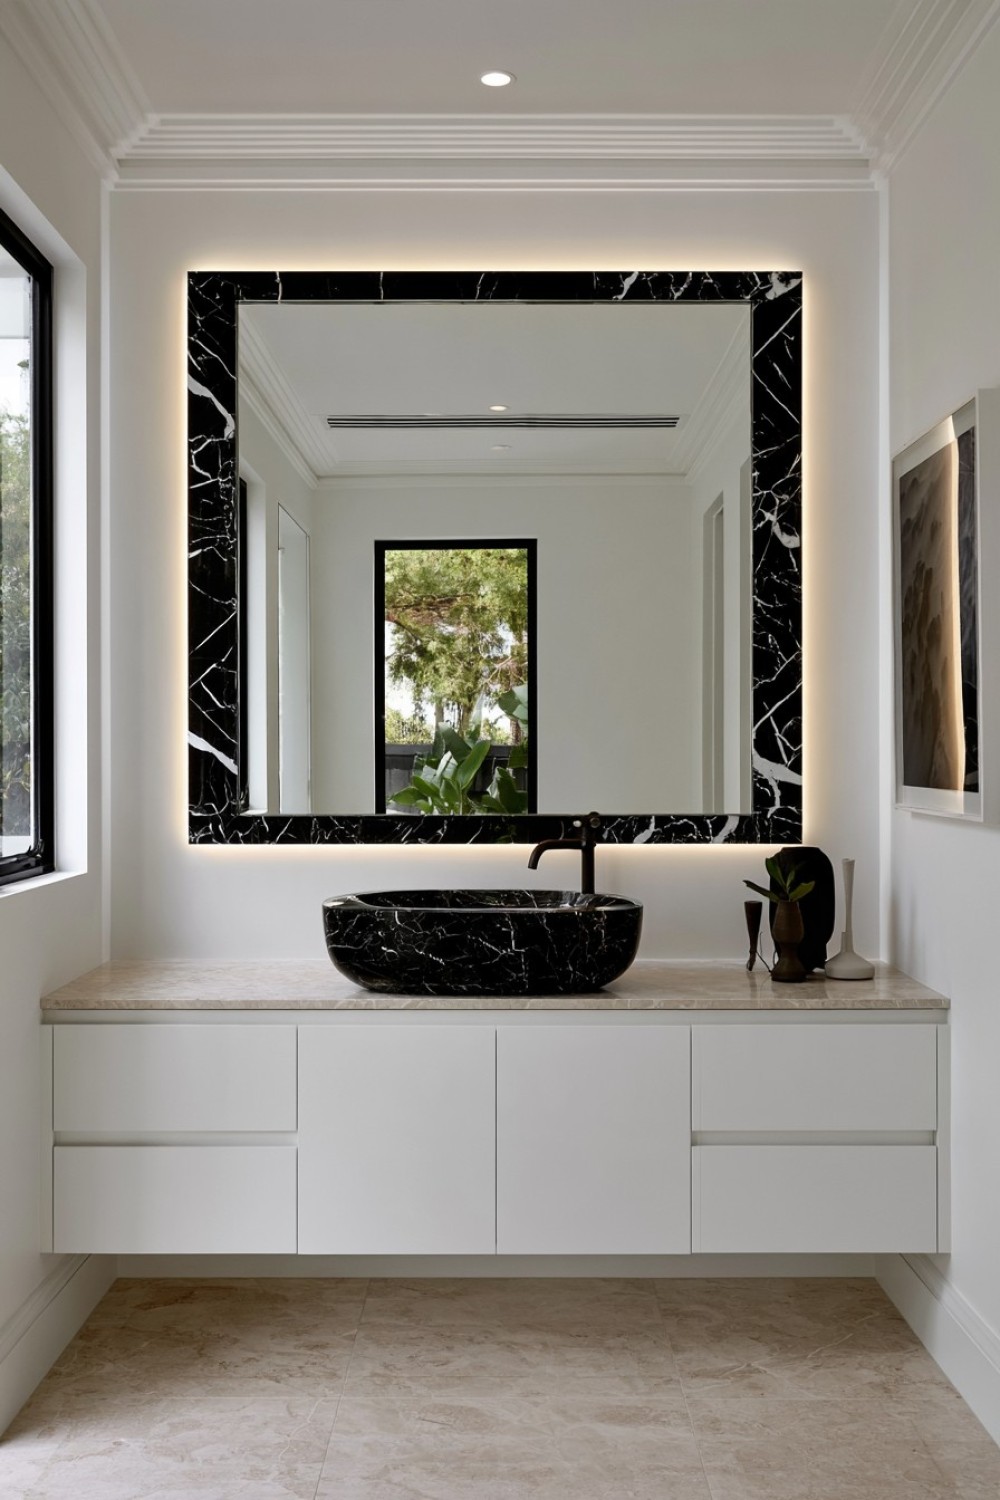
A single black basin can provide enough contrast to define an otherwise white bathroom. Vessel, integrated, and carved stone designs each create a different visual effect, but usability should guide the selection. Check the basin height together with the vanity height so the rim remains comfortable. The tap projection must direct water toward the center of the bowl to reduce splashing onto the counter.
Natural stone basins may require sealing and pH-neutral cleaning products, while composite alternatives follow different care instructions. Dark surfaces can reveal toothpaste, soap, and mineral residue, so easy access for wiping is valuable. Keep surrounding accessories restrained and use concealed storage to maintain the minimal appearance. If the basin is unusually heavy, verify that the vanity and wall fixings can support it safely.
16. Combine Black Hexagon Flooring With Soft White Walls
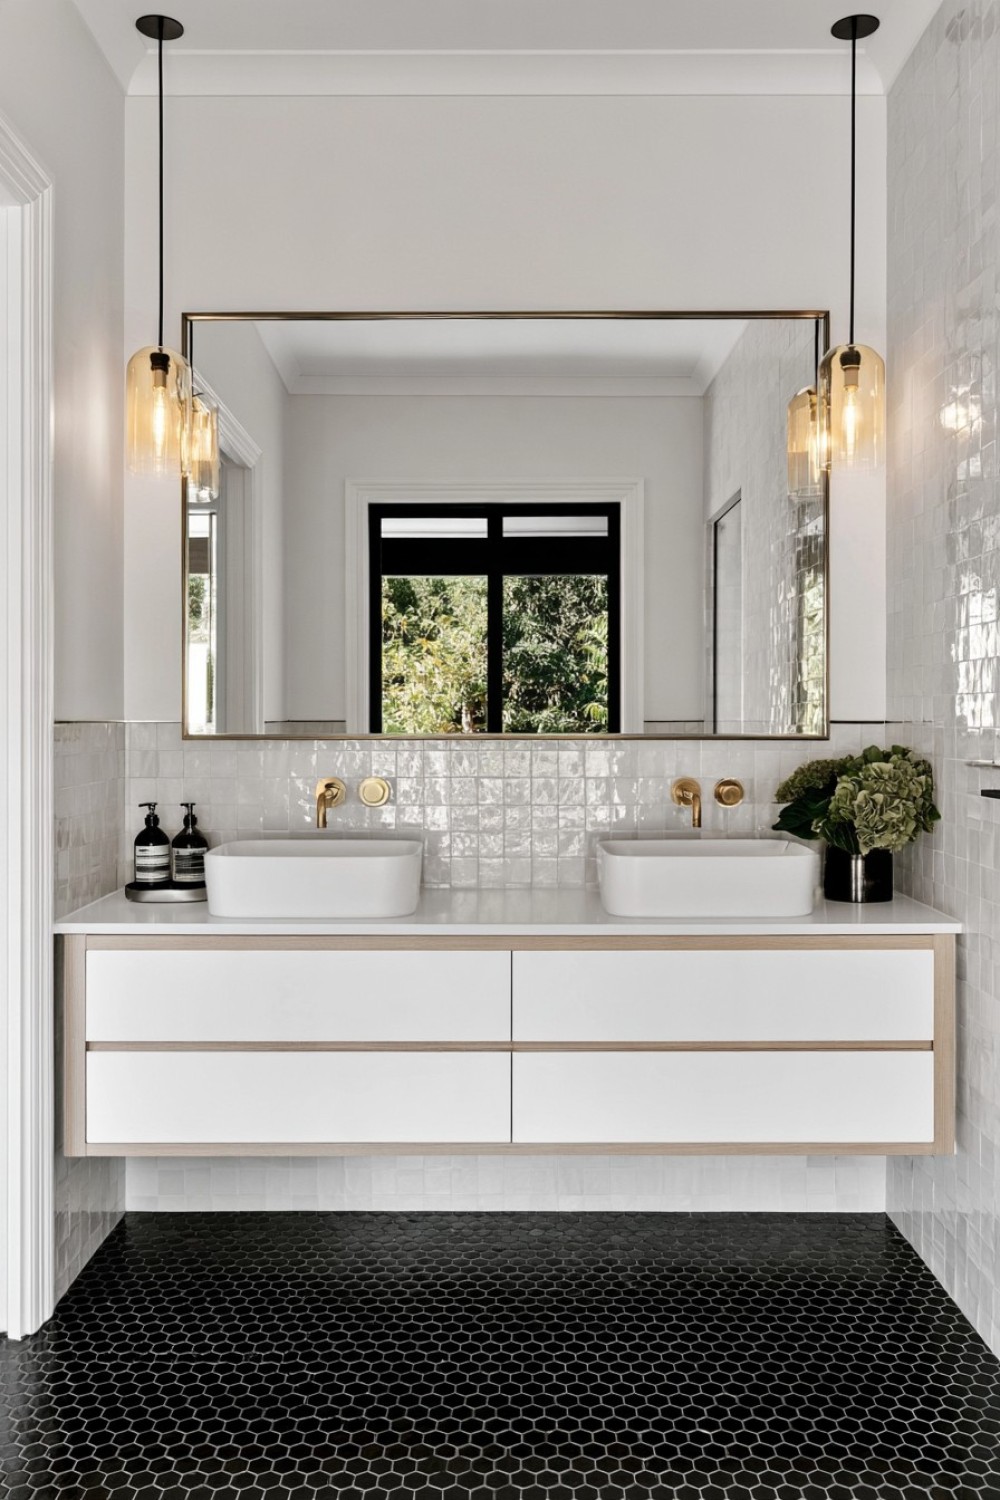
Black hexagon flooring introduces geometric character while soft white walls keep the bathroom balanced. Smaller hexagons suit detailed traditional schemes, whereas larger formats can feel calmer and more contemporary. Repeat the floor color through one or two features, such as the vanity hardware or mirror frame, without forcing black onto every fixture. A slightly warm white can soften the contrast and prevent the room from feeling clinical.
Plan the tile layout before installation so cuts appear balanced along visible edges. Hexagonal patterns can become awkward around doorways, drains, and curved fittings when the starting point is poorly chosen. Select floor-rated tile with suitable wet-area slip resistance and use grout appropriate for bathroom conditions. Black flooring may reveal dust, lint, and dried water marks, so consider the household’s cleaning routine before choosing a completely dark surface.
MORE IDEAS


Share
What's Your Reaction?
 Like
0
Like
0
 Dislike
0
Dislike
0
 Love
0
Love
0
 Funny
0
Funny
0
 Angry
0
Angry
0
 Sad
0
Sad
0
 Wow
0
Wow
0