11 Cute DIY Bracelet Ideas You Can Easily Make at Home

11 Cute DIY Bracelet Ideas You Can Easily Make at Home

Making DIY bracelets is more than an enjoyable craft project. It is also a creative way to express personal style through colors, textures, symbols, and meaningful details. Current jewelry trends highlight personalized charms, mixed metals, natural stones, modern pearl combinations, ocean inspired motifs, and bracelets designed for layered styling. Charm bracelets featuring memories, hobbies, initials, birthstones, or personal symbols are especially popular because every piece can tell a different story.

When making a bracelet at home, consider more than its visual appearance. The thickness of the cord, size of the bead holes, quality of the clasps, durability of the connecting rings, and suitability of metal pieces for sensitive skin are equally important. Always measure the wrist before cutting string or wire, and leave enough room for comfortable movement. Each of the following bracelets can be worn individually or combined with other designs to create a colorful and fashionable bracelet stack.

1. Make a Personalized Story Charm Bracelet

1. Make a Personalized Story Charm Bracelet

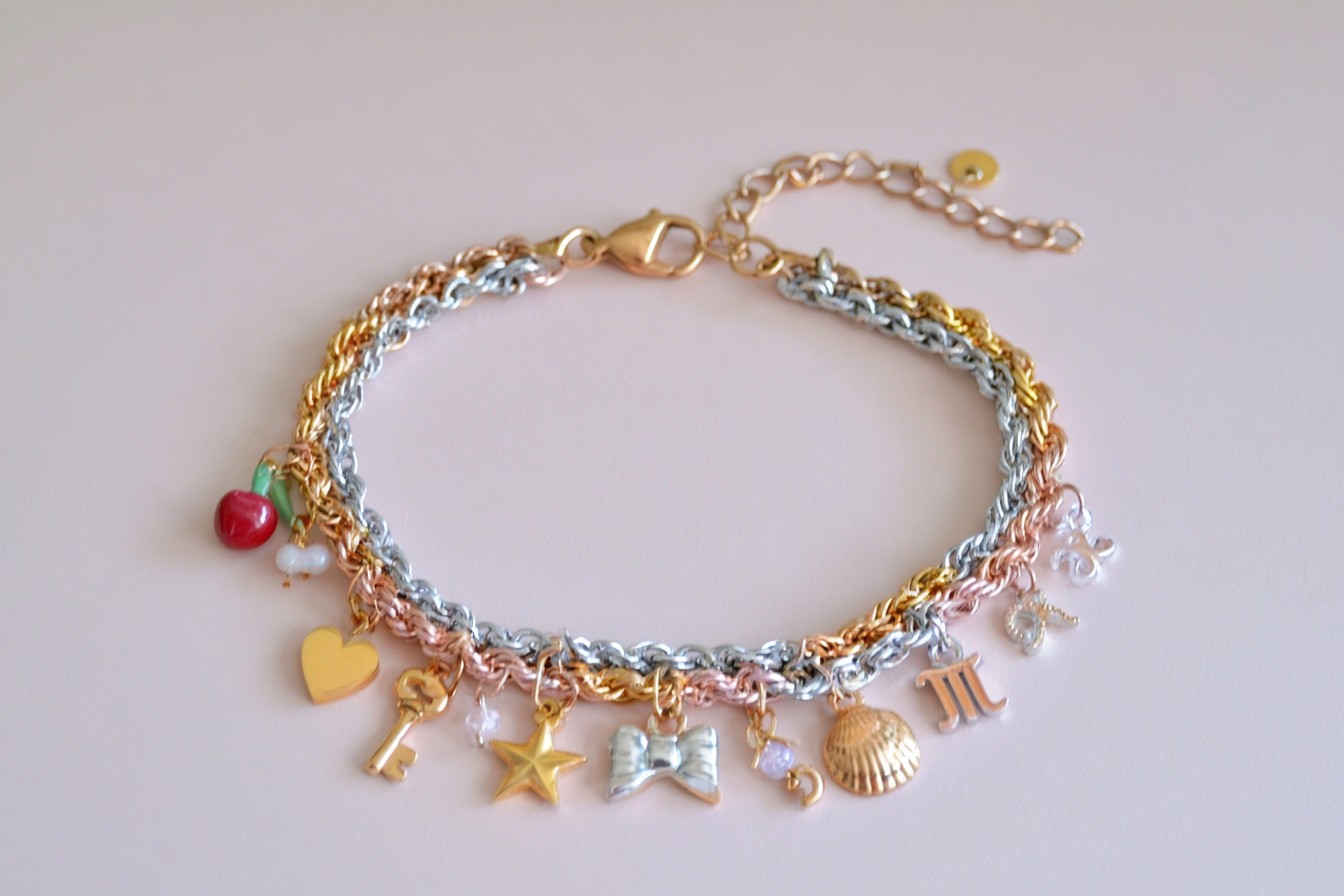
A personalized charm bracelet is a wonderful way to create an accessory that represents memories, interests, favorite places, or important moments. To make one, gather a stainless steel chain, small connecting rings, two jewelry pliers, a lobster clasp, and three to five lightweight charms. Cherries, hearts, keys, stars, bows, seashells, zodiac symbols, and initials are cute choices that can easily be combined.

Measure the wrist and cut the chain approximately two centimeters longer than the actual wrist measurement. Attach the clasp securely before placing the charms along the chain. Instead of positioning every charm at perfectly equal intervals, try a slightly asymmetrical arrangement for a more contemporary appearance. Silver and gold colored pieces can also be mixed in the same design. Check that the metal components are nickel free, especially if the bracelet will be worn regularly. Close every connecting ring tightly with pliers so the charms cannot fall off. Avoid adding too many heavy decorations, as excessive weight may cause the bracelet to rotate around the wrist.

2. Create a Cherry and Bow Beaded Bracelet

2. Create a Cherry and Bow Beaded Bracelet

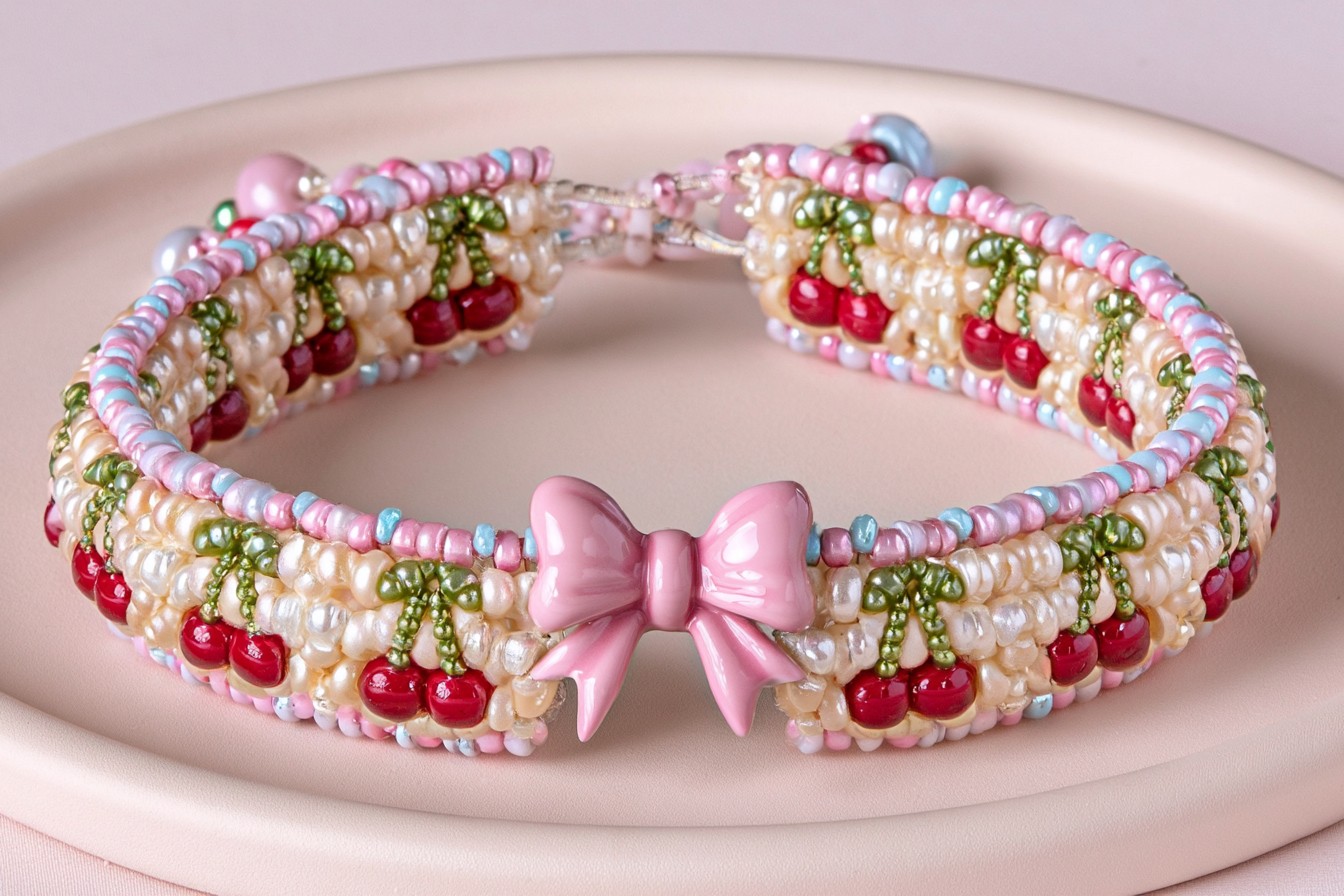
Cherry, heart, and miniature bow motifs are ideal for creating a cheerful bracelet with a cute, playful personality. You will need small red, green, white, and pink seed beads, 0.6 millimeter beading line, a fine beading needle, scissors, and an adjustable clasp. Cut the line approximately twenty centimeters longer than the wrist measurement so there is enough material for tying and attaching the closure.

Begin with a simple background made from white or pale pink beads. At regular intervals, place two red beads next to each other and add a green bead above them to create tiny cherry shapes. A small enamel bow charm can be positioned at the center as the main decorative feature. Before finishing the bracelet, lay it on a flat surface and check whether the cherry motifs face the same direction. Do not pull the line too tightly because an overly rigid bracelet can break or become uncomfortable. Secure the final knot carefully and hide it inside a larger bead whenever possible. Pale pink, cherry red, and soft green create a particularly sweet and fashionable color combination.

3. Combine Baroque Pearls with Pastel Stones

3. Combine Baroque Pearls with Pastel Stones

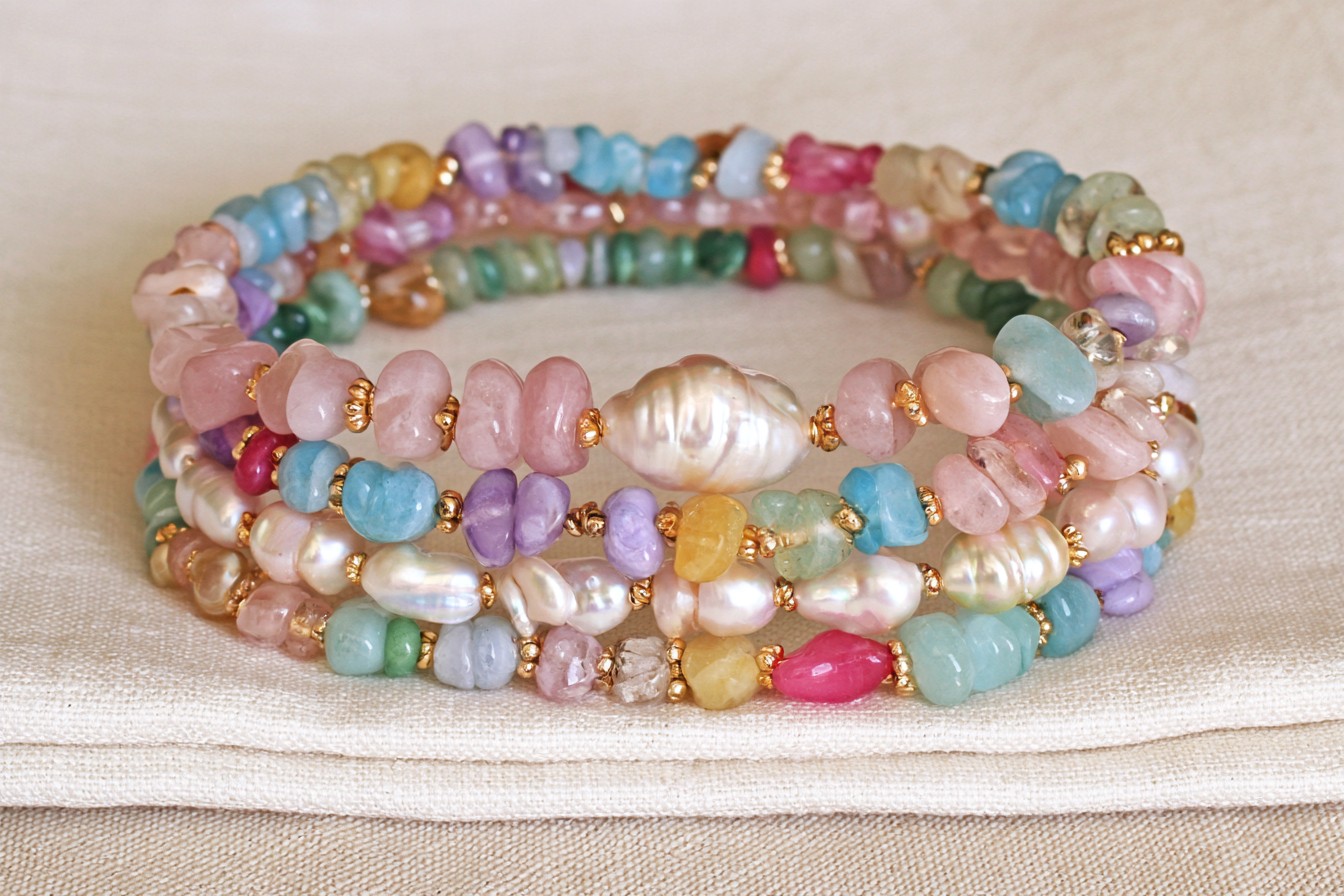
Instead of making a completely traditional pearl bracelet, combine irregular baroque pearls with pastel natural stones for a softer and more contemporary result. Gather small baroque pearls, rose quartz, amethyst, aquamarine, moonstone, metal spacer beads, flexible jewelry wire, crimp beads, and a secure clasp. Gold colored spacers provide warmth, while silver colored pieces create a cooler and more delicate appearance.

Arrange the materials in a varied pattern rather than creating perfect symmetry. For example, place one pearl between two pastel stones, followed by a small metal spacer. Position a slightly larger pearl near the center to establish a subtle focal point. Before purchasing the materials, make sure the holes in the pearls are wide enough for the selected wire. Pearls often have smaller holes than ordinary craft beads. Use crimping pliers to secure both ends and test the clasp before wearing the bracelet. Natural pearls may be affected by perfume, lotion, and household cleaning products. Apply cosmetics before putting the bracelet on and store it in a soft fabric pouch to protect its surface from scratches.

4. Design an Ocean Inspired Turquoise Bracelet

4. Design an Ocean Inspired Turquoise Bracelet

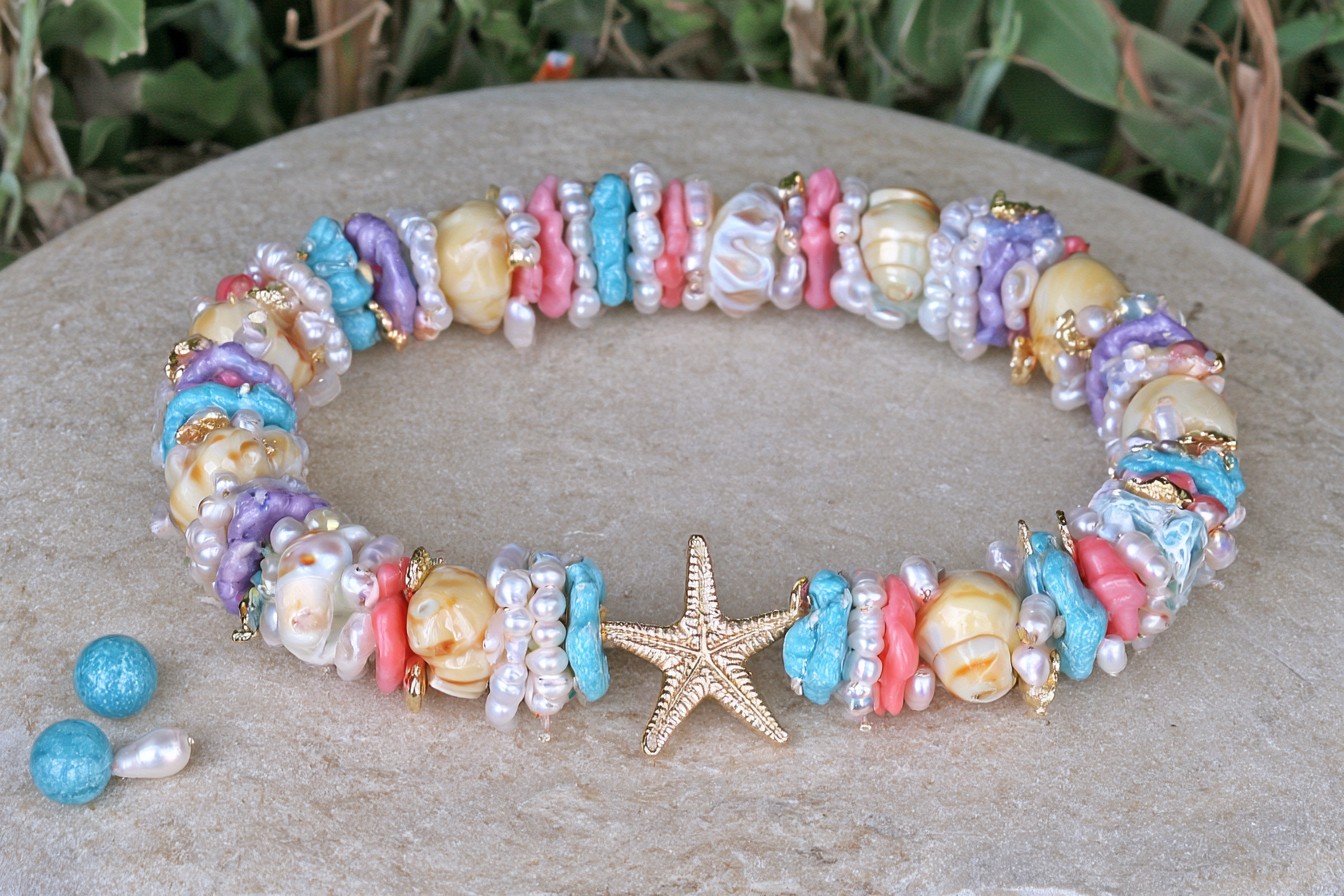
Ocean motifs can produce a fresh bracelet that feels playful without resembling an ordinary vacation souvenir. For this project, use turquoise glass beads, tiny freshwater pearls, smooth shell beads, durable jewelry cord, metal spacer beads, and one small starfish, fish, or coral inspired charm. Cream, turquoise, pale blue, and soft coral colors work beautifully together.

Arrange the beads in an irregular but balanced sequence to imitate the natural textures and colors found near the sea. For example, place several turquoise beads beside one pearl and follow them with a shell bead. Add only one noticeable sea inspired charm so the bracelet remains refined and comfortable. Avoid drilling collected seashells at home because thin shells can easily crack and develop sharp edges. Choose pieces that have already been drilled, polished, and prepared for jewelry making. Check every shell bead carefully to ensure that no rough section touches the skin. Secure the final knot with jewelry adhesive or attach a clasp using crimp beads. This bracelet can be paired with a simple cream colored cord bracelet to create a light, coordinated bracelet stack.

5. Crochet a Delicate Daisy Bracelet

5. Crochet a Delicate Daisy Bracelet

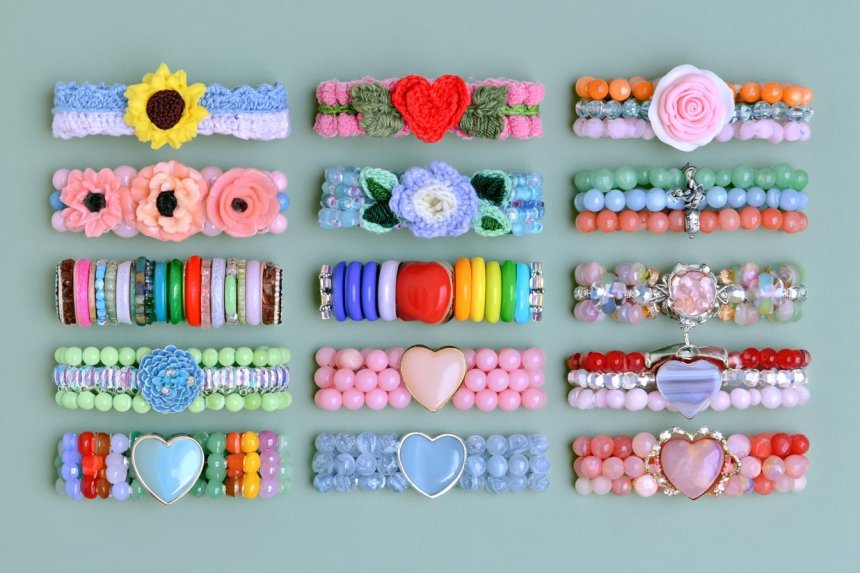
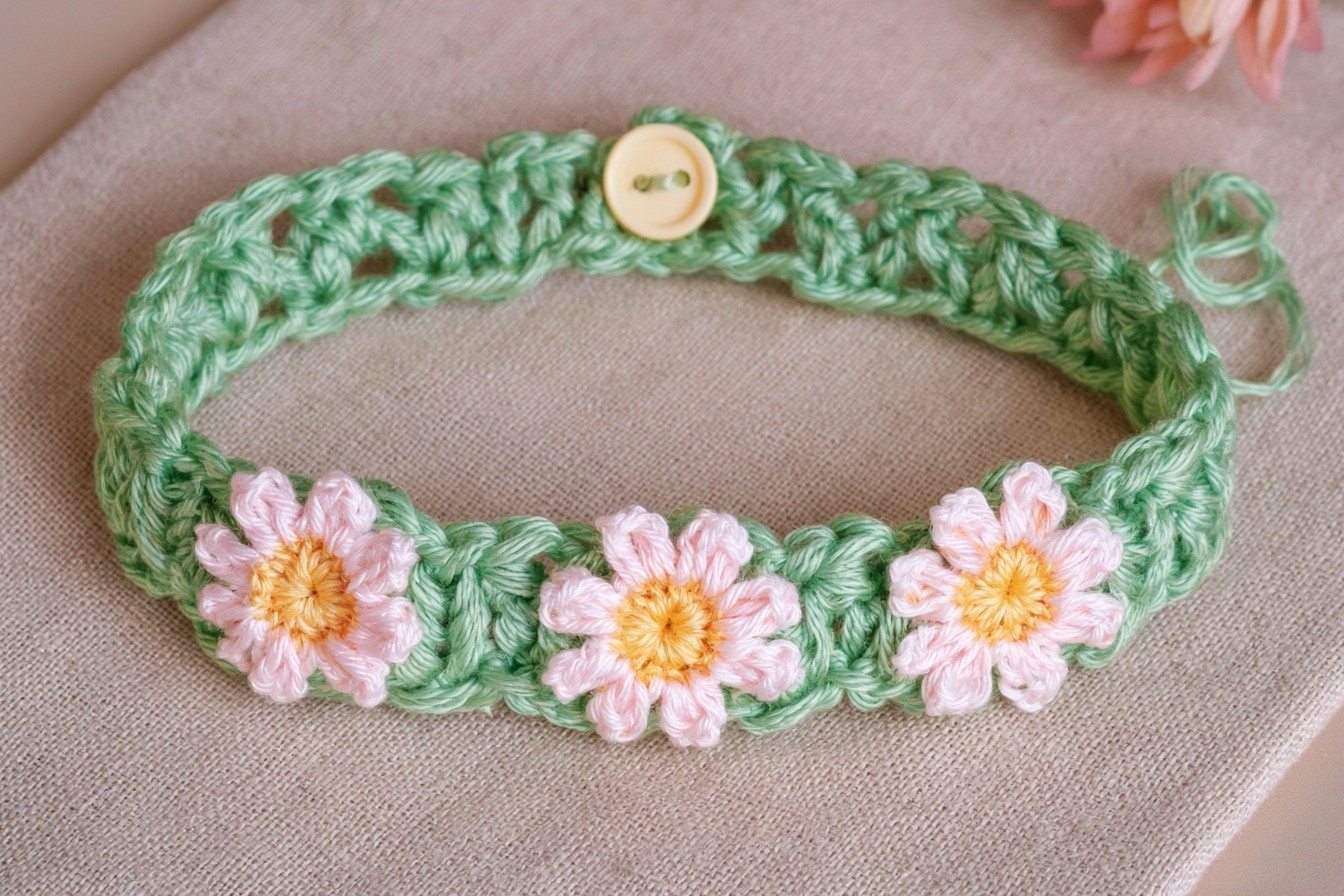
A crochet daisy bracelet is a charming alternative to ordinary beaded accessories. Its soft texture makes it comfortable, while the small flowers add a cheerful handmade character. You will need fine cotton yarn, a 1 or 1.5 millimeter crochet hook, a sewing needle, scissors, and a small lightweight button. Choose yarn that does not shed fibers or feel rough against the skin.

Begin by crocheting a narrow strip using single crochet stitches. Make the strip approximately one centimeter shorter than the wrist measurement because the finished piece may stretch slightly. Create several miniature daisies with white petals and yellow centers, then sew them onto the strip. For a more minimal result, arrange three flowers only in the middle. Create a chain loop at one end and sew the button firmly to the opposite end. Check that the loop is small enough to prevent the button from slipping out. Avoid using excessively thick yarn because it may make the bracelet bulky. Soft pink, lilac, butter yellow, cream, and sage green can be used to create several thin bracelets that look especially cute when worn together.

6. Make a Natural Stone and Wooden Bead Bracelet

6. Make a Natural Stone and Wooden Bead Bracelet

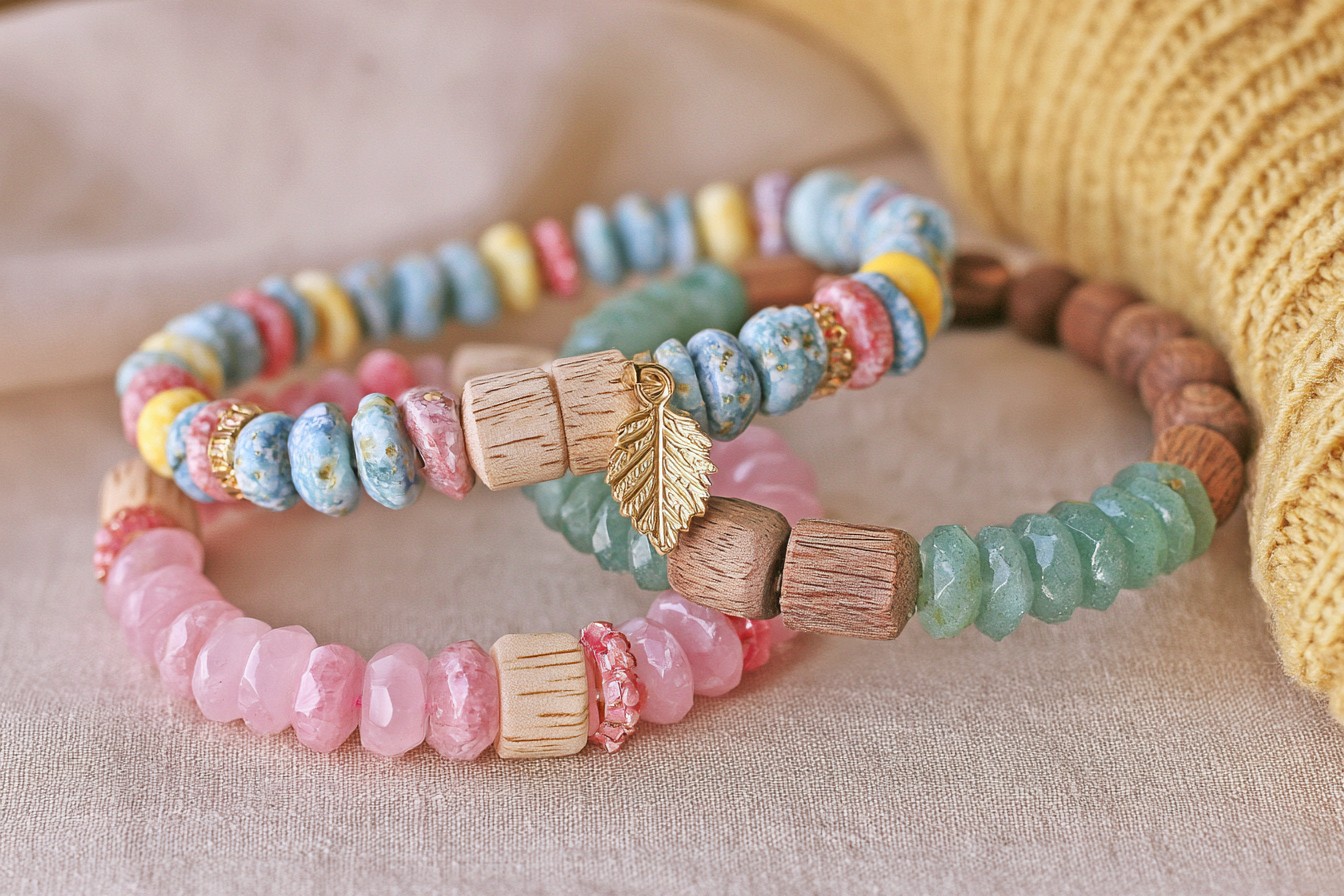
Combining natural stones with polished wooden beads creates a warm, relaxed bracelet that looks more sophisticated than a typical colorful plastic design. Prepare 4 or 6 millimeter natural stone beads, smooth wooden beads, high quality 0.8 millimeter elastic cord, scissors, clear jewelry adhesive, and one optional metal charm. Rose quartz pairs beautifully with pale maple beads, while green aventurine looks attractive beside darker walnut tones.

Measure the wrist without pulling the measuring tape too tightly. Arrange the materials in a repeating sequence, such as three stone beads followed by one wooden bead. Stretch the elastic cord gently several times before adding the beads. This preparation helps reduce loosening after the bracelet has been worn. Once the arrangement is complete, tie a secure surgeon’s knot and strengthen it with a very small amount of jewelry adhesive. Hide the knot inside a bead with a wider opening. Inspect wooden components carefully to ensure that they are polished, splinter free, and treated with a skin safe protective finish. If you plan to make a layered set, vary the size and texture of the beads so each bracelet remains visually distinct.

7. Assemble a Modern Mixed Metal Bracelet

7. Assemble a Modern Mixed Metal Bracelet

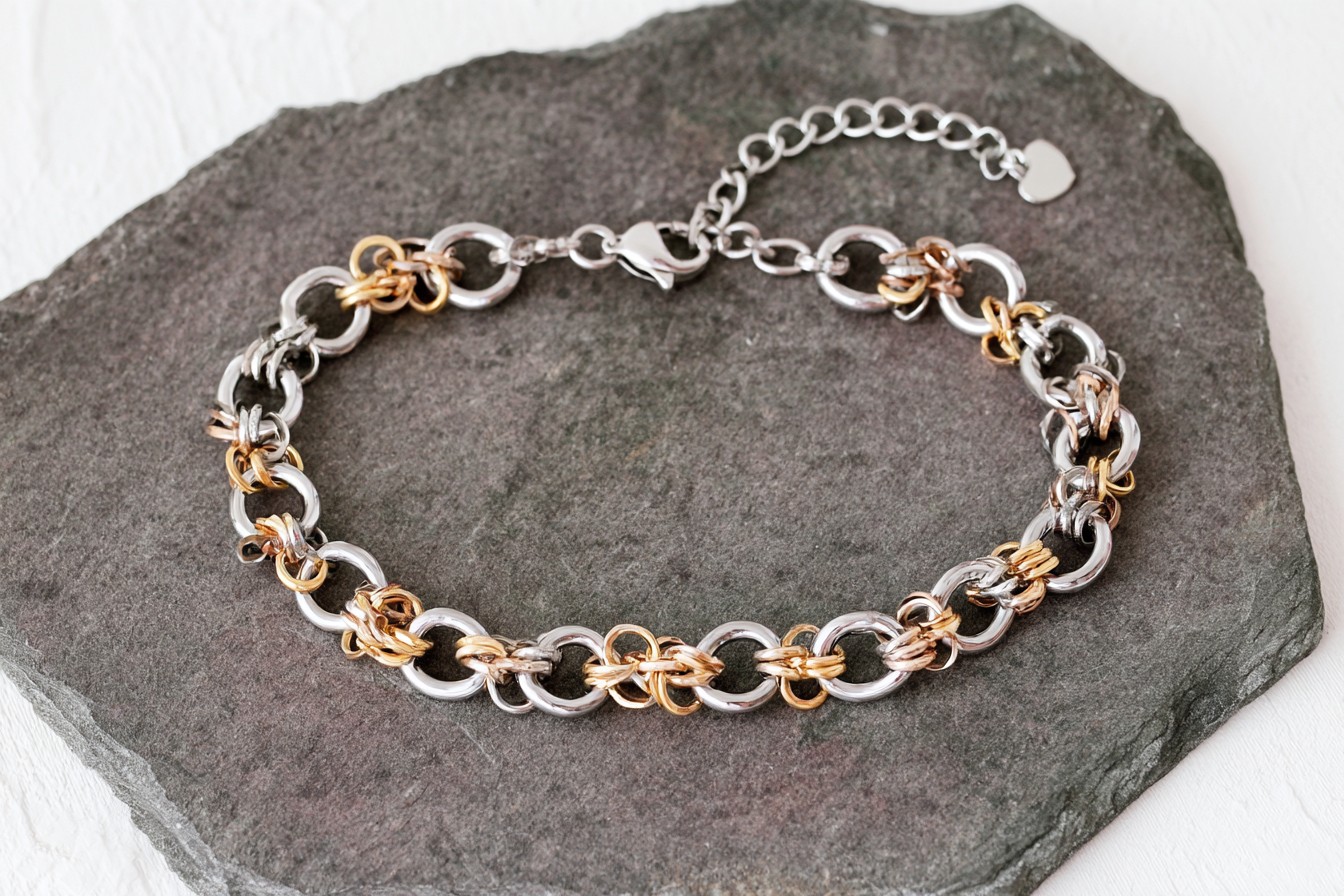
Combining gold and silver colored components is an easy way to create a fashionable bracelet that can be worn with different jewelry pieces. For this project, collect stainless steel rings in several sizes, gold colored connecting rings, two jewelry pliers, a short extension chain, a lobster clasp, and one small heart or star charm. Lightweight components are preferable because an overly heavy bracelet may become uncomfortable during daily activities.

Open every ring by twisting its ends forward and backward with two pliers. Do not pull the ring apart sideways, as this can distort its circular shape. Connect one large silver colored ring to two smaller gold colored rings and continue alternating the pattern. Place the charm slightly away from the exact center to create a subtle asymmetrical detail. Close every ring completely and run your fingers over the connections to check for sharp edges or openings. Loose rings may catch on clothing or separate unexpectedly. Finish the bracelet with a clasp and a short extension chain so the size can be adjusted. This metal design looks particularly attractive when worn beside a delicate pearl or pastel bead bracelet.

8. Create an Adjustable Zodiac Bracelet

8. Create an Adjustable Zodiac Bracelet

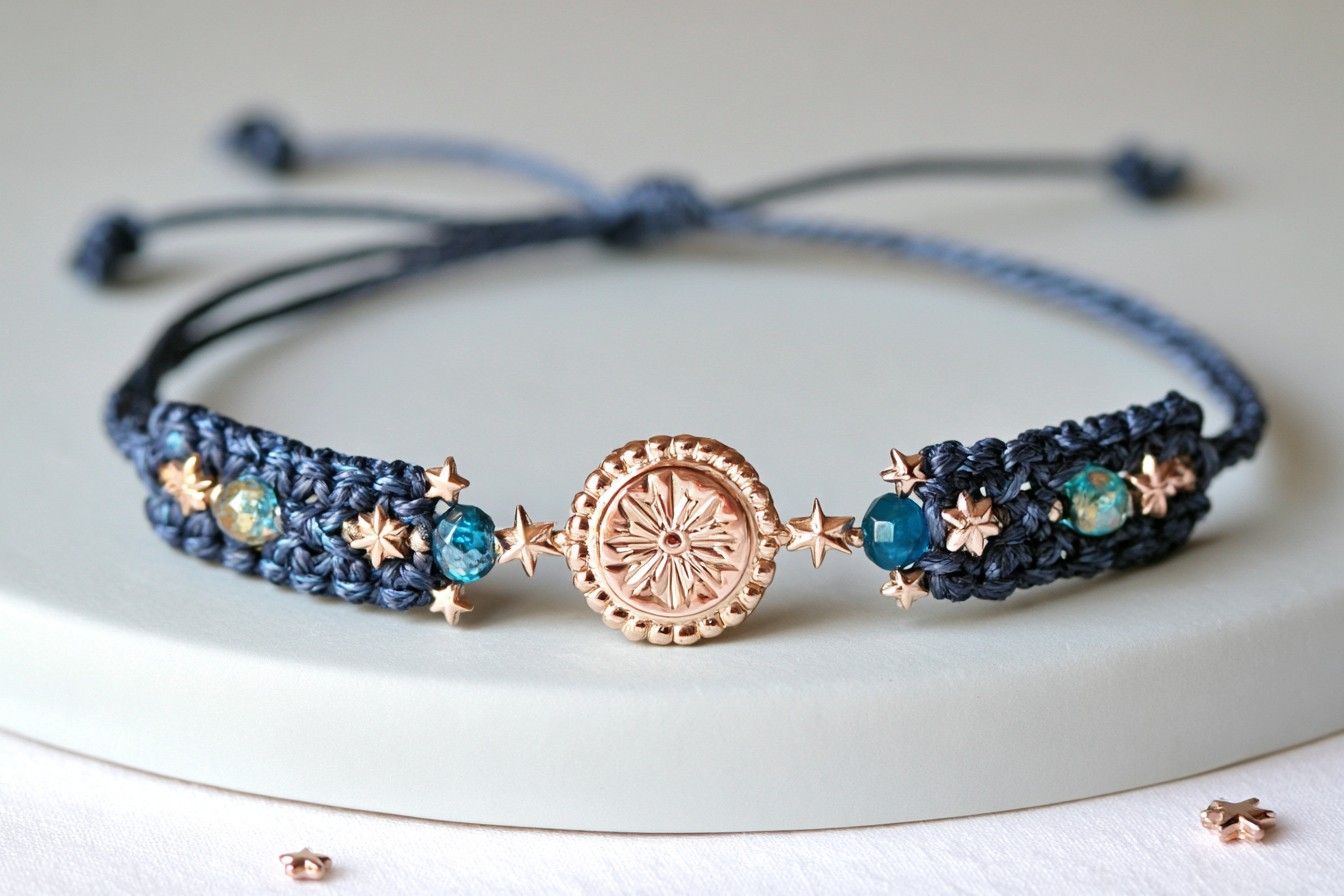
Zodiac symbols, moons, stars, and birthstone colors can be combined to make a personalized bracelet with a dreamy celestial theme. You will need waxed polyester cord, a small metal zodiac charm, miniature star shaped spacers, one colored bead representing a birth month, scissors, and a stable surface for knotting. Navy and gold create an elegant combination, while lilac and silver produce a softer, sweeter appearance.

Cut two main cords longer than the wrist measurement and place the zodiac charm at the center. Work outward using square macramé knots on both sides of the charm. Add one colored glass or crystal bead near the centerpiece to represent the wearer’s birth month. Finish the bracelet with a sliding knot so it can fit different wrist sizes. Leave enough cord at both ends to open and close the bracelet easily. Do not cut the ends too close to the final knots because they may loosen over time. If synthetic cord needs to be heat sealed, this step should be completed carefully by an adult in a ventilated area. Test the sliding mechanism several times before wearing or gifting the finished bracelet.

9. Make a Miniature Polymer Clay Charm Bracelet

9. Make a Miniature Polymer Clay Charm Bracelet

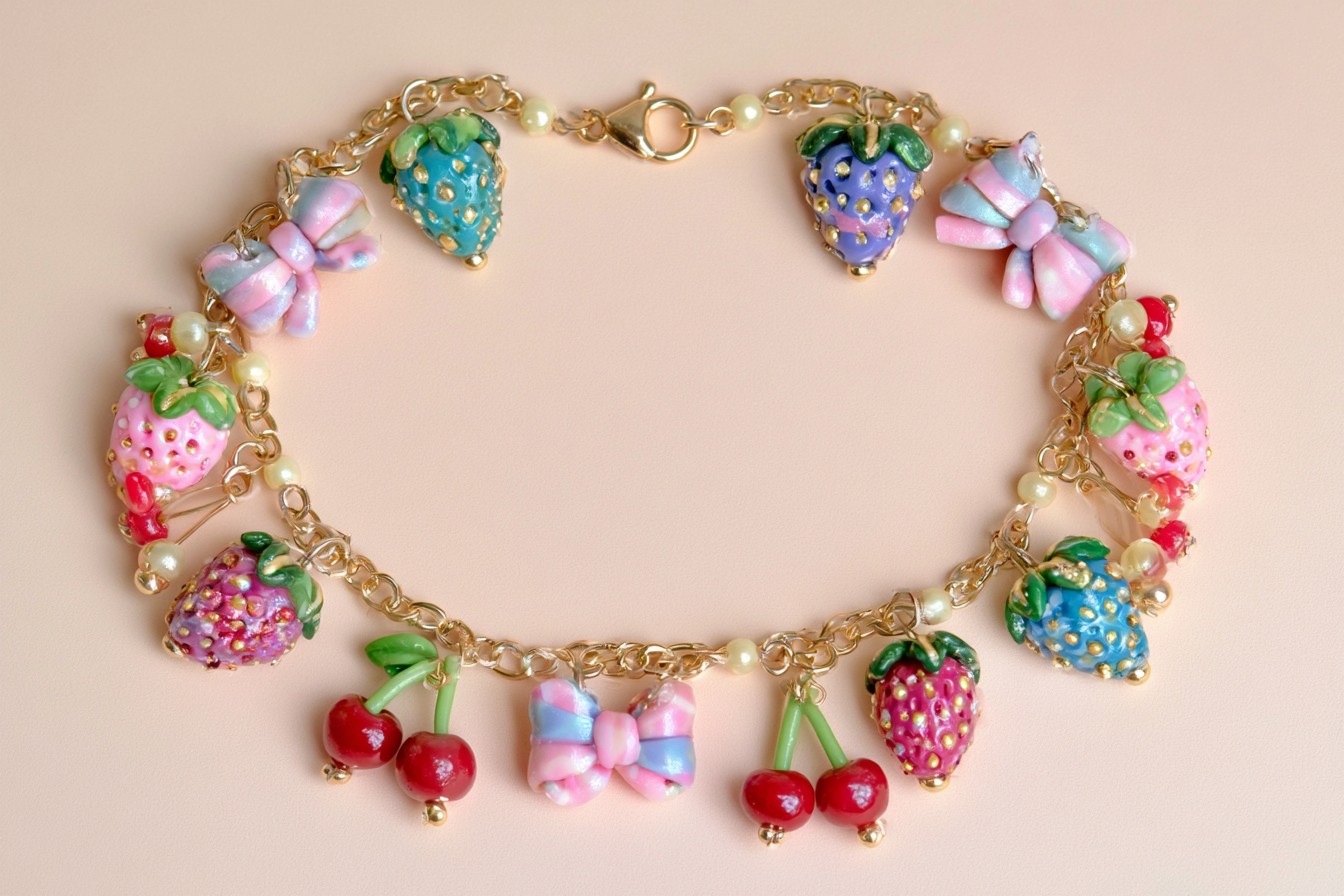
Polymer clay allows you to create tiny charms that cannot easily be found in ordinary jewelry stores. Strawberries, cherries, mushrooms, bows, clouds, biscuits, cupcakes, and miniature slices of cake are charming options. Gather several colors of polymer clay, small sculpting tools, eye pins, connecting rings, a bracelet chain or elastic cord, and a polymer compatible protective varnish.

Soften the clay in your hands before forming each design. Keep the pieces approximately one centimeter wide so they remain lightweight and comfortable. Insert an eye pin into the top of every charm before baking. Follow the exact temperature and baking time printed on the clay packaging, as different products may have different requirements. Work in a well ventilated area and allow the charms to cool completely before handling them. Apply a compatible water based varnish only if recommended for the chosen clay. Instead of covering the bracelet with many unrelated figures, select two or three matching shapes and combine them with simple beads. A strawberry, cherry, and miniature bow theme looks cute while still feeling coordinated. Close all connecting rings tightly so the handmade charms remain securely attached.

10. Upcycle Fabric into a Braided Bracelet

10. Upcycle Fabric into a Braided Bracelet

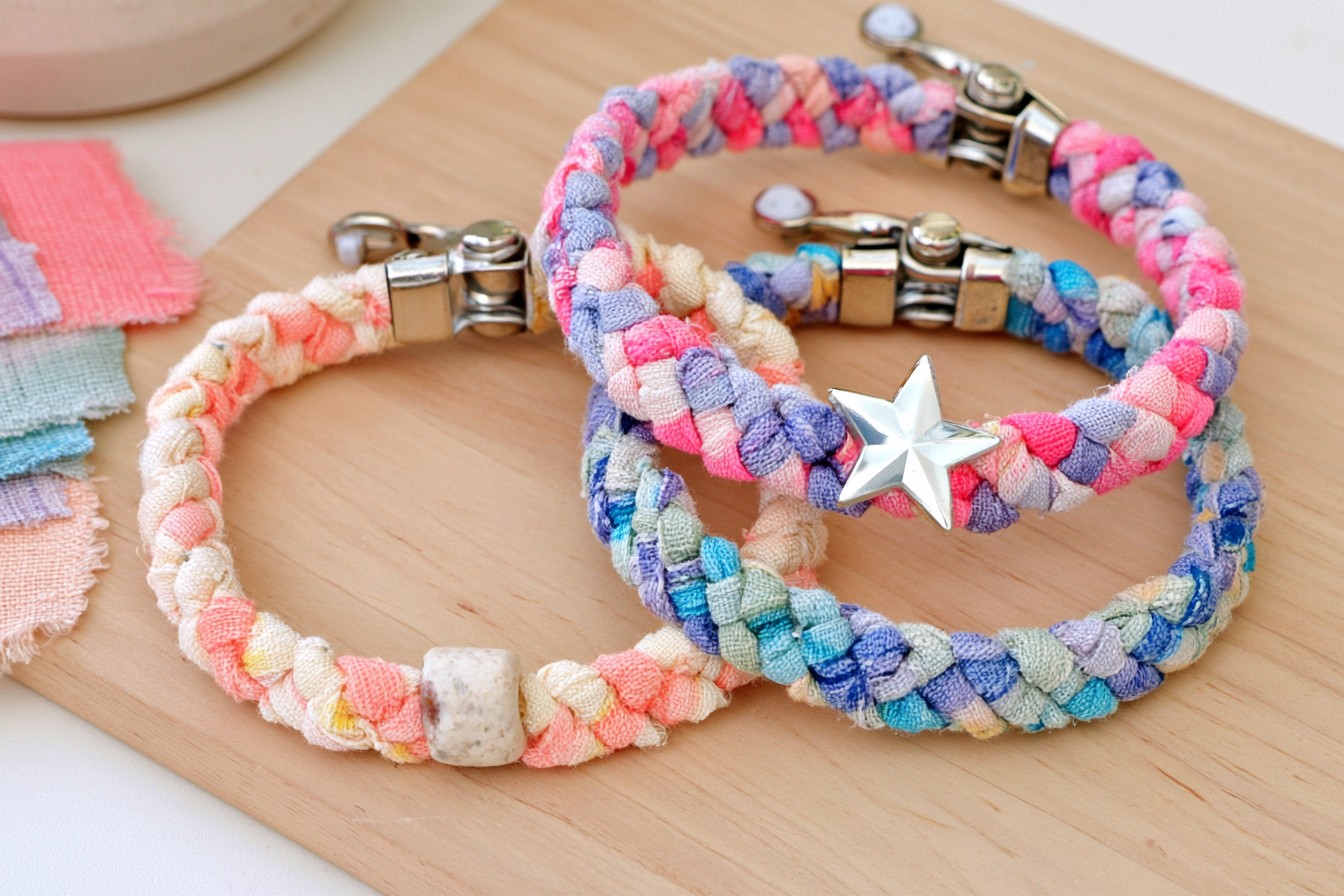
An old cotton shirt or soft T shirt can be transformed into a comfortable and environmentally conscious bracelet. Choose clean fabric without rough seams, stains, or areas that release excessive dye. Cut the material into three long strips, each approximately one centimeter wide. Knitted fabric is particularly useful because its edges often roll inward naturally and produce a neat cord like appearance.

Secure the three strips at one end and braid them evenly. Avoid pulling one strip more tightly than the others, as uneven tension can make the bracelet twist. Add a few small metal rings, ceramic beads, or a single star charm while braiding. Keep the decorative pieces near the center so the bracelet remains soft around the sides of the wrist. The ends can be secured with metal ribbon clamps, or you can create a fabric loop and button closure. Wash and dry reclaimed material before beginning the project. Do not use fabric with stiff stitching or rough glitter that could irritate the skin. Two thin bracelets made from coordinating colors often look more modern than one very thick braid. Soft peach, cream, lavender, and muted green are lovely choices for a sweet layered set.

11. Make a Secret Morse Code Friendship Bracelet

11. Make a Secret Morse Code Friendship Bracelet

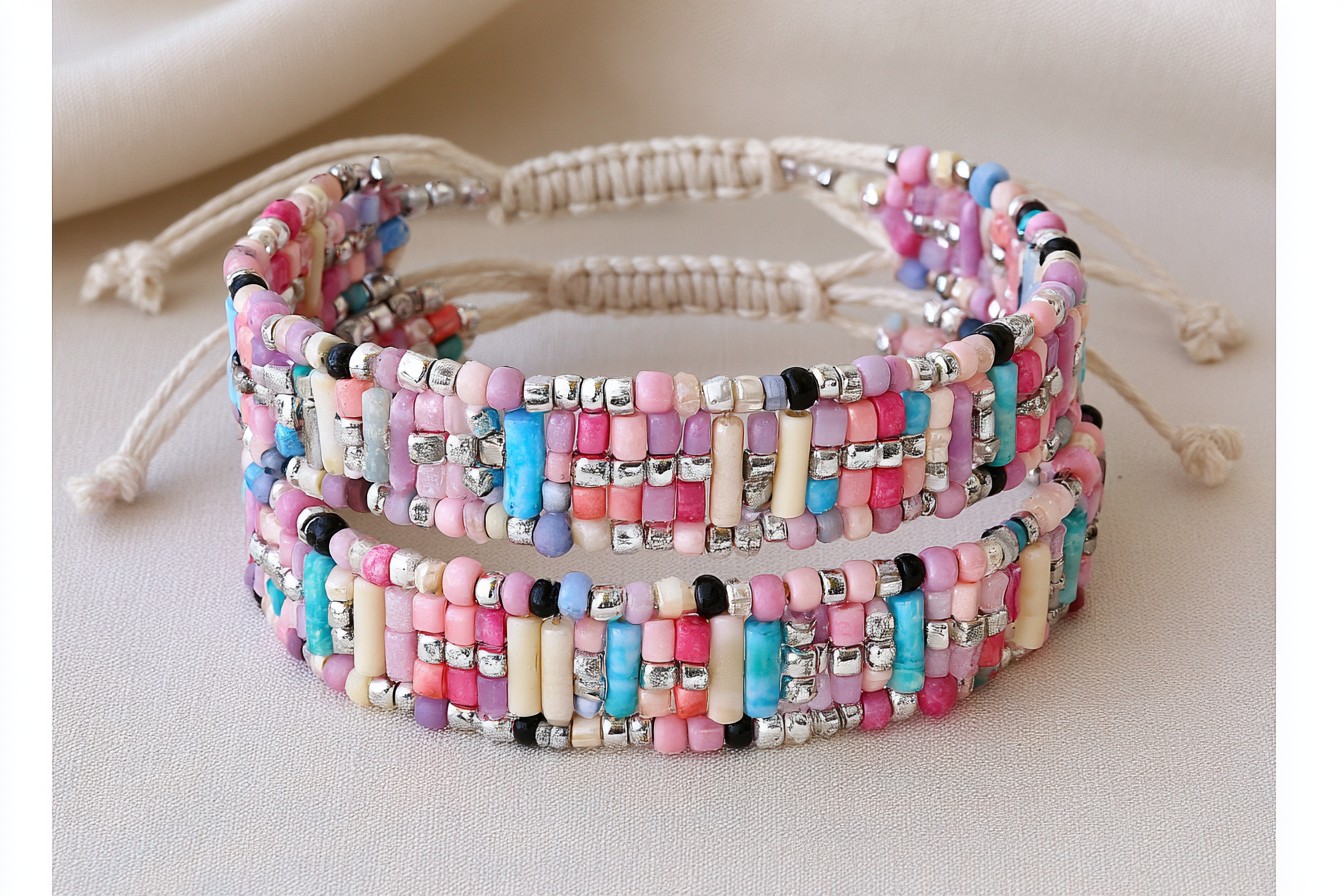
A Morse code bracelet is a creative alternative to a traditional name bracelet because it can hide a meaningful word inside a simple bead arrangement. Use long tube beads to represent dashes and small round beads to represent dots. Select a contrasting bead to separate individual letters or words. Waxed jewelry cord, scissors, a ruler, beads, and an adjustable sliding closure are the main materials required.

Choose a short word such as love, hope, smile, dream, or friend. Write the Morse code pattern on paper before arranging the beads. Planning the sequence first helps prevent mistakes and makes it easier to calculate the required cord length. Avoid long sentences because they may create a heavy bracelet and make the hidden message difficult to follow. Pale pink and cream beads produce a sweet appearance, while black and metallic silver create a more minimal design. Leave additional cord for the adjustable closure before cutting anything. Test the bracelet on the wrist and make sure the sliding knot moves without becoming loose. You can make two bracelets containing the same secret message in different colors to create a meaningful friendship set.

MORE IDEAS

11 Cute DIY Bracelet Ideas You Can Easily Make at Home

Share

What's Your Reaction?

Like Like 0
Dislike Dislike 0
Love Love 0
Funny Funny 0
Angry Angry 0
Sad Sad 0
Wow Wow 0